Millennium Falcon Build Journal No. 02: Issues 1-4

![]() Trader Sam | July 27, 2015
Trader Sam | July 27, 2015
The First Arrival
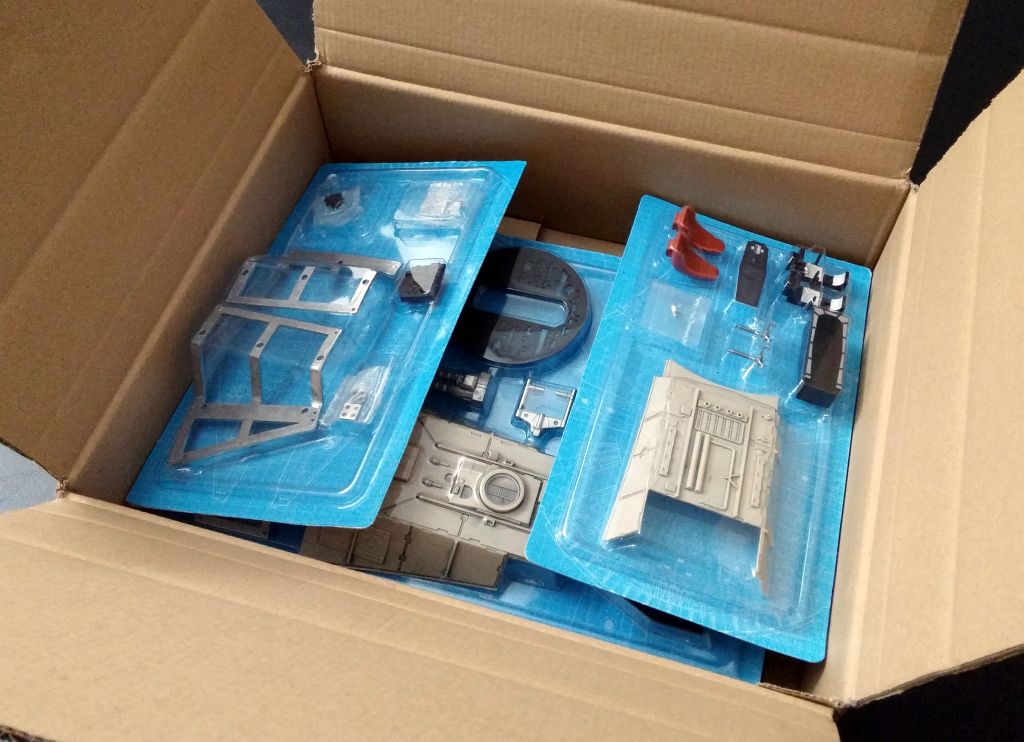
The first package arrived exactly one week after ordering the subscription. The box was small, and everything fit just right.
The magazines are standard sizes as far as magazines go, and are only 13 pages long. Issue 2 arrived damaged, with a bent corner and a small tear, but nothing to really complain about. I foresee these things getting a lot of use over the next two years as I rifle through them for reference.
There is one anomaly that I noticed, and didn’t really care for. The first two issues have a nice, glossy cover. The covers of issues 3 and 4 have a matte finish, which isn’t as nice. I hope they return to the glossy cover; glossy covers just make a magazine feel right.

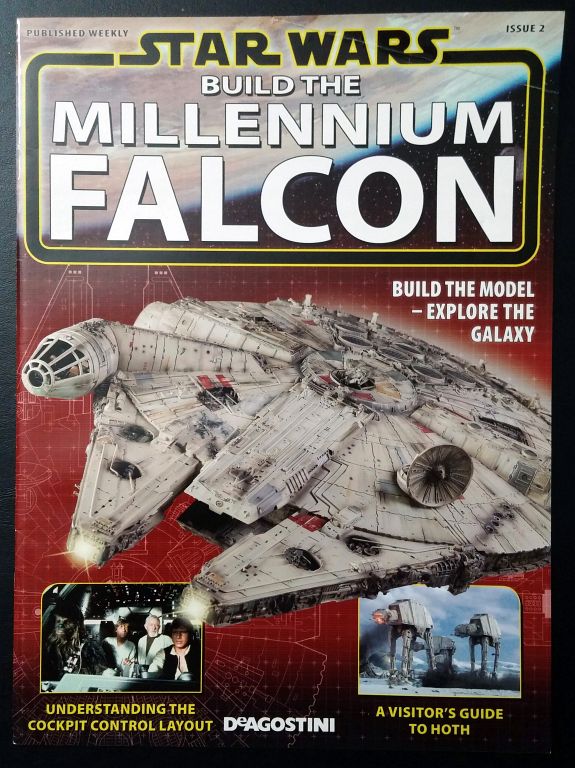
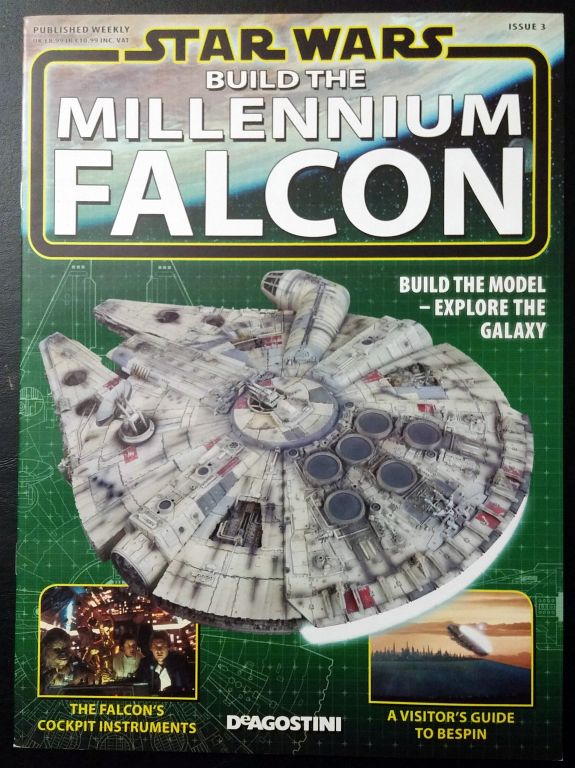

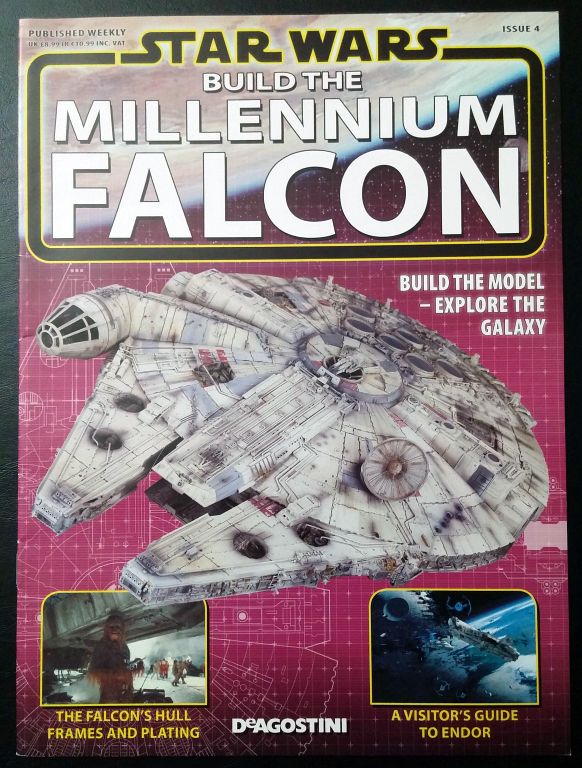
The two magazines with the matte finish display European prices in the upper-left corner. This leads me to believe that there are two different stocks: one for the UK, and one for the US. If true, the US magazines are nicer, and what we Americans are use to.
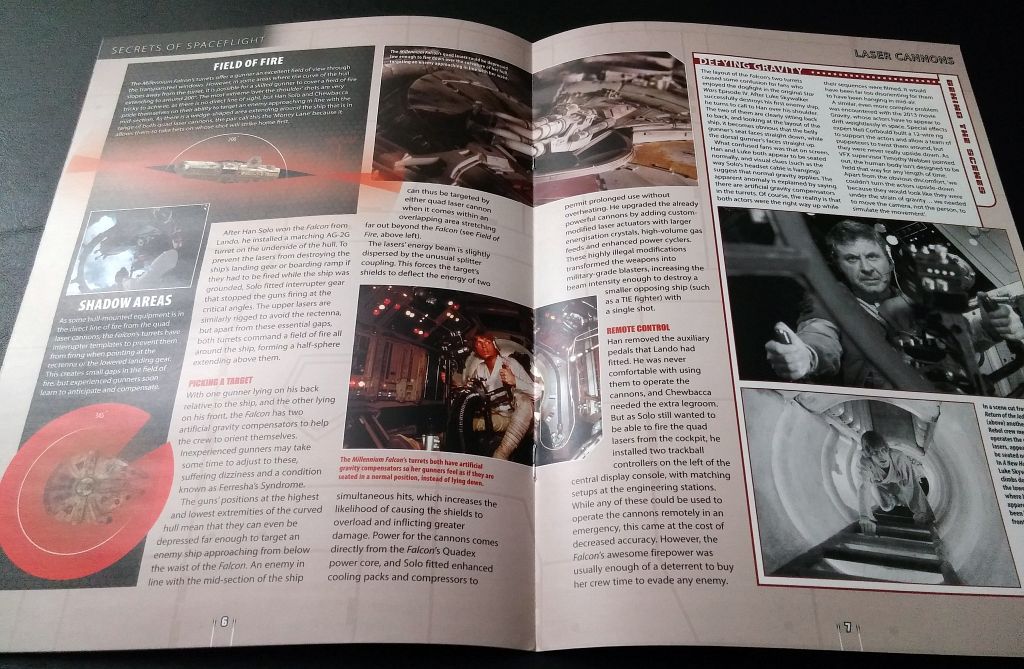

The first two-thirds of the magazines are filled with fun articles and facts about the Millennium Falcon and the Star Wars universe. But, wanting to dive right into building, I skipped right past them. They’ll make good reading material until the next package arrives.
The last one-third of the magazine are, naturally, the assembly instructions, which are fully illustrated. The person responsible for writing up the instructions even anticipated my want to jump ahead, glue things down, and paint by continuously posting small warnings and notices. Since I don’t know what lies ahead, I’ll do as I’m told.
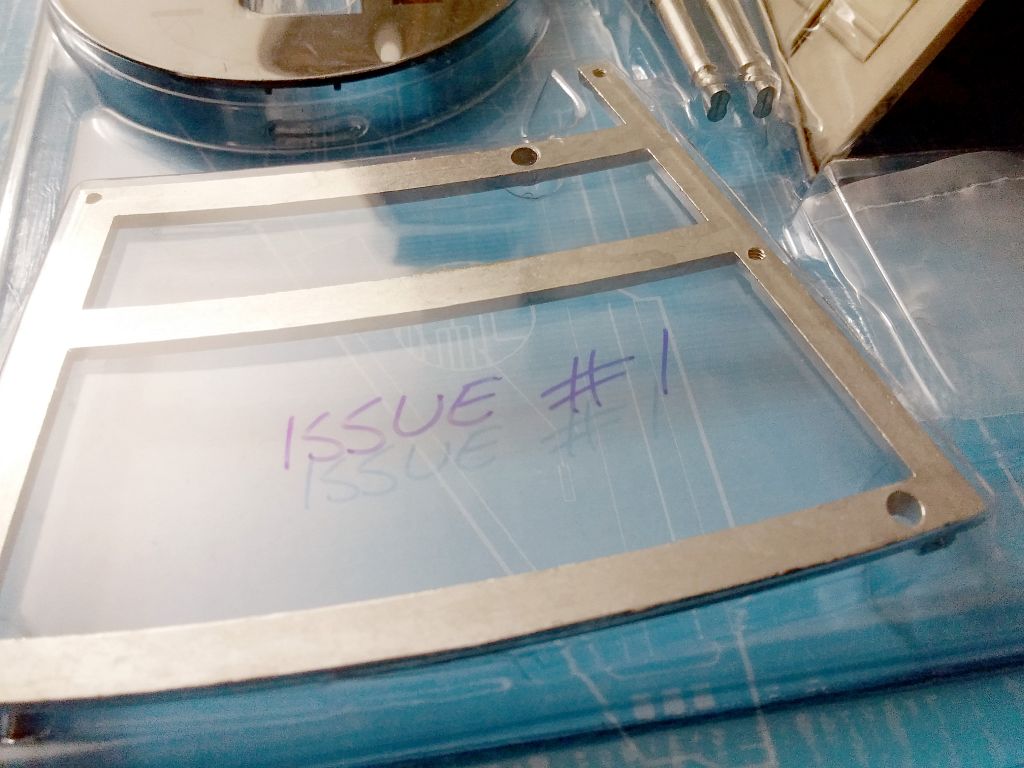

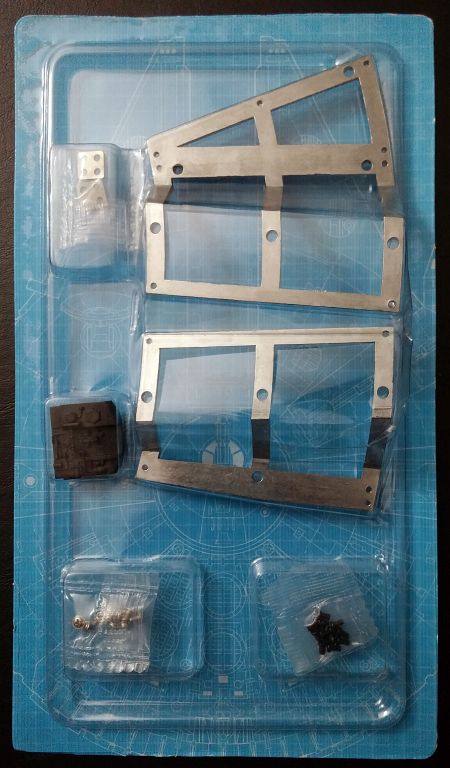
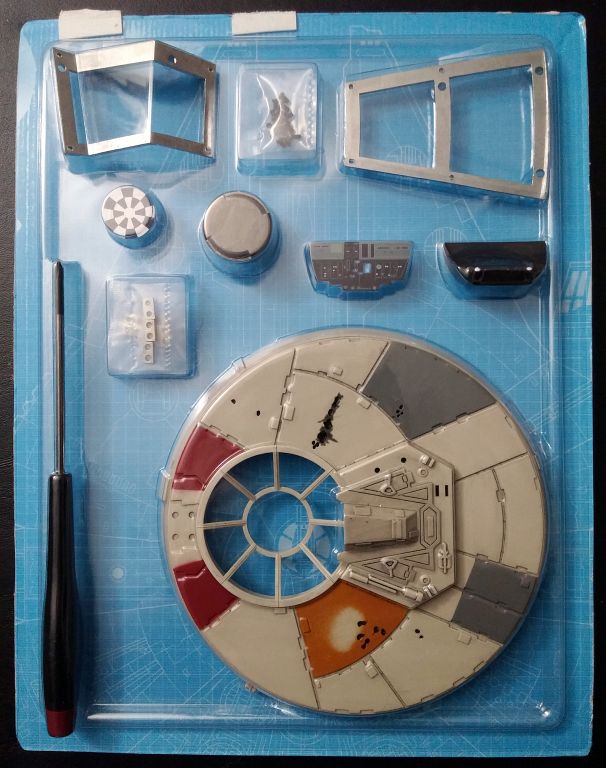
The parts come in protective blister packs with cardboard backing. To be able to quickly identify each pack, I wrote the issue numbers on them with a Sharpie before removing the cardboard.
The blister pack is made of two pieces, sandwiching the parts. I was surprised and elated when I discovered that the pieces lock back together. That feature saved me from having to jury-rig something to safely store the parts in their blister packs. My thanks and appreciation go out to whomever included that feature.
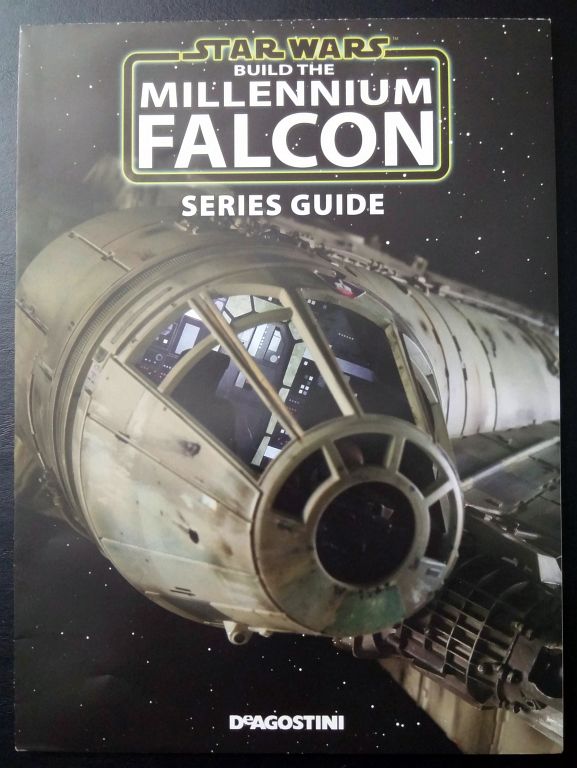
Also included with the package was a series guide and a double-sided blueprint. The series guide just pointed out the features of the model, and isn’t really much. If anything, I can quickly hand this to someone when they ask about the model.
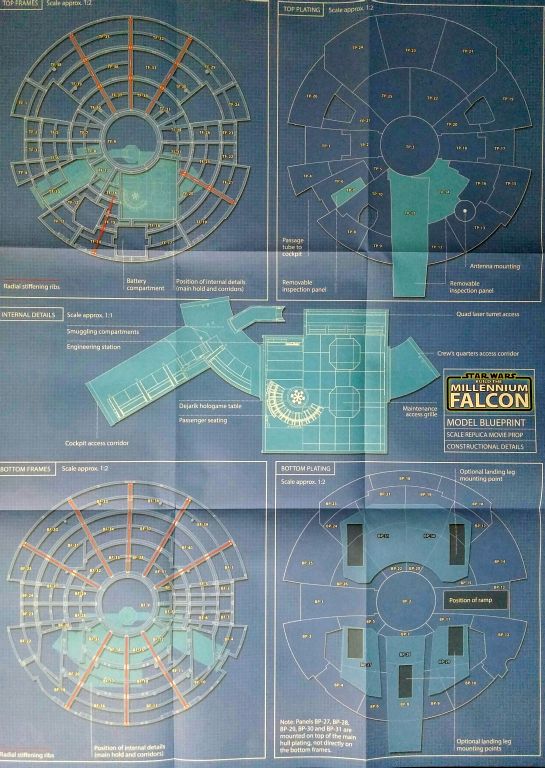
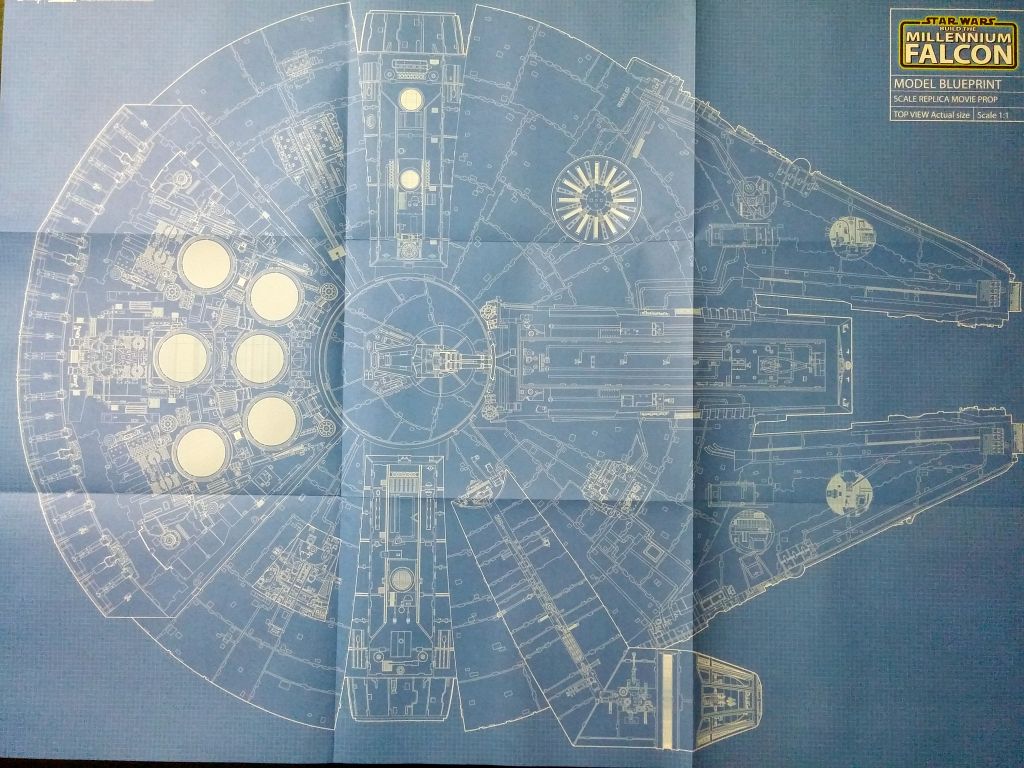
One side of the fold-out blueprint features a 1:1 scale top-down layout of the model. It’s big, and it’s fun to position parts to see where they will go. The other side of the fold-out displays the interior layout and the metal frameworks.
Supplies
Since the last build journal, I have discovered that the parts that create the ship’s hull are made of ABS (Acrylonitrile Butadiene Styrene) plastic. As such, solvent-based glues (i.e. standard model glues) will not stick; the model will eventually fall apart. Instead, ACC (Alpha Cyanoacrylate Cement) glues (superglue or zap-a-gap) should be used. Will my Tamiya Extra Thin Cement work? Possibly. But, I’ll test it out on some scrap pieces before I use it on the model.
Inspecting the instructions, I bought a few extra supplies to finish this month’s build. First was an extra nail buffer, which goes pretty fast when used on metal, and works wonderfully to get out the rough scratches.

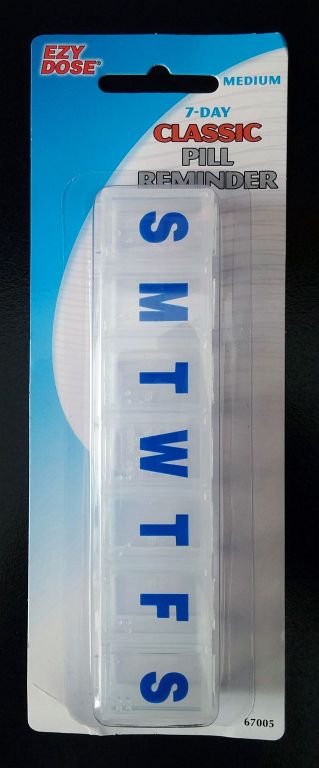
There are six different screws used throughout the kit, and a few extras are supplied. To separate and store them for easy access (and to prevent loss), I found a clear, 7-day pill case.

To clean and prep parts for painting, I needed a small brush. A toothbrush is perfect for the job. I couldn’t find my current toothbrush (used strictly for hobbies/artwork), so I picked up three super cheap ones of varying firmness: soft, medium, and firm.

To prime parts, I chose a flat gray primer suitable for metal, wood, and plastic alike. When dry, the surface can be sanded if needed (wet sand for metal, dry sand for plastic). However, the can says that for maximum adhesion and durability on plastics, the paint should be allowed to dry for 5-7 days! I’m eager to paint, but I’m a patient person.
This paint is oil-based. If you need to thin or clean it off, you will need Xylol or mineral spirits. See the Painting section of this article for more paint features.
Assembling
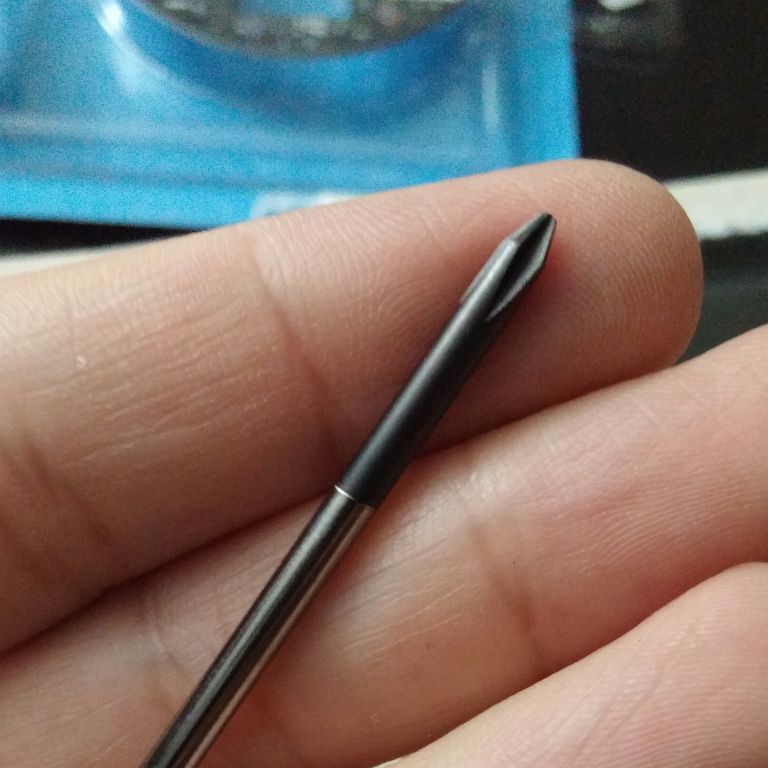
For the screws, a long, narrow screwdriver is supplied. Oddly, it is supplied with the second issue, not the first. The first issue does mention this in the instructions. I wonder how many people were disappointed in the United Kingdom when they got to the quad laser cannons, and didn’t have a screwdriver on hand to assemble them.
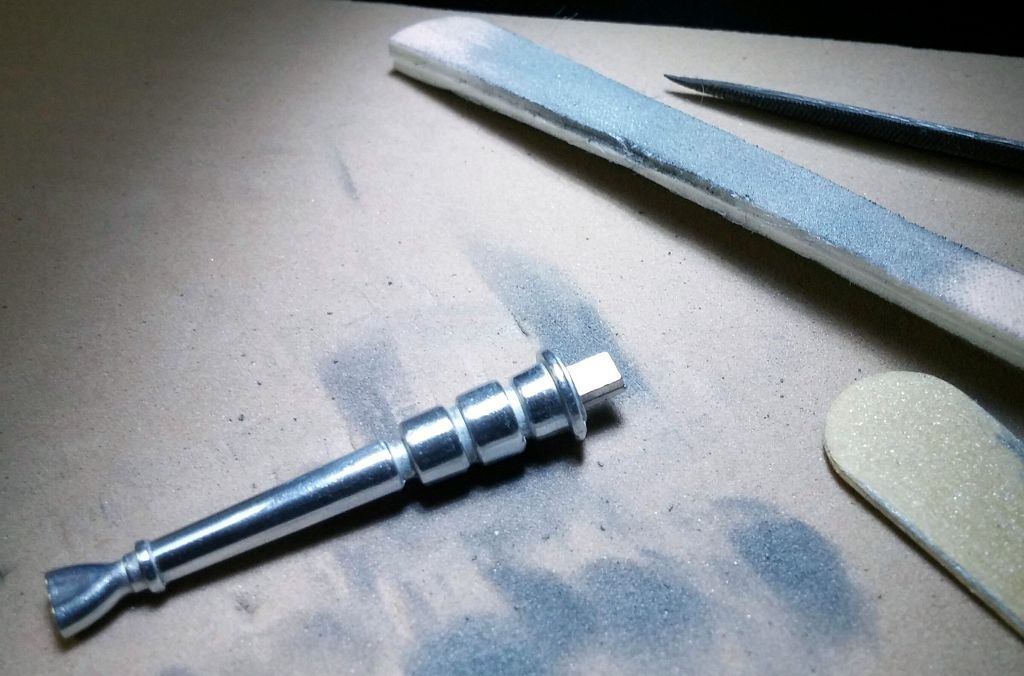
The screwdriver’s handle has a cap that spins for comfort against your palm, but it doesn’t work very well. To fix this, I removed the cap (it pulls right off) and sanded the end of the handle to a smooth shine. I did the same to the bottom and inside of the cap as best I could. Then, I coated the inside of the cap and the end of the handle with silicon lubricant using a cotton swab. The cap now spins freely, and is very comfortable against the palm.
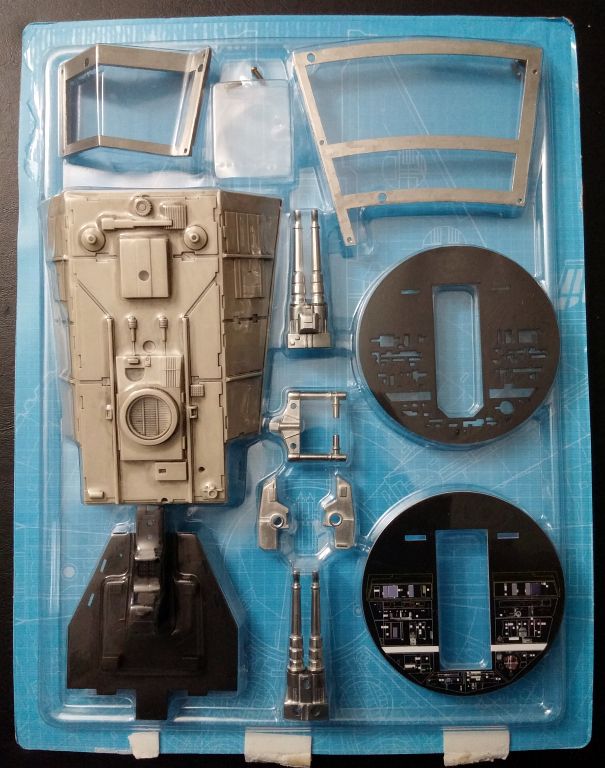
The laser cannons came in three deceptively simple parts. Removing the four cannon barrels increased the number of parts to seven, which turned out to make sanding them easier.
I used metal files to quickly trim as much flashing (material that oozed out of the mold seams) as I could from the cannon parts. I then followed up with one of the rough emery boards, which I didn’t like too much. They were very stiff. I’ll have to find some rough emery boards that have a cushioned middle, like the nail buffer. The nail buffer worked very well. Because it had a soft foam core, it conformed the the curved surface of the barrels. That means less work, and a neater job.
Holding the small parts securely between my fingers did eventually begin to hurt. It’s taxing on the fingertips. But, by using a piece of craft foam, I could hold the parts down in place with my thumb. The parts sank into the foam at key pressure points, which helped to keep them secure. It made sanding a lot easier, and I could use my thumb to rock the pieces side to side.
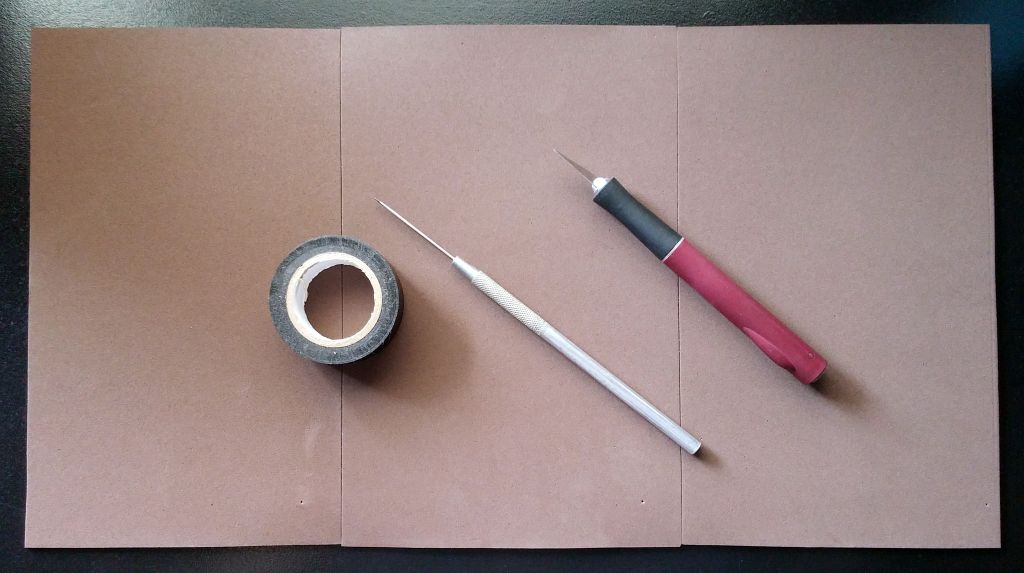
I liked the foam as a work surface so much, that I made a larger tri-fold version.
I wasn’t able to get down into some of the tight crevices, but I have time to find a solution. If not, the cannons still looks way better than it did. To use the nail buffer, I cut it down the center, lengthwise. That made it a lot easier to get into small areas, and it double the life of the tool.

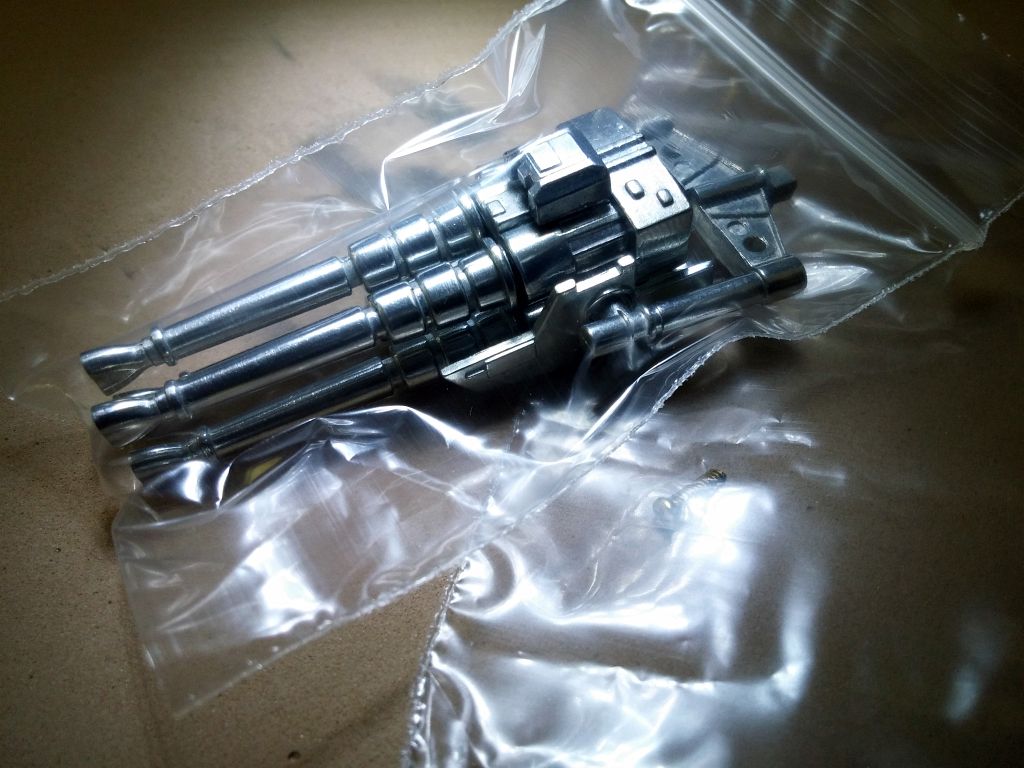
Finished, I assembled the quad laser cannons with three screws, leaving one extra. I don’t know what kind of metal they are made of, but I sealed them inside a reclosable bag to prevent tarnish and dirt buildup.
Always having reclosable bags on hand has been a Godsend. I highly recommend them, and they come in many different sizes.
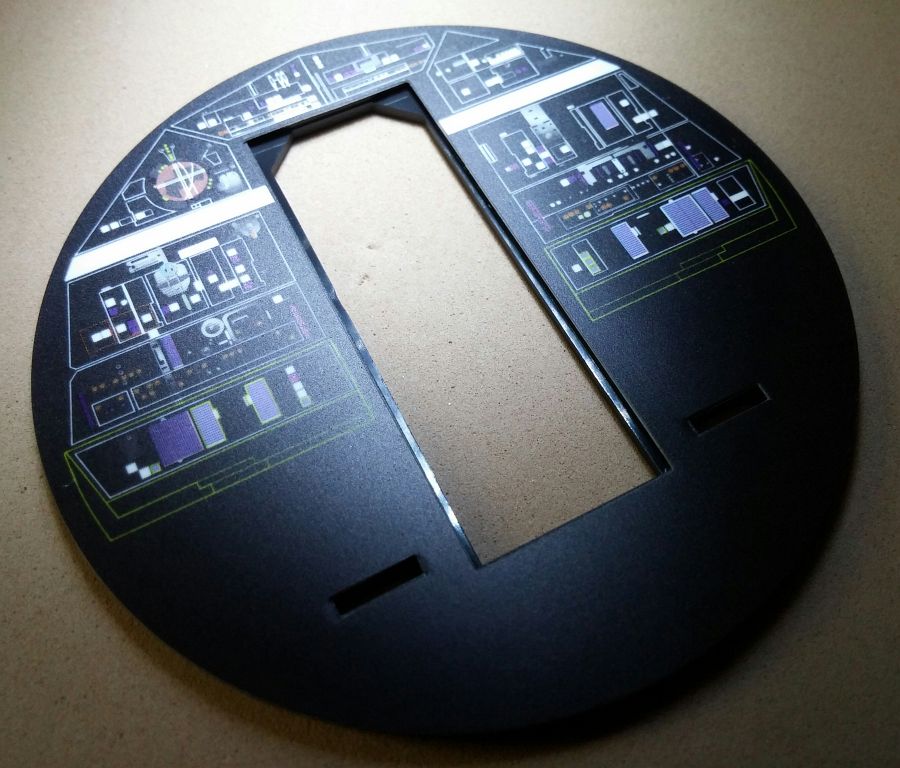
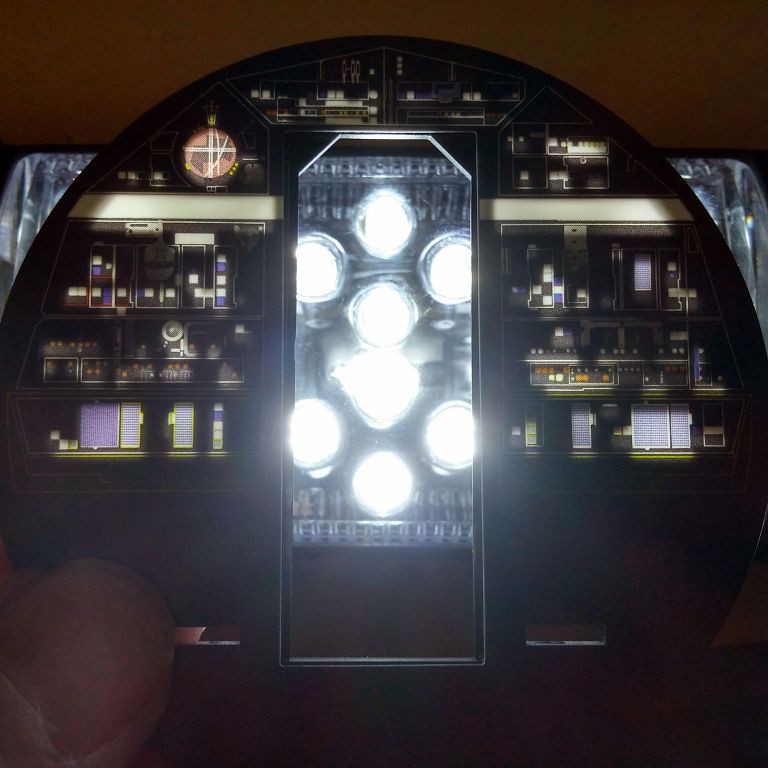
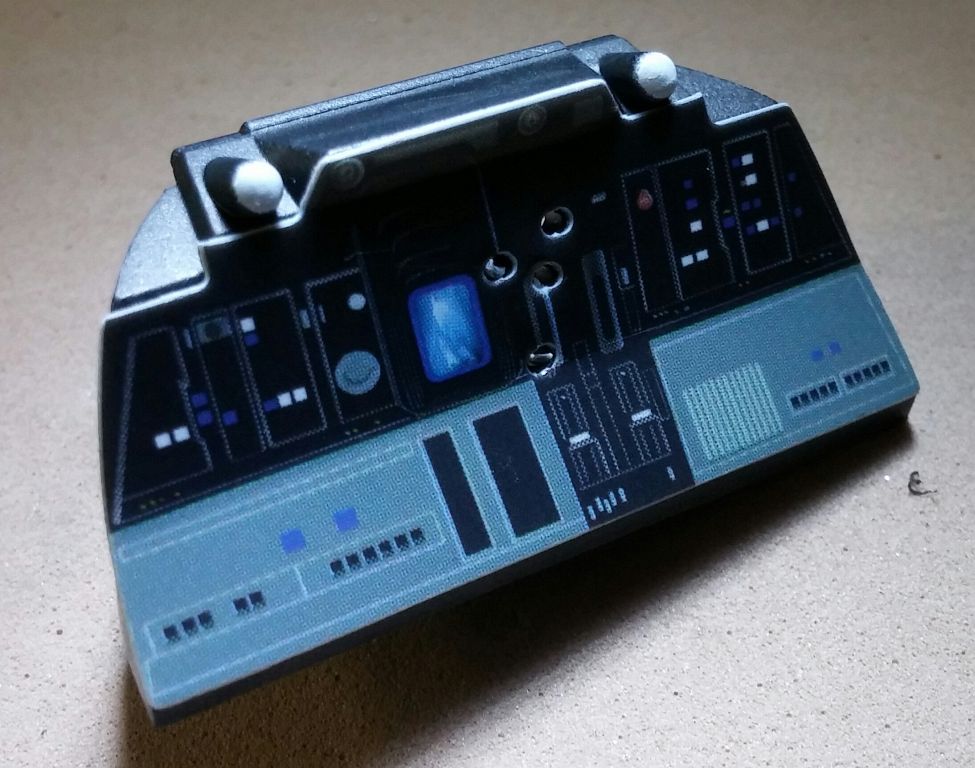
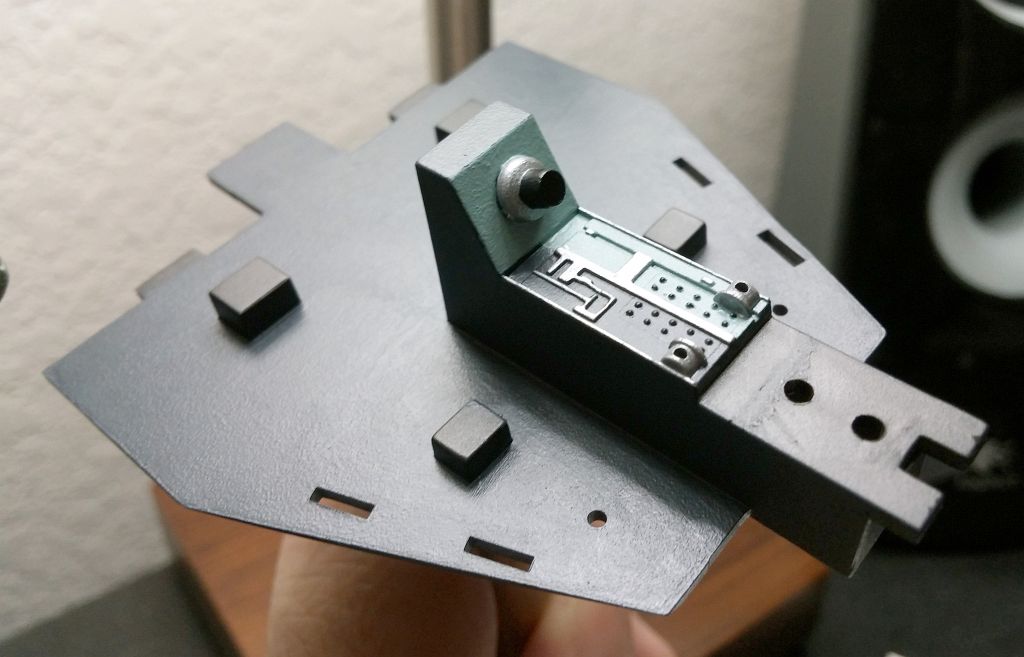
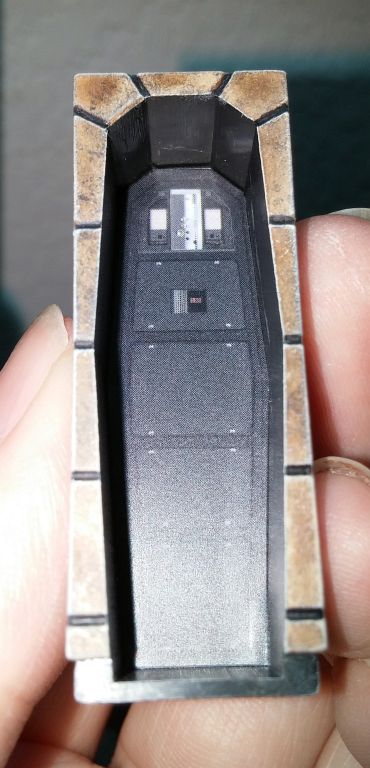
Applying the cockpit instrumentation sticker was only slightly disappointing. I’m confident in my sticker-placing abilities, so aligning it with the wall wasn’t a problem. My displeasure came with the fact that the sticker’s printed instrumentation didn’t line up with the holes that illuminate them. Since the sticker’s placement depended on precise alignment, I couldn’t shift it. But, I decided to let it be, and just have fun.
I later fixed the offset by using watercolor paint to black out areas and enhance colors by applying them to the backside.


The sticker itself is a stiff, translucent plastic onto which the graphics are printed. Nice; paper stickers wouldn’t allow for any needed prying and repositioning.
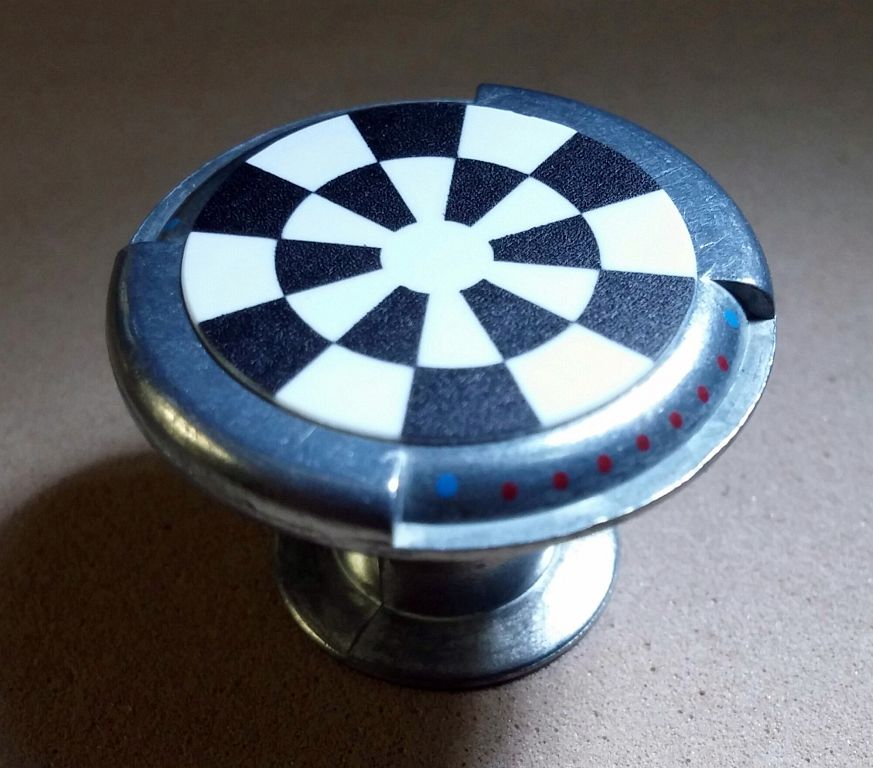
The holotable was next, and only required a sticker. Looking back, I may need to clean up some flashing.
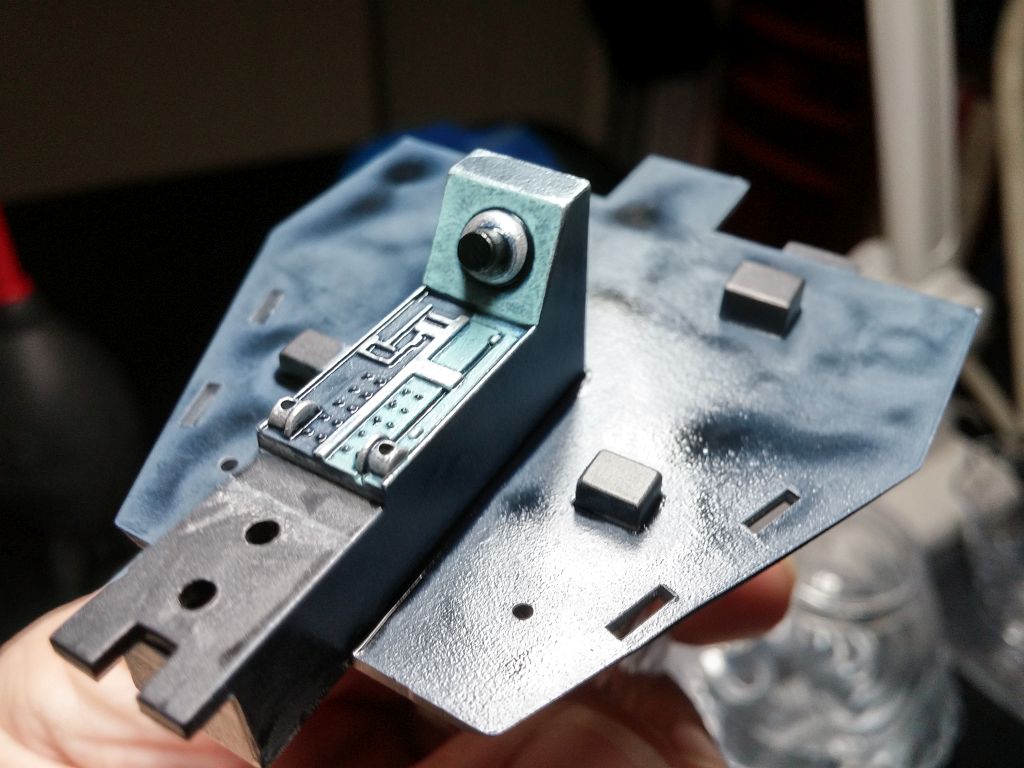
Another blunder reared its head, only this time, it was my fault. I applied the sticker to the pilot’s instrument display, only to realize that I had to paint the part with primer first. D’oh! No worries, though. I simply masked the sticker with blue painter’s tape before I sprayed it.
I should also note that the edges of the stickers are white, which do not blend in with the black instrument display. Having been primed, the sticker edges are now ready to be painted to match. I guess it didn’t turn out to be such a blunder after all.
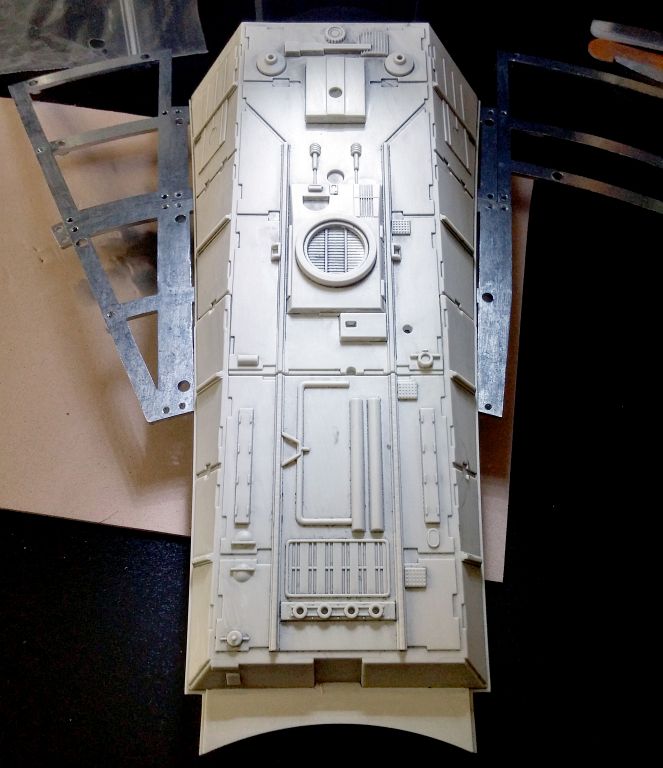
Moving to the metal framework was a nice change of pace, and a pleasure to work with. The parts all fit together so well. Screwing the hull to the frame did present a defect, however.

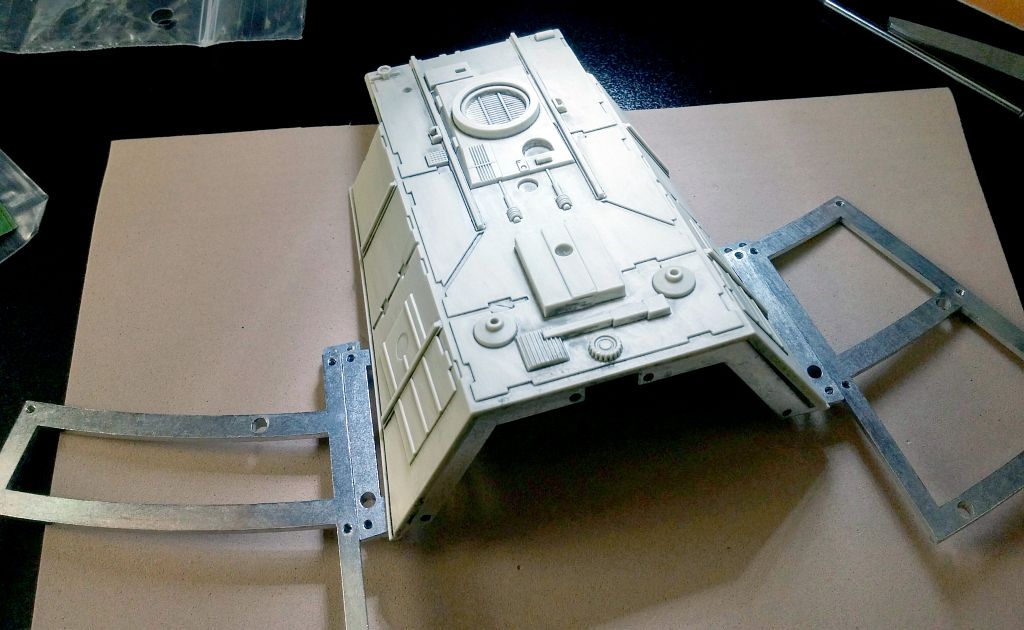
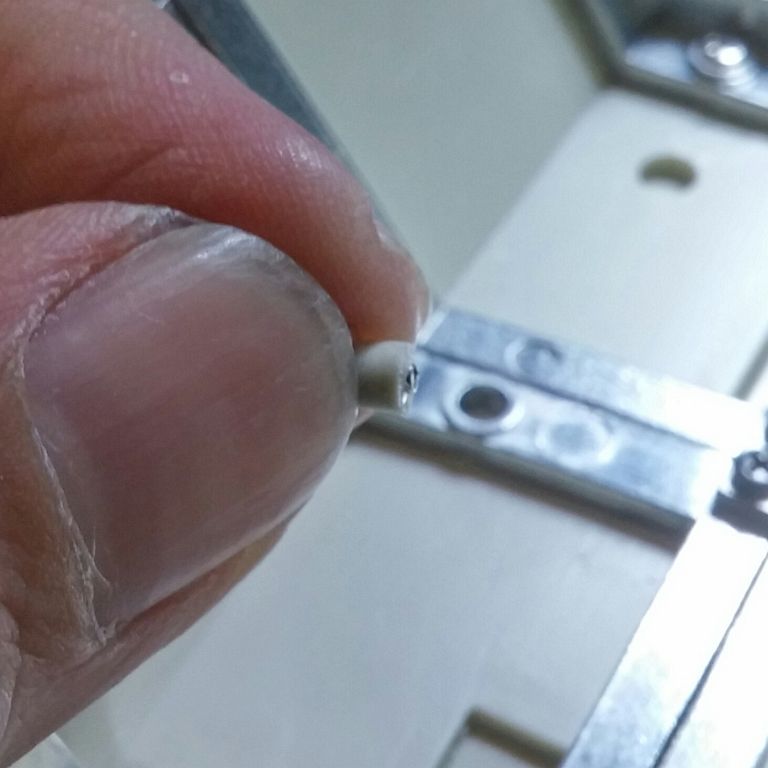
While installing one of the self-tapping screws, the screw twisted off one of the pegs. Closer inspection revealed that it was cracked, and was weak to begin with. Thankfully, one less screw was not going to destroy the integrity of the build. To begin with, the hull piece fit very snugly into the metal frame. The screws merely ensured that it didn’t pop loose. Using some Locktite crafter’s acrylic adhesive, I glued the peg (screw still inside it) back into place. Now that I think about it, I probably should have used superglue instead.
At the last minute, I discovered a YouTube video put out by ModelSpace. It has a lot of valuable information about the model and what is to come, like reference photos and Pantone color codes. But, most importantly, they address a couple of issues.
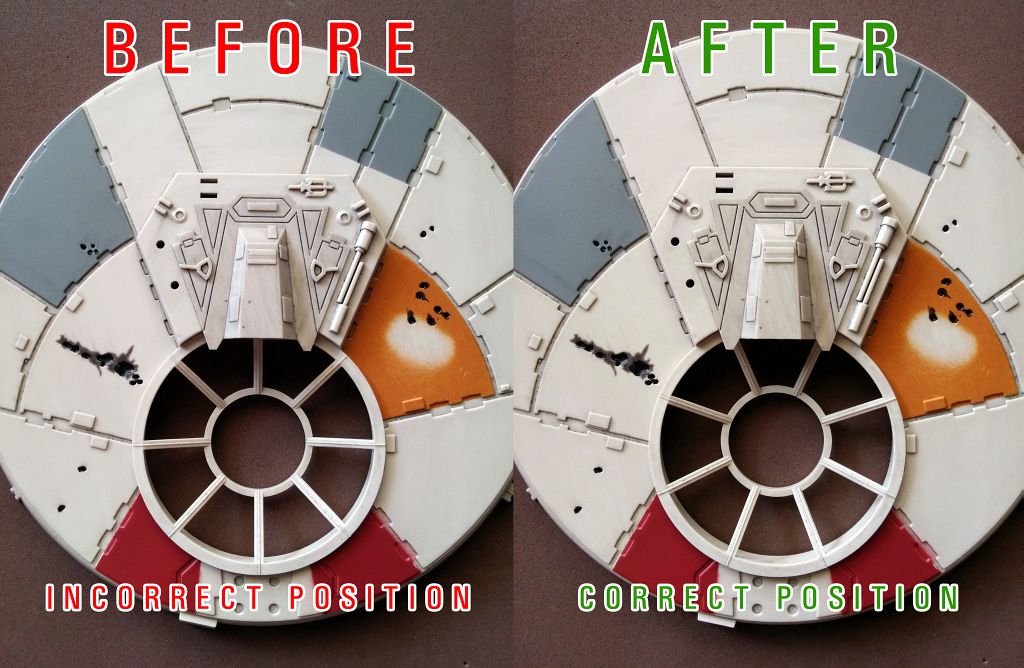
First of all, a replacement cockpit canopy part will be mailed, free of charge, sometime around the same time that issue 40 is released. Second, both the top and bottom gunnery window frames are not aligned properly. They need to be removed and re-positioned.
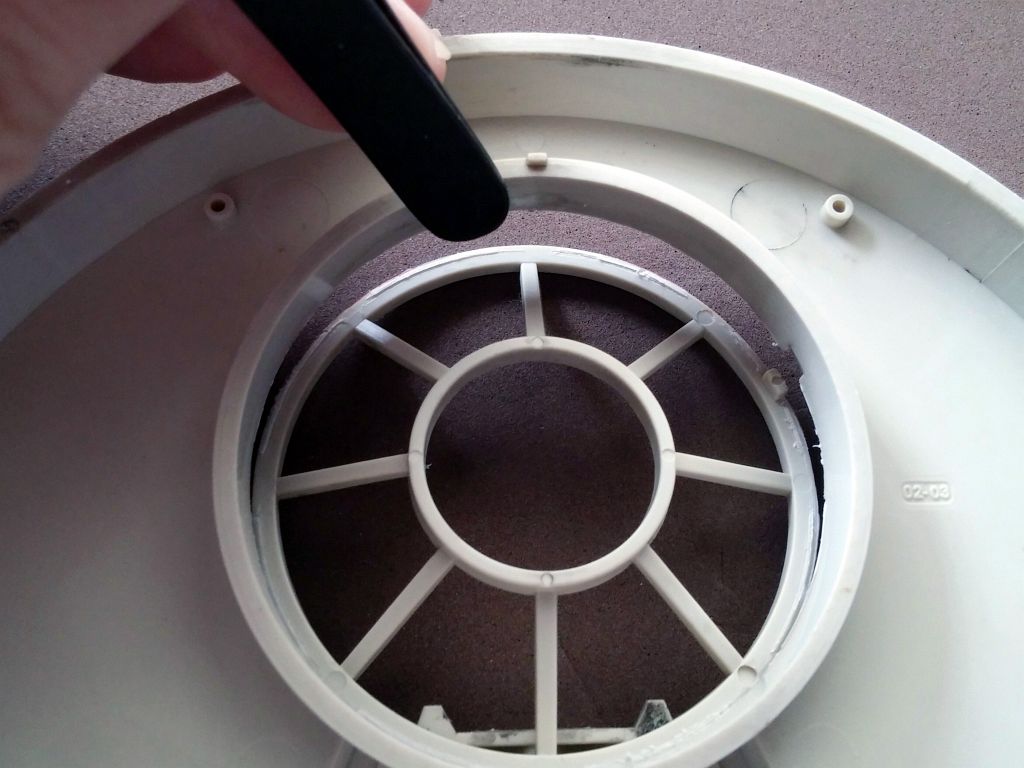
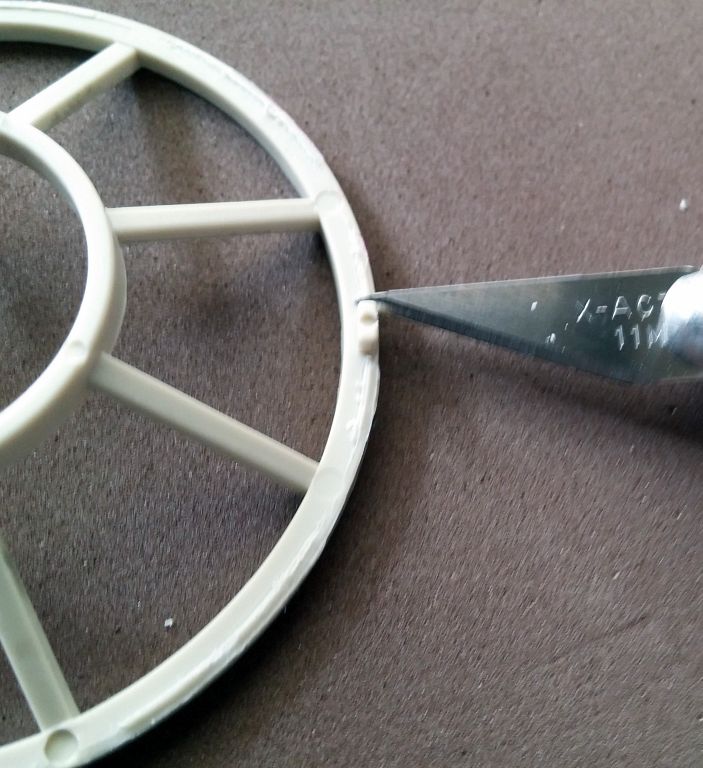
I began by scoring the glue (as in the video) with the back side of my X-Acto blade. Using a hammer and an old pair of tweezers as chiseling instruments, I carefully popped the window frame free.
With the part free, I sanded away the glue and completely removed the alignment tab. Applying a little bit of superglue, I carefully lined the part back up and set it into position. This process will have to be done again when the second gunnery window arrives.
Painting
After viewing many YouTube videos of other people assembling their own Millennium Falcons, I found a series by Modelmaking Guru. It’s not only informative, but I like the level of customization, which I will base my own model on. I hope the series continues since it has been a few months since the last video.
For reference, I found many photos on the Full Scale Millennium Falcon Project website. I also did some Google searches, and even took my own screen captures from the DVDs.
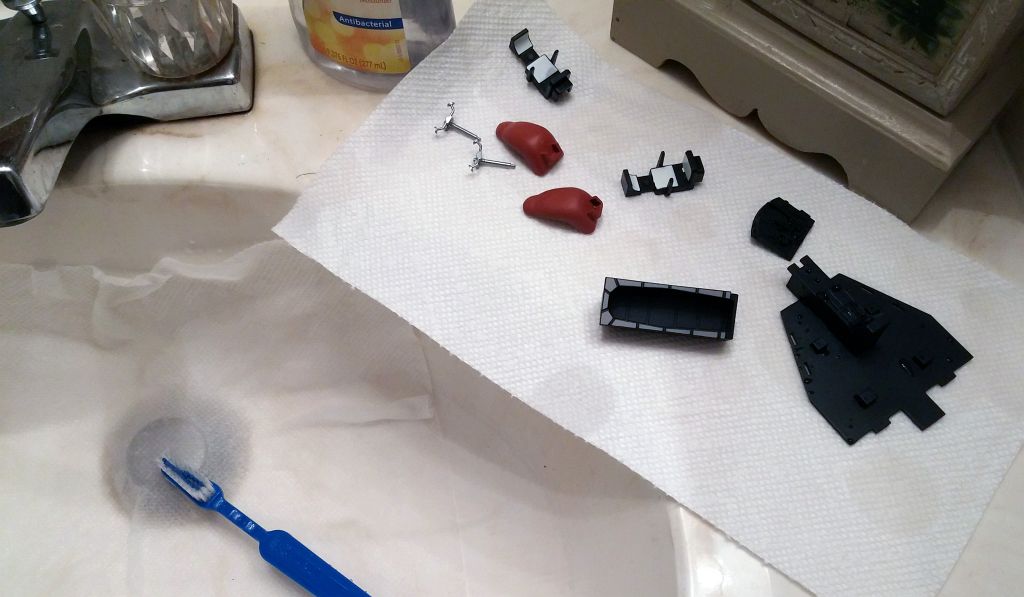
To prep the cockpit parts for painting, I scrubbed them in the sink with warm, soapy water and a soft toothbrush. This removes any leftover mold release agents that would otherwise hinder the adhesion of the primer. Note that I lined the bottom of the sink with a wet paper towel to prevent any pieces from falling down the drain.
After washing, each part was immediately dried. This is especially important for the metal pieces since I don’t know if they will tarnish or rust. I will have to remember to contact DeAgostini customer support for that information. Any remaining moisture evaporated over night.
Die cast metal WILL rust, as stated by the DeAgostini representative.
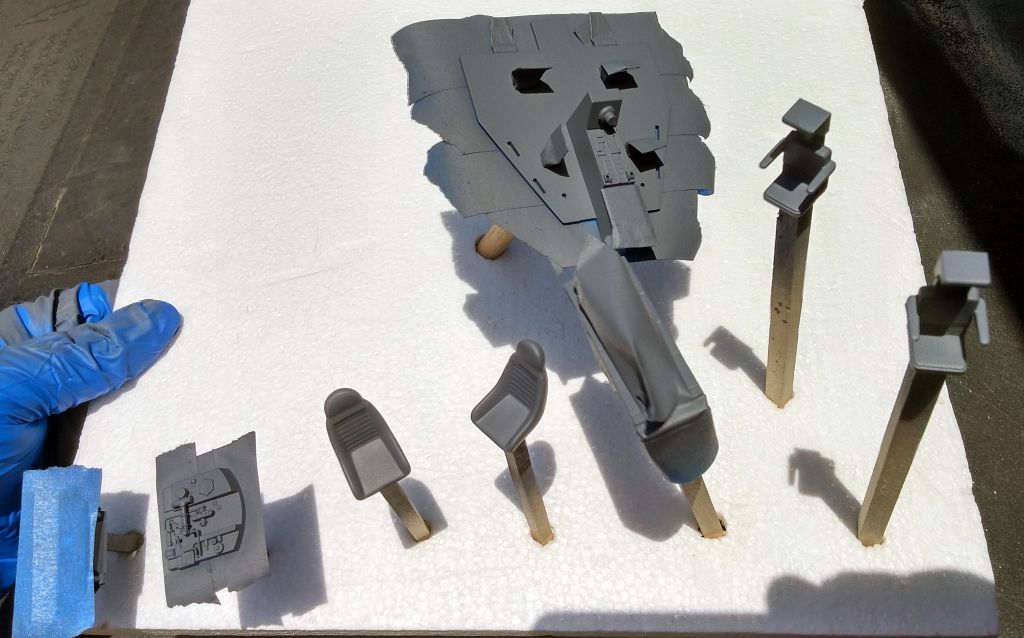
The following afternoon, I began masking off areas with blue painter’s tape. I focused on keeping gluing surfaces exposed for better adhesion. Then, I attached each part to the end of a narrow wooden stick with some UGlu Dashes.
NoteThe cockpit doorway is a sticker, which will be applied after painting is completed.
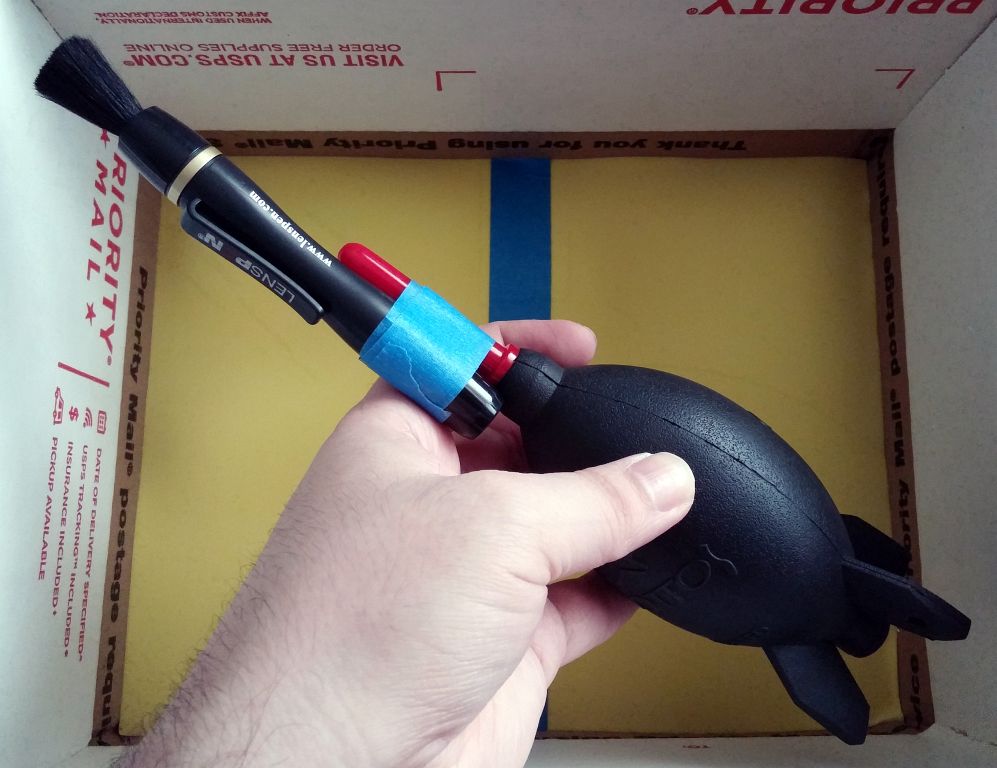
Before heading outside, I thought it prudent to bring along a glove (to protect the hand from over-spray), a pair of tweezers (to remove any bits of lint from the paint), an air bulb, and a soft brush. To save time, I taped the brush to the air bulb into a single multi-tool so that I could brush and blow away dust with one hand. It actually came in handy, and I have never had parts primed as clean as they were.
Now, I chose the particular gray primer for several reasons. First off, it’s suitable for metal, wood, plastic. Perfect; I don’t need to buy two separate primers. Second, it uses some sort of “technology” that makes the paint more opaque, requiring fewer coats. That means a thinner layer of primer on the parts, sharper details, and better fittings. Third, because less primer is needed to cover a surface, the life of the can is essentially doubled. It’s like getting two cans of primer for the cost of one.
The primer works as advertised, and I only had to use very short bursts. Any more, and I noticed that it started to puddle. Removing the masking tape after 1 hour revealed very clean lines, and smooth surfaces. Normally, I would find a piece of lint or dust stuck to the paint, but these have been the nicest, smoothest finishes that I’ve ever had.
Now, I have to wait 5-7 days to let the primer set before I start to paint. I might start sooner if I really become impatient. I guess I’ll have to read the magazines in the meantime.
I did it; I was able to wait the 5 days.
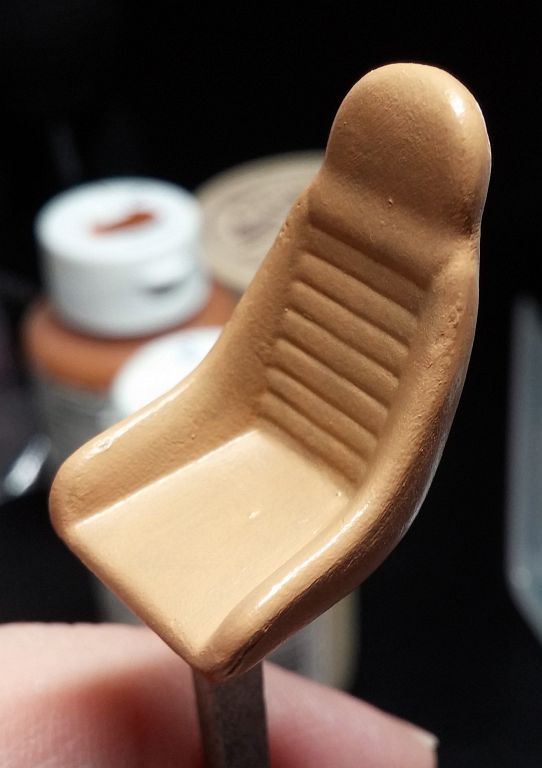
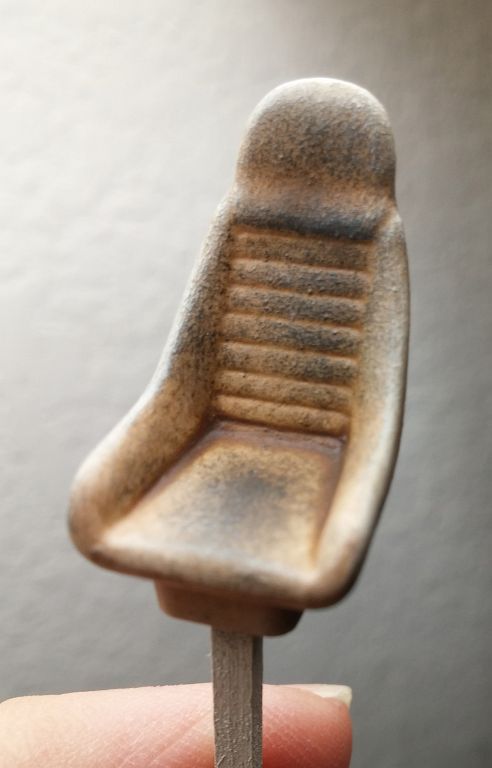
Since I don’t have an airbrush yet, I had to paint the parts by hand. Brushstrokes are a problem, but thinning out the paint helps to keep them to a minimum. And since a lot of the details are going to be hidden beneath the cockpit canopy, flaws will be hard to see. My favorite part is applying the wash layer. You never know how it’s going to turn out.
Applying the wash to the cockpit floor was worrisome. The thin paint mixture pooled in the open areas. But, I decided to gamble and leave it as-is. The cockpit is supposed to be a bit grungy, and the pools of color ended up looking like years of wear.
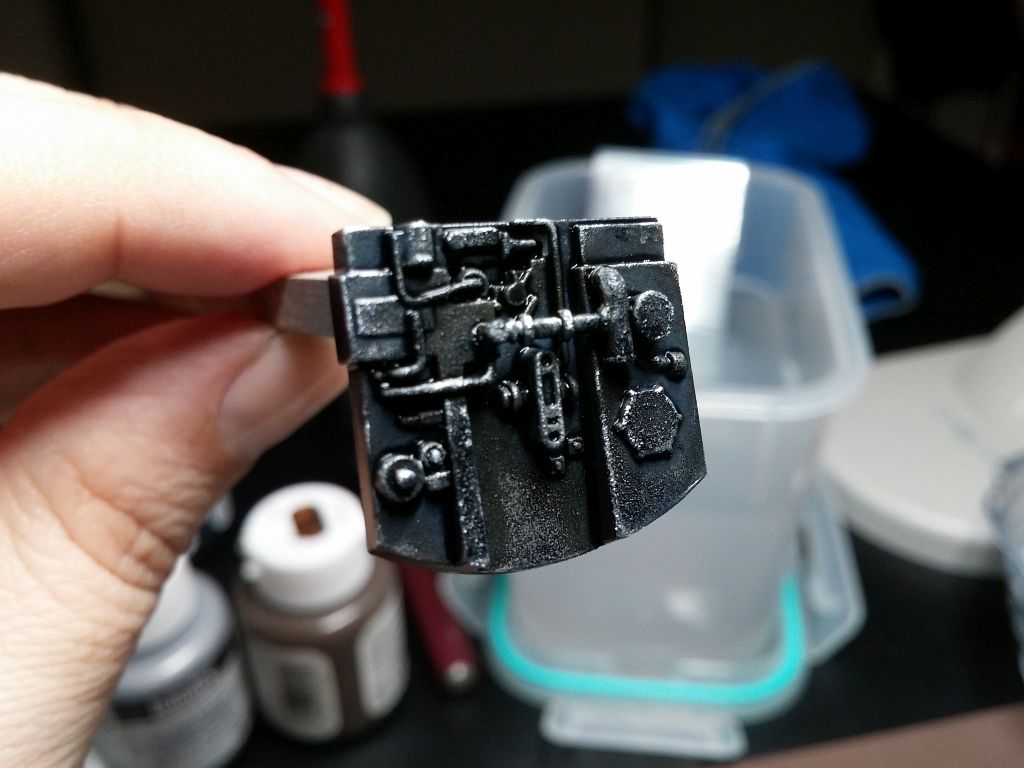
After painting, everything got several coats of protective varnish. I started out by applying two layers of gloss varnish, which provides the best protection. Then, I apply the flat and semi-gloss varnishes to the areas that need them. Pretty much everything got a flat varnish. Anything that was supposed to resemble bare metal (even the actual metal parts) received semi-gloss varnish.
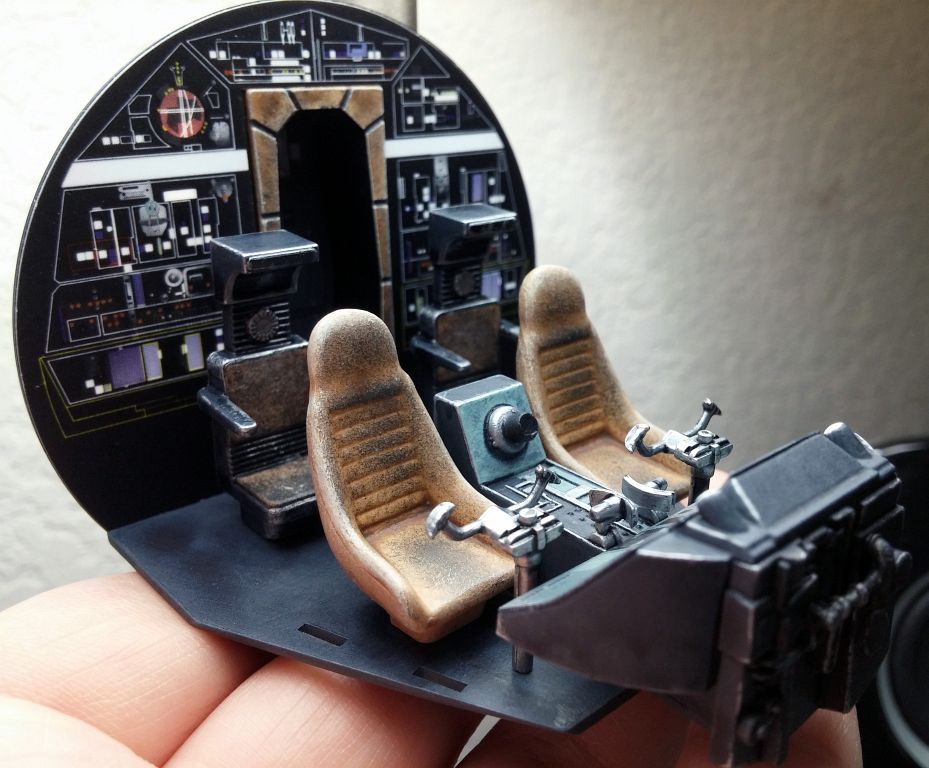
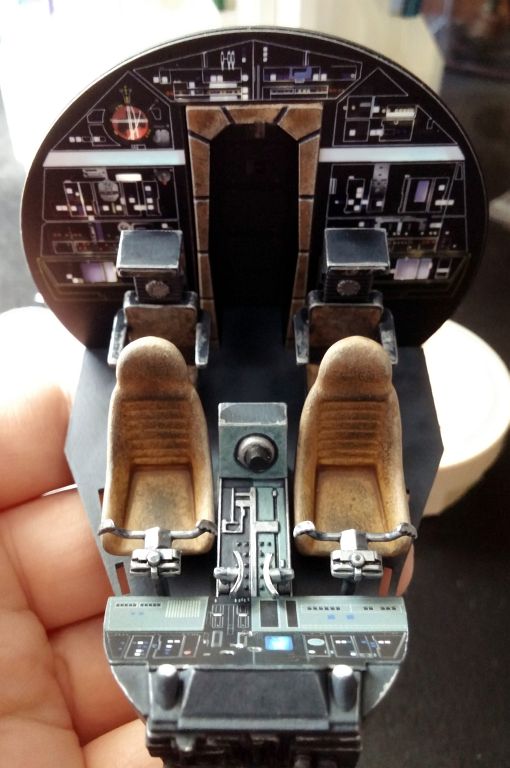
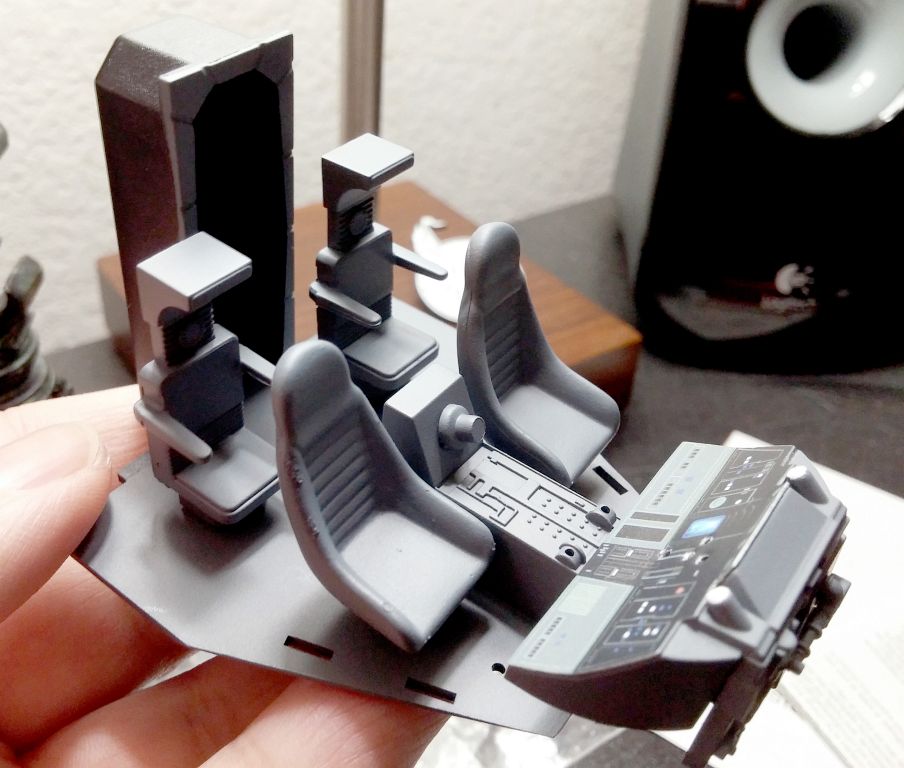
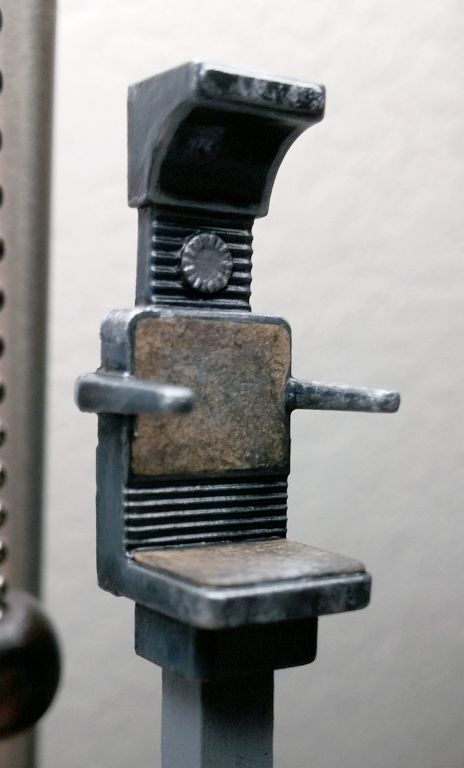
With the varnish all dry, I test-fitted all of the pieces together to form the bulk of the cockpit (more parts will be coming in later issues). One thing that I did notice was some contradicting information on which way the central control levers should be facing: inward or outward. After doing some sleuthing, I discovered that in “The Empire Strikes Back,” they face inward. It’s a good thing that I caught this, as I’ve been seeing other builders facing the controls outward. But, considering that the interiors of the model are NOT movie-accurate, this small error doesn’t matter all that much.
Prev Journal Entry | Next Journal Entry
Both the post author and this website have not received any compensation for writing this post. Both the post author and this website have no material connection to the third-party brands, products, or services that have been mentioned. Some of the links in the post above are “affiliate links.” This means that if you purchase the item, we will receive a commission. As an Amazon associate, we earn from qualifying products. This is being disclosed in accordance with the Federal Trade Commission’s 16 CFR, Part 255: “Guides Concerning the Use of Endorsements and Testimonials in Advertising.”
Do you have a thought about this post? Why not leave a comment . . .