Millennium Falcon Build Journal No. 03: Issues 5-8
![]() Trader Sam | August 24, 2015
Trader Sam | August 24, 2015
The Arrival
This month, I was slightly disappointed by the package contents, but I was prepared for the “surprise.” By watching other build videos, I noticed that after the first shipment, the model parts no longer came in blister packs. For me, I found this to be true, too. The parts now come loosely packed in small plastic bags.
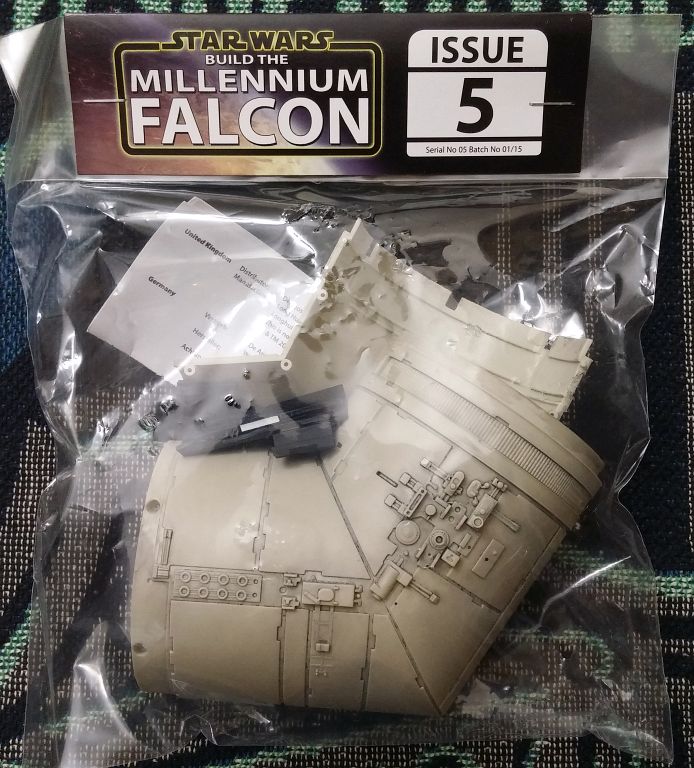
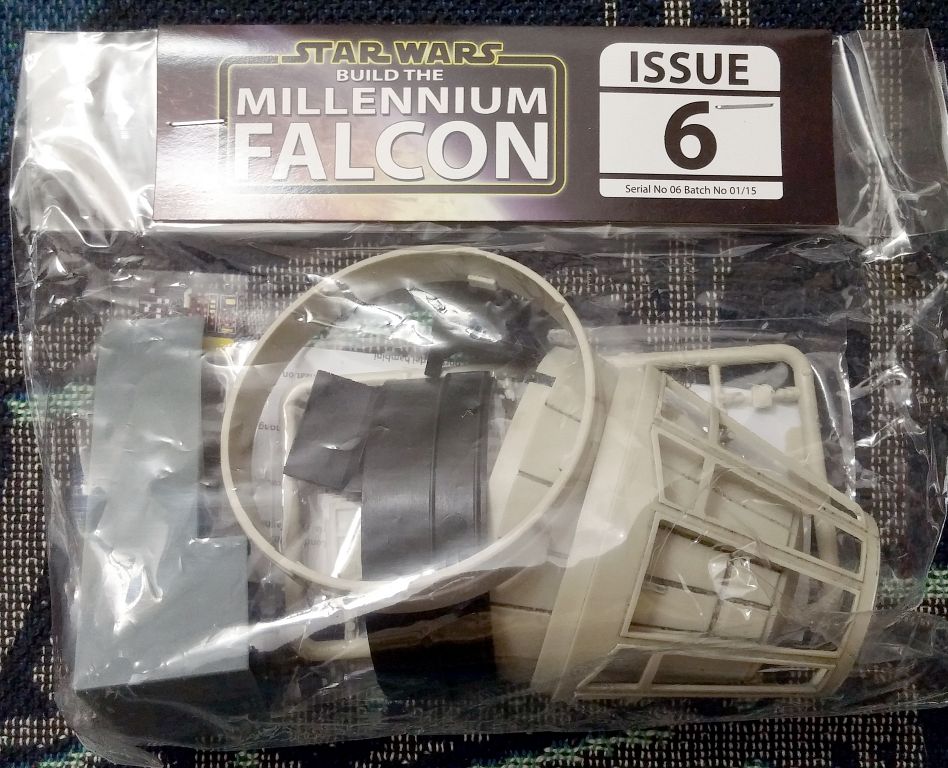

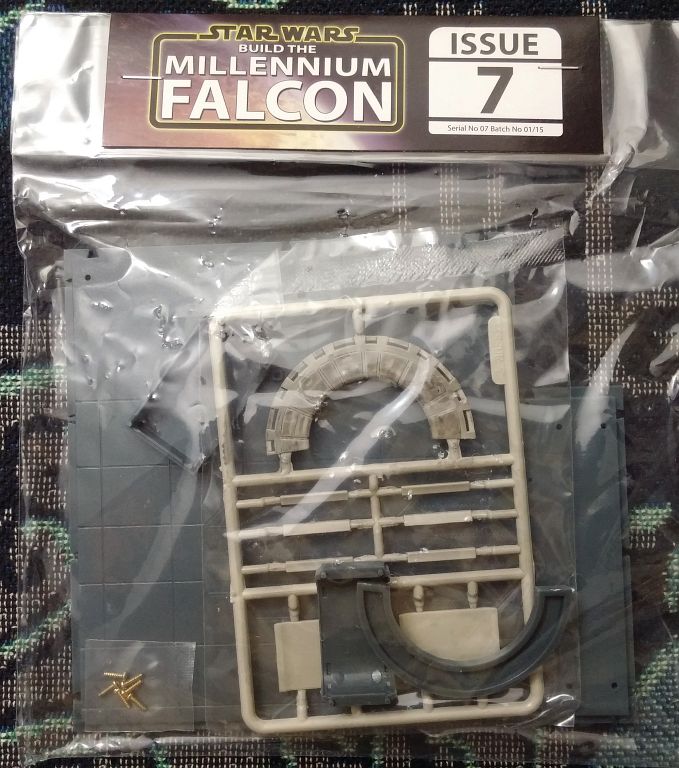
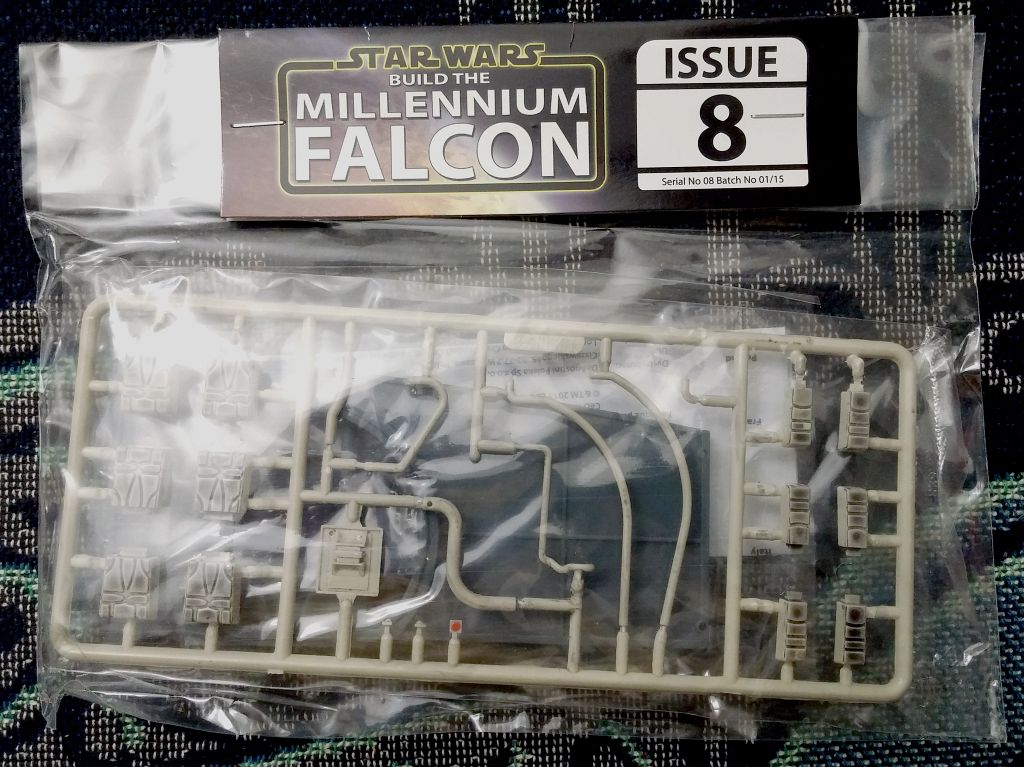
Although a little dismayed by this (parts can become bent or damaged easier), DeAgostini did pack the box with a lot of bubble wrap to prevent damage from shipping. That impressed me. And, to be fair, some parts are packaged inside of smaller bags to keep them from rubbing up against each other, catching, and possibly breaking.
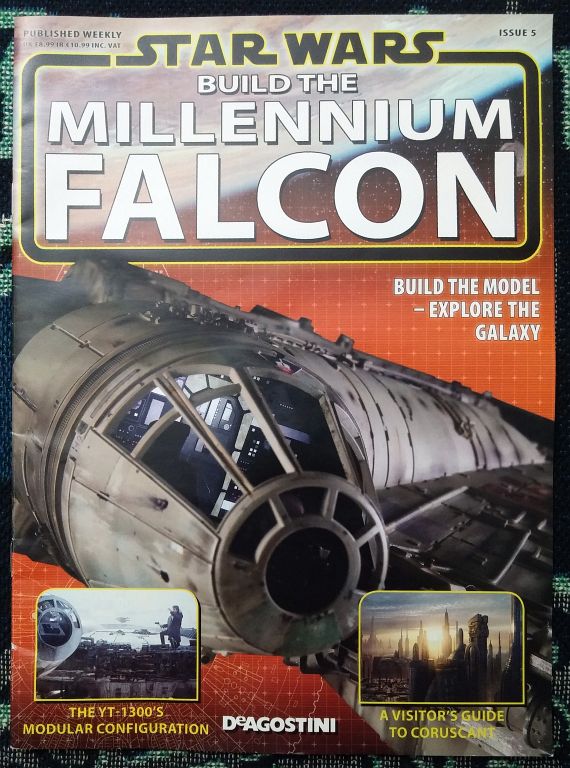
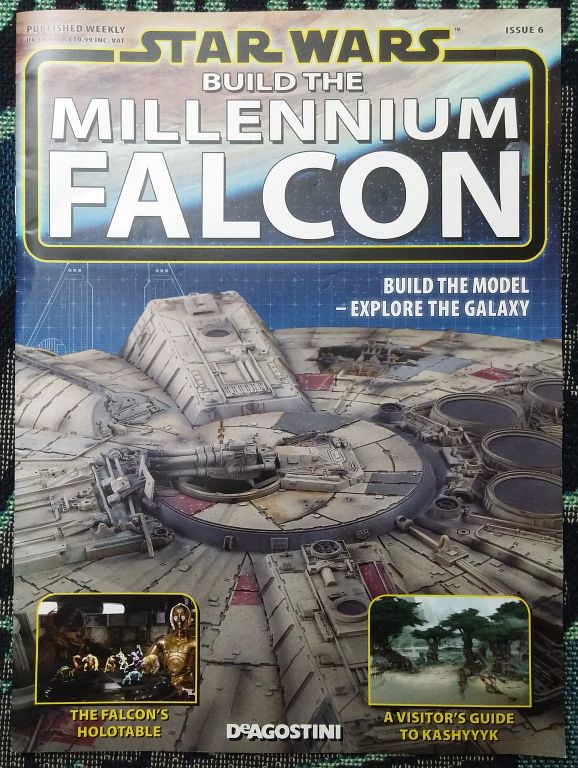
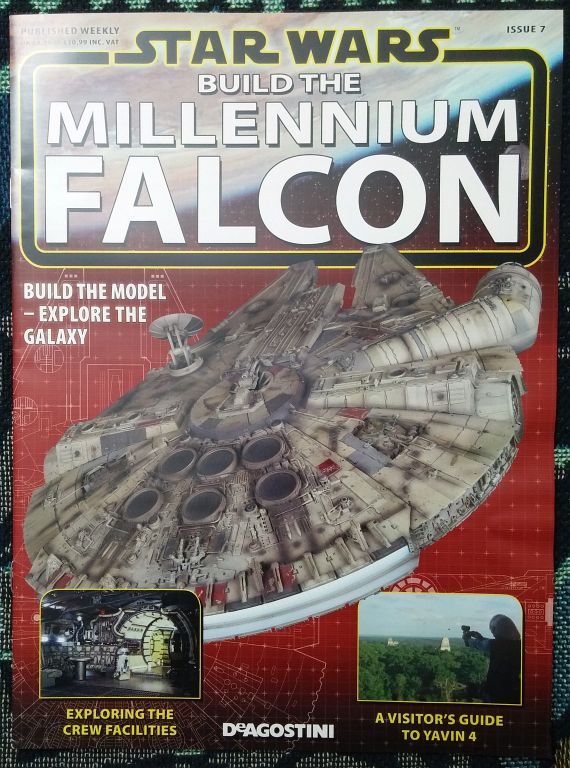
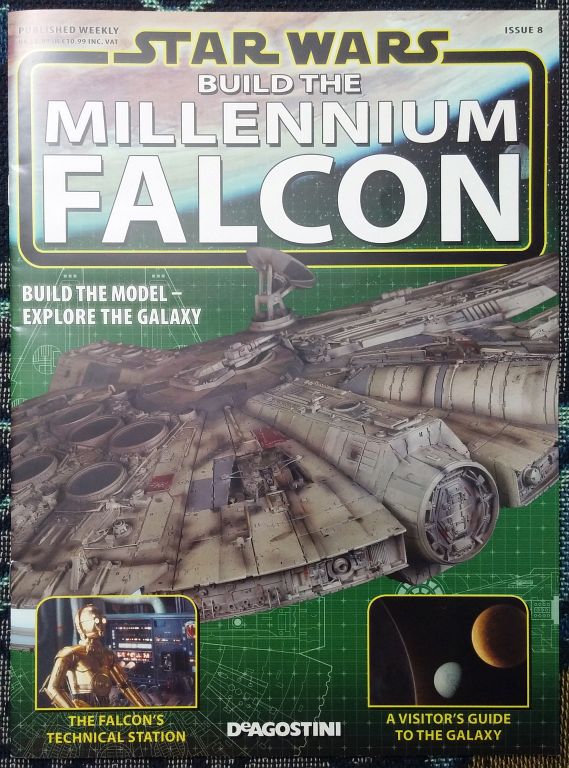
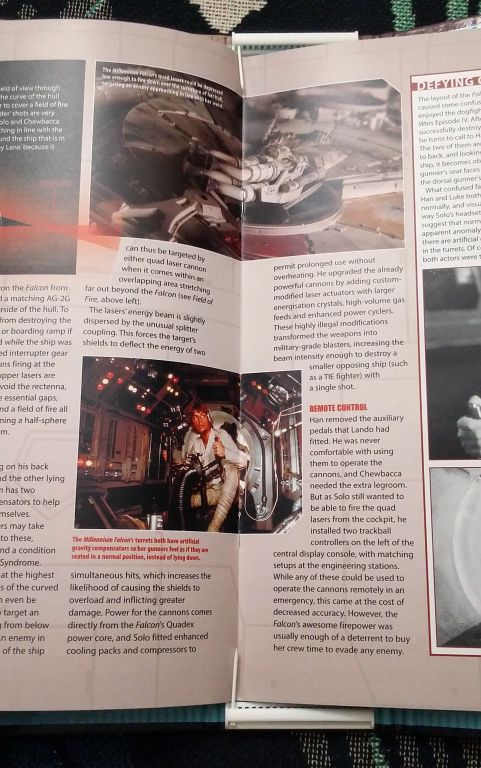
As for the magazines, the company can still improve here. I still get the European versions of the magazines, which still feel like the covers are printed on thick inkjet paper. My Issue 7 also had what appears to be water damage. For $15 an issue, which we’re supposed to collect and save, I feel slightly duped by continuing to get issues with significant damage.
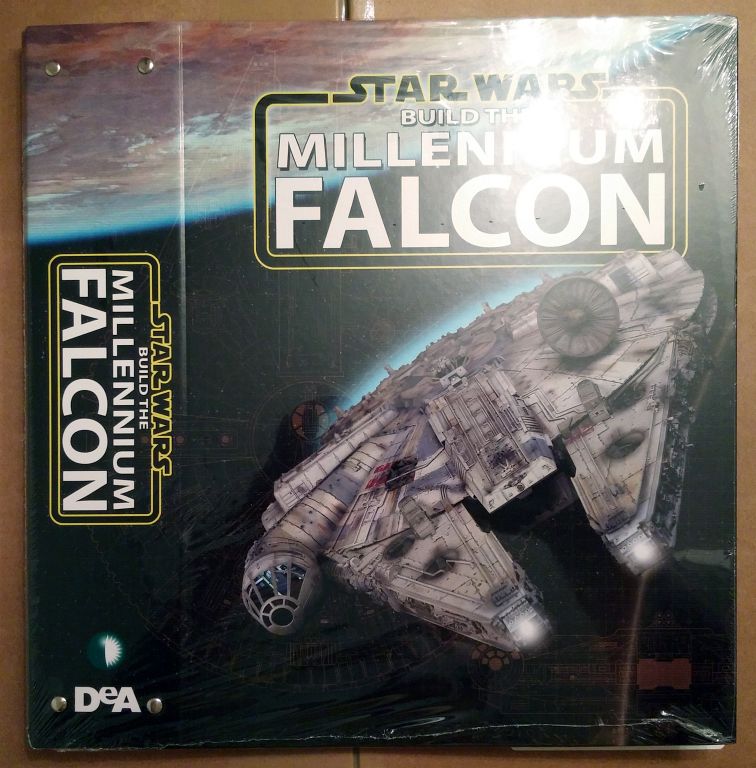
In a second, bigger box, my free magazine binder arrived with loads of bubble wrap. At first glance, the binder is nice. It’s thick cardboard with a glossy printed interior and exterior. Very nice . . . until to take a closer look.
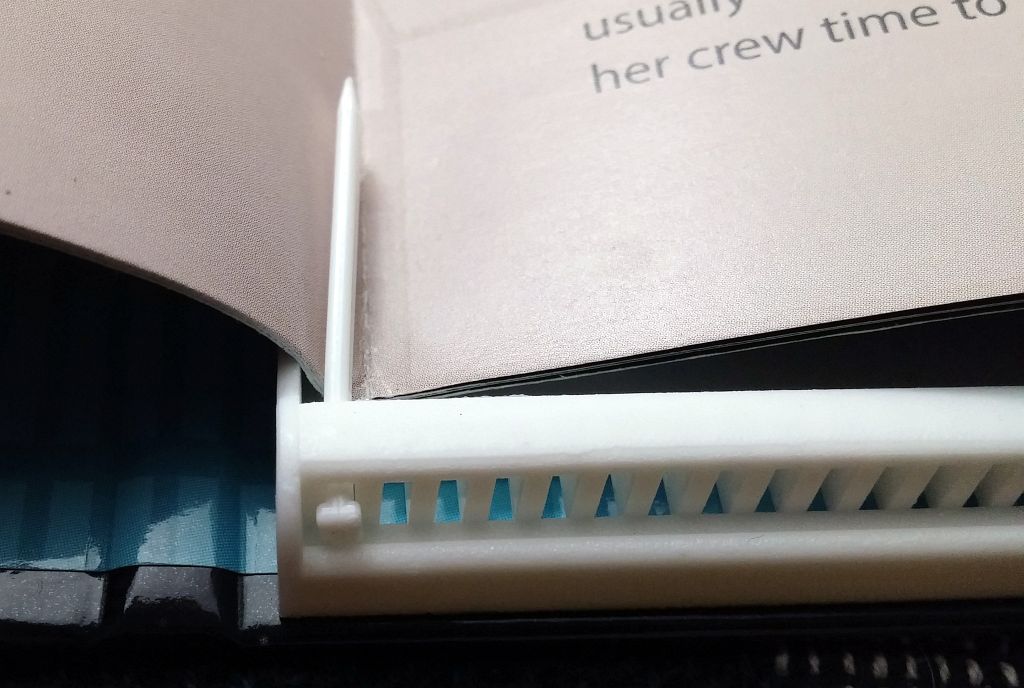
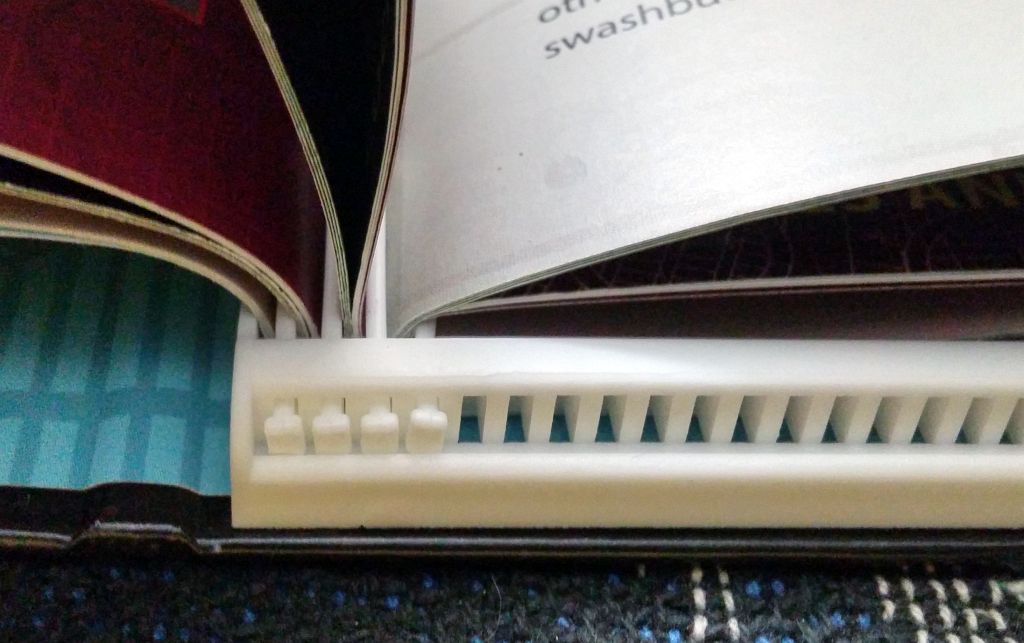
The magazines are held into the binder with tiny plastic pins, which have been reported to fall out from time to time. They also only hold the ends of the magazine spines in place. The center spines are still free to bend and wobble, making flipping through the issues a little cumbersome. I’m always afraid that I’ll accidentally insert a sharp crease to the already-damaged magazines.
And, there is a lot of wasted space inside the binder, making it very thick for only holding 20 14-page magazines. I think I can come up with a better storage system. It won’t have the nice cover graphics, but I think it will save space and offer a better reading experience. I’ll have to do a little more research.
Supplies
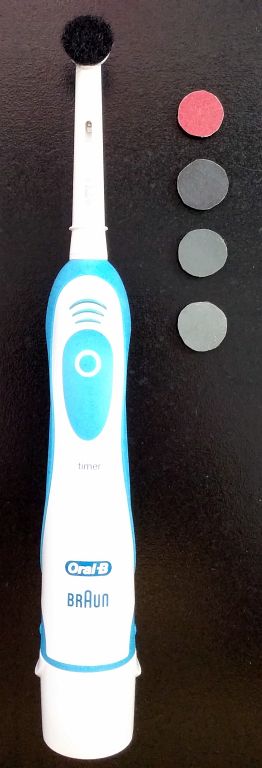
I’m going through emery boards way too fast, so I bought an assortment of sandpaper. I also bought an Oral-B battery-powered toothbrush, which I turned into a mini power sander.
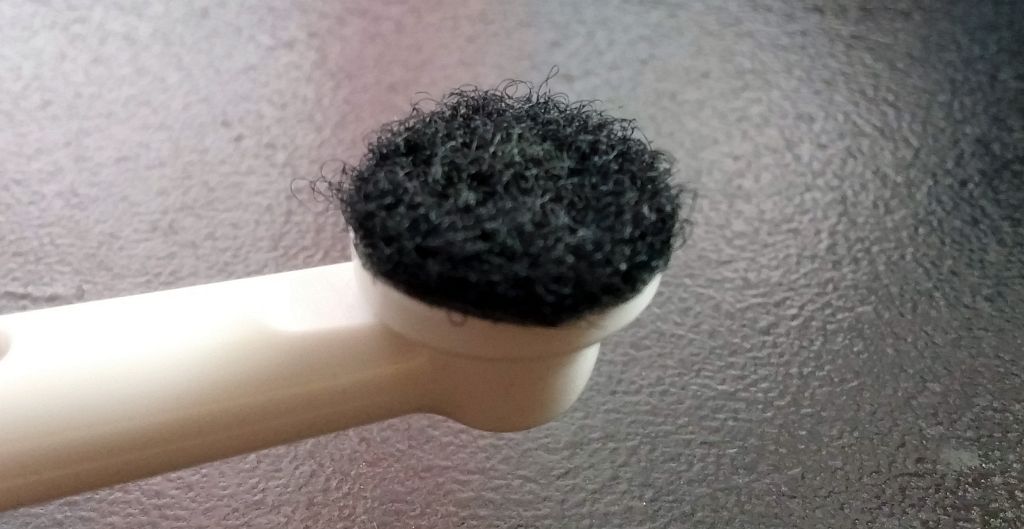

I pulled out the toothbrush bristles, sanded the head smooth, and applied a piece of self-adhesive Velcro. I cut out matching-sized dots of Velcro and stuck them to the back of the sandpaper. Now, I have several different mini sanding discs that can be quickly interchanged. This will help save both time and my fingers.
During the previous painting session, I ran out of UGlu Dashes, which I use to hold the model parts to paint sticks. It was hard to find the exact version of UGlu that I use. It appears that it has become more popular for industrial use, prompting a series of new versions that are more expensive.
UGlu is a very sticky and rubbery adhesive. It’s kind of like 3M removable mounting tape, only clear and REALLY stretchy. It comes in squares, and can be easily removed from surfaces by stretching it.
Assembling
Assembly was straight-forward. I attached the cockpit lights to the backside of the cockpit wall with the supplied screw, and glued all of the cockpit parts into place. The Tamiya Extra Thin Cement works like a charm! I even used the glue to fix my cracking craft light arm.
I applied the stickers to the three parts that make the control panel arch, and placed all of the now-assembled cockpit parts into the bottom half of the cockpit shell.
Next, I cleaned all of the remaining parts in the sink to get rid of any lingering release agents and any dirt/oils from handling with bare hands.
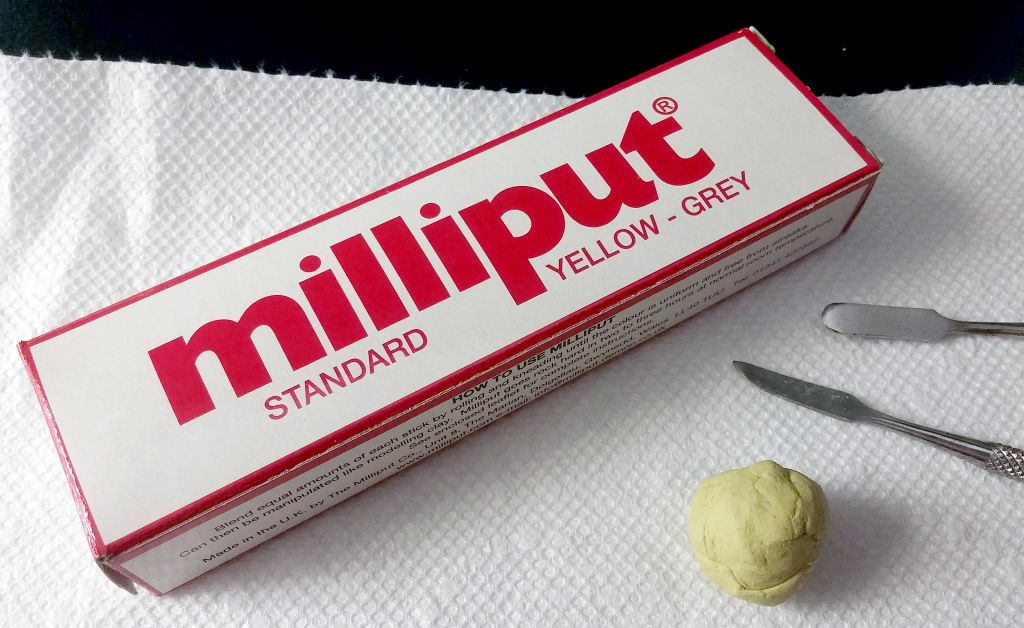
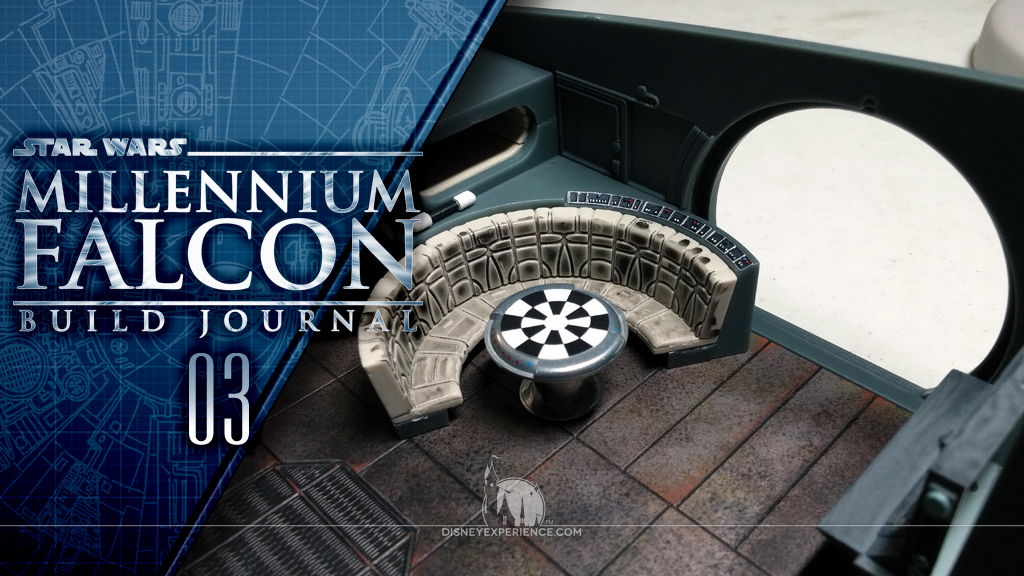
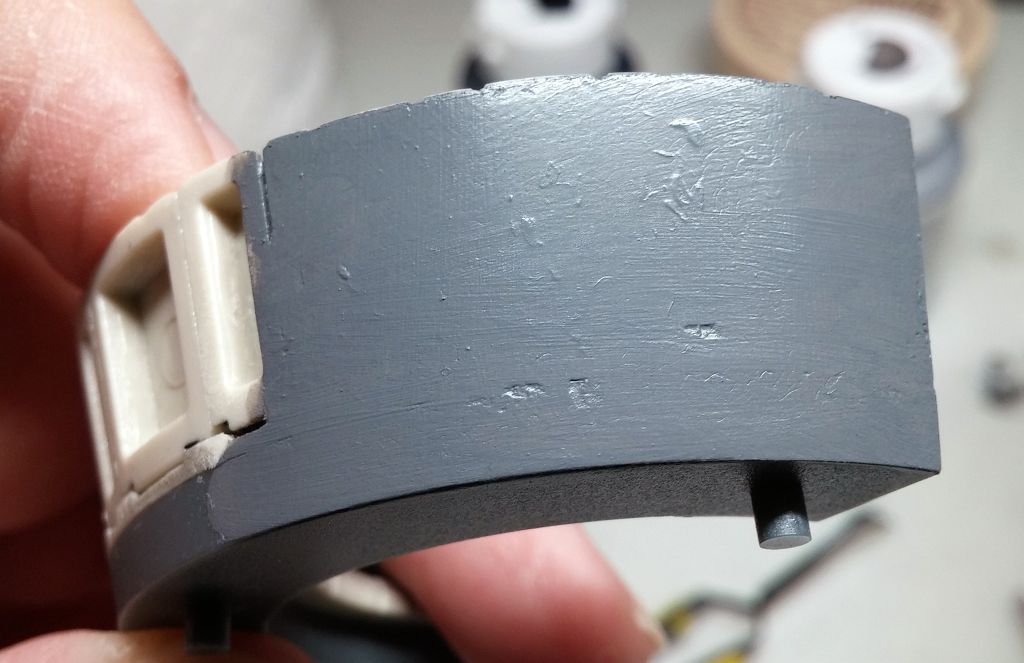
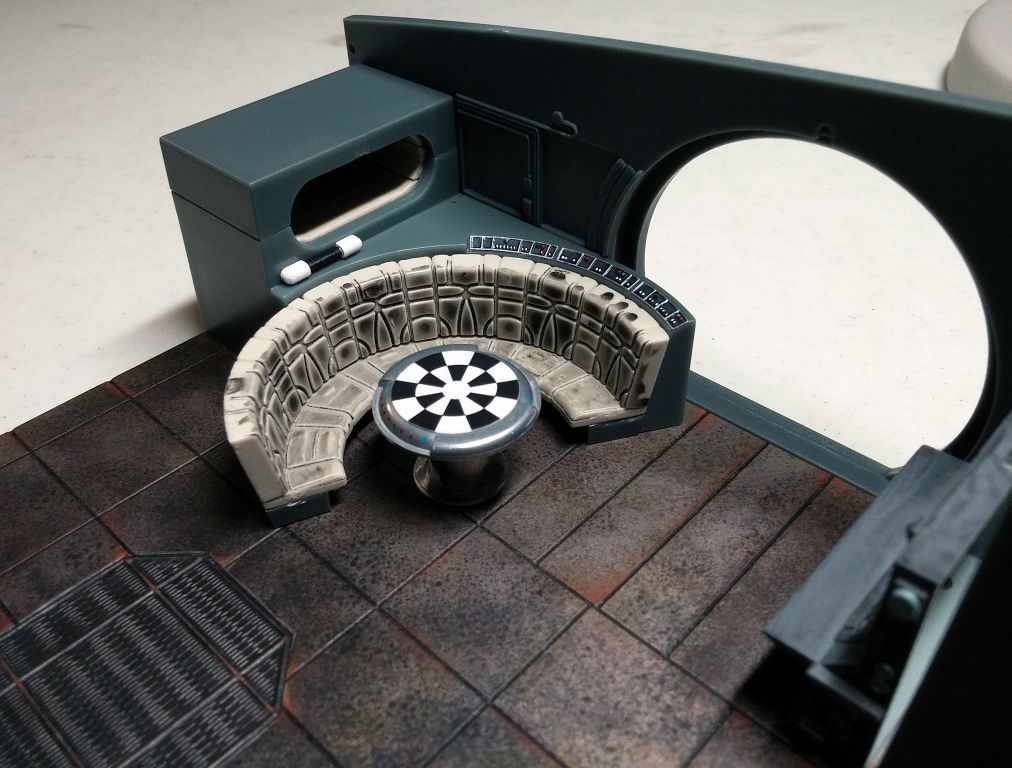
Although the films show that a portion of the curved couch doesn’t have any seat backs, I opted to install them anyway, because the main hold doesn’t have much in the way of decoration. And, since the backs of the extra cushions are hollow, I filled them in with Milliput.
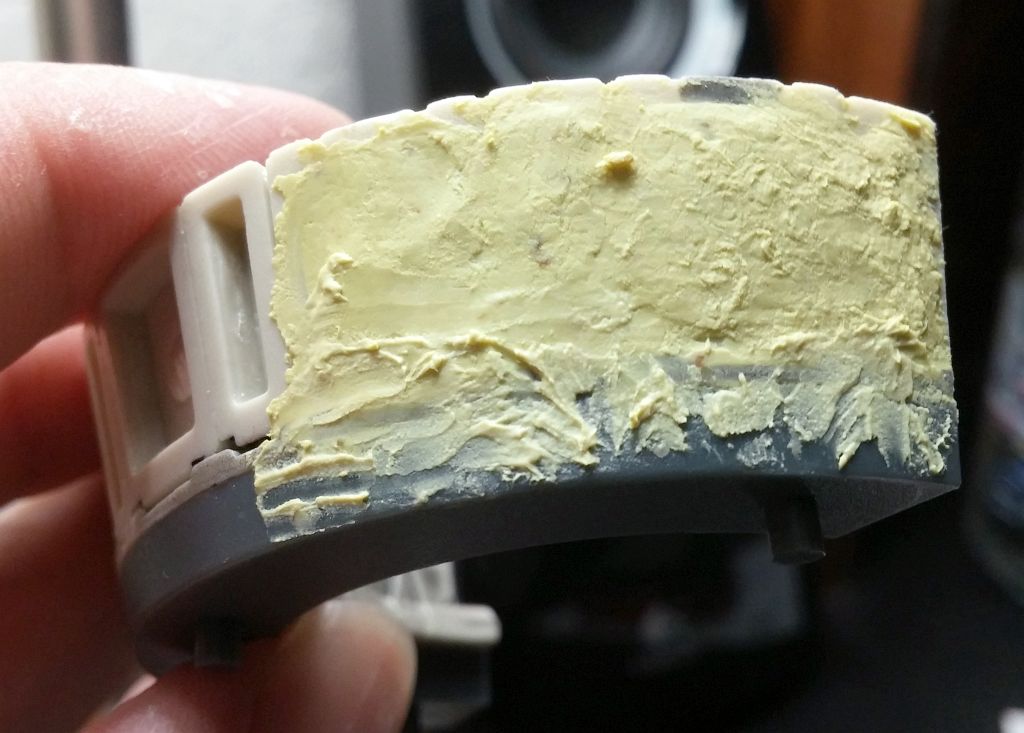

Milliput is a two-part epoxy putty that becomes rock-hard in a few hours. Mine was pretty old, but still worked. After a full cure (6 hours), I sanded it flush which only took a few minutes with my handy-dandy homemade electric sander.
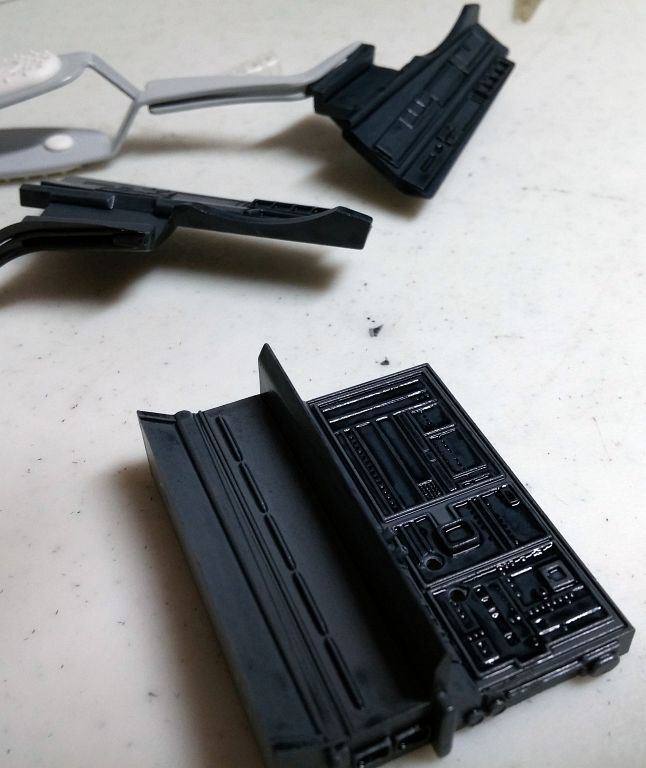
The bunk assembled well for the most part. The only difficulty that I had was in closing the lid. It was such a tight fit, that I had to use several rubber bands to keep it closed while the glue dried.
The rest of the parts were either for future issue builds, or required painting.
Painting
I carefully masked off parts that needed primer. When I mask, I try to mask off areas where glue will be needed. Since the Tamiya cement only melts and bonds polystyrene, paint and primer are the enemy. Anything that I miss or can’t get to, I can carve or sand away after the paint has dried, but I always prefer to have bare plastic.
The back of the curved couch received a simple gray color, shaded slightly with some black.
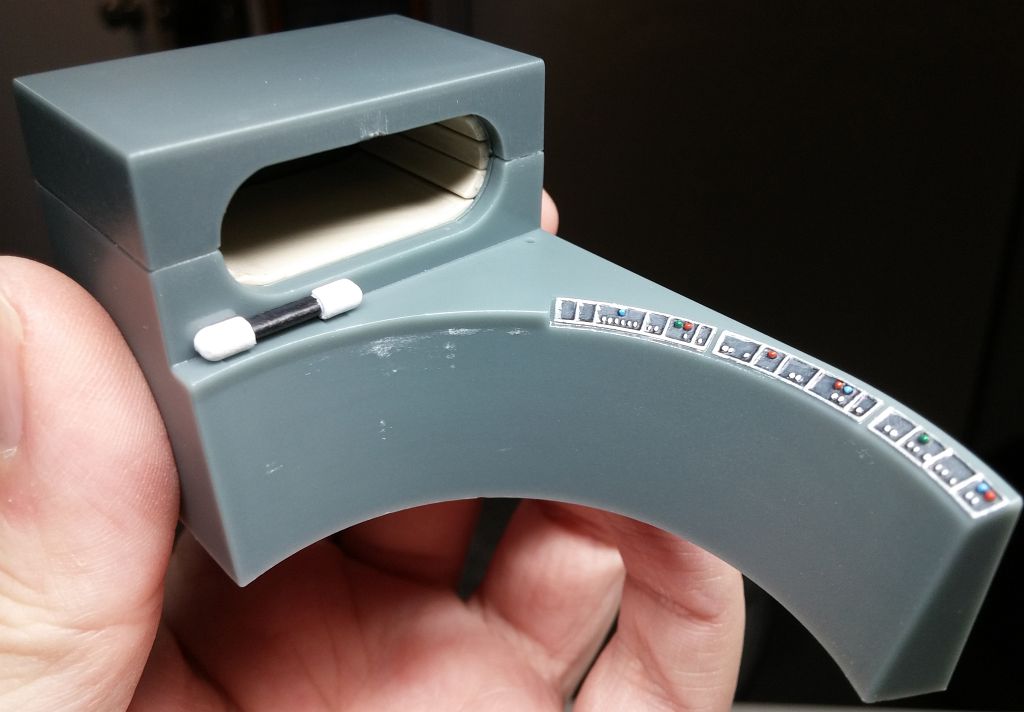
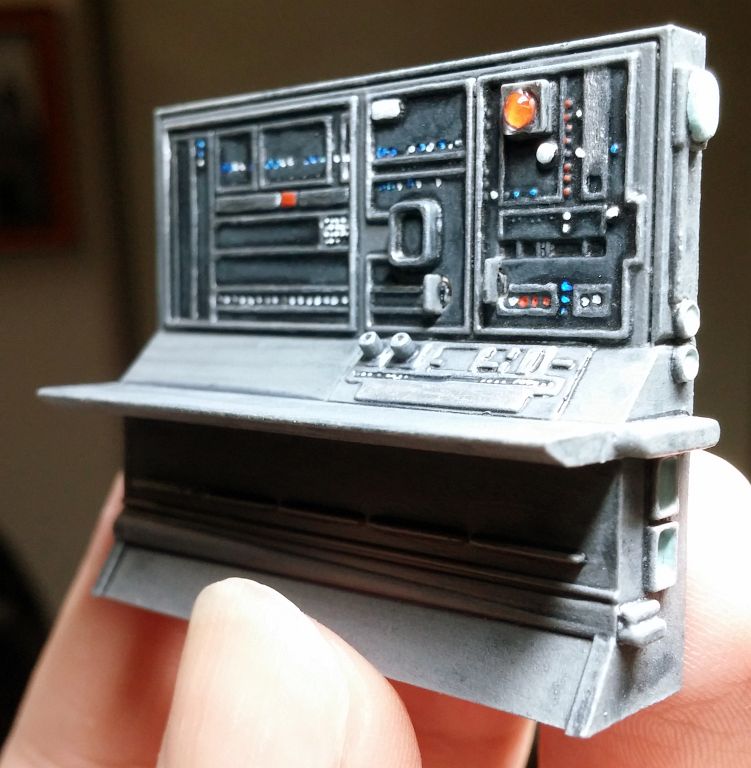
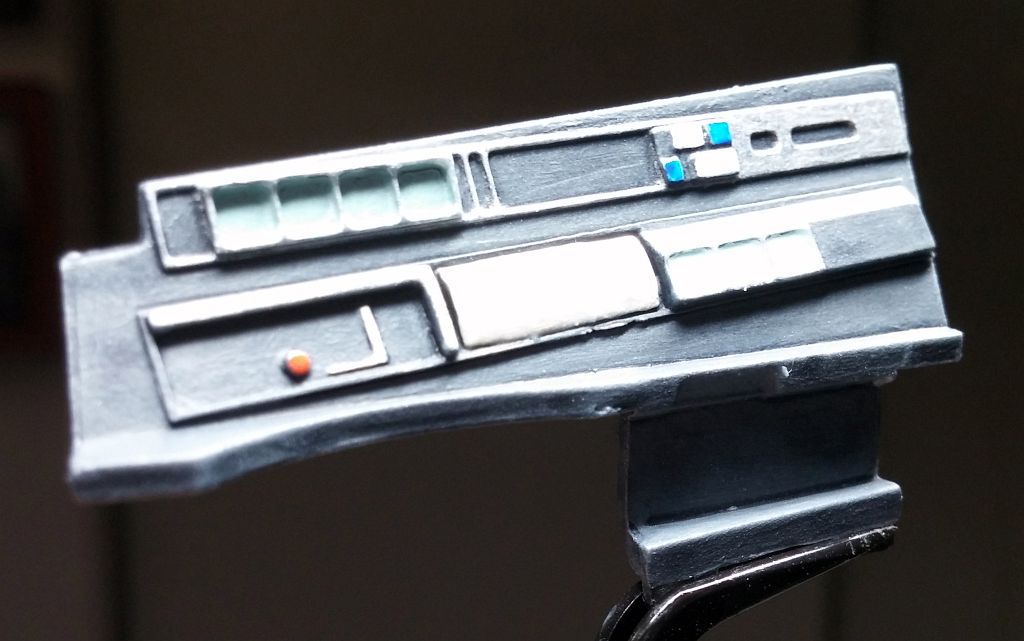
I painted the light and the couch control panels. Because of the dark background of the control panels, I used lighter versions of red, blue, and green to make the colored “lights” stand out. For example, the “red” lights are actually a red-orange, but they look like a bright red.
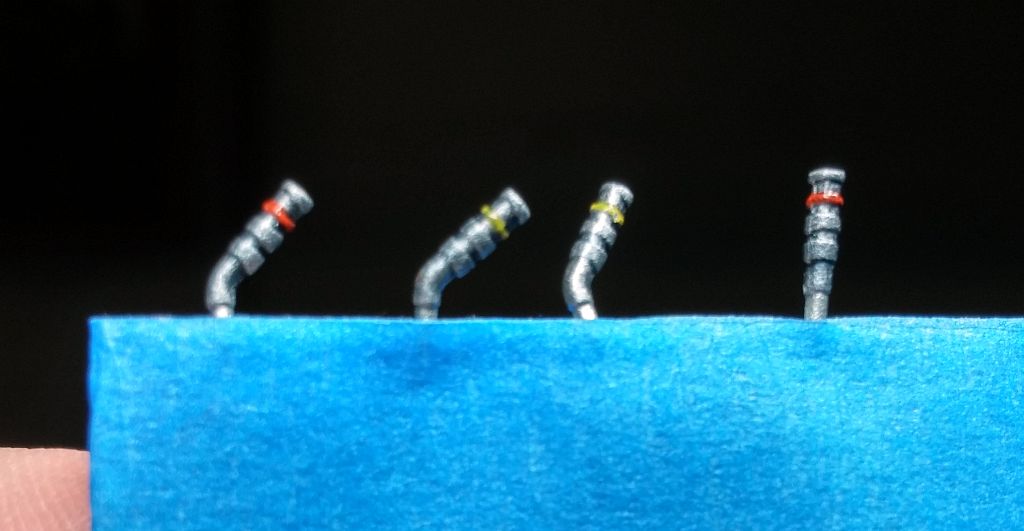
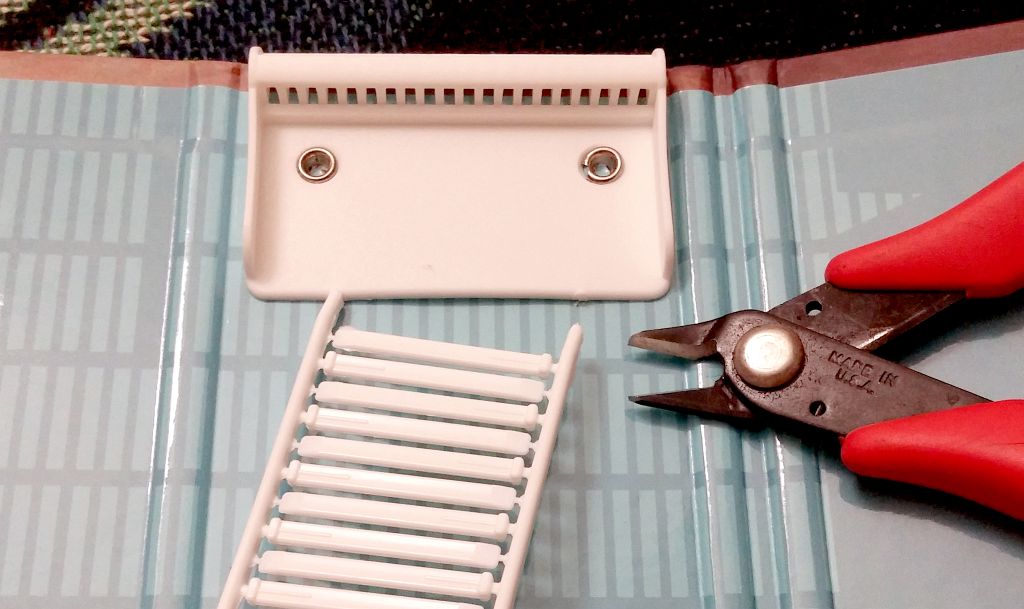
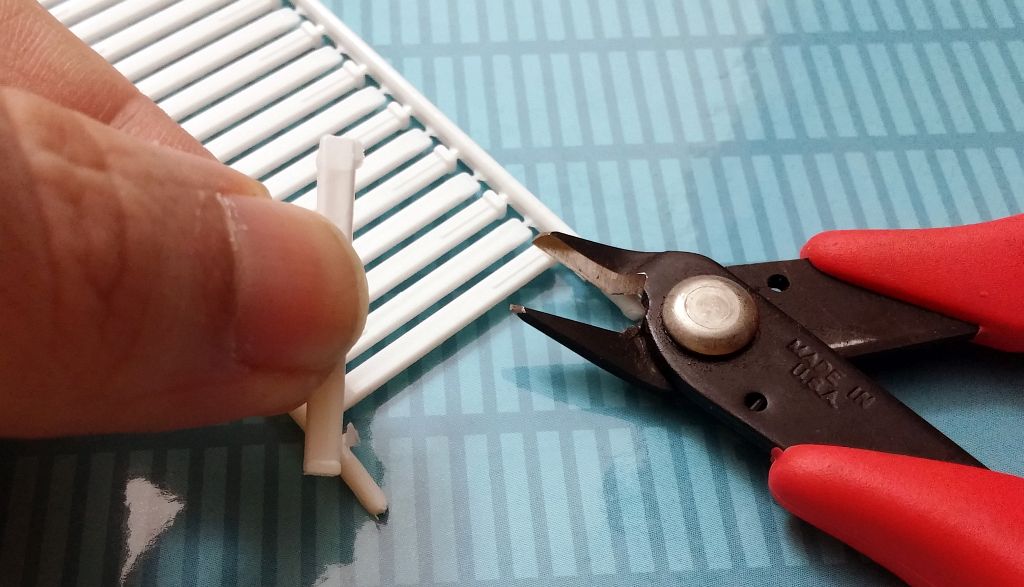
Although the cockpit levers come pre-painted a metallic silver, I had to prime them anyway. After cutting them from the sprue and sanding down the edges, the inner white plastic began to show, so it was necessary to repaint them.
The levers were tricky to hold while painting. One popped out of the pair of tweezers and landed on the carpeted floor. One second it was there, and the next second it was gone. I looked for it, but it was so tiny that it took nearly a half hour of searching. But, with good lighting, I found it . . . and promptly lost it again! I had it between my fingers, and I thought I had placed it on the table. But, it must have stuck to my finger and fallen off onto the floor. Fortunately, my eagle eyes spotted it within seconds.
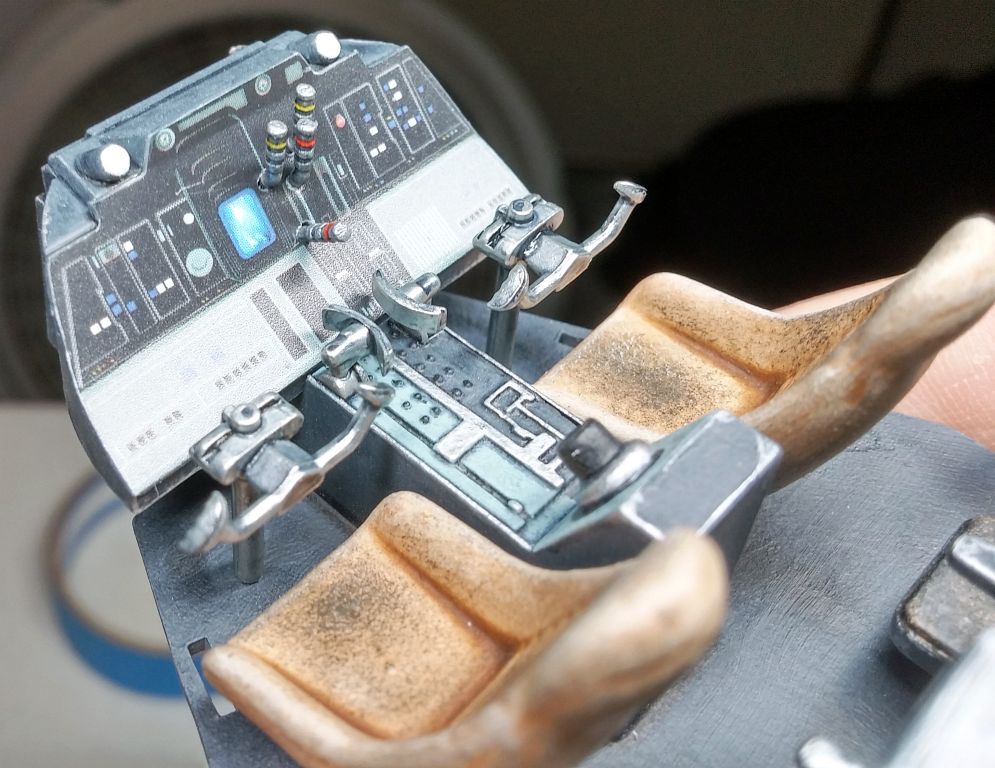
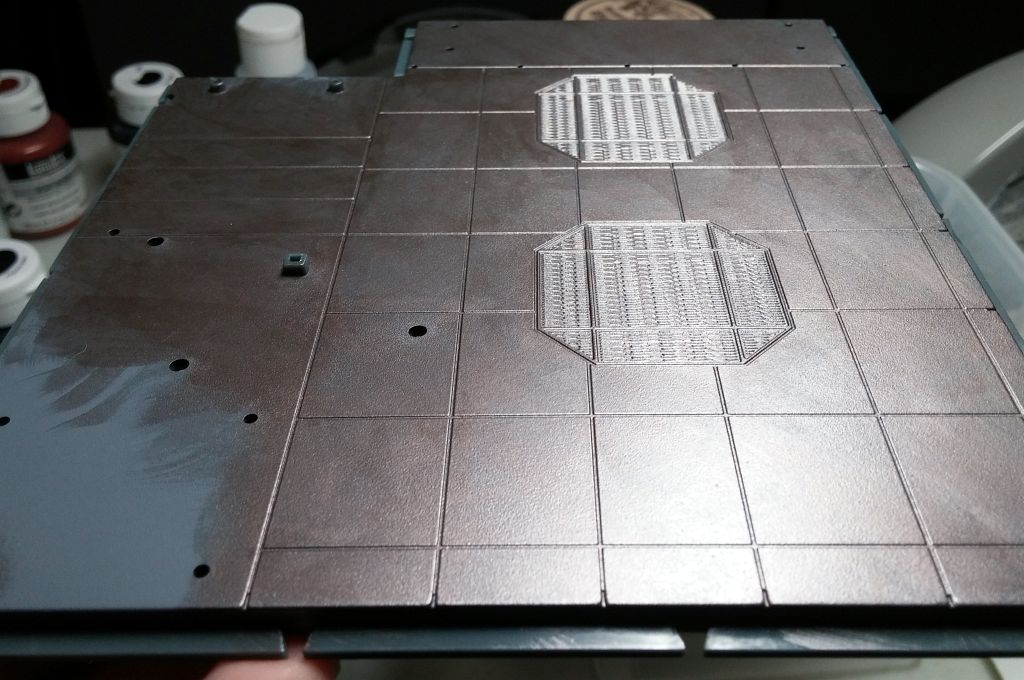
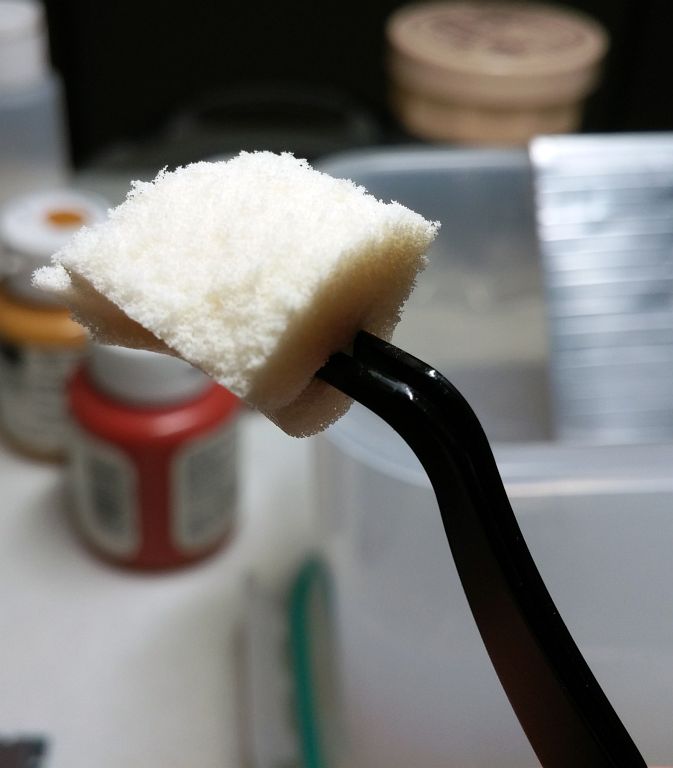
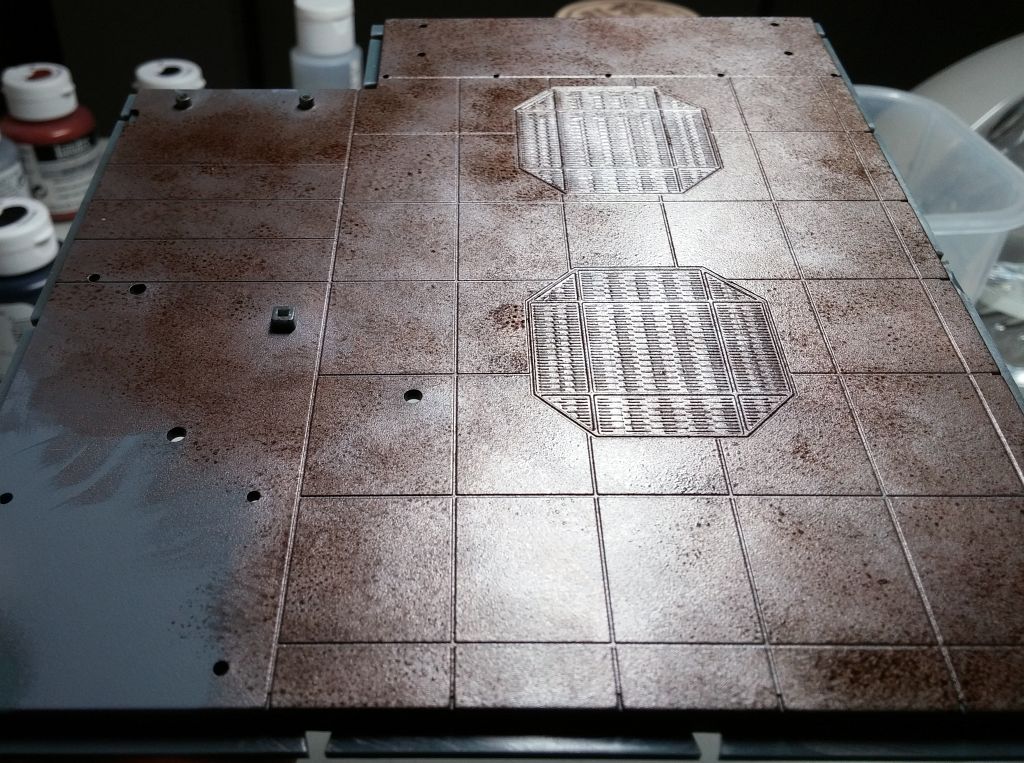
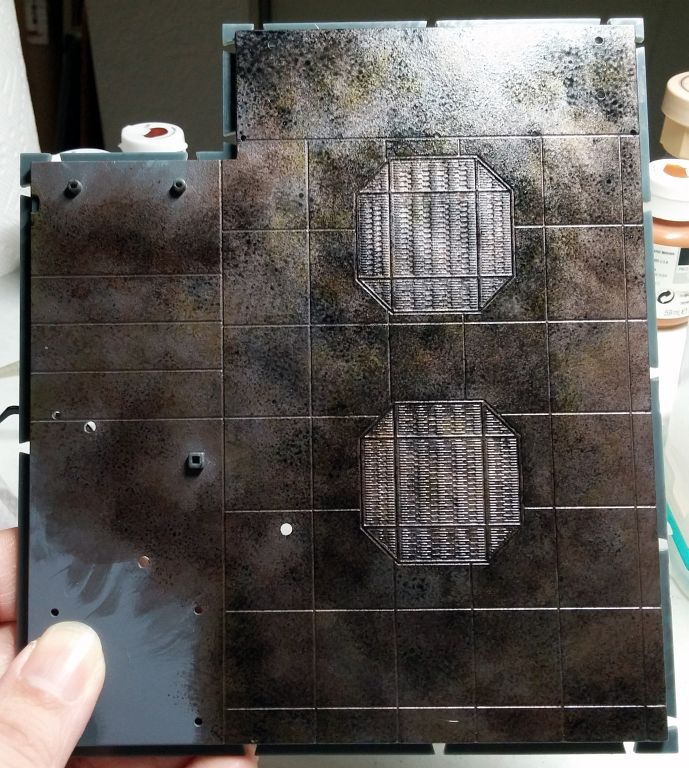
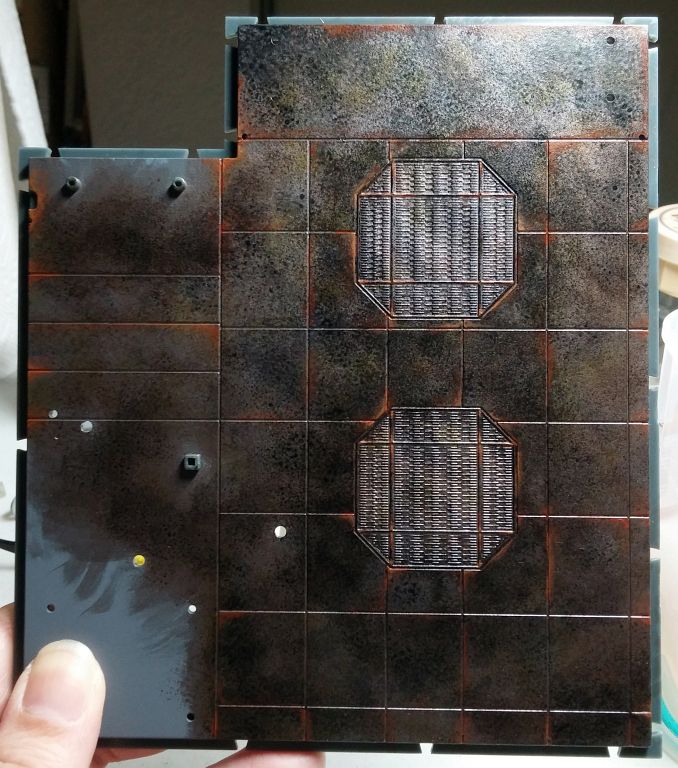
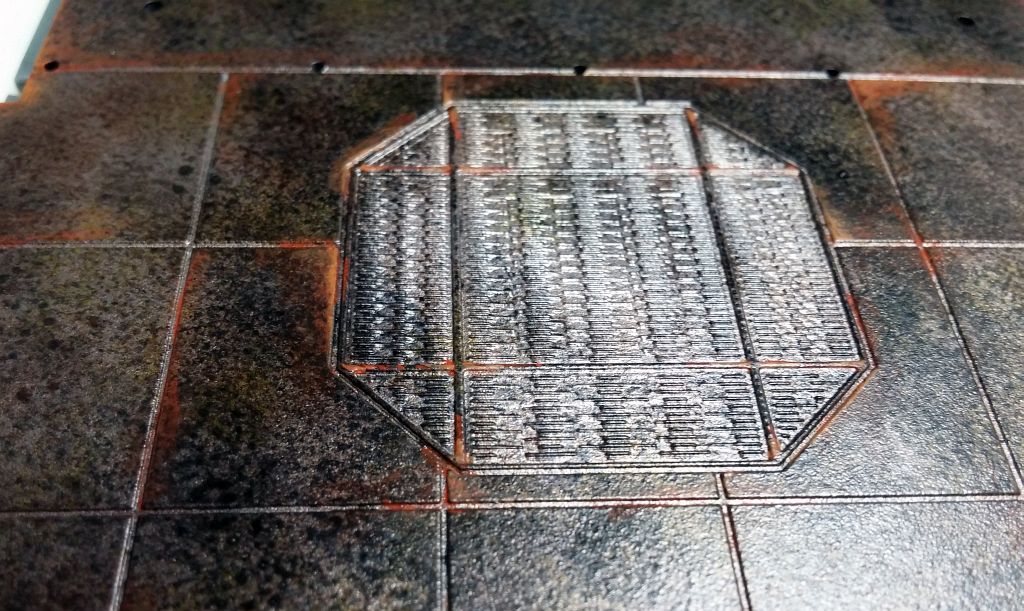
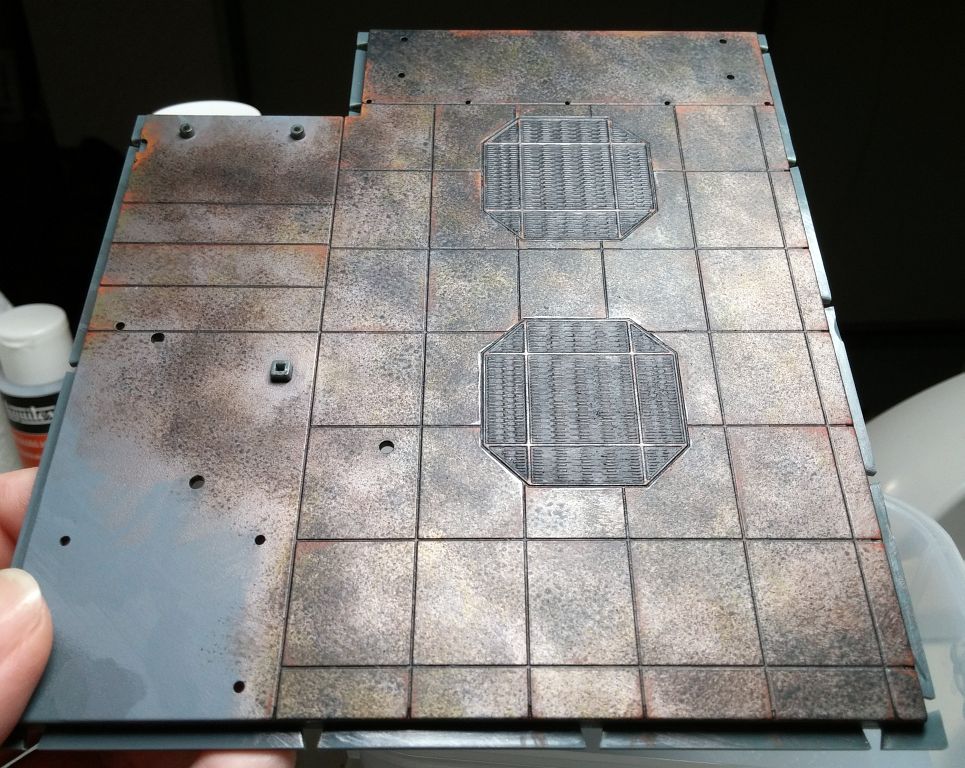
For the main hold’s floor, I painted it a dark metallic color. It’s sort of a cross between silver and graphite. To grunge it up, I tore a piece from a makeup sponge and attached it to the end of a pair of reverse-action tweezers to create a stippling brush. Using the brush, I added bits of brown and yellow to simulate dirt and grime. Then, I added a bluish-black to represent oil and grease. The Millennium Falcon is very dirty. Finally, I added some rust spots, and used a black wash to fill in the spaces between the panels and grates.
For the control panel, I darkened it to match the walls. It was way too bright, and in the films, it looks like it is roughly the same color as the walls. To add a bit of dimension, I applied a dot of hot glue to create a dome over the orange light. The glue kept deforming as I pulled the gun away, but I was able to use the heat from the tip of the hot glue gun to soften the dome and coax it into the right shape.
Handling the tiny knobs of the control panel was an even bigger nightmare than the cockpit levers. They are much small, and immediately jumped out of the tweezers. Again, I was able to find the knob easily. I knew this model was going to be exciting, but not in this way.
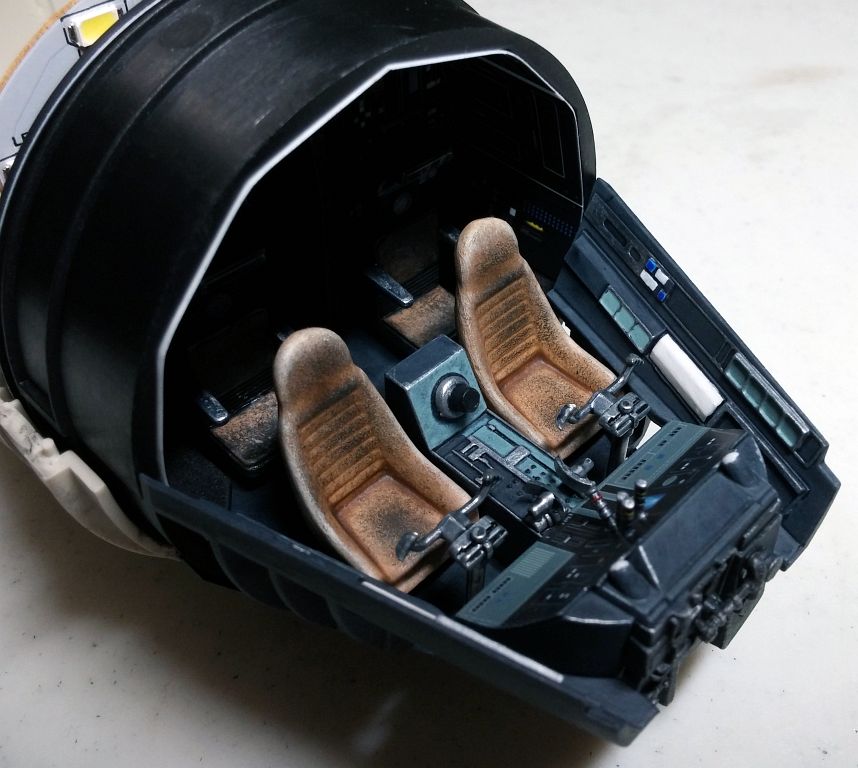
For the side panels of the cockpit, I kept the paint job simple, and glued them into place to complete the cockpit interior.
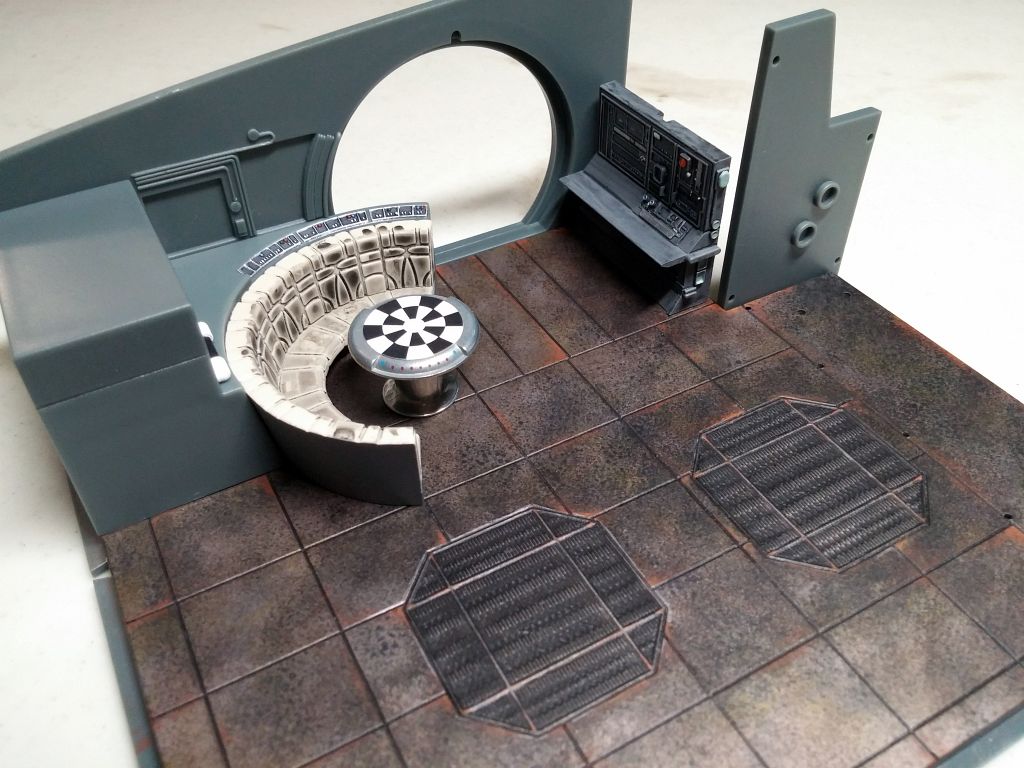
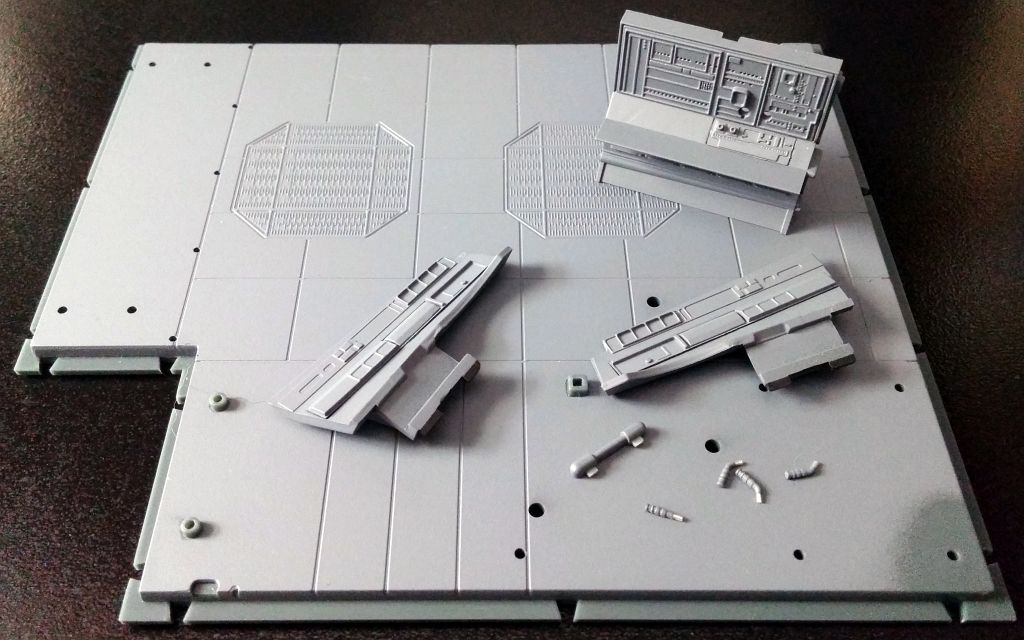
For fun, I test-fit most of the main hold to see it take shape. There are other hold parts that came with the issues, but there were no assembly instructions, so I will wait before I attach them.
Prev Journal Entry | Next Journal Entry
Both the post author and this website have not received any compensation for writing this post. Both the post author and this website have no material connection to the third-party brands, products, or services that have been mentioned. Some of the links in the post above are “affiliate links.” This means that if you purchase the item, we will receive a commission. As an Amazon associate, we earn from qualifying products. This is being disclosed in accordance with the Federal Trade Commission’s 16 CFR, Part 255: “Guides Concerning the Use of Endorsements and Testimonials in Advertising.”
Do you have a thought about this post? Why not leave a comment . . .