
Millennium Falcon Build Journal No. 16: Issues 57-60
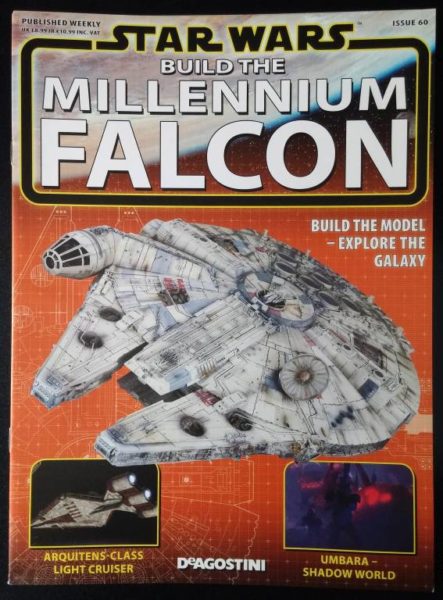
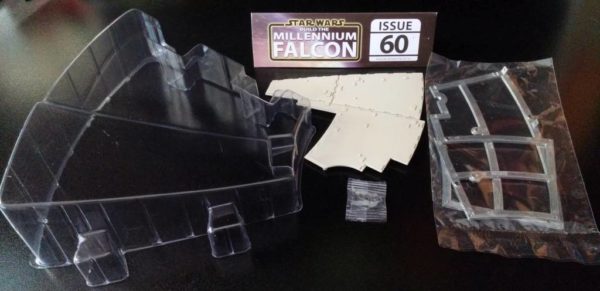
The Arrival
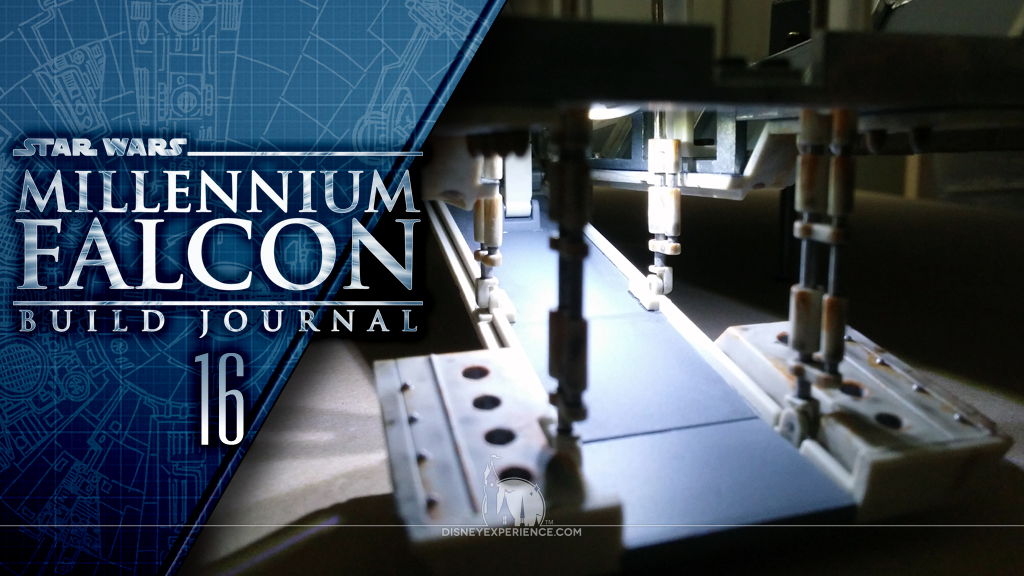
This month, I finally get to start screwing down some of the hull plating, and I get to add more pain and customization. But, best of all, I get to install and test the electronics! It’s a good thing, too, because I found a problem with the boarding ramp that needed to be fixed.
More Digital Instructions
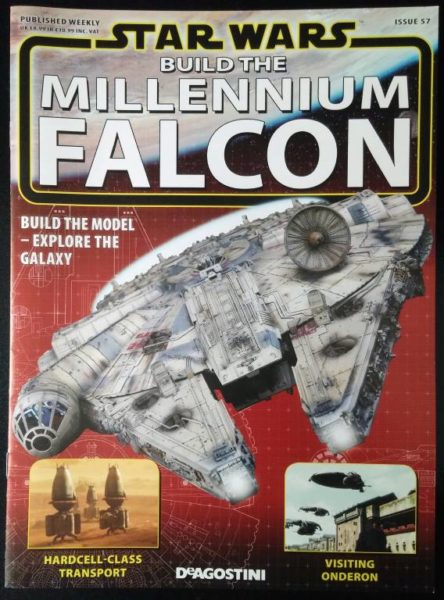
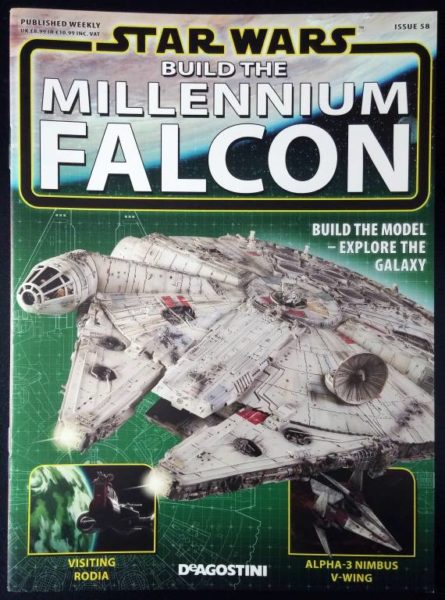
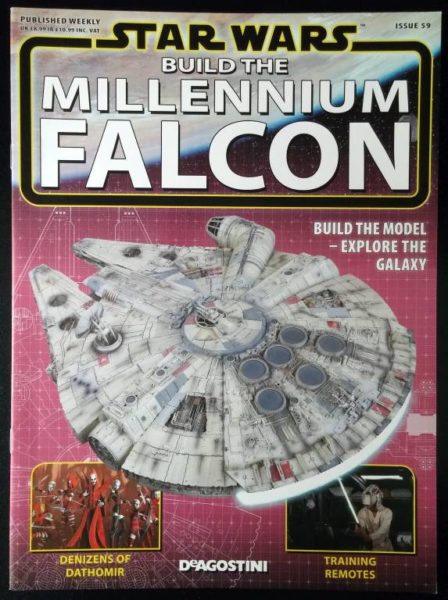
In the previous Build Journal, I provided a couple of online sources for digital assembly instructions. But, I forgot to mention a couple of official sources, first of which are the photo build diaries made available on the Model Space forums. A new build diary is posted every week, usually on Wednesday or Thursday.
The second source is the video build diaries available on the Model Space UK YouTube channel. These videos are released sporadically, but in large batches.
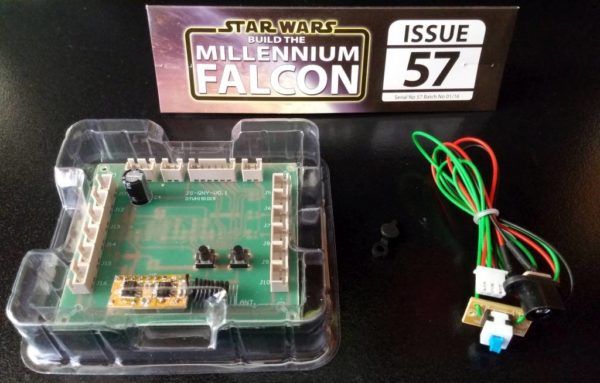
Electronics & Fixing the Boarding Ramp
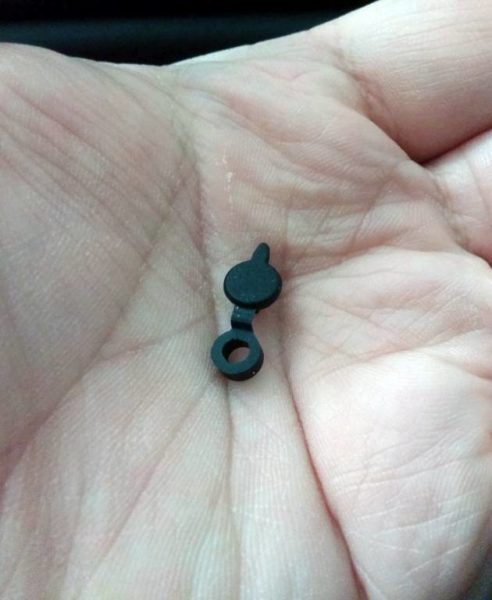
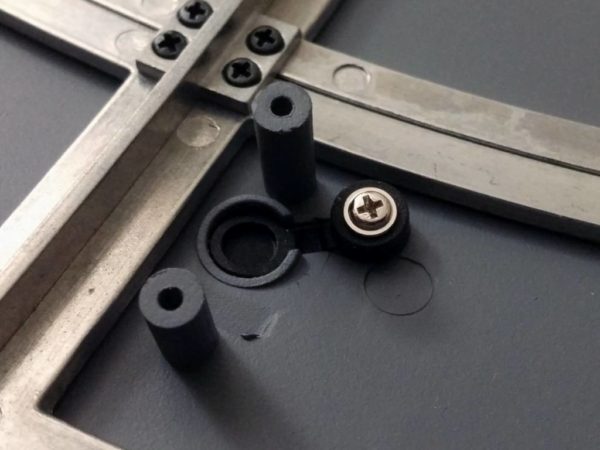
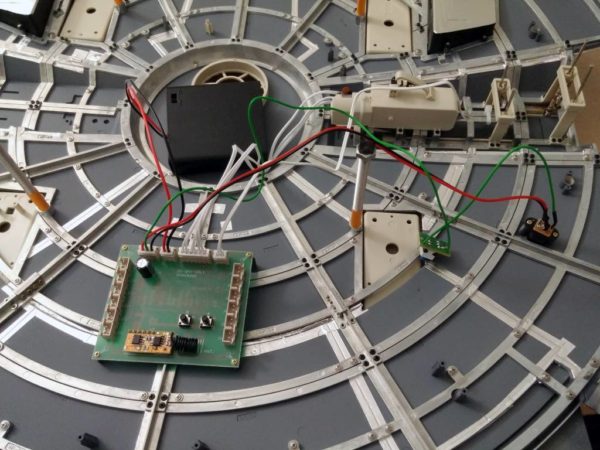
Returning to the lower hull, I installed the adapter plug. It’s a surprisingly thin and flimsy piece of rubber. I doubt that I will ever use the plug adapter to power the lights, so I shouldn’t have to worry about wear and tear.
The plug also blends in nicely with the hull damage. I had planned on using a soldering iron to to rough it up so that it blends even more, but as I said, it’s pretty thin material.
The circuit board fit just fine, but there was some ambiguity about which screws to use. The instructions say to use four self-tapping screws, but there are three different types: short silver, short gold, and long gold. The magazine images and video diary both show gold screws, but don’t show their length. To make things even more confusing, the photo diary shows silver screws.
Ultimately, I went with the long gold screws. Considering how important the circuit board is, I wanted that extra bit of security.
It was now finally time to plug everything in and test the ramp. I originally left the motor arm unglued just in case it was defective and had to be replaced, but it worked like a charm. Gluing the arm to the ramp after that was a pain due to the very tight space, but I used a couple pairs of tweezers as makeshift fingers to align and press the parts together.
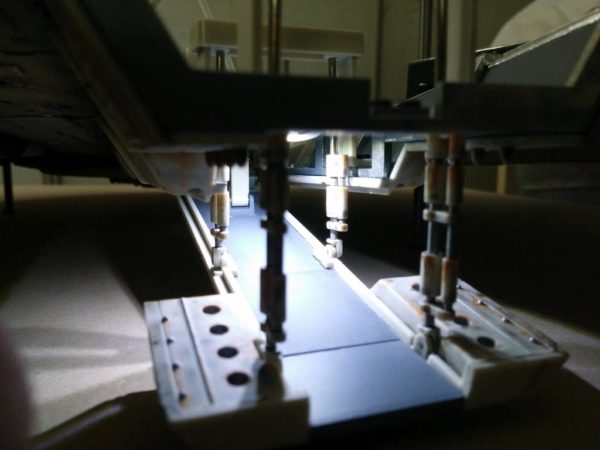
One common problem that I’ve been seeing with other models is that the motor arm closes the ramp too far, buckling the center of the ramp and causing the end to not lay flush. It happened to mine, and I created a simple fix.
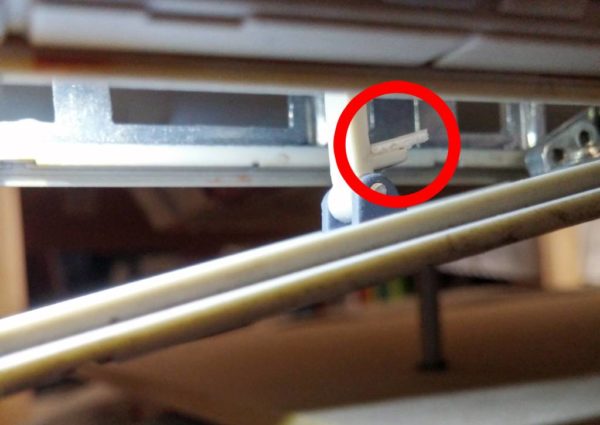
The motor arm has two lips at each end that trigger two different switches that tell the motor to stop. My problem is that the lower lip triggers the switch too late, causing the ramp to be pulled closed a little too far.
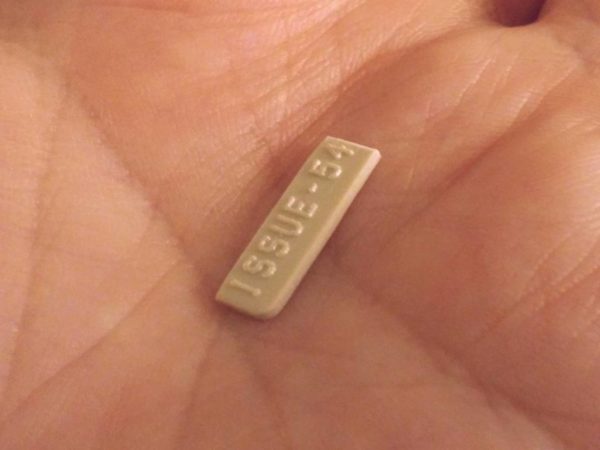
I detached the tab from an extra sprue, cut it down to size, and glued it on top of the lip (circled red in the photo) behind the motor arm. Now the motor stops sooner, and the ramp sits flush with the rest of the hull. Problem solved!
Greeblies
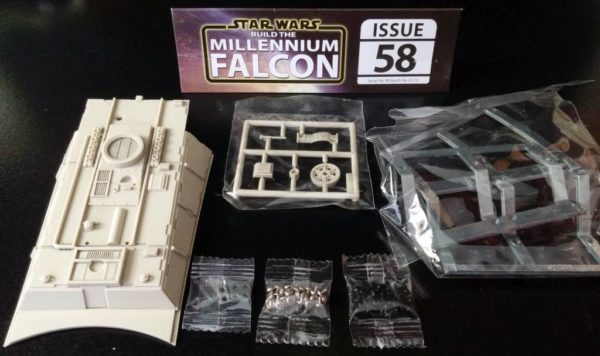
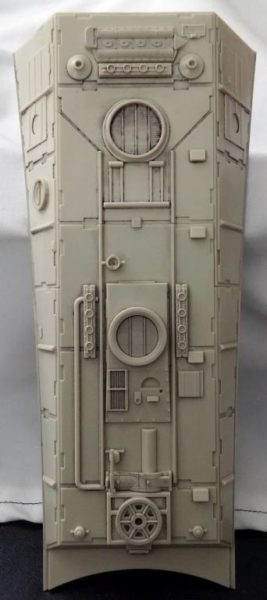
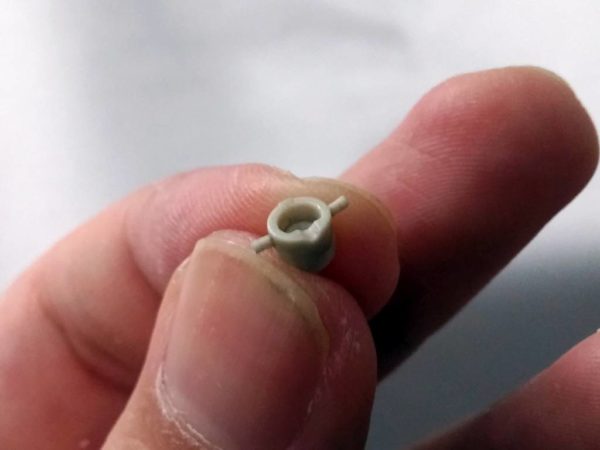
When cutting the greeblies (detail pieces) from the sprue for the port side corridor (issue 58), take special care with piece #3. The piece should have two protruding stems as seen in my photo. The photos in the magazine show that these have been cut off. DO NOT CUT THESE OFF! They are meant to be left on, and can be seen on the original filming model.
Customization
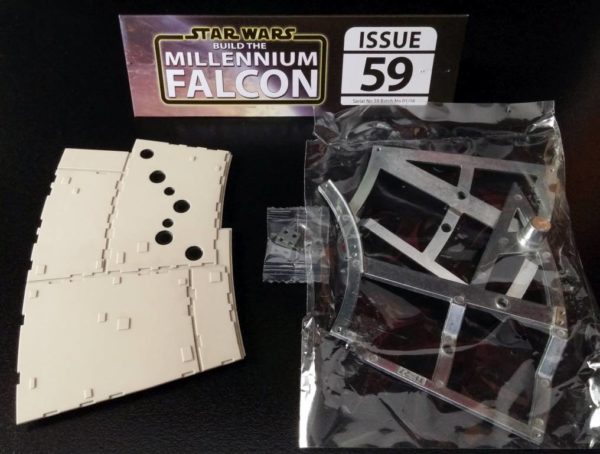
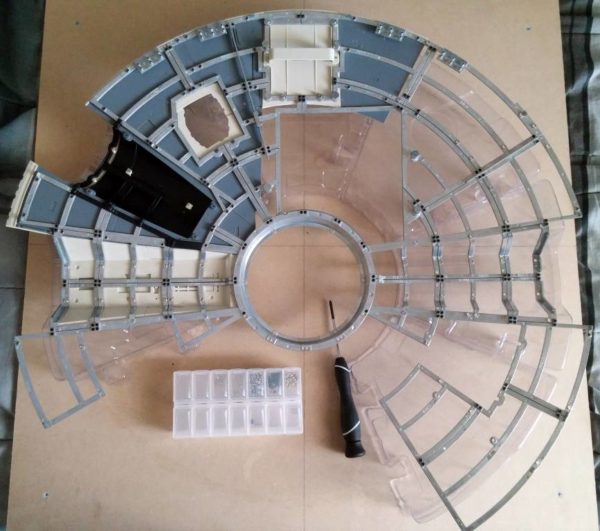
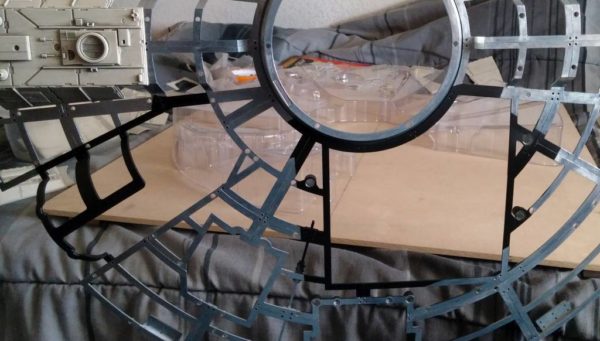
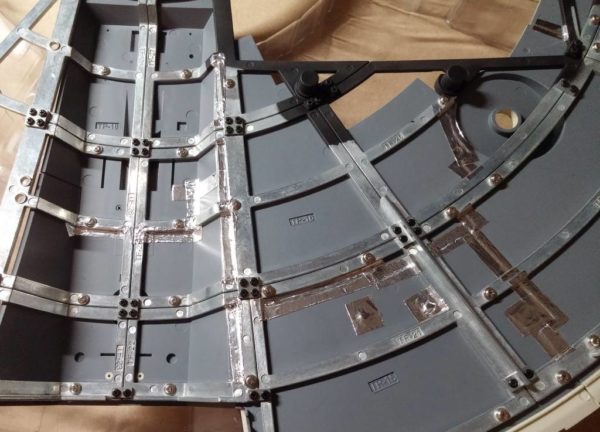
Assembling the frame pieces was important for the next bit of customization. I want to paint part of the frame black.
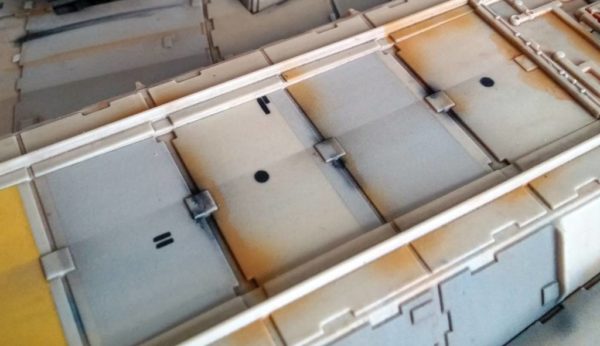
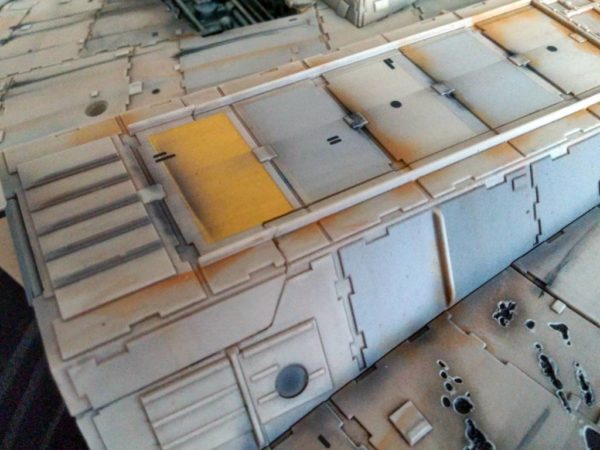
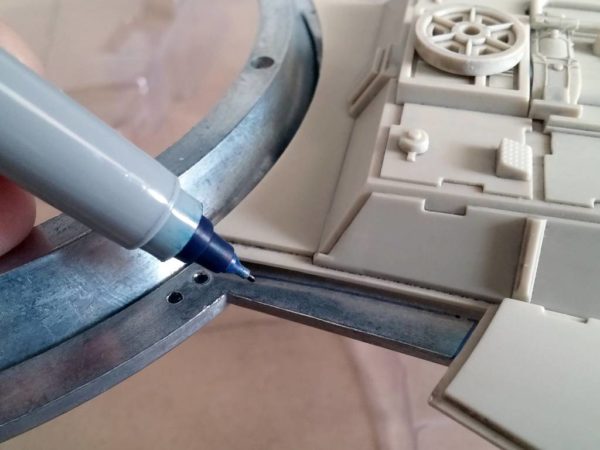
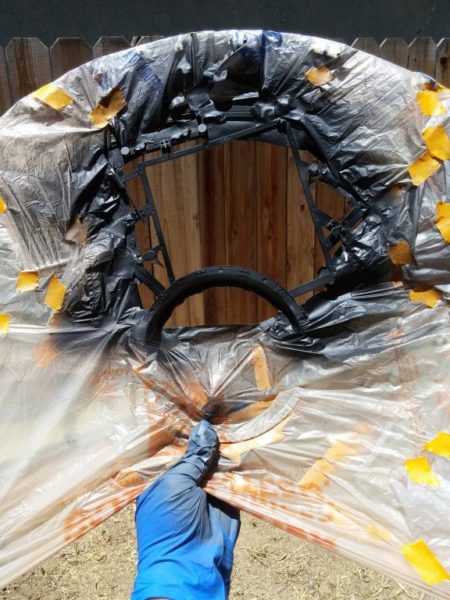
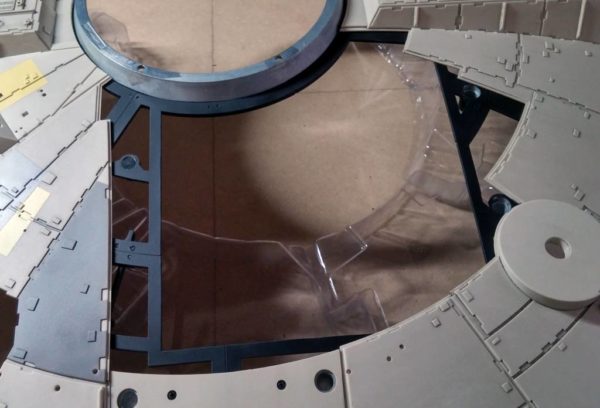
After assembly, I placed the hull plates and used a Sharpie marker to mark where the edges of the plates met the exposed metal frame. The plates were all removed, I masked off the frame, and I painted it black.
Following a few coats of varnish, the plates were placed for the final effect. Now, the frame will match the black walls of the interior, blending in for a nicer display.
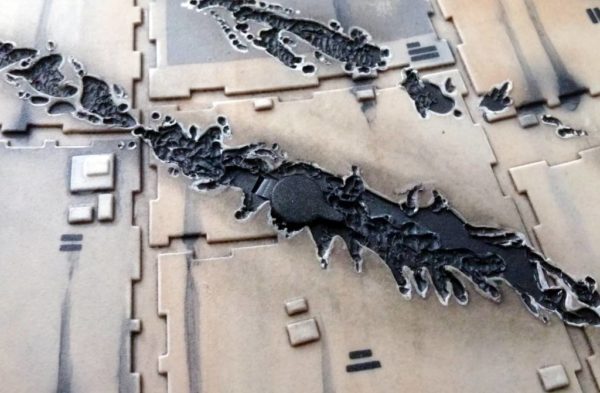
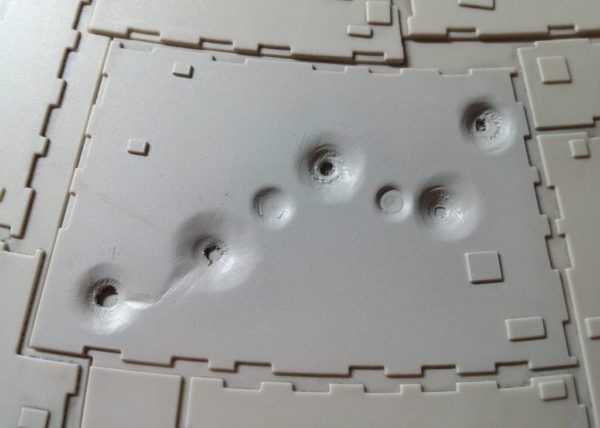
One thing that every builder can agree upon is that the hull damage on the model is simply awful. But, that can be remedied with the proper tools.
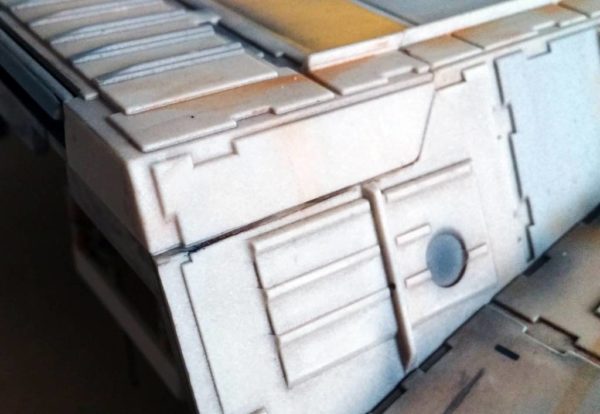
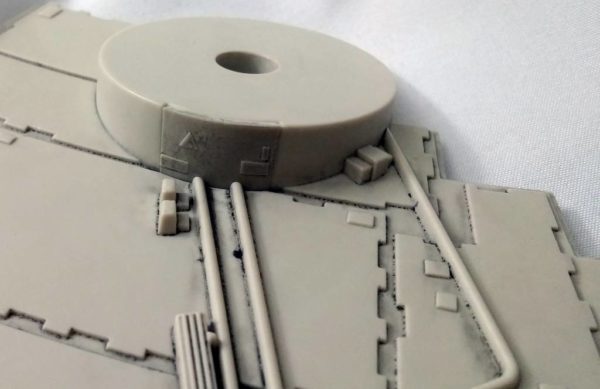
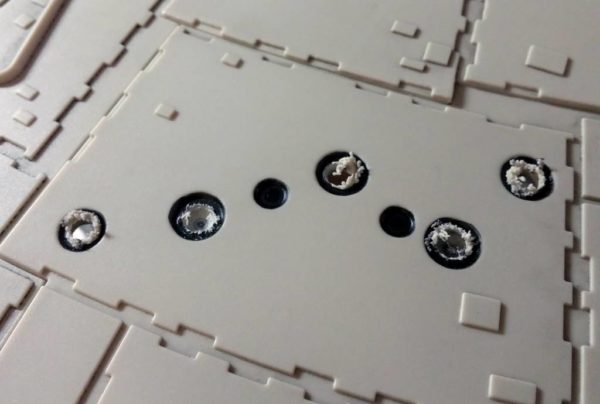
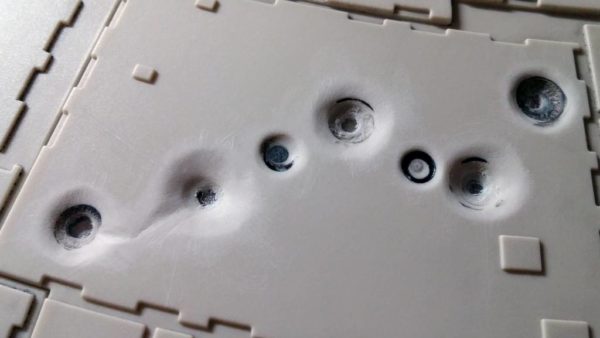
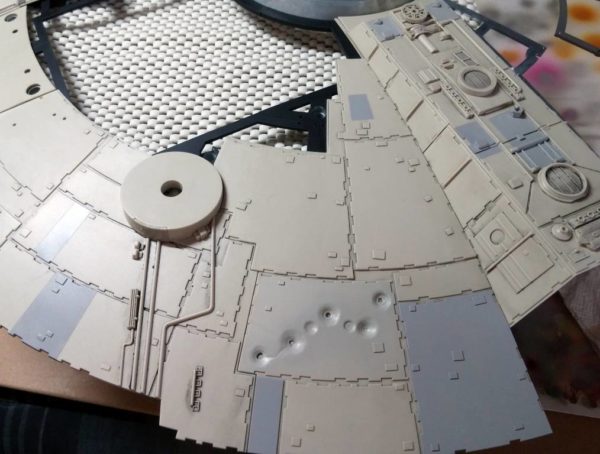
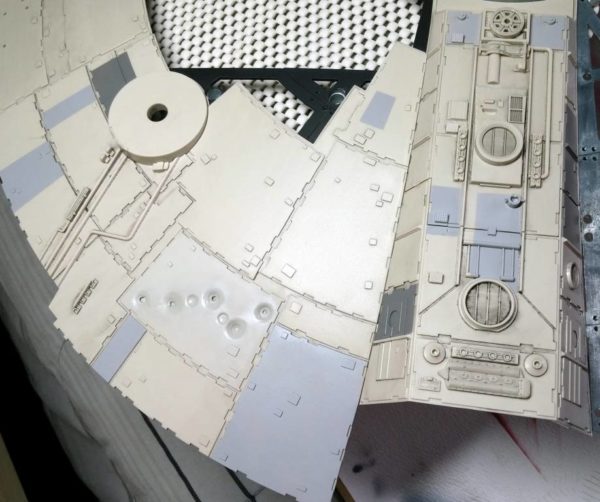
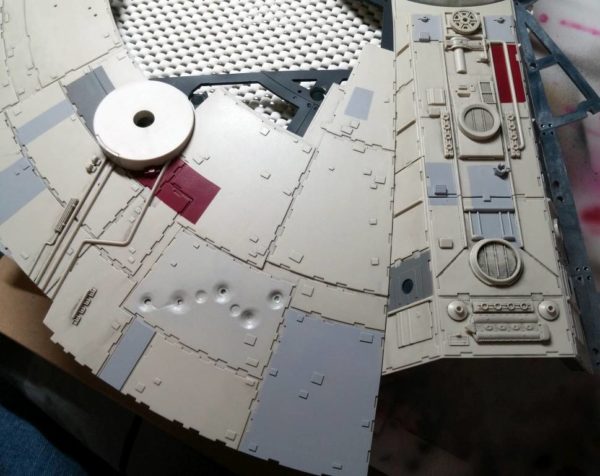
When compared to the original filming model, the hull damage near the rectenna is woefully inaccurate. So, I broke out my drill, my Dremel tool, and my sandpapers, and I went to work turning these shallow discs into sizeable “dents.” This section overlaps a portion of the metal frame, so the drill would only go so far on a couple of the holes.
With the port-side hull plates, I was able to permanently screw them onto the hull frame and begin light-blocking the seams with aluminum tape. For the drill holes that didn’t hit the metal frame, I used two layers of tape for better support.
The starboard side of the hull plating still cannot be screwed down until I get the two replacement parts. I finally got fed up with waiting for a certain French website to get both issues (issue 1 & issue 3) in stock, so I went with a website that sells and ships popular Japanese merchandise: HobbyLink Japan. I reserved copies of the back-ordered issues 9 days ago, and issue 3 is already in.
With HobbyLink Japan‘s private warehouse feature, I can have them hold onto my paid items for up to 60 days. When I’m ready, I can combine any of my items to save on shipping. In total, I’ve figured that the end cost is only about $1-2 more than the French website. Now, all I have to do is wait for issue 1.
Painting
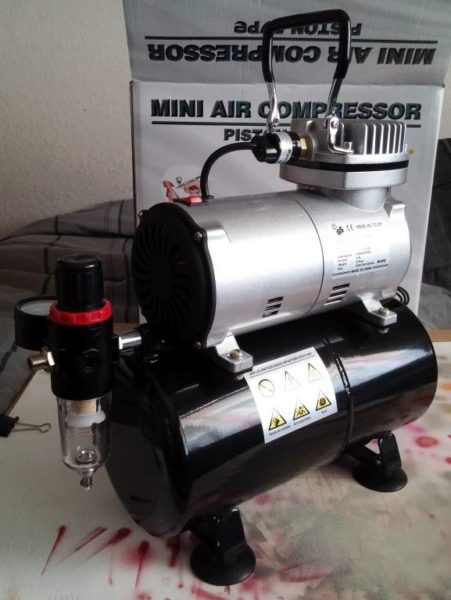
While I was painting the hull panels, I noticed something odd and annoying about my airbrush compressor. It kept pressurizing every 50 seconds (I timed it), which it shouldn’t do. That meant that there was a leak somewhere, and a bad one. Sure enough, I could hear a quiet hiss around the piston area.
I checked all of the bolt joints with soapy water, looking for bubbles. There were none, but I tightened them a tiny bit more just in case. The hissing persisted. It must be a bad seal on the inside.
I bought the Master TC-20T compressor from TCP Global. Since TCP Global has a 2-year warranty on their compressors, I contacted them directly through their website. I received a quick reply, and they immediately offered to ship out a replacement compressor. I’ve read about TCP Global’s excellent customer support, and they certainly didn’t disappoint.
The new compressor arrived in just two days! There don’t appear to be any leaks, but only time will tell.
Prev Journal Entry | Next Journal Entry
Both the post author and this website have not received any compensation for writing this post. Both the post author and this website have no material connection to the third-party brands, products, or services that have been mentioned. Some of the links in the post above are “affiliate links.” This means that if you purchase the item, we will receive a commission. As an Amazon associate, we earn from qualifying products. This is being disclosed in accordance with the Federal Trade Commission’s 16 CFR, Part 255: “Guides Concerning the Use of Endorsements and Testimonials in Advertising.”


Do you have a thought about this post? Why not leave a comment . . .