Millennium Falcon Build Journal No. 19: Japan Parts
![]() Trader Sam | September 11, 2016
Trader Sam | September 11, 2016
The Arrival

Unexpectedly, the Japan parts arrived after only three weeks. The expected delivery time was between 4-6 weeks, but I was hoping that the package would arrive sooner. I’ve had items shipped from Japan before, and they’ve always arrived in a timely manner.
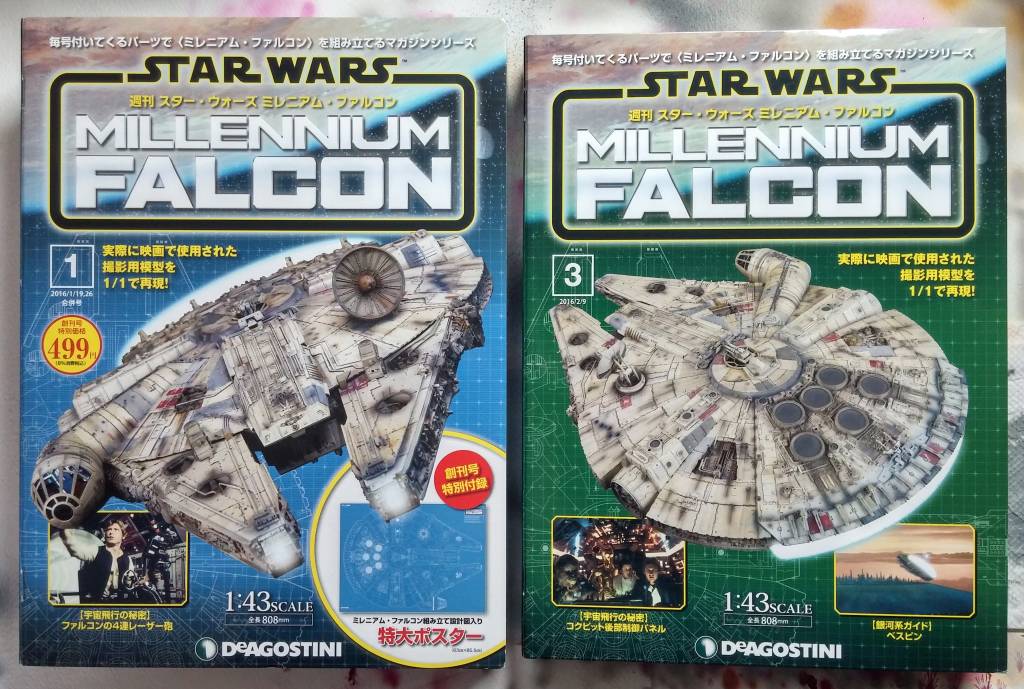
The Japan issues—the first few, at least—come in sturdy box sets. The front box covers open like a book, revealing the magazines that are stapled to the box. At first, I thought it was a horrible design; to free the magazines, the staples have to be ripped out. Wouldn’t the magazines fall apart? Are people expected to put the staples back in to hold the magazines together? Stupid! But, there are two sets of staples, one set holding the magazine together, and one set holding the magazine to the box. I discovered this too late; I had spent several minutes trying to carefully rip the box cover along the seam. Silly me.
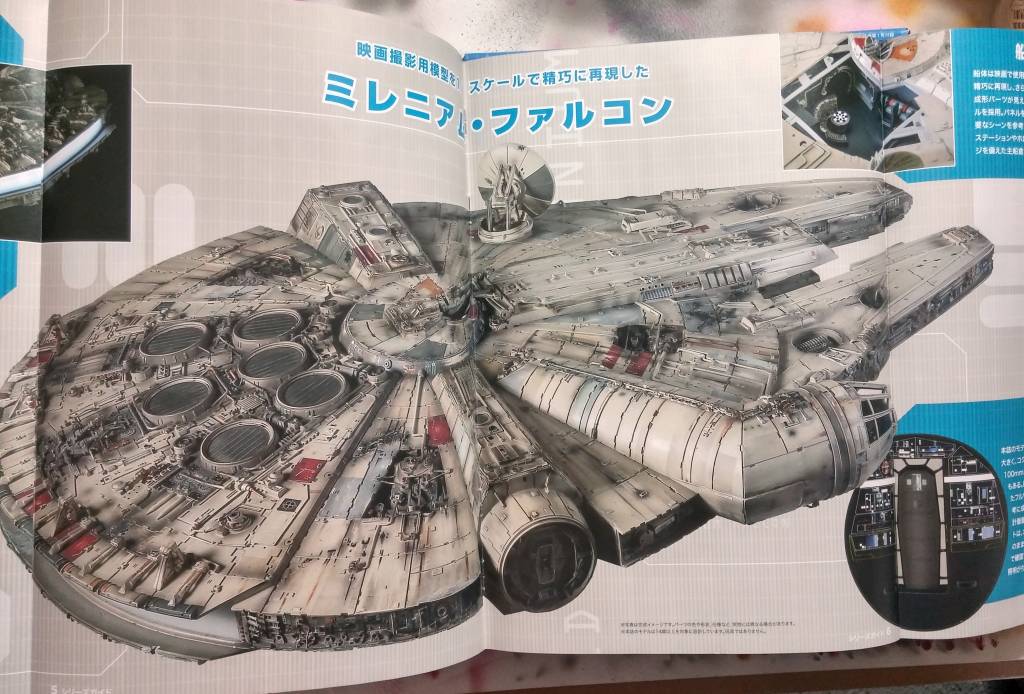

Seeing the magazines written in Japanese was a trip! I’ve seen text written in foreign languages before, but not to this extent. With a little imagination, the Japanese text almost looks like Aurebesh, the alien text used in the Star Wars universe. I will definitely be holding onto these issues.
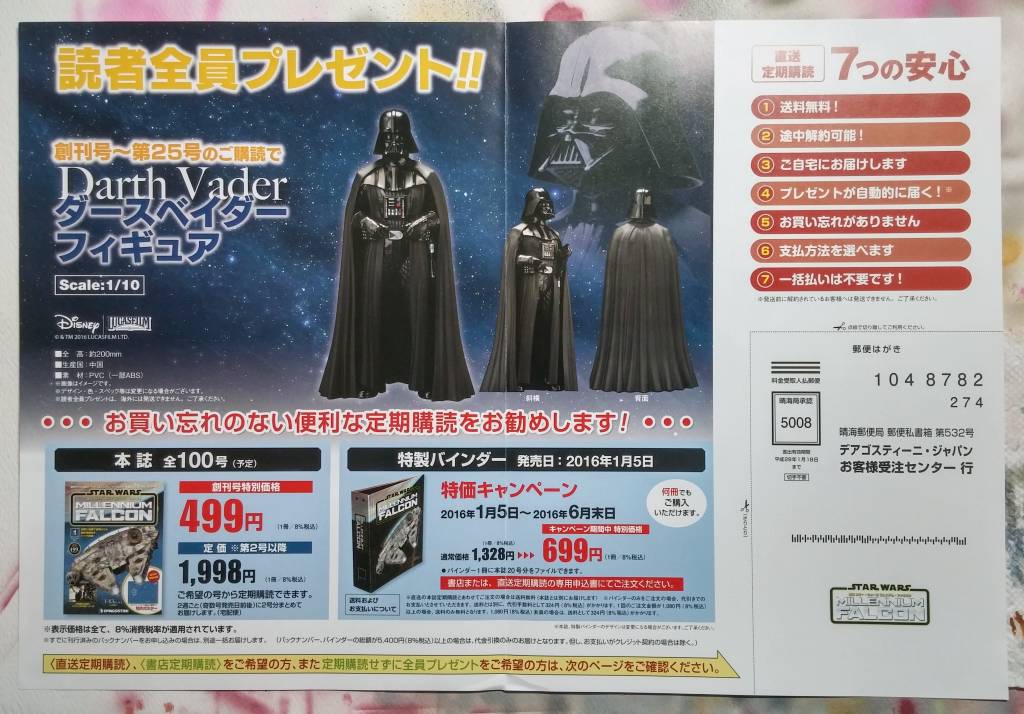
Inside the boxes were subscription forms. Apparently, Japanese subscribers get an awesome Darth Vader statue. Boy, we Americans got jipped on the free gifts; all we get is a free wall mount and a free issue binder.
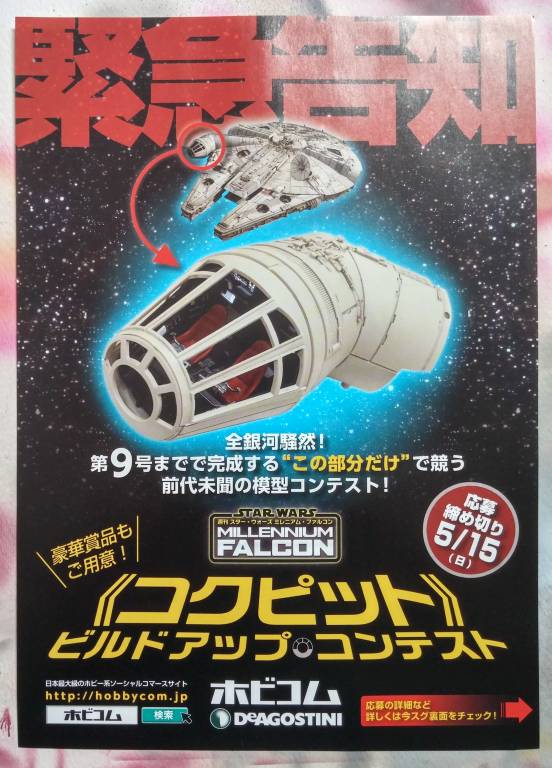
There’s even a bit of a “heads up” about the revised cockpit canopy.
Modifying the Japan Parts
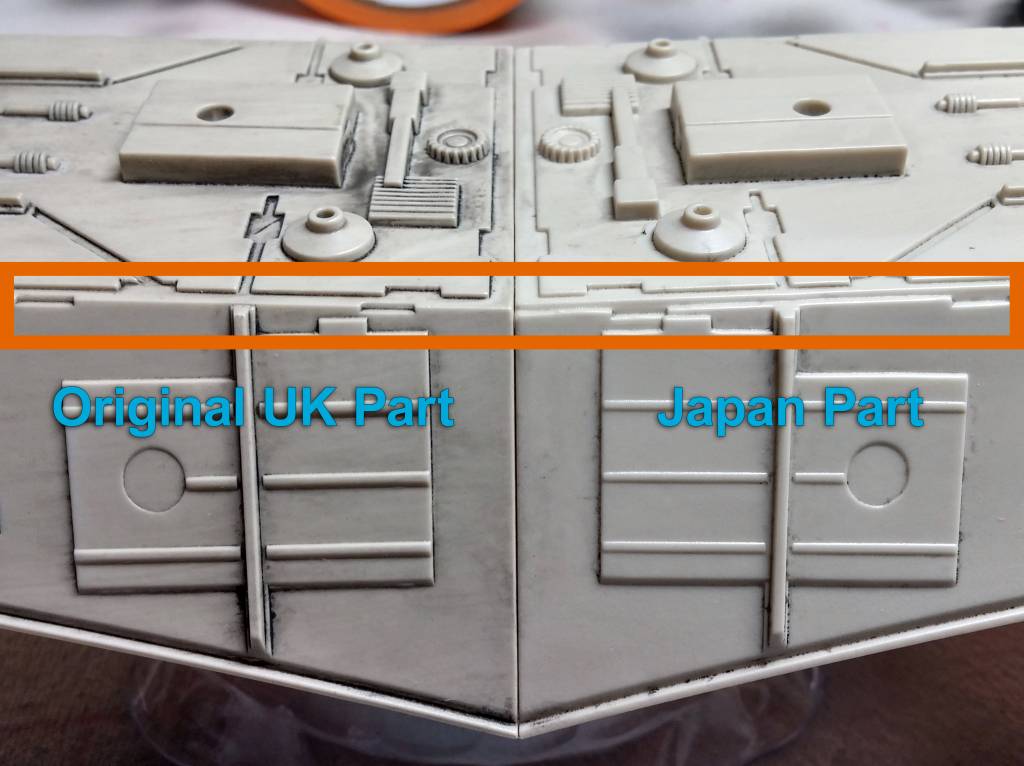
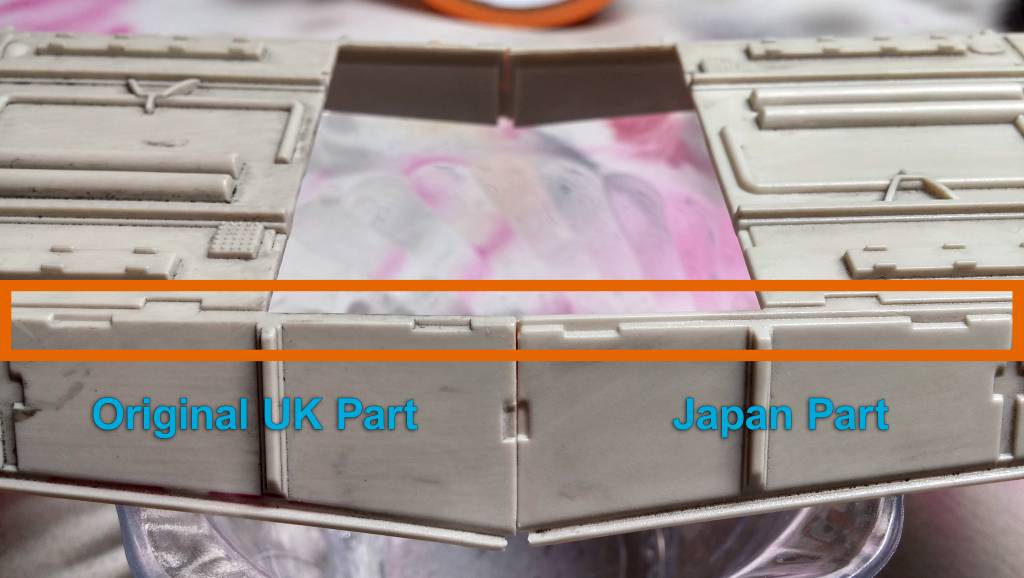
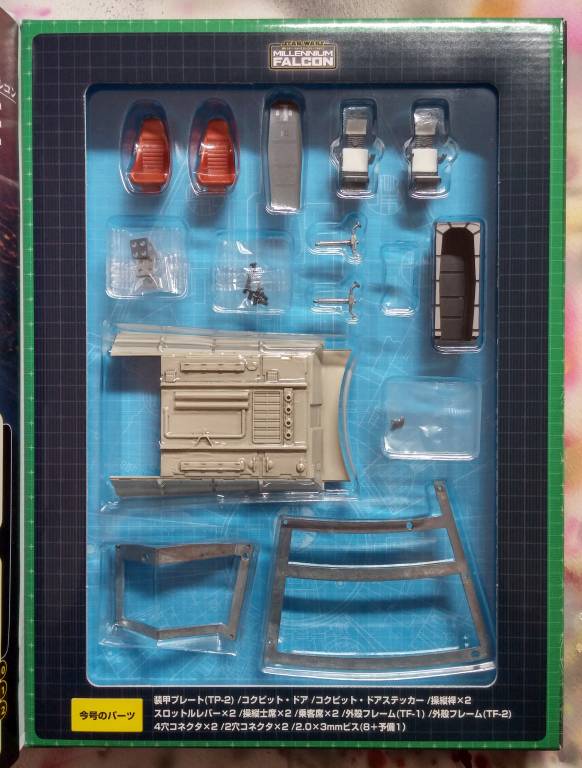
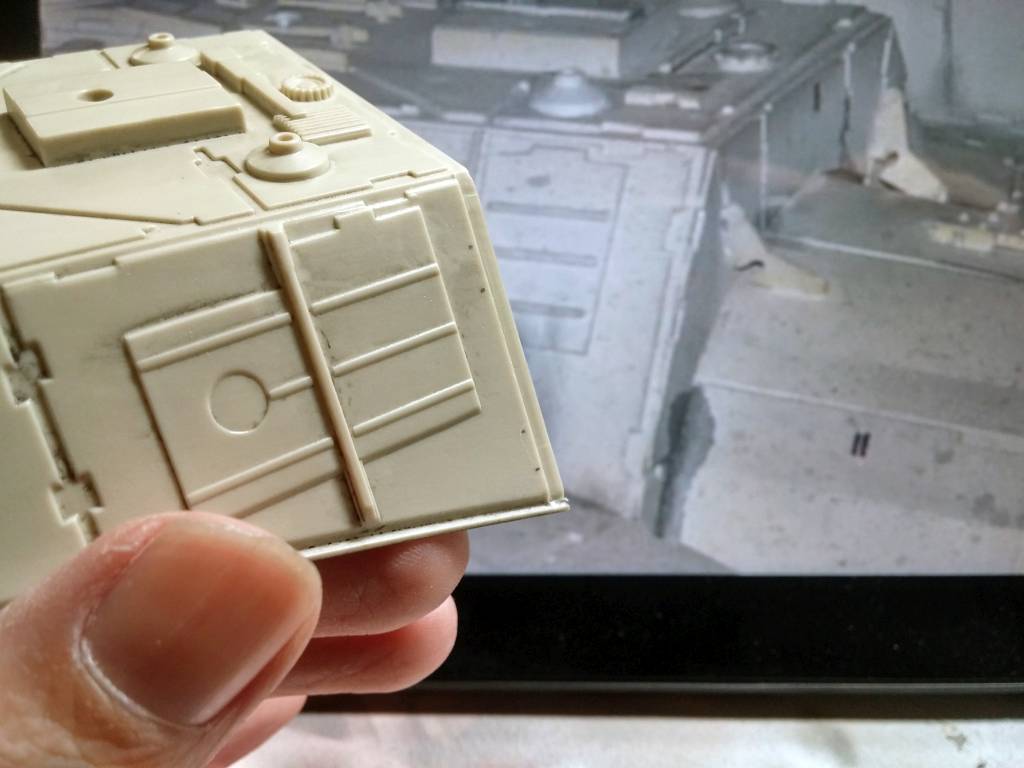
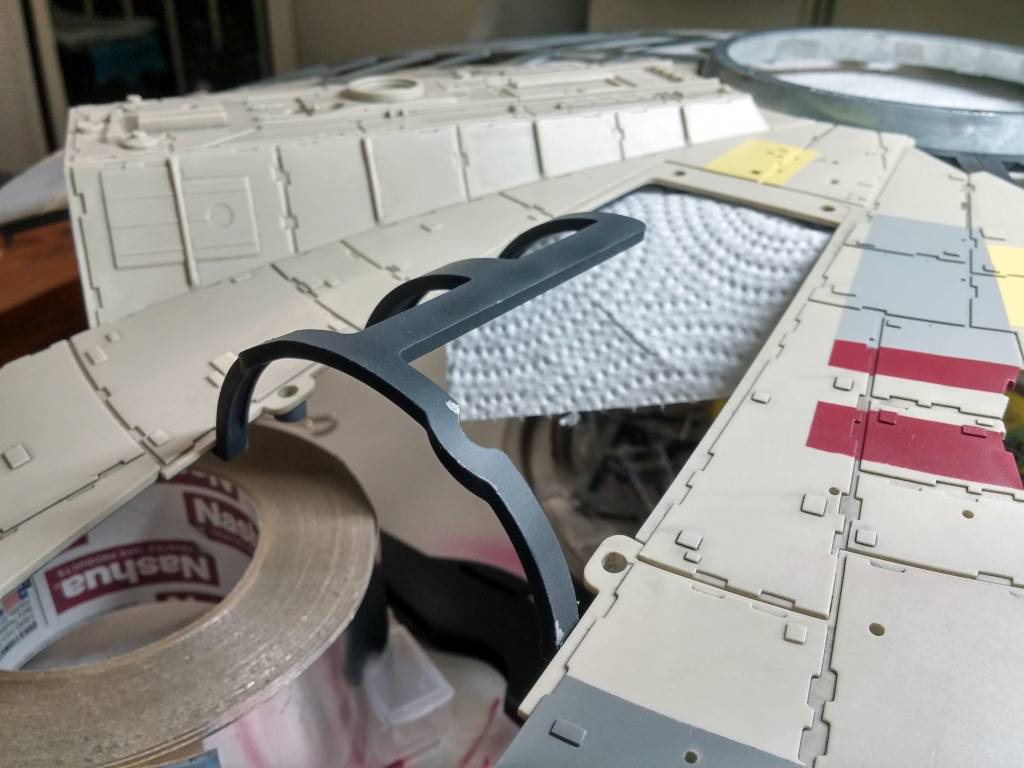
The Japanese versions of parts TP-1 and TP-2 are to replace the original UK parts. The top edges of the UK parts were never designed correctly, and do not match the sister parts on the model. But, as superior as the Japan parts are, they still haven’t been designed correctly.
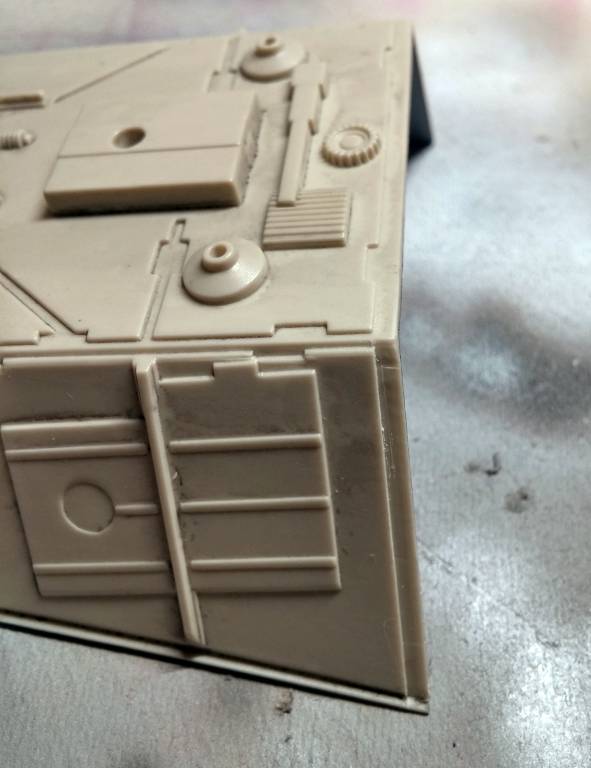
The top front edge of TP-1 was designed correctly. The panel stops short of the edge, and has two notches. The same design should be on the sides, so they’ll have to be created manually. The key thing that I learned is to take my time. My results came out a little jagged, but it’s nothing that some filler and sandpaper can’t fix later on.
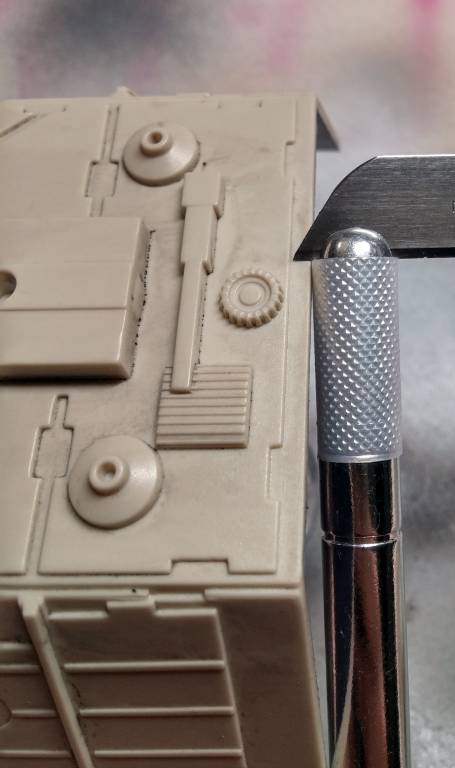
I took an X-Acto knife and turned the blade onto its side. Using the top of TP-1 as a measuring template, I placed the handle against the piece and adjusted the length of the blade to match the distance to panel. I also wrapped a piece of scotch tape around the handle’s diamond grip area to prevent scratching and gouging as it rubbed along the edge.
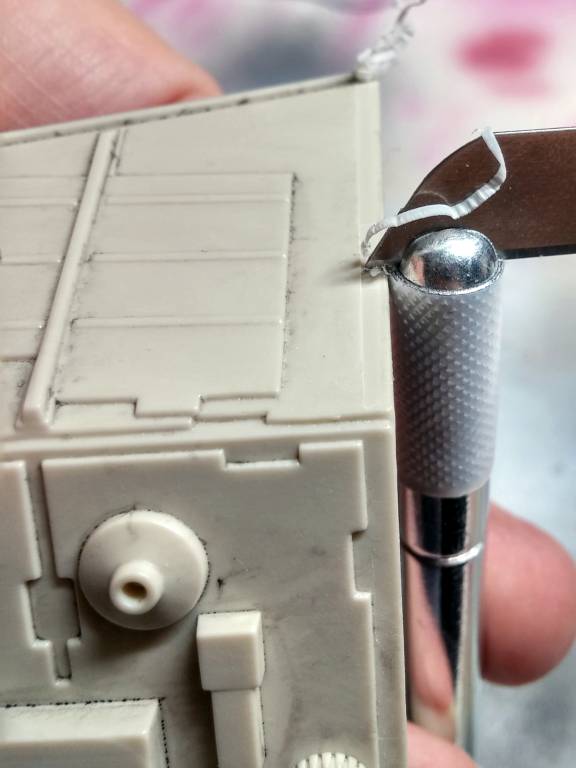
Dragging the blade along the sides, I slowly scraped away the plastic.
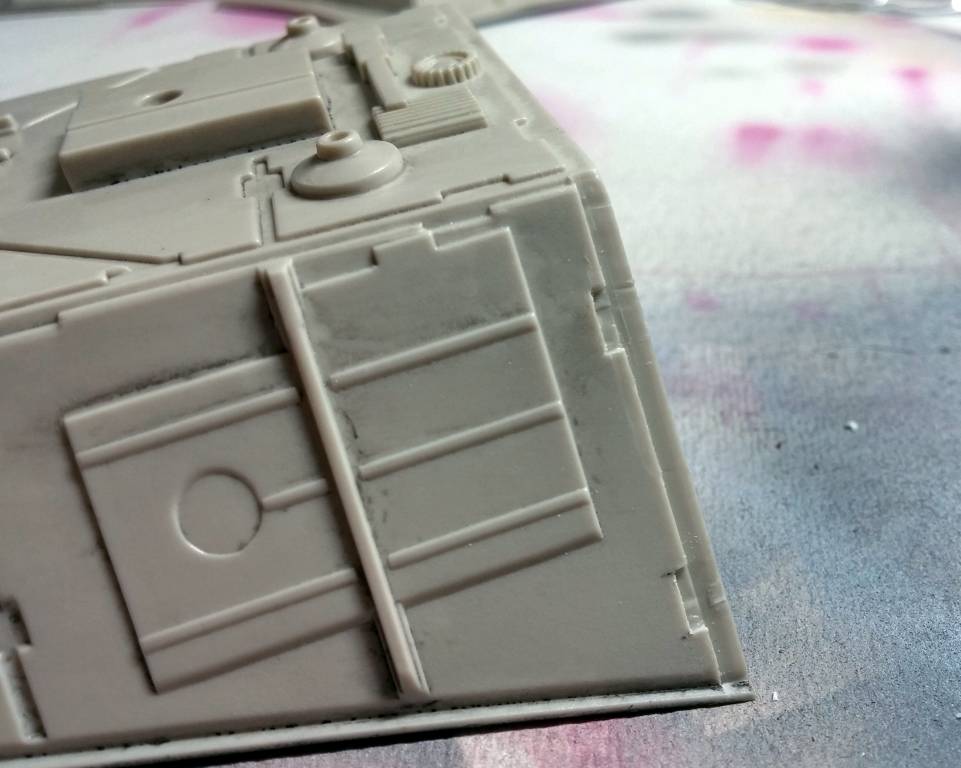
Using reference photos, I marked where I needed to scrape away notches. This was trickier to do, and required far more patience than I provided. I re-adjusted the blade length, and scraped out the notches.
Assembly
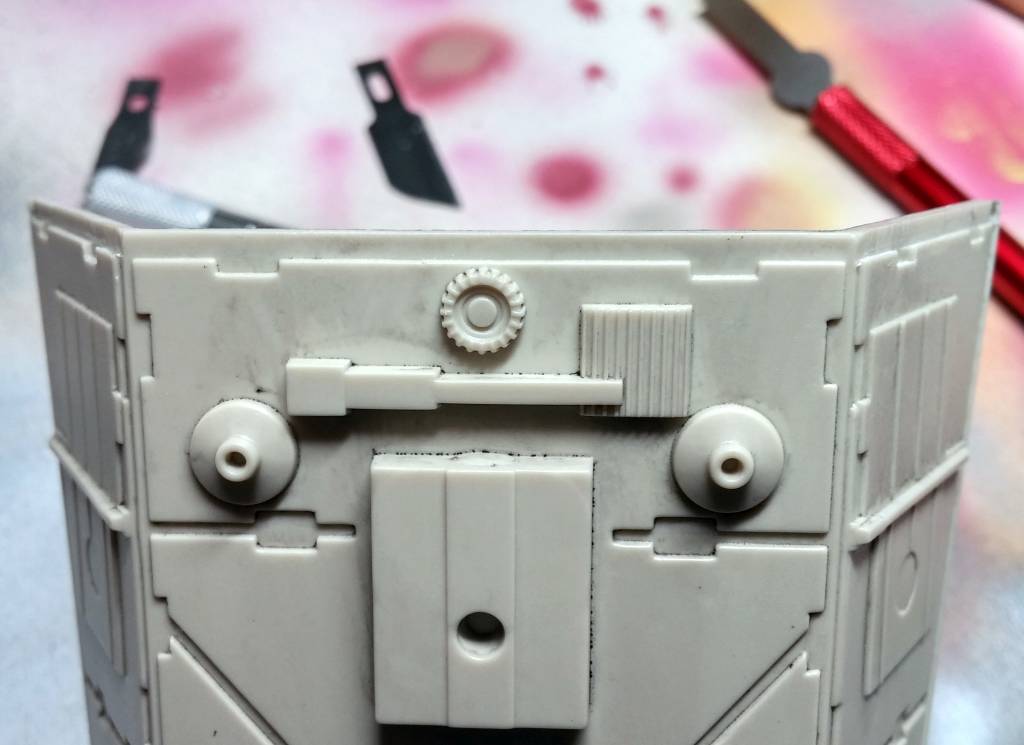
With the correct TP-1 and TP-2 parts, I could finally screw down and light block all of the starboard hull panels . . . except for the access corridor panel. Although the instructions say to screw it down, it needs to later be removed to fit the cockpit into place. So, I’ll hold off until the cockpit is attached.
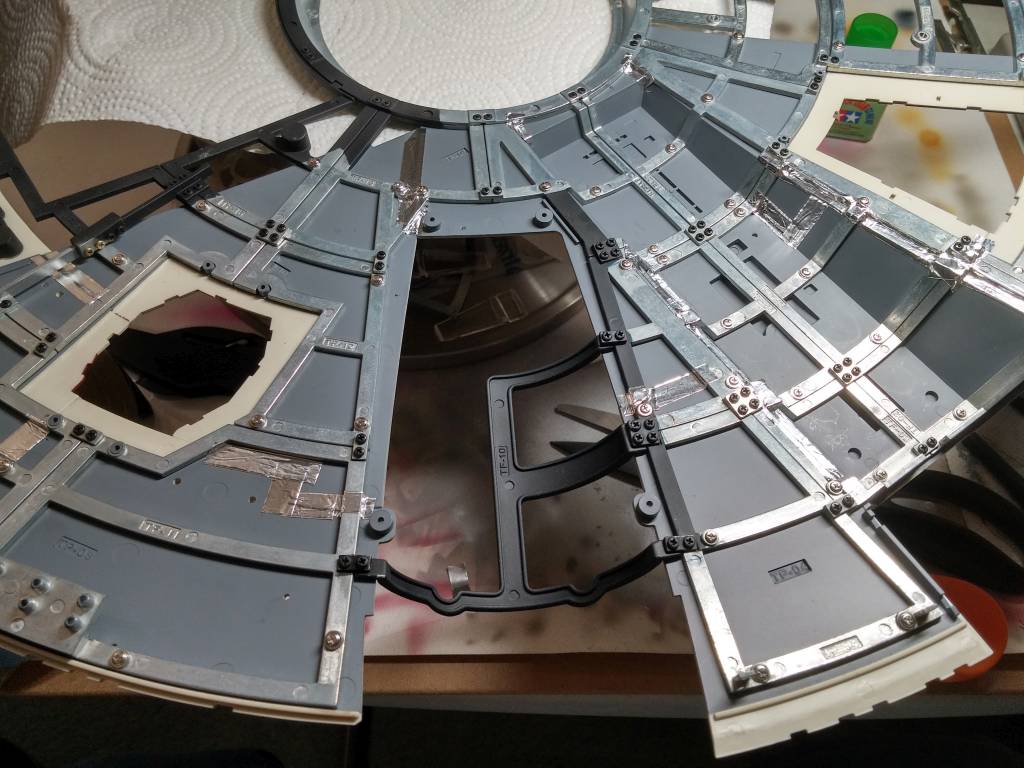
Next, I did some jumping ahead. I did not foresee any problems arising from screwing the hull recesses into place. The only things needed to attach to the recesses are some external pipes, which need the recesses screwed into place anyway.
Thanks to scaleautofactory.com, I was able to look ahead as far as issue 92 and see what other things I could do ahead of time.

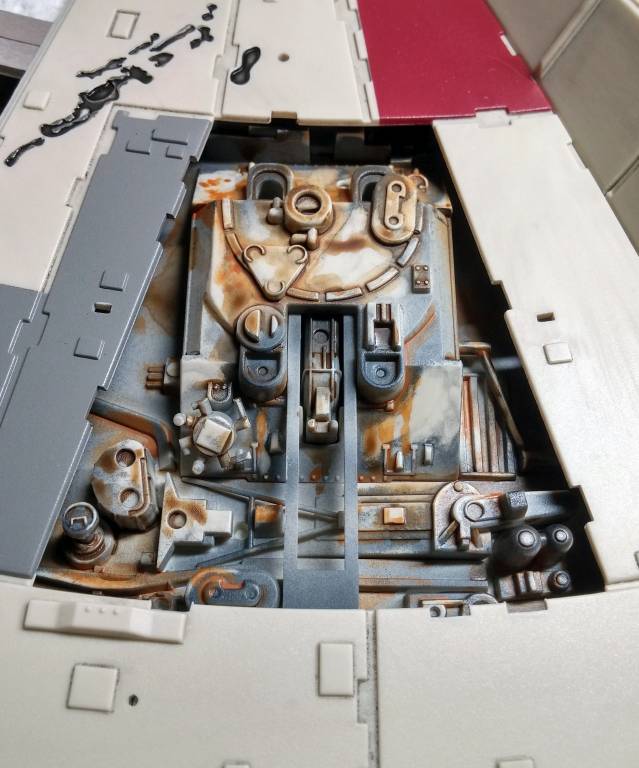
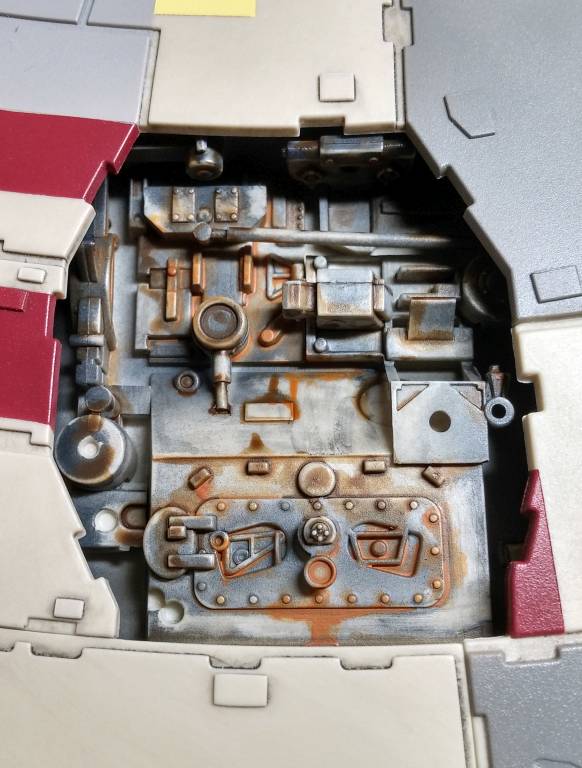
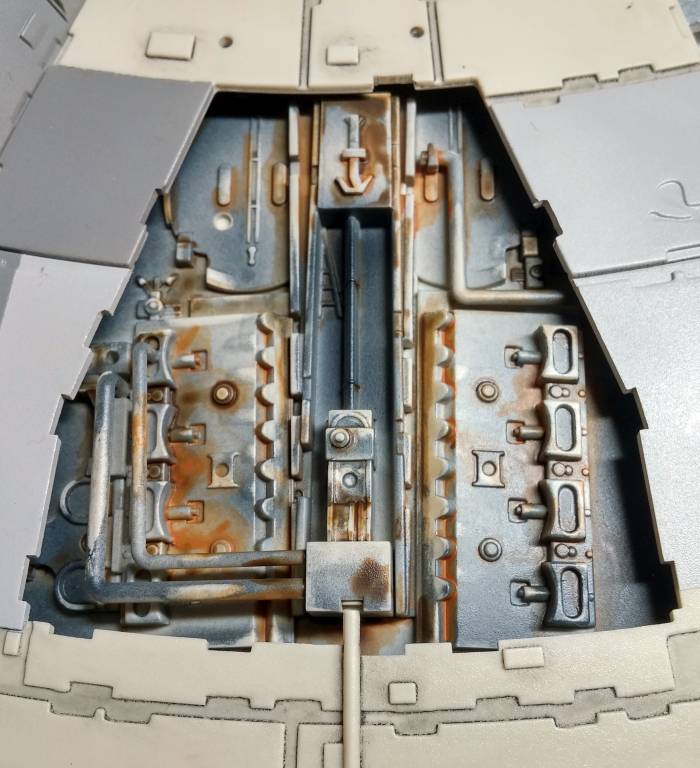
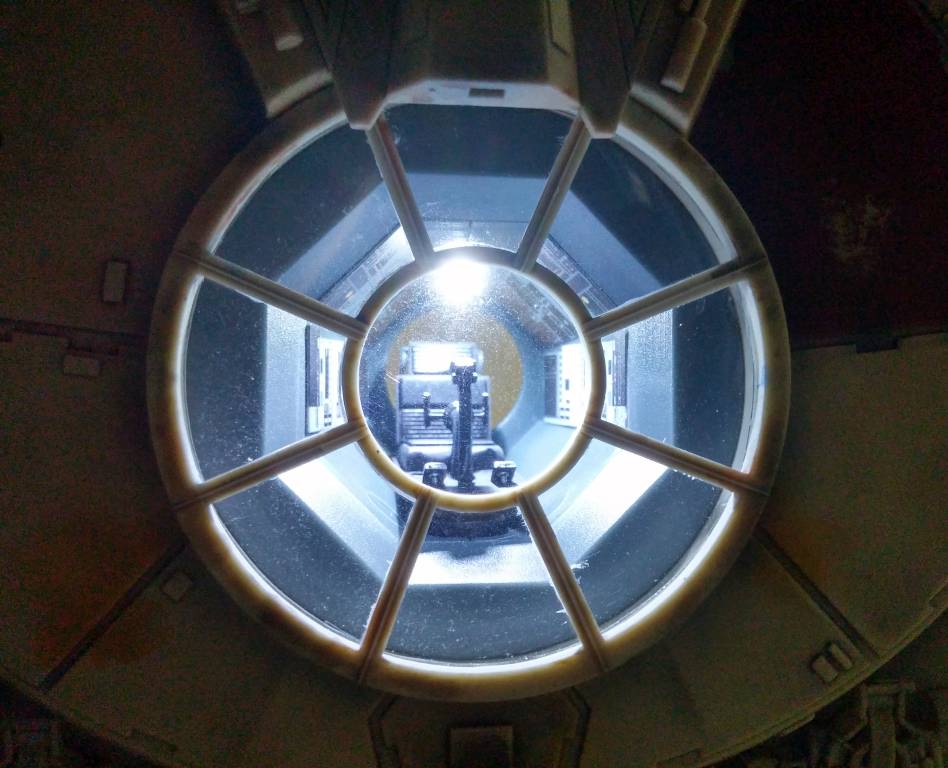
For one, I could finally attach all of the interior parts. They’ve been sitting in storage for quite some time, and it has always bothered me that they were never fully assembled.
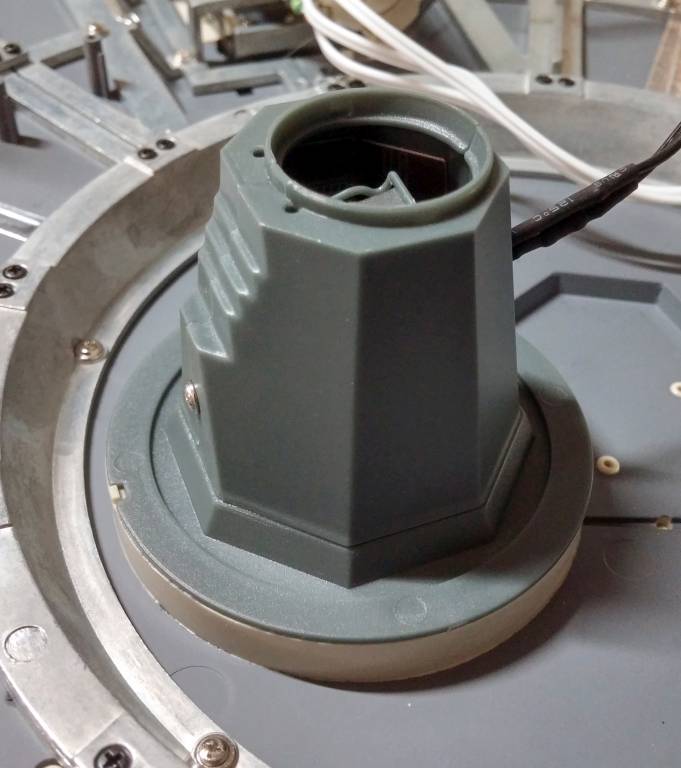
I also glued the bottom turret well to the bottom hull, and I found that it’s important to glue the correct one into place. The turret wells, themselves, are identical, but the cables to their LEDs are of very different lengths. The bottom turret has shorter cables while the upper turret has longer cables.
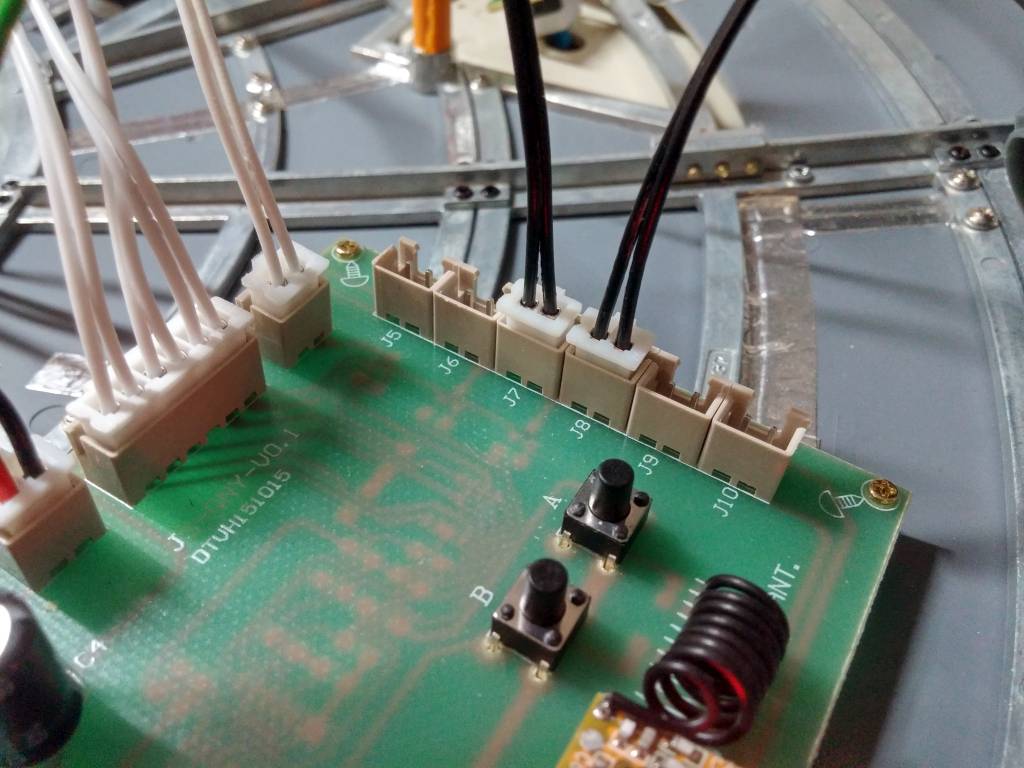
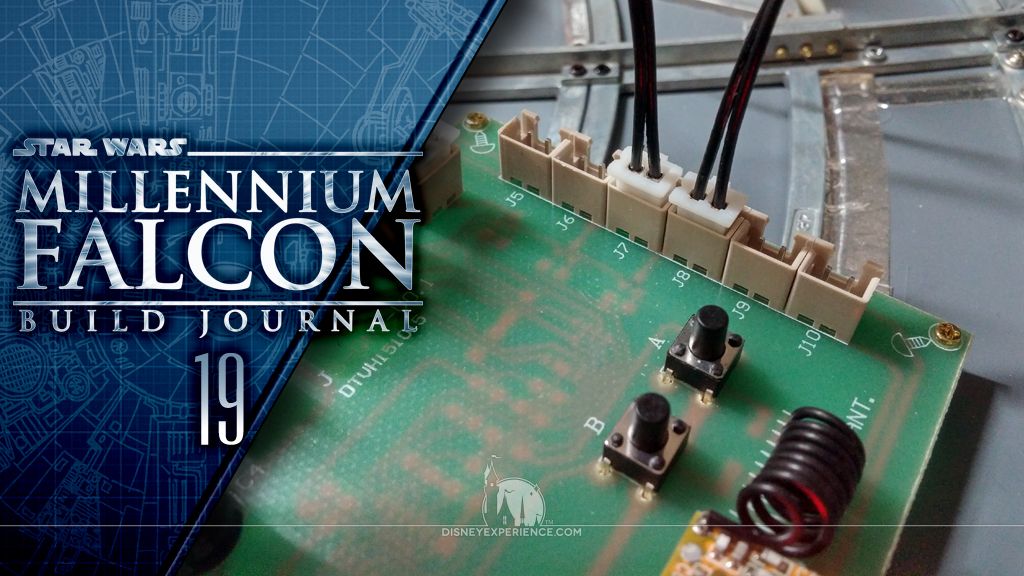
Using the Circuit Connections Key in issue 57, I plugged both turret wells into the circuit board and tested the lights.
Prev Journal Entry | Next Journal Entry
Both the post author and this website have not received any compensation for writing this post. Both the post author and this website have no material connection to the third-party brands, products, or services that have been mentioned. Some of the links in the post above are “affiliate links.” This means that if you purchase the item, we will receive a commission. As an Amazon associate, we earn from qualifying products. This is being disclosed in accordance with the Federal Trade Commission’s 16 CFR, Part 255: “Guides Concerning the Use of Endorsements and Testimonials in Advertising.”
Do you have a thought about this post? Why not leave a comment . . .