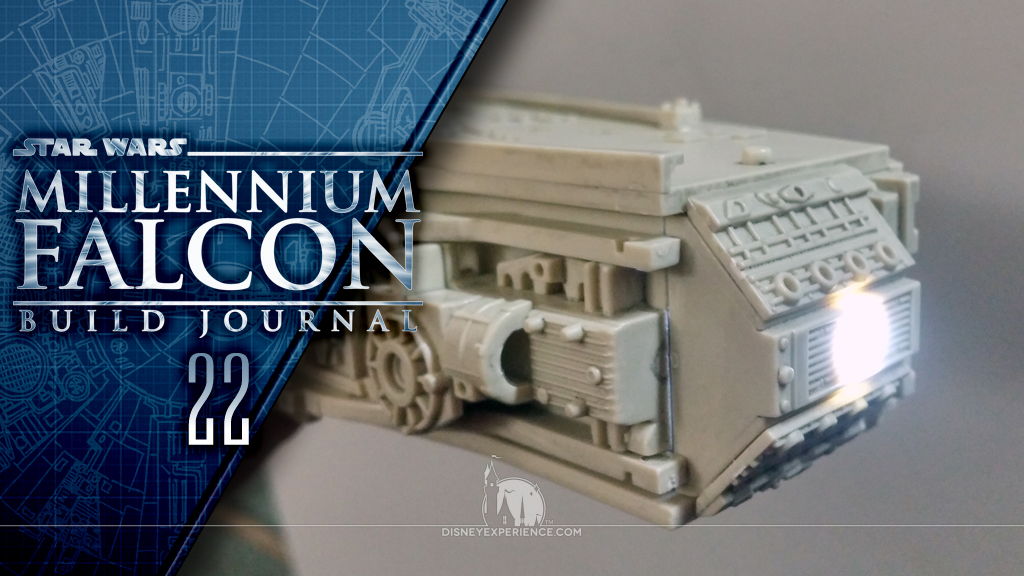
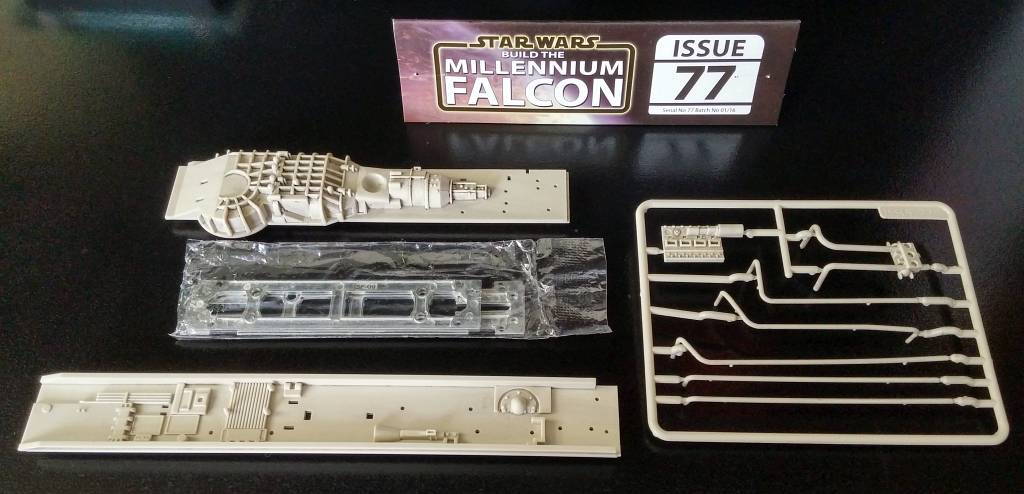
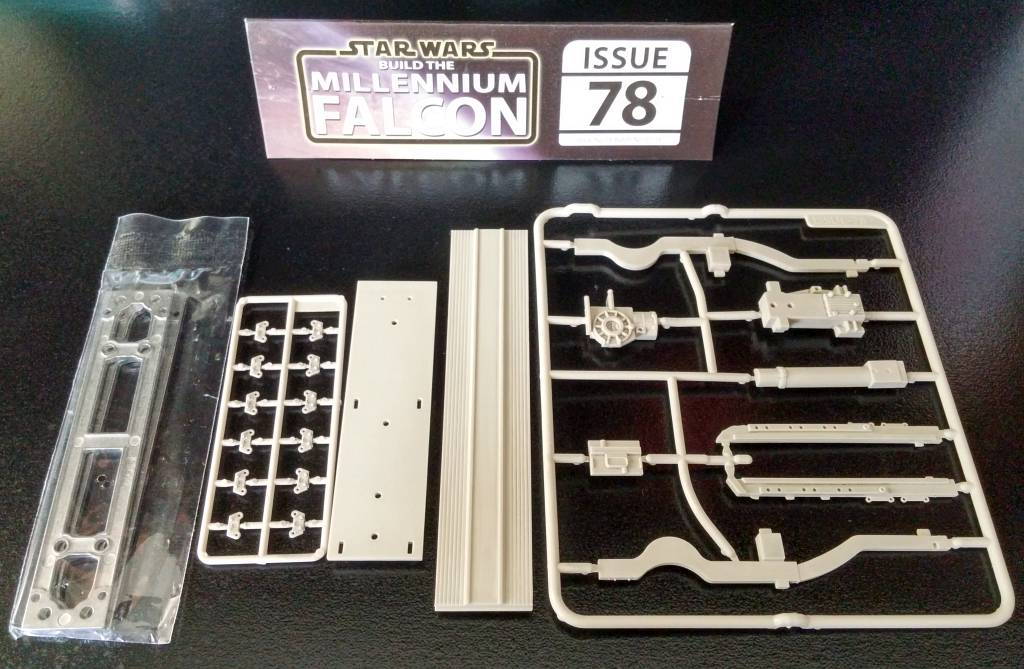
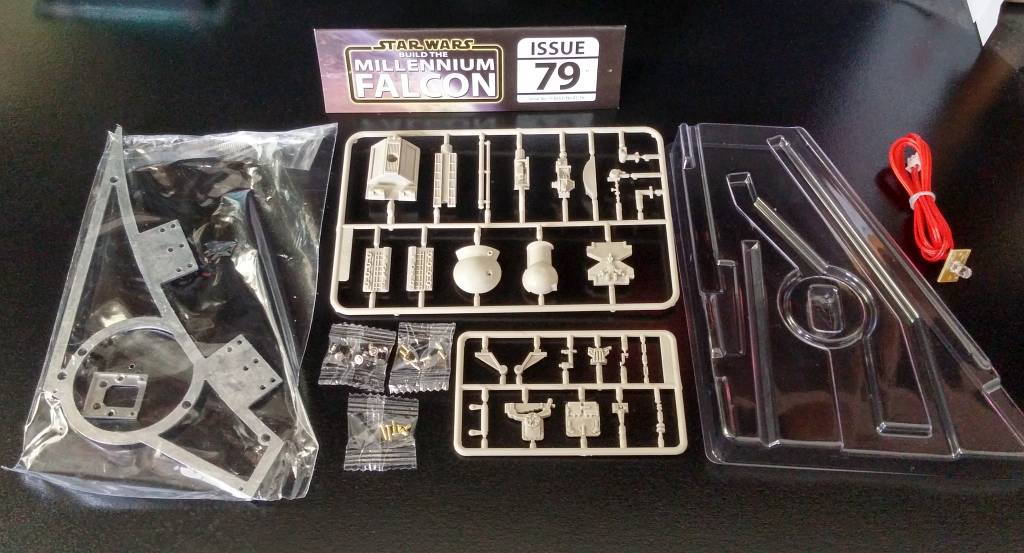
Millennium Falcon Build Journal No. 22: Issues 77-80
![]() Trader Sam | February 13, 2017
Trader Sam | February 13, 2017
The Contents

I would like to apologize for the lack of Build Journals for the past couple of months. I put the model’s subscription on hold until I got through the Holidays, which are financially hectic times for a lot of people. I was going to postpone it for another month or two until taxes were taken care of (I’m self-employed, so I usually owe taxes), but a couple of unexpected windfalls came my way. Those windfalls helped me to both get my taxes done very early this year and get back on track with the Millennium Falcon.


Engine Cover Screw Replacements
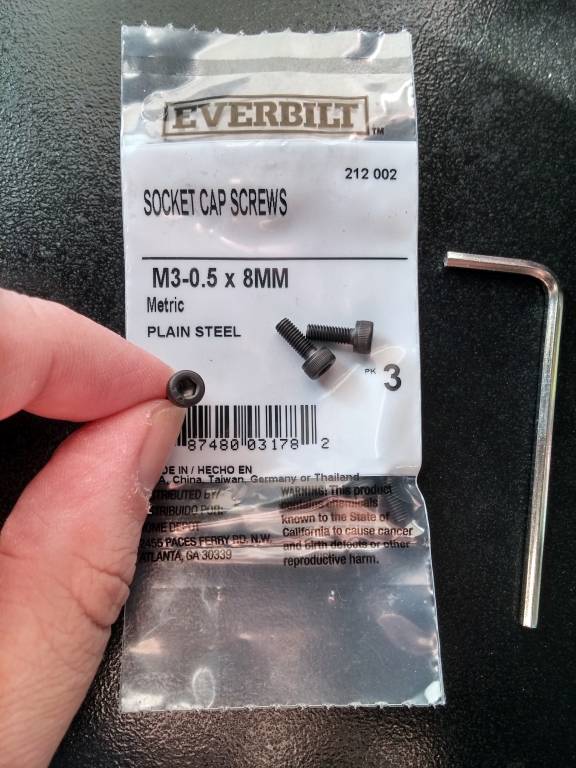
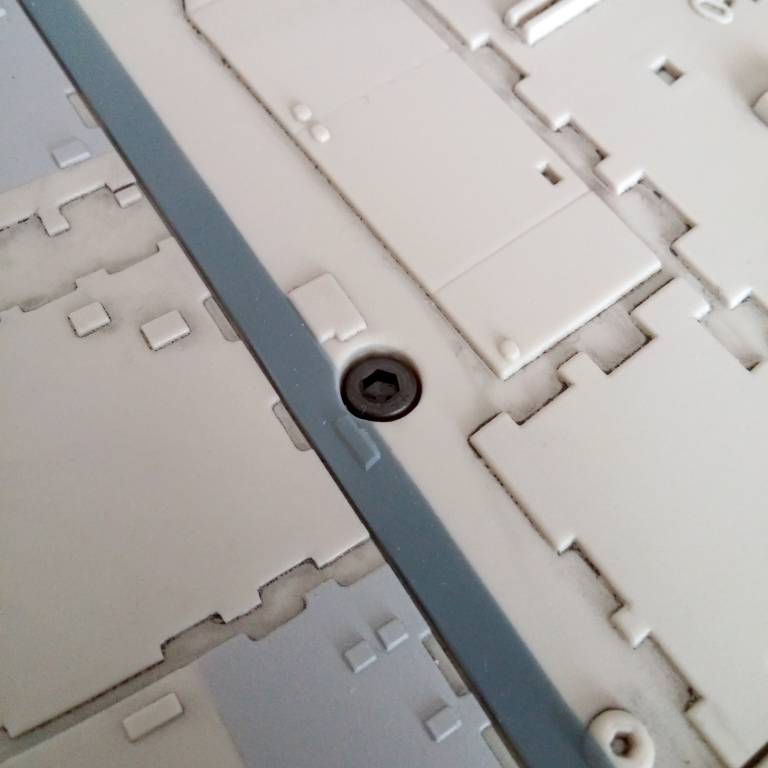
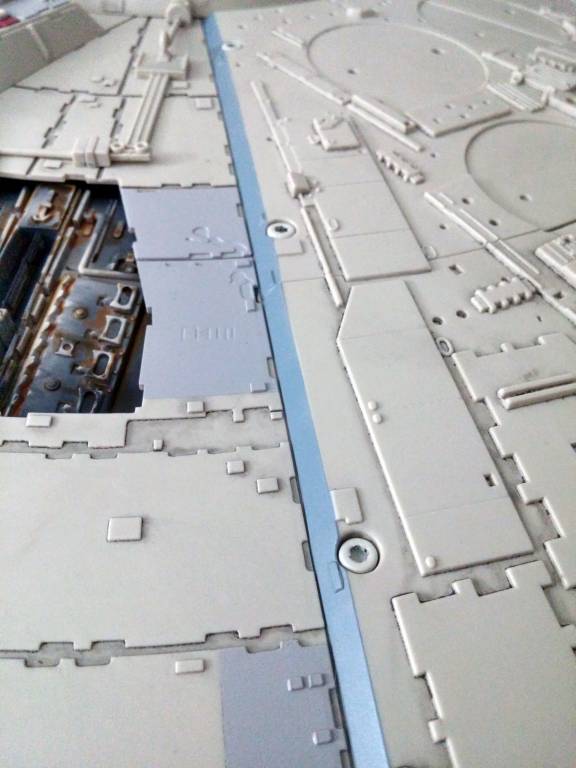
In issue 95, DeAgostini finally provides screws to secure the large engine cover to the top frame. Unfortunately, this is where they cheaped out again.
The screws are plastic, and people have been complaining that the threads have been stripping. That’s not surprising since they’re being threaded into metal holes. The magazine also warns about using an allen wrench, which can strip the heads of the screws.
Plastic screws are horrible, but it’s probably the easiest solution since the screw heads have to be the same color as the ship’s hull. Fortunately, there’s a workaround, and it can be done now; you don’t have to wait until issue 95.
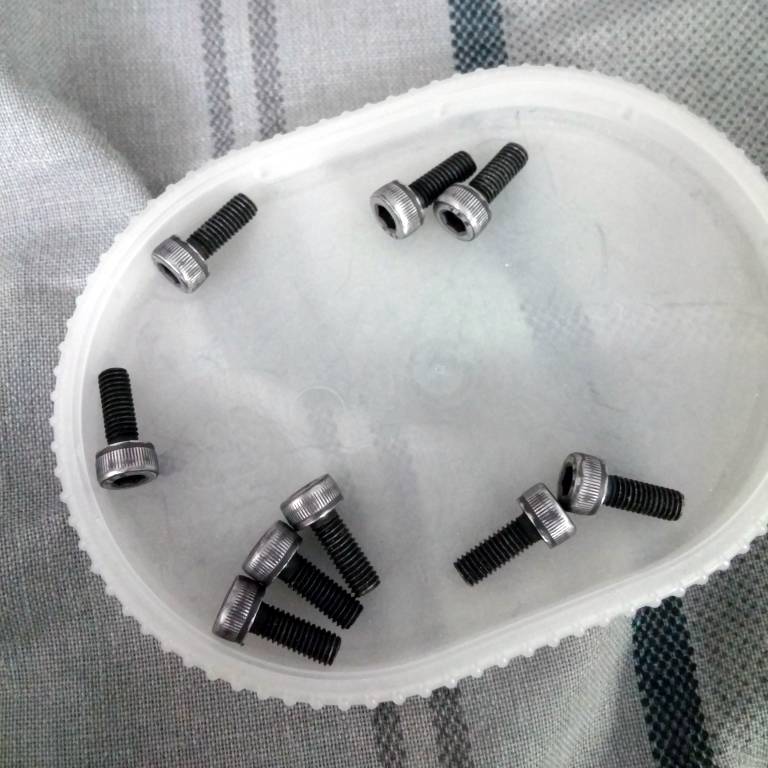
I bought M3 0.5x8mm socket cap screws from a nearby Home Depot. The plastic screws are closer to 6mm, but the extra length doesn’t hurt anything. Hardware stores vary when it comes to selling metric screws, so looking for them can be like a scavenger hunt. Or, you can order some online. I bought nine screws (6 for the plate, 3 as extras) for around $1.
I then cleaned the heads with alcohol (to remove dirt, dust & grease), I sanded them so that the paint would stick better, I painted them, and I finally varnished them.
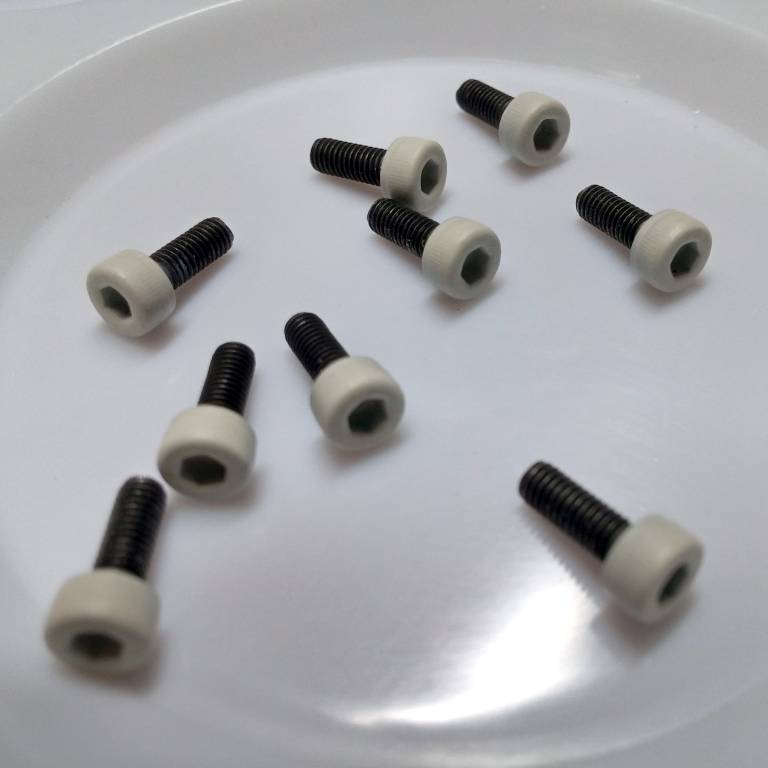
To screw them in, I used an allen wrench (also known as an allen key or a hex key). I don’t know what size it is, or if it’s even metric, but it works . . . at least it did before I added layers of paint and varnish to the screw heads. There was a little bit of damage to the paint, but nothing that will not be hidden after adding weathering effects. I may have to try a smaller allen wrench.
Did I mention that you’ll need an allen wrench? Yeah, DeAgostini doesn’t supply you with one. I don’t know what size is needed.
Skipping Ahead
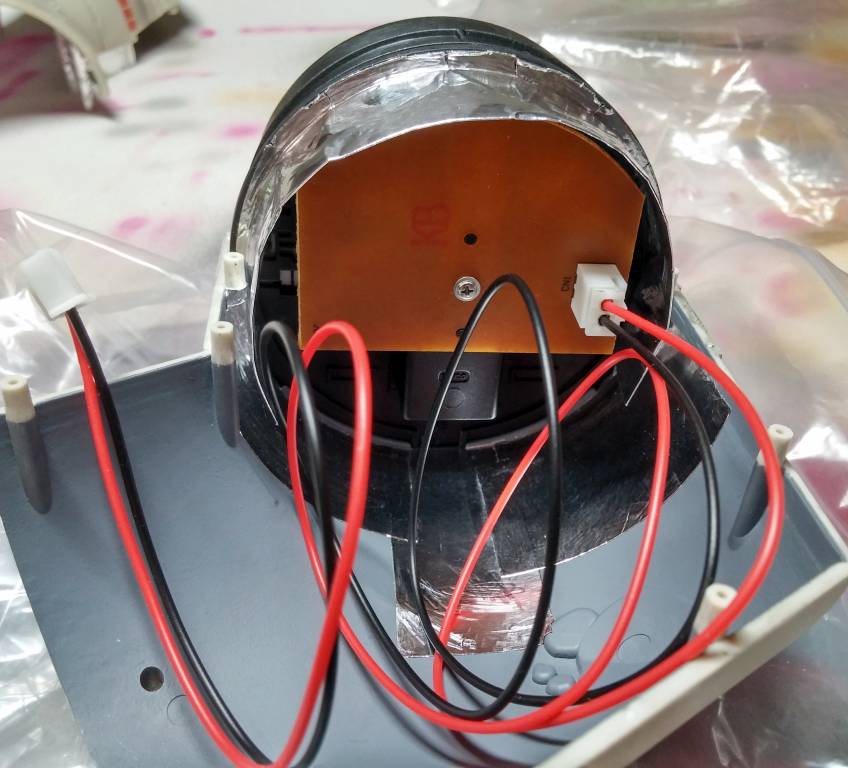
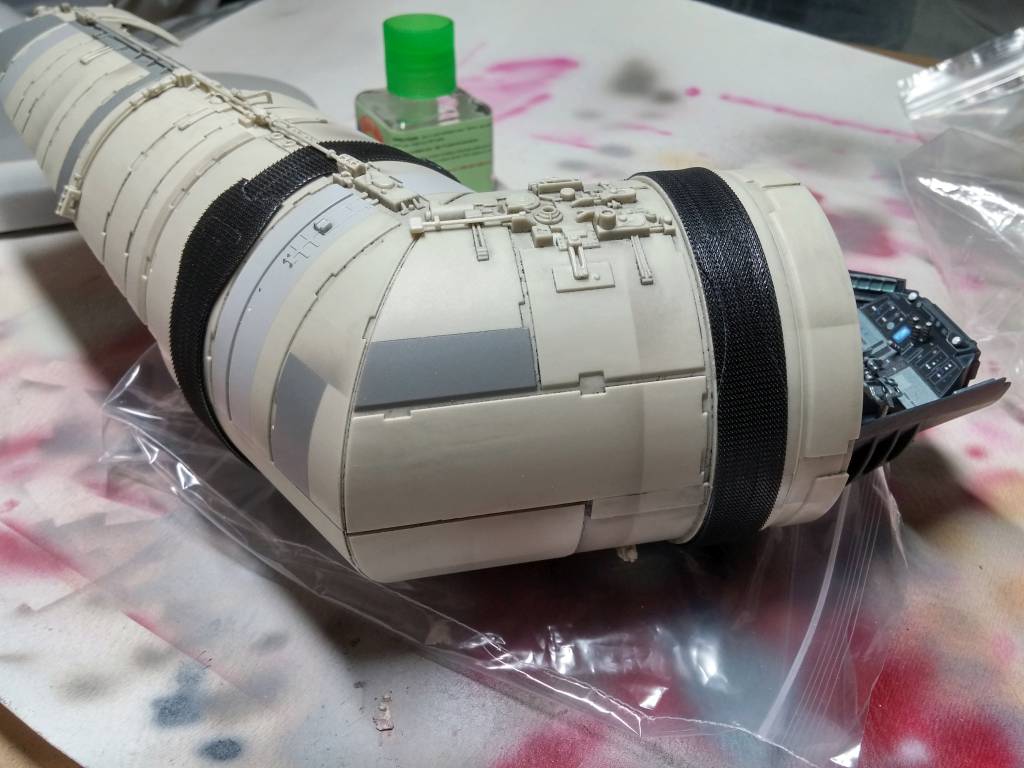
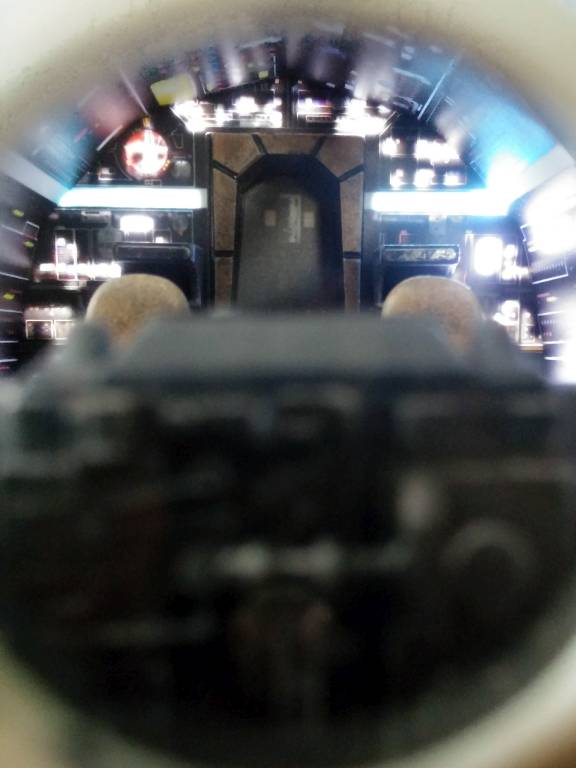
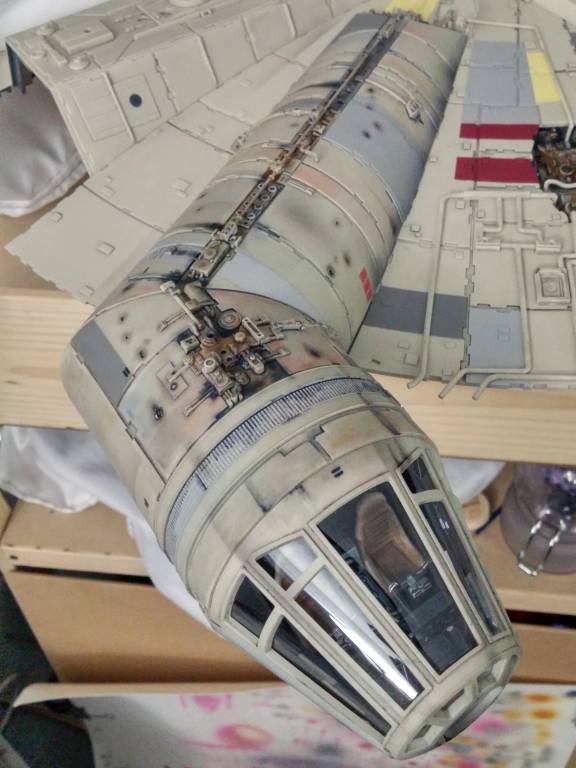
Skipping ahead yet again, I decided to completely finish the cockpit and its access tube. First, I attached the extension cable (supplied with issue 9) to the cockpit lights since I will not be able to fit my large fingers inside later. Then, I glued the two halves of the corridor, strapping them together with Velcro straps while the cement dried.
The cockpit nose cone comes in three parts: a ring and two halves of the cockpit itself. I glued the two halves together, and filled in the seams with epoxy. Then, I glued on the ring. The inner cockpit details (panels & seats) were covered with plastic to protect them from paint and varnish over-spray. The nose cone was dry-fitted over the plastic to keep everything in place.
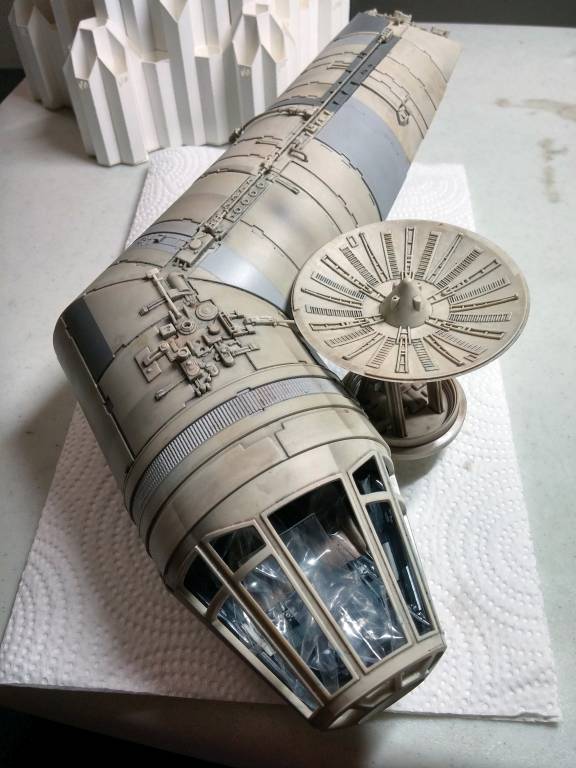
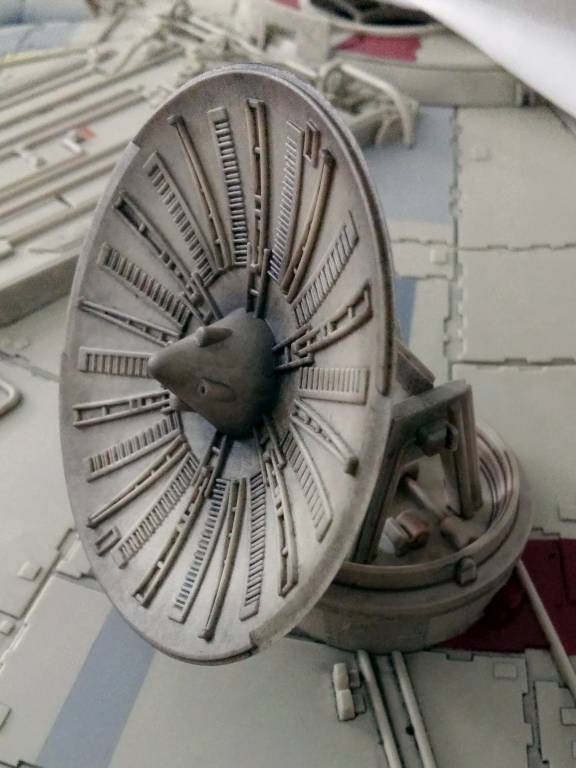
I also decided to paint the completed rectenna dish at the same time, using the same techniques that I used on the lower hull.
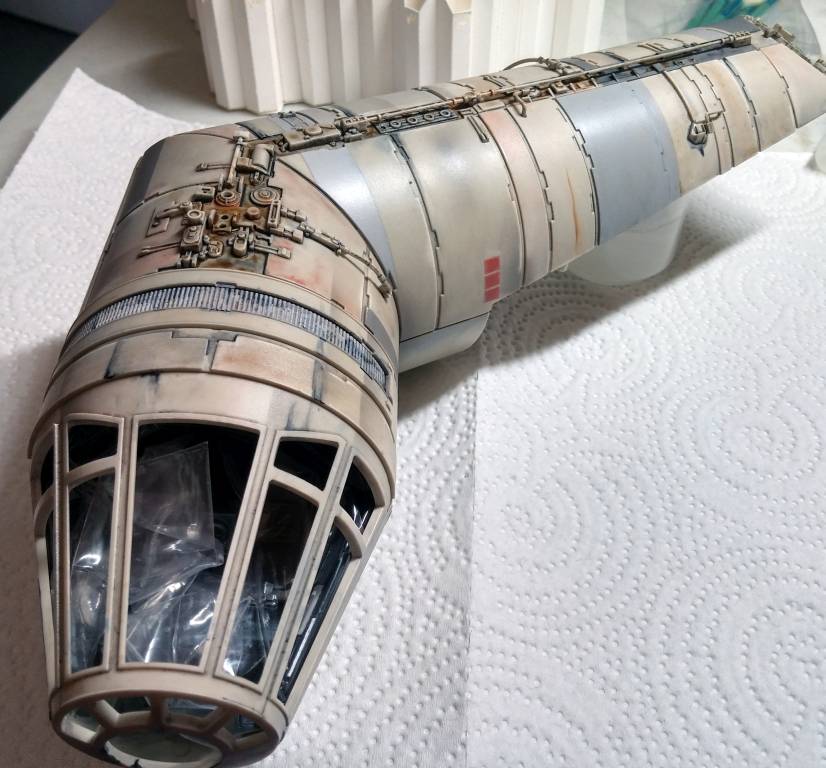
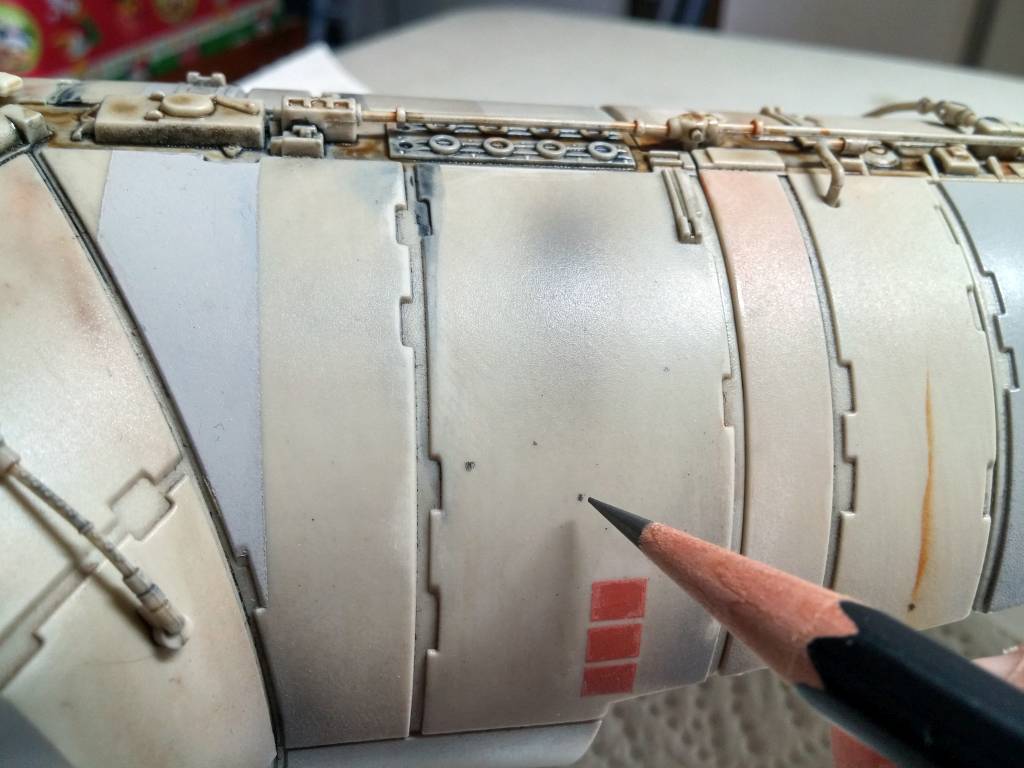
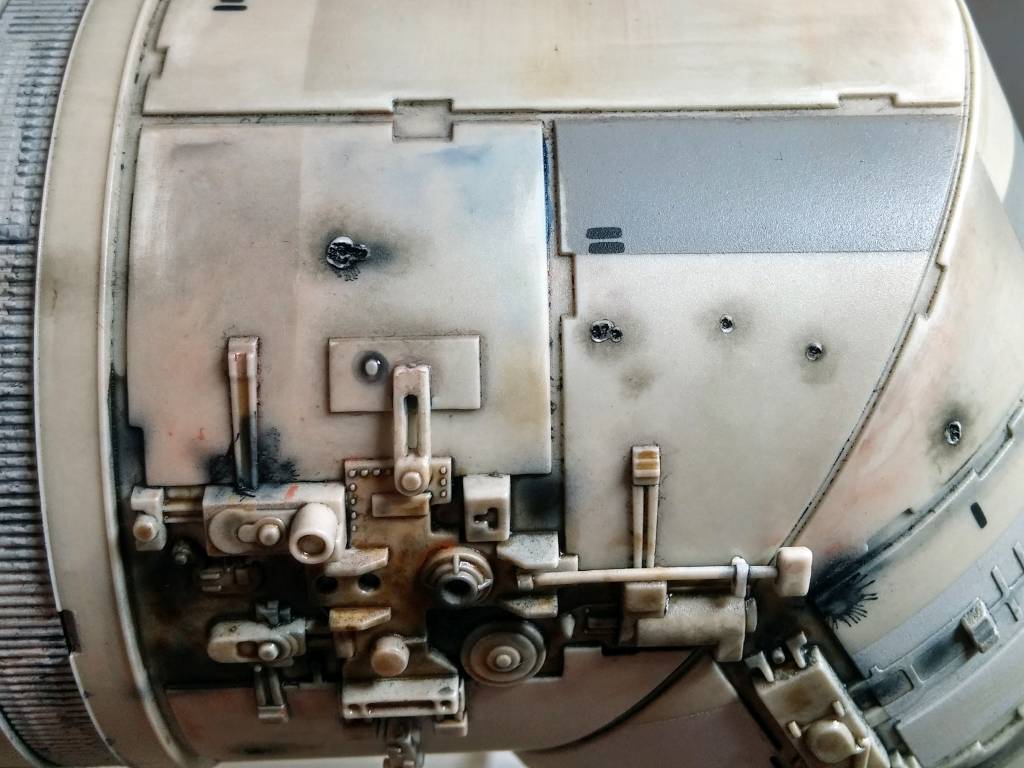
For the blaster marks, I studied my reference photos and lightly marked each blaster mark with a pencil. I used pastels to create the scorch marks, and painted the holes with a fine brush. Unfortunately, the holes looked fake, so I used my wood-burning kit to melt tiny holes (more like dents), and shave off the excess melted plastic. The result was much more realistic.
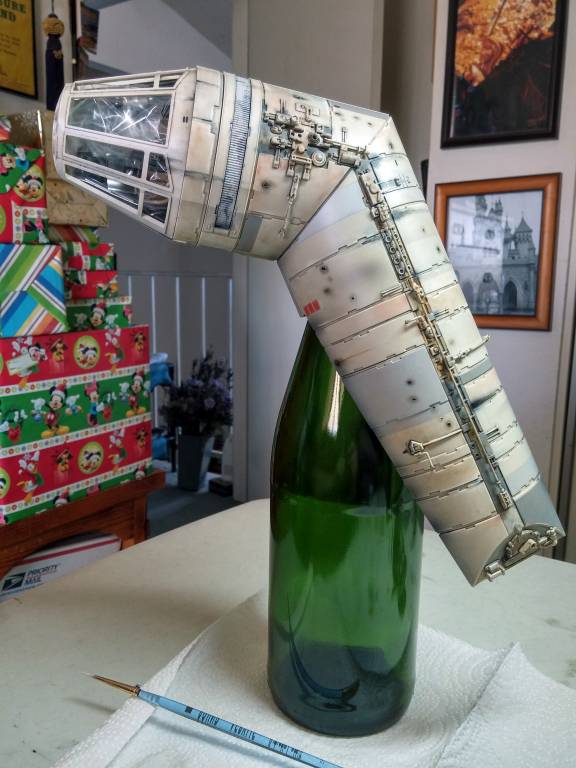
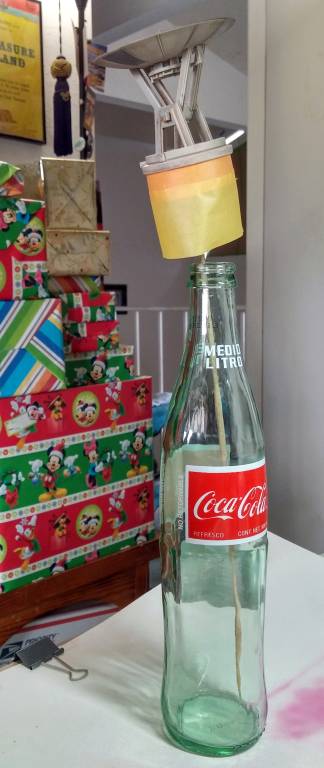
The cockpit and rectenna dish now needed to be varnished. I found a couple of glass bottles to prop the pieces onto, making it very easy to finish. The bottles were so handy that I may keep them around for future projects.
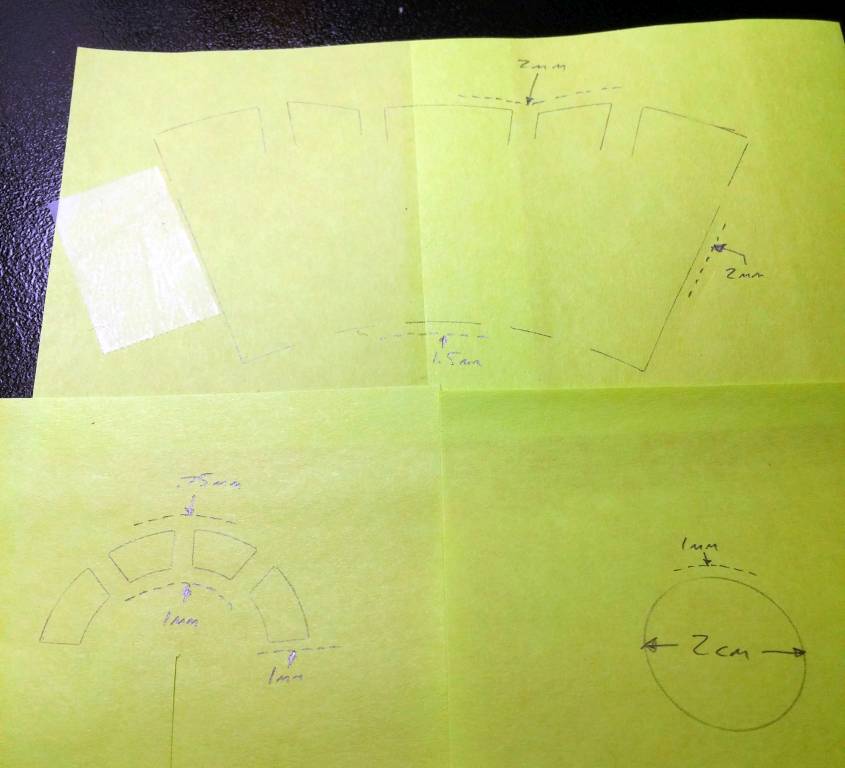
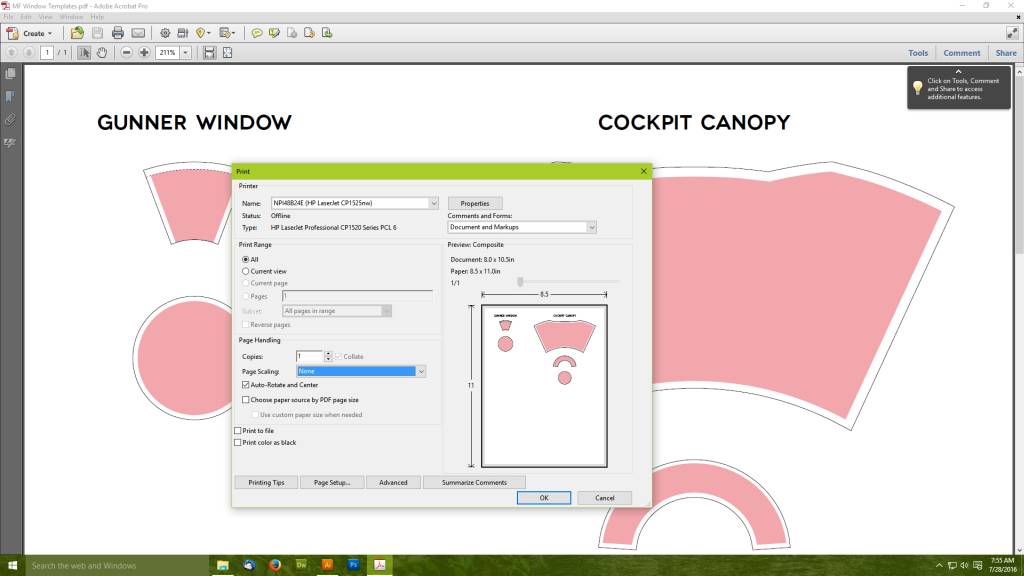
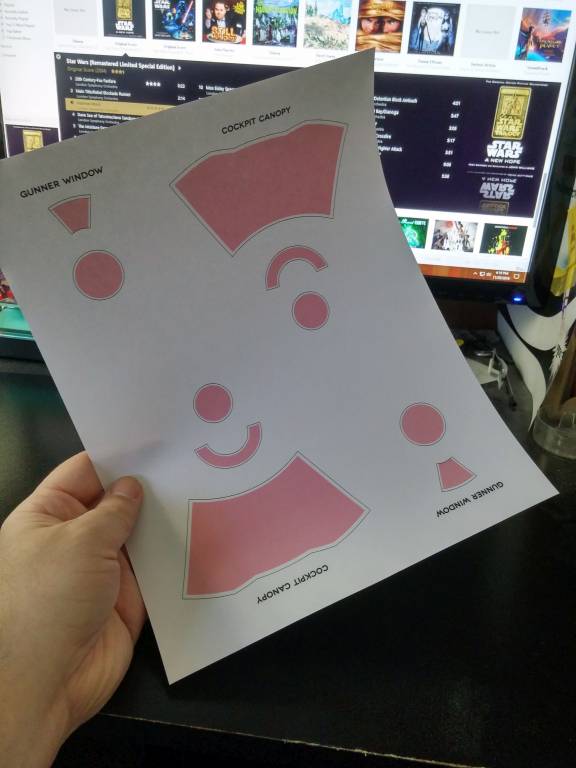
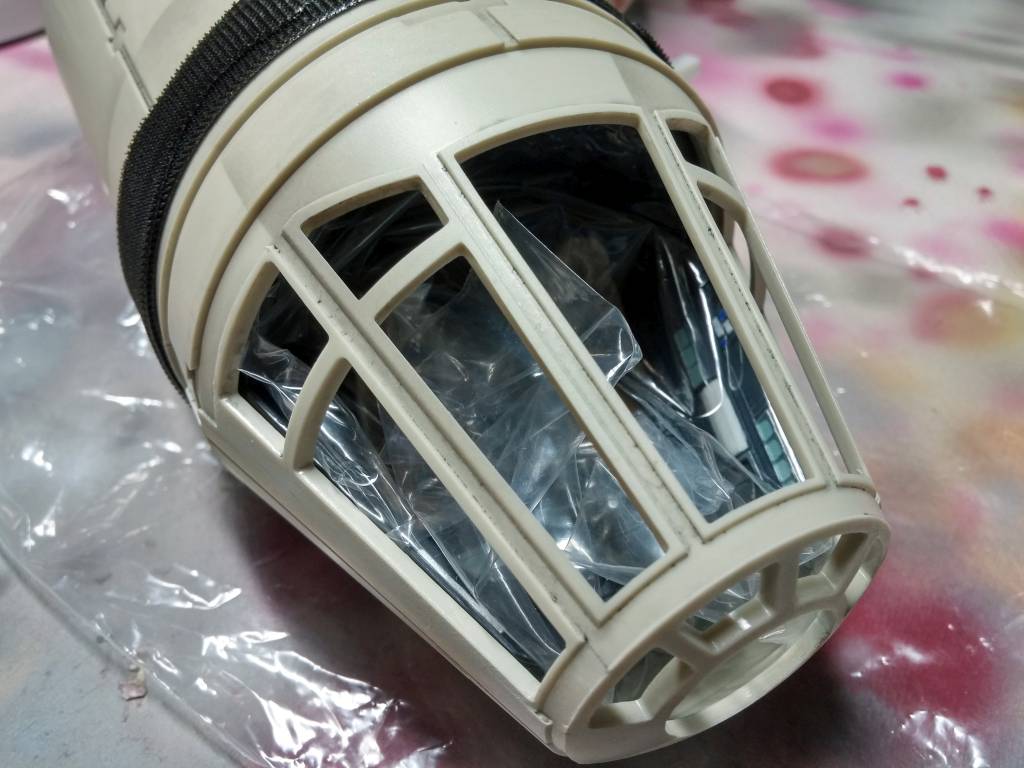
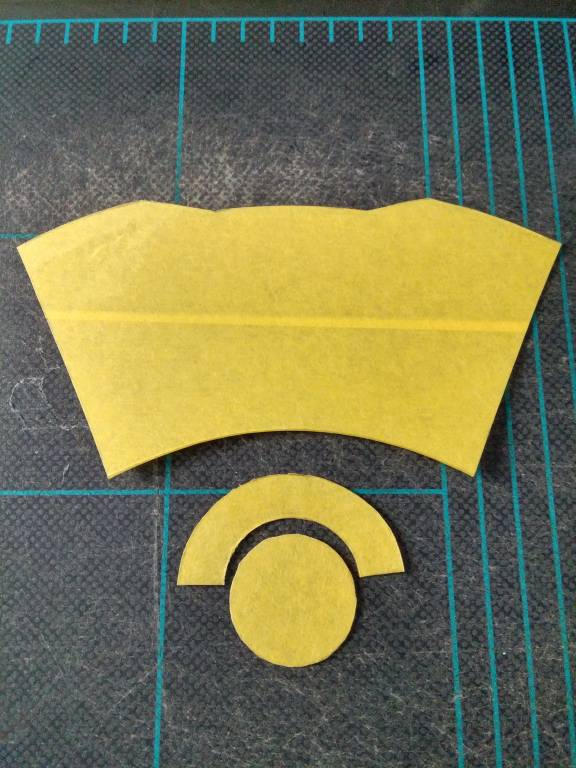
While the varnish dried, I designed the cockpit windows from pencil traces that I took earlier in the year. The tracings were scanned into the computer, then converted and modified using Adobe Illustrator. Download the file and print your own window templates. Refer to Build Journal No. 17 to see how I installed the turret windows.
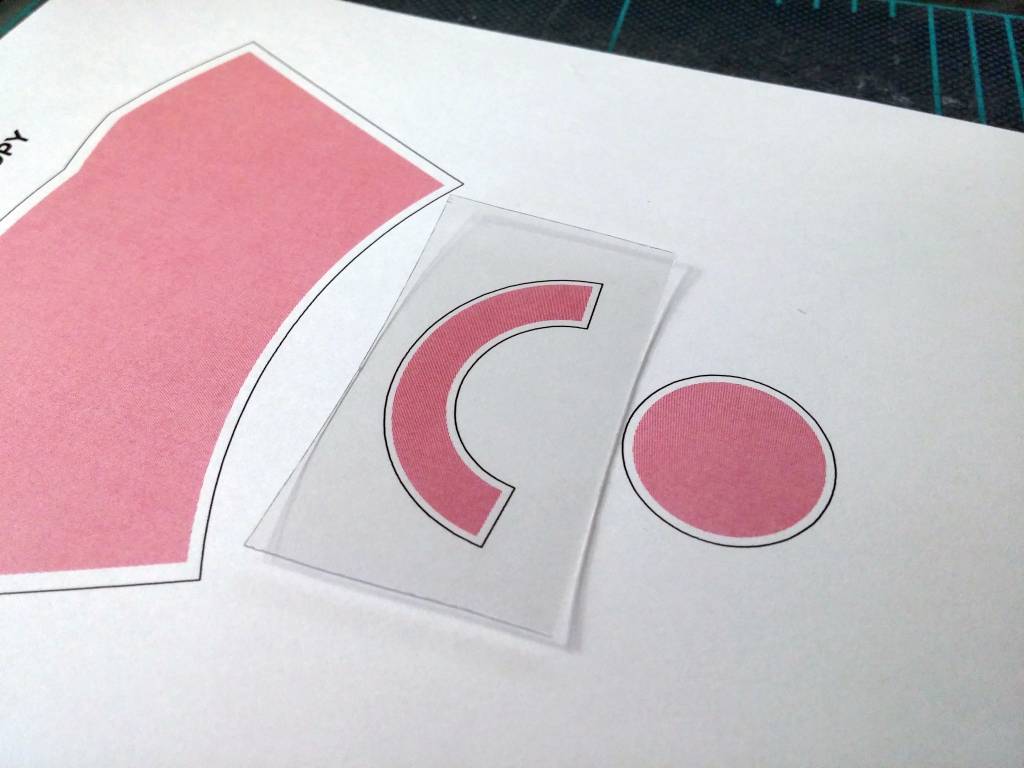
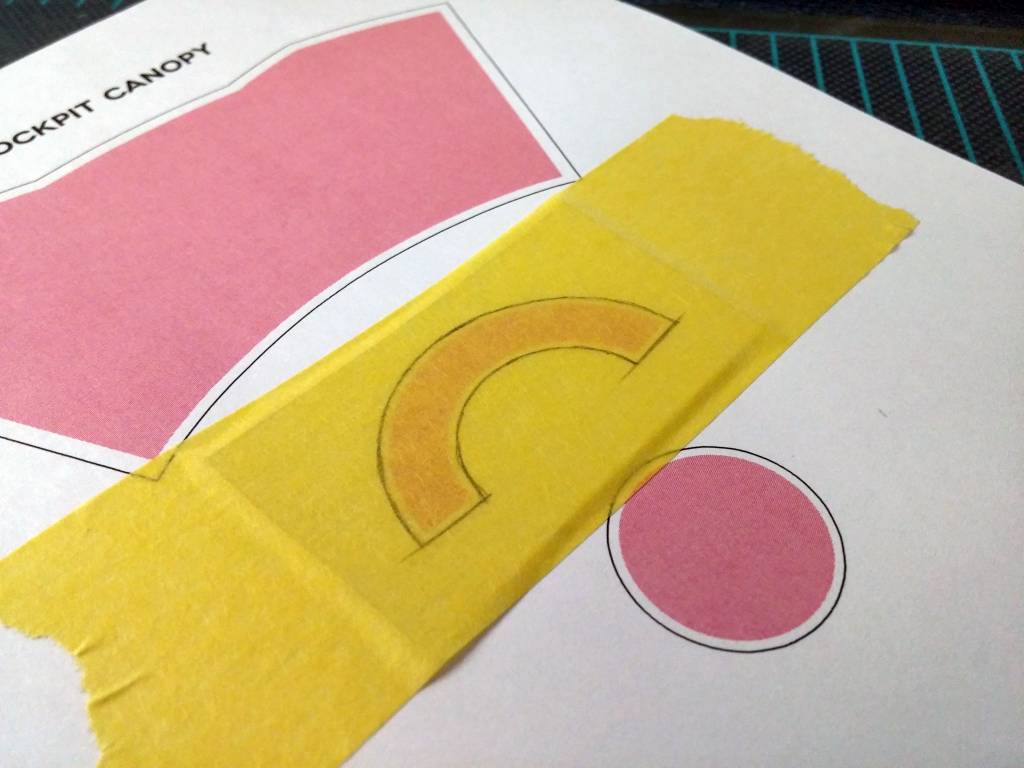
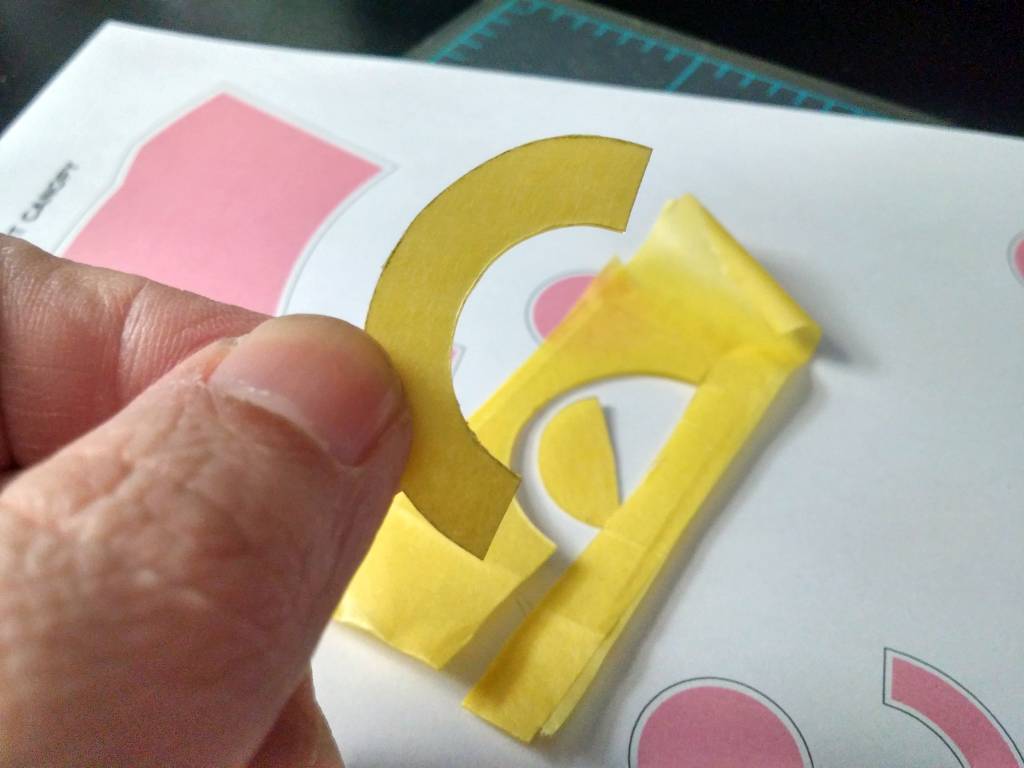
With the varnish dried, I removed the cockpit nose cone and the plastic protecting the interior details. The window pieces were glued to the inside of the nose cone one at a time, working carefully to make sure that each piece lined up properly.
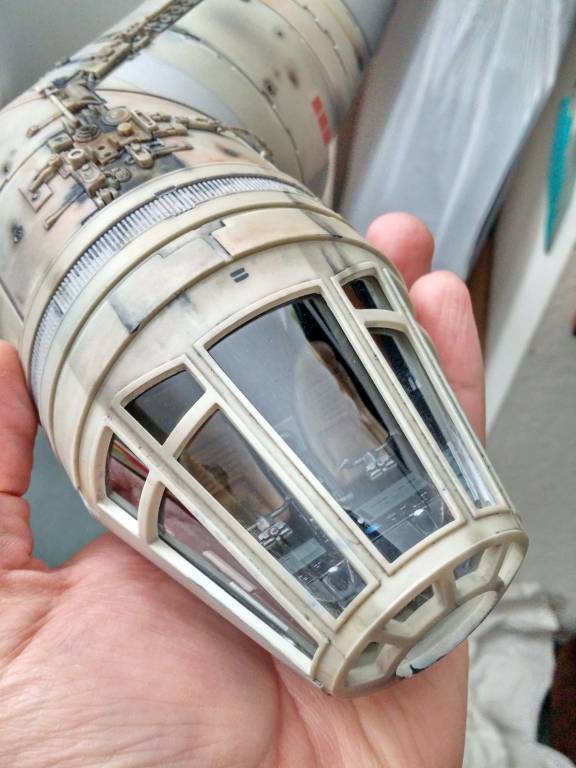
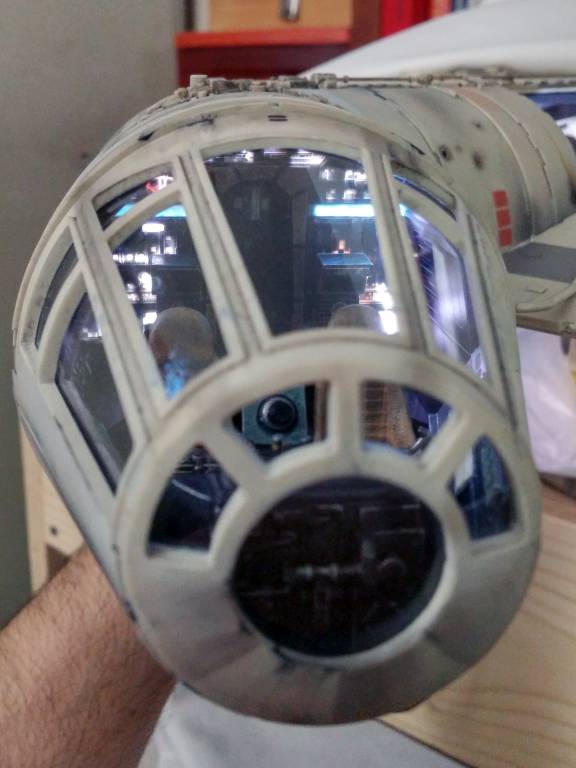
The plastic windows really do look better than the windows that are supplied by DeAgostini. The view is not obstructed, and it does not look toy-like. I had originally planned to glue the cockpit nose cone to the access tube, sealing the contents forever. But, the part fits so snugly to the tube that I decided leave it as a removable piece. It’s an extra part of the Falcon that can be removed to view the interior details of the cockpit. It also makes cleaning the windows easier.
The only thing left is to fit the rectenna dish into place (no glue), and to permanently screw the cockpit tube onto the upper hull.
A New Tool
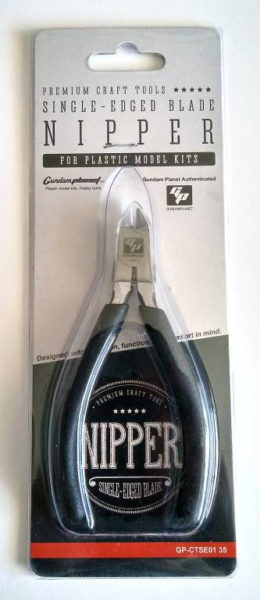
Since the beginning, I have been using a basic set of flush cutters from Home Depot, and I have had my eye on a set of new nippers for quite some time.
The Gundam Planet nipper has a single-edged blade designed specifically for plastic model kits. That is, it is strictly for cutting soft plastic materials. Anything else would have to be cut with regular flush cutters.
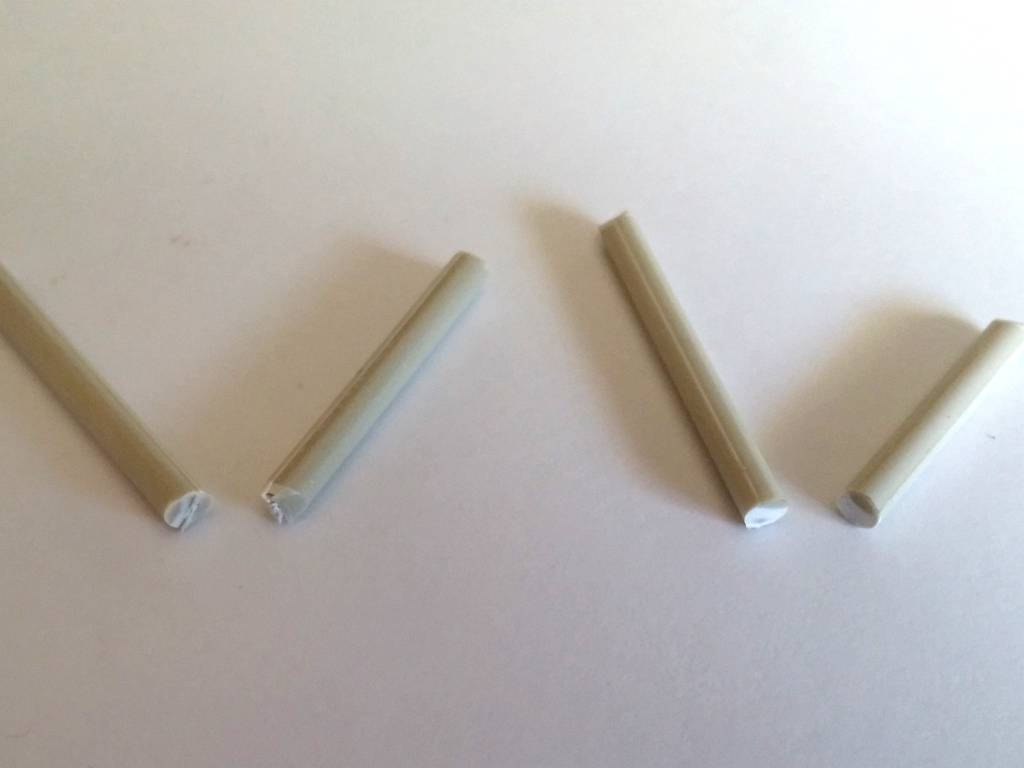
The nippers smoothly and quickly cut through the Millennium Falcon parts like butter. By comparison, my flush cutters require much more force, creating a harsh snapping action that can jar and damage parts. Cuts with the nippers are smooth and flat thanks to the one-blade design. Flush cutters and other two-bladed cutters pinch the plastic, leaving an ugly tear point.
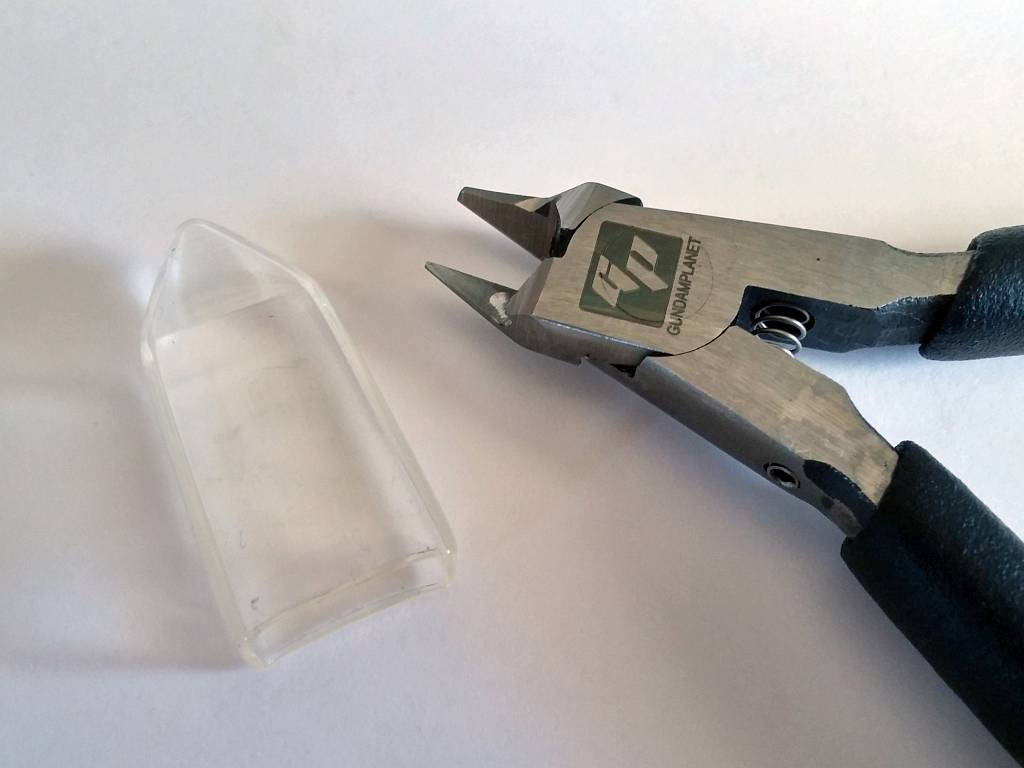
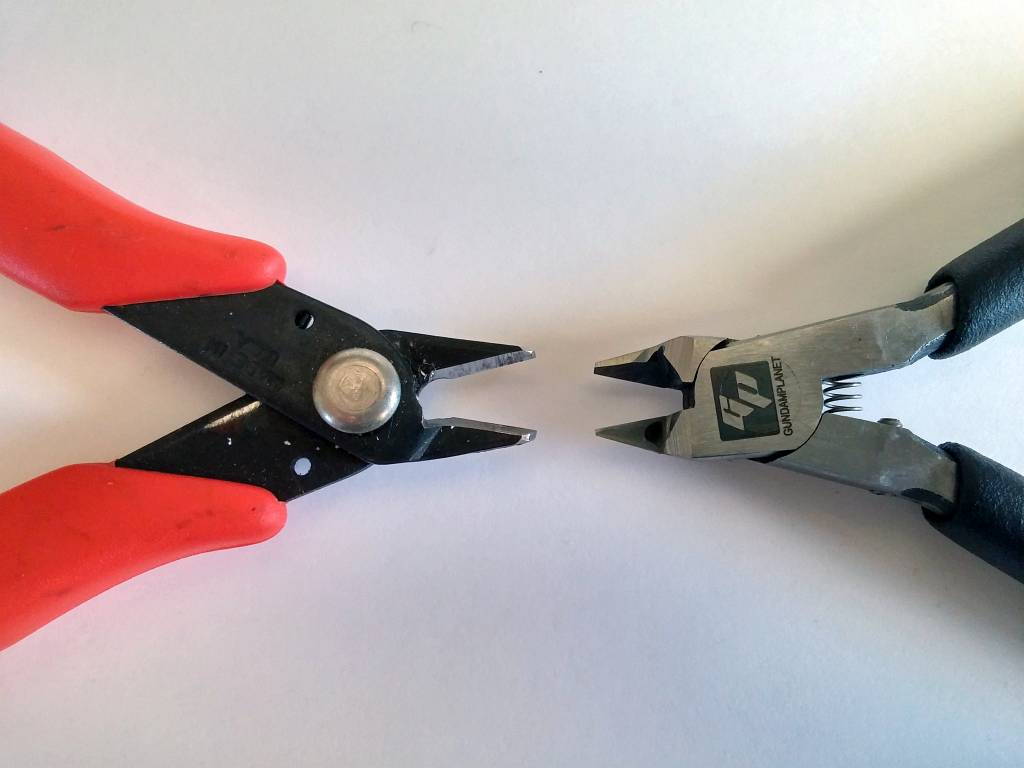
Gundam Planet says that their nippers will not leave white stress marks on the cuts, but I found that to be grossly false . . . at least for the Millennium Falcon. The Falcon is not your typical plastic model kit. It’s designed to be more durable, and the type of plastic used may be different. But, the white stress marks disappear easily if you burnish them with your fingernail.
Overall, I love the Gundam Planet nippers. I’ll have to try them on a regular hobby model to see if they leave no stress marks as advertised.
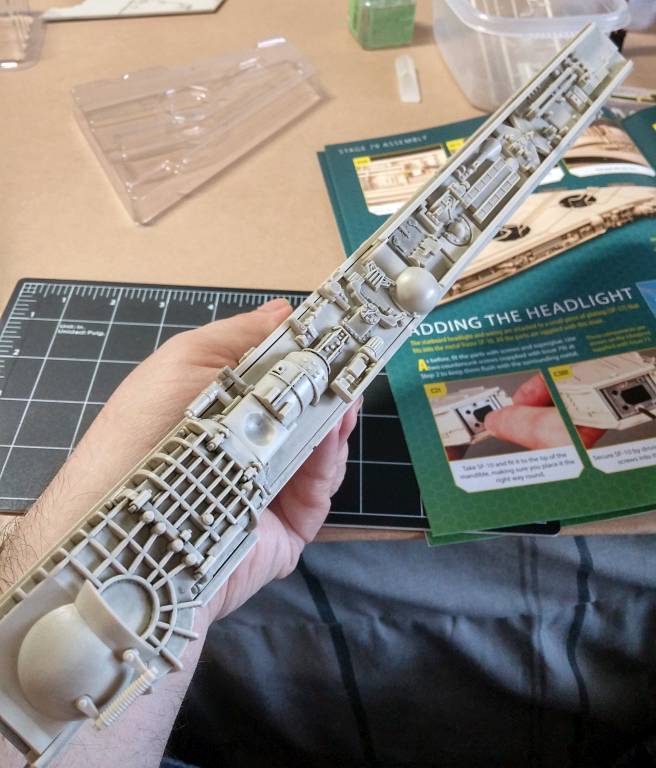
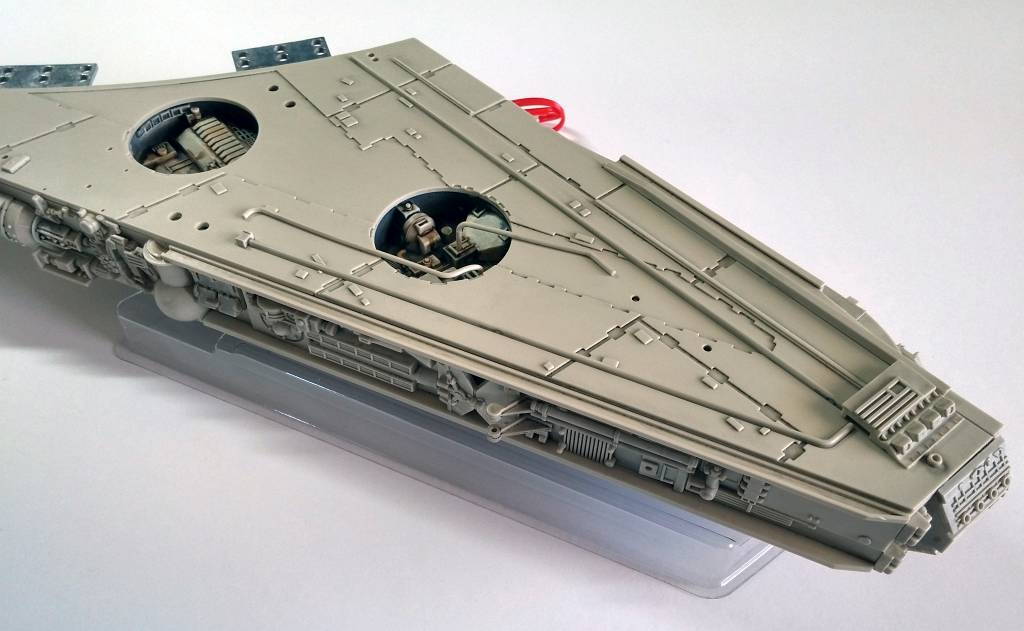
Assembling the Starboard Mandible
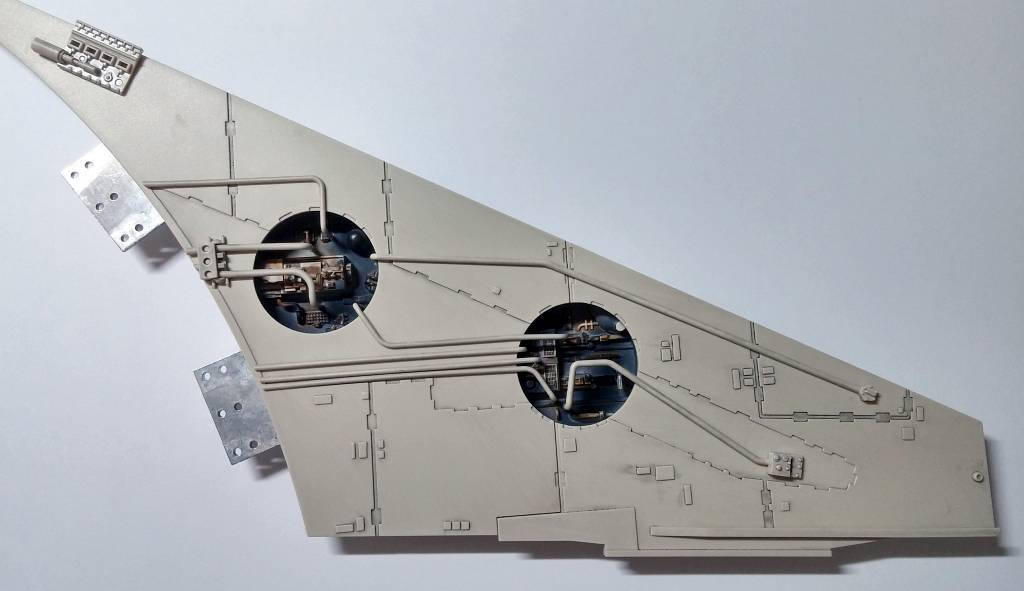
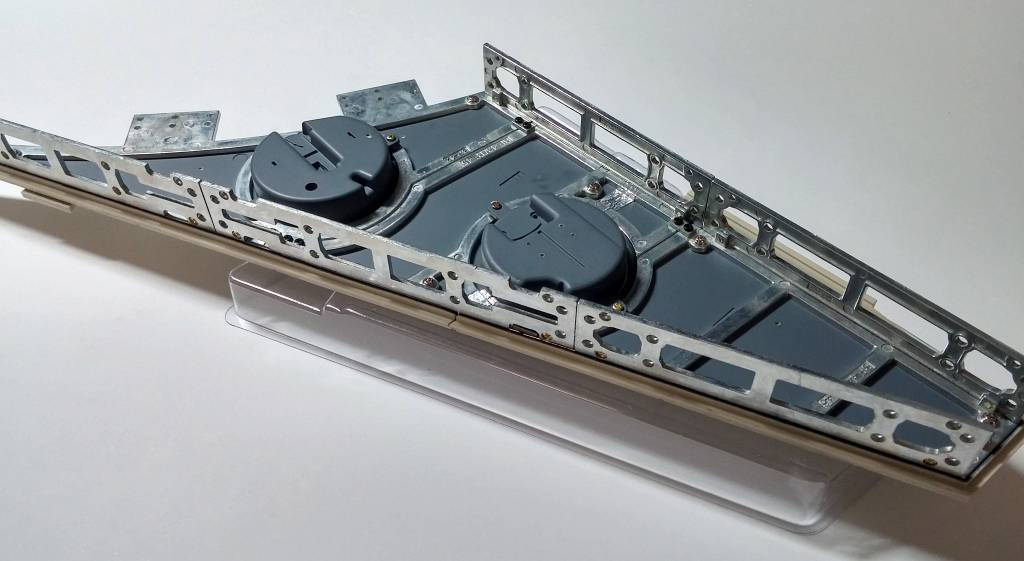
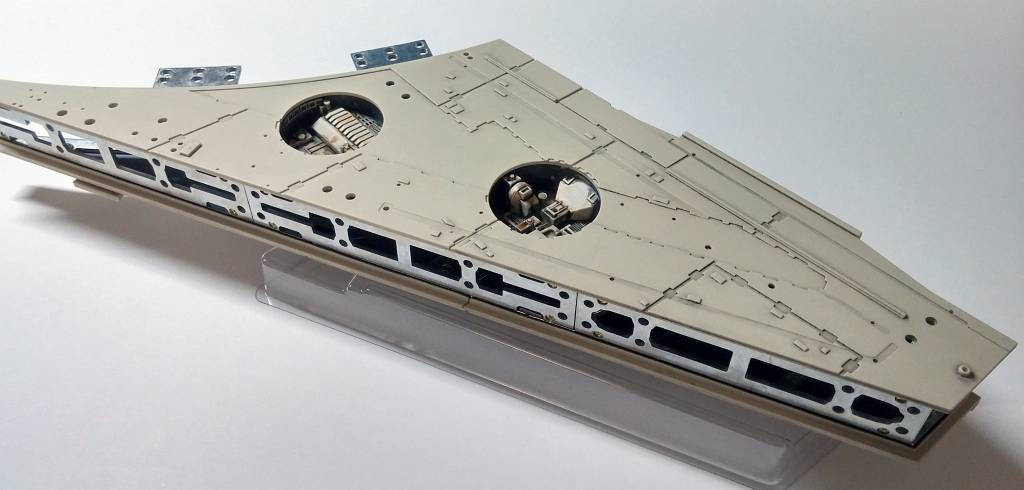
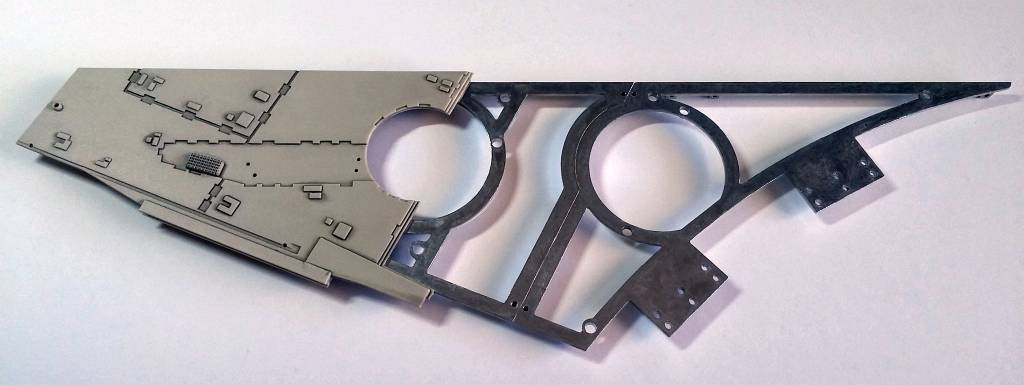
Resuming from where I left off, I assembled the bulk of the starboard mandible by adding more pipes and joining the top and bottom halves with the metal side frames. This large mandible is now becoming heavy.
Attaching the side panels has been very controversial over on the Model Space forums. Many builders, including myself, don’t like the idea of gluing plastic to metal, which is what the instructions say to do. It’s the long-term durability of the glue that is in question; nobody wants the side panels to start falling off in a few years.
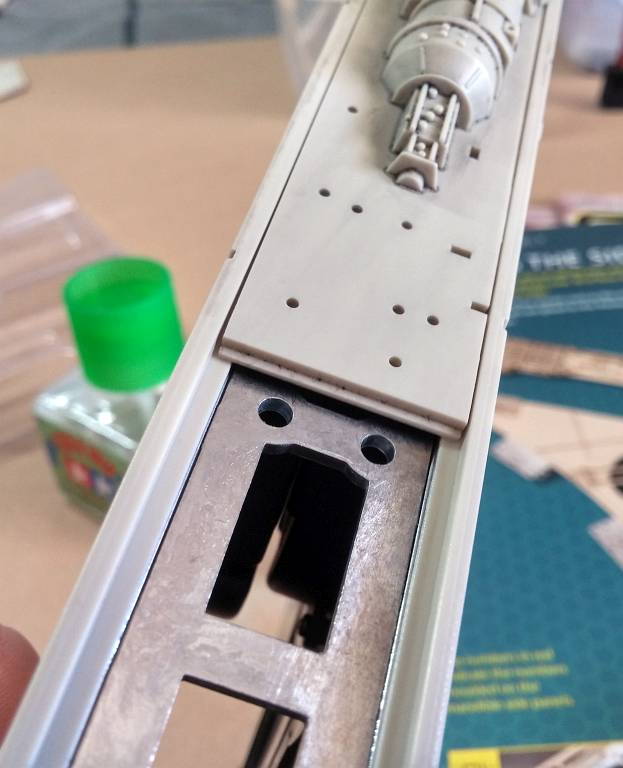
Fortunately, the side panels rest against plastic ledges. That’s a perfect glue spot for the side panels, and I had no difficulty installing the side panels.
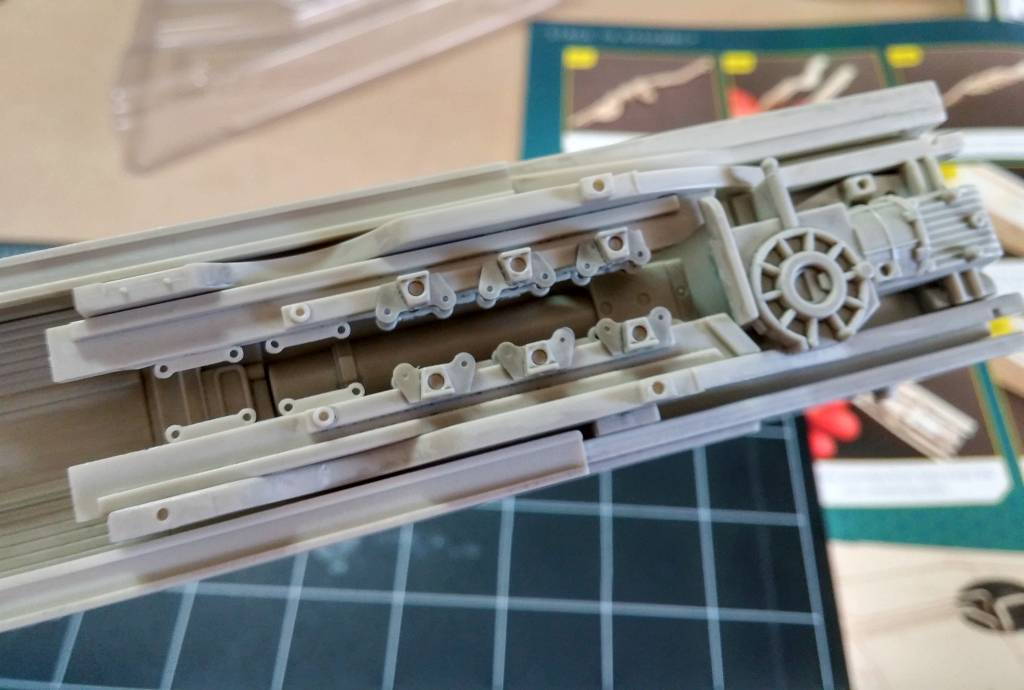
Adding the side panel greeblies was mostly simple. There were about four pieces that were really tiny, and I thought that they would fly off of the tweezers.
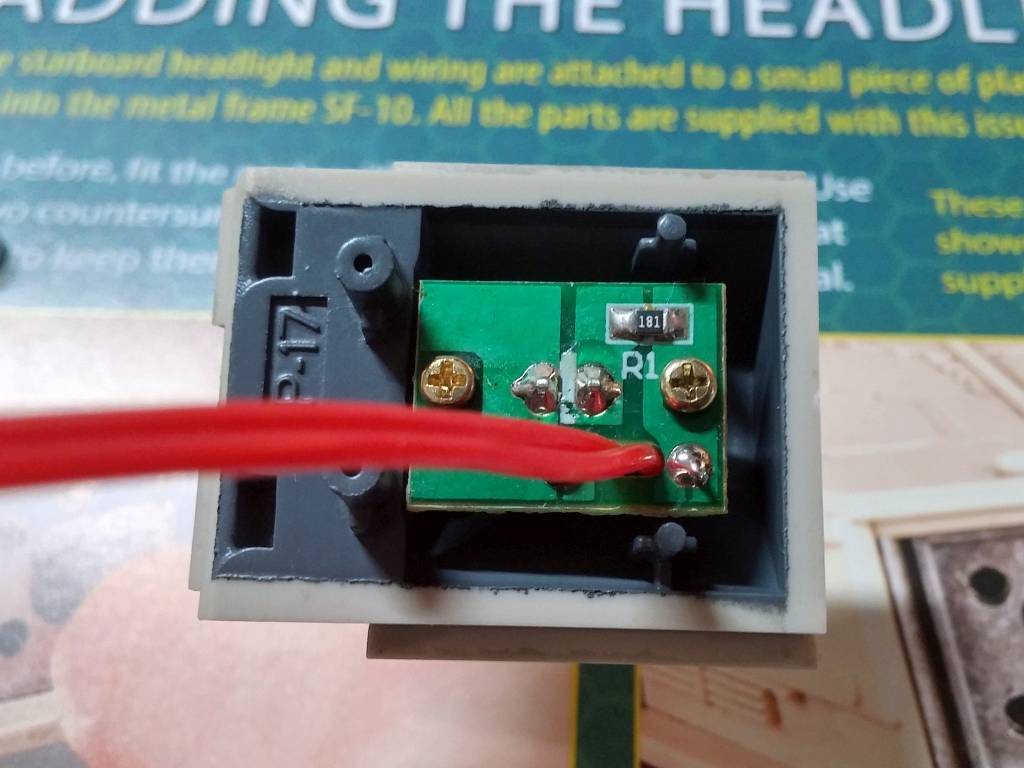
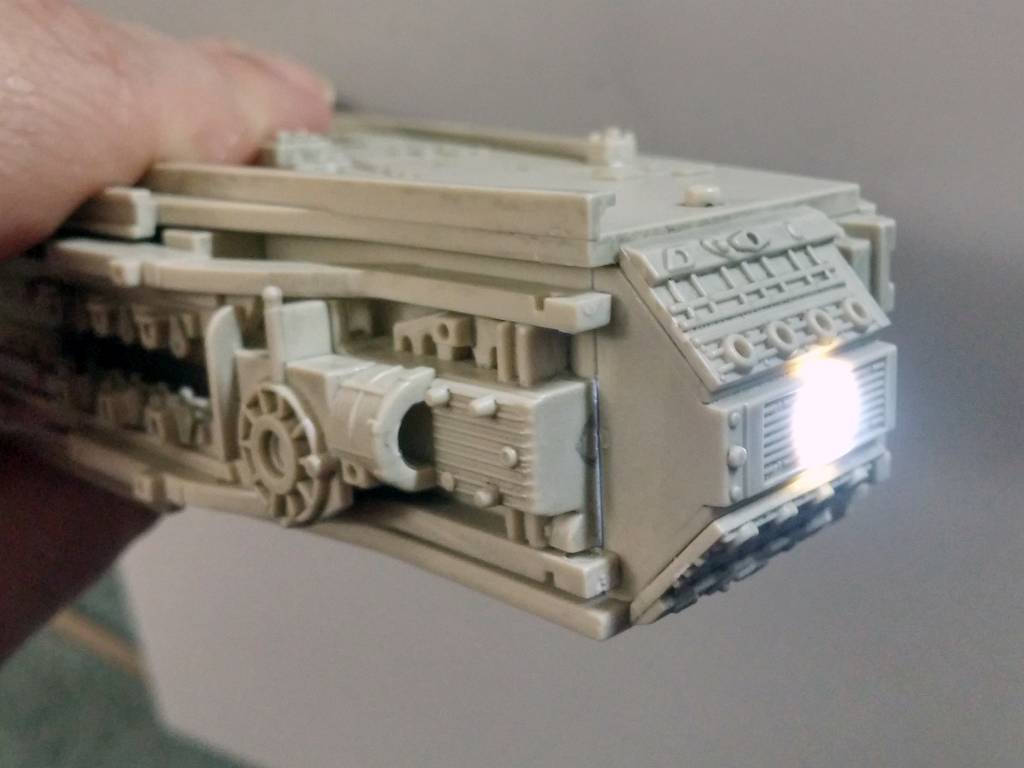
Attaching the headlight and adding more pipes to the top pretty much ended the work on the starboard mandible for now. There will be more parts to add on in later issues.
Earlier, I mentioned that the mandible is heavy. Out of curiosity, I weighed it on my postal scale, and it’s just over one full pound!
This month’s Build Journal finishes with the start of the port mandible. DeAgostini is such a tease.
Prev Journal Entry | Next Journal Entry
Both the post author and this website have not received any compensation for writing this post. Both the post author and this website have no material connection to the third-party brands, products, or services that have been mentioned. Some of the links in the post above are “affiliate links.” This means that if you purchase the item, we will receive a commission. As an Amazon associate, we earn from qualifying products. This is being disclosed in accordance with the Federal Trade Commission’s 16 CFR, Part 255: “Guides Concerning the Use of Endorsements and Testimonials in Advertising.”
Do you have a thought about this post? Why not leave a comment . . .