Let’s Build the Bandai Star Wars Y-Wing Starfighter
![]() Trader Sam | January 17, 2017
Trader Sam | January 17, 2017
Inside the Box
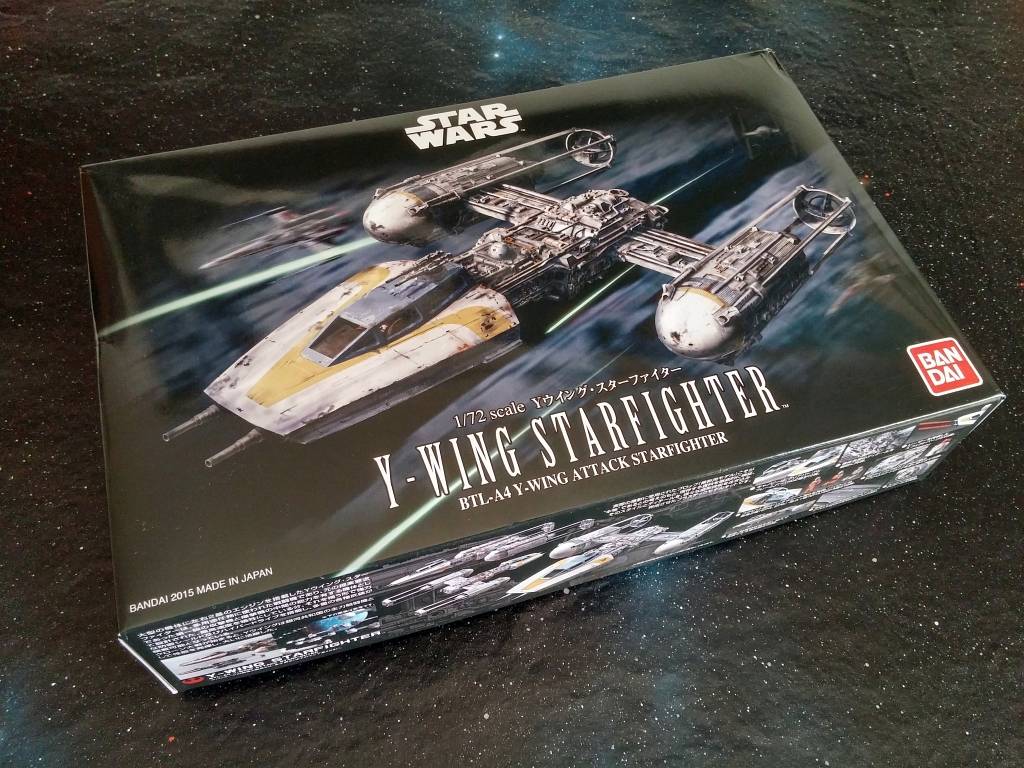
Continuing my interest in plastic model kits, I decided to give in to my inner Star Wars fanboy. I had heard about the popular Bandai kits and how they are supposed to be among the best kits out there. I watched many YouTube videos, and I settled on the Bandai 1/72 Y-Wing Starfighter. Since the model is a Japanese import, I ordered it online through Amazon.
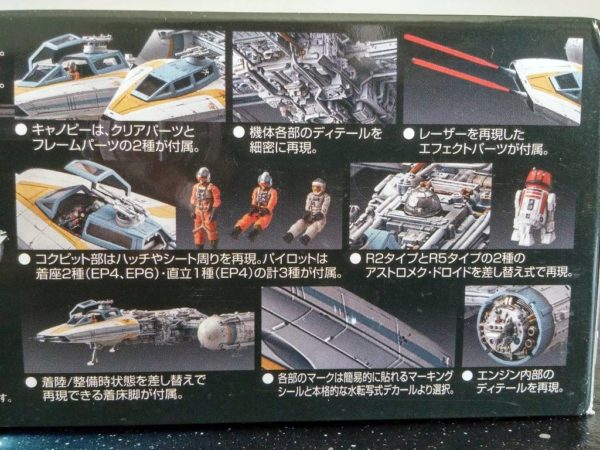
The box is sleek and shiny, covered with wonderful graphics. The side panels are covered with nice reference shots as well as some close-ups of some of the tiny figures and details. Inside the box are the illustrated assembly instructions, sprues (plastic trees that contain the model parts), stickers, and waterslide decals.
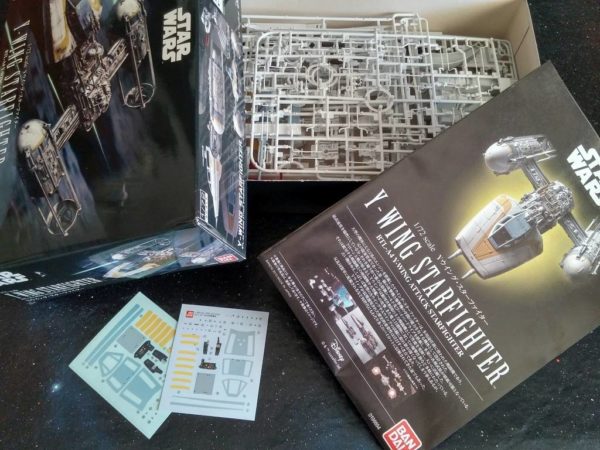
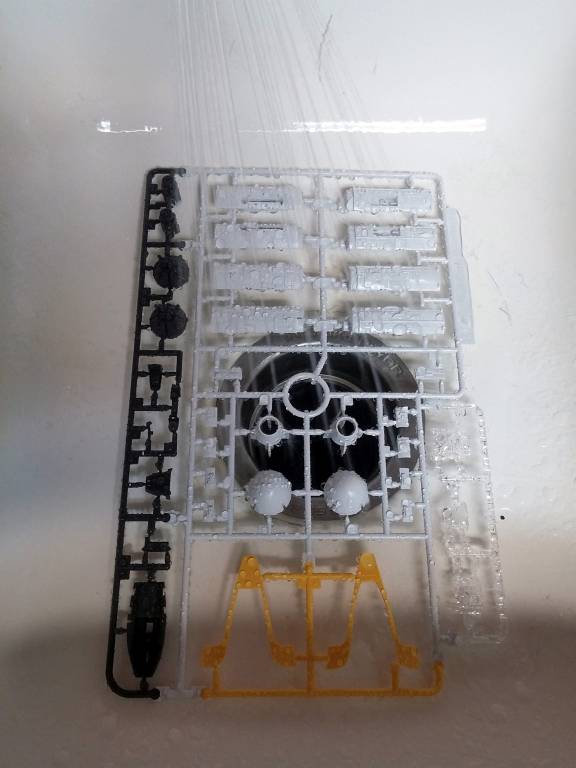
Right away, you can tell that Bandai takes great care and pride in their models (at least, this one). Each sprue is sealed in its own plastic bag for added protection and to keep them from getting caught on each other. There are a ton of delicate parts; damaging them from accidental snagging is not a fun experience.
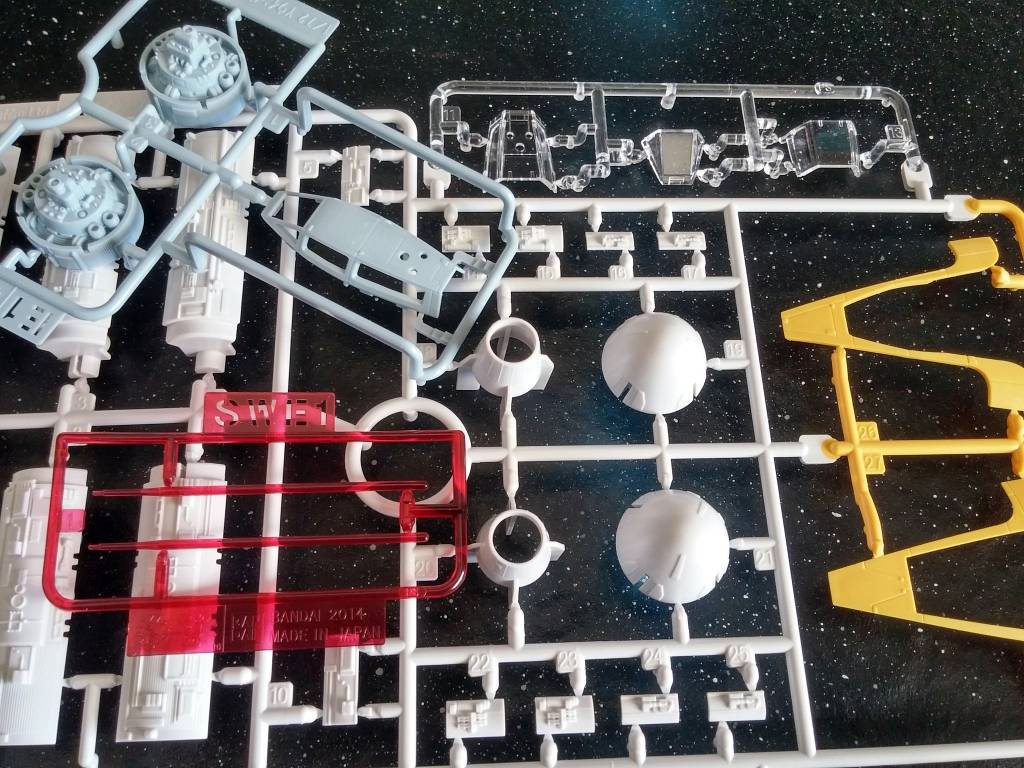

For added protection out of the bags, the sprues also have built-in stand-offs to elevate them. This keeps the parts safe from scratches and unwanted pressure when they are laid out on a flat work area. The super-delicate parts have even more stand-0ffs just around them.
Unlike other models that I have assembled in my lifetime, the Bandai kits are designed to require as little paint as possible. The Y-Wing sprues are molded in multiple colors; some are even on the same sprue! The models I’ve done in the past have always been modeled in a single color . . . sometimes two (not counting clear parts and chromed parts).
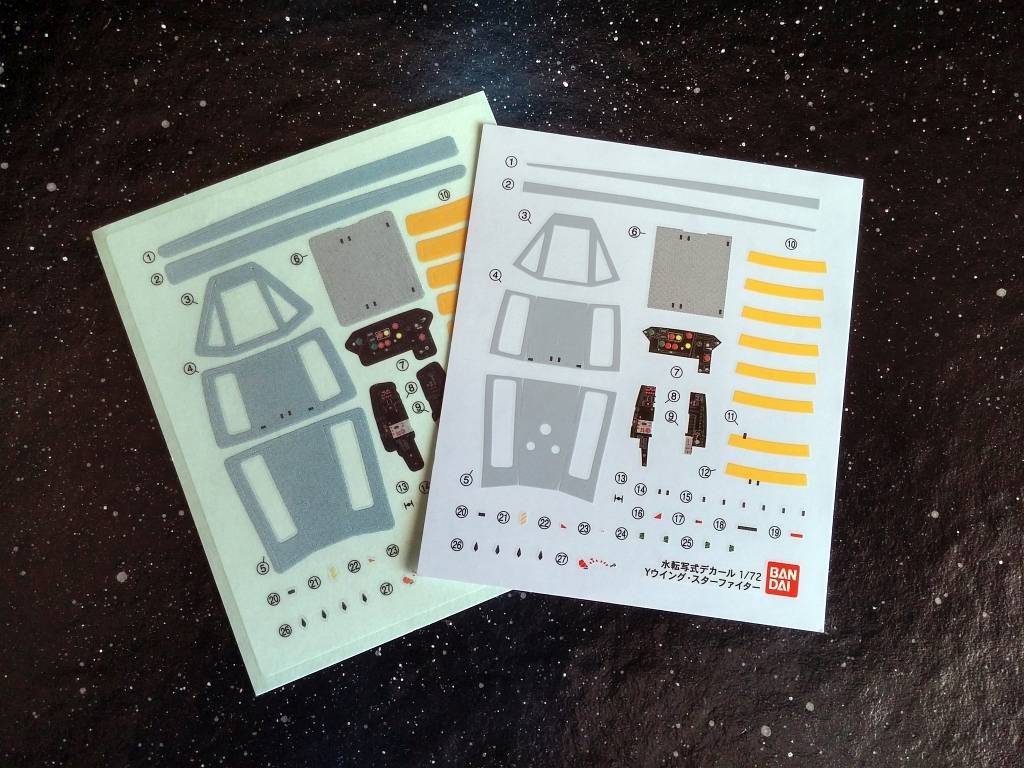
Smaller details and markings are supplied as your choice of either waterslide decals or stickers. I obviously chose the waterslide decals, but the stickers are a nice option for more inexperienced model builders.
Between the colored model parts and the decals/stickers, the Y-Wing doesn’t need to be painted at all. But, it does look best with some weathering.
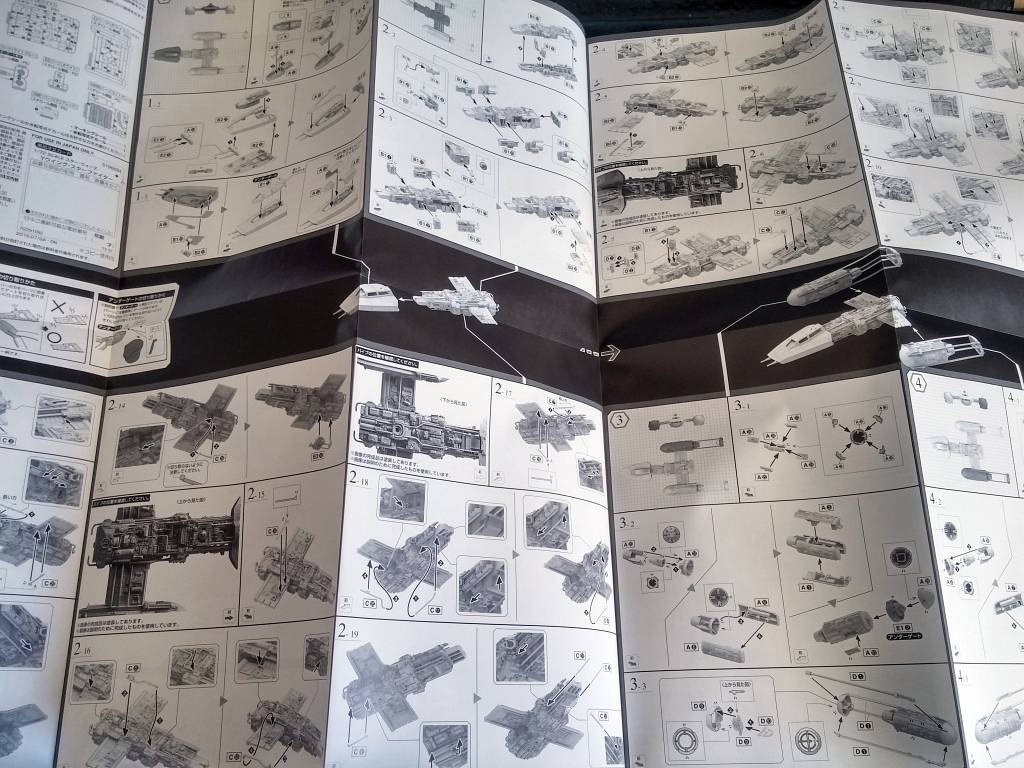
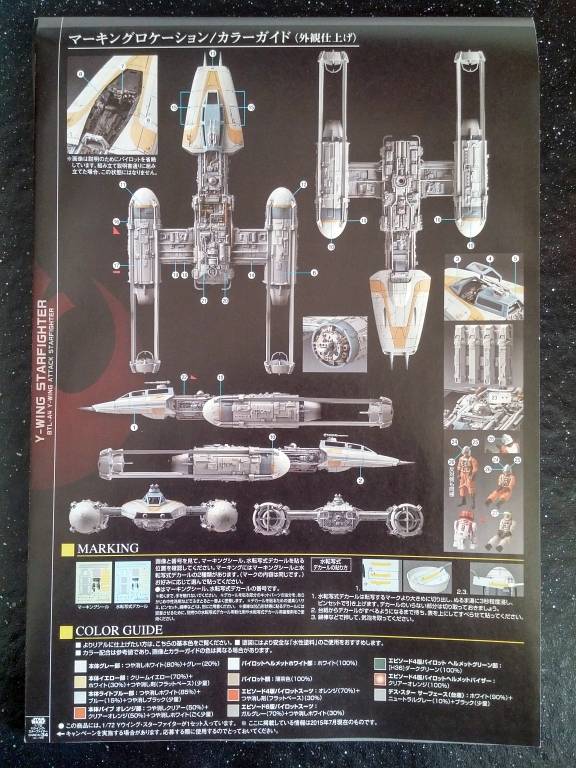
If you haven’t noticed by now, everything is in Japanese. But, thanks to Bandai‘s attention to detail, the instructions are easy to follow. One side of the large fold-out is in color, and the other side is in gray-scale. Having all of the instructions in color would have been nicer, but it didn’t hinder assembly. The only mistake that I found in the instructions is that they have you assemble the landing gear covers early on in the build. At the end, they show you that you have the option of installing optional landing gears . . . which require the removal of the covers. It just goes to show you that you should always review the instructions before you start.
Assembly
As I always do, I washed all of the plastic parts with some warm water and mild soap to get rid of any residual oils and release agents that may have been used to help release the sprues from their molds. I can say that there is always a different texture after I wash plastic parts. They just feel cleaner.
Cutting the parts from the sprues and cleaning up the connections, I noticed that there was nearly no flash to clean. Out of all of the parts, I think I only had to remove a tiny bit of flash from two or three small parts. Everything else was pristine. Amazing.
The instructions point out physical details so that parts don’t get turn around and get glued backwards, but I found this to be slight overkill. Most parts are keyed so that they can only be assembled one way.
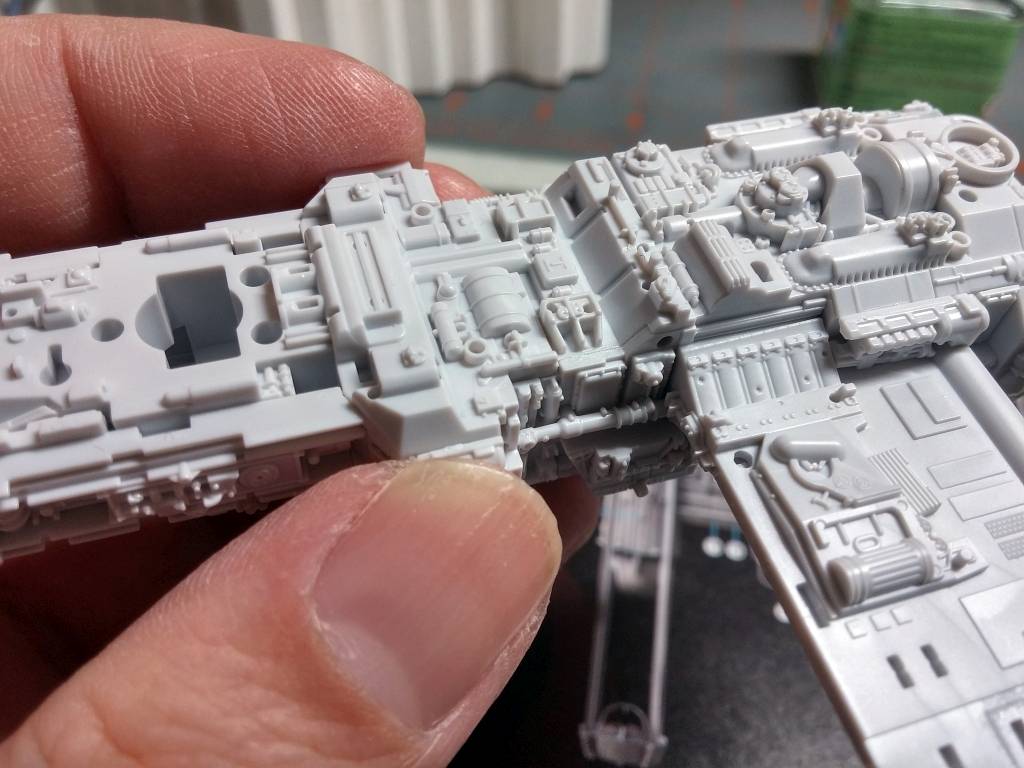
The majority of the parts fit snugly together. Some were so snug, I was tempted to not use any cement to hold them in place.
Join seams are expertly hidden, showing off more of Bandai‘s commitment to quality. If I hadn’t assembled it myself, I’d be hard-pressed to identify individual parts. The model assembles that well.
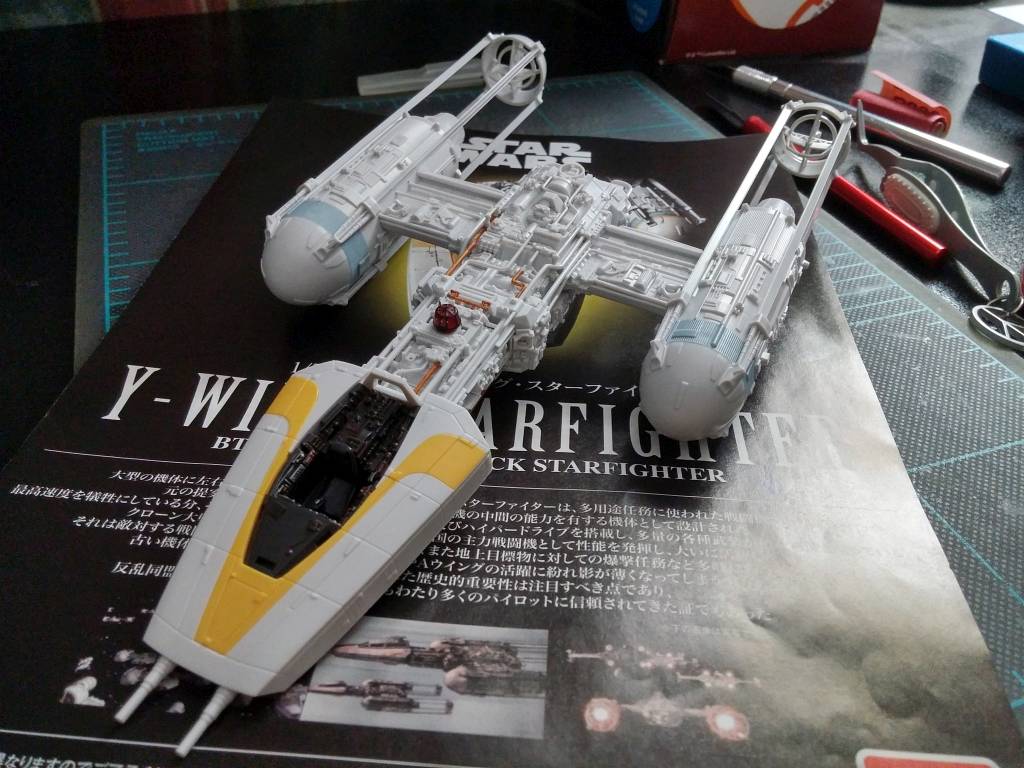
Another thing that I really enjoyed (and impressed me) was the number of options that were made available to me. I mentioned the optional landing gears (I opted to keep the ship in flight-mode), but there were also two different canopies. One was a set of three clear pieces that came with the center piece being glued in an open position. Matching stickers/waterslide decals wrap around them to complete the blue canopy. Of course, painting it is a third option.
The other canopy was a single solid blue piece with the window areas cut out. This part saved time painting or applying stickers/decals, and looks more movie-accurate since the filming models never had glass (glare was a problem when filming the movies). I opted for this, but I put in my own windows using tiny pieces of plastic.
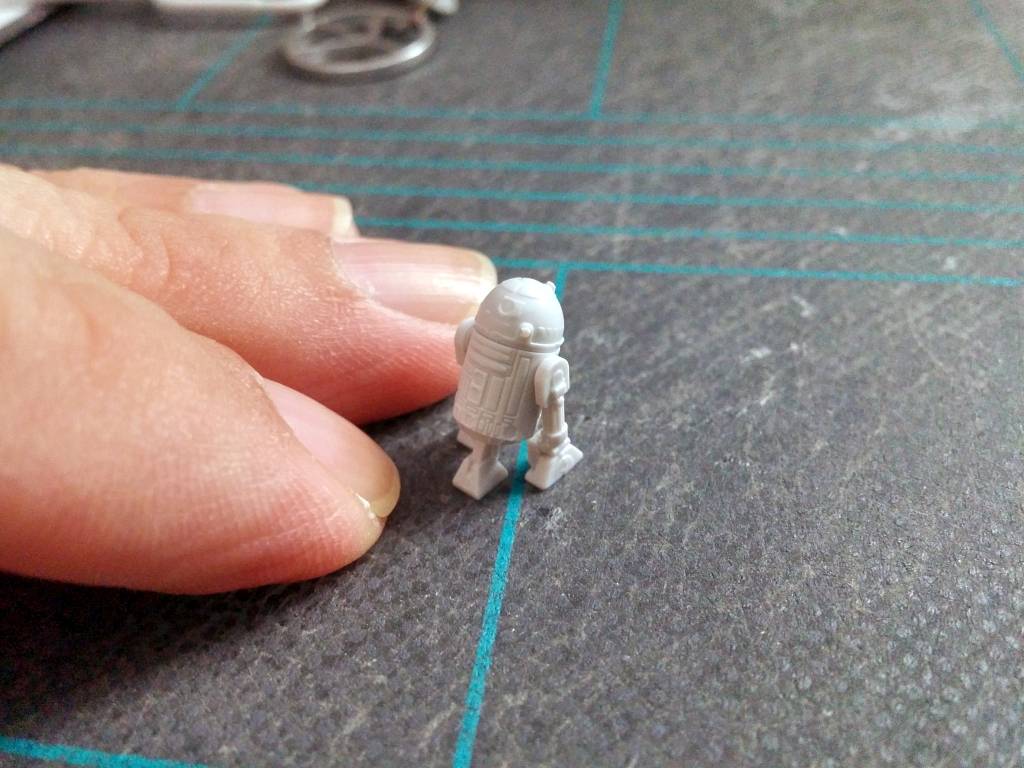
The model also contains enough parts to assemble two droids, and two different domes (heads) are offered.
Three pilots are available: one standing, and two sitting. the two sitting pilots are in different uniforms seen in the films. I wanted to focus on the vehicle, so I never used the pilots.
Two transparent laser blasts plug into the forward cannons, but to me, they look like two plastic rods. I kept them aside for now.
Two last options are hidden inside of the engine domes. The domes can be left off to reveal inner mechanics that can be painted. This is for anyone doing a scene where the ship is being repaired, I guess.
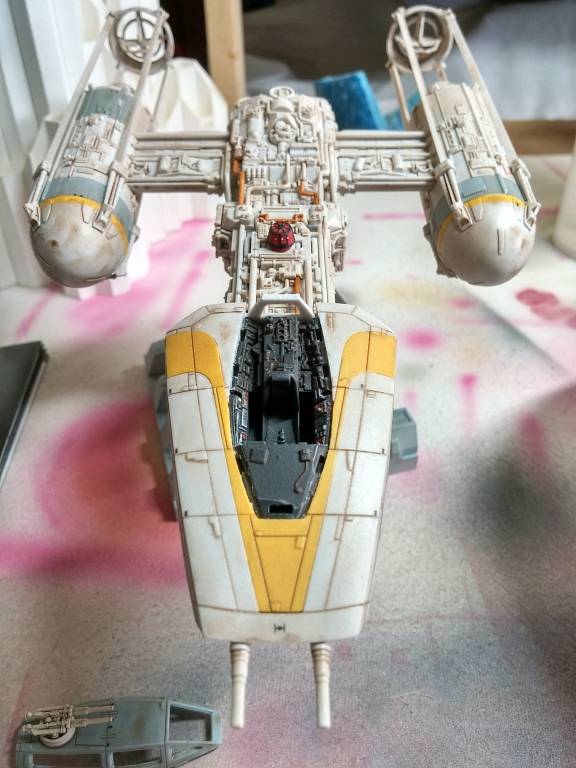
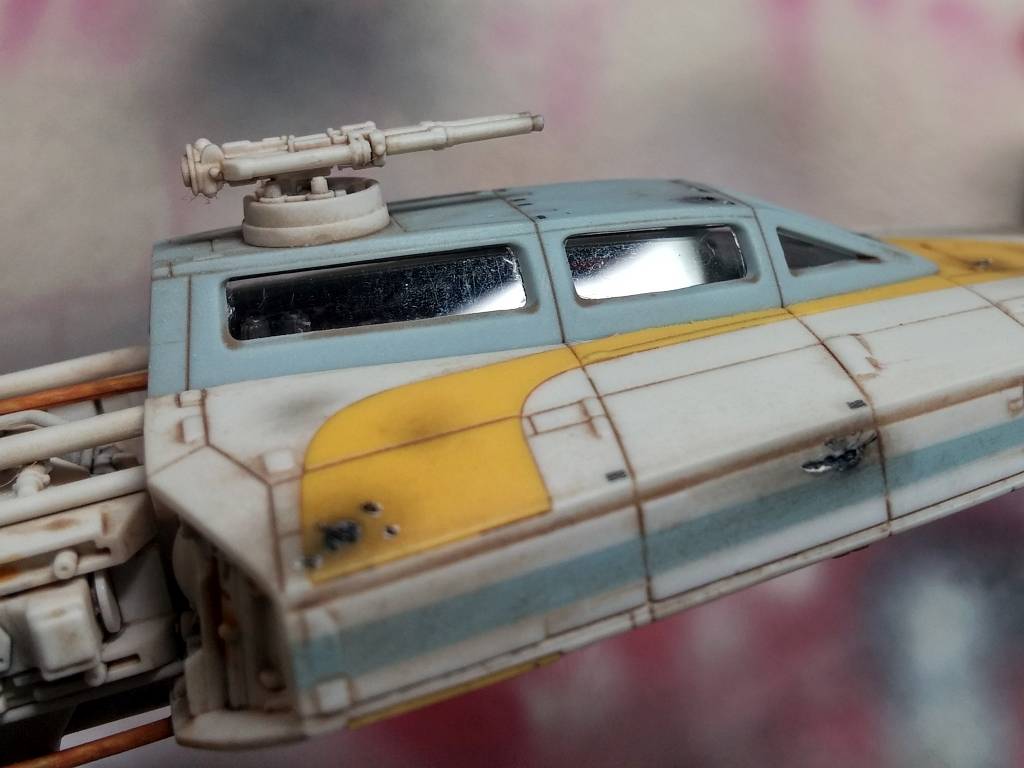
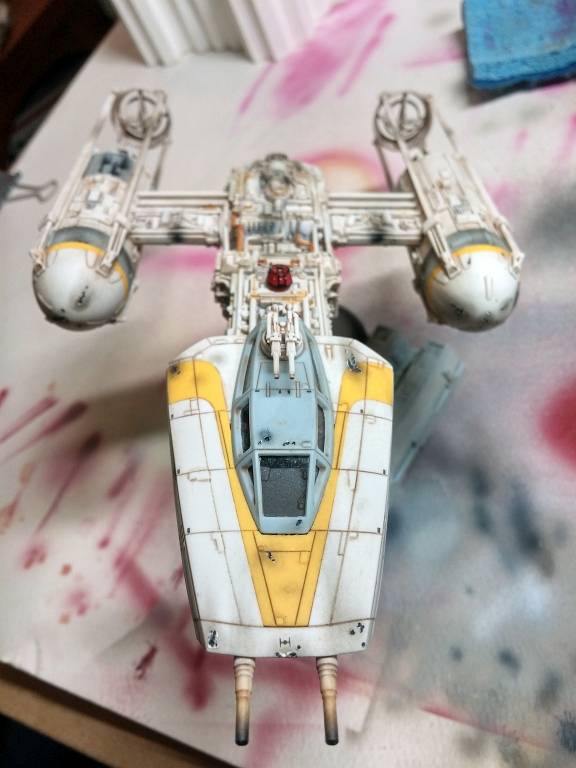
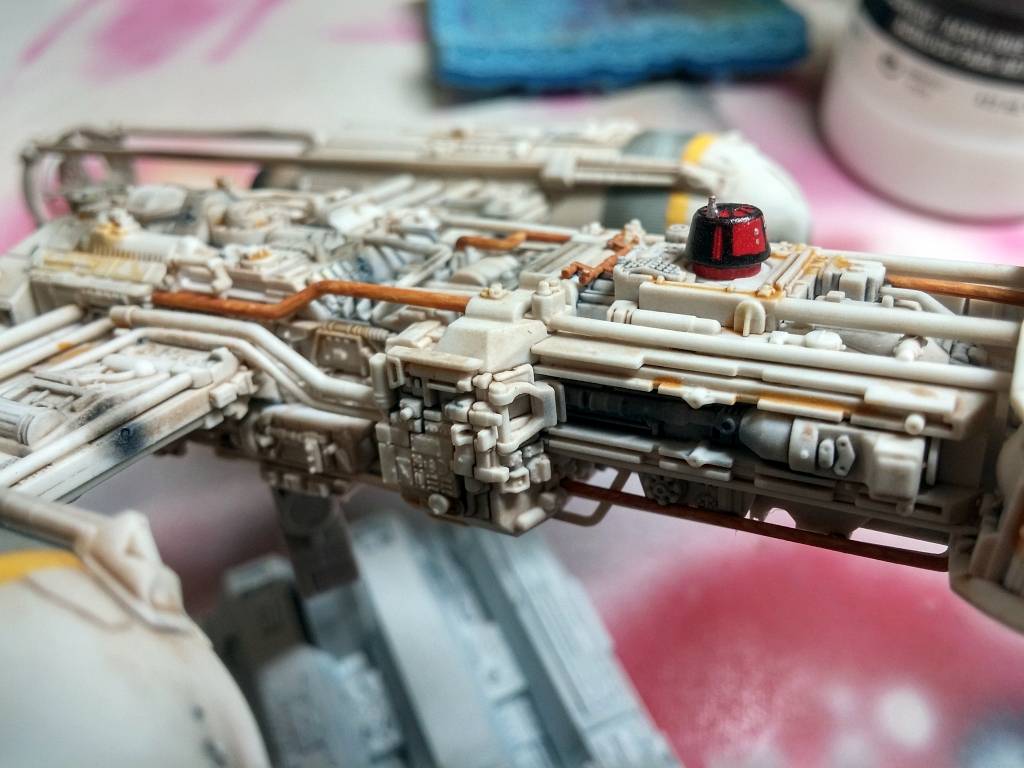
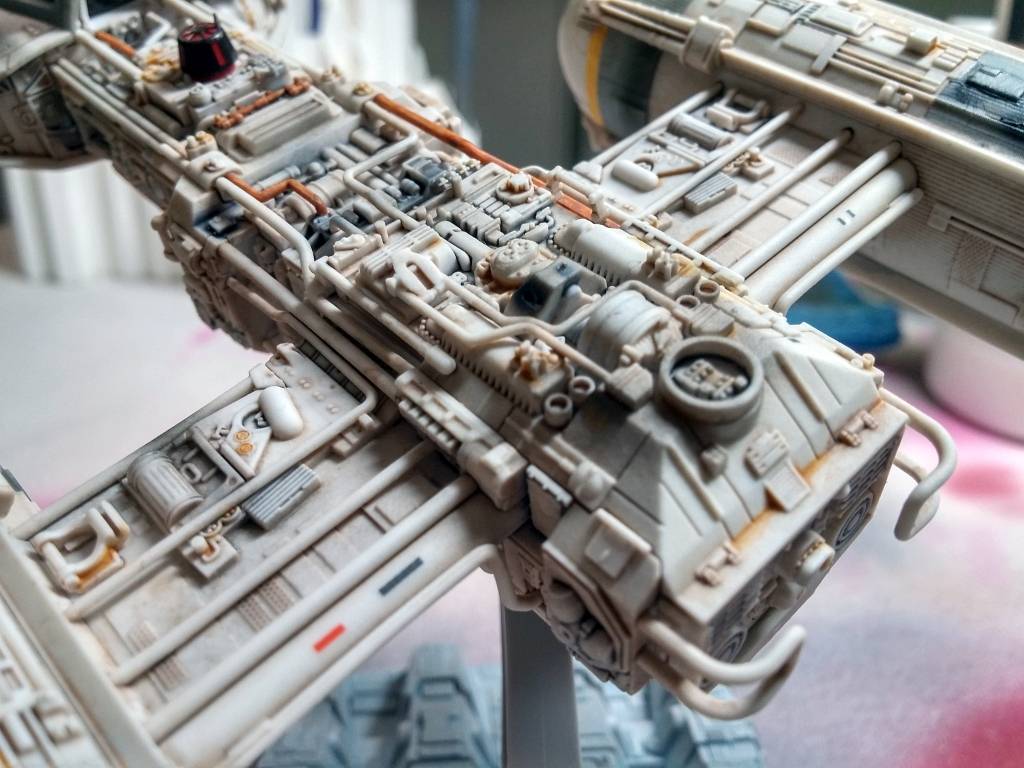
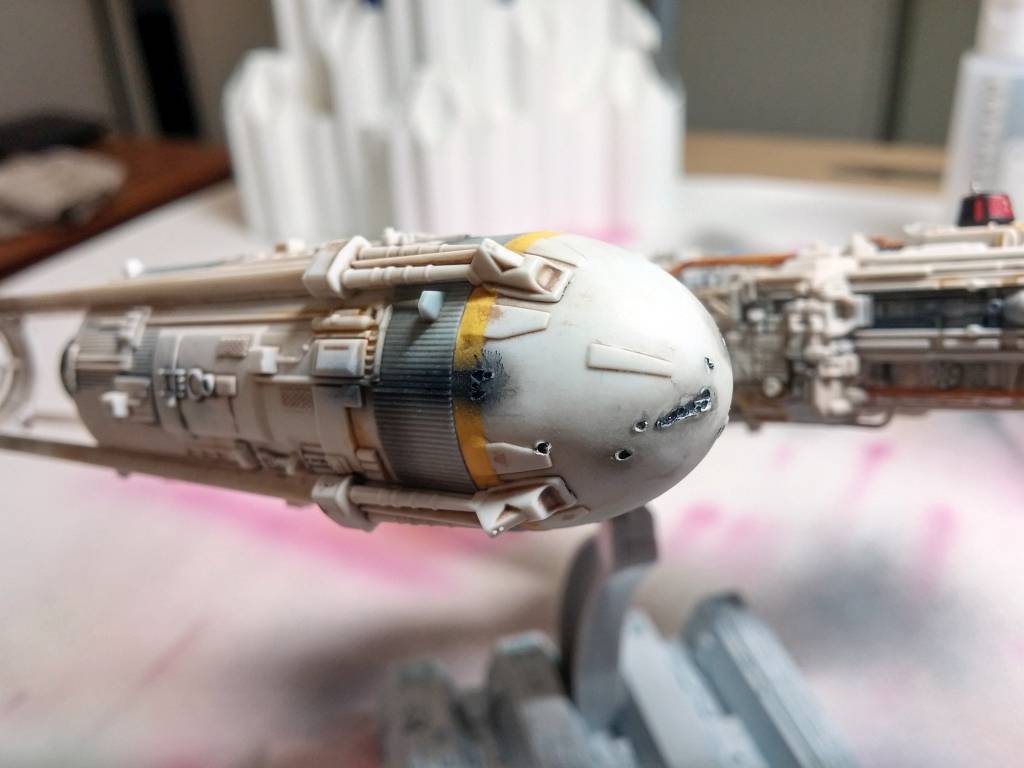

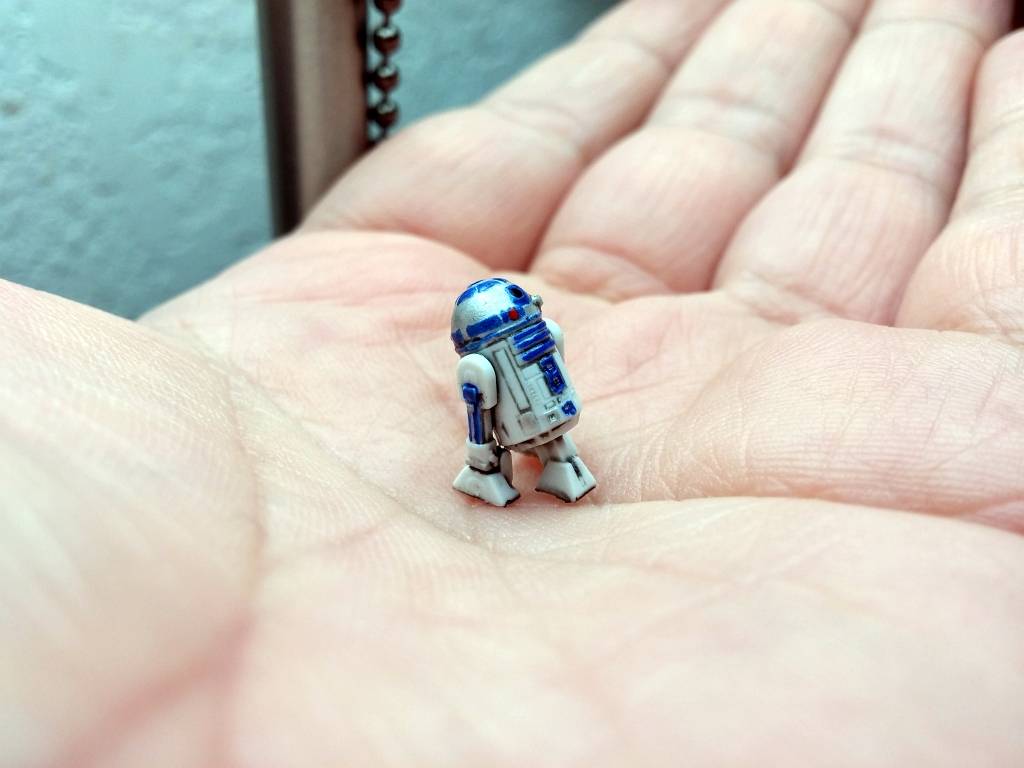
With some grime and battle damage, the model looks wonderful. And, with the extra droid parts, I decided to quickly paint up an R2-D2.
Overall, I was very impressed with the quality of the model; Bandai did such a great job. Aside from the landing gear problem in the instructions, this is how all plastic model kits should be. It’s affordable, highly detailed, and well thought-out.
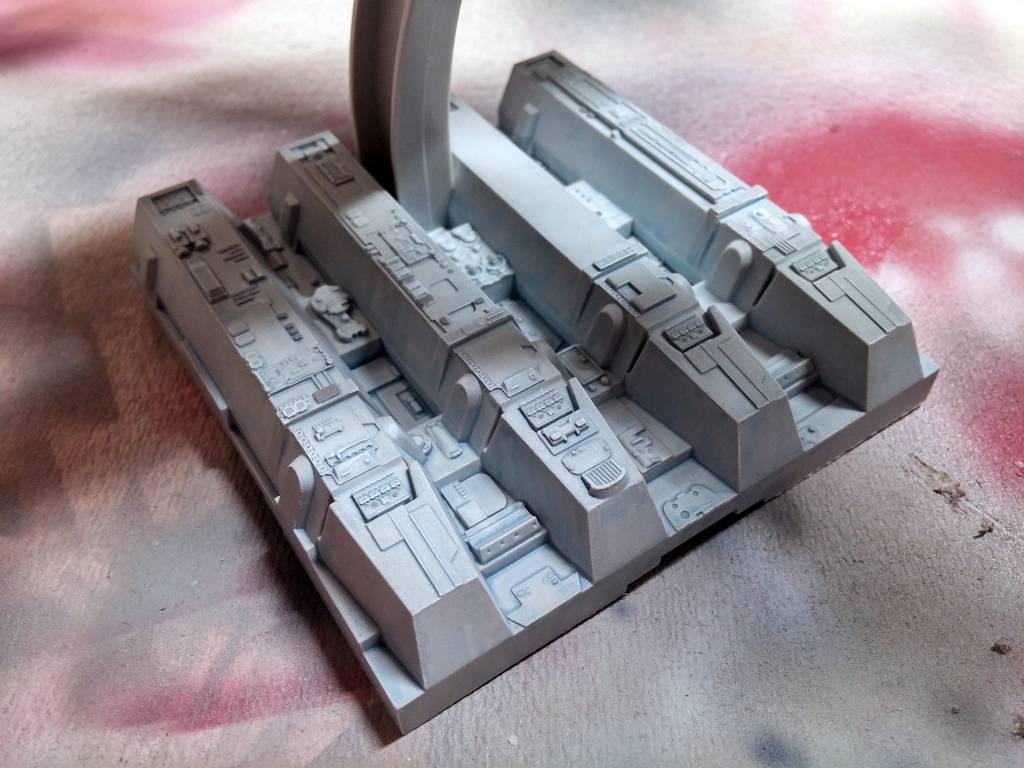
I want to do another Bandai Star Wars kit in the future. Perhaps an A-Wing? The display bases of the Star Wars ships are designed after the surface of the Death Star, and are engineered to be joined together. That’s a nice little bonus.
Both the reviewer and this website have not received any compensation for writing this post. Both the reviewer and this website have no material connection to the brands, products, or services that have been mentioned. Some of the links in the post above are “affiliate links.” This means if you click on the link and purchase the item, we will receive an affiliate commission. This is being disclosed in accordance with the Federal Trade Commission’s 16 CFR, Part 255: “Guides Concerning the Use of Endorsements and Testimonials in Advertising.”
Do you have a thought about this post? Why not leave a comment . . .