Rocket to the Moon with the TWA Moonliner Model Kit

![]() Trader Sam | March 23, 2017
Trader Sam | March 23, 2017
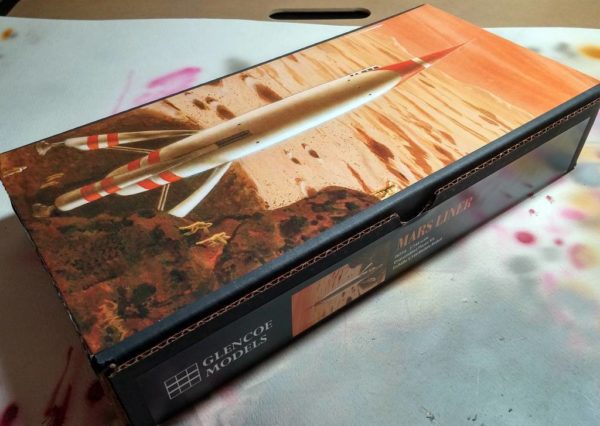
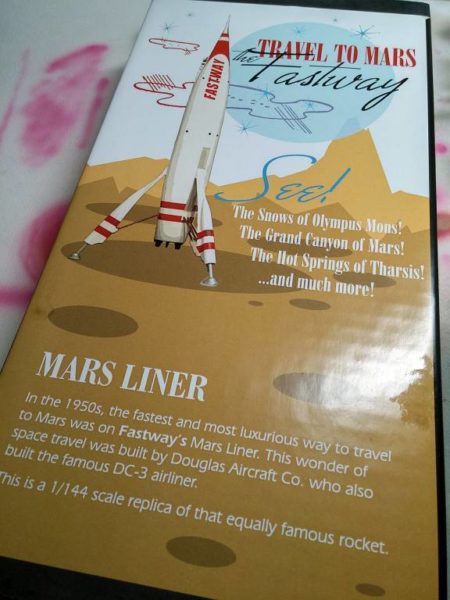
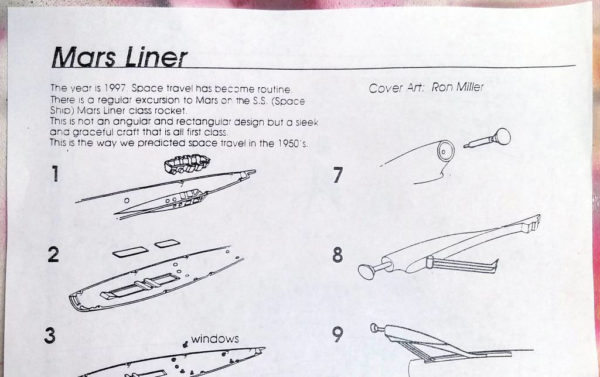
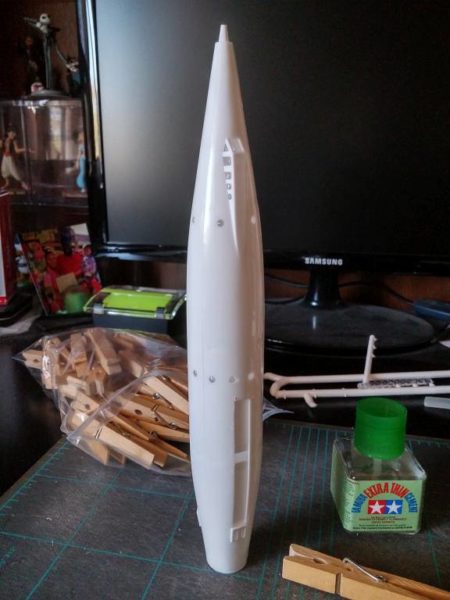
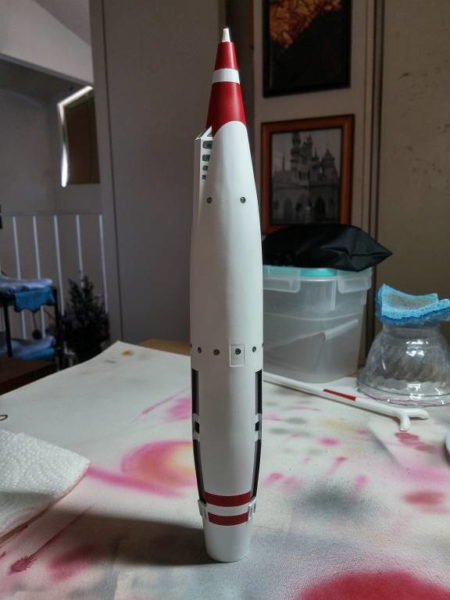
Last summer, I found and purchased the 1/144 scale Fastway Mars Liner model kit by Glencoe Models. Keen Disneyphiles will immediately recognize the rocket as the TWA Moonliner. Due to licensing issues, the name had to be changed, but there is a clever way around that.
Glencoe Models finds and resurrects classic model kits that have been “long abandoned by their original companies.” They don’t have a huge selection, and as far as I can tell, they don’t sell directly to the public. But, that’s where online stores come in. I bought mine on Amazon.

First and foremost, I sorta knew what I was getting into. The model is old, and prone to poor part alignments and such. They didn’t have the technical precision back then that today’s model kit do. Plus, this model has been released over and over, and some loss of detail and precision is expected. I expected imperfections; I wanted a challenge. And, boy, did I get them!
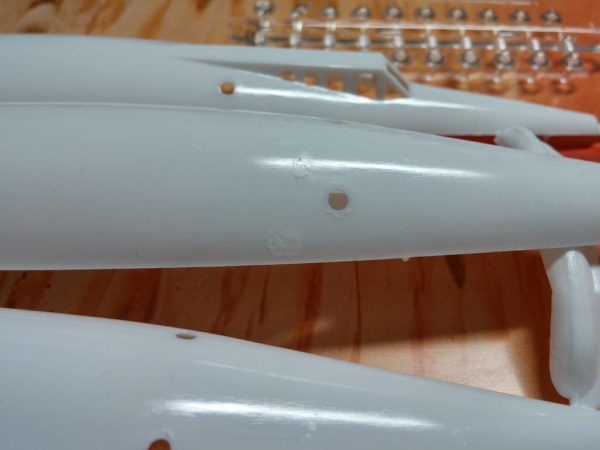
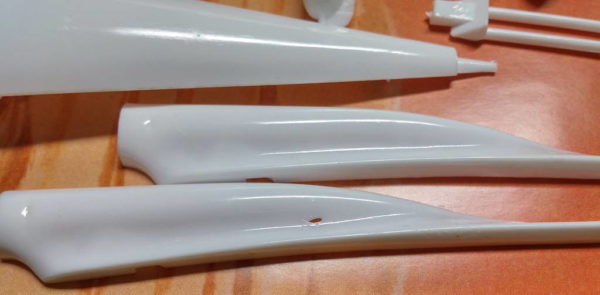
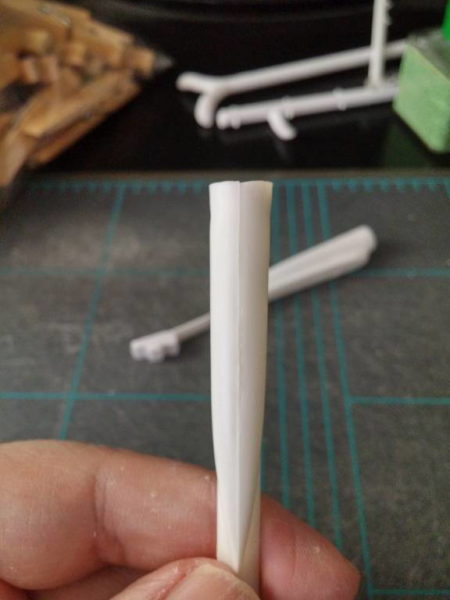
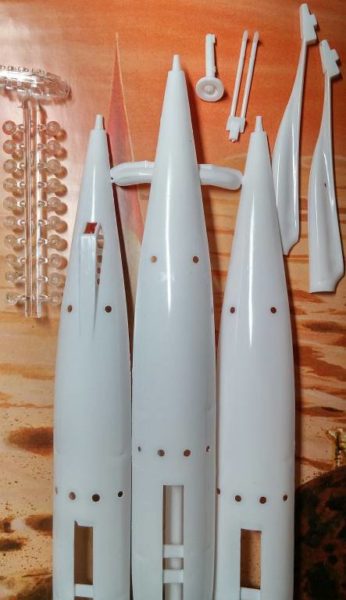
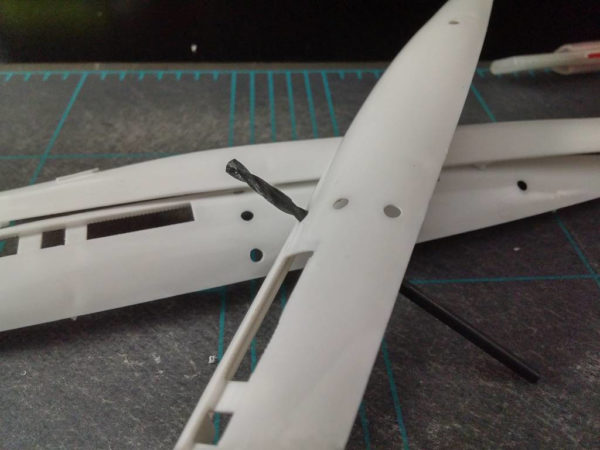
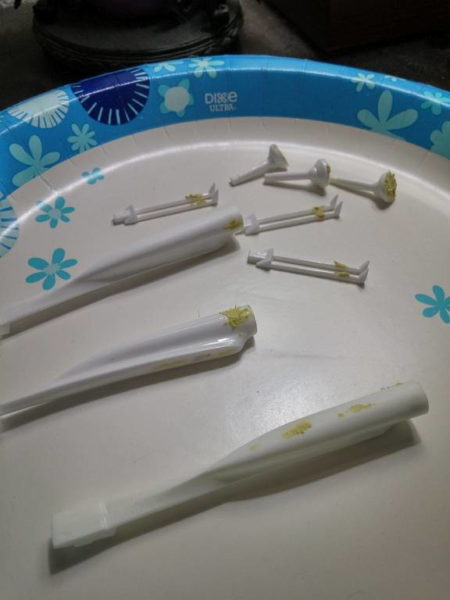
The parts had dimples and rough patches of excess plastic. There were even holes and incomplete areas where the plastic couldn’t reach. But, the biggest bummer was a broken landing leg. Normally, I could glue the two broken pieces back together and buff out the imperfections, but the missing piece was not in the box.

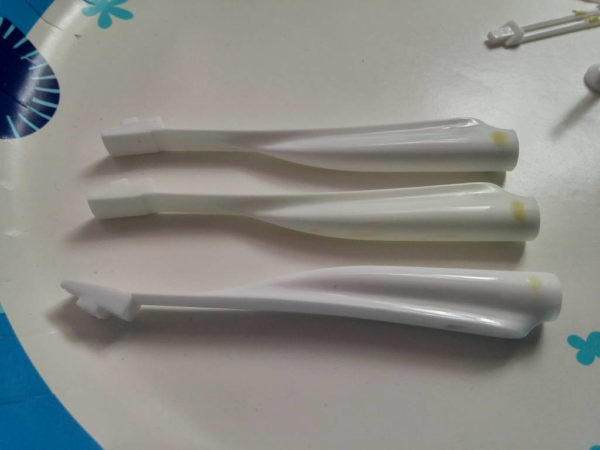
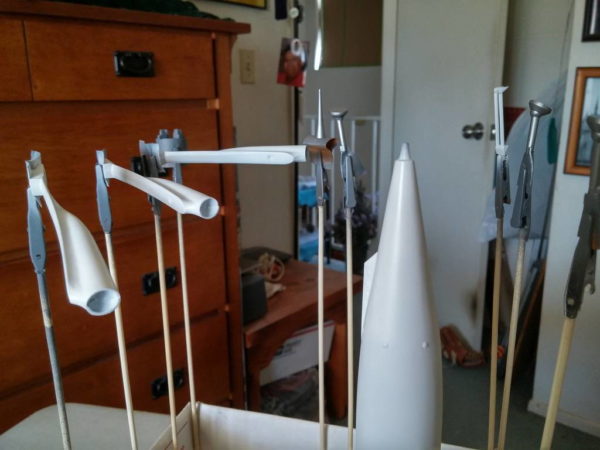
Rather than complain to the seller on Amazon, I decided to contact Glencoe Models directly. I explained my situation, provided my mailing address, and offered to pay for a replacement. That same day, I was told that the replacement part had been mailed out free of charge. A couple of days later, I received my missing part. But, I was given three whole sets of landing legs! I picked out the three best-looking (least flaws) sets of legs.
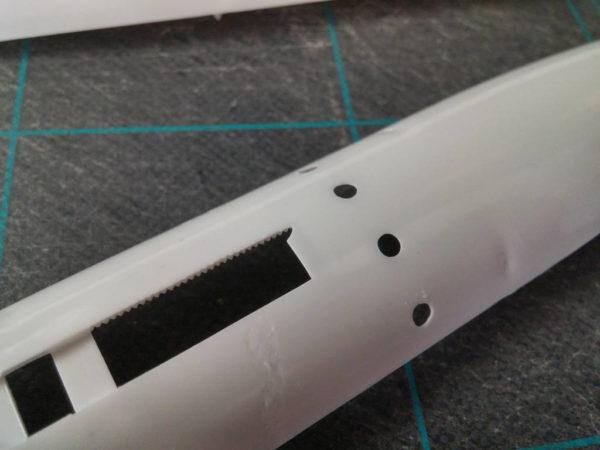
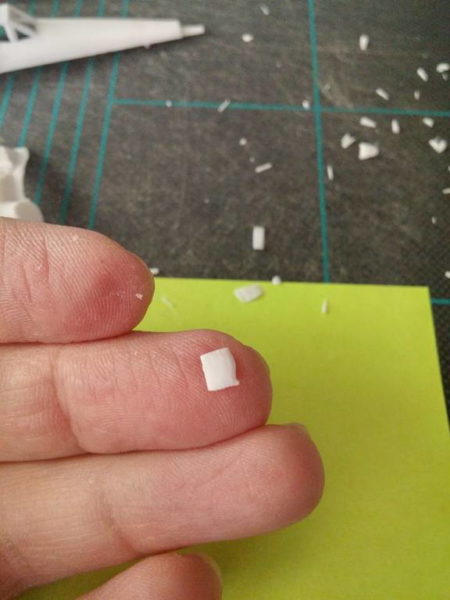
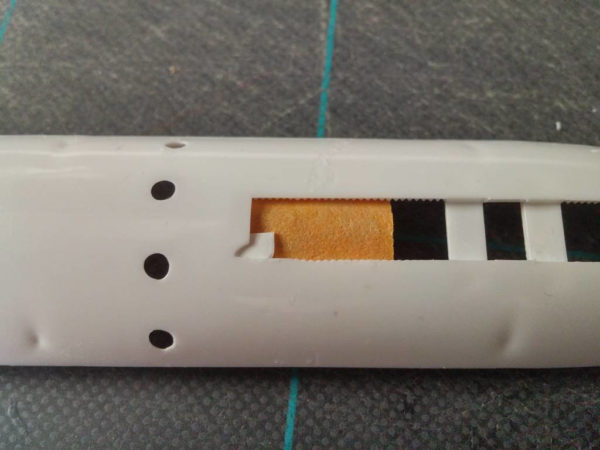
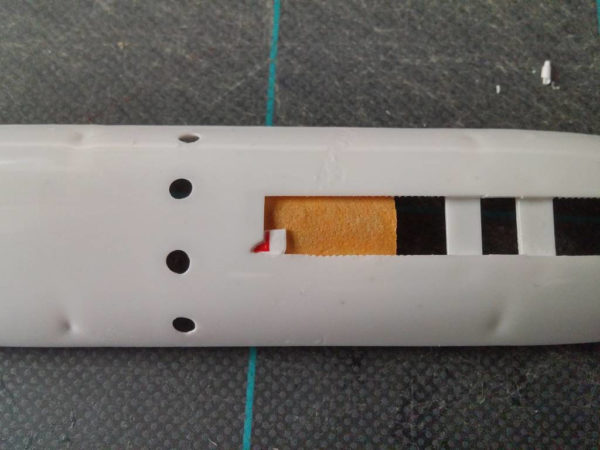
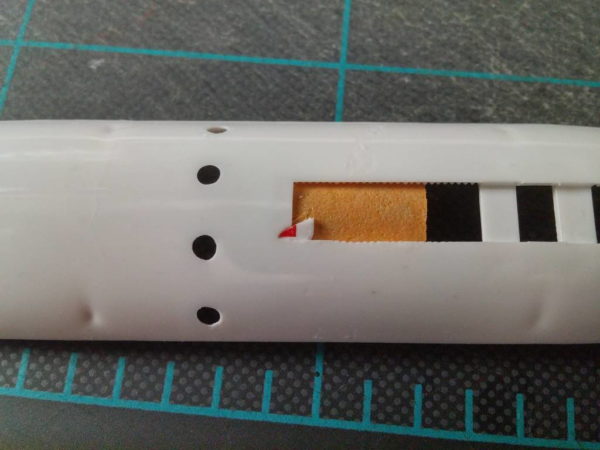
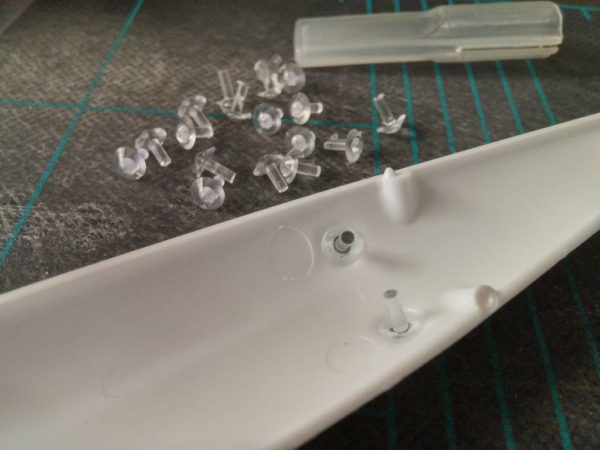
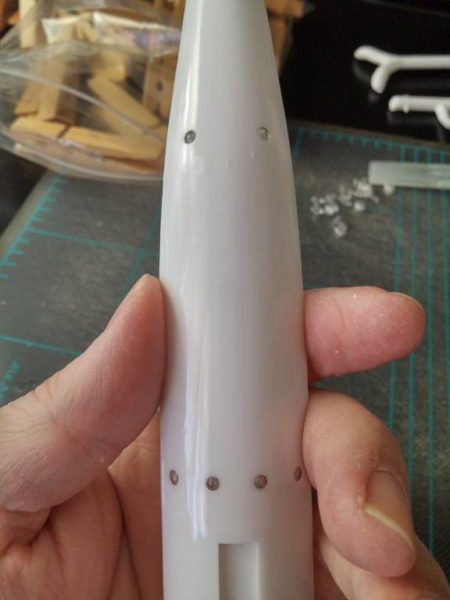
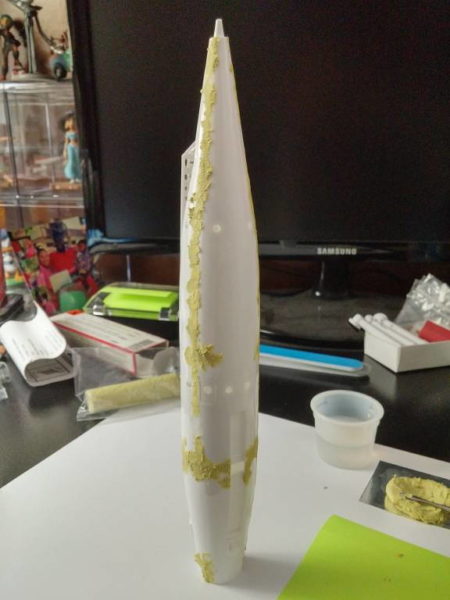
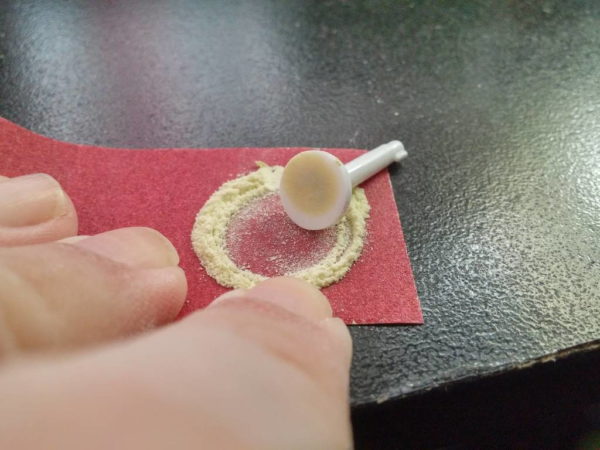
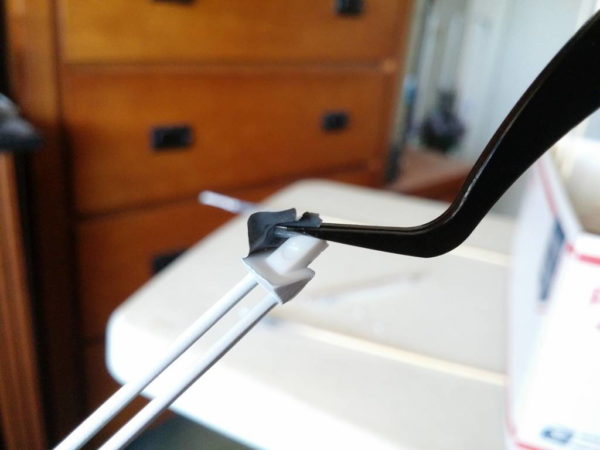
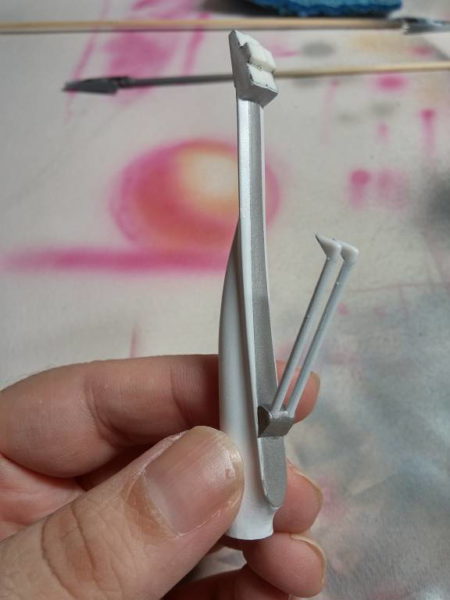
For dimples, holes, and uneven surfaces, I filled the spaces in with Milliput and sanded the areas down. A small area above one of the landing legs was filled by gluing a small wedge of plastic into place. The windows were inconsistent in size, so I drilled them out with a drill bit.
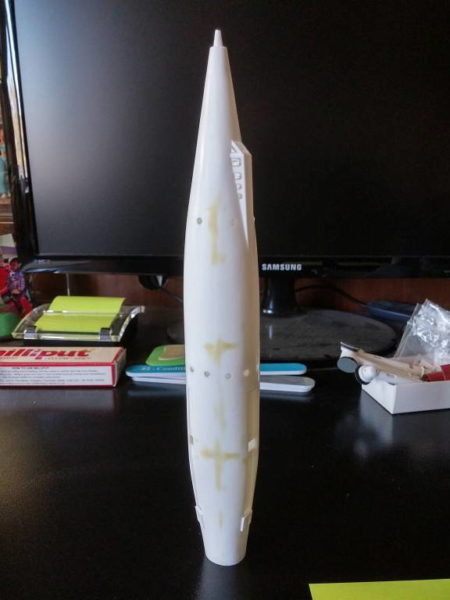
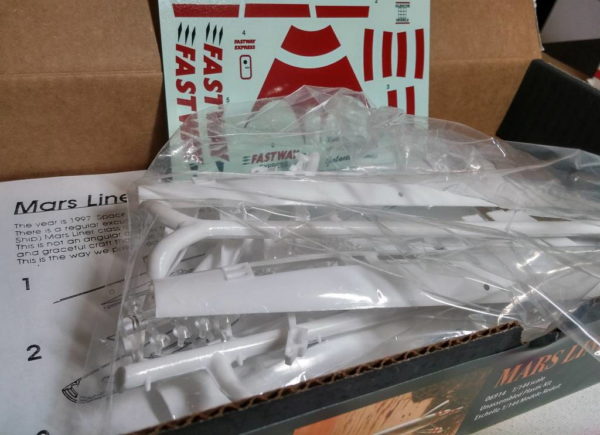
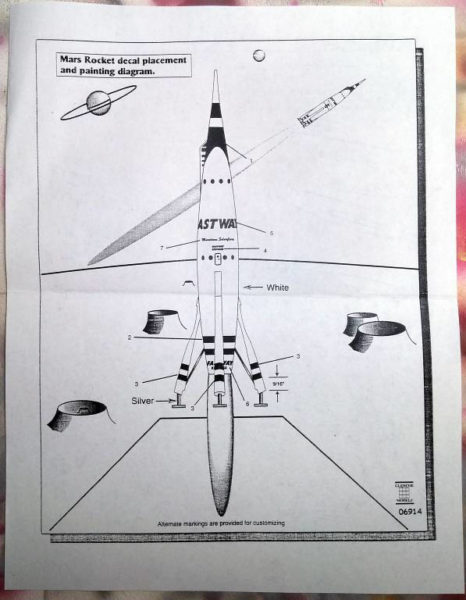
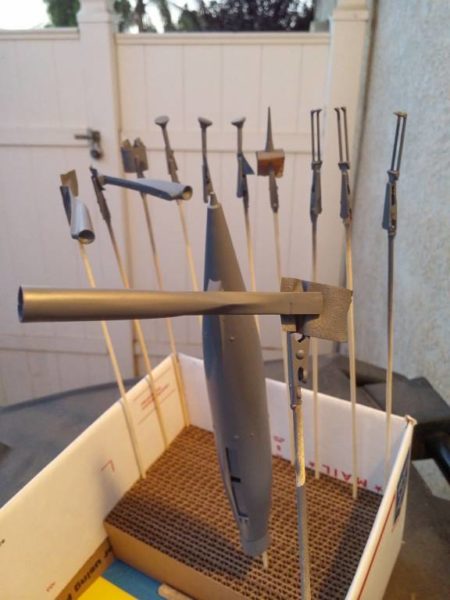
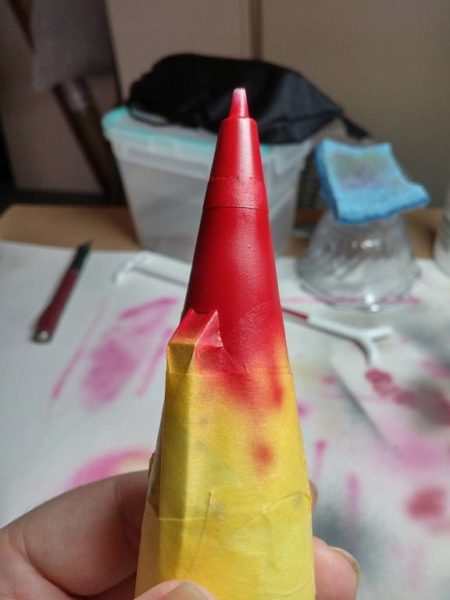
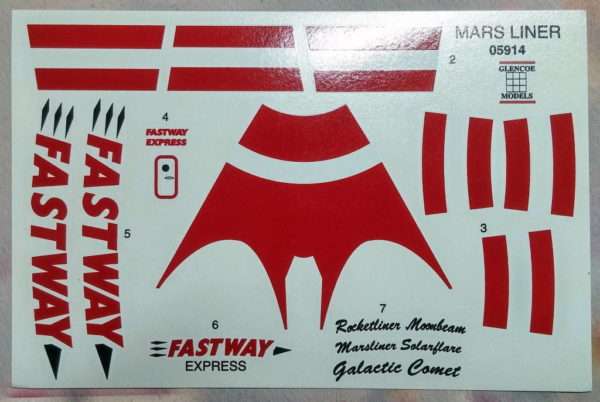
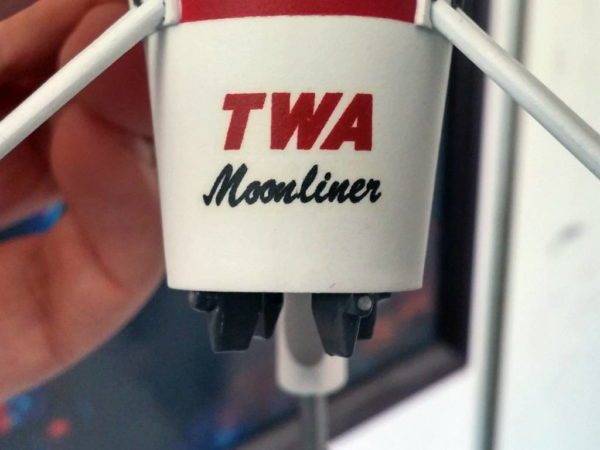
My model was obviously sitting on a shelf for a few years. The copyright was 2013, and the waterslide decals had begun to yellow. I decided to forego the red markings for the nosecone and landing legs, opting to paint them on instead. The only decals that I used were the two ‘TWA’ logos on the nosecone, and the ‘TWA Moonliner’ decals at the base of the rocket body.
As I mentioned before, this is the F-A-S-T-W-A-Y Mars Liner, and the decals reflect that logo. However, with some careful cutting and assembling, the letters can be cut away to leave the ‘T-W-A’ letters. Boom; you have your TWA logos! The supplied ship names can also be cut up and reassembled to spell out ‘Moonliner’. It’s an awesome workaround supplied by the manufacturer.
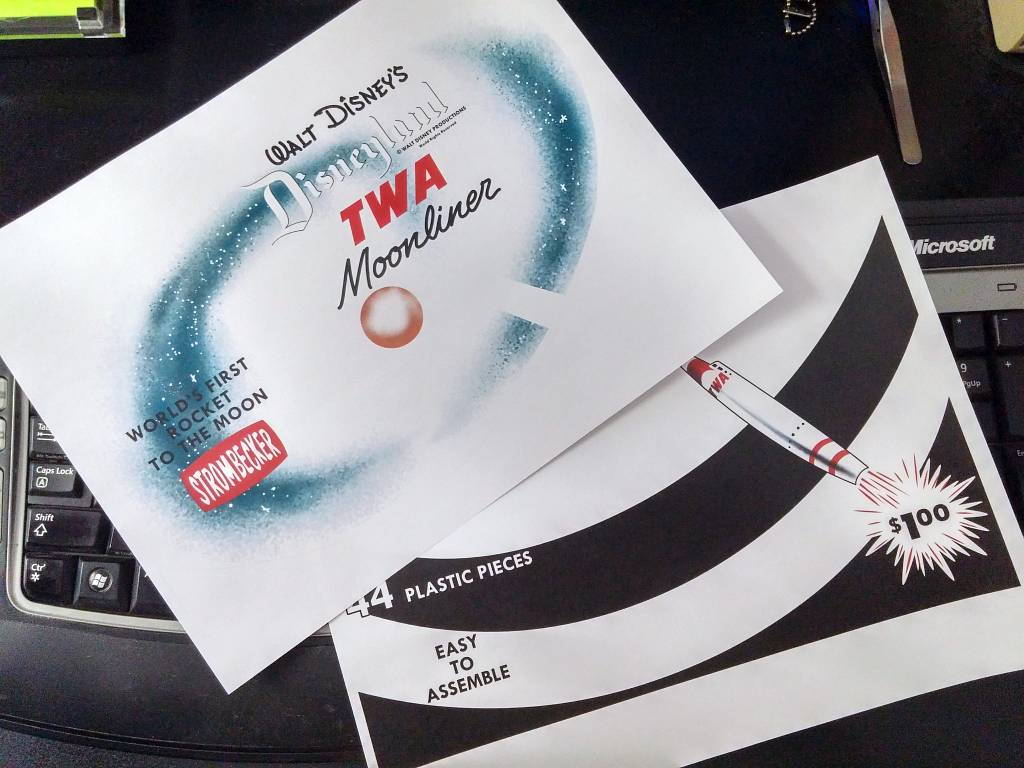
The original model was released in the late 1950s by Strombecker as an official Disneyland model kit. The marketing display had the model sitting in front of a backdrop. I was able to recreate the backdrop using the very limited number of online photos, but I couldn’t get a clear picture of the display base. I still need to finish assembling the backdrop to complete the model.
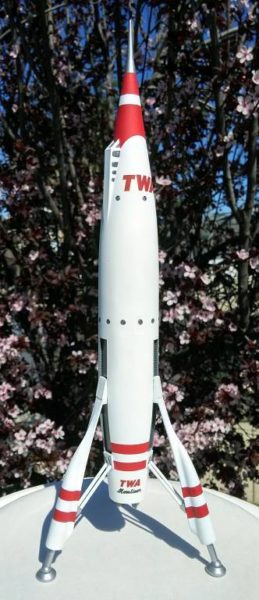
I wanted a challenge, and I got one with this model. Despite its many flaws, the TWA Moonliner came out wonderfully. Now, I can replace the large paper model with a more compact version.
Both the reviewer and this website have not received any compensation for writing this post. Both the reviewer and this website have no material connection to the brands, products, or services that have been mentioned. Some of the links in the post above are “affiliate links.” This means if you click on the link and purchase the item, we will receive an affiliate commission. This is being disclosed in accordance with the Federal Trade Commission’s 16 CFR, Part 255: “Guides Concerning the Use of Endorsements and Testimonials in Advertising.”
I stumbled upon your post today looking for a Disneyland TWA Moonliner. My father built one of these models for me as a kid in the 60s. It got lost over the years and I’ve always wanted another. I just purchased this kit and can’t wait to build it. I like your idea of painting the red markings on the nose cone instead of using the decals. Question: How did you create the curves? Did you make a stencil and then trace? Thanks and regards
I think I made a stencil. I wish I remembered how I got the curves.
Hi,
I have a question, how did you paint over the glass window for the cockpit? it has to go in before you glue it right?
Thanks, Rusty
Yes, it does. So do the tiny windows around the center of the rocket. If memory serves me, I think I used Elmer’s Glue All to mask them. That’s what I typically use.
Hello,
Do you have a hi-res .jpg or .tif of the Store display background? Do you have an extra Display background available or know where to get one?
Also, great job explaining and illustration how build this kit…
Thanks, Steve
I don’t know where to get a display background. It’s hard enough to find a decent photo. I wish I had a clear picture of the display base.