Millennium Falcon Build Journal No. 25: Issues 89-92
![]() Trader Sam | May 22, 2017
Trader Sam | May 22, 2017
The Contents

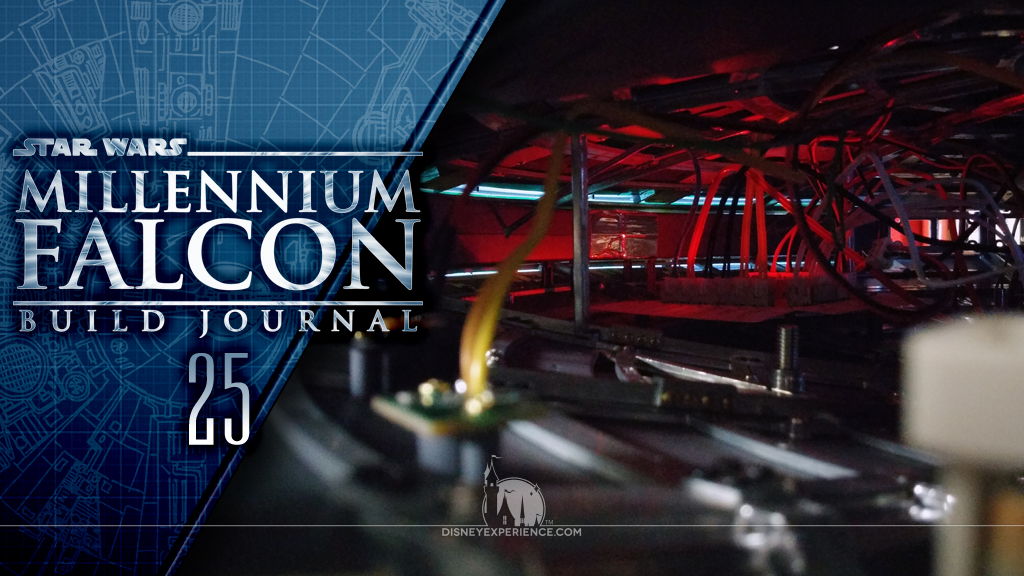
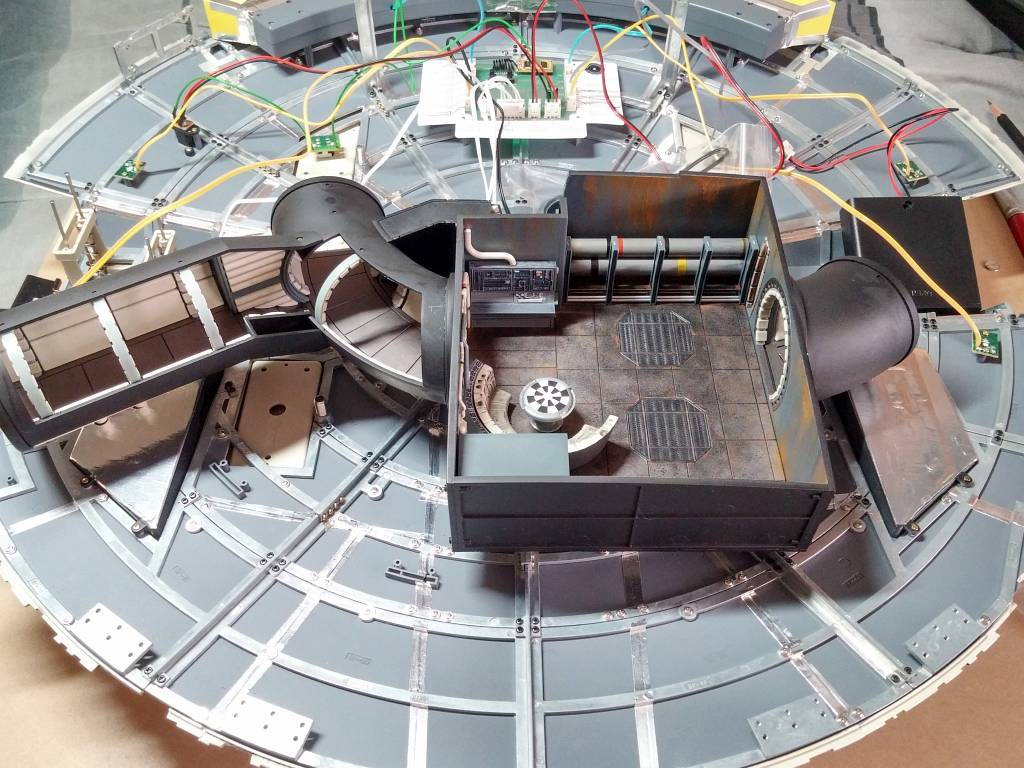
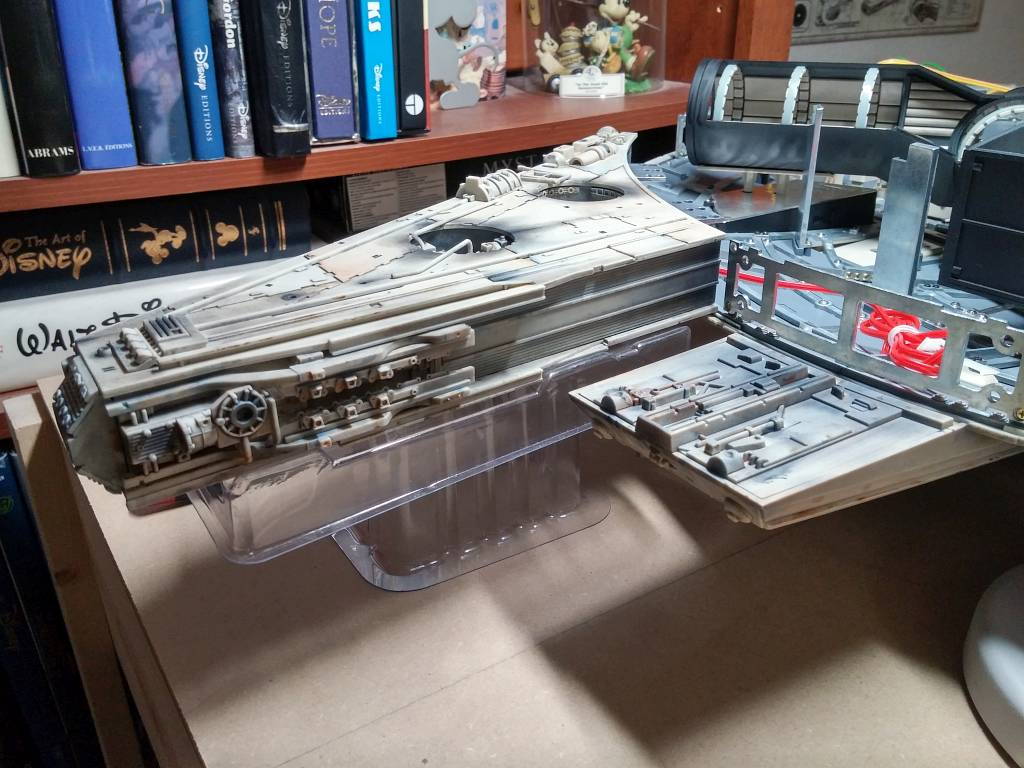
This is BIG; the mandibles are installed, the two halves of the Millennium Falcon are joined together, and all of the electronics are plugged in!

Sub-light Engines Repaired
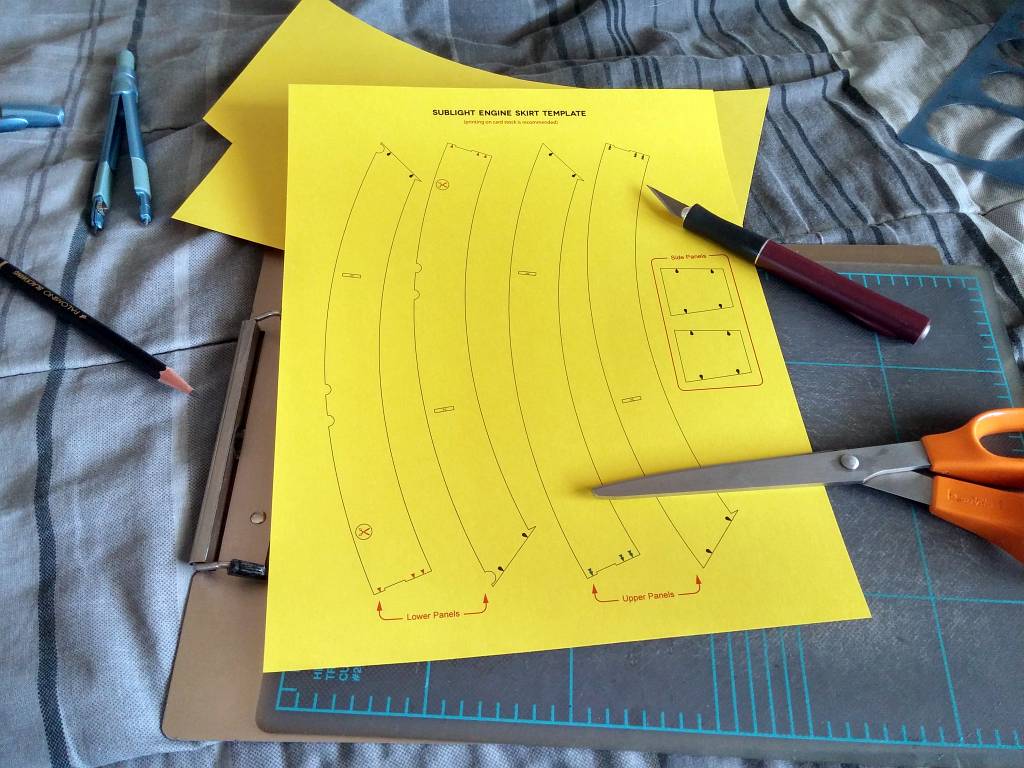
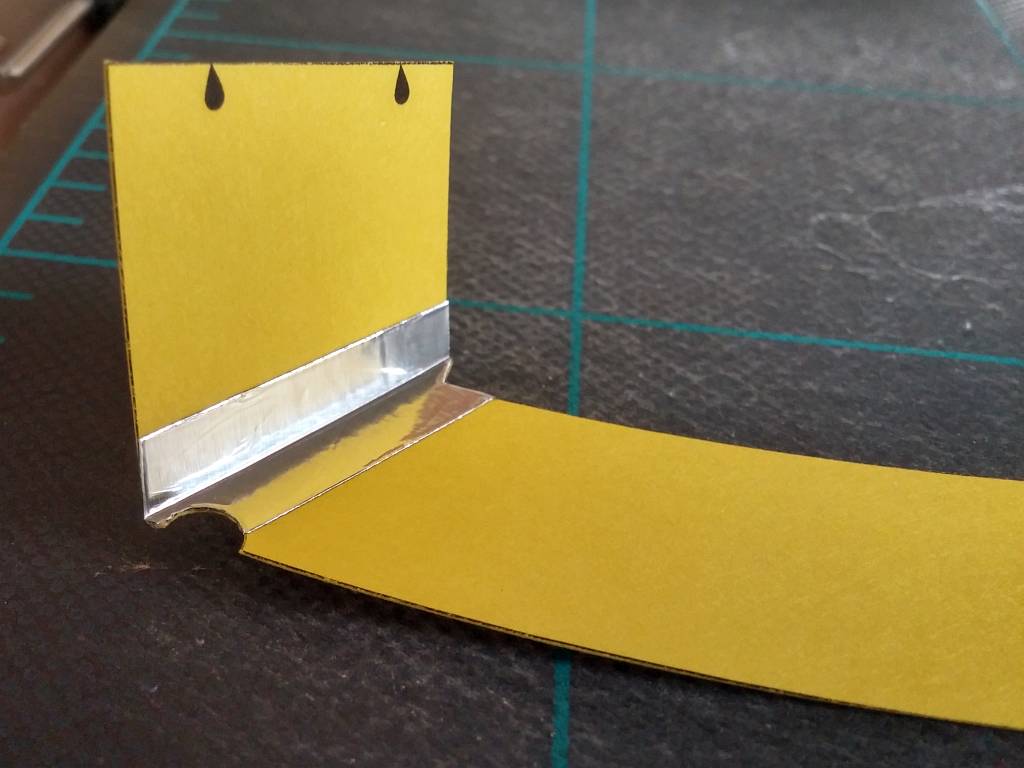
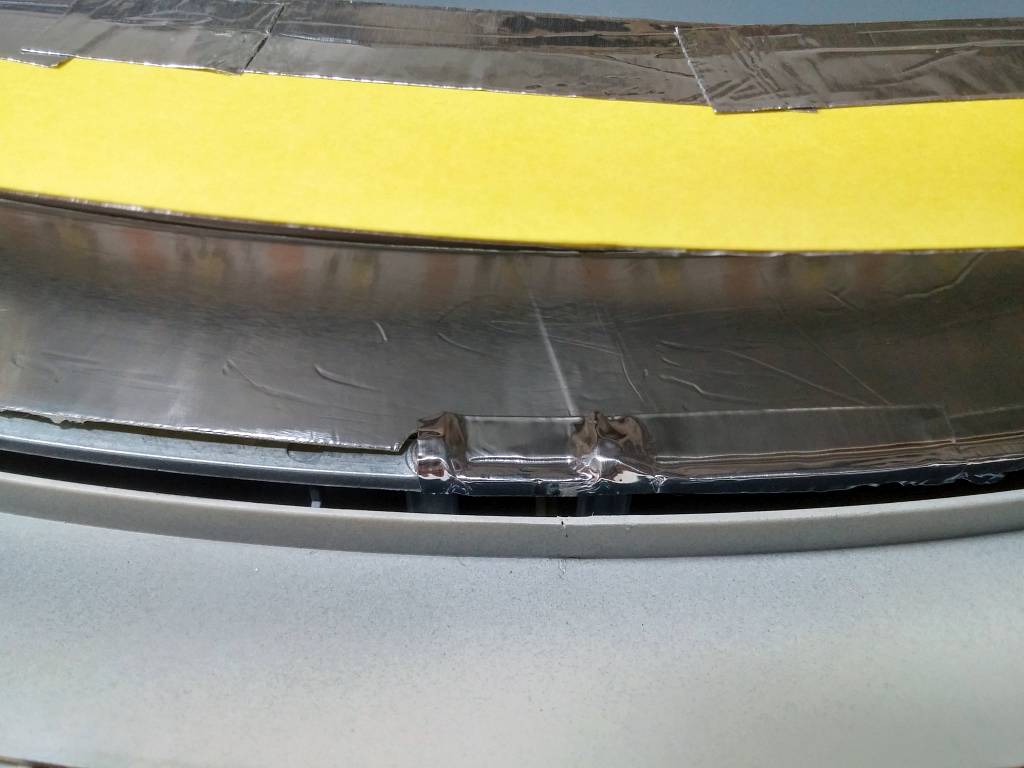
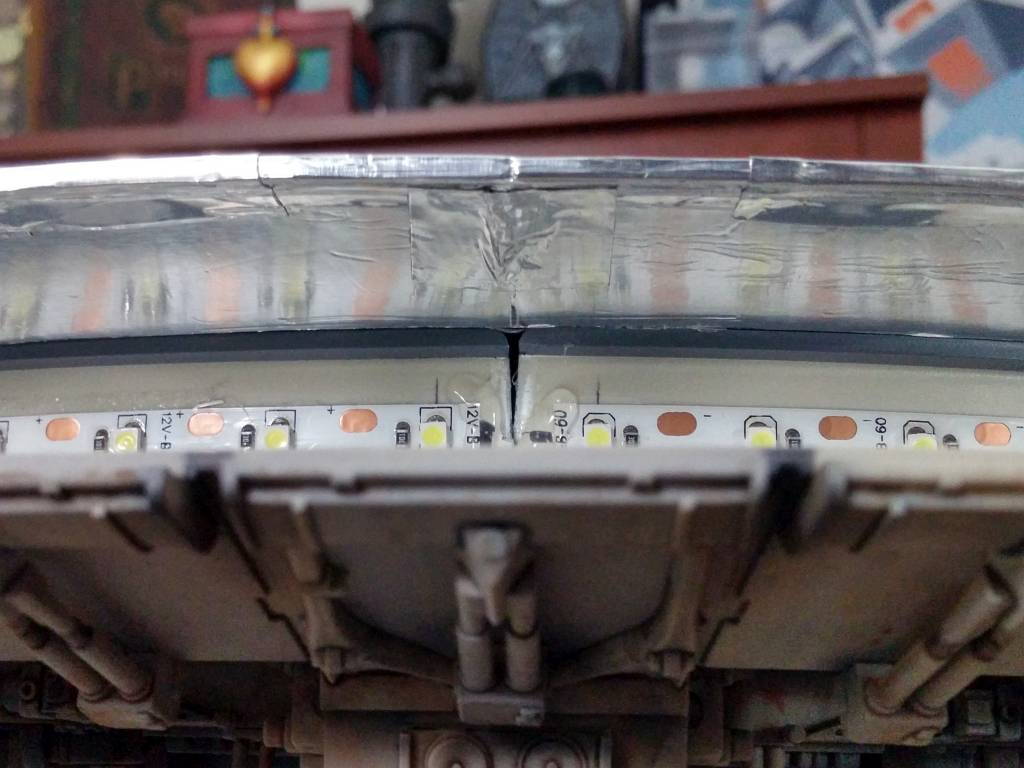
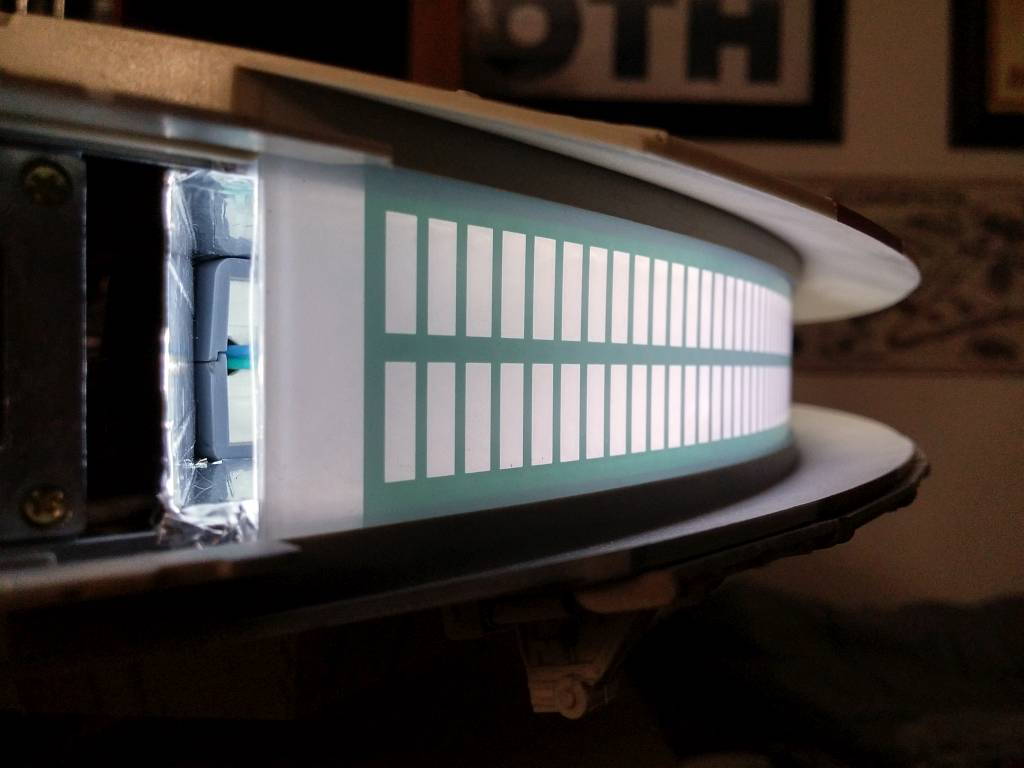
It took two weeks, but I received my replacement LED strip. And, yes, I checked the lights before installing them this time. The delay gave me time to design a skirt template that should address the massive light leak from the engines. The inside of the skirt is coated with aluminum tape that will block the light as well as reflect it outward.
For better light reflection, paint the inside of the skirt bright white. White reflects light better and more evenly than reflective surfaces like foil. Sand the foil tape for better paint adhesion.
When placed into position, the bottom edge of the skirt was taped to the metal frame with more aluminum tape. Screw cutouts and other notches were then covered with more . . . you guessed it . . . foil tape.
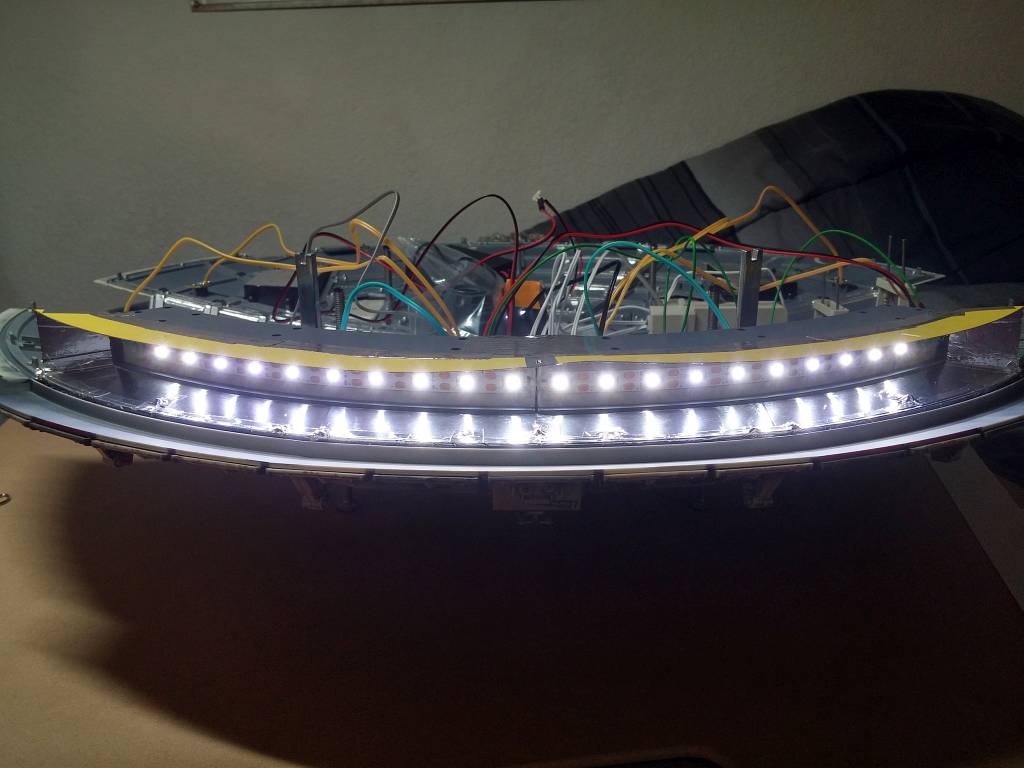
With both the new LED strip and sublight engine skirt installed, I can finally move on to this month’s build.
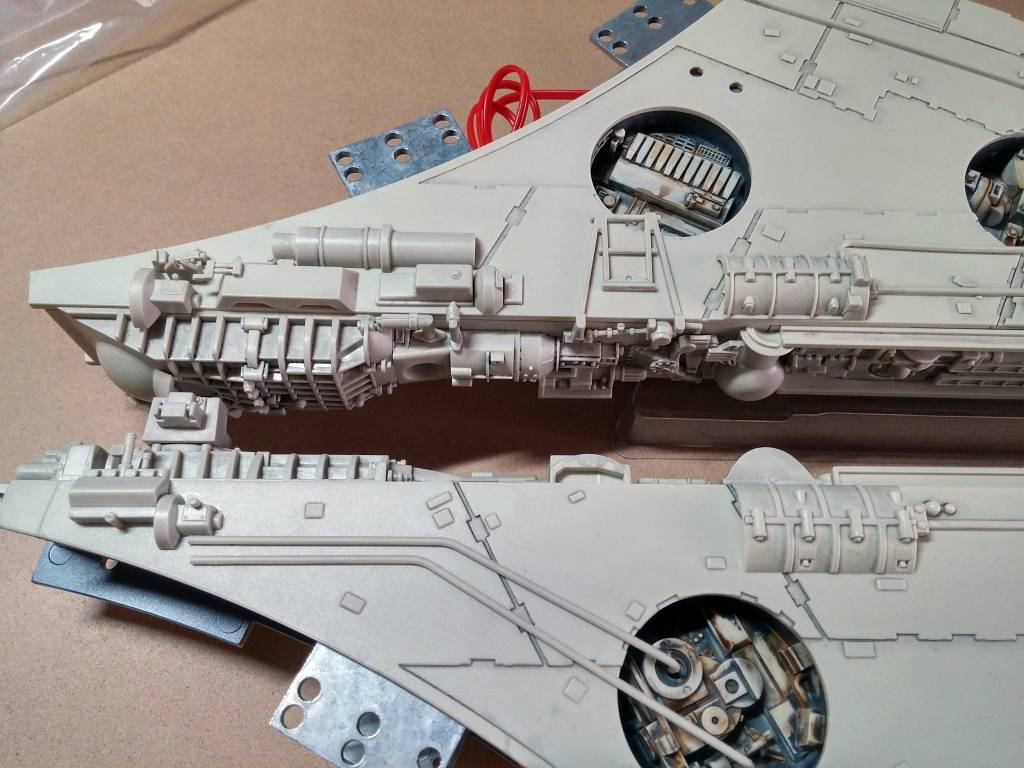
Working on the Interior
Well, this is something that I didn’t foresee. To glue the supports to the undersides of the interior parts, I had to sand of some of the black spray paint. Tamiya Extra Thin Cement bonds plastic to plastic, not paint to plastic.
Eager, I installed the side frames before installing the mandibles, which I still had to paint. The instructions say to install the frames after installing the mandibles, but that makes screwing the frame piece between the mandibles hard to access.
Finishing the Mandibles (Finally!)
Finally! I’ve completed the mandibles . . . primarily. Every time that I think the mandibles are finished, there’s a catch. This time, there’s a catch AND a sneaky trick that almost tripped me up.

There are a few parts left to attach, but they overlap the mandibles and the upper hull, so they can’t be attached until the two halves of the Falcon are joined. But, the mandibles are finally at a stage that I can move forward with them. And, while painting and weathering the mandibles, I discovered a nasty little trick that DeAgostini tried to pull on me.
Purely by accident, I discovered that there were two parts that still needed to be glued to the underside of the port mandible. The parts arrive in this month’s box (issue 92), but the instructions don’t say to glue them until issue 99; that’s crazy! This is exactly why I read future issues and watch YouTube videos.

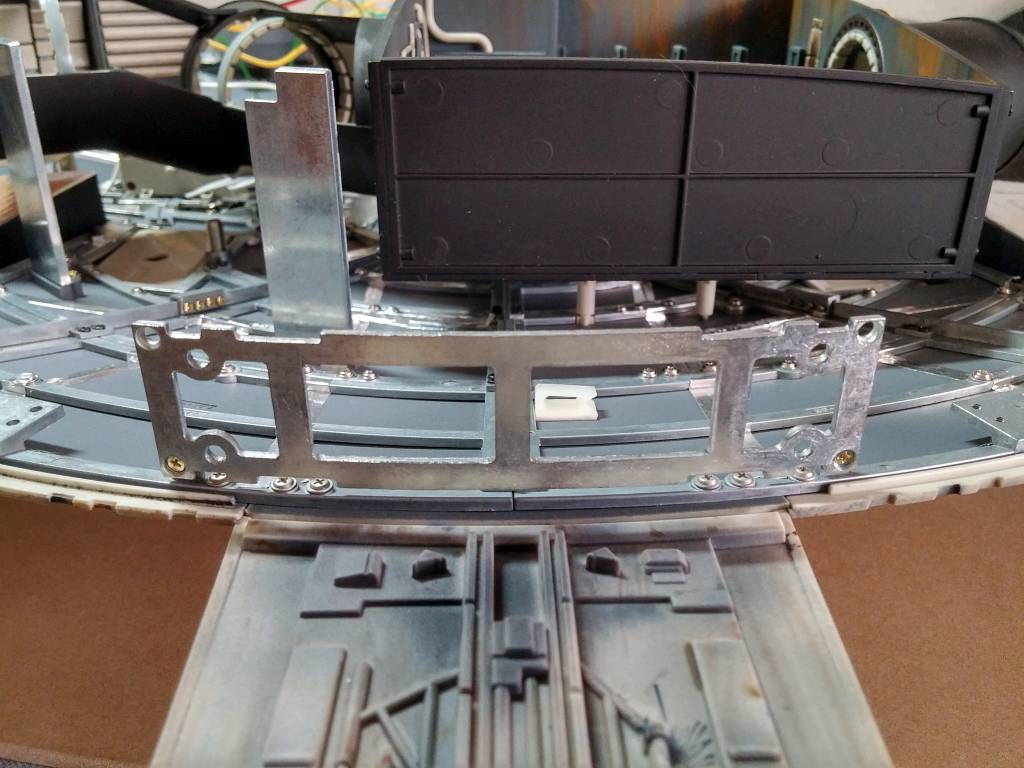
I had heard that the mandibles can warp the metal framing when attached, so I wanted to both use the supplied mandible supports and adjust the height of the ship so that they line up. This way, the frame will not twist before I get the upper hull attached.
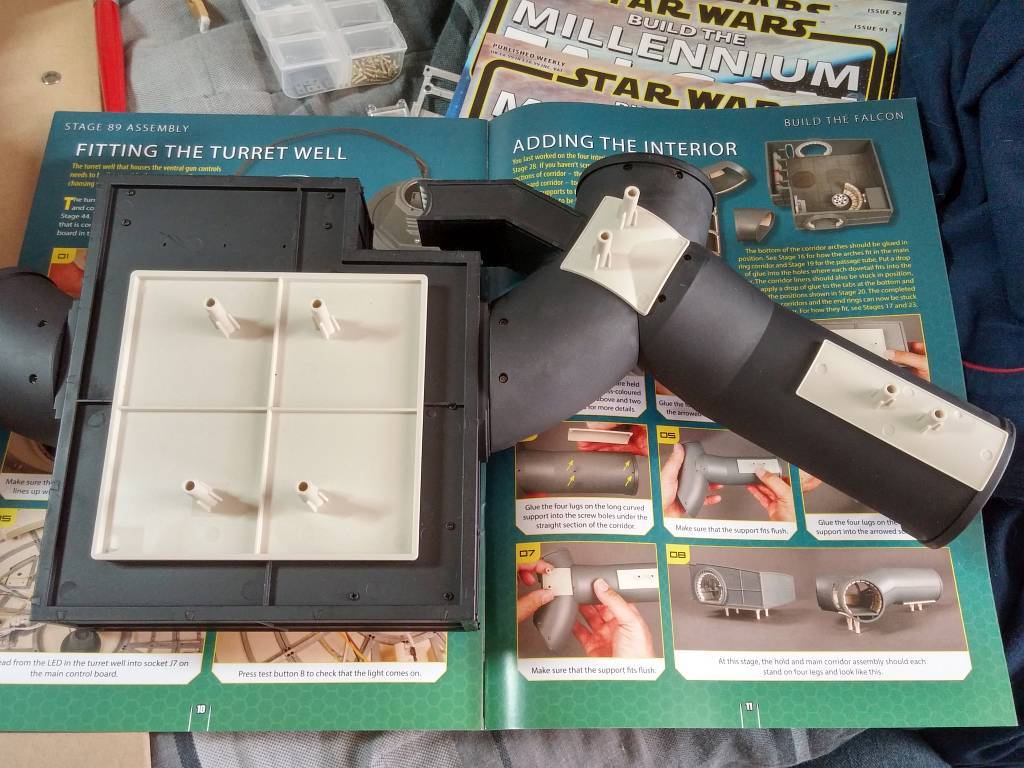
Jumping Ahead
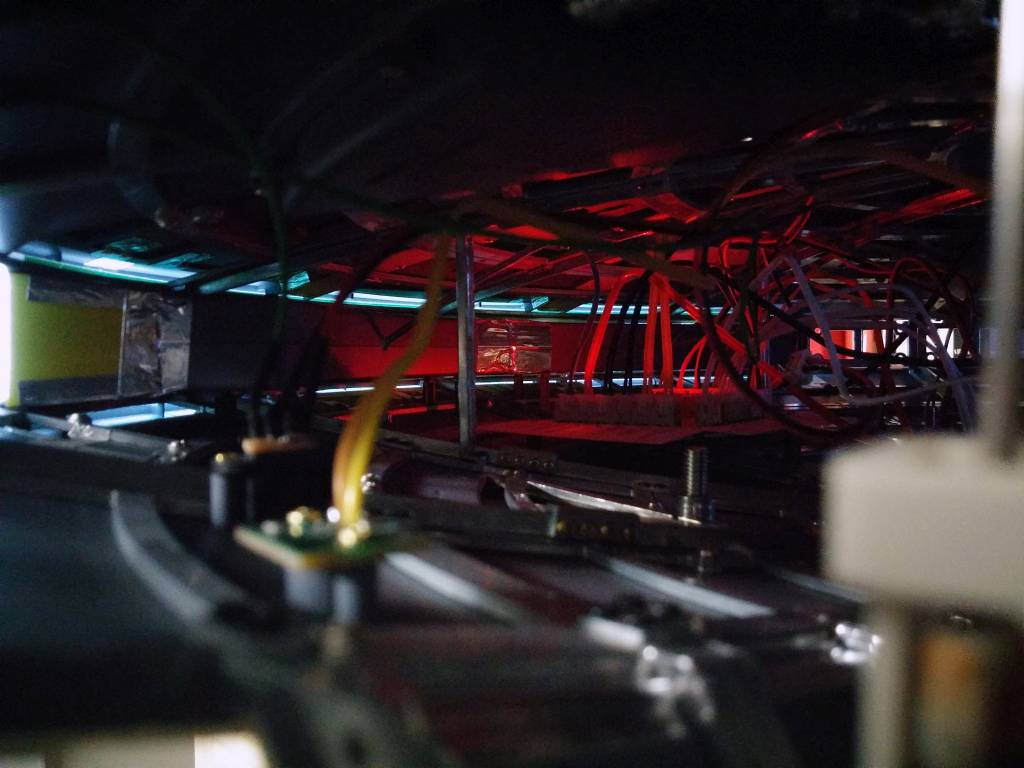
Oooh! I LOVE jumping ahead. This time, I had enough advanced assembly to permanently screw the upper hull to the lower hull and plug all of the electronics into the main board.
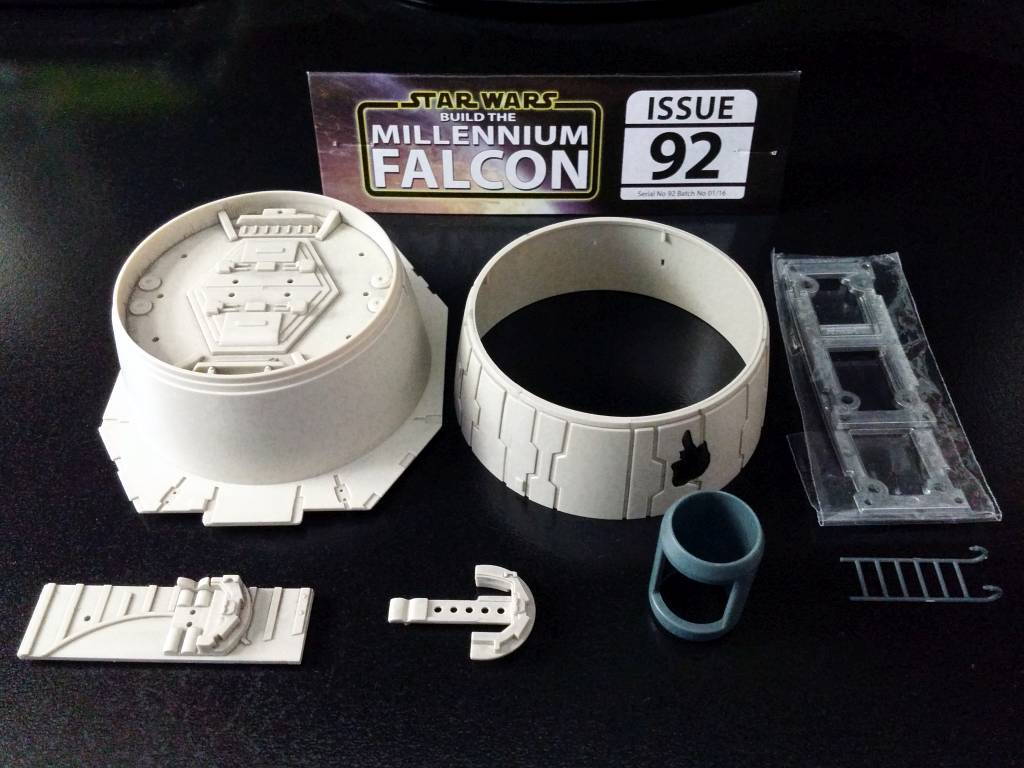
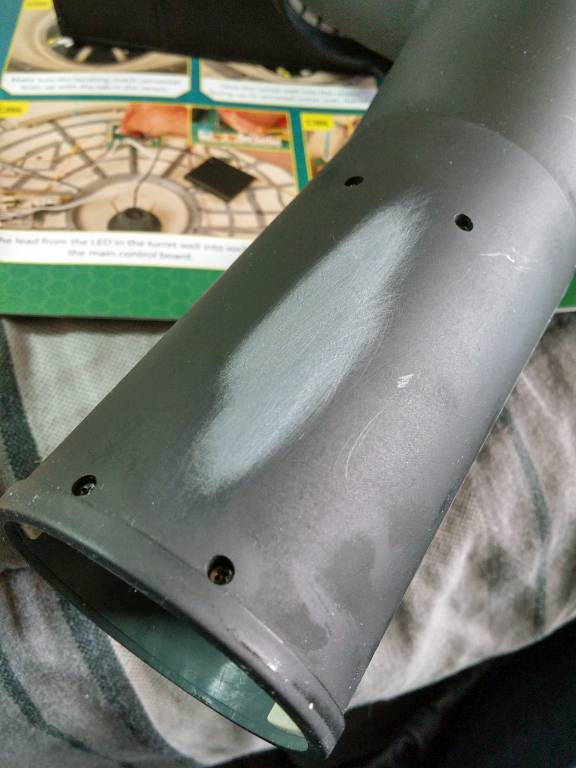
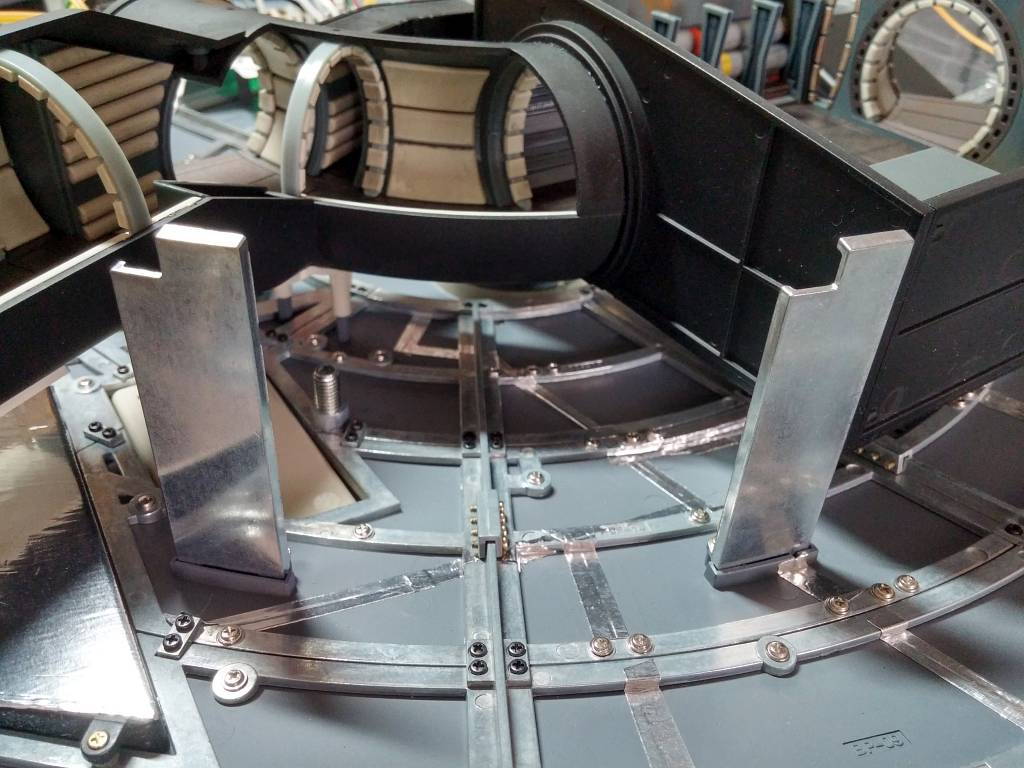
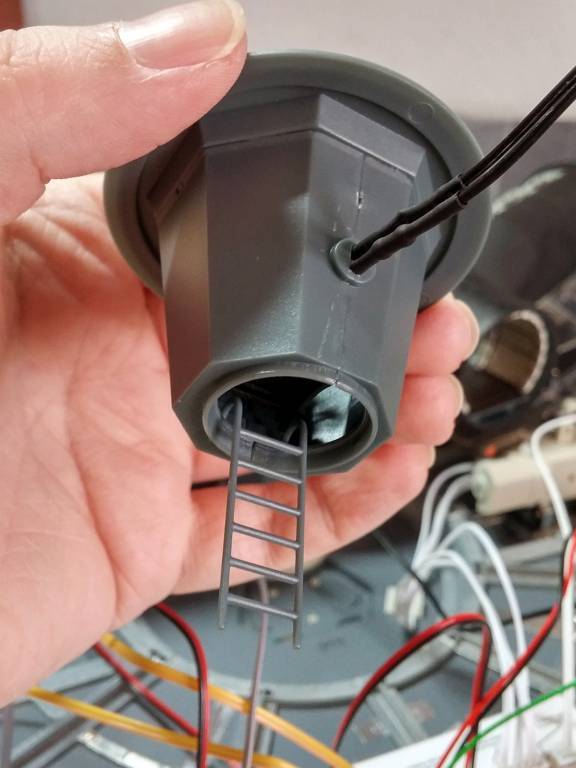
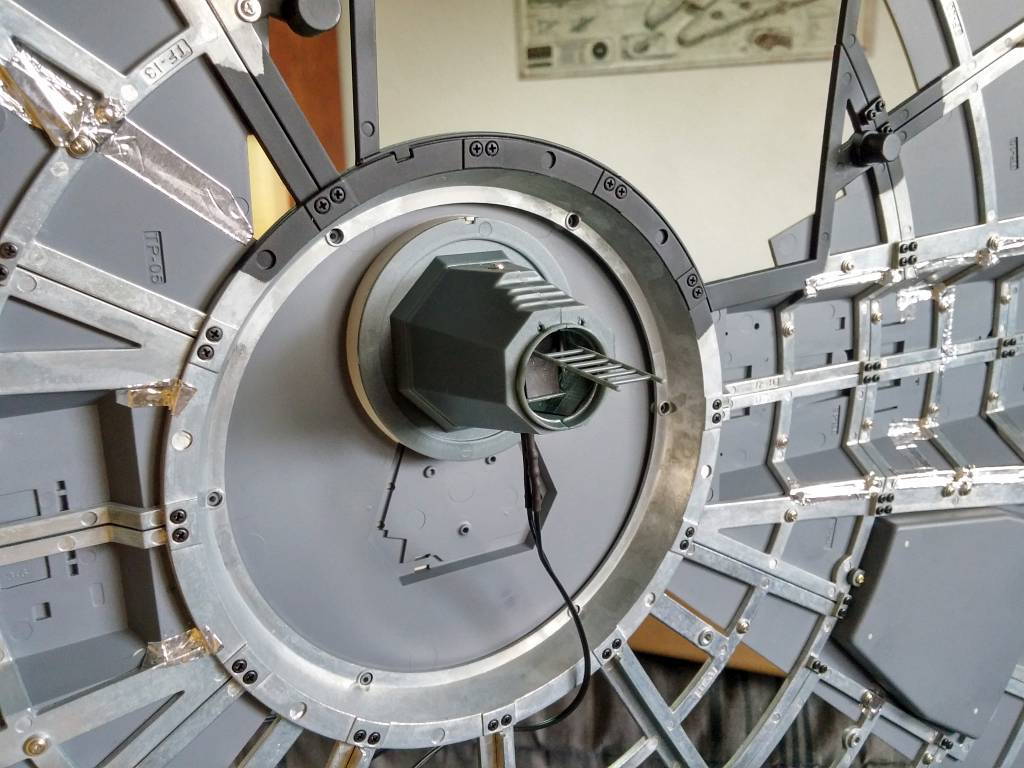
First, though, I had to glue the ladder to the inside of the upper turret well. Then, I glued the turret well in place on the upper hull.
Testing the fit of the two hulls, I found a snag. The two holes on the underside of the cockpit access tube didn’t want to sit all of the way down onto the two pins. So, I grabbed a drill bit and drilled the two holes out to make them a tad bit larger.
Rather than fetching the electric drill for such a simple fix, I wrapped a rubber band around the drill bit to give me purchase to complete the task by hand. Simple.
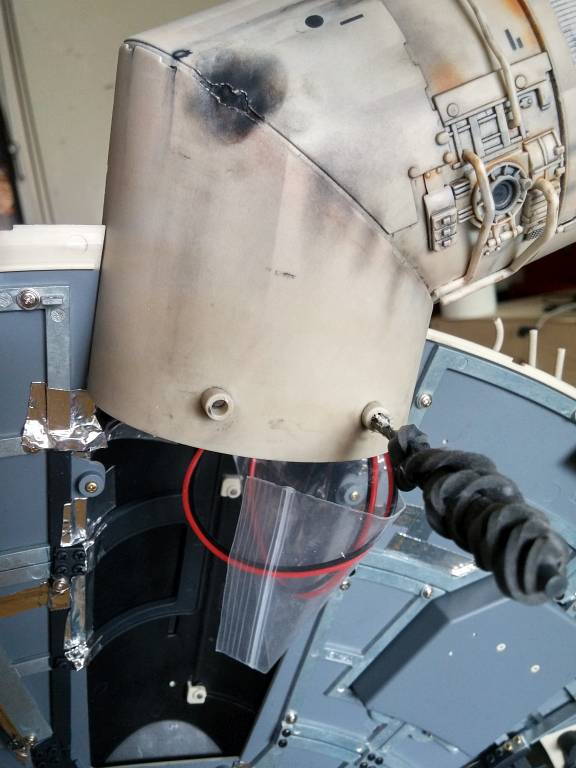
Fitting the two halves of the hull together was pretty straight-forward. The only thing that I had to worry about was the ladder that extended from the top turret well. It’s easy to break.
After screwing the halves together, I put the battery box into its holder, and I connected all of the remaining plugs into the main board. Now, I don’t know if this was a production mistake or what, but the plug leading from the cockpit did not reach all of the way. It might have reached if I removed the wire from the clip that held it to the upper hull. Instead, I used the extra plug extension that came with last month’s replacement LED strip. It was just way easier.
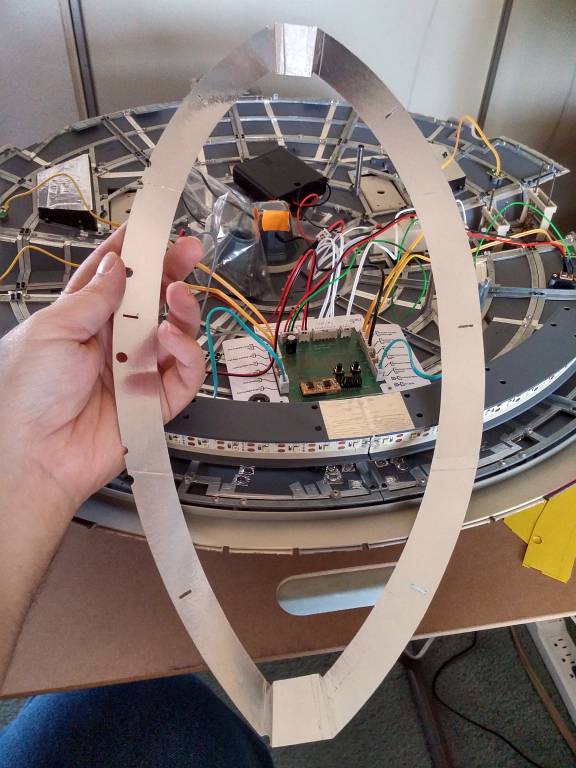
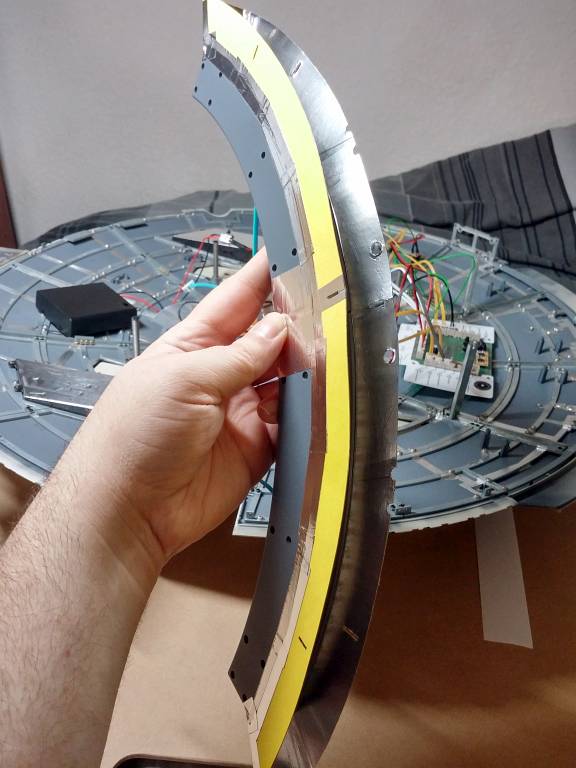
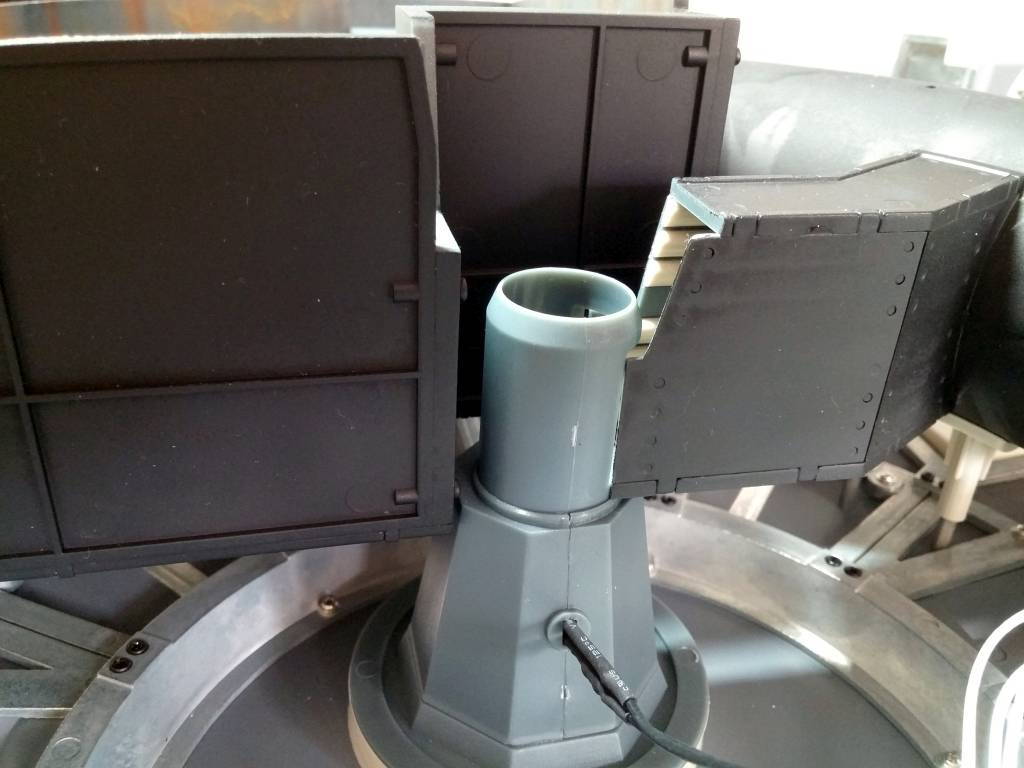
The sublight engine skirt was fitted and taped to the upper hull frame with more aluminum tape, and the diffuser strip was installed. Since the diffuser strip can be removed, I kept the protective plastic films on to prevent scratching and scuffing before final assembly.
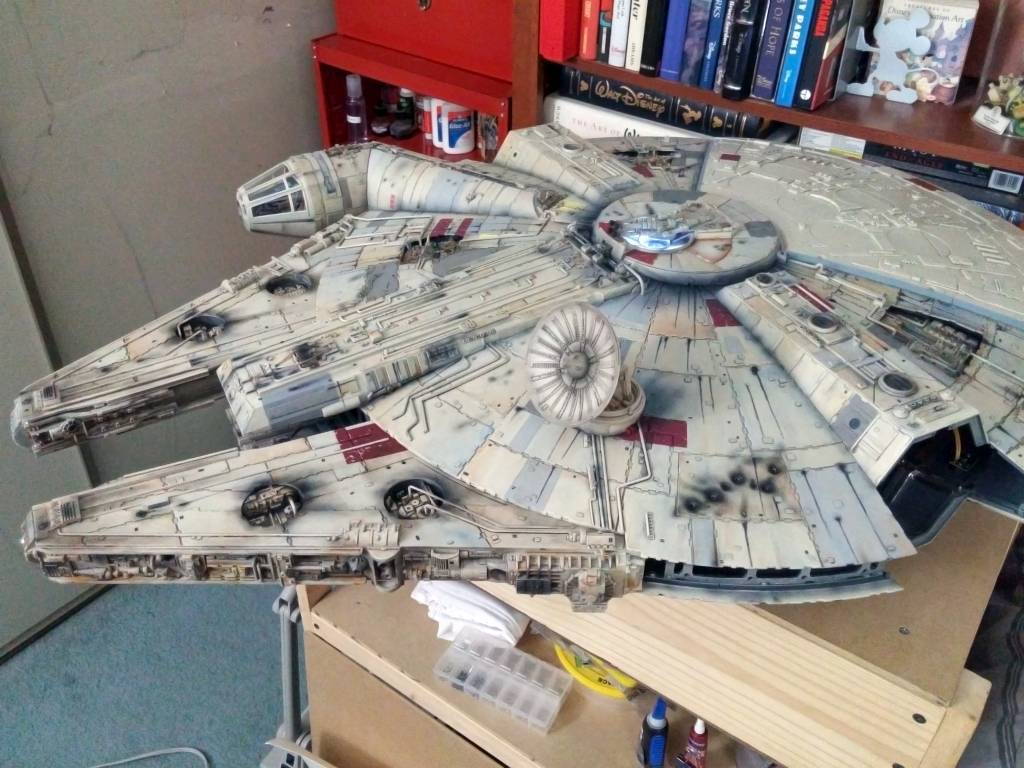
I added all of the panels to make sure that they fit properly, and I tested all of the electronics. So far, everything fits and works perfectly!
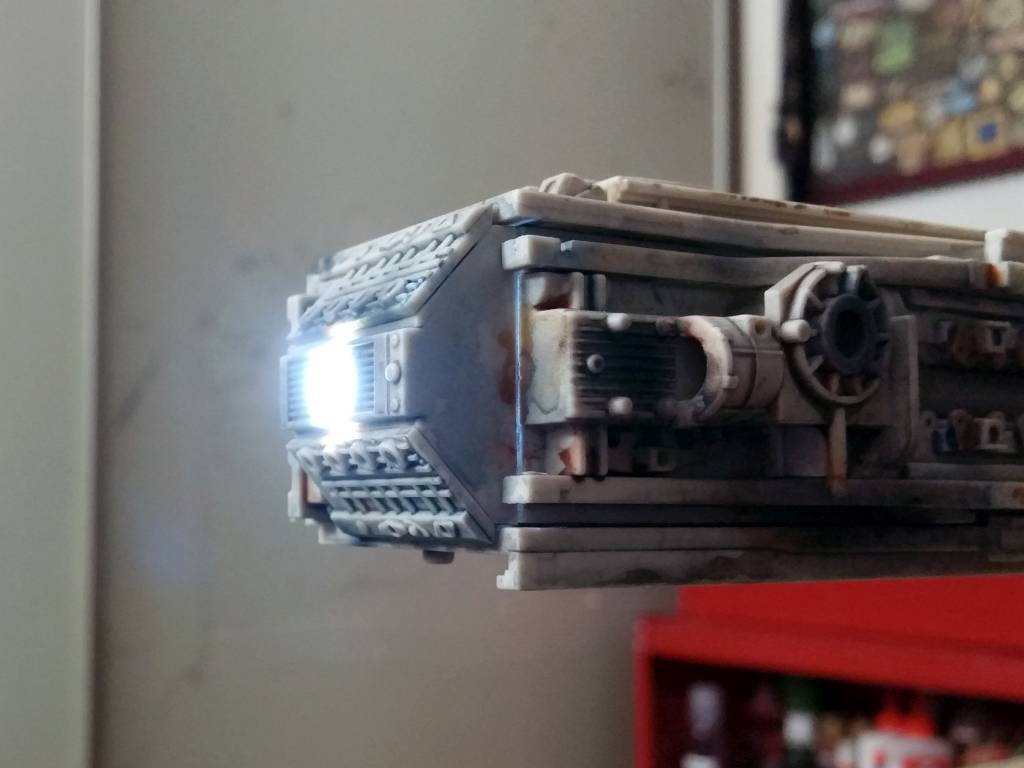
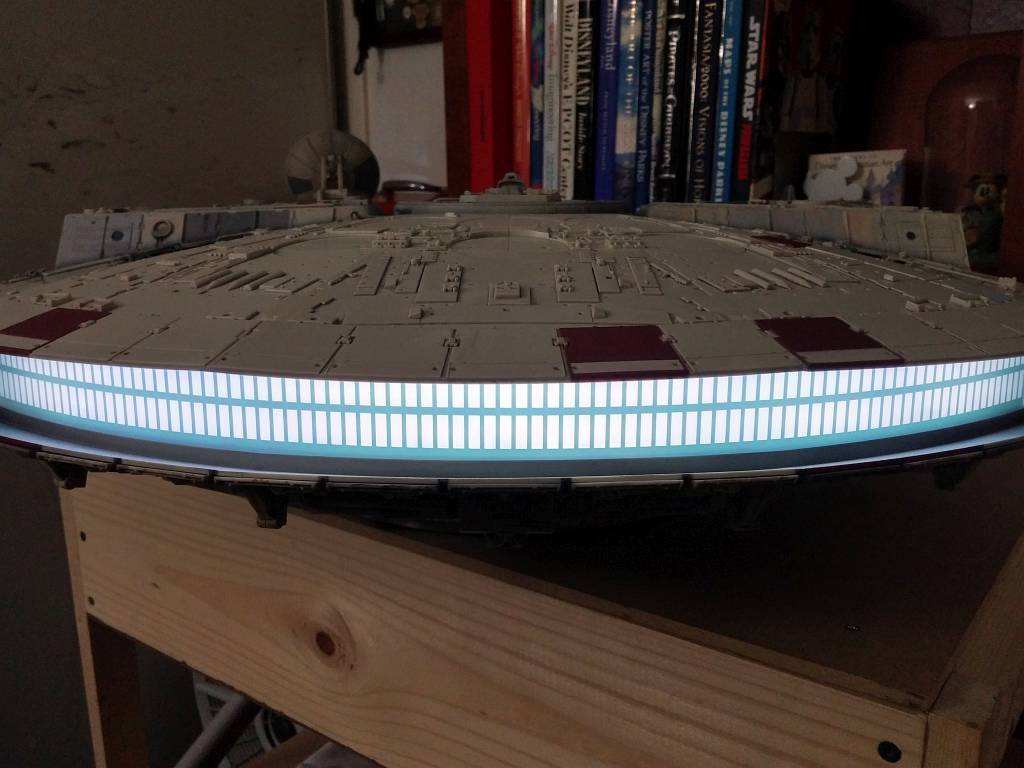
There was a little light leak around the headlights. I’ll have to plug those up later.
The sublight engine skirt works extremely well. The only light leak going into the ship comes from the diffuser strip that extends beyond the skirt, and the light leak is so weak that it’s almost not worth mentioning.
Extra
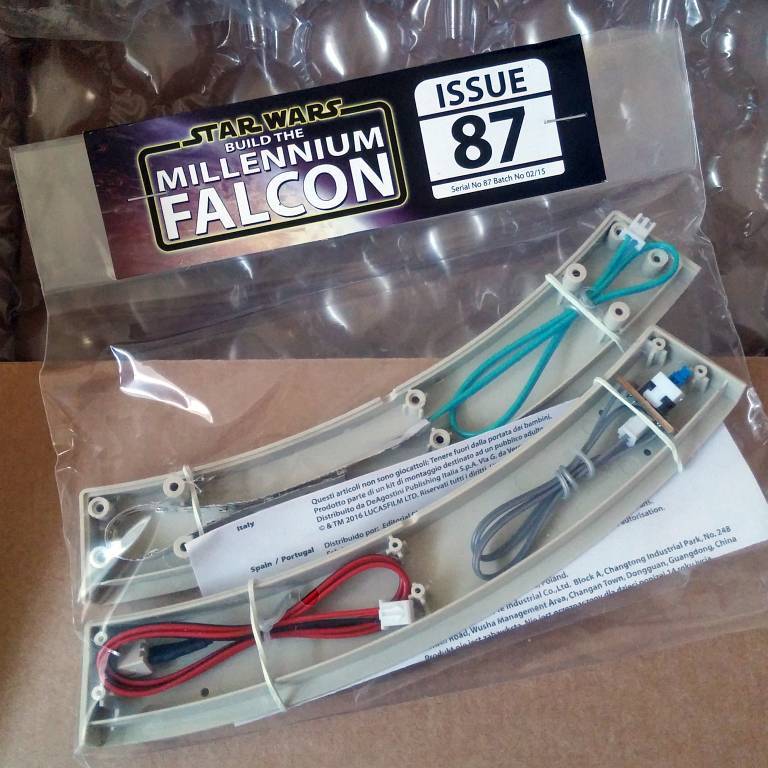
I don’t know why, but DeAgostini sent me another set of replacement parts. Oh well. It’ll be handy to have spare electronics, especially after I threw away the old LED strip. I wanted to keep it in case I needed to salvage the good LEDs as replacements.
Prev Journal Entry | Next Journal Entry
Some of the links in the post above are “affiliate links.” This means if you click on the link and purchase the item, we will receive an affiliate commission. This is being disclosed in accordance with the Federal Trade Commission’s 16 CFR, Part 255: “Guides Concerning the Use of Endorsements and Testimonials in Advertising.”
Do you have a thought about this post? Why not leave a comment . . .