Millennium Falcon Build Journal No. 26: Issues 93-96
![]() Trader Sam | June 20, 2017
Trader Sam | June 20, 2017
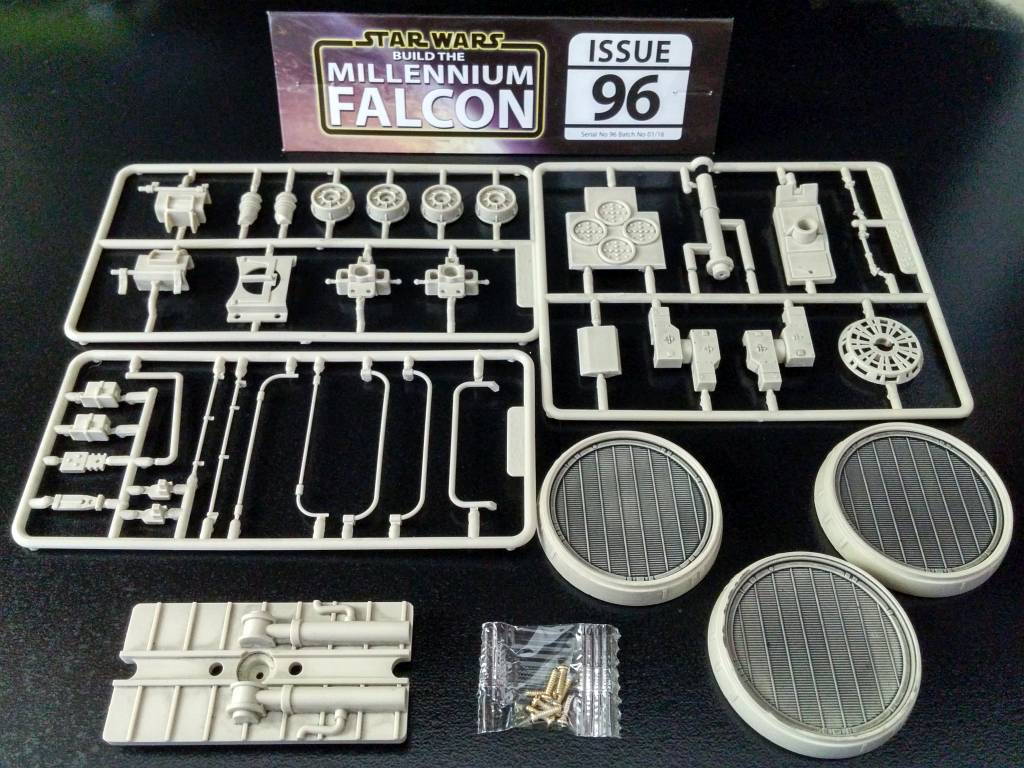
The Contents
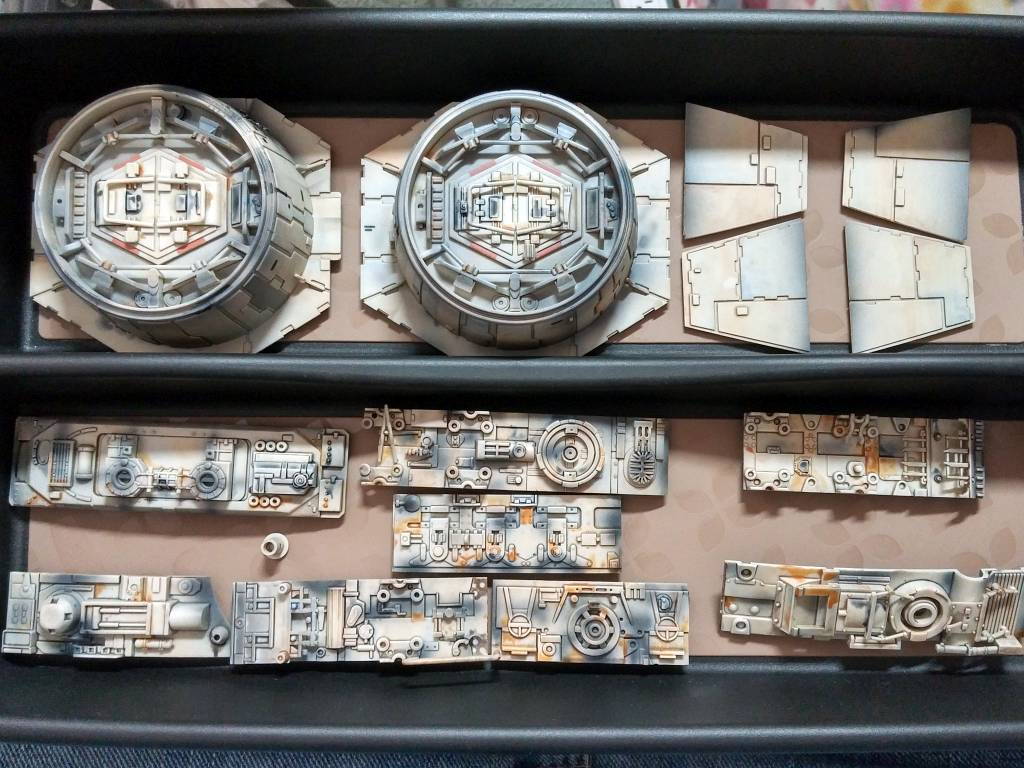
The side panels and airlocks all go in, and the Millennium Falcon looks nearly complete. Oddly, this month wasn’t too big of a build; the painting took longer to complete.
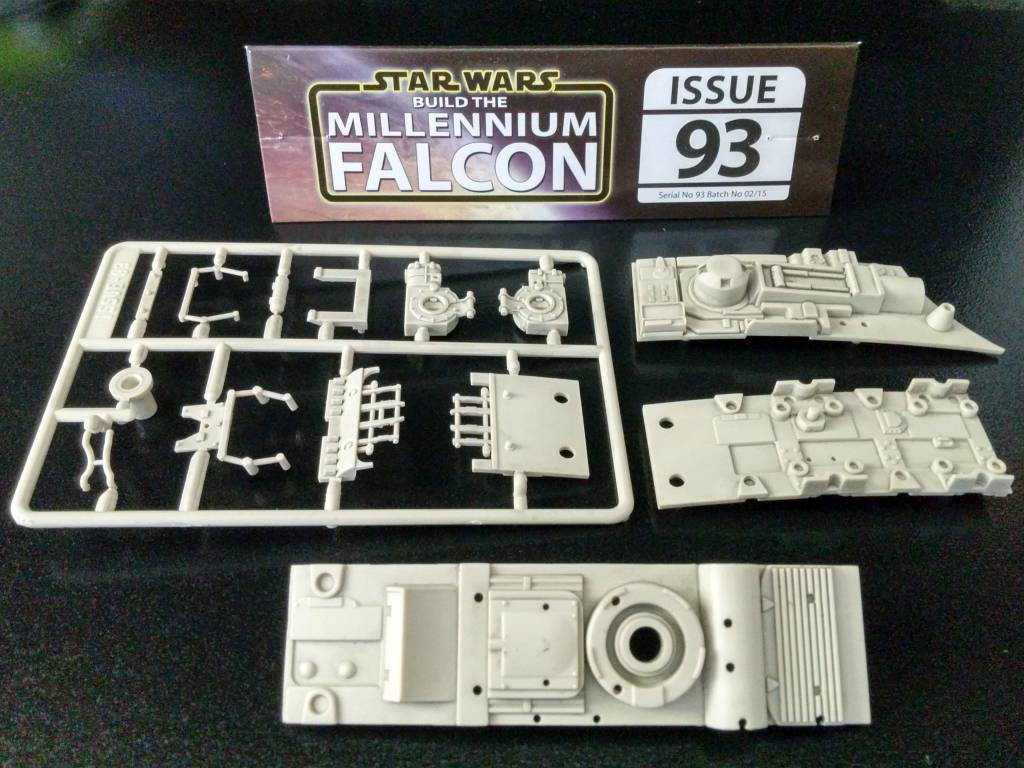

Completing the Sides
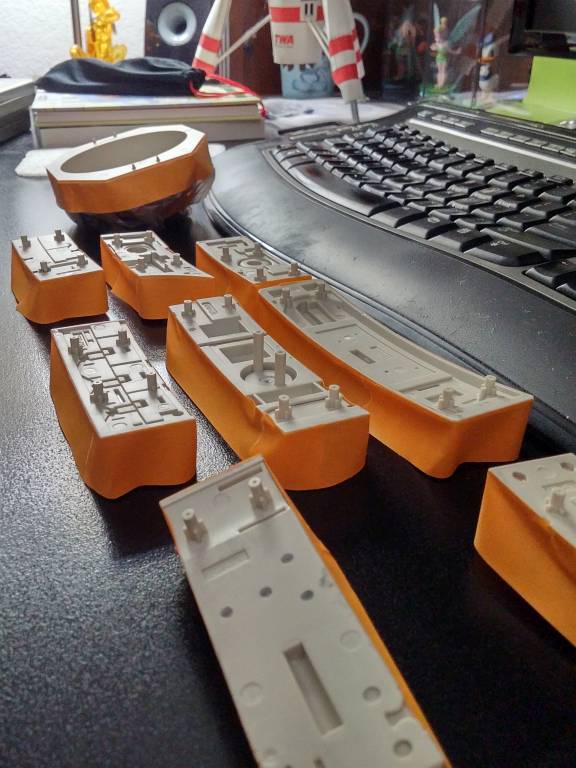
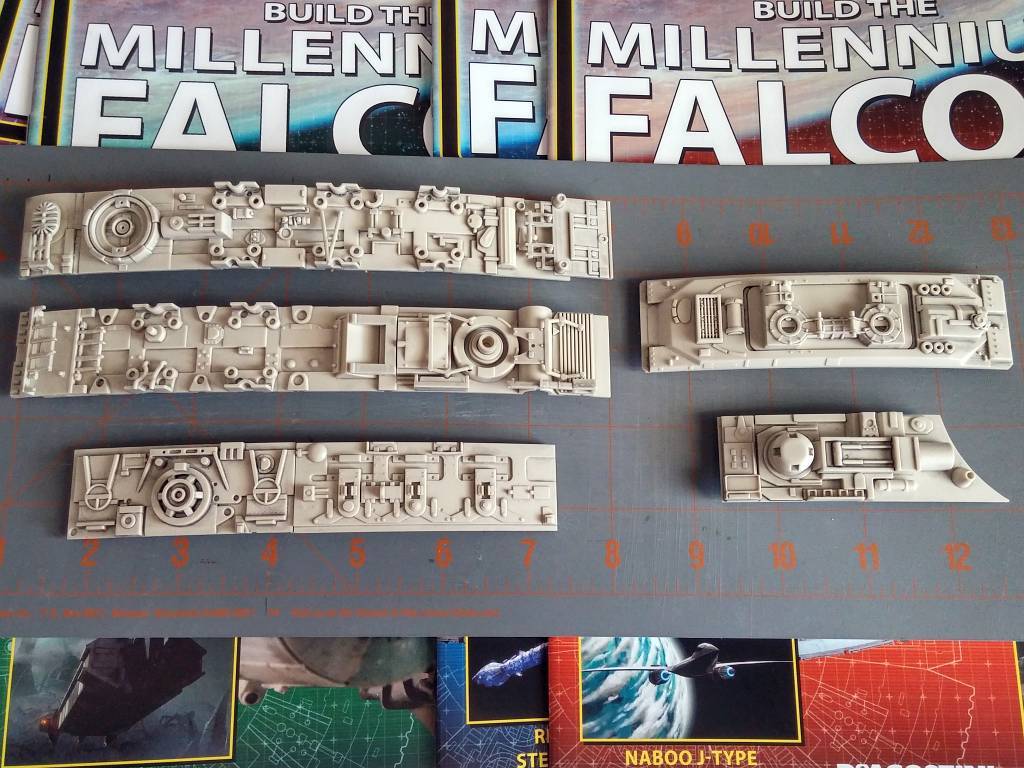
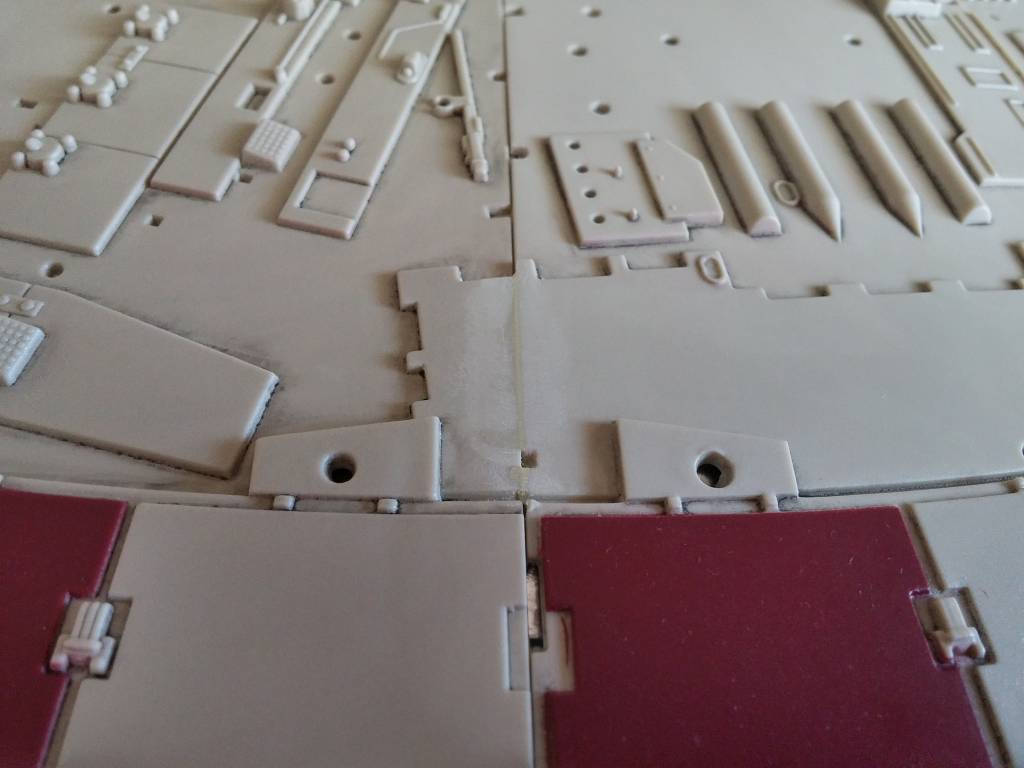
After masking and light-blocking the panels, I taped the parts for the sides (not the air locks) together so that the paintwork would line up. There were also a couple of plan-on details that I also glued into place by dry-fitting the panels.
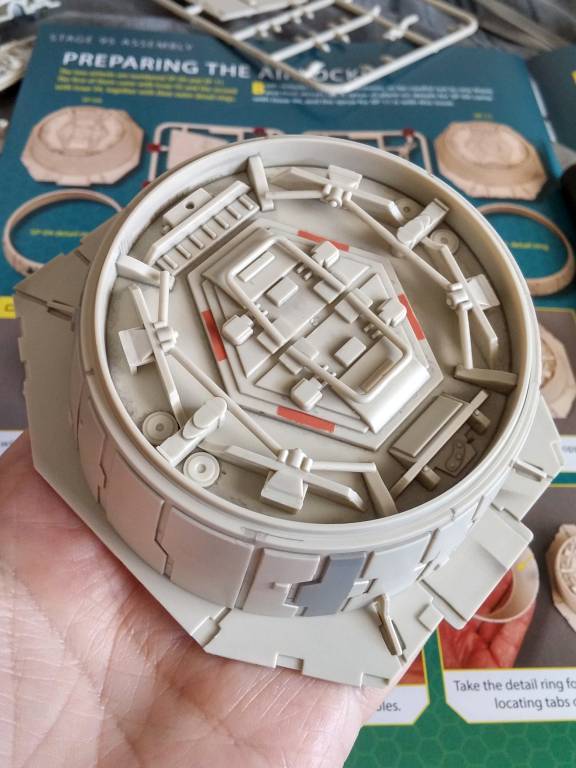
After painting and varnishing, I prepped the edges of the airlock frames by removing some gray primer with a cotton swab soaked in acetone.
Actually fitting the frames is where it got a little tricky. The side panels don’t come into contact with any of the plastic, so I can’t use my go-to cement, and I don’t trust super glue to last for too long without cracking. So, I decided to use some 2-part liquid epoxy. It’s goopy enough to fill in gaps and secure the panels to the metal frame.

The large airlock panels didn’t fit at all. The area that they were supposed to fit into had shrunk a couple of millimeters due to the weight of the model. But, with several soft, firm blows with my fist, they finally went in.
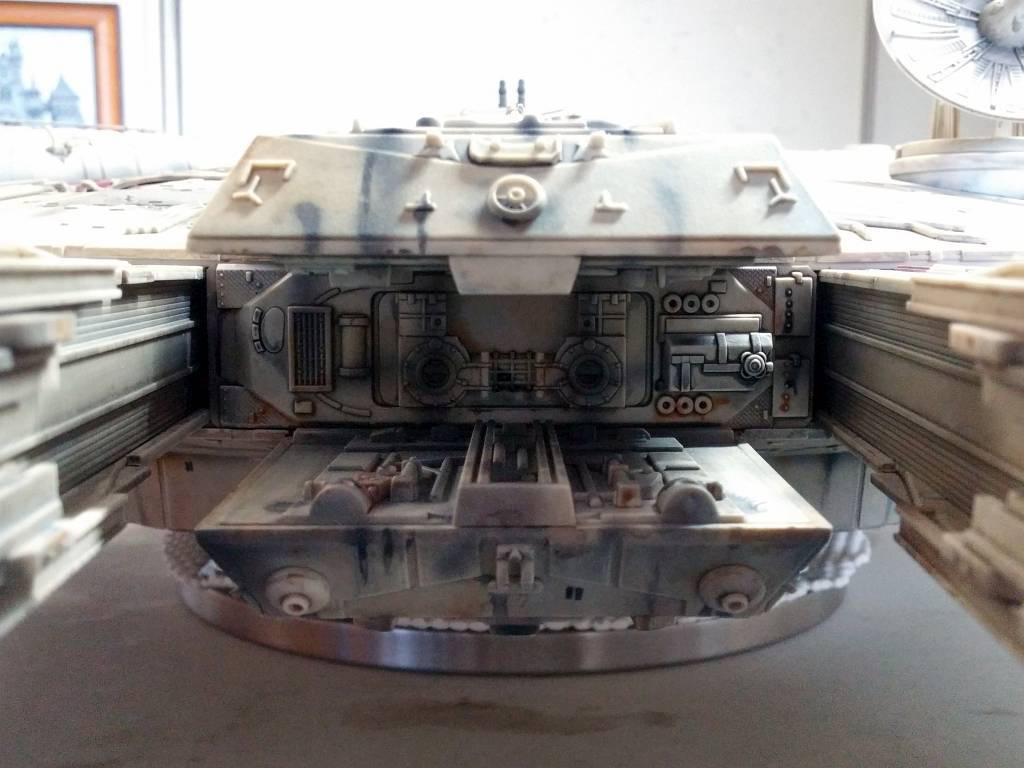
The panel between the mandibles was tricky, too; it just didn’t want to fit. But, it eventually did.
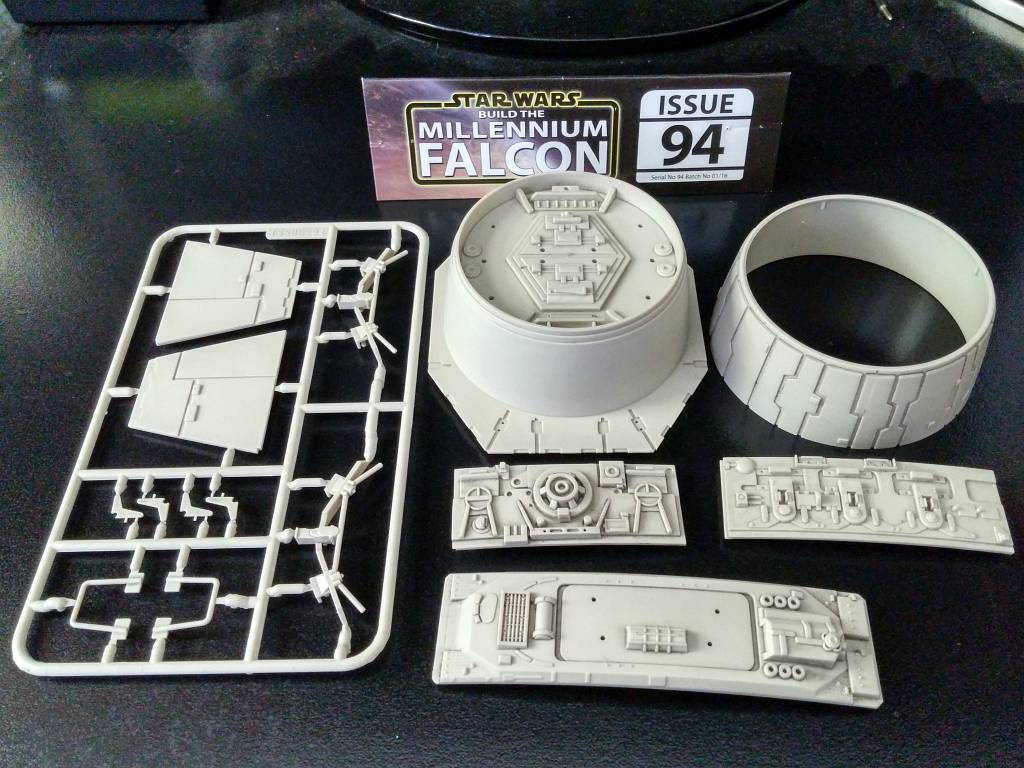
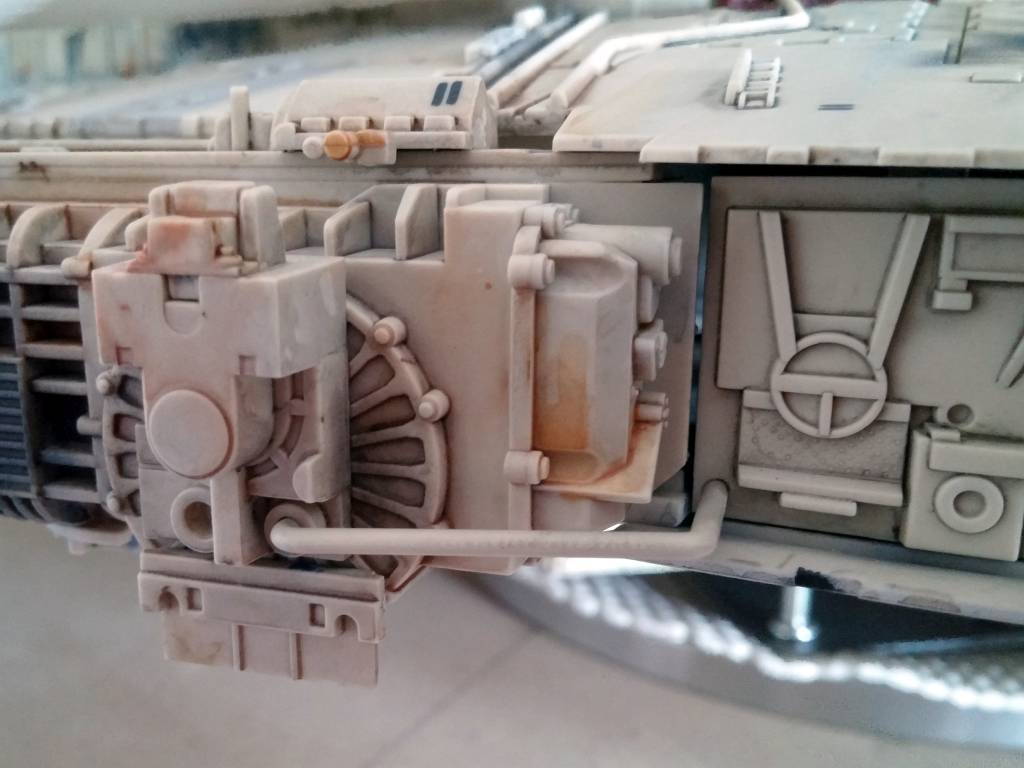
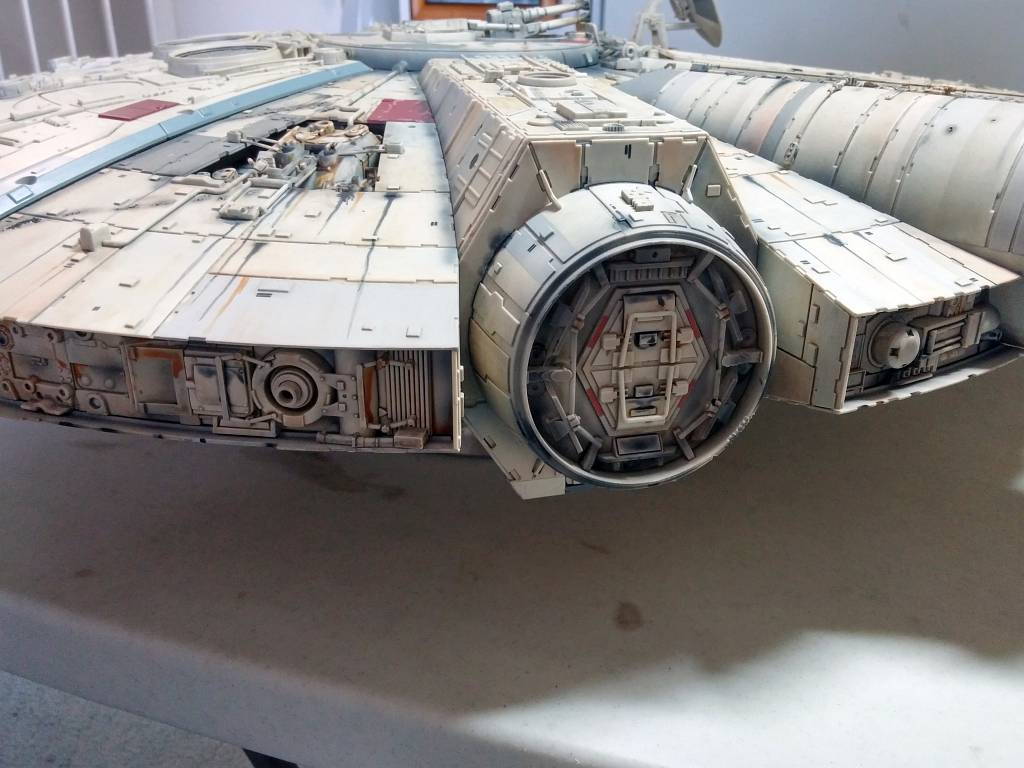
Working on the Engine Cover
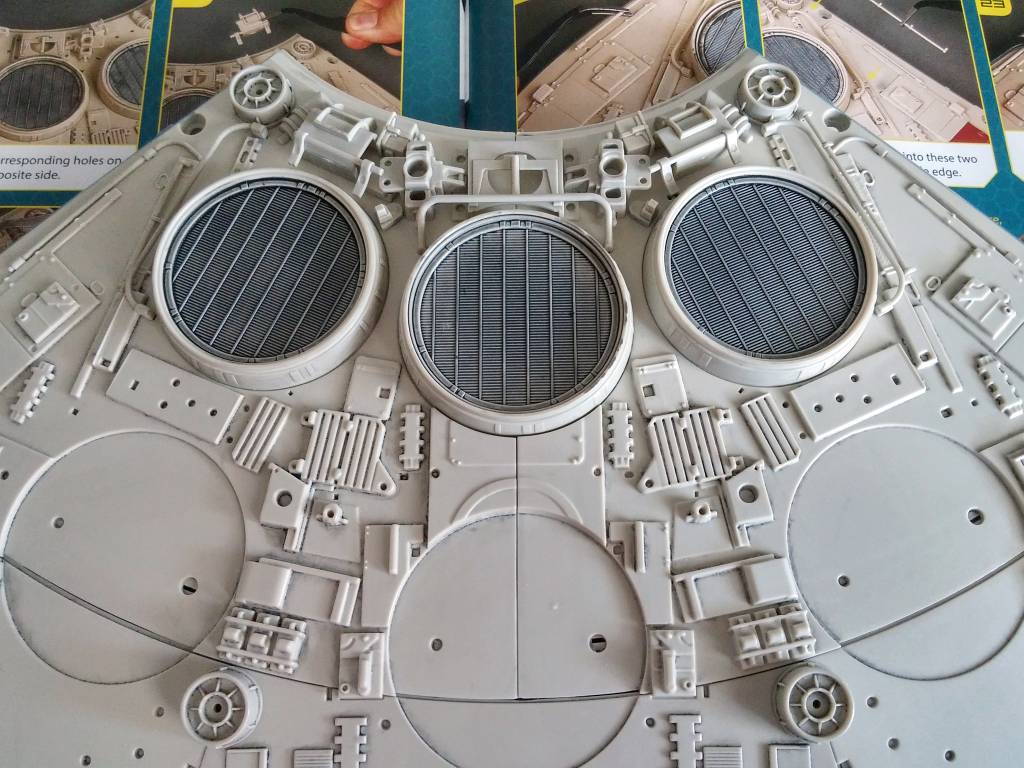
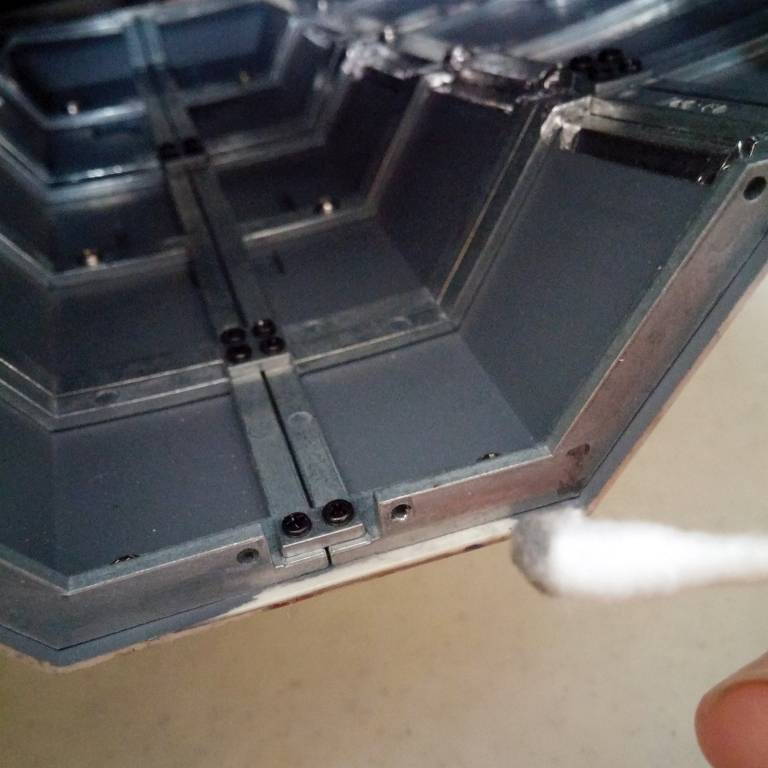
The engine cover had several parts to glue on, but it was nothing compared to all of the stuff that I’ll have to glue on next month. I also filled, sanded, and painted a couple of small seams that were bothering me.
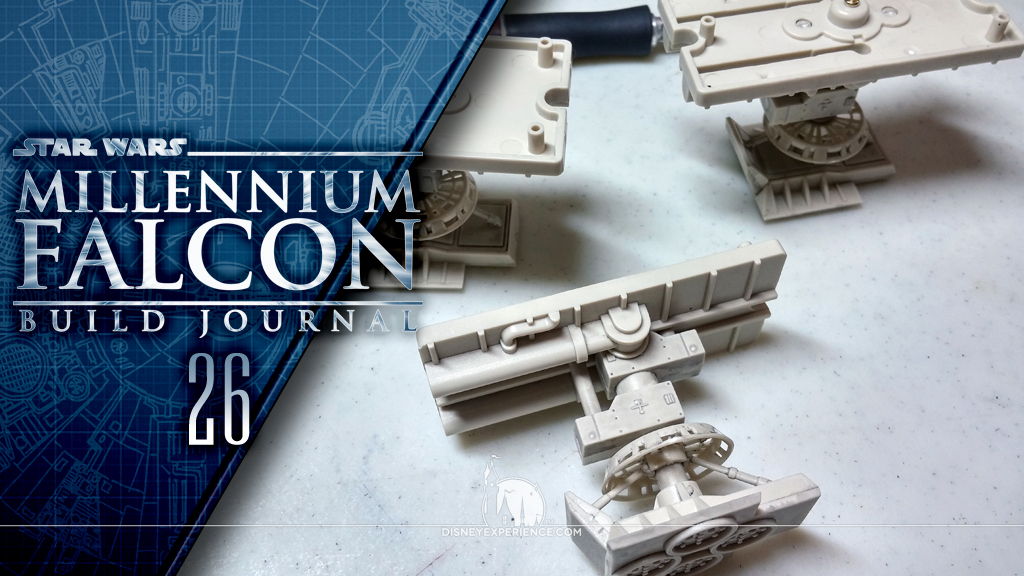
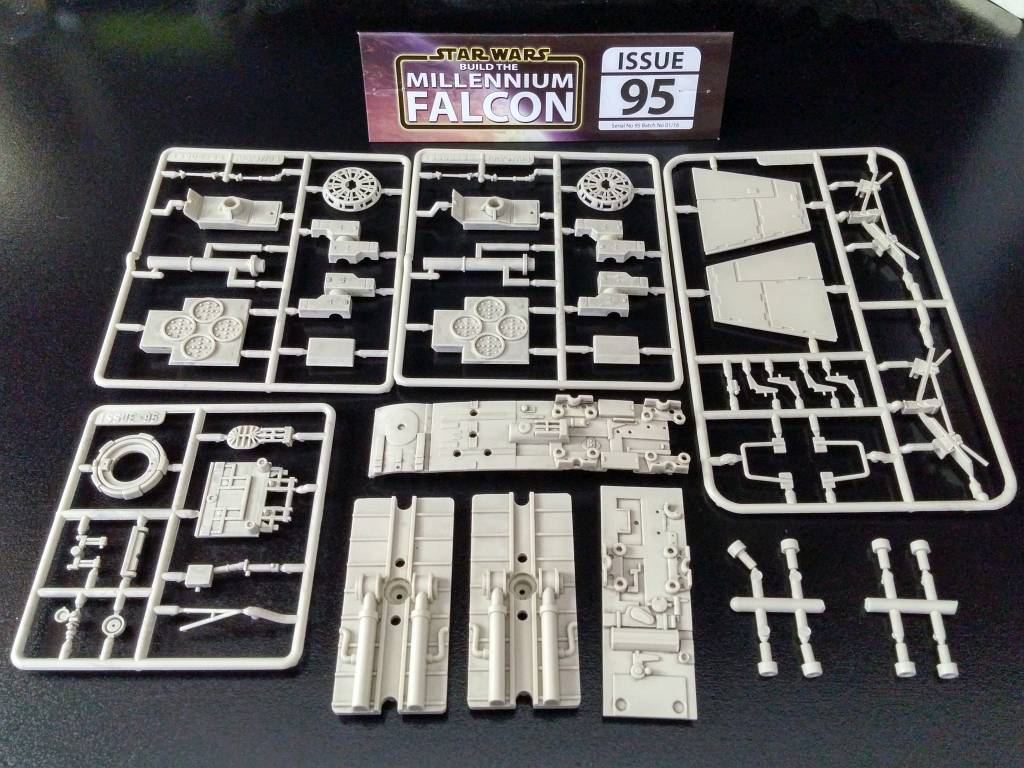
Jumping Ahead
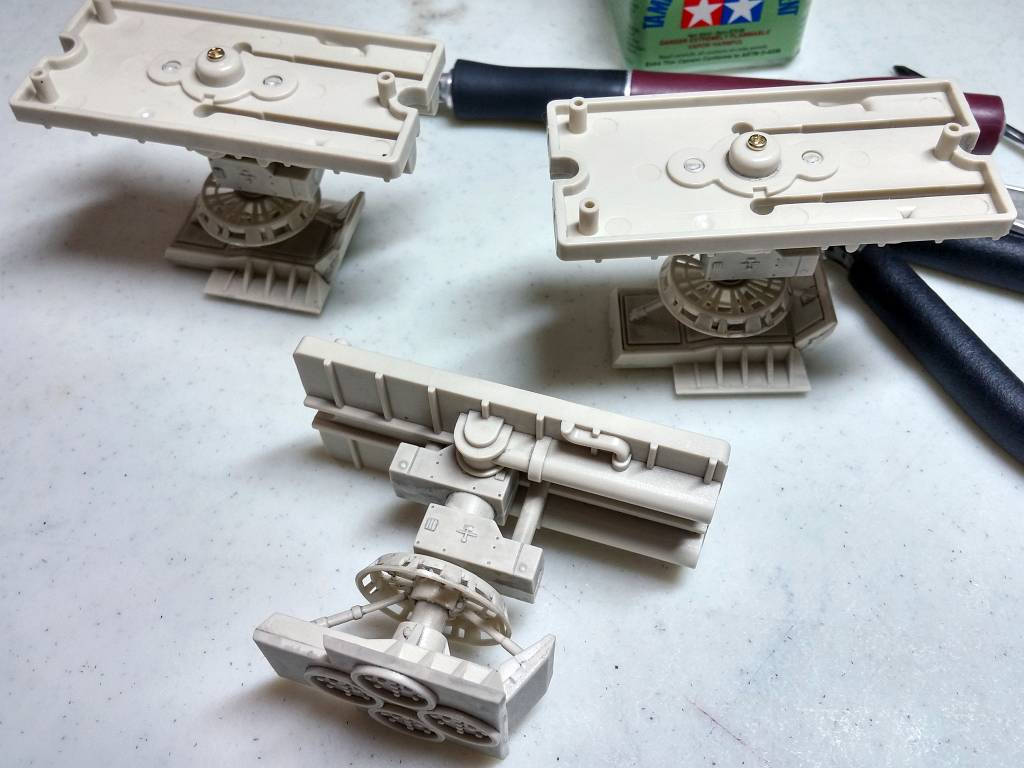
Since I had the parts for three of the landing legs, I went ahead and assembled them. I’ll hold off on painting them for now; I want the paintwork to match.
The instructions say that the landing legs are designed to not be removed without being damaged. Essentially, they’re supposed to go in and stay in. But, as many builders have figured out, a few magnets and some customization can make them easily removable.
Prev Journal Entry | Next Journal Entry
Both the post author and this website have not received any compensation for writing this post. Both the post author and this website have no material connection to the third-party brands, products, or services that have been mentioned. Some of the links in the post above are “affiliate links.” This means that if you purchase the item, we will receive a commission. As an Amazon associate, we earn from qualifying products. This is being disclosed in accordance with the Federal Trade Commission’s 16 CFR, Part 255: “Guides Concerning the Use of Endorsements and Testimonials in Advertising.”
Do you have a thought about this post? Why not leave a comment . . .