Cross Stitch for Beginners
Project/Craft
There are many different types of cross stitch, and there are many different types of stitches. Two of the most common styles are stamped cross stitch (following a printed pattern on a piece of fabric) and counted cross stitch. This tutorial will focus on counted cross stitch using full stitches.
Counted cross stitch has no printed pattern to follow on the fabric. Instead, you follow a separate guide, and you count & place your stitches ('X' patterns) as you go. Proper placement is key; one mistake can force you to pull out your stitches to fix your mistake. Do it correctly, and you will be rewarded with a fun piece of art.
Cross stitch can be a relaxing hobby, and patterns are widely available both in stores and online. Some patterns are huge, and some are small. We'll stick with a very small pattern since this is likely your first time.
Tools & Materials
For your convenience, we have provided affiliate links to the materials. As an Amazon associate, we earn from qualifying products.
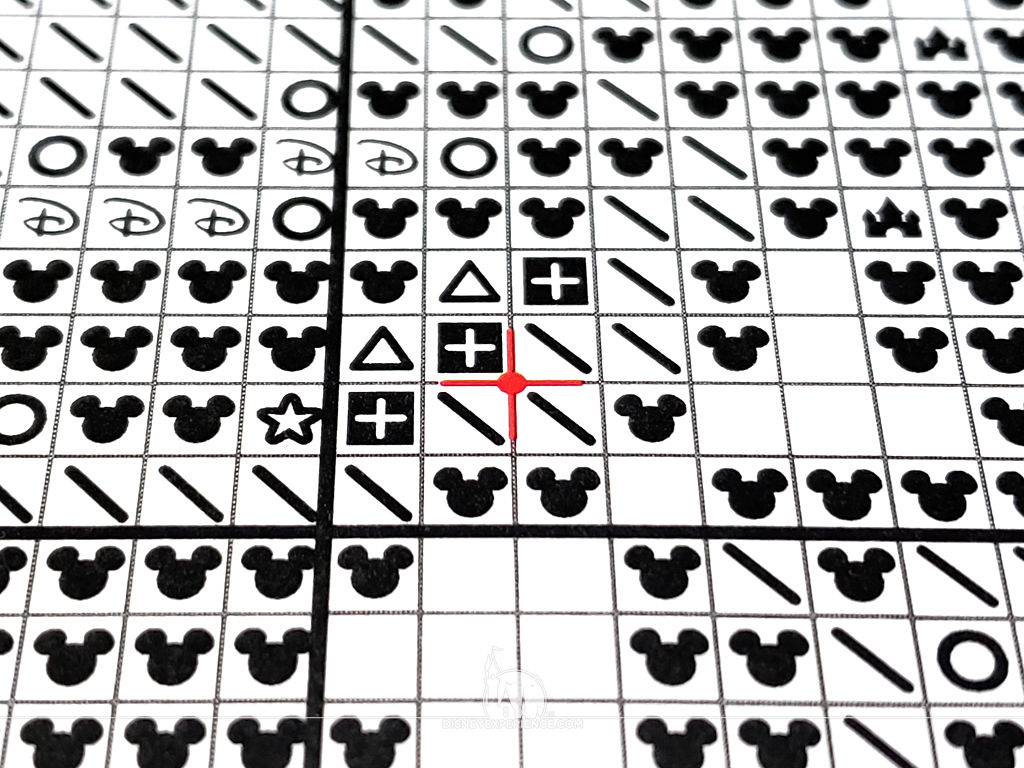
Cross Stitch Pattern
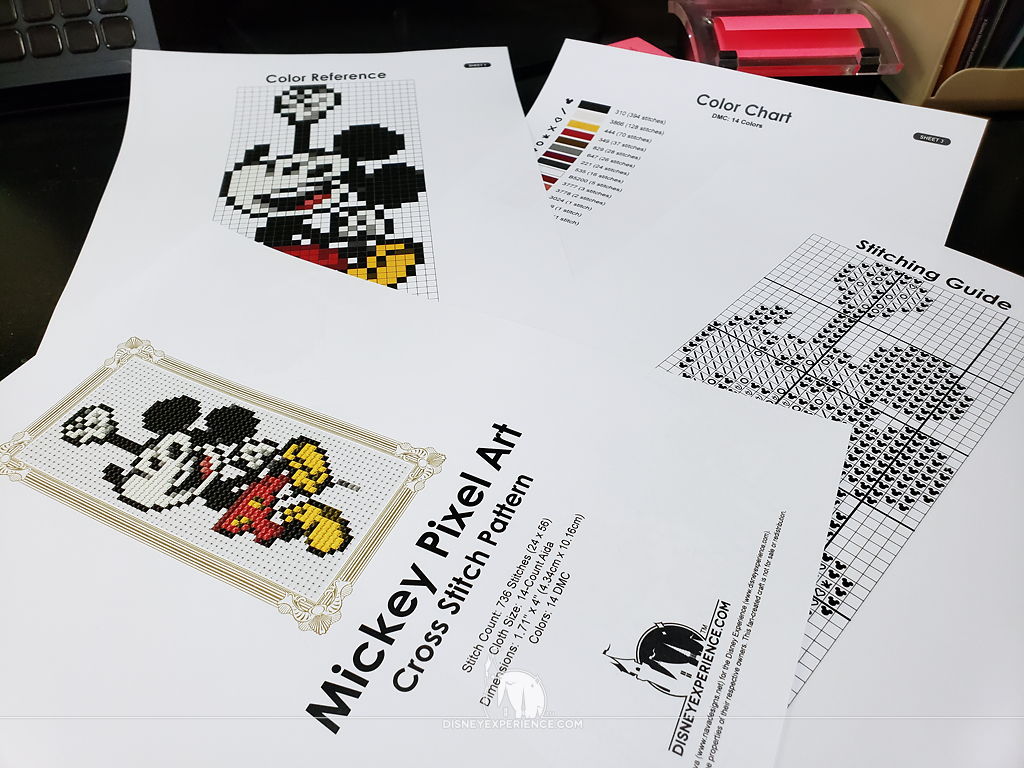
To begin, you will need a cross stitch pattern. You can use one of your own choosing, or download the provided Mickey pattern, below.


Fabric
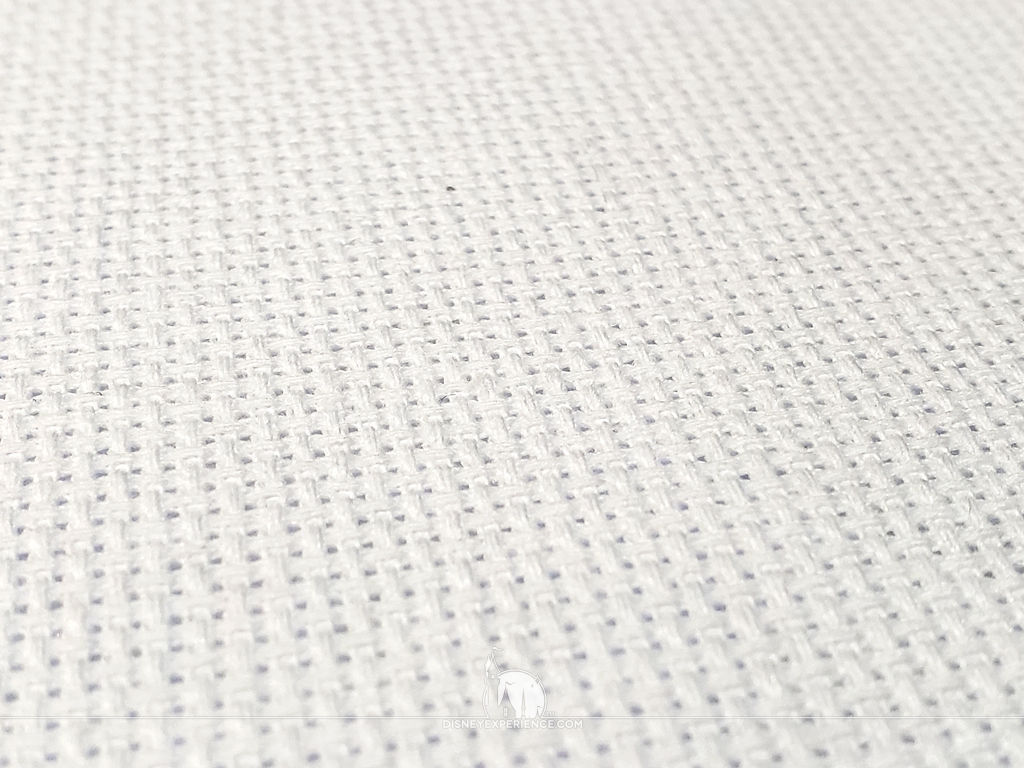
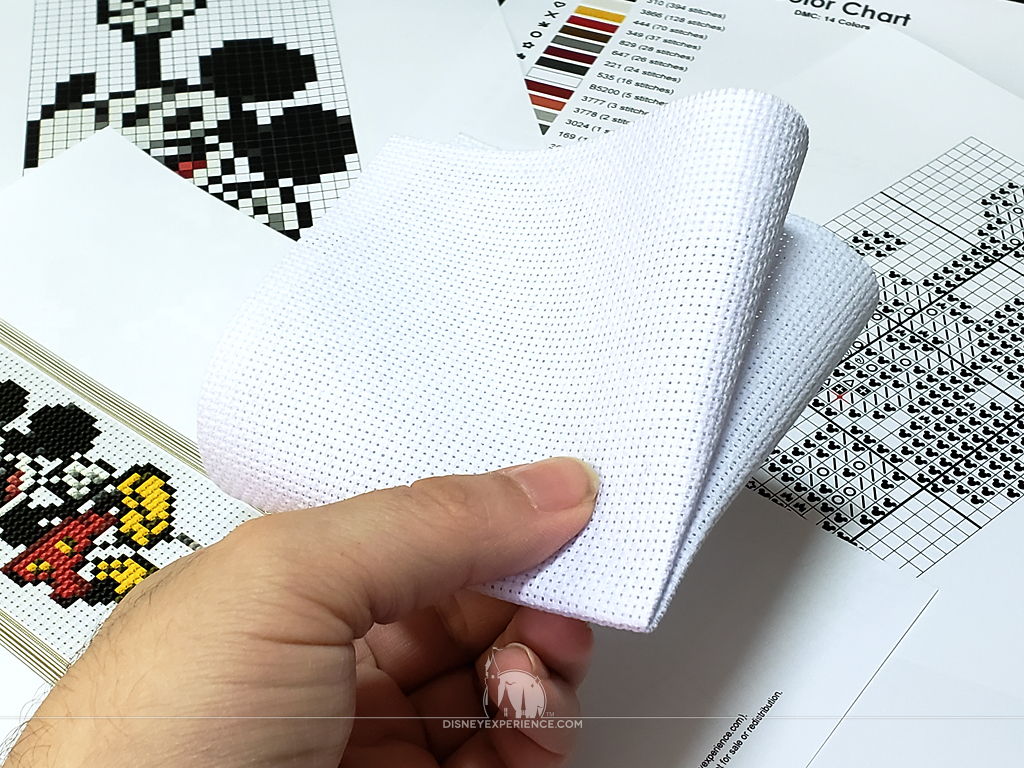
Next, you will need fabric. There are many different types of fabric to use, but for this tutorial, we will be using Aida cloth. Aida cloth is woven in such a way that it produces a grid of small holes. These are the holes that you will run your needle through.
Aida cloth comes in different weave sizes. For example, 14-count Aida cloth?which is what our Mickey pattern is designed for?measures 14 stitches for every 1 inch. 12-count Aida cloth measures 12 stitches for every 1 inch, and so on. 14 is a good size to start with; larger counts require more thread, and smaller counts may be hard to work with. But, the choice is up to you.
You will also need to pay attention to the information included with each cross stitch pattern. Each pattern is usually designed for a specific size of Aida cloth. Our Mickey pattern, for example, is designed for 14-count Aida cloth. When it is completed, it should measure approximately 1.71" x 4" (4.34cm x 10.16cm). If you use larger Aida cloth, the pattern will be increased in size. Use smaller cloth, and the pattern will be decreased in size. You certainly do not have to use the size of Aida cloth that any pattern recommends, but don't stray too far from the original size, or you may encounter unintended difficulties.
Aida cloth also comes in several colors such as gray, opal, navy, khaki, etcetera. The most common is white, which is what we will be using in this tutorial. If you think that your pattern would look better on a different color, try it!
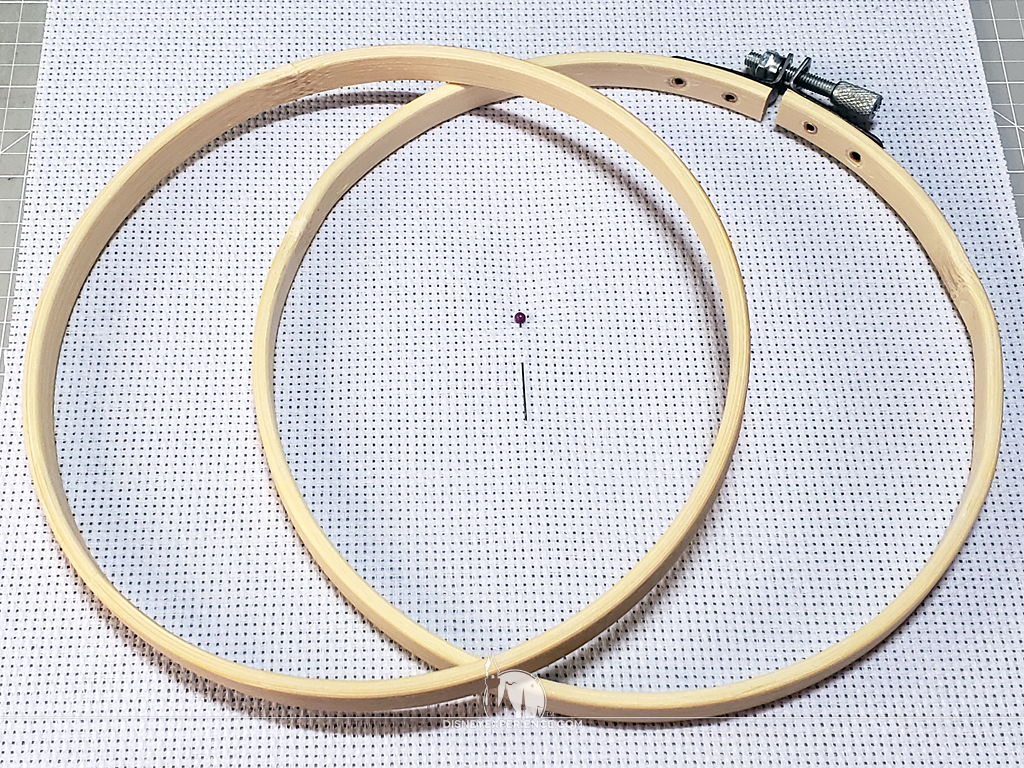
Embroidery Hoops
Although Aida cloth is stiff enough to work with by hand, you may find it helpful to use embroidery hoops to keep the fabric taut as you work.
Hoops come in a variety of sizes. Picking one depends on the size of your pattern and how large of an area you wish to work with at one time. Since we'll be using our Mickey pattern, a 6"-diameter hoop will easily accommodate the pattern.
Embroidery Thread
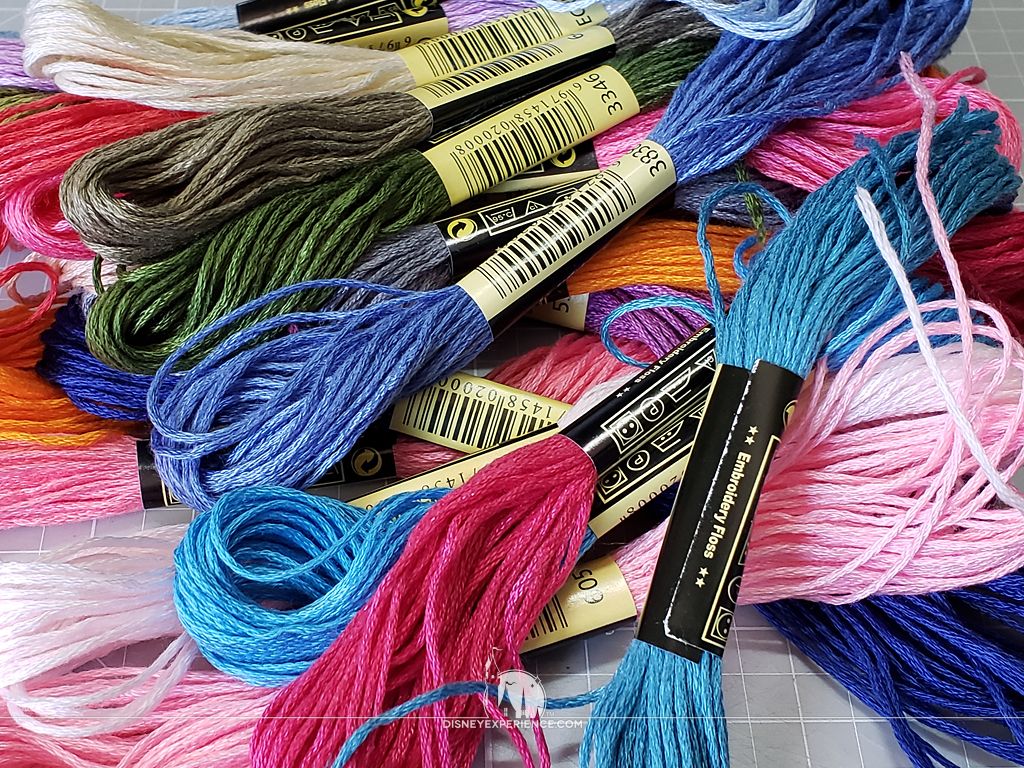
Embroidery thread?also known as embroidery floss?provides the color for cross stitch patterns. It is woven into the fabric in a grid pattern of 'X's. Combined, they produce an image or design.
Embroidery thread comes in small bundles called "skeins." Each skein contains a long, single thread that is made up of 6 smaller strands. It is typical to cut a skein to length, and then pick it apart as needed, using only a couple of the small strands at a time. The standard number of strands used is 2. More strands will produce denser color fills.
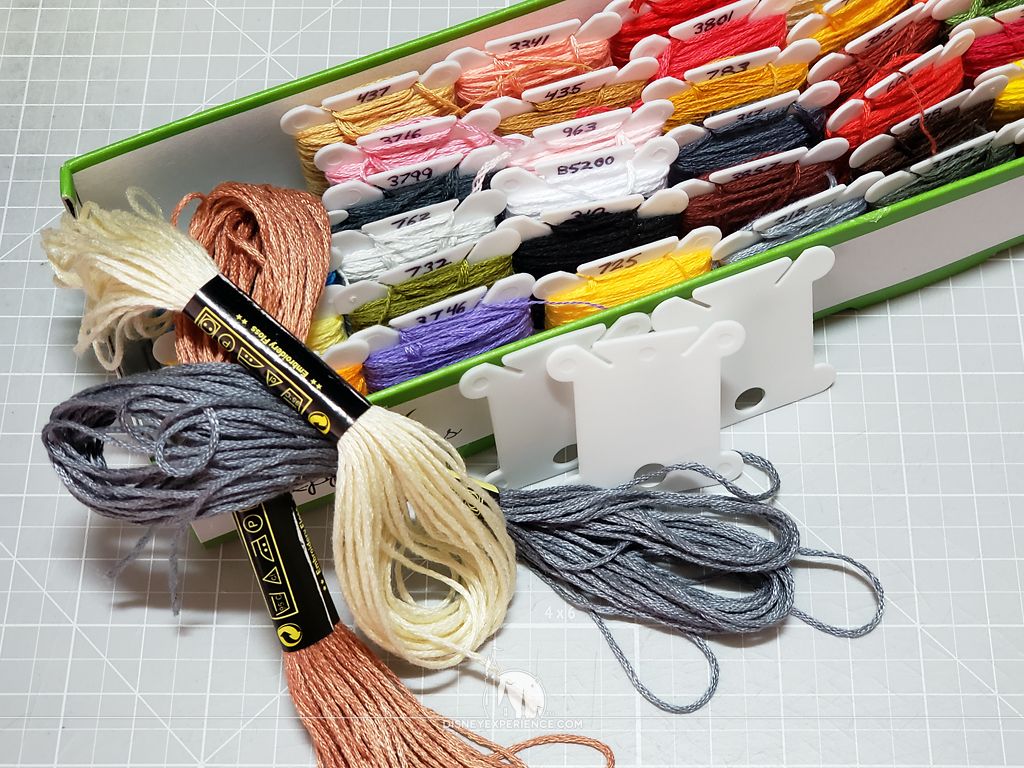
Once the thread is removed from its sleeve, it is hard to get it back in. You may want to invest in some plastic bobbins to store your extra thread. Use an ultra-fine marker to write the numbers onto the bobbins for easy reference.
The most popular and wide-spread color system is DMC, which consists of hundreds of standard colors in addition to metallic, multi-colored, and more. Every color is given a unique number, which is referenced in a cross stitch pattern's color list. Make sure that the pattern that you choose uses color codes for DMC or whatever color system that you use.
Look at the color list that comes with your cross stitch pattern. It will list all of the colors?and their codes?that are required for the project. Some patterns will also list the number of skeins that are needed of each color. Our Mickey pattern is small, so one skein of each color is more than enough.
Although not absolutely necessary, it is recommended that embroidery thread be conditioned?typically with wax?before use. Thread conditioner adds strength to the strands, helps keep them from twisting & tangling, helps keep them from fraying, and allows them to glide through the fabric more smoothly. The thread may look dull after applying the conditioner?especially wax?but, the sheen and luster will return after you wash your finished piece.
Needles
Embroidery needles are very similar to sewing needles, only they are duller and they have larger eyes. Although they are less sharp, they can still poke you, so be careful.
Needles come is different sizes, and you should pick a size appropriate for the Aida fabric that you are working with. Larger needles hold more thread for larger cloth sizes, etcetera. For 11-14 count Aida cloth, a #24 embroidery needle is ideal.
Stitching
Find the Center
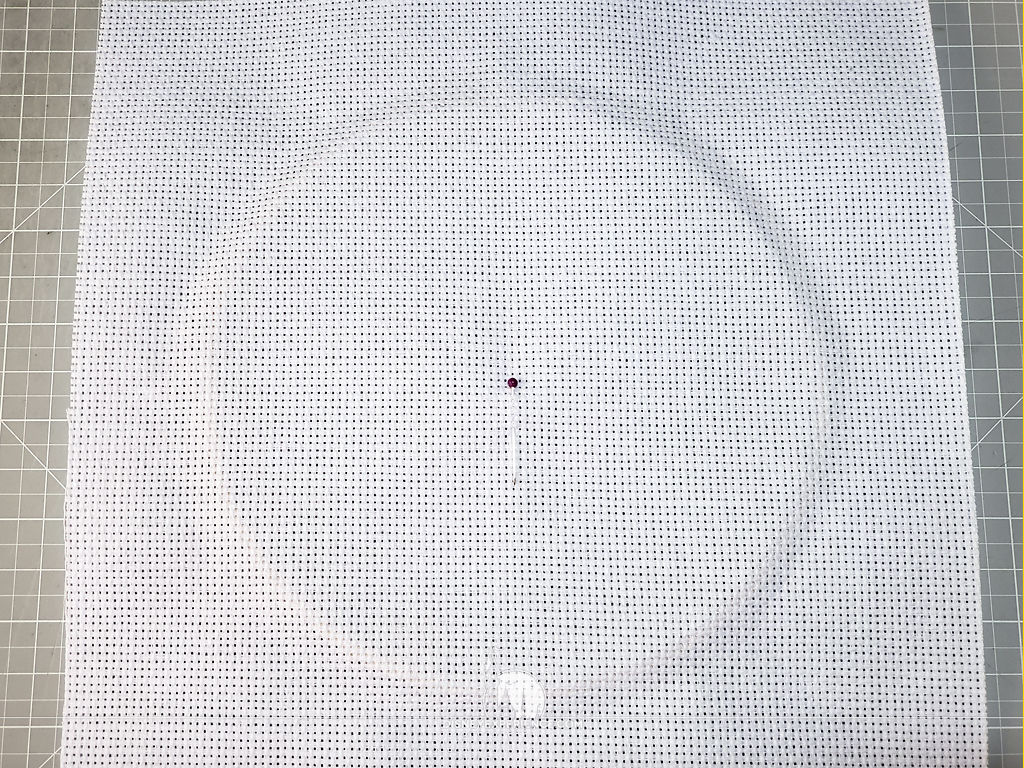
Now that you have the main materials, we can begin. You will need to start by finding the center of the Aida cloth so that you can center your pattern. Fold your cloth into equal quarters, creasing only the corner fold where all of the quarters meet.
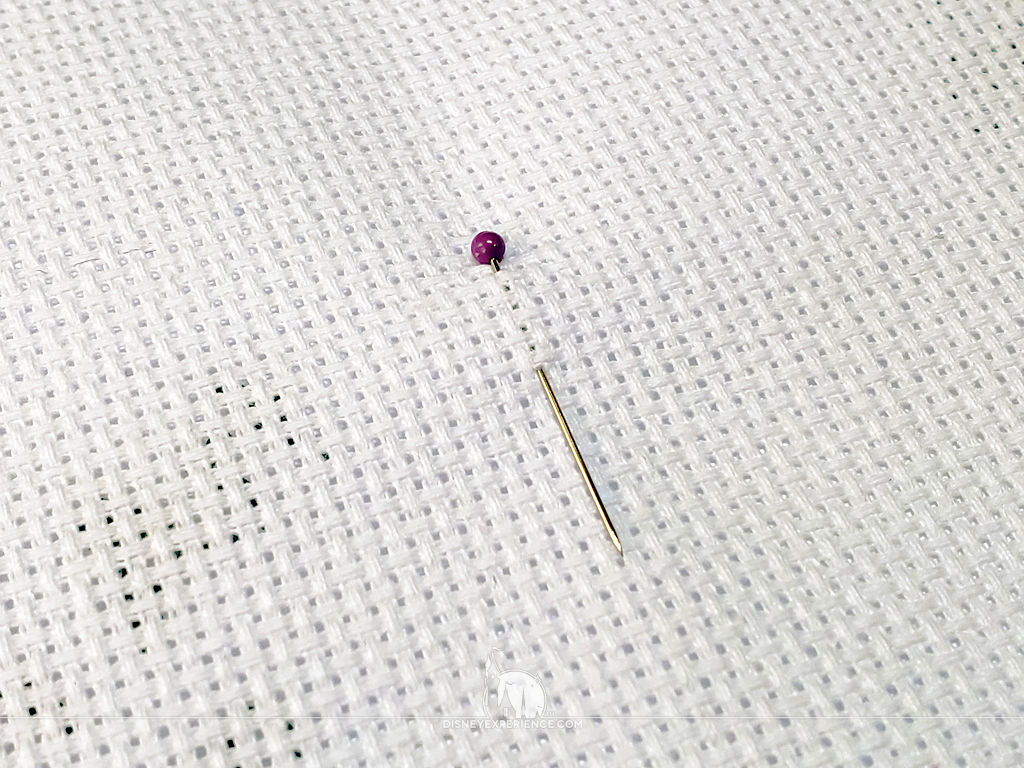
Unfold the fabric and find the crease that you made. The hole at/near the center of the crease is the center for both your fabric and your pattern. You will need to mark it with a pencil, a washable fabric marking pen, or a ball-head pin.
If you look at your cross stitch pattern, the center should be marked there, too. You now have a reference point from which to start your embroidery.
Embroidery Hoop
If you are going to use an embroidery hoop, now is the time to attach the cloth. Typically, the front of the cloth goes on the outside (convex side) of the hoop. But, with such a small pattern and a small hoop, the sides of the hoop can sometimes get in the way of the needle.
For this tutorial, we will be putting the front of the pattern on the inside (concave side) of the hoop, leaving no obstructions for the needle on the backside.
Loosen the screw on your hoop, and separate the two rings. On a hard, flat surface, place the Aida cloth face-up onto the outer ring, aligning the cloth's center with the center of the ring?just eyeball the placement.
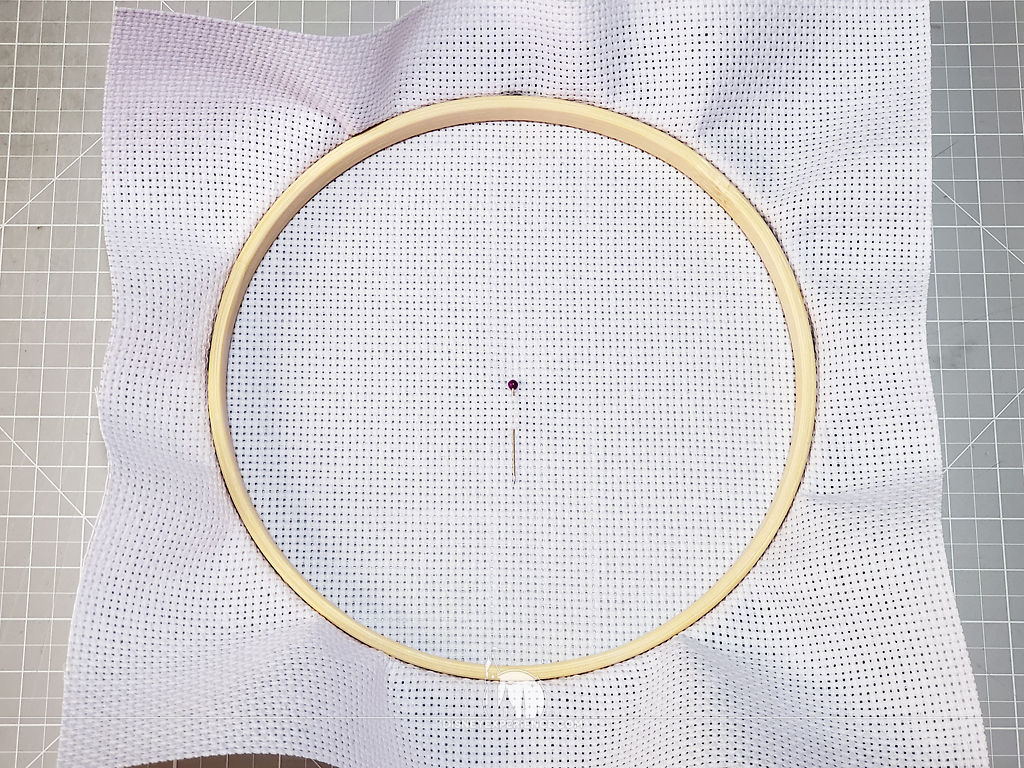
Next, press the inner ring into the outer ring, firmly sandwiching the Aida cloth between them. You may need to use some force. If the inner ring doesn't go in, loosen the screw of the outer ring some more.
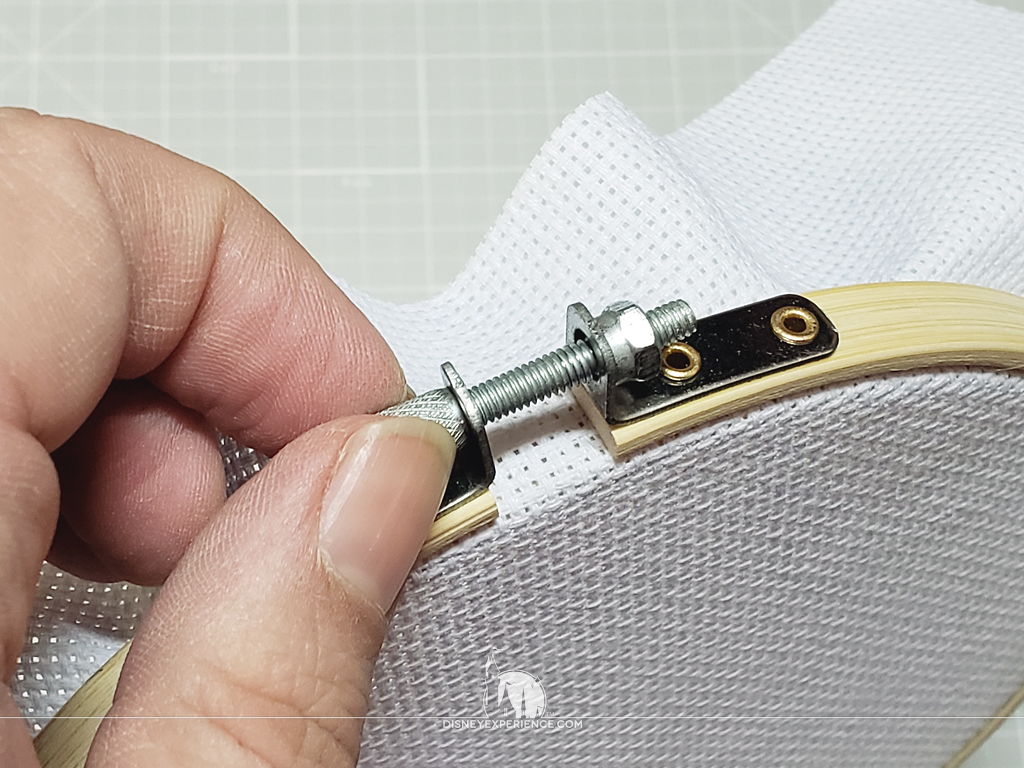
Once you have the rings joined, tighten the screw so that it has some tension?don't tighten it all of the way. Pull the edges of the cloth (if needed) through the rings to make it taut. Finally, tighten the hoop's screw to finalize the cloth's placement.
As you work, the cloth will loosen. You will have to periodically re-tighten the cloth by loosening the hoop and pulling on the edges of the cloth.
Preparing the Thread
Two strands is the standard number used for stitching. You can use two individual strands, or?for this tutorial?use one strand folded in half.
Unravel the end of the color thread that you are going to use, and cut off a workable length. 10-12" is a good length?double that for a single folded strand.
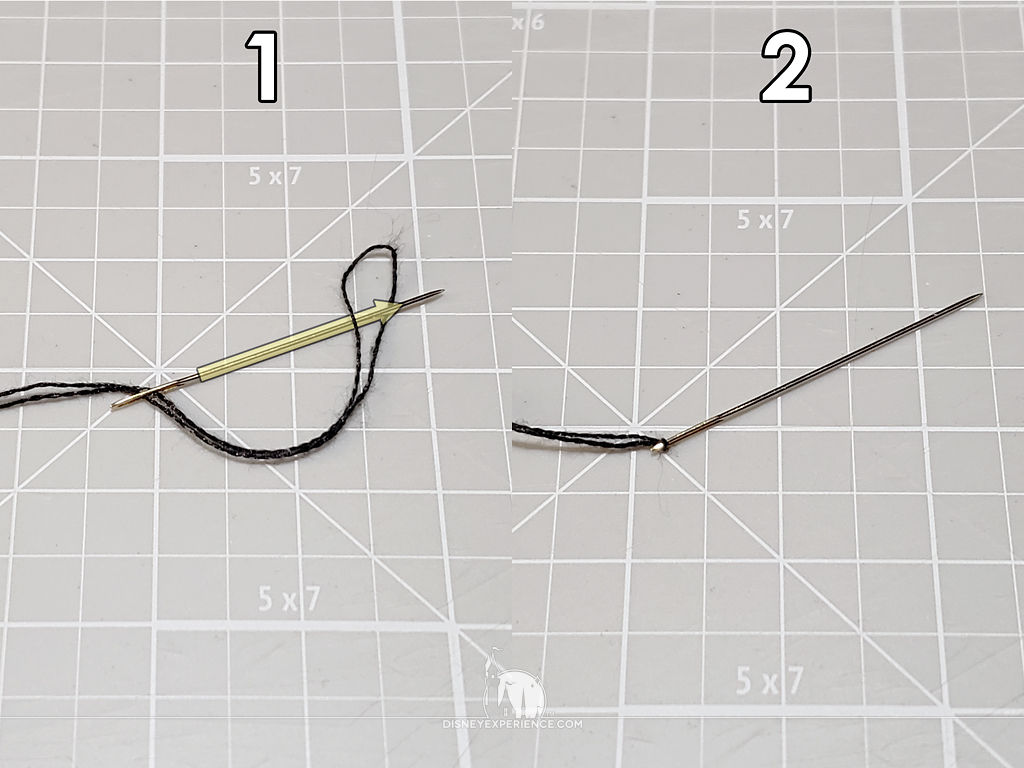
- Fold the strand in half and thread the hooped end through your needle?you can use a needle threader if you need help. Give it some slack and run the needle through the hoop.
- Pull the strand to tighten the hoop around the needle. Your embroidery thread is now firmly secured to your needle.
Quilter's Knot
You now need to add a knot at the end of your thread. A fast way to do this is to make a quilter's knot.
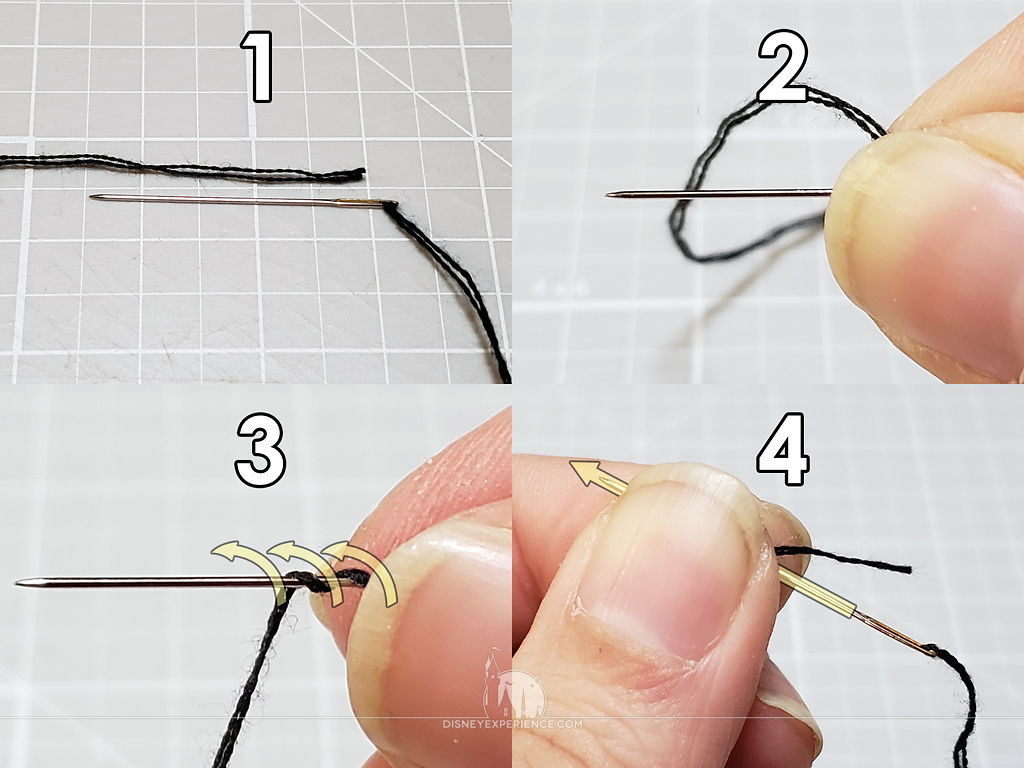
- Take the loose end of your thread and lay it against the needle.
- Pinch the needle and thread together with one hand to secure the end of the thread.
- With your other hand, wrap the thread around the needle 3 times; you can wrap it only twice for a smaller knot if needed.
- With the same hand, grab and hold the 3 wraps between your thumb and index finger. Release your first hand and use it to pull the needle and thread through. You will feel the knot form when you get to the end.
Stitching
If you want your cross stitch project to look nice, you will have to be consistent with your stitches.
Each whole stitch is made of two overlapping diagonal lines (half stitches). It doesn't matter which one overlaps the other, but make sure that all of your stitches look the same. Otherwise, it will create unwanted patterns and shadows that will distract from your finished piece.

- A popular way of stitching is doing all of the half stitches in an area first.
- Then, go back over the stitches with half stitches in the opposite direction.
- This completes the 'X' pattern.
Starting a Stitch
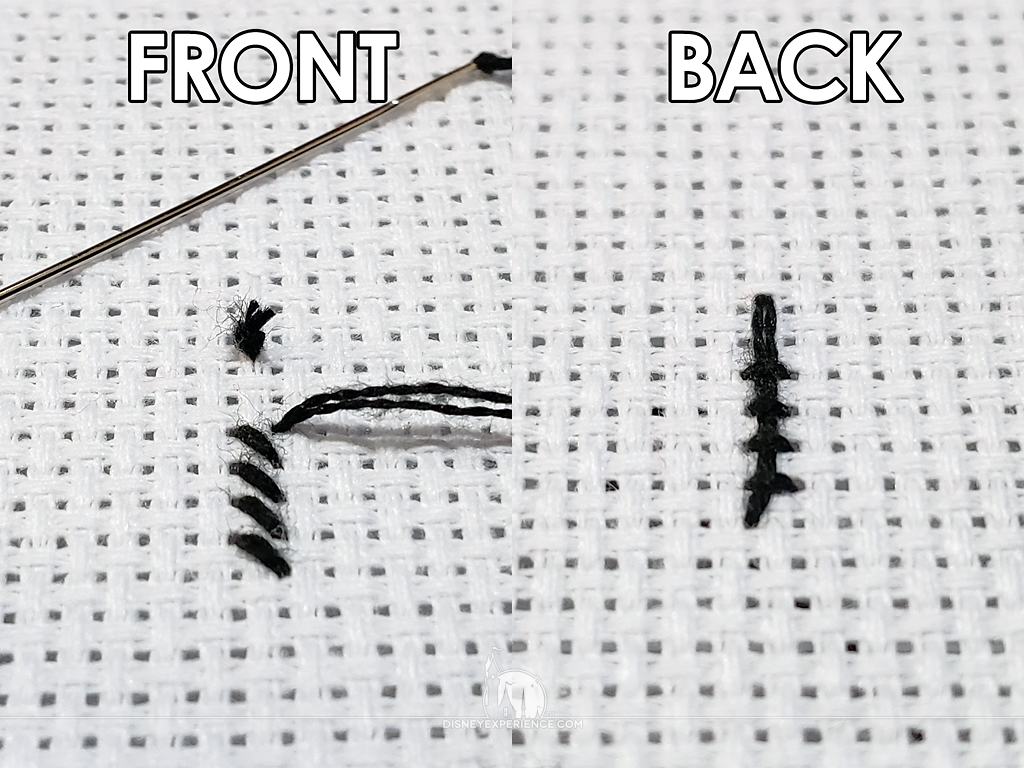
To secure the beginning of your stitch, run the needle through the front of the Aida cloth a short distance?roughly .75"-1"?from where you want to start your stitches. The knot should be seen on the front of the front of the cloth.
Begin stitching, working your way toward the knot. After a few stitches, turn your cloth over. You will find that the thread has been pinned down by the stitches.
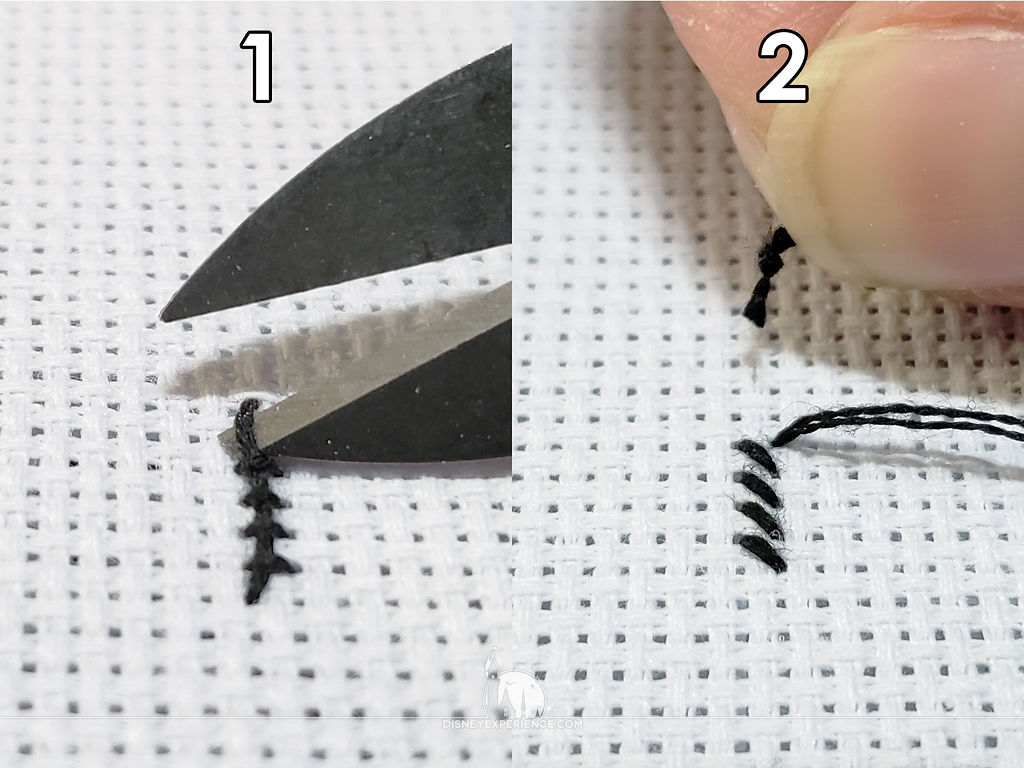
- Use your scissors to snip the end near the knot.
- Pull the knot out and continue stitching.
Using this method will make the back of your finished cross stitch pattern look nicer?not that the back is very important.
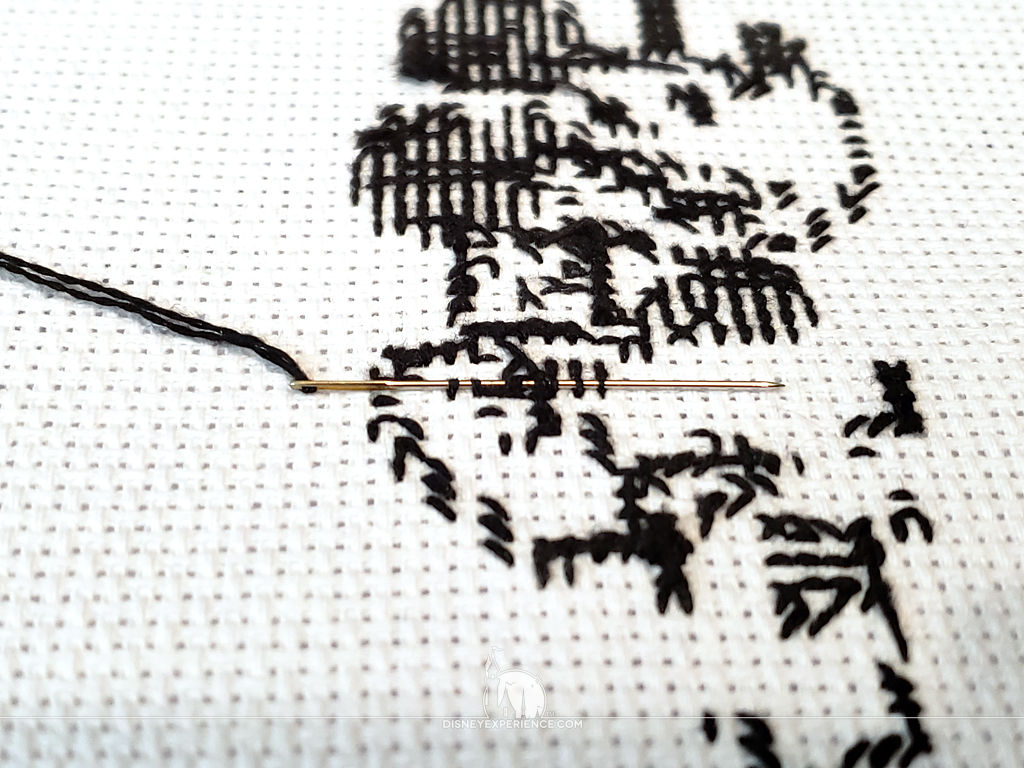
After you have been working on your pattern for a while, you can begin your stitches by feeding the needle through existing stitches. You can skip the quilter's knot, but be careful not to pull too hard during your beginning stitch or two, or you will pull the thread out.
Ending a Stitch
Ending a stitch is simple, but requires that you have some thread left at the end of your needle.
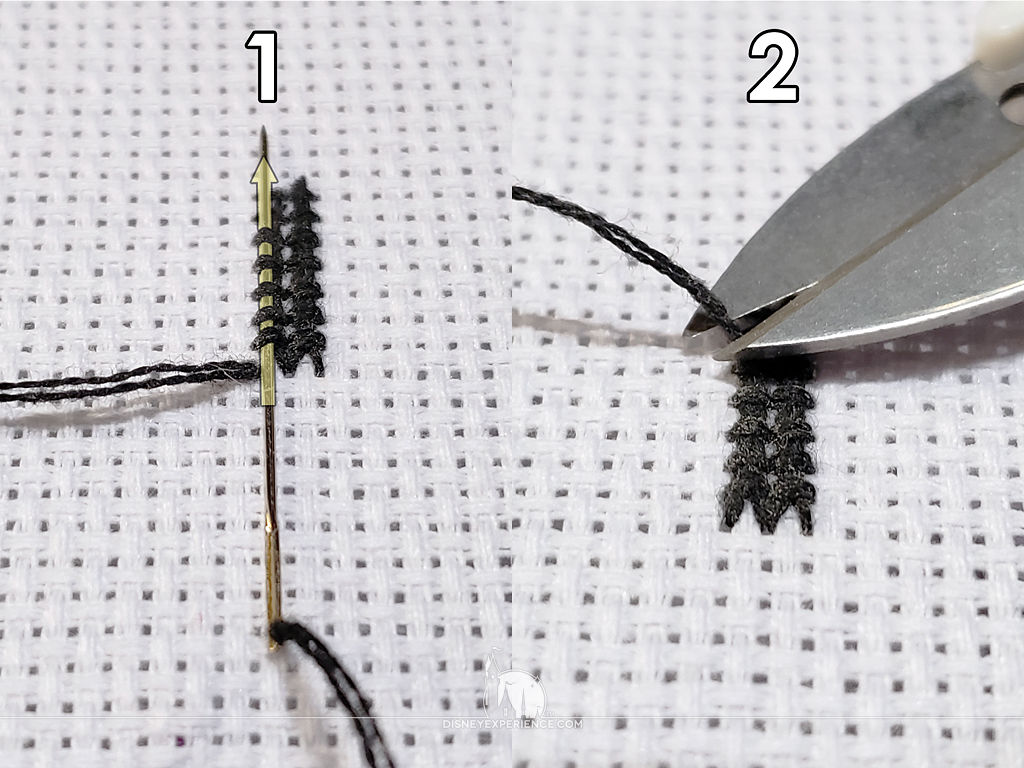
- On the back of the pattern, simply run your needle through several existing stitches.
- Finish by cutting off the excess thread.
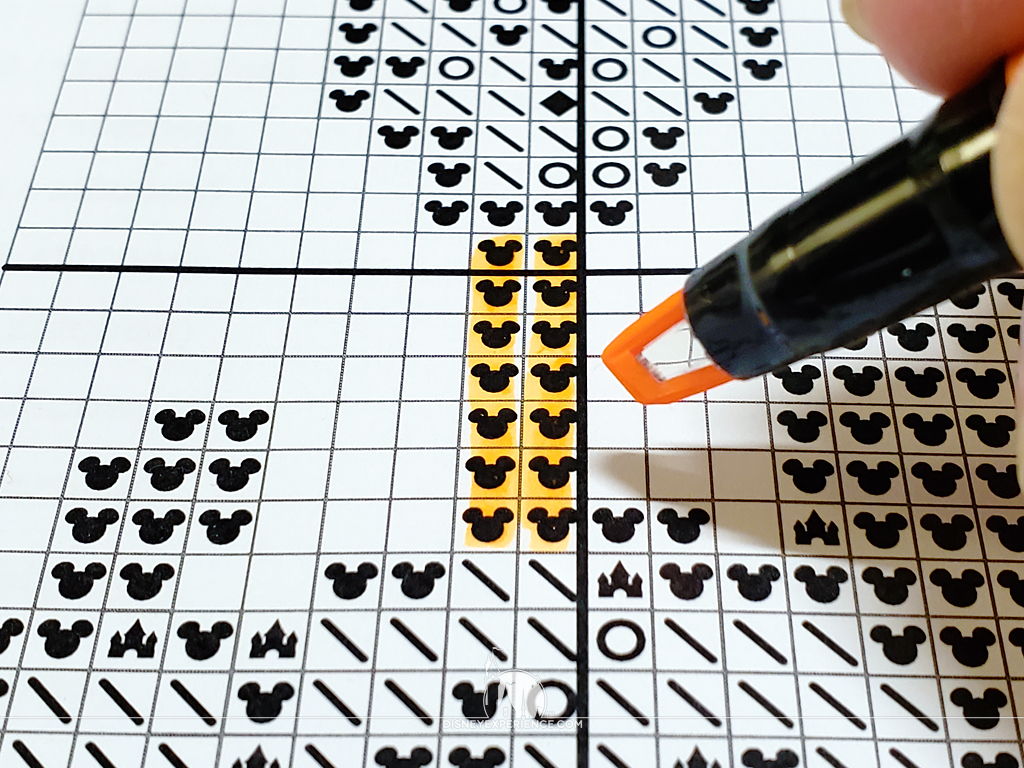
As you work, you may find it helpful to note where you have been by marking on your printed pattern sheet. A highlighter marker is best since it doesn't obscure the symbols?just in case you missed one or two stitches.
Finishing
Cleaning & Pressing
You will want to wash your finished cross stitch piece to remove dirt & oils that accumulated from handling.
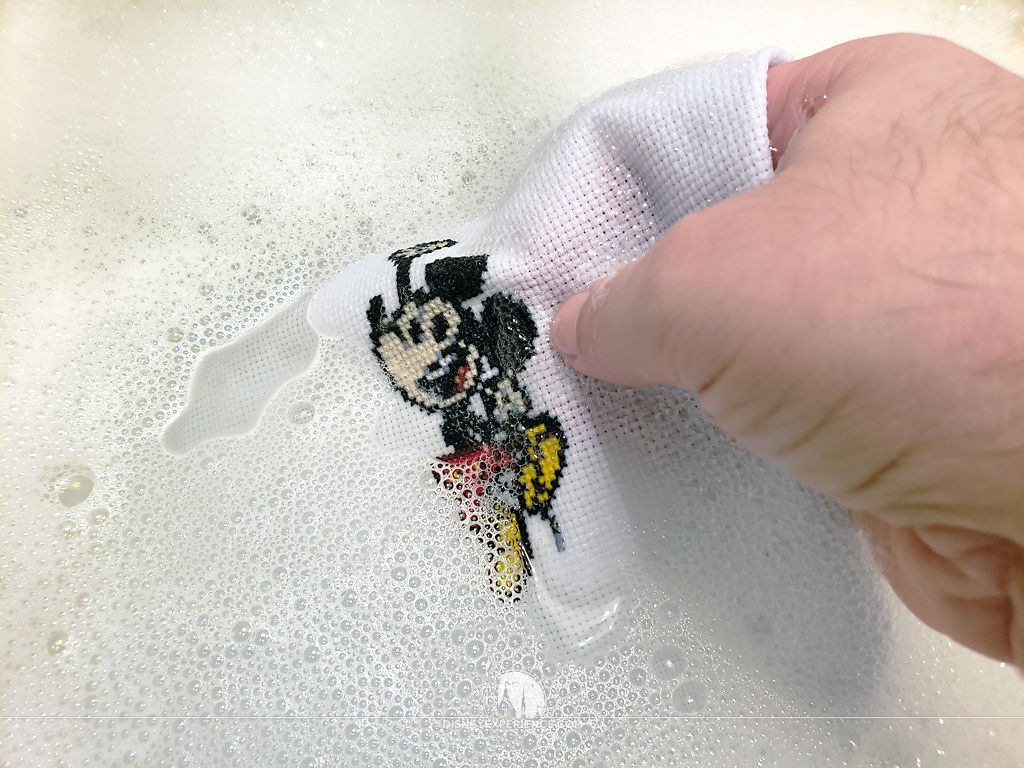
Place your piece into a bath of lukewarm water combined with a mild detergent (liquid dish soap worked for us). DO NOT USE Woolite as it has a tendency to interact with the thread dyes, causing them to run. Gently agitate the piece with your hands to wash away unwanted dirt & oils.

Rinse the piece thoroughly, and roll it tightly inside of a towel to absorb excess water. A micro fiber towel is perfect for this if you want to reduce any towel lint transferring to the piece, but any small towel will do.
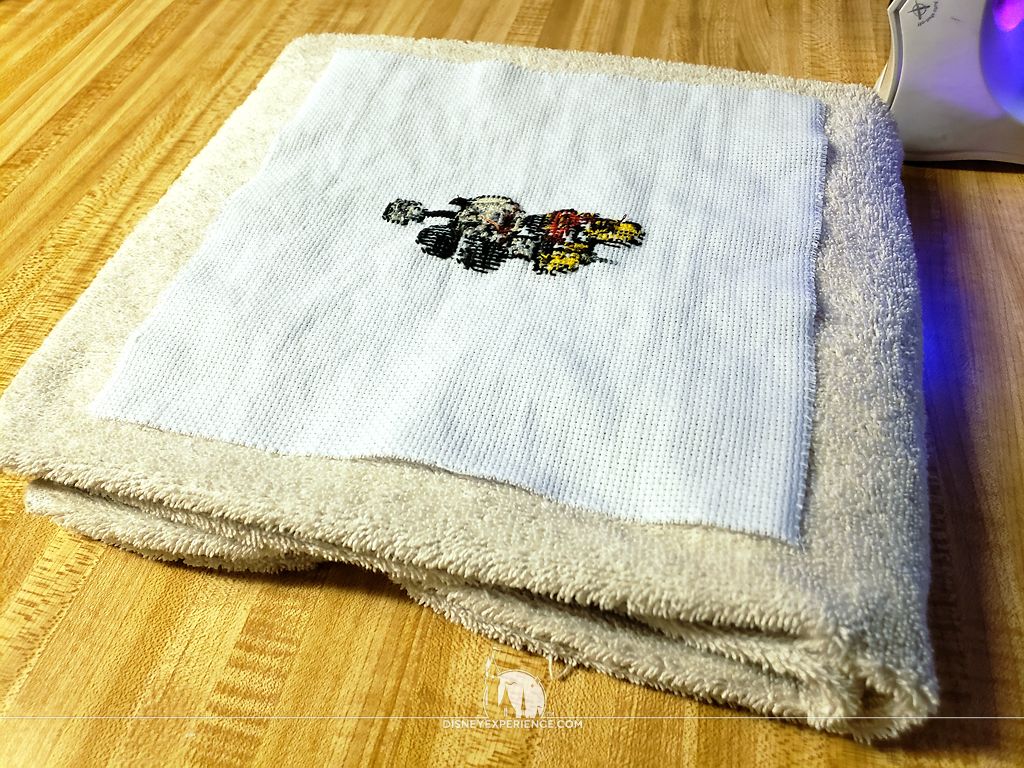
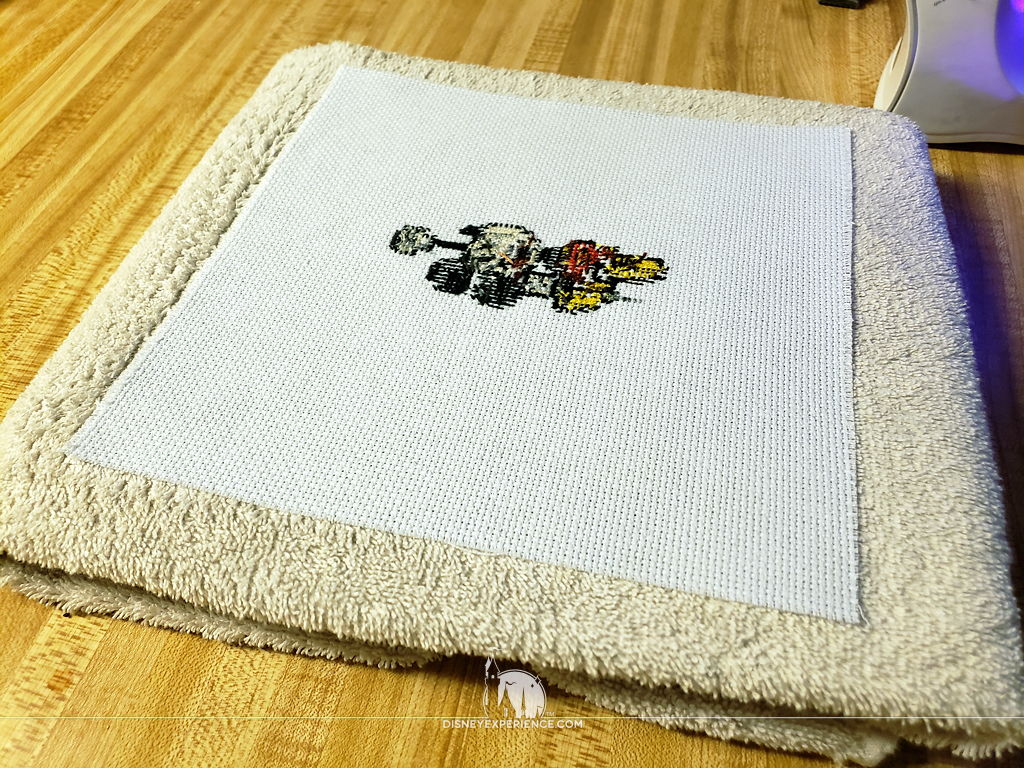
Fold a clean, thick, cotton towel (a bath towel will do) to create a soft ironing surface. Make sure that the towel is white, otherwise you risk transferring the color from the towel. Place the piece face-down onto the towel. Set your iron to the "cotton" setting (no steam), and gently run it over the back until the piece is nearly dry.
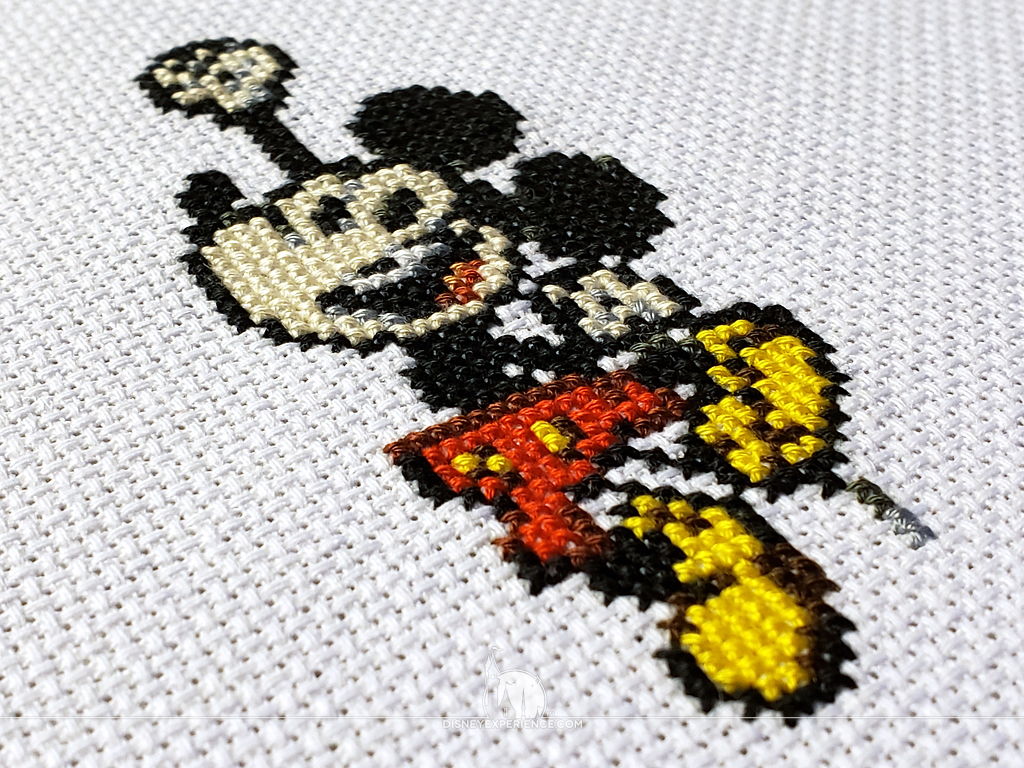
You will notice that the threads are brighter in color, and they have a nice sheen. Place the piece aside to completely dry for 2-3 hours.
Presentation
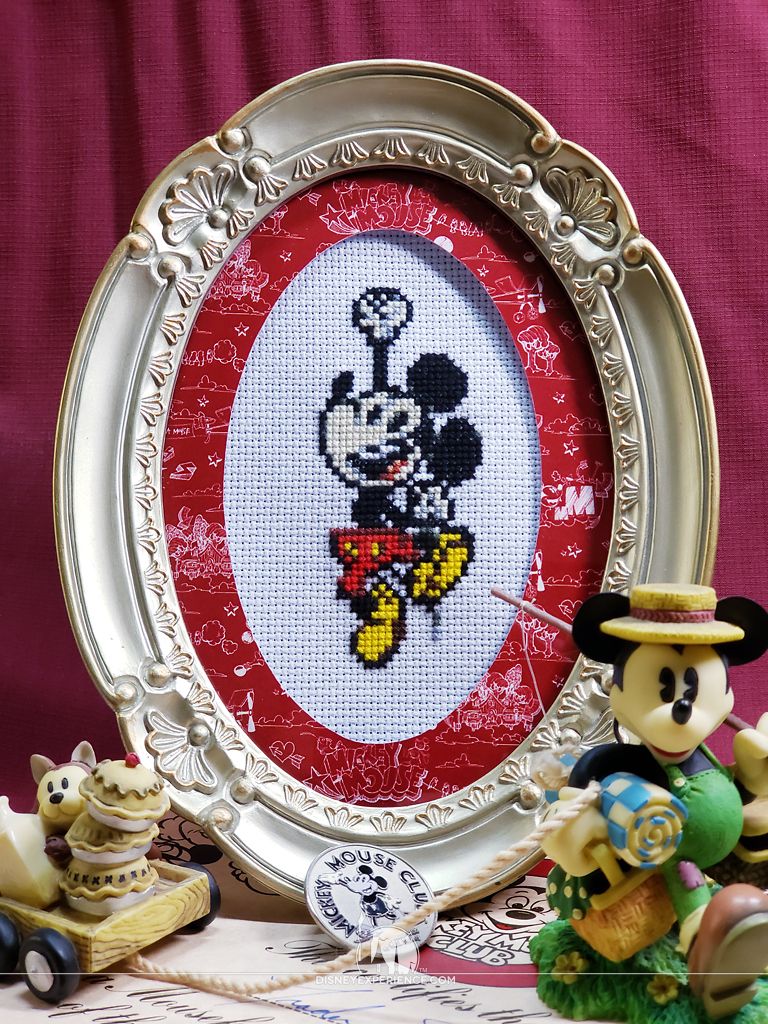
Now that your piece is finished, you will want to display it. You can place it into a nice picture frame, or use a decorative embroidery hoop. Hang your art on the wall, set it on a shelf, or set it on a table and enjoy!
Both the post author and this website have not received any compensation for writing this post. Both the post author and this website have no material connection to the third-party brands, products, or services that have been mentioned unless otherwise explicitly stated. Some of the links in the post above are "affiliate links." This means that if you purchase the item, we will receive a commission. As an Amazon associate, we earn from qualifying products. This is being disclosed in accordance with the Federal Trade Commission's 16 CFR, Part 255: "Guides Concerning the Use of Endorsements and Testimonials in Advertising."