Make Your Own T-Shirt Designs
Project/Craft

Customize your T-shirts (and other clothing) by adding your own Disney designs. Learn how to make your own templates, and discover different ways to transfer your designs onto fabric.
For your convenience, we have provided affiliate links to the materials. As an Amazon associate, we earn from qualifying products.
Preparing the Templates
Materials
To get started, you will need to create your paper templates. Let's begin with the materials list:
- Cotton T-Shirt or Linen T-Shirt
(use colored T-shirts for the bleaching process) - Plastic Coated Freezer Paper
- Printer
- Craft Knife
- Cutting Mat (optional)
- Masking Tape
- Cardboard
- Pencil
- Iron
- Cutting Machine (optional)
Step 1
If you have a cutting machine, you can skip directly to Step 4.
Step 2
If you are using brand-new T-shirts, wash and dry them to remove dirt, oils, and factory chemicals. As they wash, create your template(s).
Create and/or print out your design onto regular printer paper. Designs with large shapes work best, but you can get as detailed as you like.
Step 3
Tear off a piece of freezer paper large enough for your design.

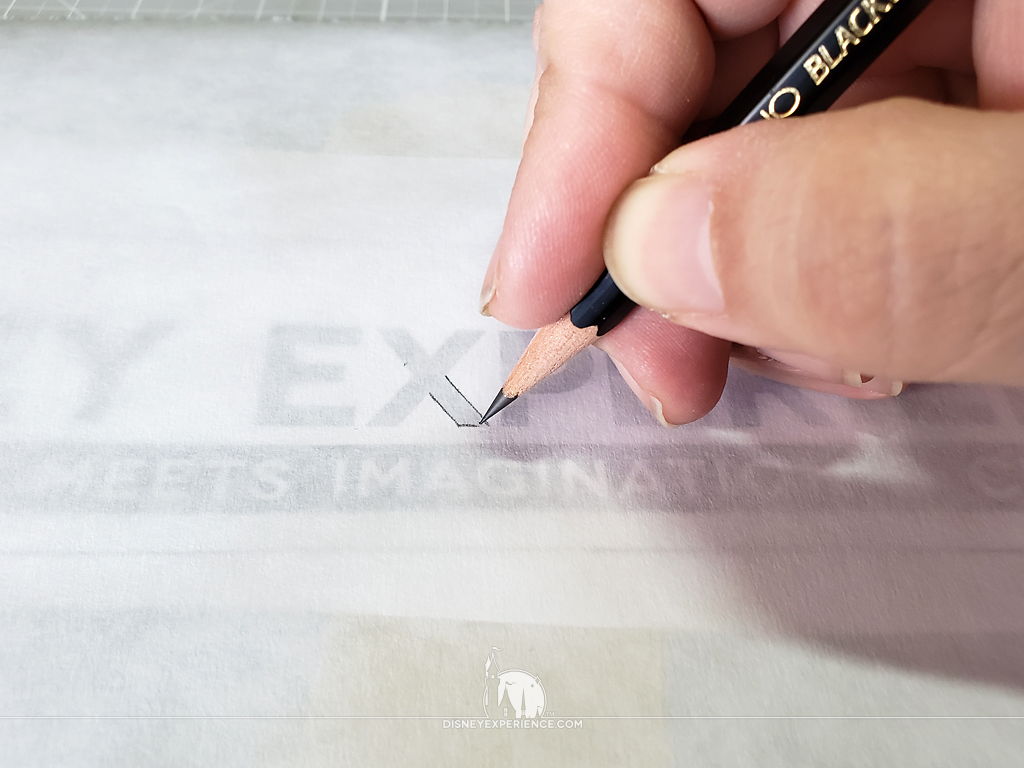
Tape your design facedown against the shiny plastic side of the freezer paper. Flip the freezer paper over and trace your design, or you can skip straight to the next step.
Step 4

Cut out your design with a craft knife, making sure to leave connecting tabs (perforations) so that the entire template and its pieces stay intact. If you are cutting your design out on a cutting machine, be sure to add these connecting tabs in your software before you cut.
Be sure to cut on a cutting mat or a sacrificial surface (i.e. cardboard or foam board) to protect your tables/counter tops and to extend the life of your craft knife.
Step 5
After cutting out your design, carefully remove the printed design from the freezer paper and throw it away. Take care not to damage or tear the plastic on the freezer paper. The plastic will help block liquids from leeching through the paper.
Step 6

Cut a piece of cardboard the size of your T-shirt and slip it inside. This will help keep any liquids from leeching through the fabric and staining the opposite side of the T-shirt.
Step 7

Iron the area of the T-shirt that will receive your design. You want a nice, flat surface to work with.
Place your freezer paper template onto the T-shirt where you want it. Be sure that the shiny plastic side is against the fabric. Iron (no steam) the freezer paper to the shirt. The paper will stick to the fabric.
Step 8

Let the template cool for a minute or two, then carefully remove your design pieces. use your craft knife to pick out small pieces and to cut the connecting tabs.

Iron the template again to re-adhere any edges and corners that may have come loose. Tape extra freezer paper around the template, covering up the whole T-shirt.
Your T-shirt is ready for customizing.
Bleaching
The bleach is highly corrosive and creates dangerous fumes. Do this OUTDOORS and in a well-ventilated area with adult supervision!
Bleaching requires the use of colored T-shirts that are made of either cotton or linen for best results.
How the bleach will react with the colors will vary. Some colors will turn quickly, and some will change through multiple colors.
Materials
- Old Clothes
- Regular Liquid Bleach
- Spray Bottle
- Paper Towels
- Gloves
- Water
- Alcohol-Based Inks (optional)
- Isopropyl Alcohol (optional)
- Respirator (optional)
Step 1
WORK OUTSIDE WITH ADULT SUPERVISION! We cannot stress this enough. Bleach has powerful fumes, and if you find the need to iron on top of a bleached area, chlorine gas will be emitted. Use a respirator if required.
Be sure to wear old clothing that you do not mind destroying. Bleach can get everywhere, staining your clothes permanently.
Step 2
Put on a pair of gloves.
Inside a spray bottle, mix a bleaching solution with 50% water and 50% bleach. Make only what you need, as the rest will be dumped out when you are finished.
DO NOT spray 100% bleach! Pure bleach will react very quickly, and you will have no control over it. It can also eat through the fibers of the fabric, ruining your T-shirt.
Close and tighten the spray bottle, and then rinse it off to prevent any bleach from getting onto your bare hands or clothing. From this point on, you should always handle the spray bottle wearing gloves.
Step 3

For a crisp image, spray a light, quick mist onto the template?you may have to spray from a distance. Immediately dab off the bleach with paper towels. Wait a minute or two to let the T-shirt color react and the bleach to dry.
Repeat as needed, monitoring the color change. Be sure to use very light mists on each pass so that the bleach does not seep into the fabric and underneath the freezer paper. Otherwise, you may end up with a blurry image.
Step 4
If you would like to add some color back into your design, use another spray bottle with isopropyl alcohol dyed with alcohol inks.
Step 5
When you are satisfied with the bleaching results, carefully peel all of the freezer paper off of the T-shirt. Immediately place the T-shirt into a cold water bath to stop the bleach from reacting any further. Then, wash and dry your T-shirt.
Step 6
When you are done with the bleaching solution, dump it out and wash out the spray bottle.
DO NOT leave the solution stored in the spray bottle! The bleach can eventually eat away at any plastics, causing the bottle to leak.
Painting
Materials
- Airbrush System (optional)
- Foam Daubers (optional)
- Acrylic Paint
(if airbrushing, we recommend Liquitex Soft Body Acrylics?they are pre-filtered)
Step 1
Use foam daubers (or an airbrush system?be sure to thin/strain the paint as needed) to daub thin coats of paint onto your template. Do not use a brush as it could push paint under the edges of the template. Use several thin coats of paint, building the layers slowly. This will create a thin, even color.
Note that the more paint that you use, the stiffer the fabric will become.
Step 2

When you are finished, remove all of the freezer paper from the T-shirt. Wait 4 days before washing to allow the paint to set and cure.
To machine wash, turn the T-shirt inside-out to minimize wear and tear on your design. Wash in cold water on the gentle/delicate cycle. To dry, use low heat.
For best longevity, hand wash the T-shirt (inside-out) in cold water. Tumble dry.
Both the post author and this website have not received any compensation for writing this post. Both the post author and this website have no material connection to the third-party brands, products, or services that have been mentioned unless otherwise explicitly stated. Some of the links in the post above are "affiliate links." This means that if you purchase the item, we will receive a commission. As an Amazon associate, we earn from qualifying products. This is being disclosed in accordance with the Federal Trade Commission's 16 CFR, Part 255: "Guides Concerning the Use of Endorsements and Testimonials in Advertising."