
Pirate Ship Restaurant, No. 16: Masts & Rigging (Time-lapse)

This is it; this is the last video. The prototype Pirate Ship Restaurant has been completed! Now, I just need to fix the many errors; sort through 1,008 photos; edit & crop the photos that I keep (a couple hundred at least); write the instructions – complete with building tips and alternate assembly methods; compile everything into a neat and tidy package; and finally publish the darn thing. In short, I still have a lot of work to do. Personally, I’d like to take a break.
Enjoy the video. This is where I add the masts and the rigging. The rigging was fun; the sails were in the way, which posed a challenge to get into tight spaces. I like a decent challenge.
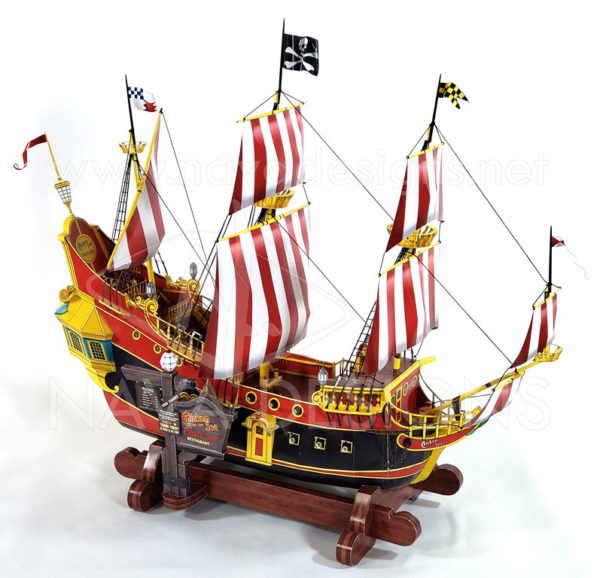
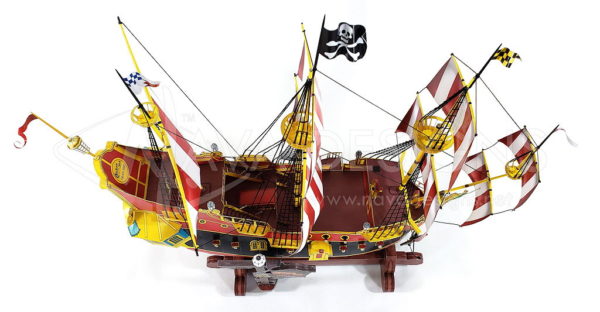
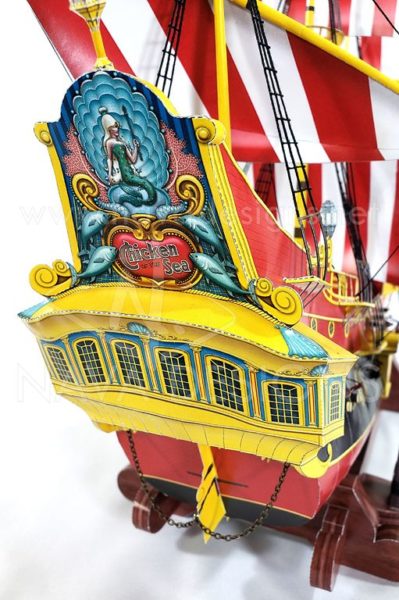
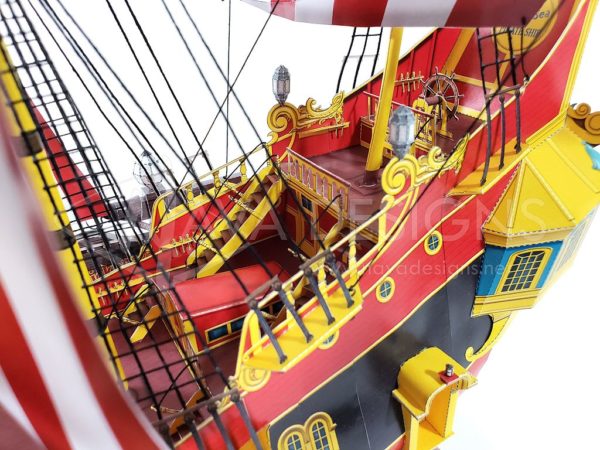
A few photos have also been provided for you to drool over. Although there are mistakes to fix, there shouldn’t be anything discernible from the photos.
Don’t forget that you can get a head-start by building the entrance sign and the display stand, both of which are already completed.
The model has a difficulty rating of 9/10, and it contains 523 parts spread out over 26 sheets. The approximate dimensions are: 15 inches high, 7 inches wide, and 17 inches long. The tool list is as follows:
- Adobe® Reader®
- Color Printer
- Glue
- Scissors
- Pencil
- Craft/Hobby Knife
- Needle/Pin
- Black or Brown String (see instructions)
- Eye Pins or Twist Ties (see instructions)
- Optional – Tweezers
- Optional – Needle Nose Pliers
- Optional – Small Chain
- Optional – Toothpicks
- Optional – Sandpaper (see instructions)
- Optional – Yellow & Black Paint or Markers (see instructions)
- Optional – Electric Drill (see instructions)
Twist ties – sandpaper – paint – electric drill? Confused? It’ll make sense. And with that, I bring this multi-year video series to a close.
This video is for entertainment purposes; it is not intended as an instructional video. The paper model in this video may differ from the final design that is released to the public. If you are a novice paper model builder, the tools, techniques, and assembly order contained herein does not necessarily reflect the same that you should use or follow. Please refer to the official assembly instructions.


GORGEOUS! Well worth waiting for! Congratulations! : )