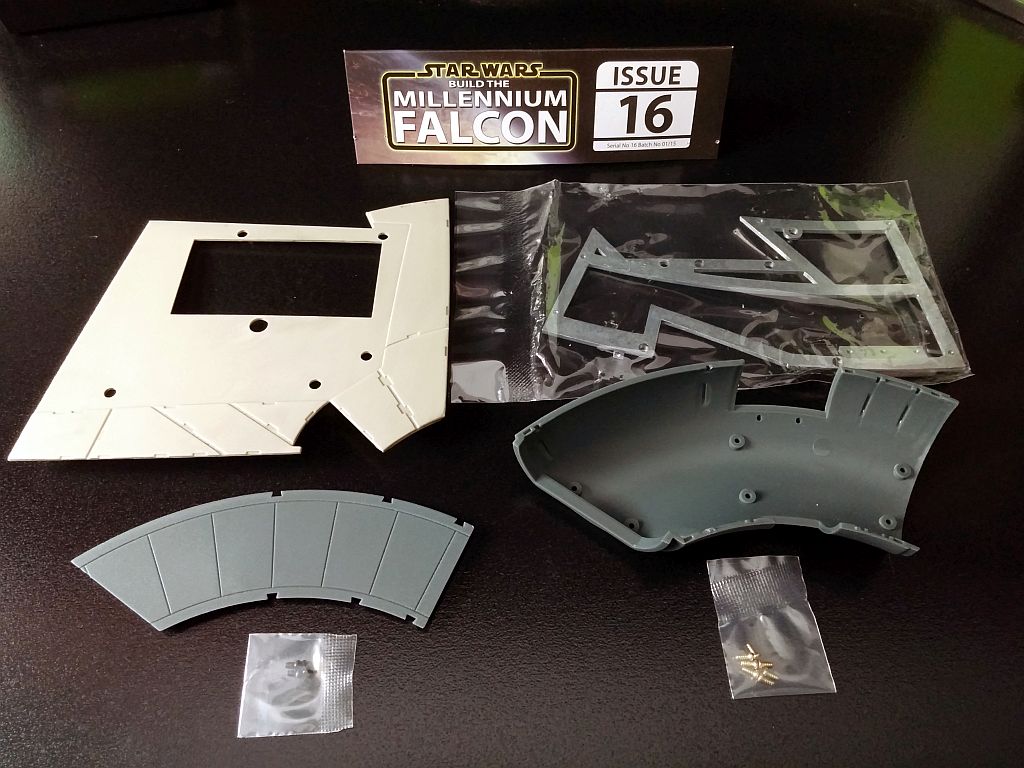
Millennium Falcon Build Journal No. 05: Issues 13-16
Trader Sam | November 11, 2015
The Arrival
The box and its contents arrived in perfect condition and exactly on time. I normally get an email when the payment has been accepted, and a separate email when the box has shipped. But, for some reason, I got neither one. Odd.

Supplies
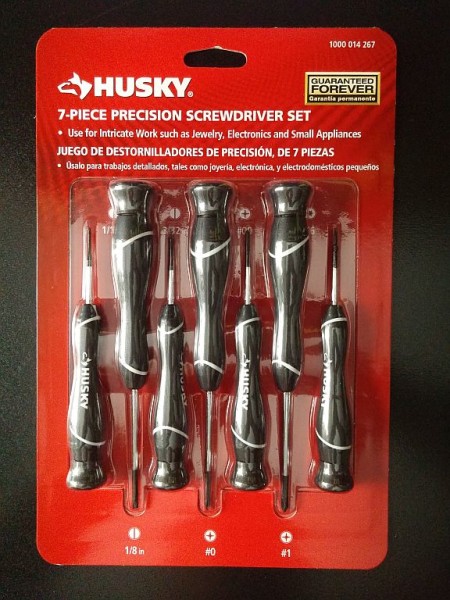
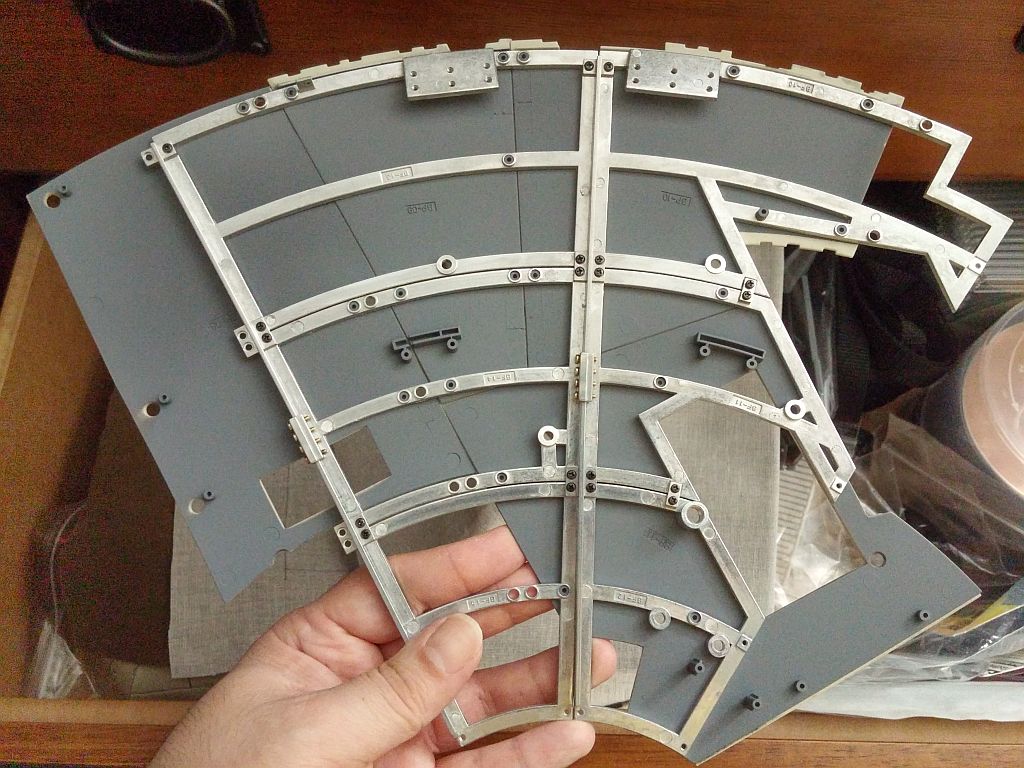
The phillips screwdriver that was supplied by DeAgostini is pretty cheap, as expected. After assembling the hull frame in the last build journal, the screwdriver has pretty much had it. The end is bent and chewed up, stripping screw heads. So, I bought a set of Husky screwdrivers of varying sizes, all with long, thin necks for getting into tight spaces. They were also the only ones I could find with a rotating palm cap.
The neck of the screwdriver was half of an inch shorter than the one supplied by DeAgostini, but that’s the longest that was available, and it should be long enough for the model.
The new screwdriver was not magnetic, but that was easily remedied. I took a good magnet and rubbed it up and down the neck of the screwdrivers neck several times. I did it a little too much as the new screwdriver now has a slightly stronger magnetic field than the DeAgostini screwdriver.
For anyone looking for a replacement screwdriver, look for a size “0” phillips (size “00” is too small, and size “1” is too big) with extended reach.
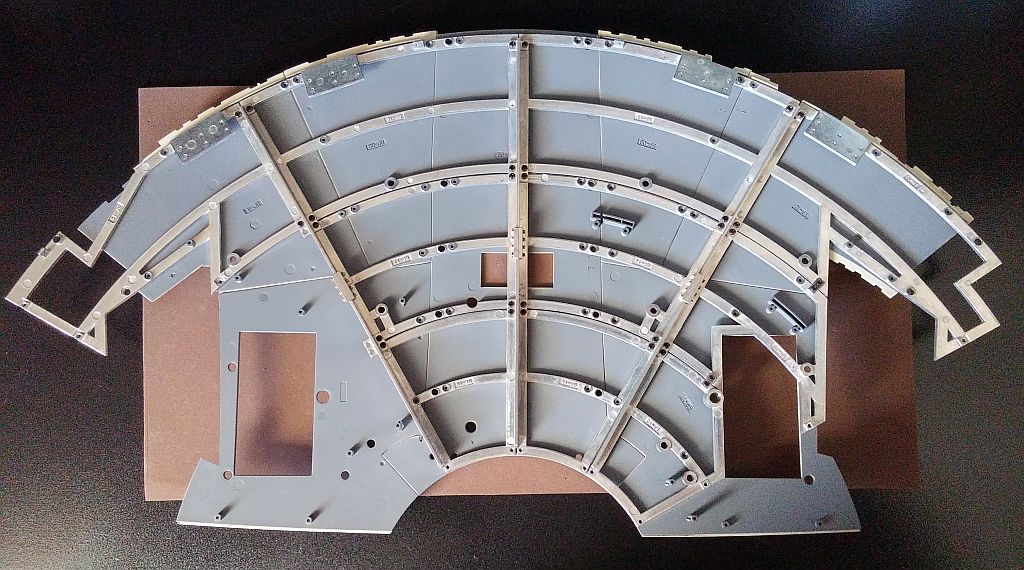
After much consideration, and after hearing recommendations from other builders, I decided to secure the screws of the metal framework using a threadlocking compound. I chose Loctite Threadlocker Blue 242. It will help prevent the screws from loosening or backing out over time, and the screws can still be removed using a screwdriver if I ever need to make repairs.
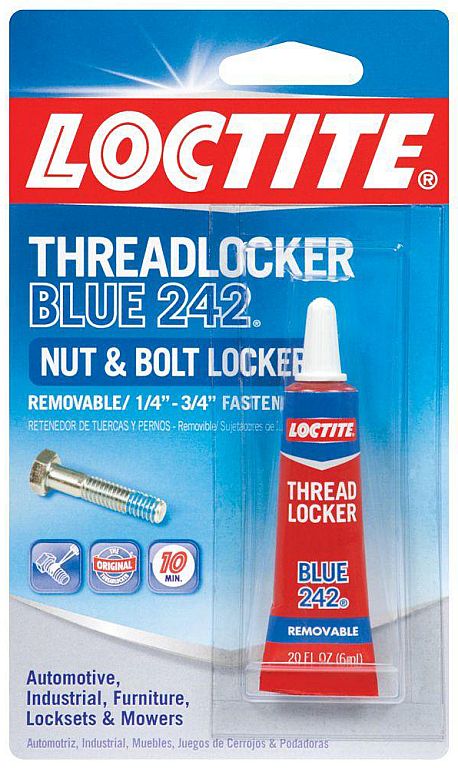
It’s a good thing that I decided to use a threadlocker. While applying the compound, one-by-one, to each screw, I noticed that many of them had already become loose. The summer heat could have been the culprit here; expansion and contraction can loosen screws.
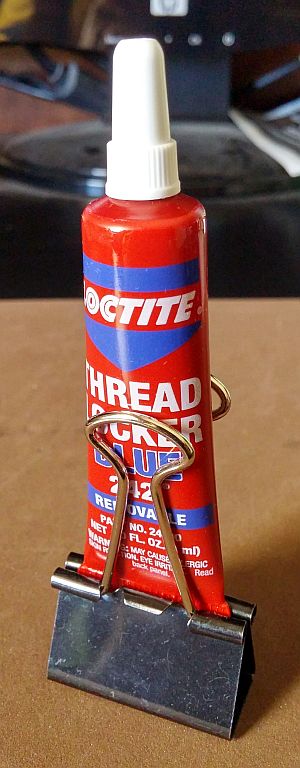
I also improvised a stand for the small tube of threadlocker using a small binder clip. I can stand it on end to ensure that the precious liquid does not spill.
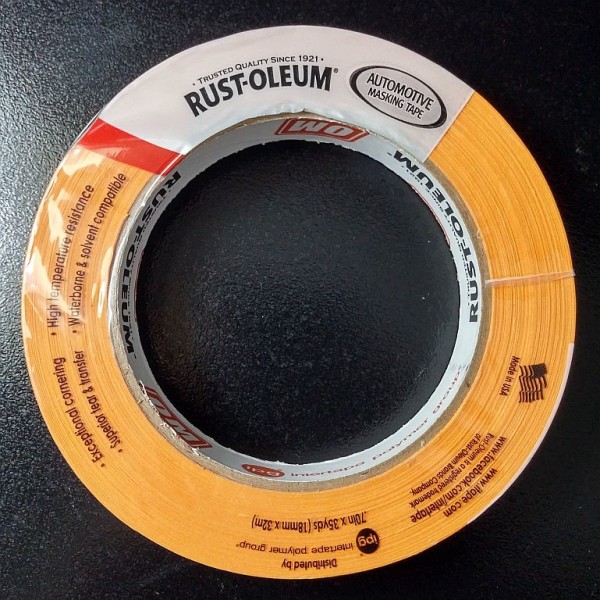
For painting curves and finer paint edges, I picked up a roll of Rust-Oleum automotive masking tape. It’s not as rigid as blue painters tape, sticks better, and creates cleaner lines.
Painting
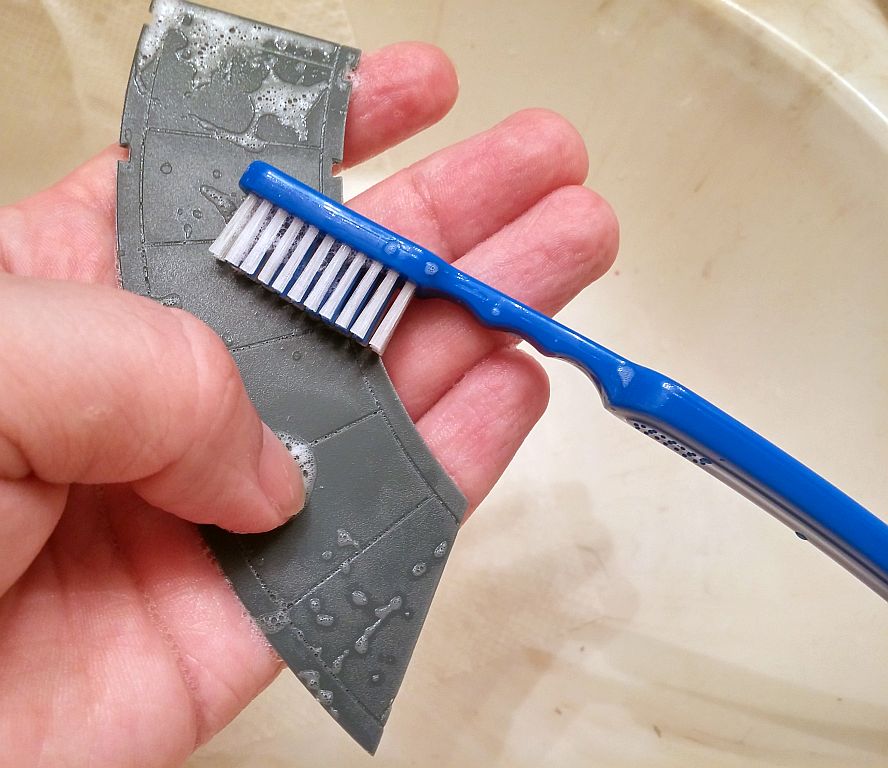
Taking a cue from another builder that I watch on YouTube, I decided to light-block the interior of the hull parts just in case I decide to do any lighting modifications in the future. I used the gray primer that I’ve been using. Nothing fancy. Of course, I washed everything before painting.

The edges of the overlapping hull pieces still show light, but I will paint over those by hand after I see where, if any, the light leaks are. My main concern is the engine area where I’m assuming there will be a lot of those super bright LEDs.
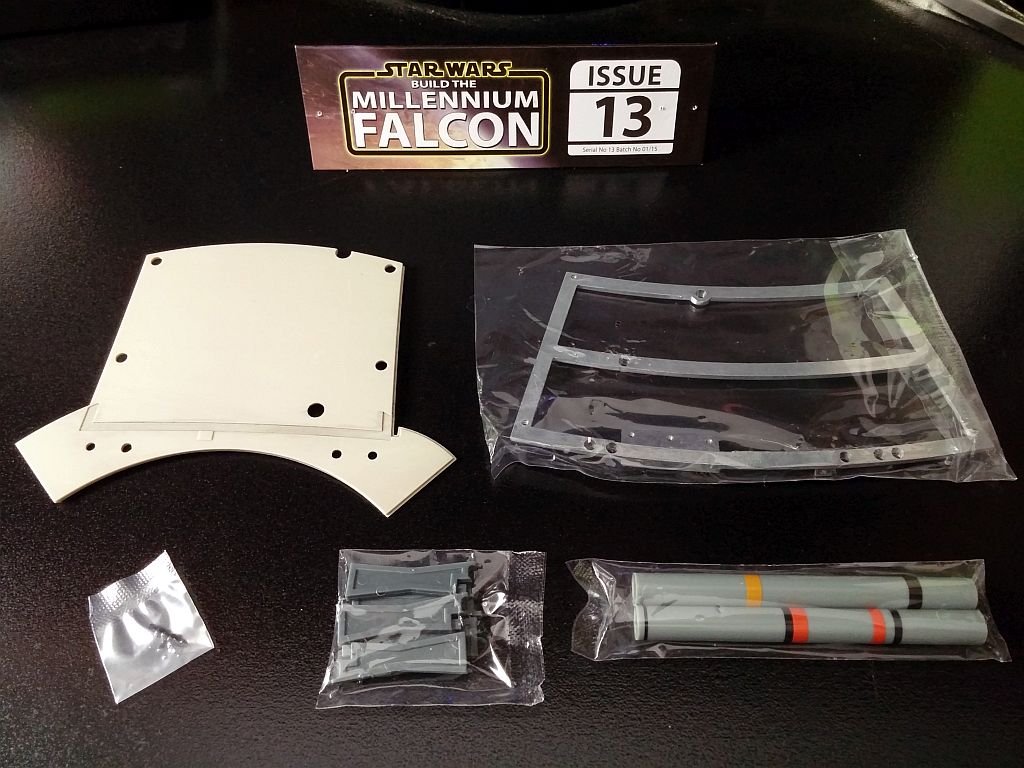
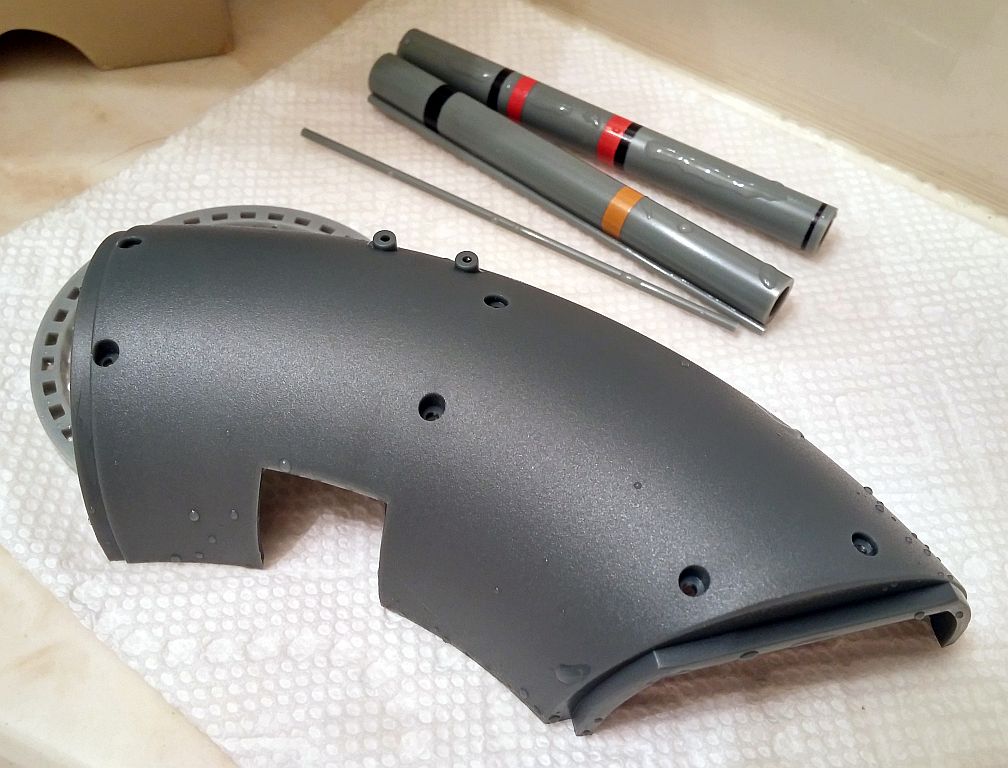
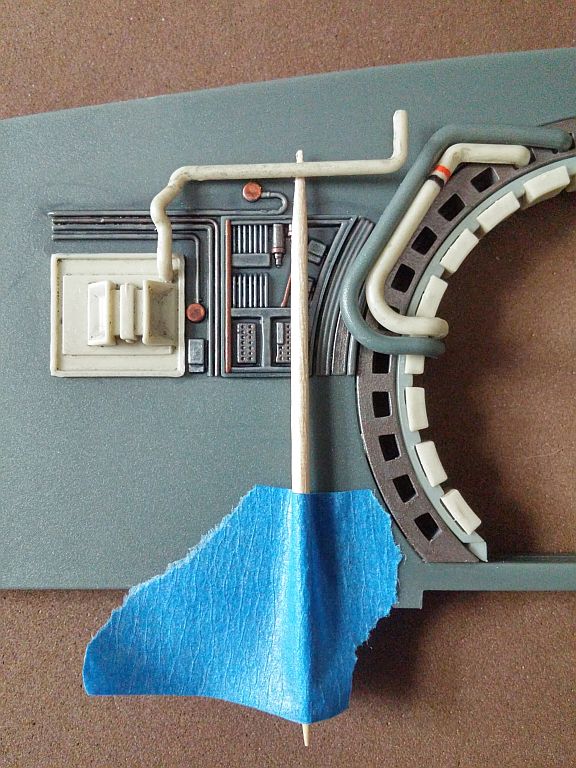
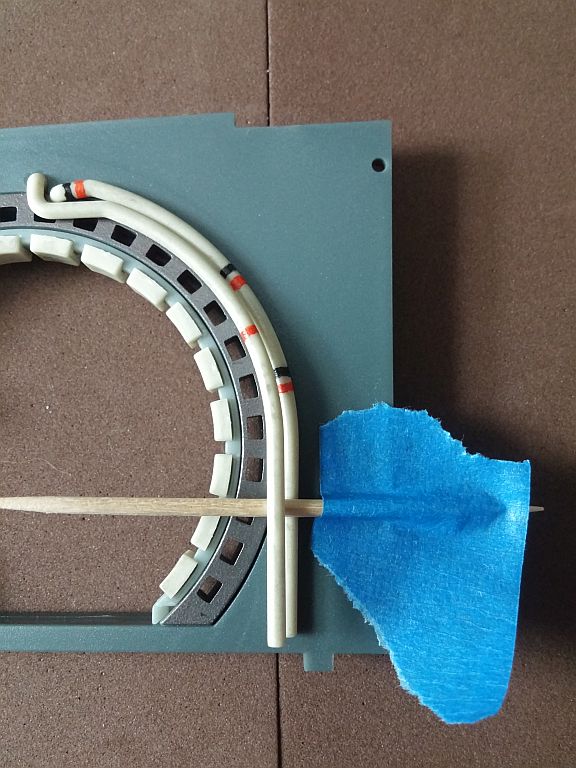
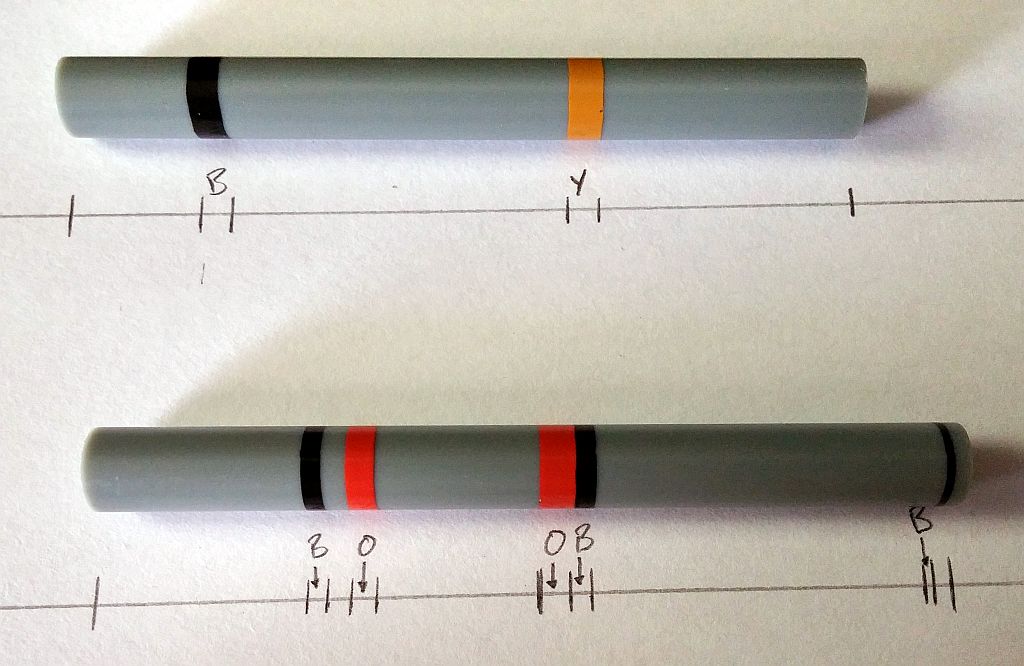
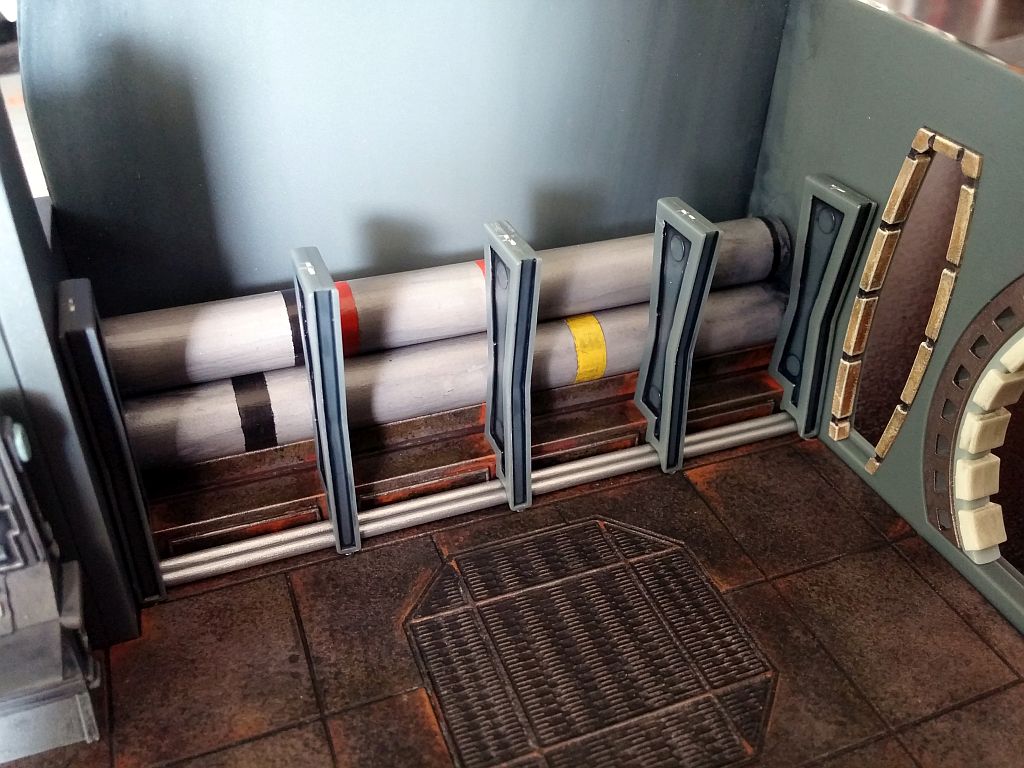
After looking more closely at the reference picture from the last build journal, I discovered some pipe striping that I missed. Fortunately, the pipes that needed to be painted were only glued down at one end. I propped the loose ends up with toothpicks to prevent getting paint onto the other parts, and I painted on the three stripes.
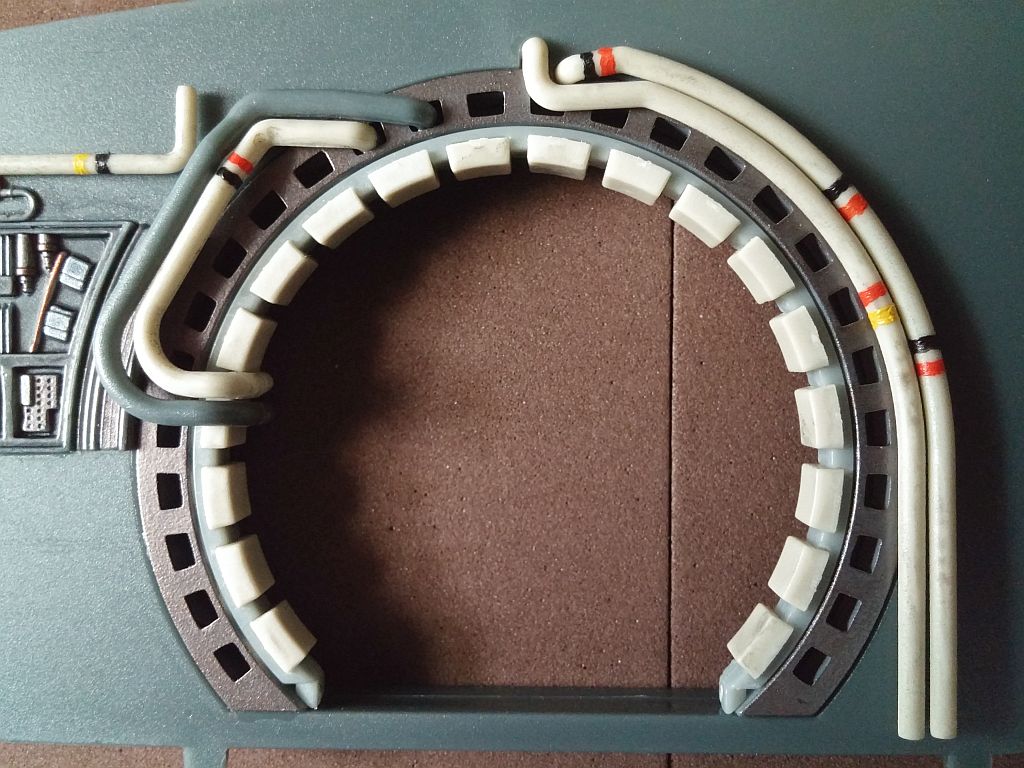
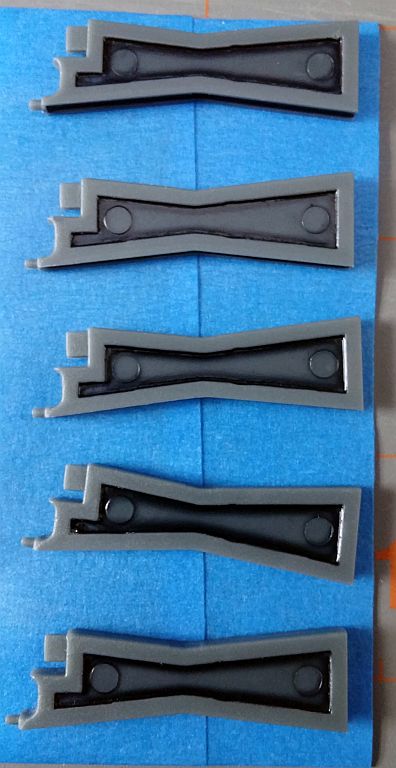
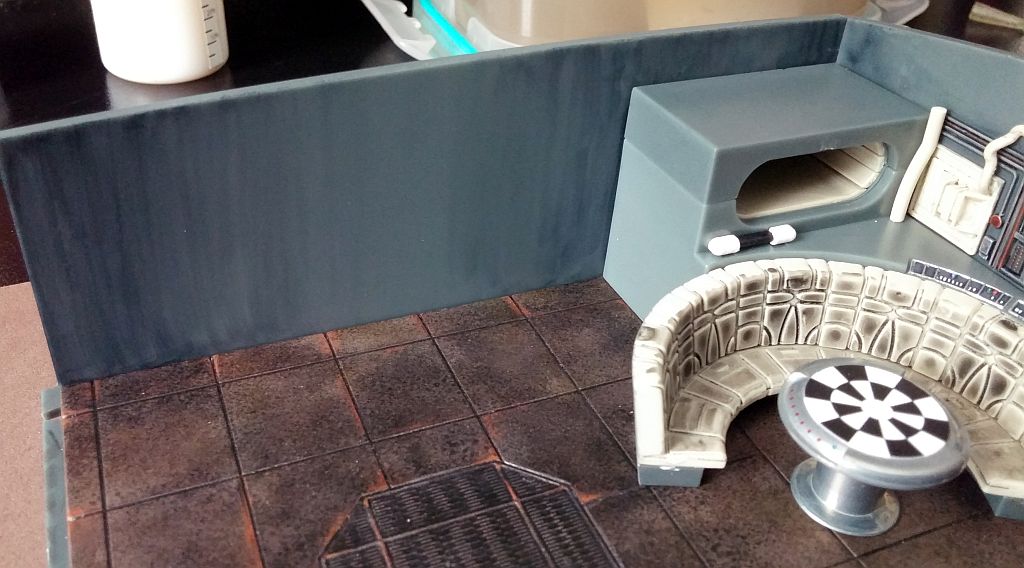
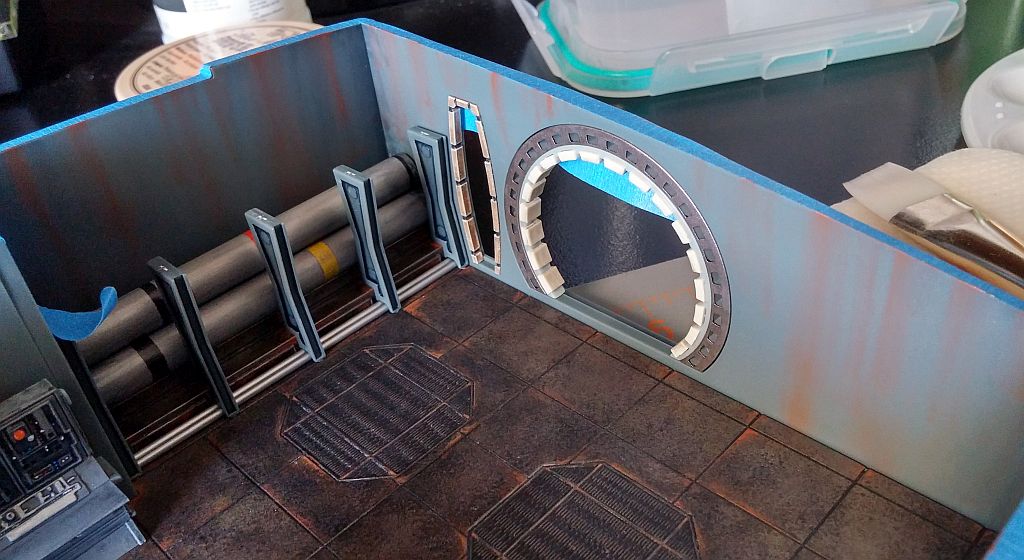
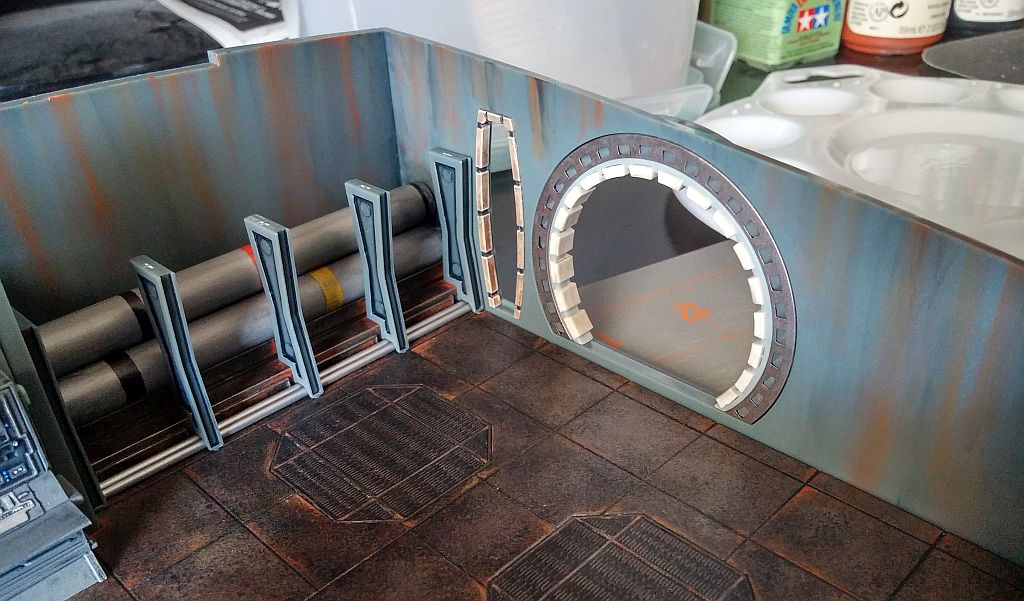
The walls of the hold received some grungy shading before moving on to the pipe support, which I painted to match the floor. For contrast, I painted the two long, thin pipes silver, and shaded the five vertical frame members with a wash.
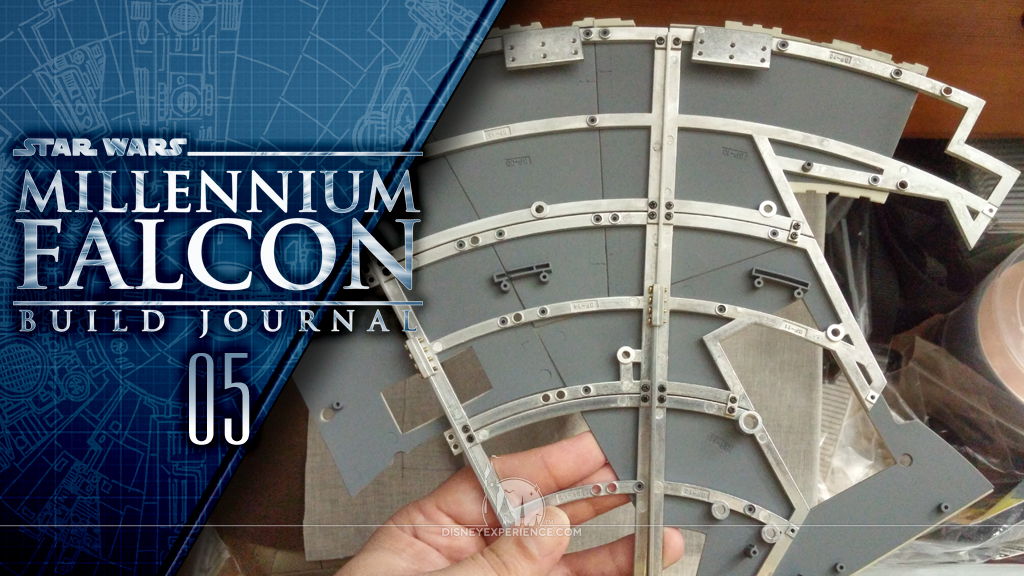
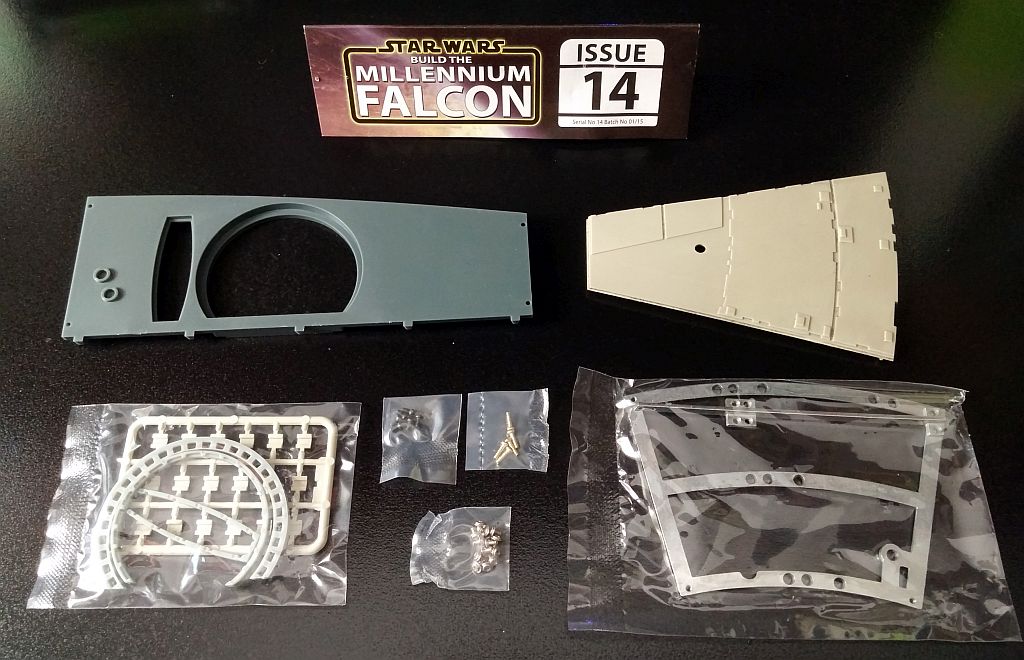
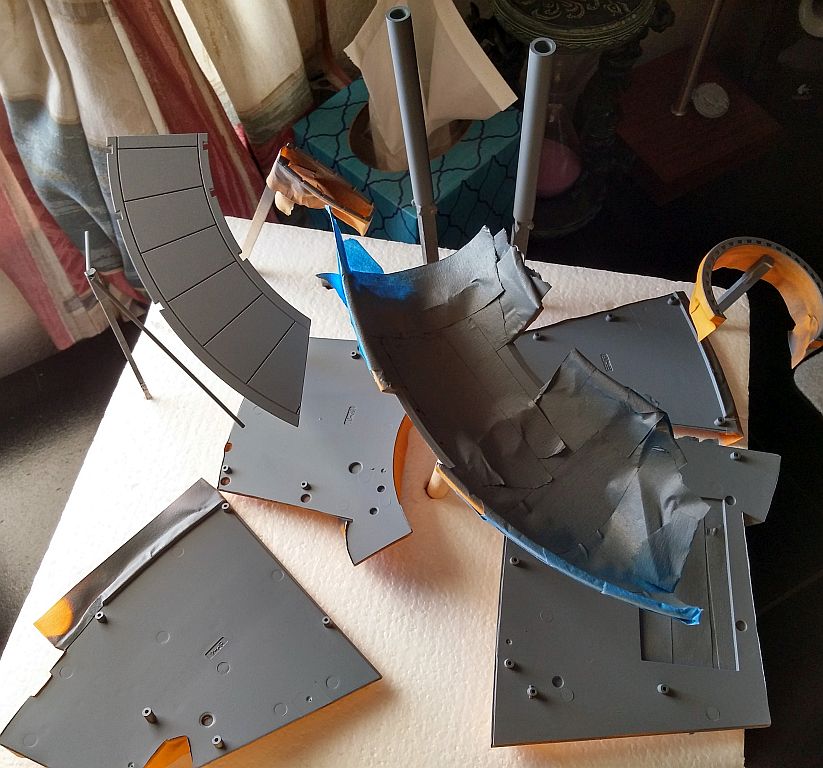
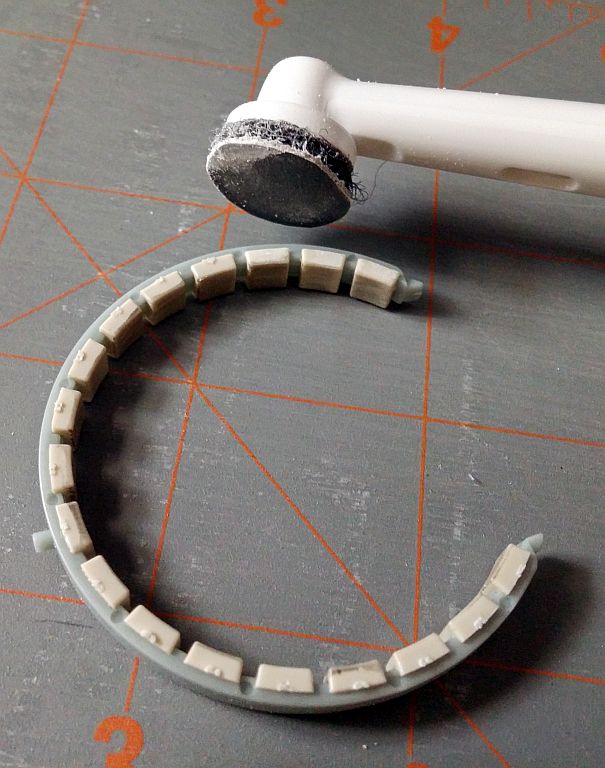
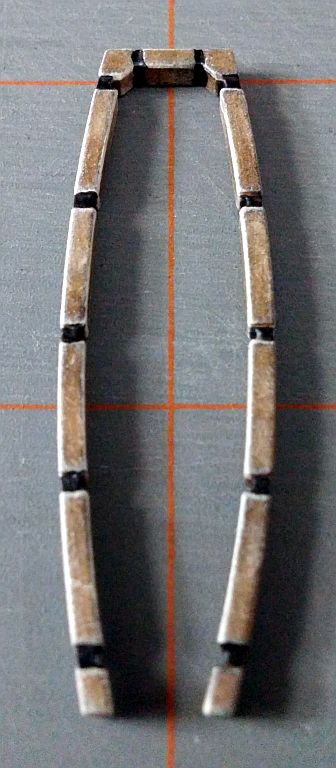
Four hallway rings had to be assembled, and I used my homemade mini electric sander to sand away the little nubs on the padding. One ring glued into the doorway of the main hold, while the others were set aside.
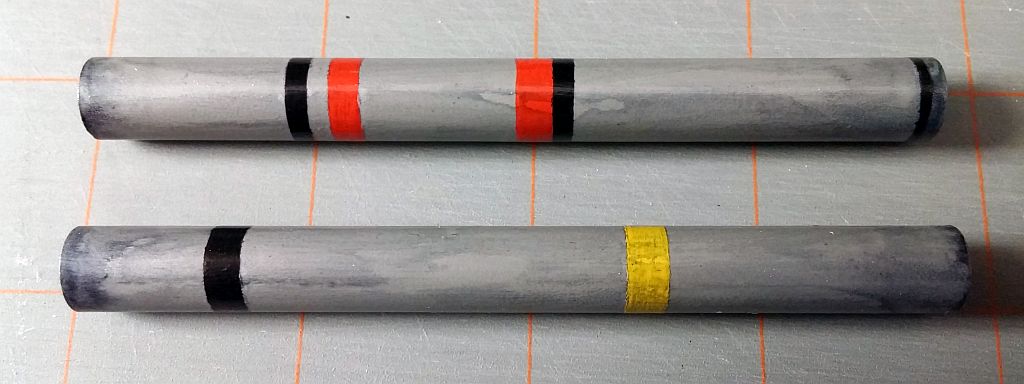
Before priming the two large tubes, I first used an index card to mark where the stripes and colors are supposed to be so that I would have a reference. Fortunately, I was able to barely make out the original striping underneath the primer. This helped as I masked off the yellow and orange stripes on the pipes. I let the paint dry, I removed the masking tape, and I masked off the black stripes.
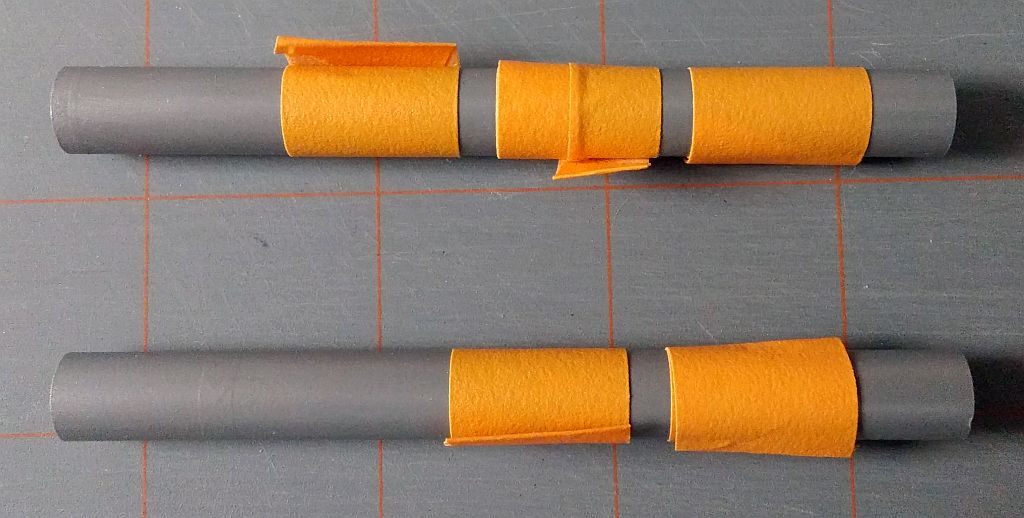

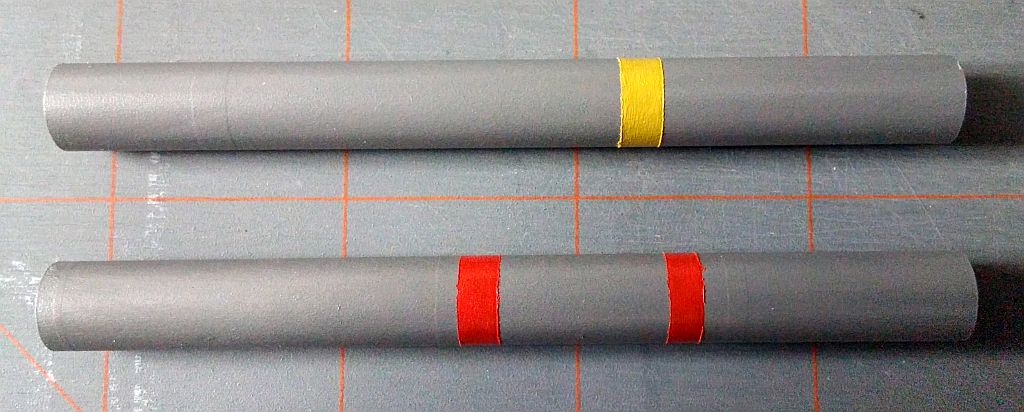
After removing the final masking tape, the stripes had raised edges. Using an emery board, I lightly sanded them off.

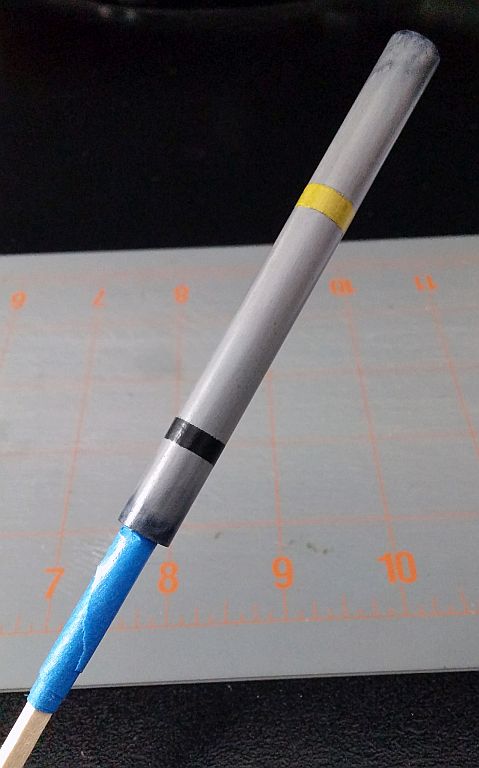
To hold the tubes still while adding grunge and varnish, I wrapped two ends of a stick with masking tape, making sure that the sticky side faced outward to grip the inside of the tubes.
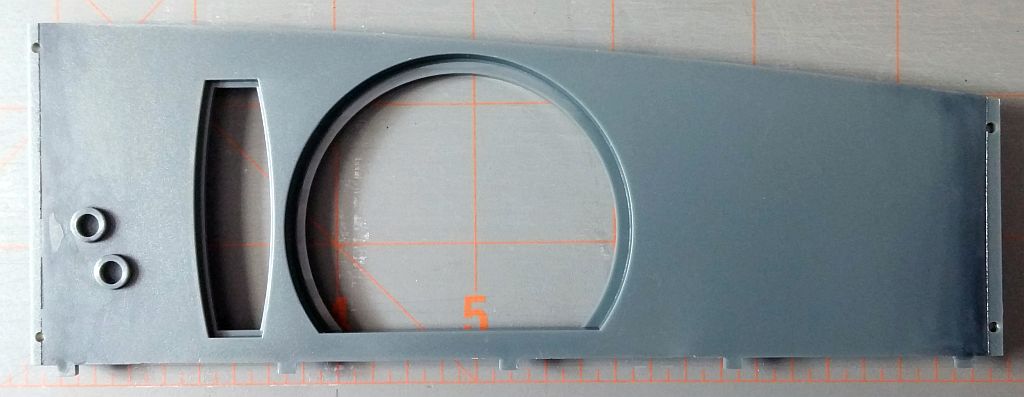
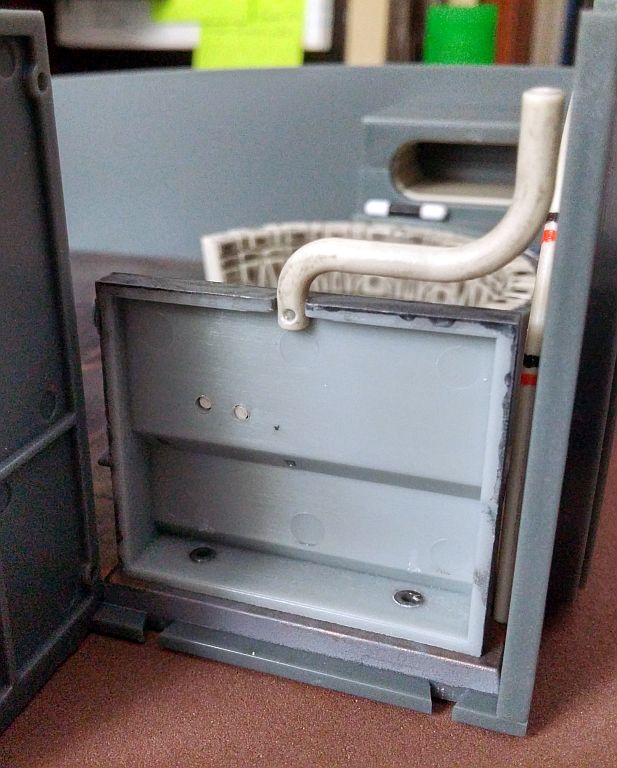
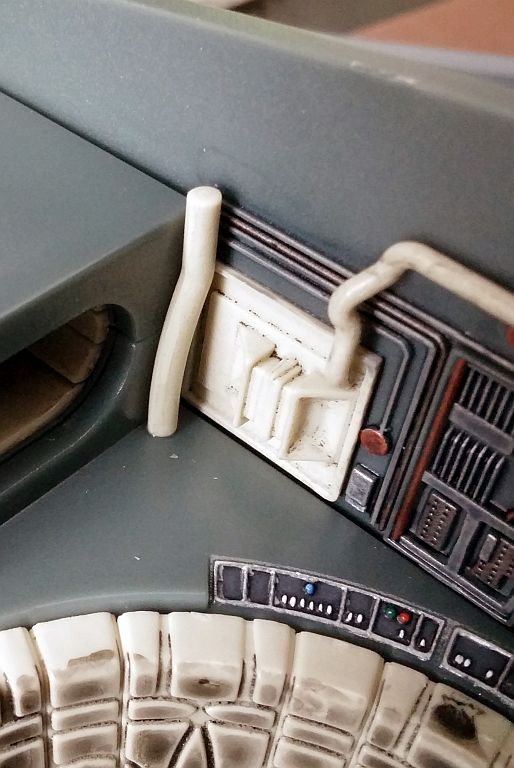
The maintenance doorway was painted the same way as the one in the cockpit. Because the piece is so thin at certain areas, it was easy to accidentally bend it out of shape.
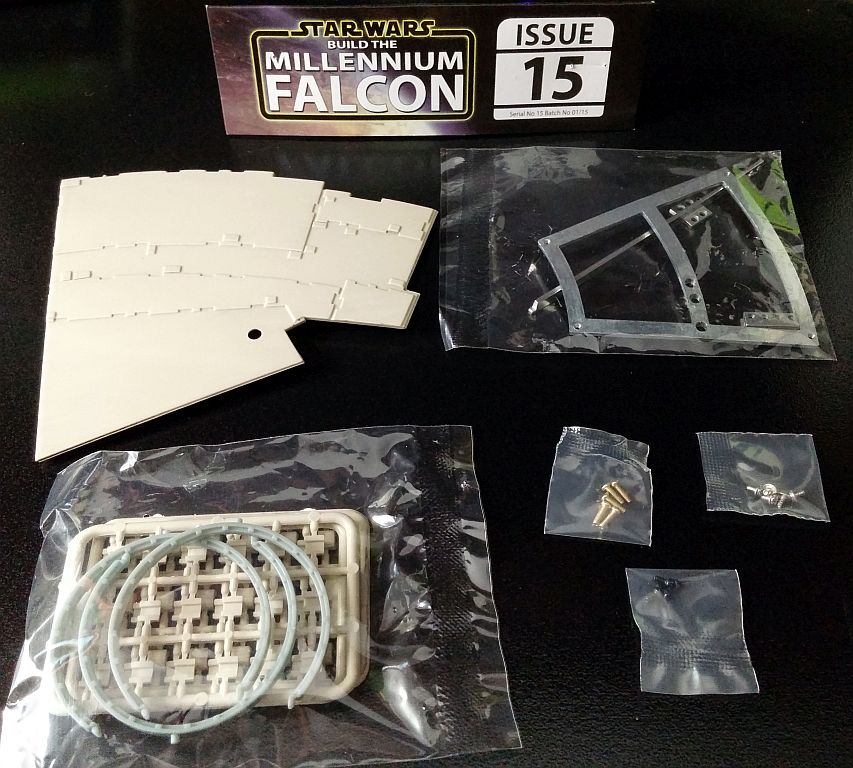
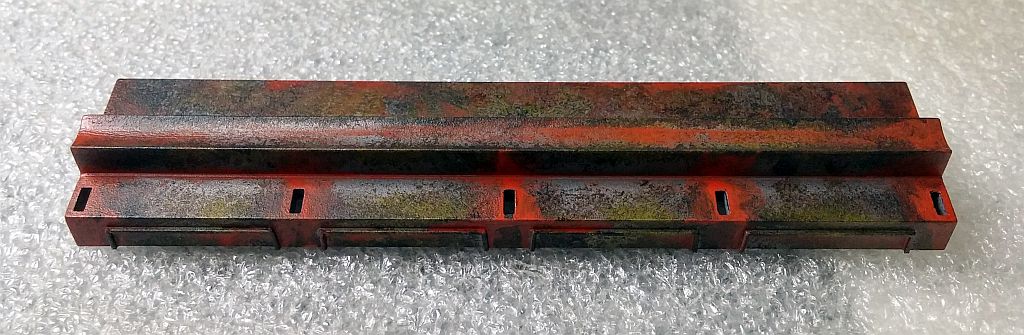
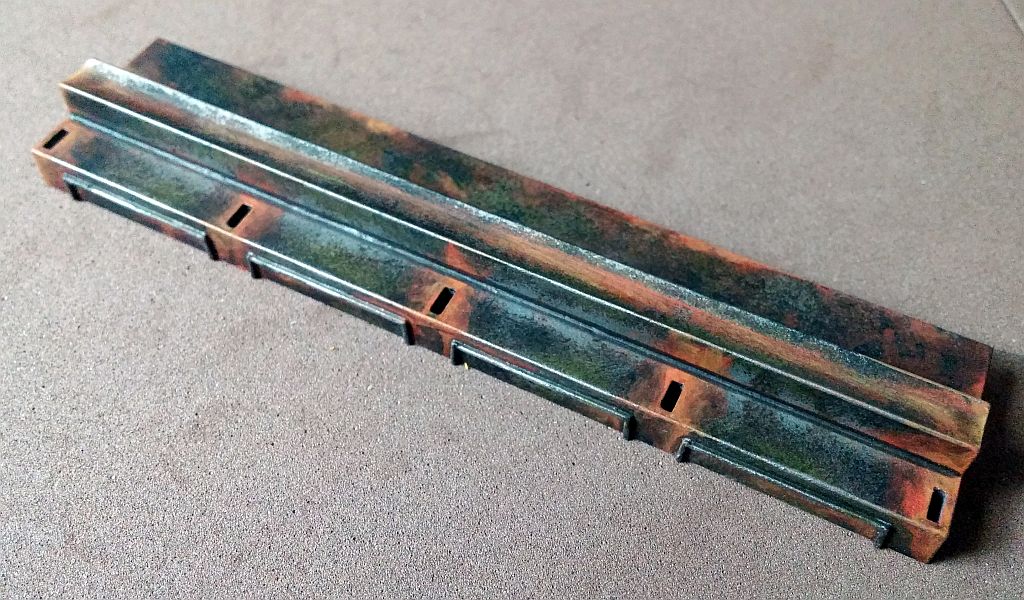
The new curved hallway floor was painted a metallic color with black wash in the crevices.
Assembling
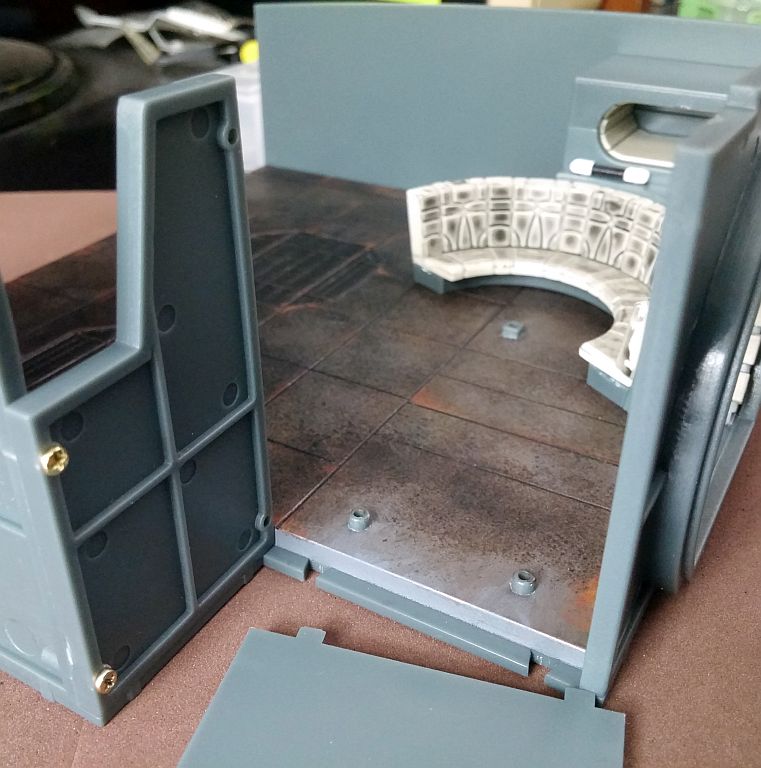
In this month’s issues, I finally get to permanently assemble the main hold. First up is the bench, which gets glued into place, and the bunk area, which gets screwed in with 5 self-tapping brass screws.
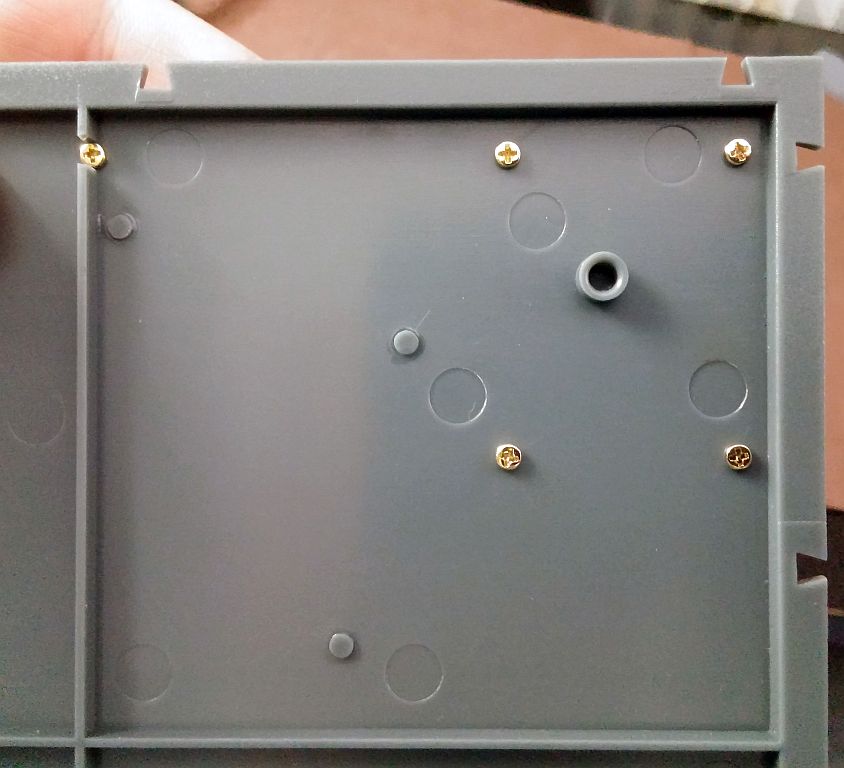
The walls from the previous issues are screwed together with the exception of the diagnostic panel wall. This allowed me to set the diagnostic panel into place and have access to the pegs for gluing. Then, I assembled the remaining wall.
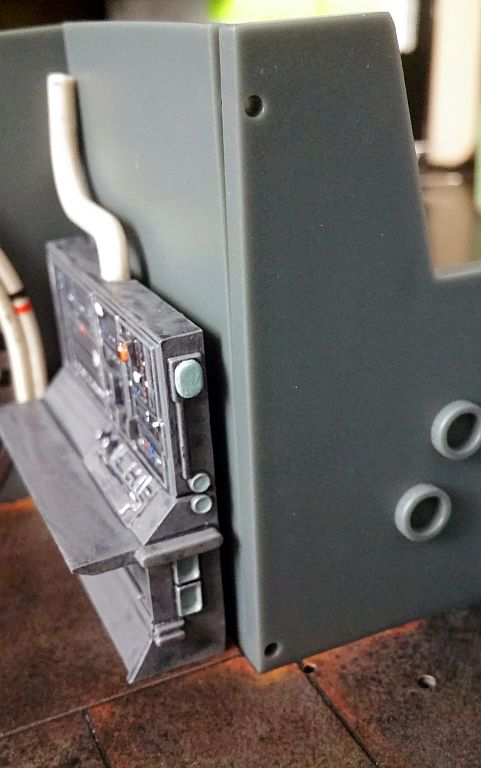
On the interior corner of the diagnostic wall, I did not install the screws. From watching YouTube videos, I know that the screws will be replaced with plastic pegs in a future issue. Why they didn’t provide the pegs now, I have no idea.
I also did not screw in the screws on the final large wall so that I could gently bend the wall to fit the two large pipes into place. This isn’t recommended, but when I dry-fitted the wall piece, it was so tight that I couldn’t get it back out.
Now, although the walls are tightly fitted together, the floor plate can still slide off with a good amount of force. So, for added stability and security, I also cemented the dove-tailed walls to the floor plate.
In the bunk corner, the final small piece of pipe is installed along with the Dejarik table.
After screwing down the pipe support, the two long silver pipes were pinned down by gluing the five frame members into place.
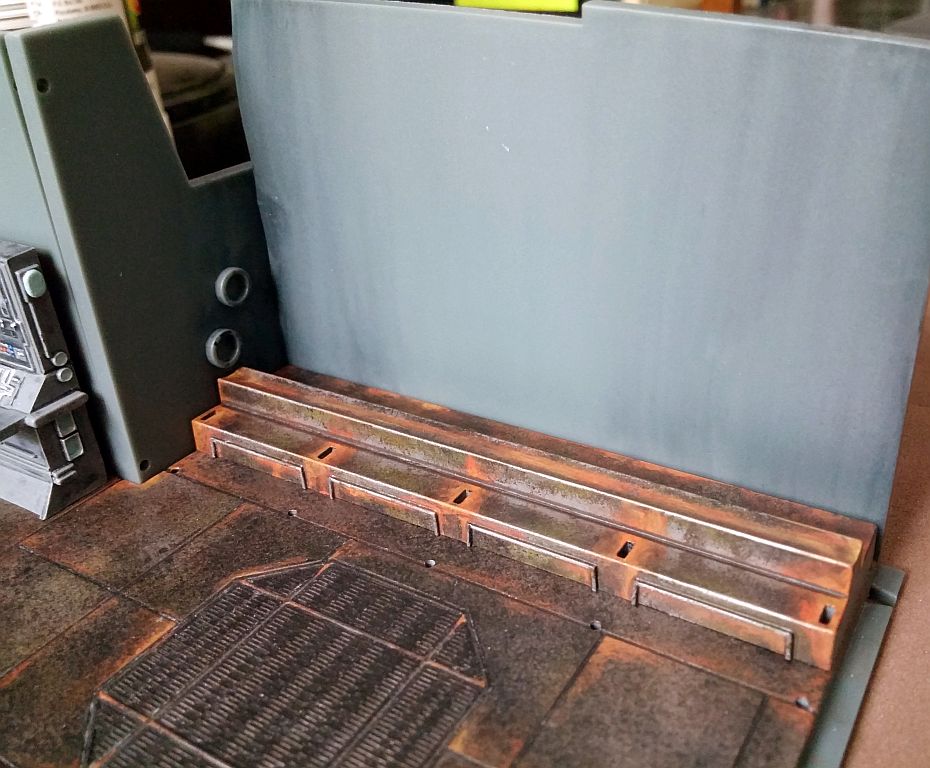

The large pipes were fitted into place (no glue required), and the maintenance doorway was glued into place.
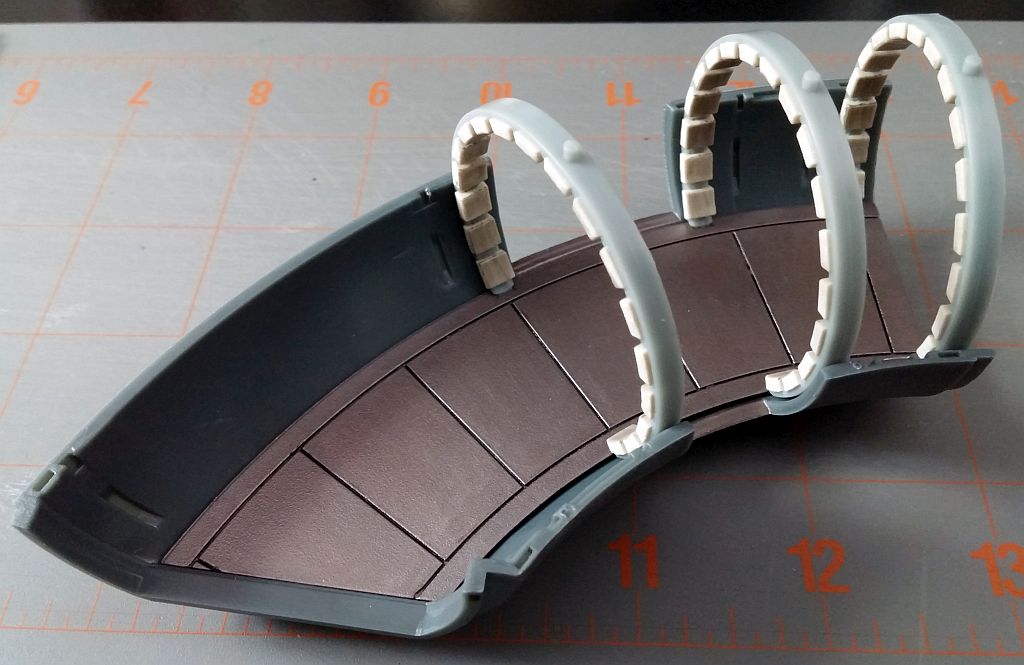
The floor of the curved hallway was set into place with six screws, and the remaining three padded rings were temporarily set into place.
Painting
Finally, I dirtied up the walls with some rust stains and grime.
Prev Journal Entry | Next Journal Entry
Both the post author and this website have not received any compensation for writing this post. Both the post author and this website have no material connection to the third-party brands, products, or services that have been mentioned. Some of the links in the post above are “affiliate links.” This means that if you purchase the item, we will receive a commission. As an Amazon associate, we earn from qualifying products. This is being disclosed in accordance with the Federal Trade Commission’s 16 CFR, Part 255: “Guides Concerning the Use of Endorsements and Testimonials in Advertising.”
Do you have a thought about this post? Why not leave a comment . . .