3D Printing With Prusa
Trader Sam | March 14, 2022
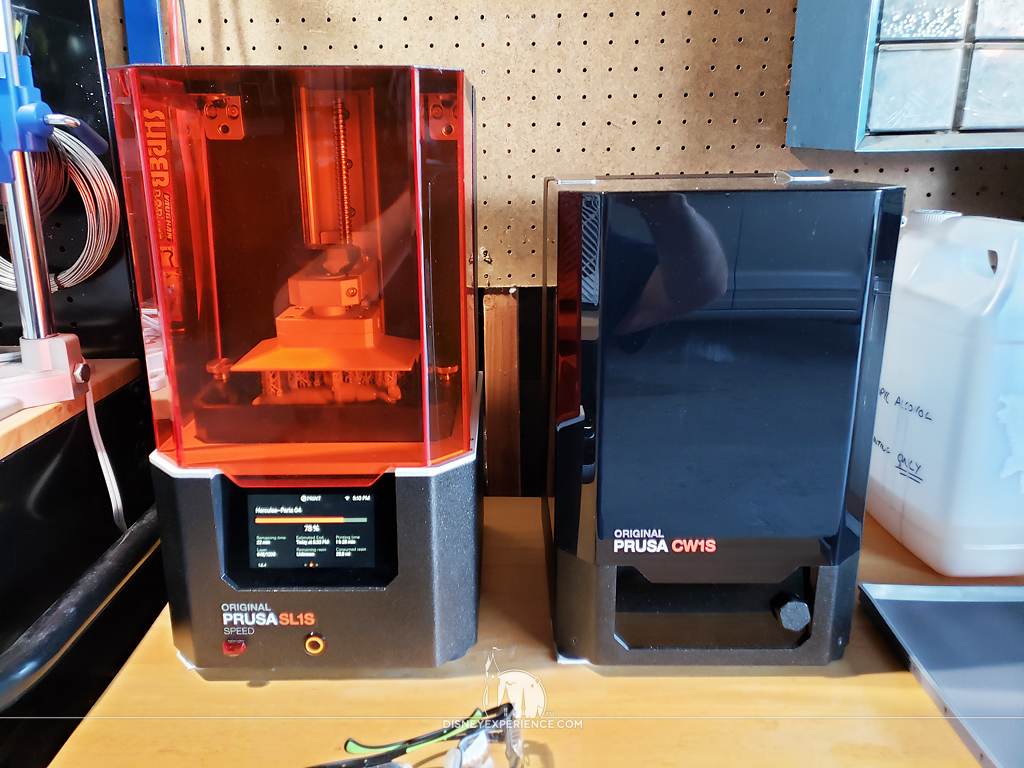
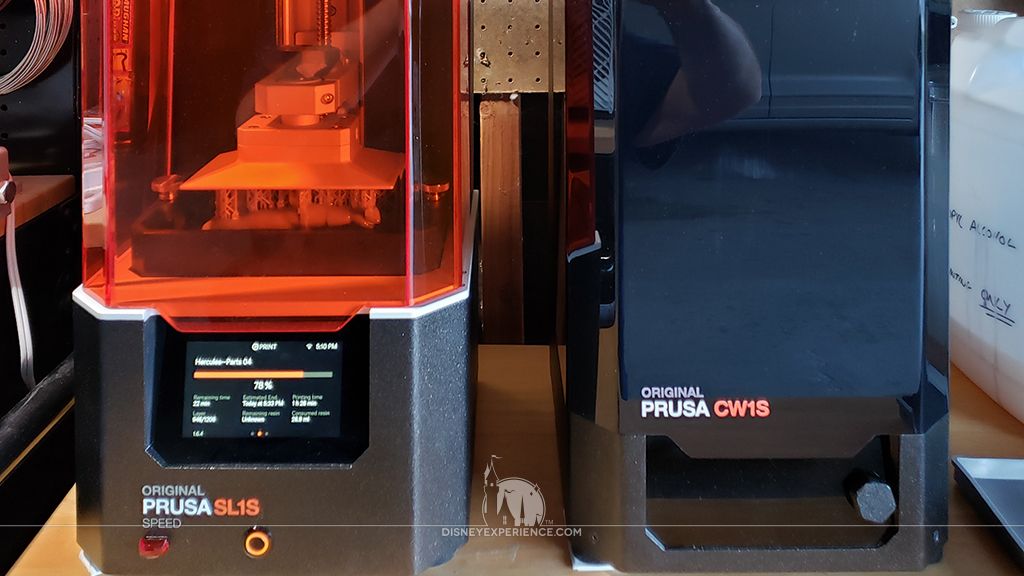
Last year, I decided that it was finally time to invest in a 3D printer. I chose a MSLA resin printer for its higher printing resolution; I’m a stickler for fine details. I new that I would outgrow an introductory-model printer, so I went with something a little beefier with better resolution. I finally settled on the Prusa SL1S and CW1S bundle. It was much more costly than other 3d printers out there, but I’m beyond happy with my purchase.
After the 3-month waiting period (there is waiting list and a delay in getting parts), I finally received my two large packages. The shipping only took a few days to arrive in California from Prague, but customs held up the shipment for a day to have me fill out some forms. I don’t remember what those forms were for; I just signed them. About a month later, I received a bill from FedEx for customs charges over $100. That was not a pleasant surprise.
The printer came with a lot of little extras like a couple bottles of Prusament Tough orange resin, a tiny 32GB USB stick, extra FEP film, a couple of scrapers, extra face shields, gloves, Haribo gummy bears, and more. It’s been a while since I opened the box, so I don’t remember everything that came with the printer. I should have taken pictures, but I was too excited to get everything out of the boxes.
The first several prints had weird warping issues. But, I think those were due to colder winter temperatures. I did preheat the resin, but obviously not enough. There were a few nice, warm days that were above 80 degrees Fahrenheit, and I warmed the bottle of resin in the sunlight. There was definitely a difference in the viscosity of the warmer resin, and the prints came out looking great.
The Prusmanet Tough resin was also extremely brittle—and expensive. Not only is the resin pricier than local sources, shipping from Prague is expensive. Buying supplies from Prusa is not economically feasible for me. Other than buying replacement parts, I will be buying Siraya Tech Fast grey resin online. It’s way less expensive, I get free 2-day shipping with Amazon Prime, and the resin is far stronger than the Prusament Tough resin.
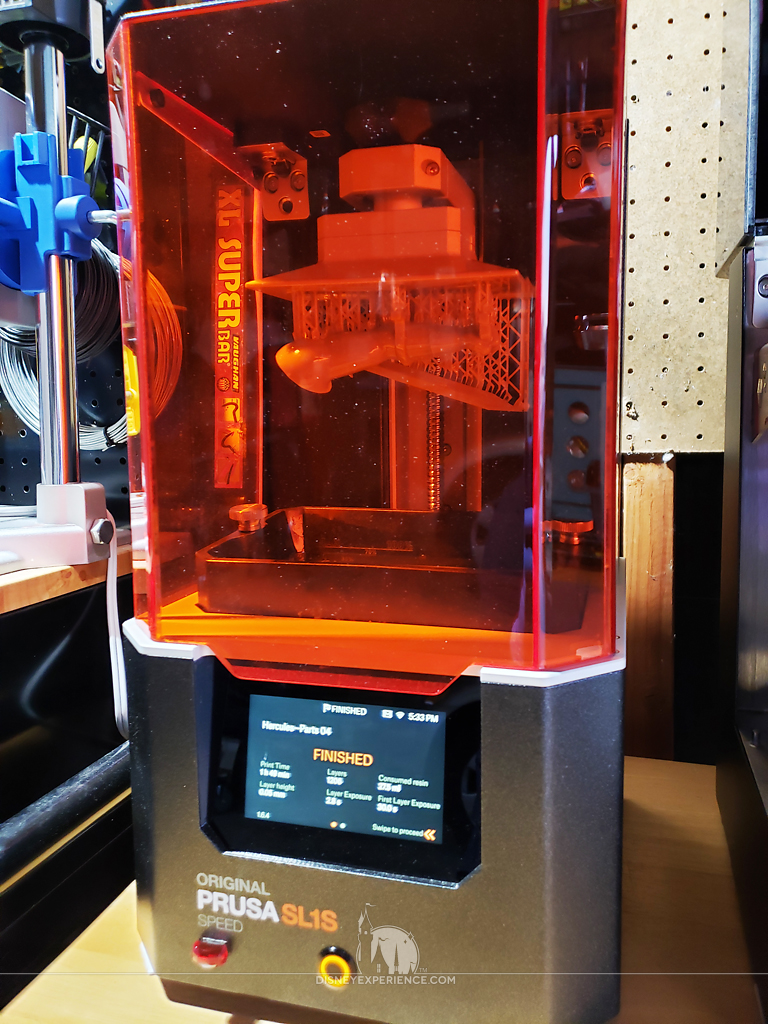
The First Print
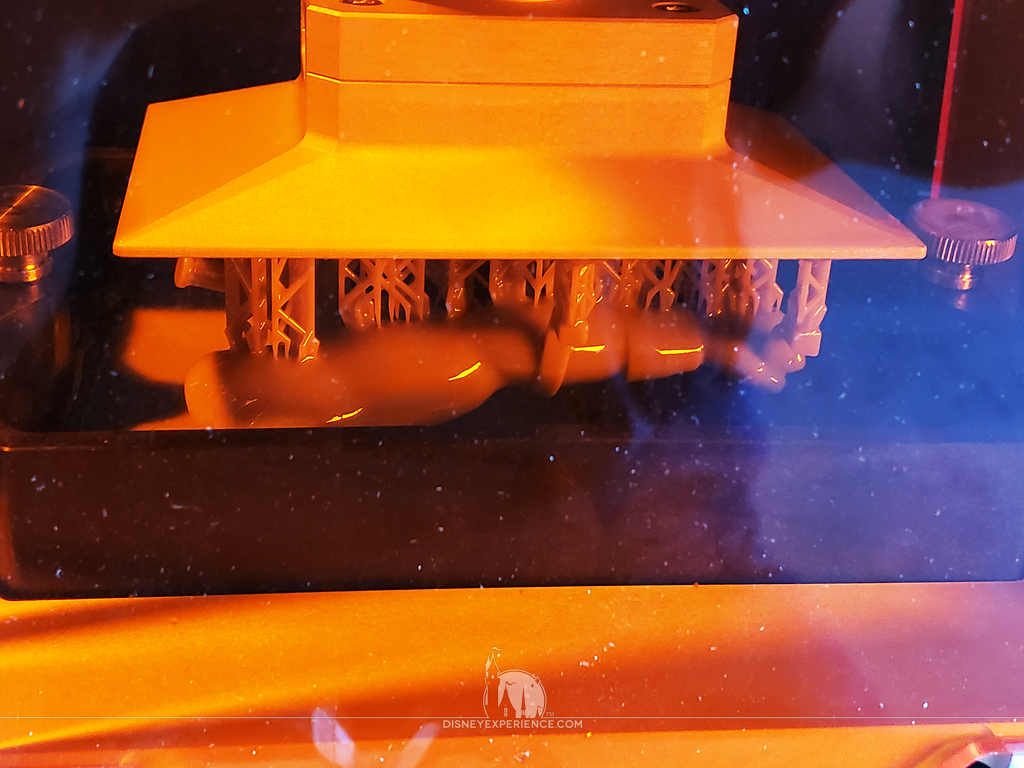
For my first print, I downloaded a Hercules statue from CGTrader.

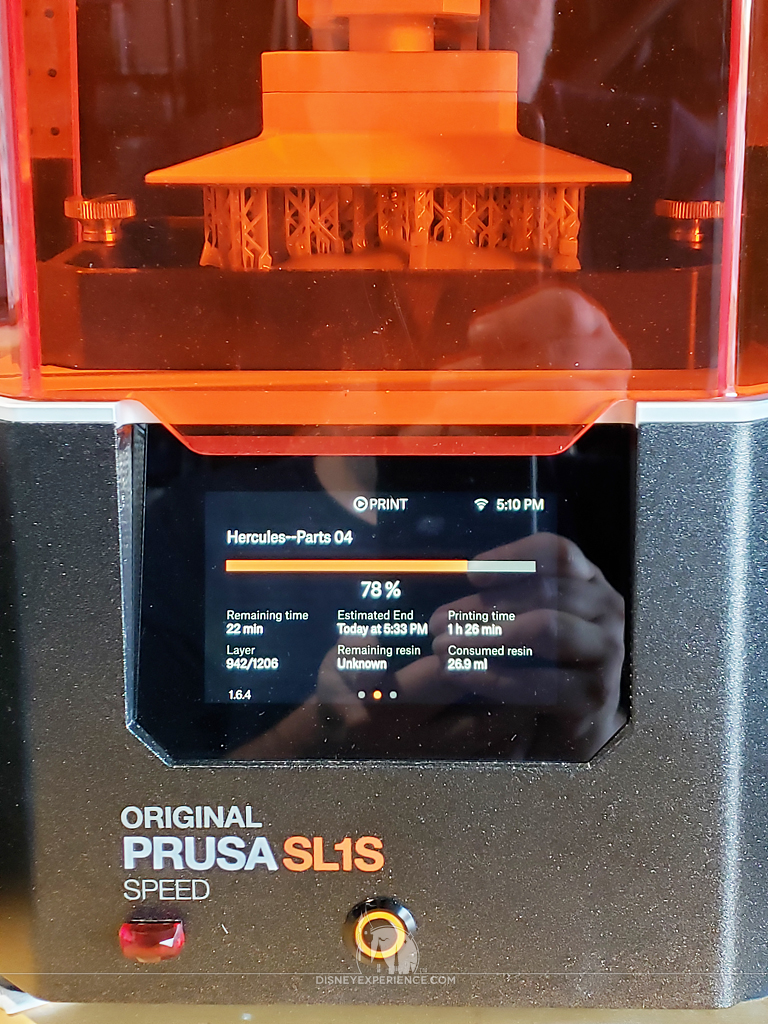
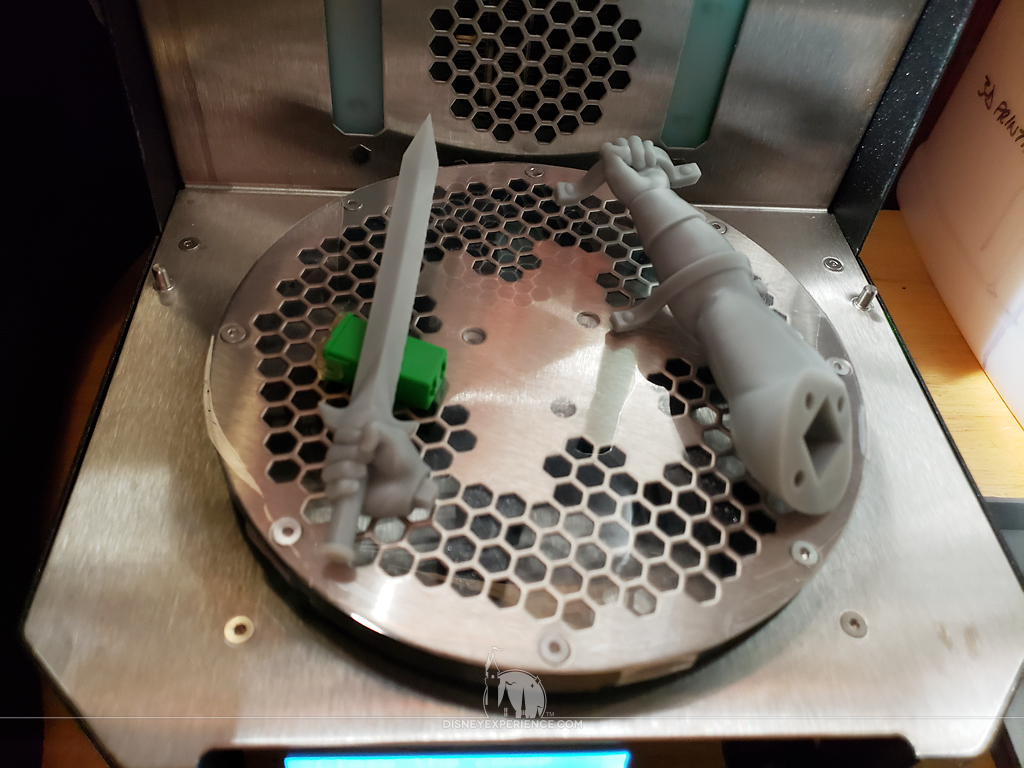
The speed of the prints were quick, often taking only a couple of hours, but no more than 4 hours. The printer’s touch screen displayed useful estimated printing times that were pretty much spot on (give or take a couple of minutes).
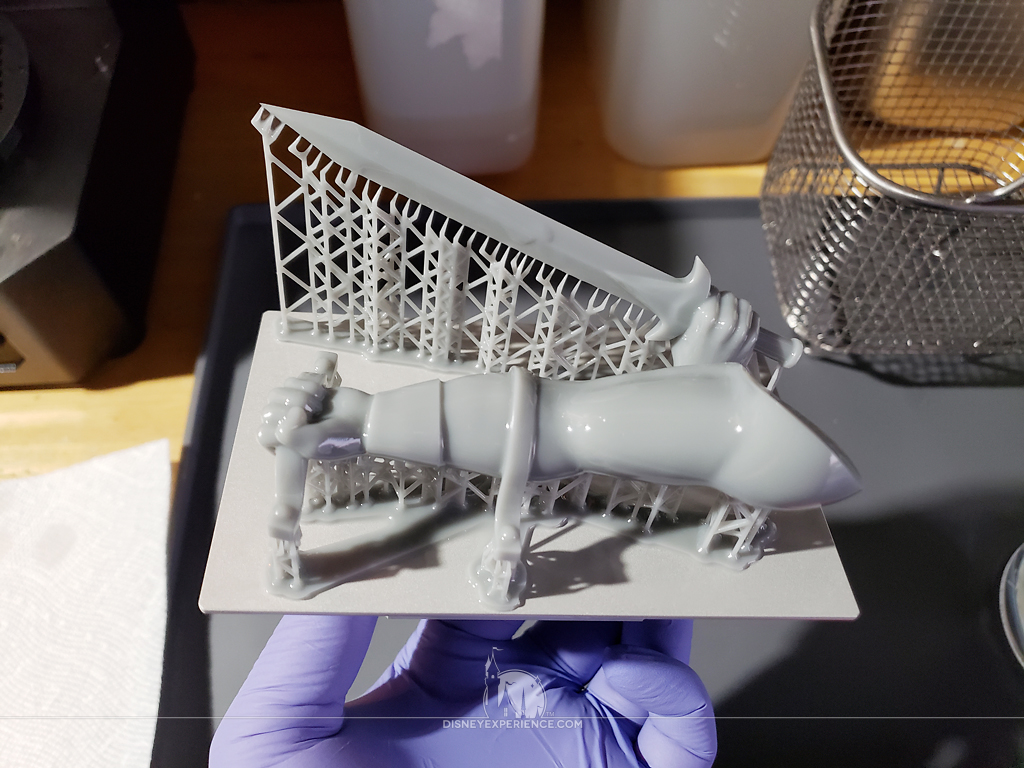
After printing, the parts were carefully removed from the build plate and washed in an isopropyl alcohol bath. The CW1S serves four different functions: it preheats resin bottles, washes parts, dries parts, and it cures parts. It’s a pretty handy little station, although I like to preheat my resin in the sunlight whenever I can.
After the alcohol bath, I read online that it is generally a good idea to rinse off the alcohol with distilled water. Any alcohol left of the parts during the curing stage can leave unsightly spot stains.
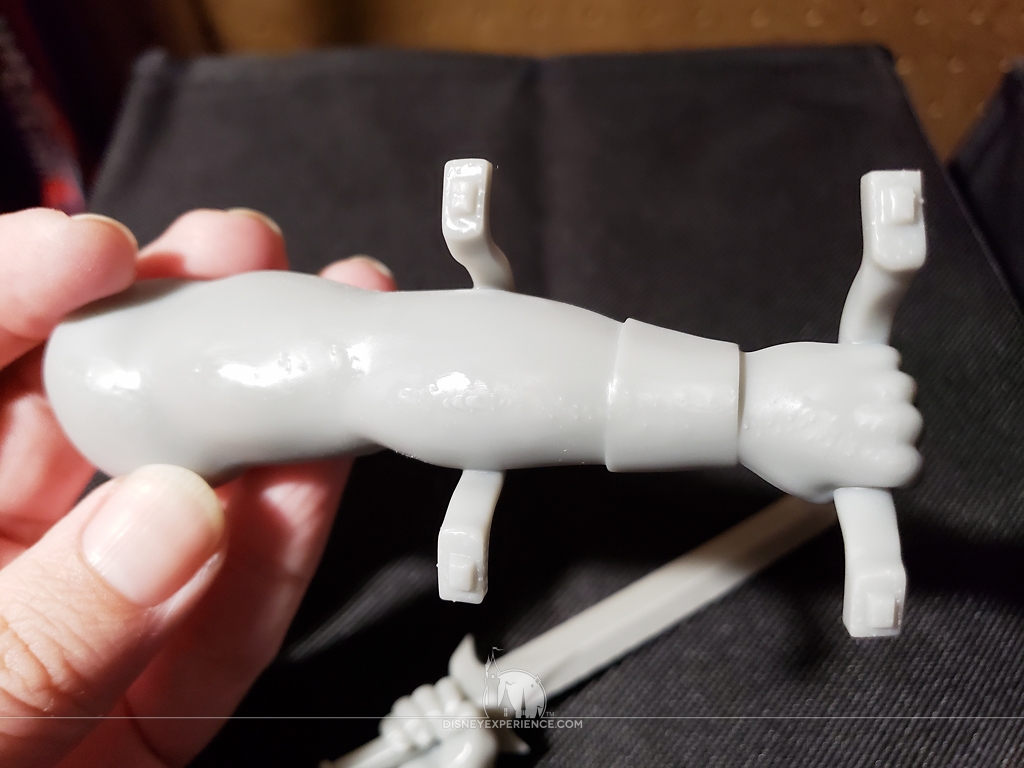
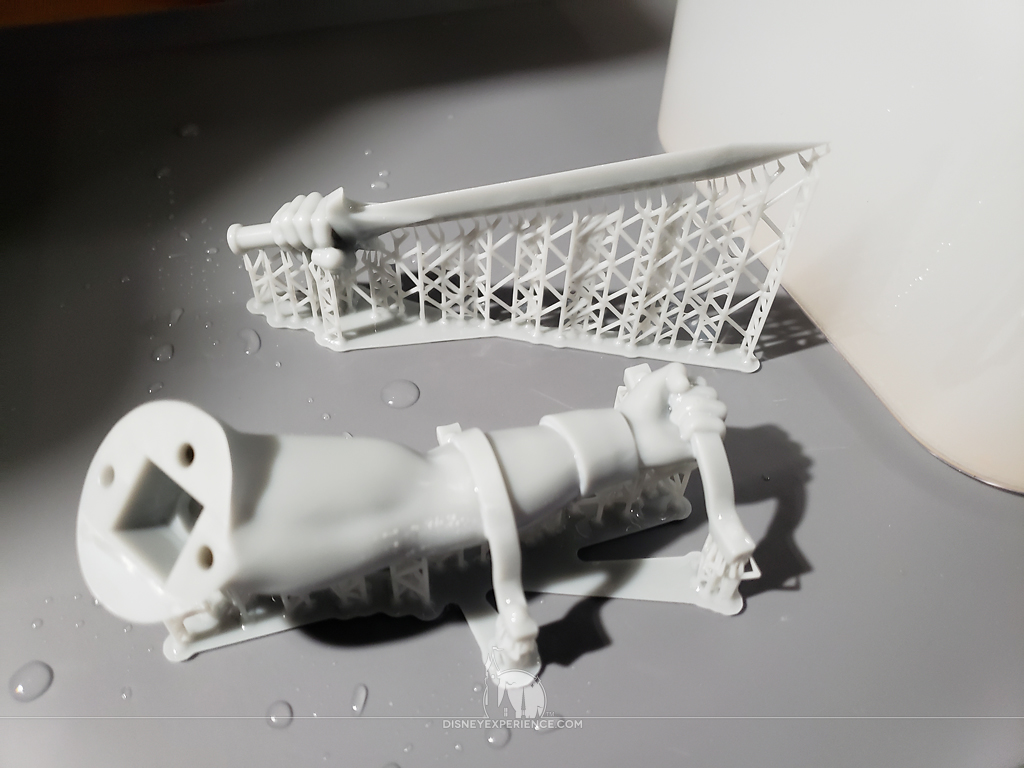
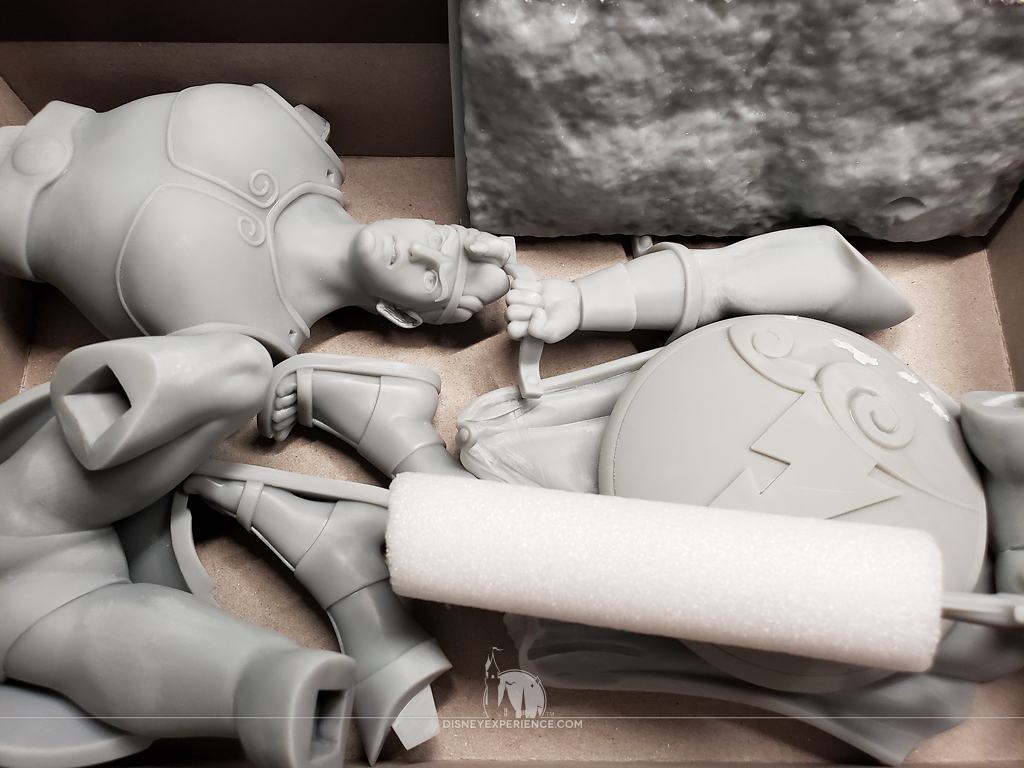
With a quick rinse and a general drying with a paper towel, I removed the supports which pull away fairly easily. The supports do leave small bumps that need to be sanded away, bu I’ve found that these bumps are less pronounced the farther away the supports are from each other.
Finally, the parts are placed inside the CW1S for a thorough drying and curing session.
The printer is capable of printing at layer heights as small as 0.025mm high, but I printed the Hercules statue at the normal 0.05mm height. Although the layers can be seen with the naked eye if I look very closely, they generally cannot be seen.
I did have a few defects, areas where it looked like tiny bubbles had formed. But, it was nothing to fill them in and sand them flush.
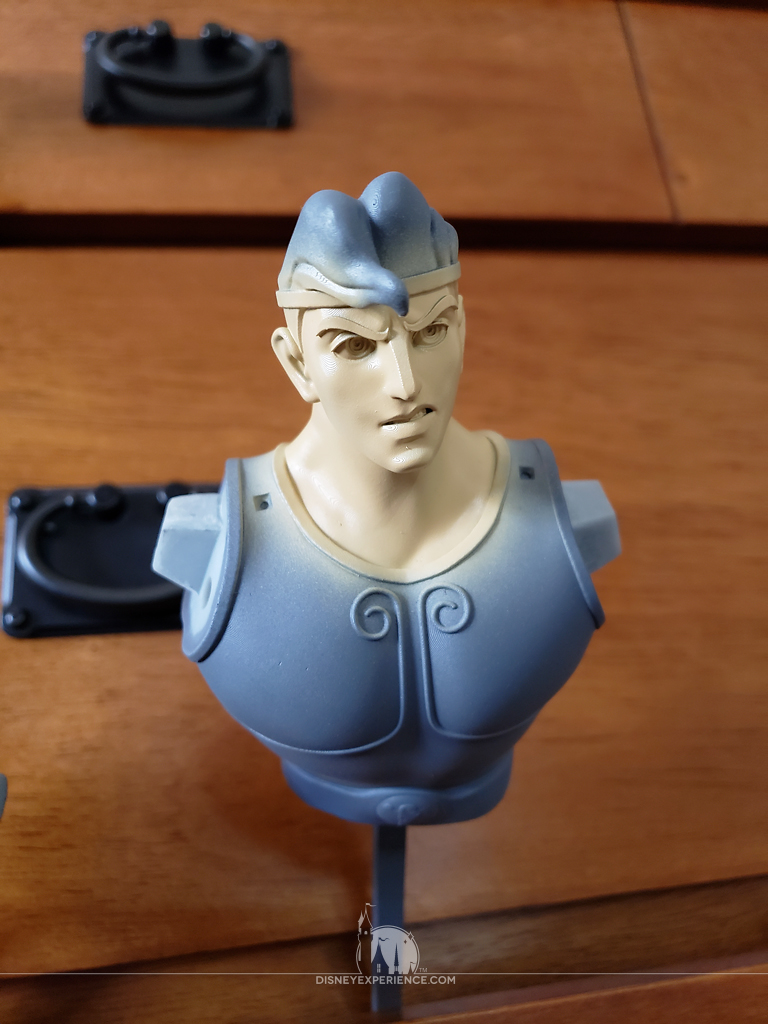
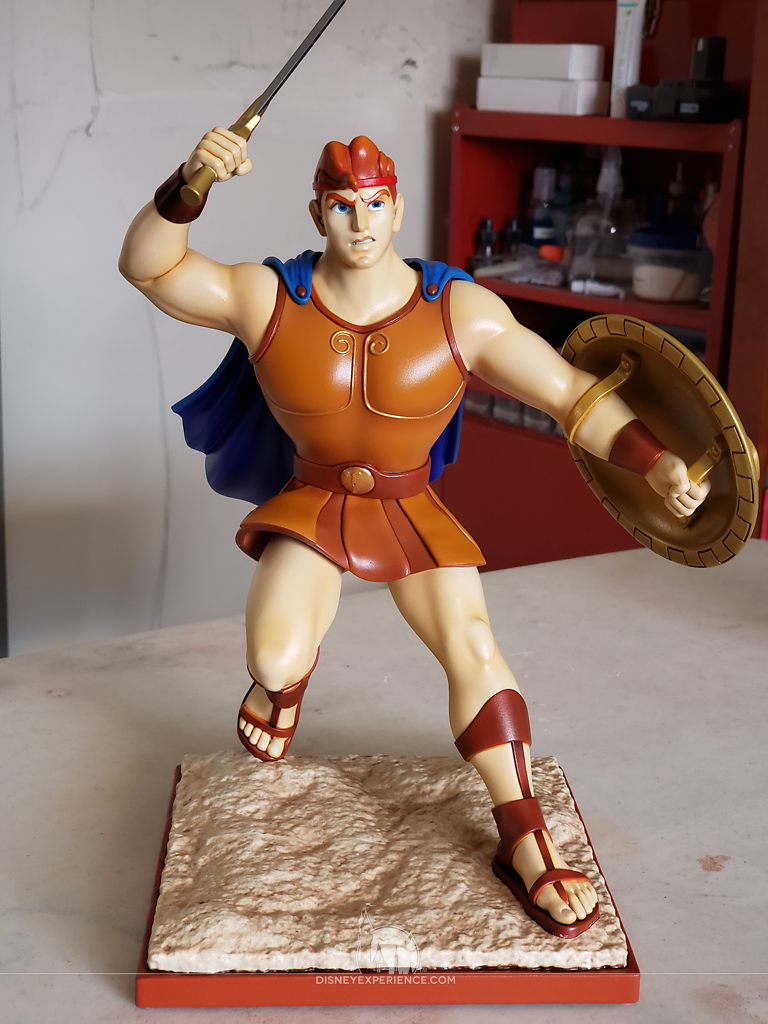
Breaking out the airbrush and using a lot of Tamiya masking tape, I painted and assembled the statue.
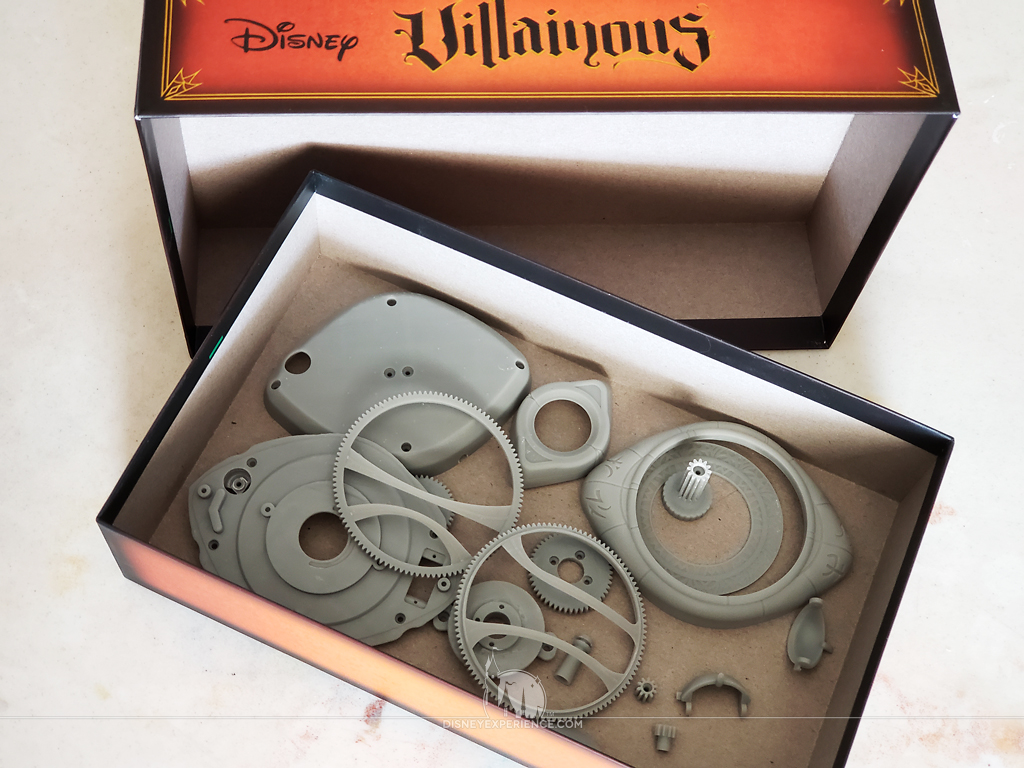
Oh, and I finally found a use for all of my empty Disney Villainous boxes. They are great for storing parts for future 3D printing projects, like a mechanical Eye of Agamotto.
What Now?
I do intend to develop 3D printing projects for the Disney Experience in the future. I’ve been working on a project for months, and I have others in mind.
Both the post author and this website have not received any compensation for writing this post. Both the post author and this website have no material connection to the third-party brands, products, or services that have been mentioned unless otherwise explicitly stated. Some of the links in the post above are “affiliate links.” This means that if you purchase the item, we will receive a commission. As an Amazon associate, we earn from qualifying products. This is being disclosed in accordance with the Federal Trade Commission’s 16 CFR, Part 255: “Guides Concerning the Use of Endorsements and Testimonials in Advertising.”
Do you have a thought about this post? Why not leave a comment . . .