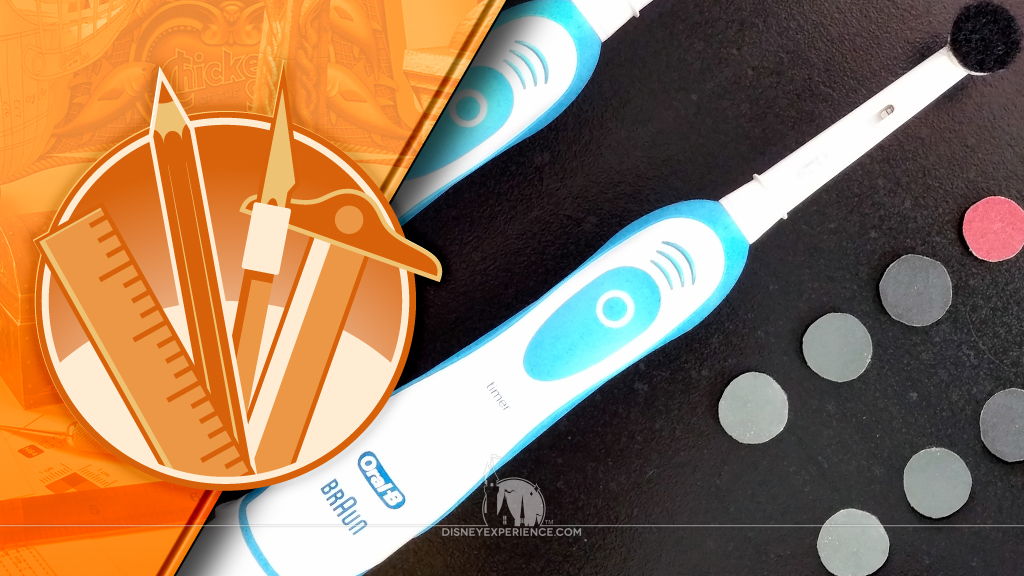
Craft Tip: How to Make a Mini Power Sander
The Disney Experience | November 7, 2019
Making your own mini power sander will save you a lot of time if you need to sand away wood, plastic, and hardened filler putty on your models/projects. It can get into small spaces as well as save your hands from a lot of wear and tear.
The mini power sander uses a battery-operated toothbrush with a swivel head. Small sandpaper discs are attached to the head with self-adhesive Velcro for quickly changing between paper grits—but, there’s an additional hack for making changes even quicker.
Battery-Powered Toothbrush
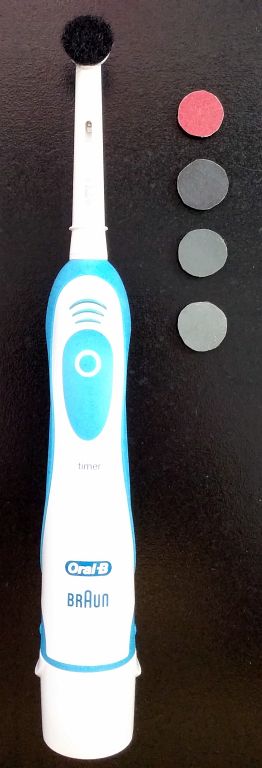
First, you will need a battery-operated toothbrush with a swivel head. We used an Oral-B toothbrush as the main body of our power sander, but there are different brands available—don’t get anything expensive.
Be sure to get a toothbrush that only has a circular head. Some have oval heads, and some have additional moving bristles that move up and down. You just want a round head that rotates back and forth. You will also want a toothbrush with replaceable heads. More on this later.
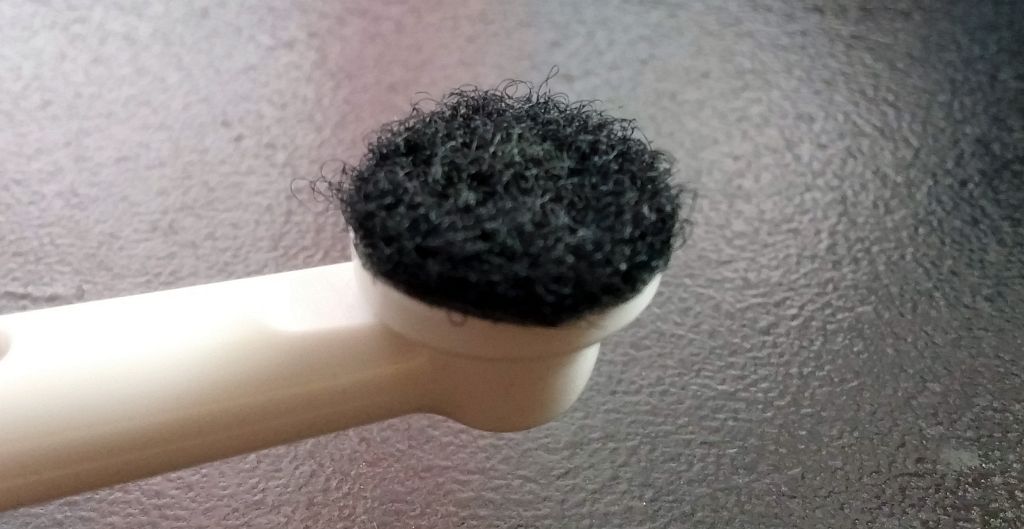
Once you have your toothbrush, take a pair of pliers and start pulling out the bristles. They are bundled into groups, so pull out each group out one-by-one. Depending on your brand, there may be tiny pieces of metal that hold the bristles into the holes in the head. Don’t cut yourself on these as they come out.
Sanding Discs

Next, you will need various grits of sandpaper and some self-adhesive Velcro dots. Each dot comes with two sides: hook & loop. Adhere one side of a Velcro dot onto the head of the toothbrush. We used the loop (fuzzy) side. Then, place the other side of the Velcro dot—we used the hook (tiny plastic hooks) side—onto the back of a piece of sandpaper.

Grab a pair of scissors (you may want to use an old pair) and cut out the piece of sandpaper so that you have a tiny disc. Repeat for all of the different grits of sandpapers that you want to use. You may also want to make extras so that you can quickly replace worn out sanding discs.
Now you can swap out the sanding heads whenever you need.
More Convenience
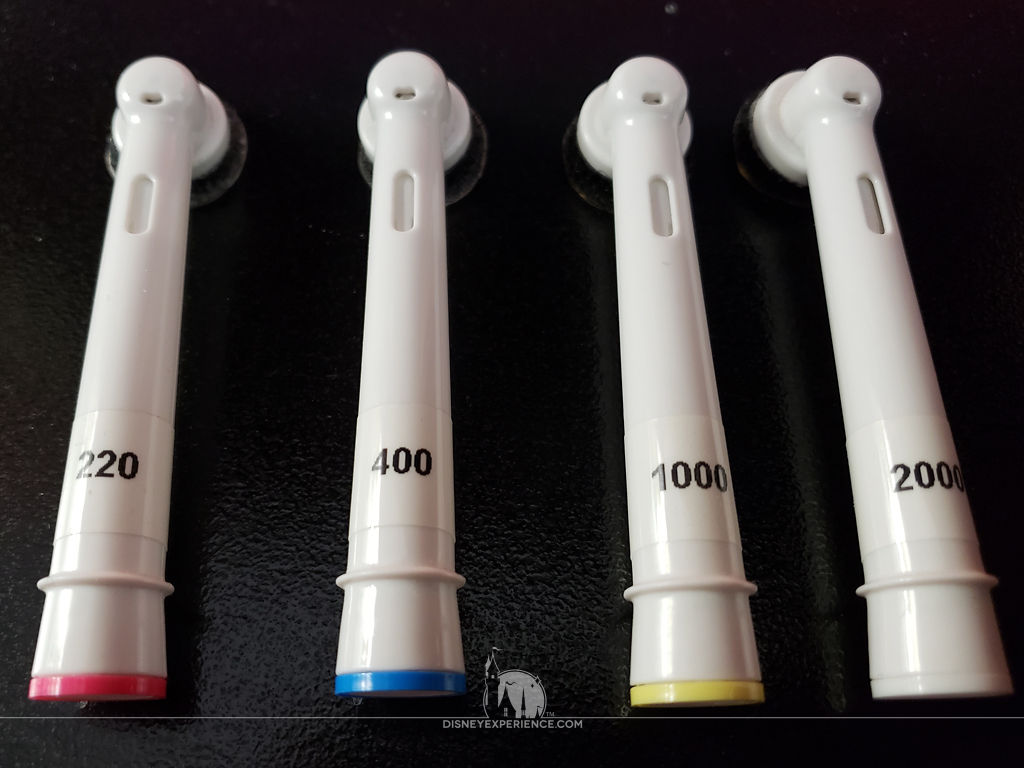
For greater convenience, you may want to buy additional replacement heads for your toothbrush, which are quicker to change out. Just be sure that they are compatible with your toothbrush’s model.
Use each head for a different grit of sandpaper, labeling the grit size onto the neck. This is extra-handy for when you need to jump back-and-forth between grit sizes. Be sure to still use the Velcro dots so that old sanding discs can be easily replaced.
Both the post author and this website have not received any compensation for writing this post. Both the post author and this website have no material connection to the third-party brands, products, or services that have been mentioned unless otherwise explicitly stated. Some of the links in the post above are “affiliate links.” This means that if you purchase the item, we will receive a commission. As an Amazon associate, we earn from qualifying products. This is being disclosed in accordance with the Federal Trade Commission’s 16 CFR, Part 255: “Guides Concerning the Use of Endorsements and Testimonials in Advertising.”
Do you have a thought about this post? Why not leave a comment . . .