How I Fell in Love With Model Kits: Part 5
Trader Sam | December 21, 2018
Read: Part 1 | Part 2 | Part 3 | Part 4
As fun as painting miniatures is, I felt I was ready for something more long-term. Paint no longer scared me, and I found plenty of YouTube videos on how to properly use waterslide decals; I decided to give plastic model kits another try. But, I wanted something that had a personal connection. I was shocked to discover an old Disneyland model was still in production . . . sort of.
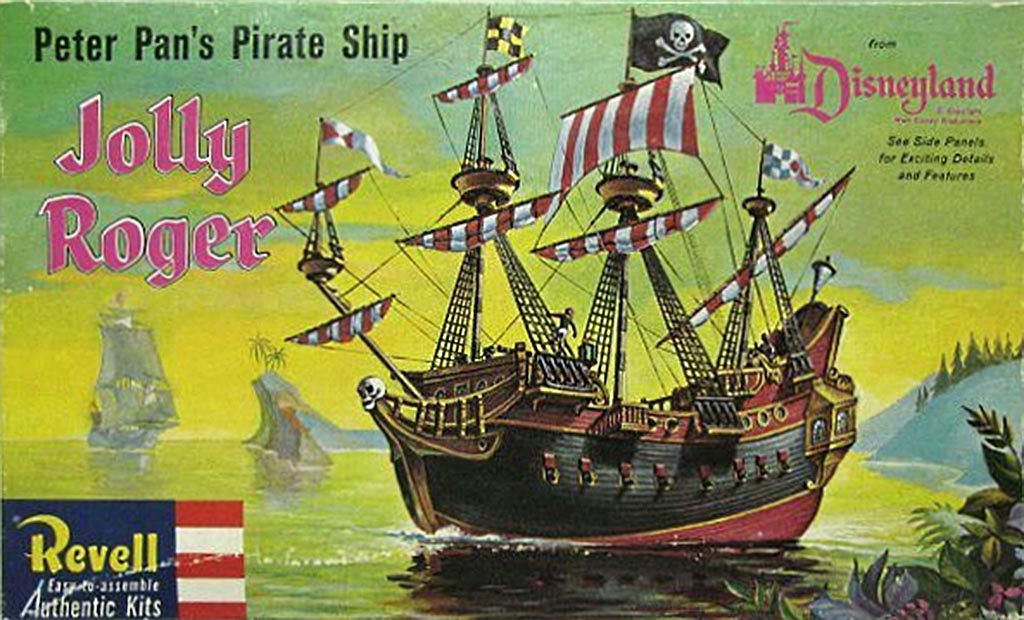
In 1960, Revell released the Jolly Roger model kit. It was based on the design of Disneyland‘s Chicken of the Sea restaurant, which was based on Captain Hook’s pirate ship, the Jolly Roger. After Revell had lost the Disney licensing, they continued to run the kit without the Disney references. They are still found in stores with a different name and box art. It was the perfect model for a Disneyland fanatic like me.
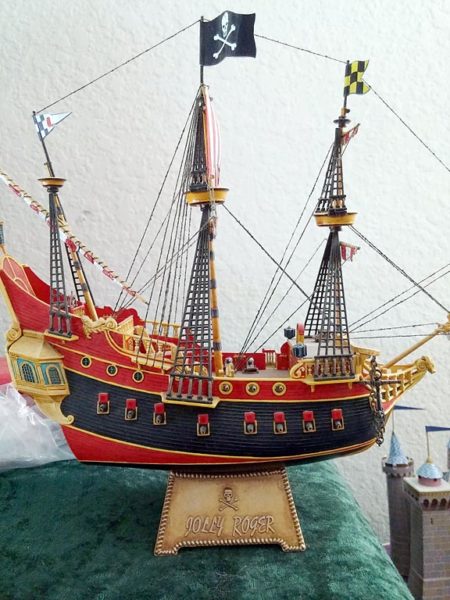
Everything was painted by hand with paint and brush. It wasn’t the best model to start with, but I pushed through. Parts didn’t line up exactly, some subtle details were lost in the molding process, and there was a lot of flash to clean up. Patience, persistence, and skill prevailed, and I was pleased with the results. It was fun, and I have a little bit of Disneyland history sitting on a shelf.

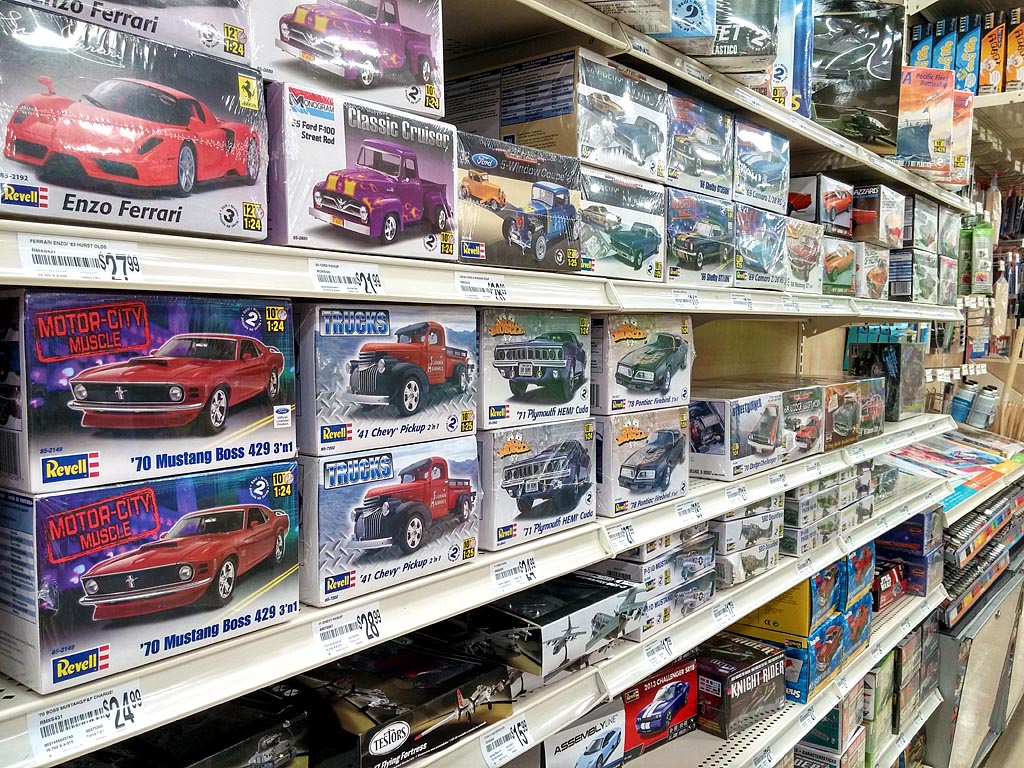
I still wasn’t a fan of plastic model kits, but I liked them a lot more. I could definitely walk down a store’s model kit aisle and hold my head up high knowing that I could tackle nearly any model kit on the shelf. Still, I didn’t have the proper tools to be able to tackle any model.
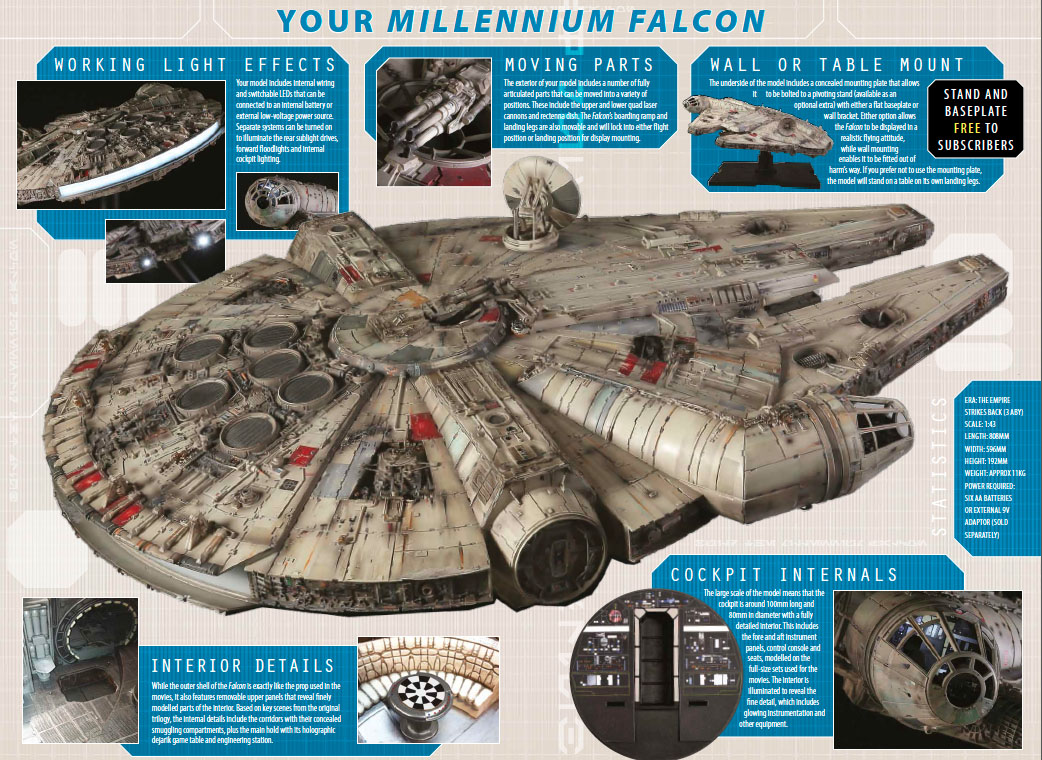
On May 31, 2015, one of my favorite YouTube channels, Tested, did a video about the DeAgostini Millennium Falcon kit. I was so excited that I subscribed to the kit the very next day. It was going to take two years to complete, but it would give me plenty of time to both paint and customize at a leisurely pace. A kit this special (and expensive) demanded and deserved to be done properly, which meant finally procuring the proper tools.
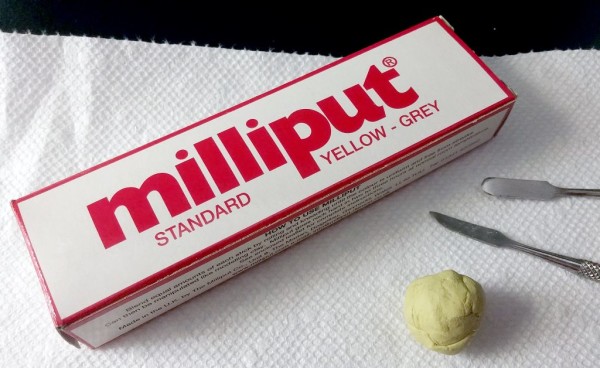
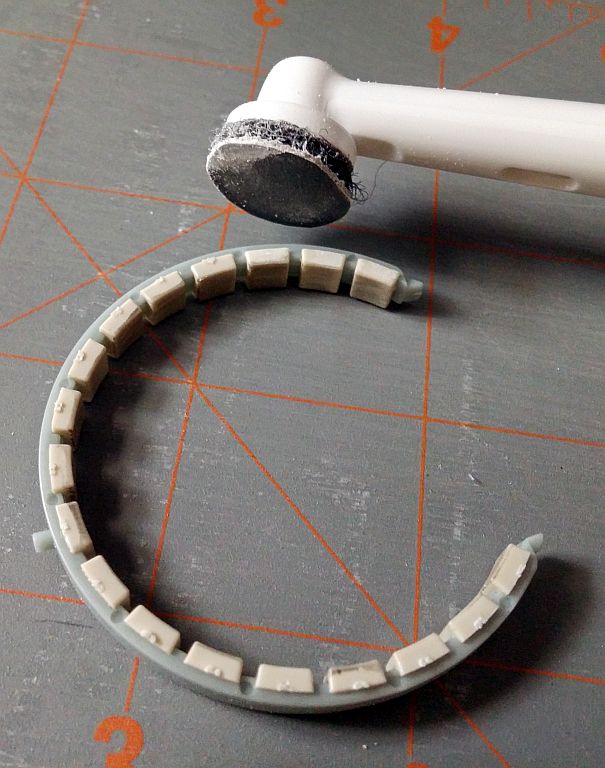

I gathered an airbrush and an air compressor, paints and varnishes, cements and fillers, blades and tools. I did research into how to clean and maintain everything, even making a homemade cleaner to save money on the brand-name stuff. I made my own mini electronic sander, and I practiced how to use everything properly. It was extra time and expense, but by January, I was ready to begin using my new tools.
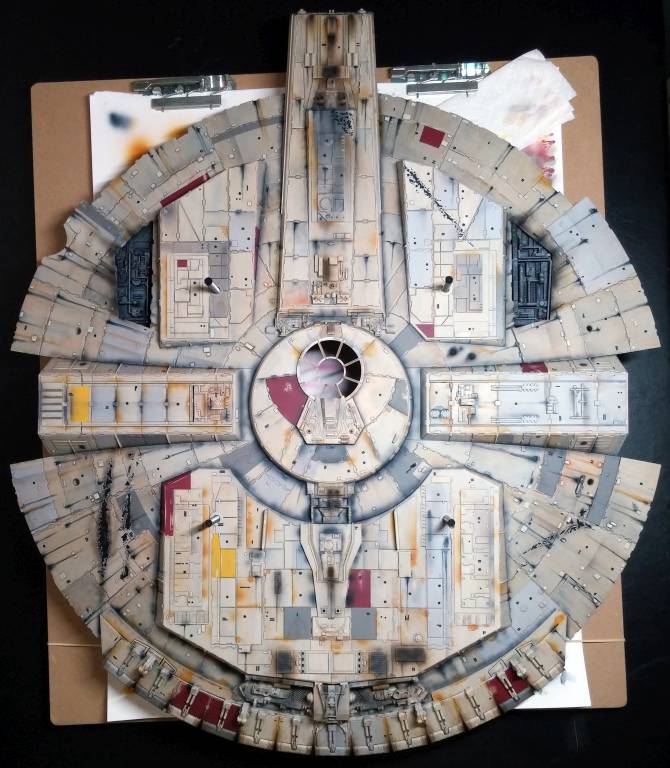
I completed the lower hull of the Millennium Falcon, which came out better than I had hoped. I took tips and techniques from different YouTube tutorials and mixed them into something of my own. Although it may seem that the Falcon requires a complex paint job, the truth is that it’s one of the best models to paint for any beginner. The ship looks dirty and filthy by nature, so mistakes blend in naturally. It’s a great confidence booster.
I have nine months to go before I finish the model, but I’m craving more. I want to trim, glue, paint, weather, and distress more things. I want to take something bland and make it look awesome. I want to do more models!
I’ve since completed the Millennium Falcon. The entire build has been documented in the Millennium Falcon Build Journals.
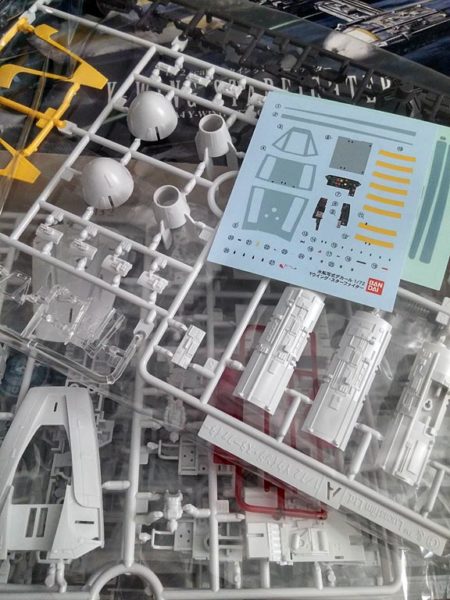
Although I’ve never properly handled waterslide decals, I’m definitely confident enough to tackle them now. I’ve decided to start with Bandai‘s Star Wars plastic model kits, which I’ve heard are currently the absolute best. They’ll be a great filler between the monthly DeAgostini packages.
A full review of the Bandai Y-Wing kit is available.
It’s funny how working with other types of model kits prepared me for plastic model kits. I learned to use patience and persistence to see things through to the end. I learned to use the Internet to do research and to teach myself how to solve any problem. I studied the techniques of others to test and create my own techniques. I tried new and different things to enhance my skills and confidence. And, I made sure that I had the proper tools so that I could do a proper job—even if I had to slowly gather them one-by-one.
Read: Part 1 | Part 2 | Part 3 | Part 4
Both the post author and this website have not received any compensation for writing this post. Both the post author and this website have no material connection to the third-party brands, products, or services that have been mentioned. Some of the links in the post above are “affiliate links.” This means if you click on the link and purchase the item, we will receive an affiliate commission. This is being disclosed in accordance with the Federal Trade Commission’s 16 CFR, Part 255: “Guides Concerning the Use of Endorsements and Testimonials in Advertising.”
Do you have a thought about this post? Why not leave a comment . . .