Millennium Falcon Build Journal No. 17: Issues 61-64
Trader Sam | August 1, 2016
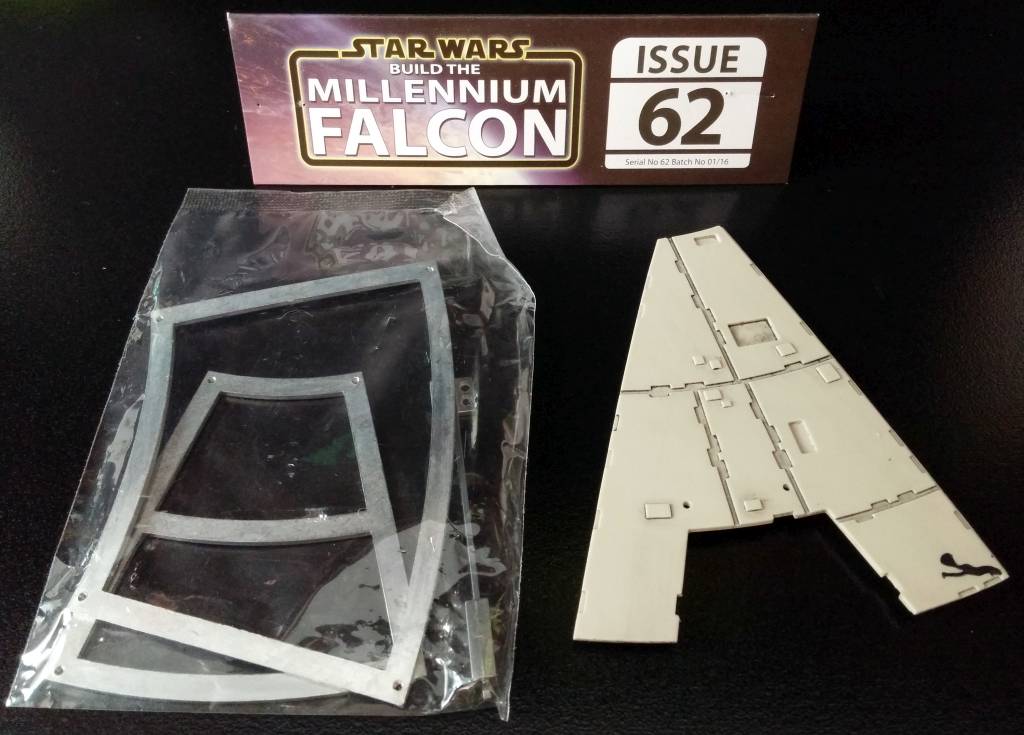
The Arrival

This month is filled with some basic assembly. More metal framework and hull plating is attached, and another recess detail is assembled. This was also the perfect time to create replacement windows as well as look into other customization options.


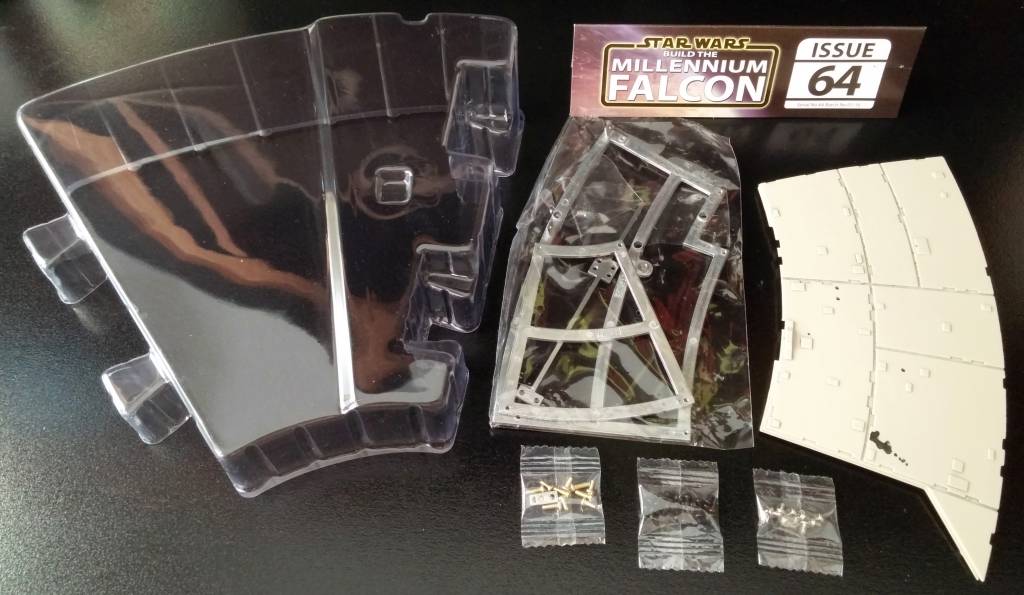
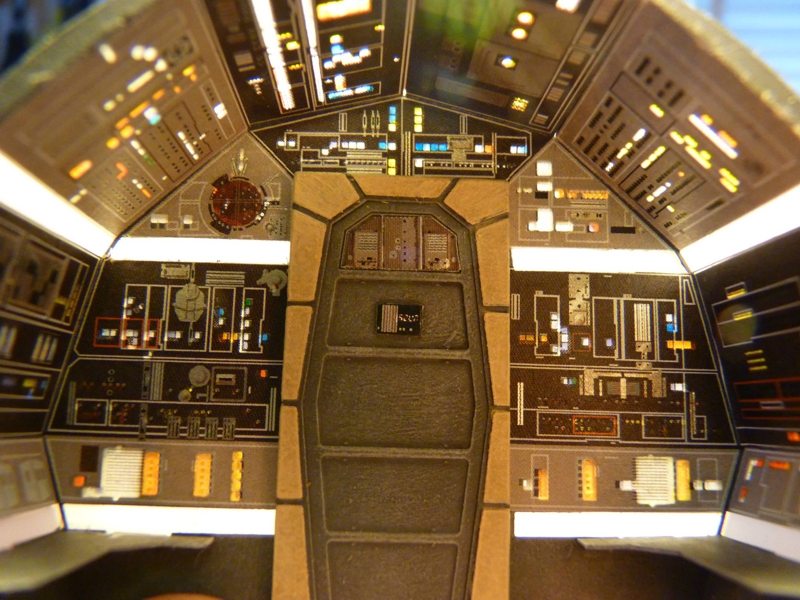
Replacing the Windows
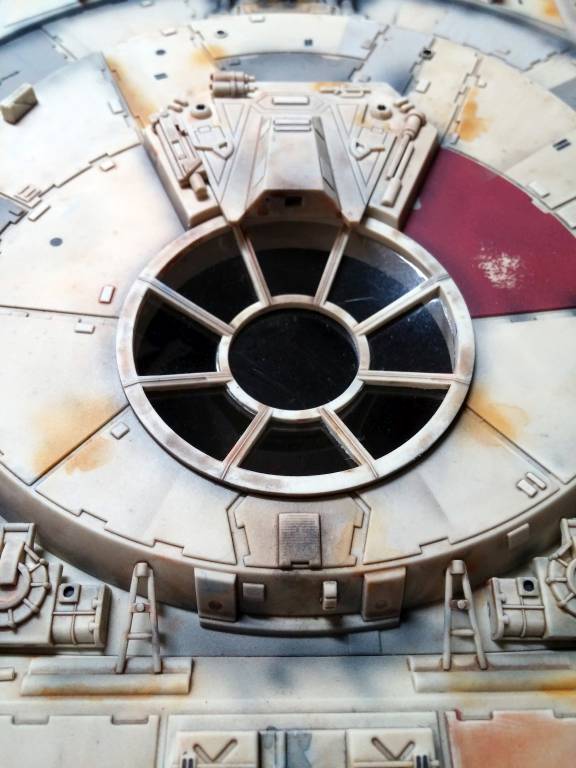
I’ve heard nothing but bad reviews of the supplied window parts, and I’m inclined to agree; they have a visible border that makes the Millennium Falcon look like a toy. I don’t want all of my hard work downgraded to “toy” status. The border also hinders visibility; after putting a lot of work into the cockpit and gunner stations, I don’t want them hidden. So, the decision was made to replace the windows with hand-made ones.
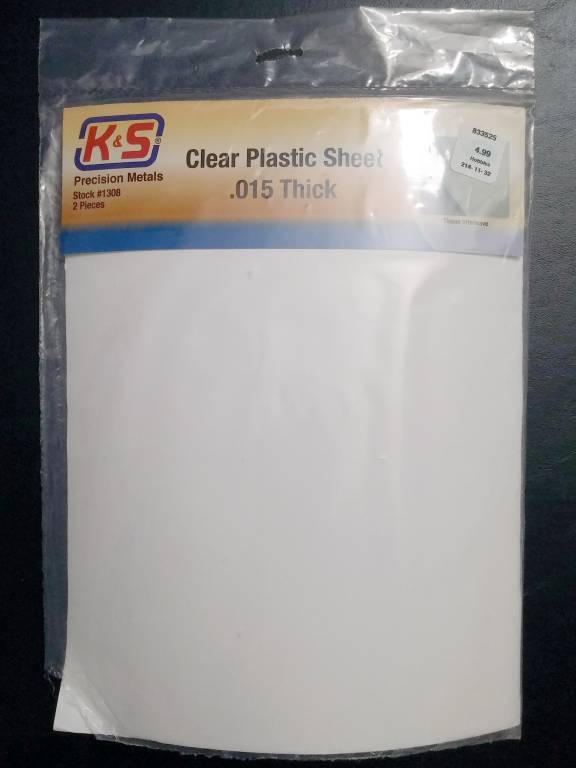
I was going to buy a set of .03” thick clear plastic sheets, but those were too stiff. So, I went with the .015” sheets instead. I had no idea if the plastic would bond to the model with Tamiya Extra Thin Cement, or if the cement would cause fogging (like Super Glue). It couldn’t hurt to try.
I cut out a small piece of the plastic and glued it to a spare hull plate; it worked like a charm, and the bond was really strong. I even glued a second piece of plastic to the first piece. It bonded right away, and crystal clear; no fogging!
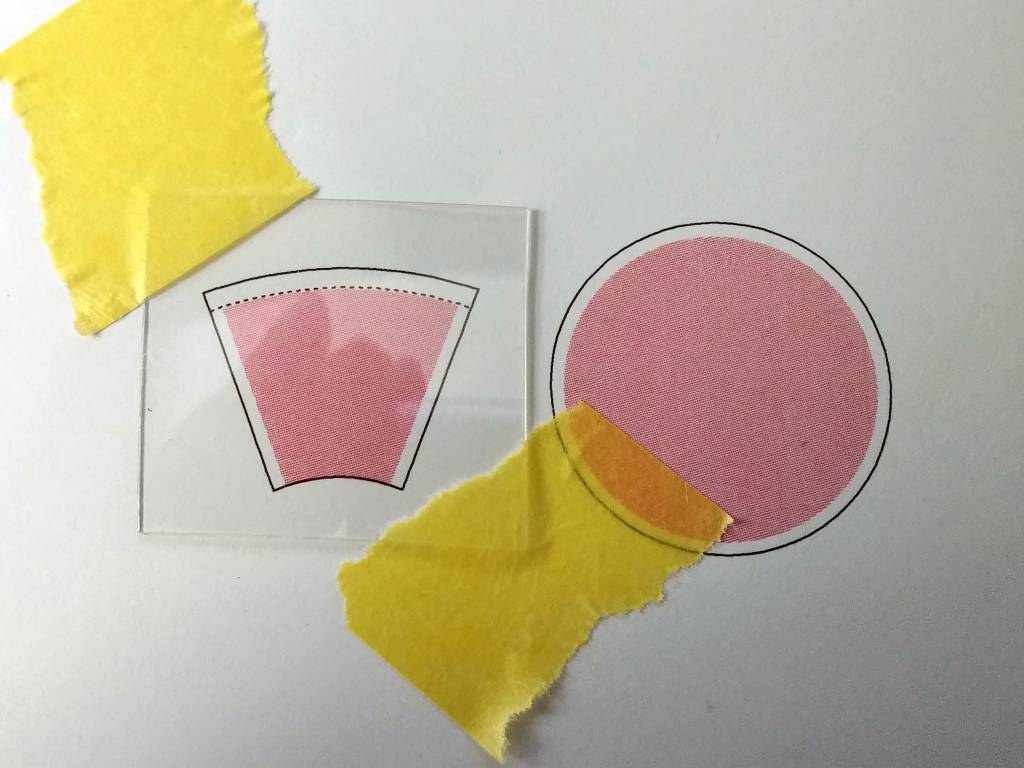
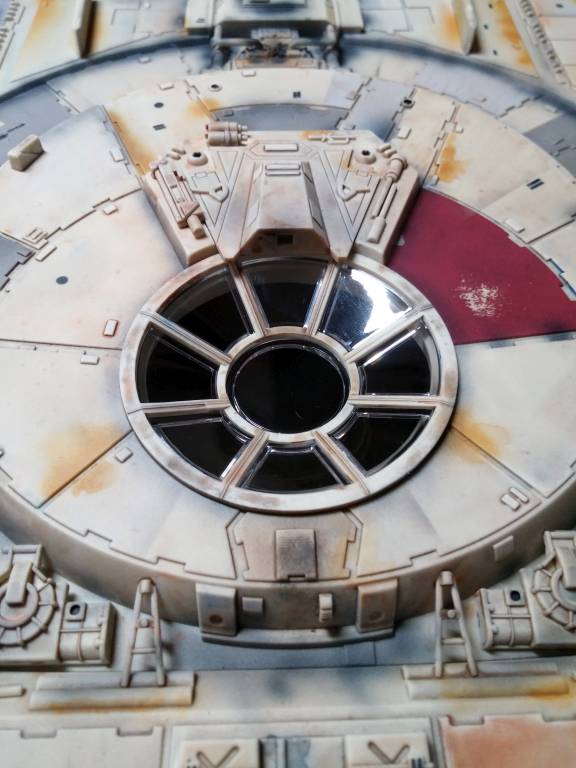
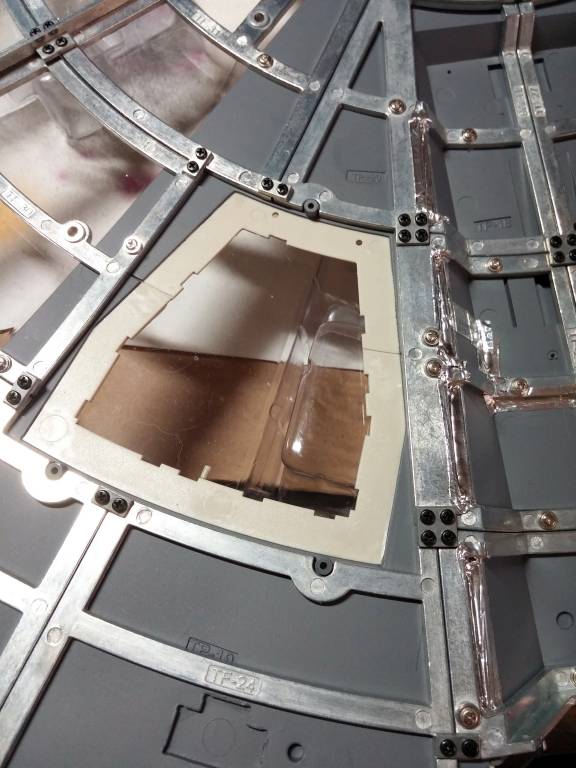
The lower turret window was the only one that was painted and varnished, so it was the only one that I could glue the final windows to. I traced the two different shapes of the window frame onto a Post-It note, then I scanned them into Adobe Illustrator. I made the original shapes of the windows pink, then added white edges to create overlap. This is where the glue would be applied. Once I printed it out, I had a template to work from. Download the file and print your own window templates.
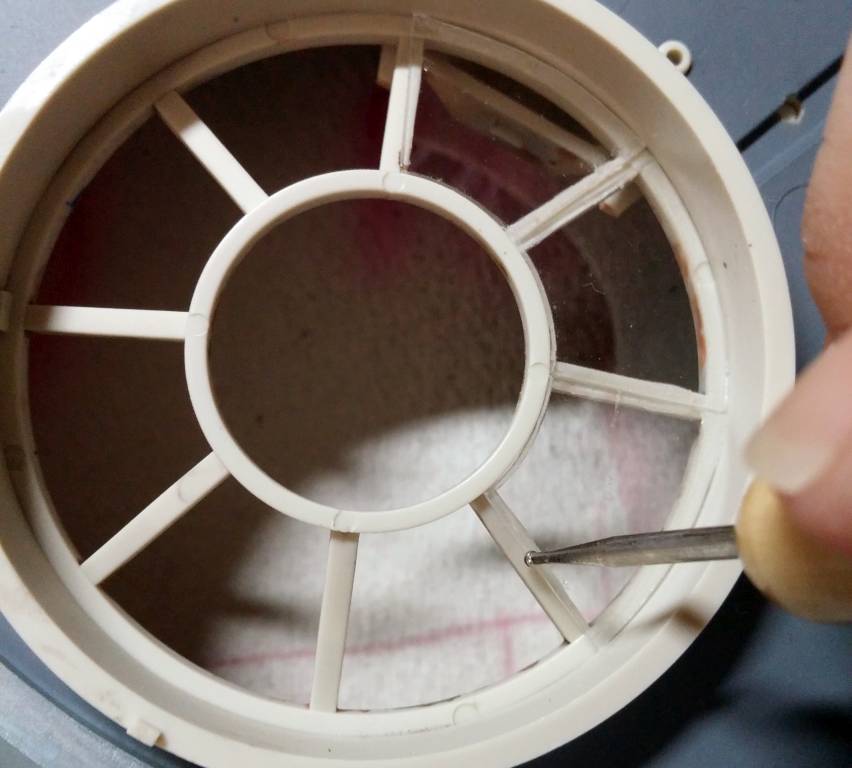
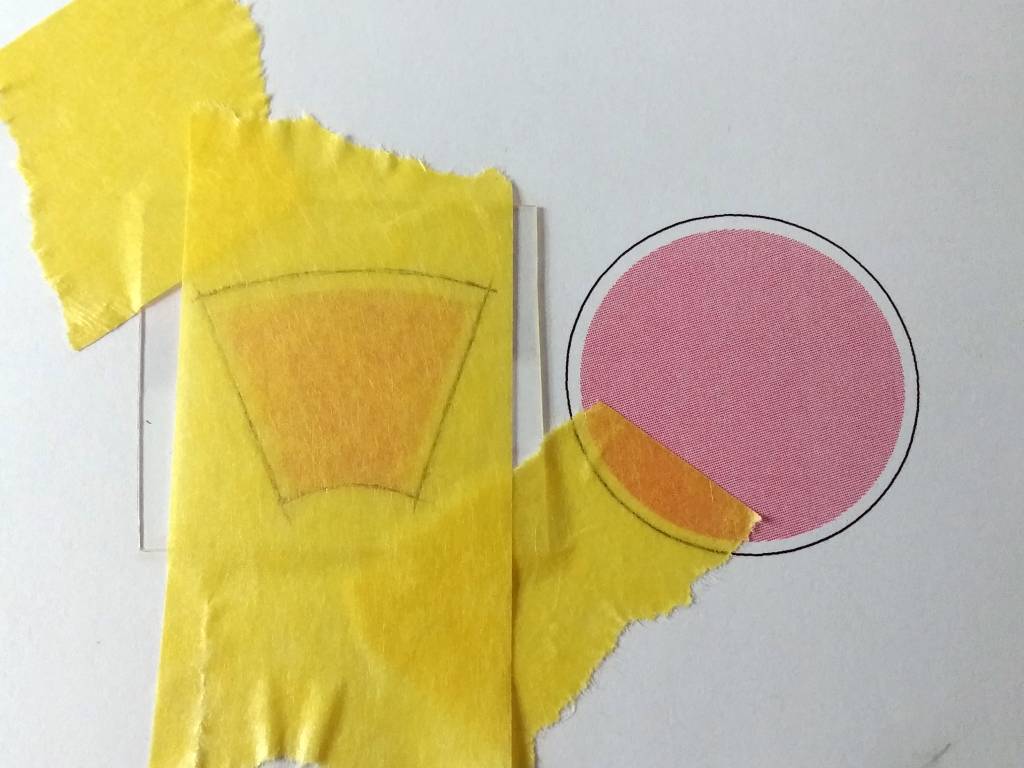
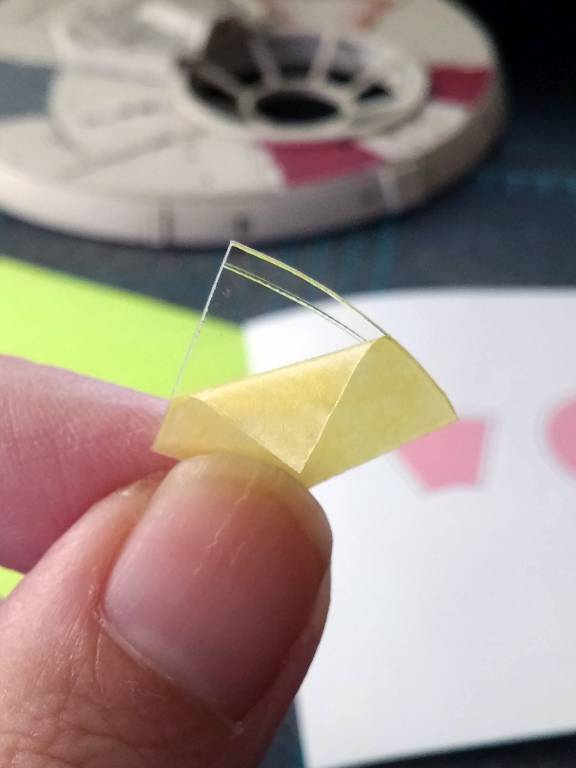
I taped a small piece of plastic over the template to hold it in place. The eight wedge-shaped window pieces have a flap that folds, so I scored that with a tiny embossing tool. Then, I put another piece of thin masking tape on top of the plastic so that I could draw and trim the shape. Peeling away the masking tape revealed the window shape, and I used a pair of tweezers to carefully bend the wide end along the scored line. I test fit each piece onto the backside of the window frame and trimmed where needed. There is very little gluing area, so centering each window was crucial. Too far to one side, and the next window piece would have less gluing area.
When the window piece was perfect, I glued the folded end down first for stability. The cement wicked right underneath the plastic, and I applied a little bit of pressure with the end of the embossing tool. The sides were glued the same way, but required more pressure to sit flush with the frame. In the end, I had a clearer, better-looking inset window.
More Customization Options
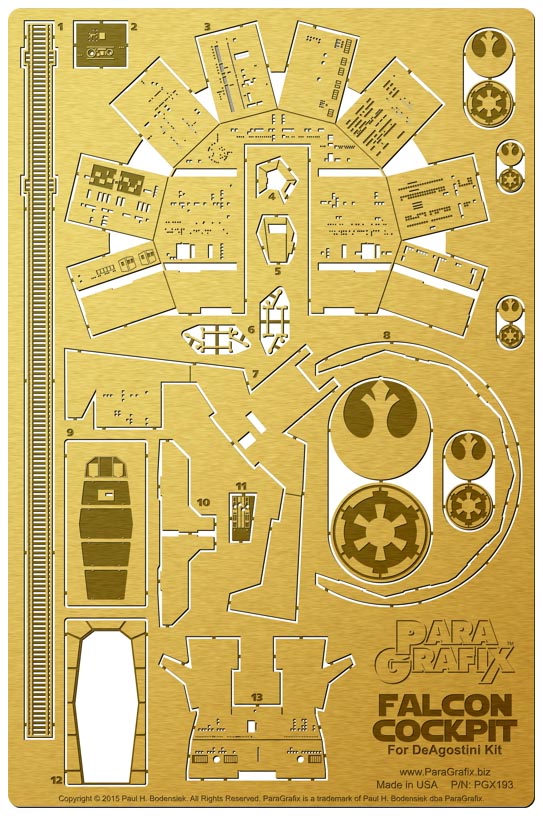
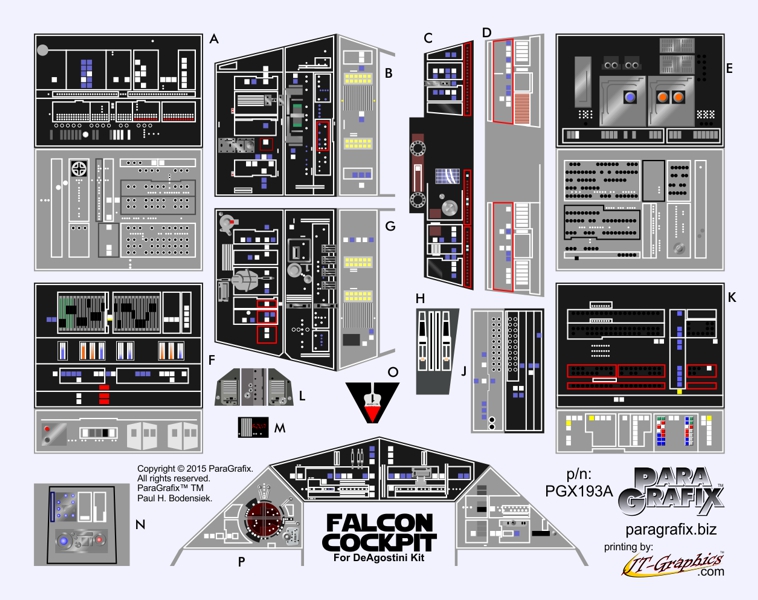
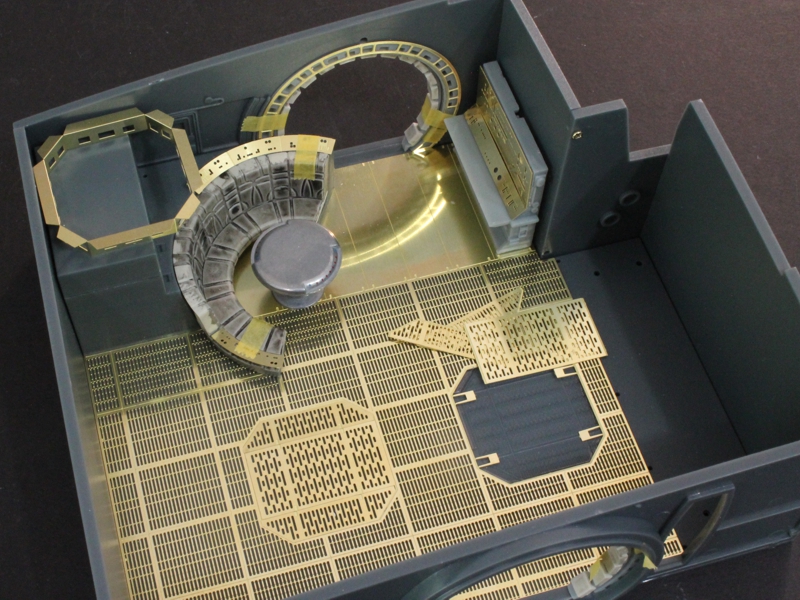
ParaGrafix creates and sells customization kits for many models, including the DeAgostini Millennium Falcon. Each kit comes with photo-etched metal parts, a sheet of waterslide decals, and instructions.
The kits are designed to correct, enhance, and/or replace existing parts. The end results offer greater detail, and better lighting options. There are a few Falcon kits with more on the way as the model progresses. Right now, they offer kits for the gun ports, the cockpit, the corridors, and the hold. They’re fun alternatives for those of you who want to invest the extra cash.
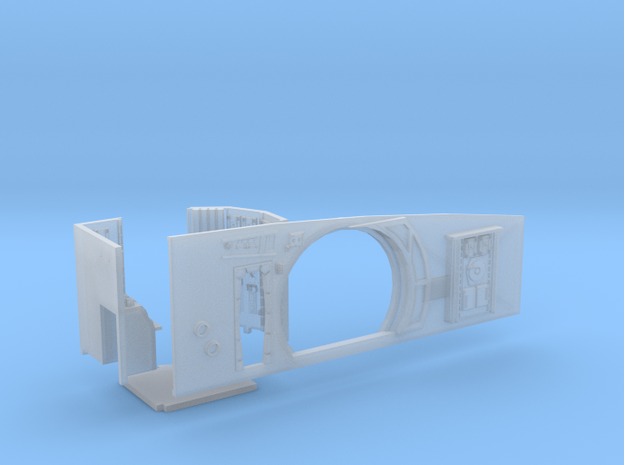
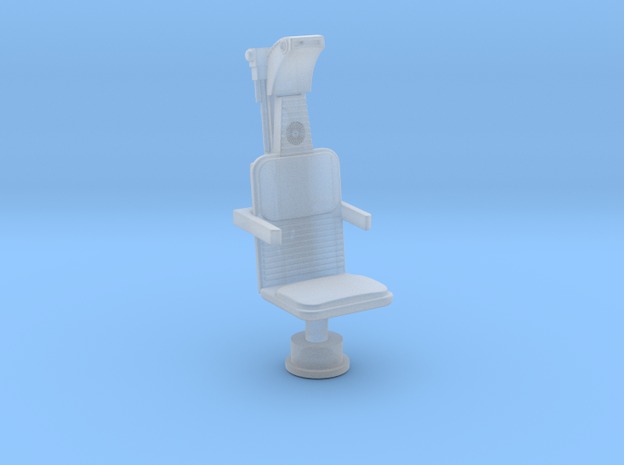
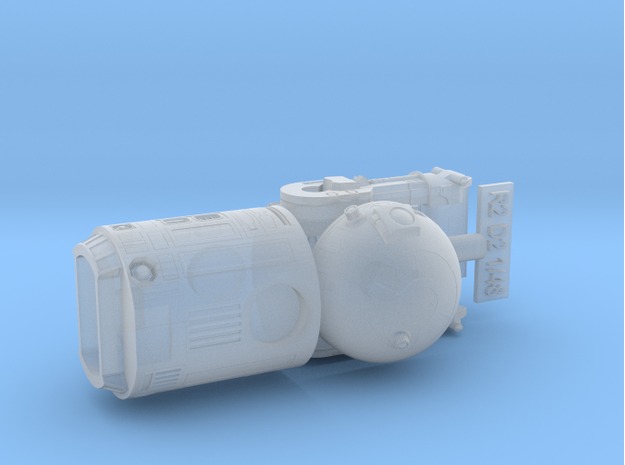
Shapeways is another alternative. They 3-D print parts designed and uploaded by other people. And, there are a lot of custom parts, right down to scale figures, lighting fixtures, and cargo crates. Some of these are absolutely brilliant, and I would like an R2-D2 to place in my model.
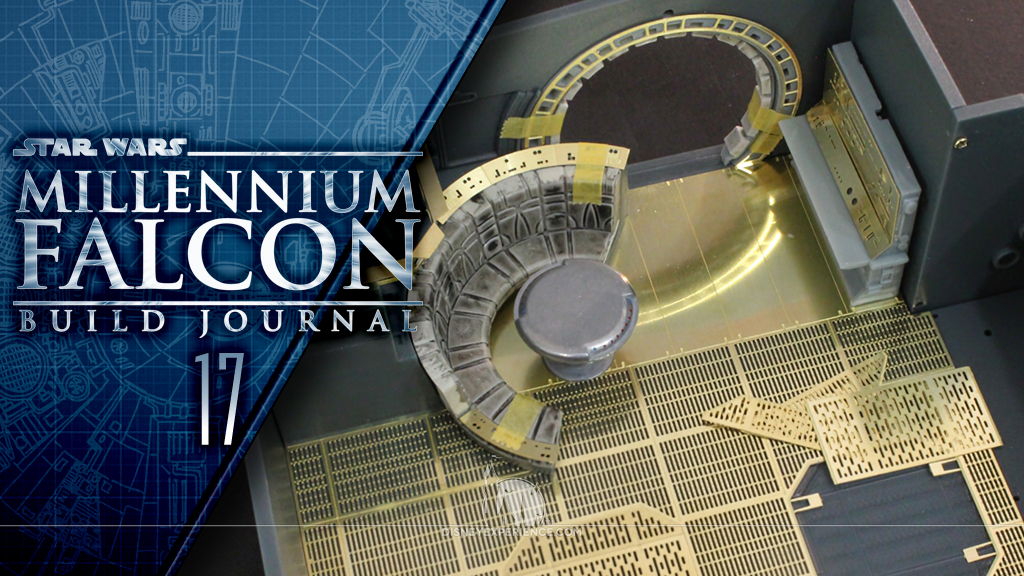
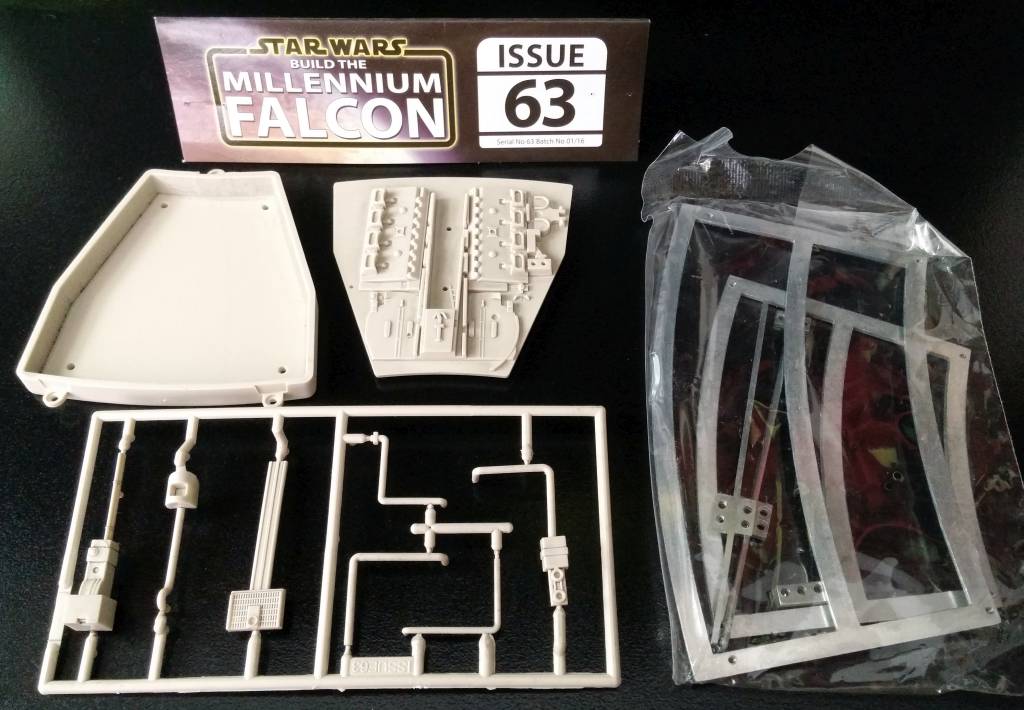
Assembly
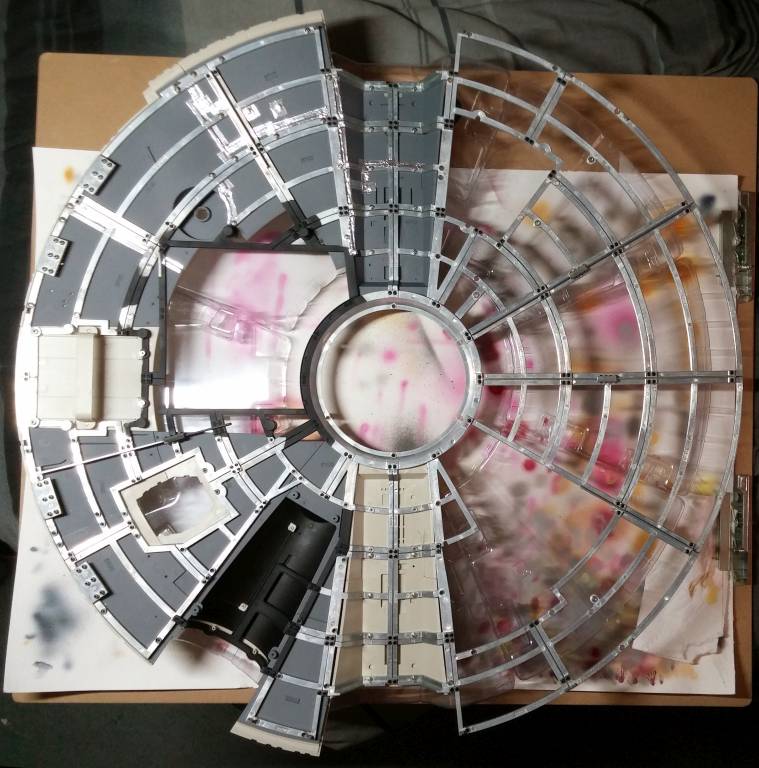
Again, assembly was straight-forward. There were a lot of frame pieces to assemble, nearly finishing the whole frame. But, there was enough to now rest the upper hull right-side up on a small turntable. That means the assembly jig can be stored away with the first one. It’s ironic that I get the last two pieces of the jig just in time to stow the whole thing away.
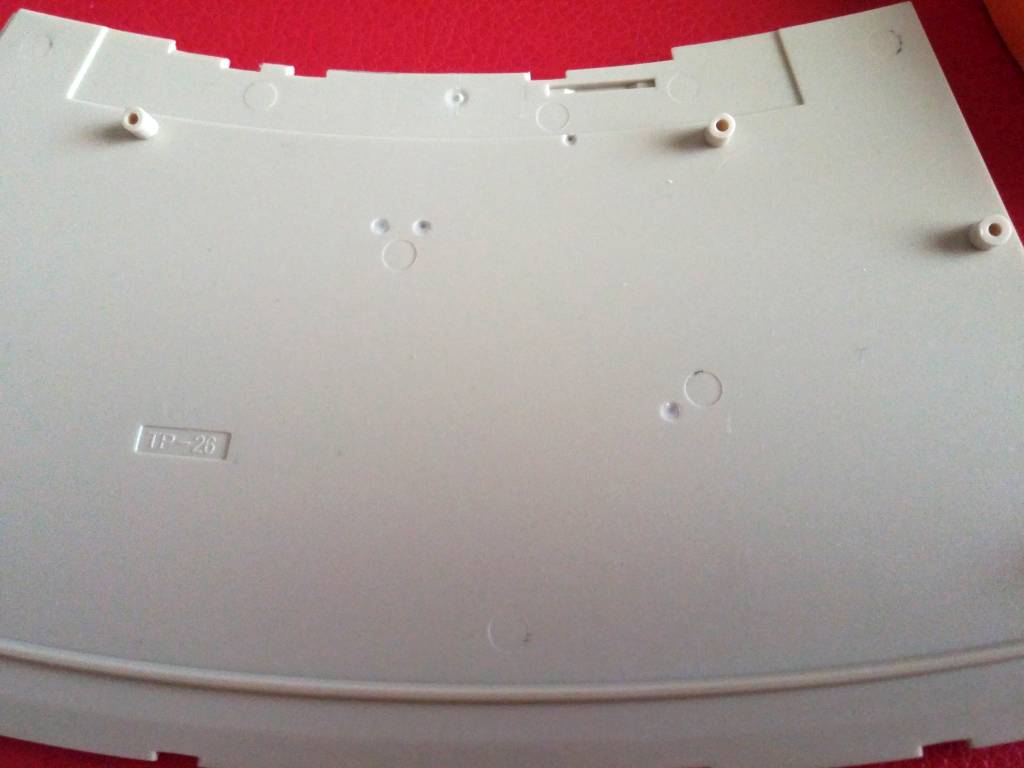
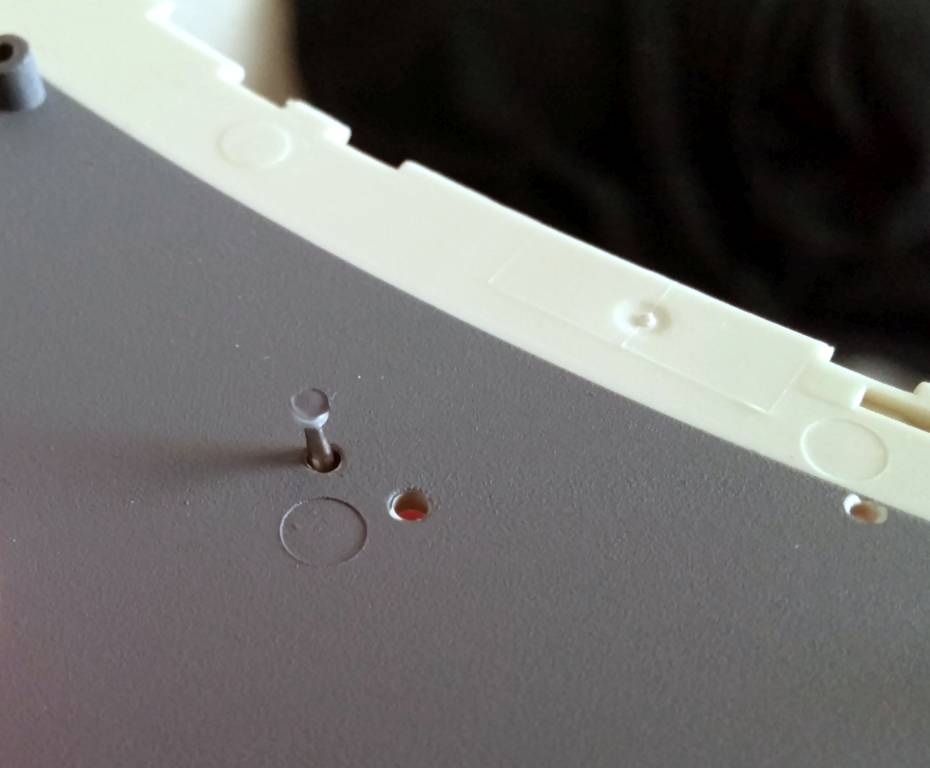
Before light blocking the hull panels, I used some Elmer’s Glue-All to mask a few tiny holes. After spraying, the glue plugs were popped out with a pointed object.
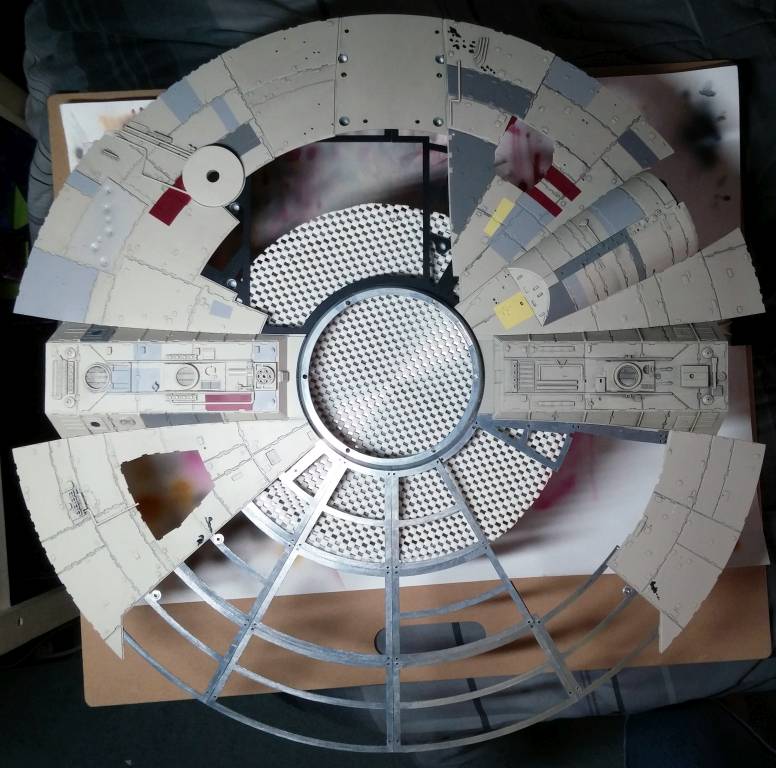
Two of the panels were screwed to the frame and light blocked with aluminum tape, completing the upper hull’s port side.
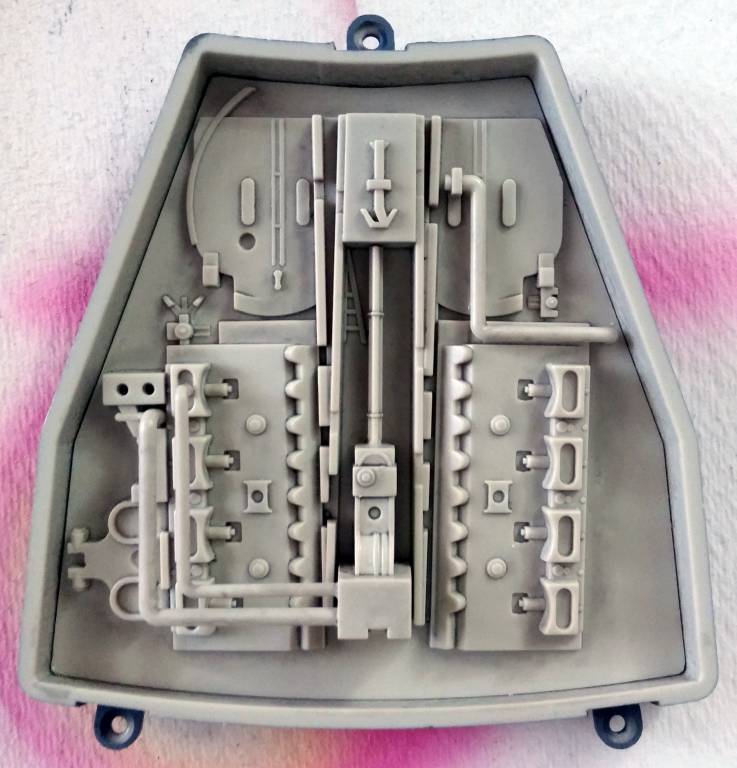
Lastly, the second machine recess was assembled. It was disappointing how simple it was to assemble.
Prev Journal Entry | Next Journal Entry
Both the post author and this website have not received any compensation for writing this post. Both the post author and this website have no material connection to the third-party brands, products, or services that have been mentioned. Some of the links in the post above are “affiliate links.” This means that if you purchase the item, we will receive a commission. As an Amazon associate, we earn from qualifying products. This is being disclosed in accordance with the Federal Trade Commission’s 16 CFR, Part 255: “Guides Concerning the Use of Endorsements and Testimonials in Advertising.”
Do you have a thought about this post? Why not leave a comment . . .