X-Wing Build Journal No. 01: Preparation
Trader Sam | April 8, 2019
Introduction
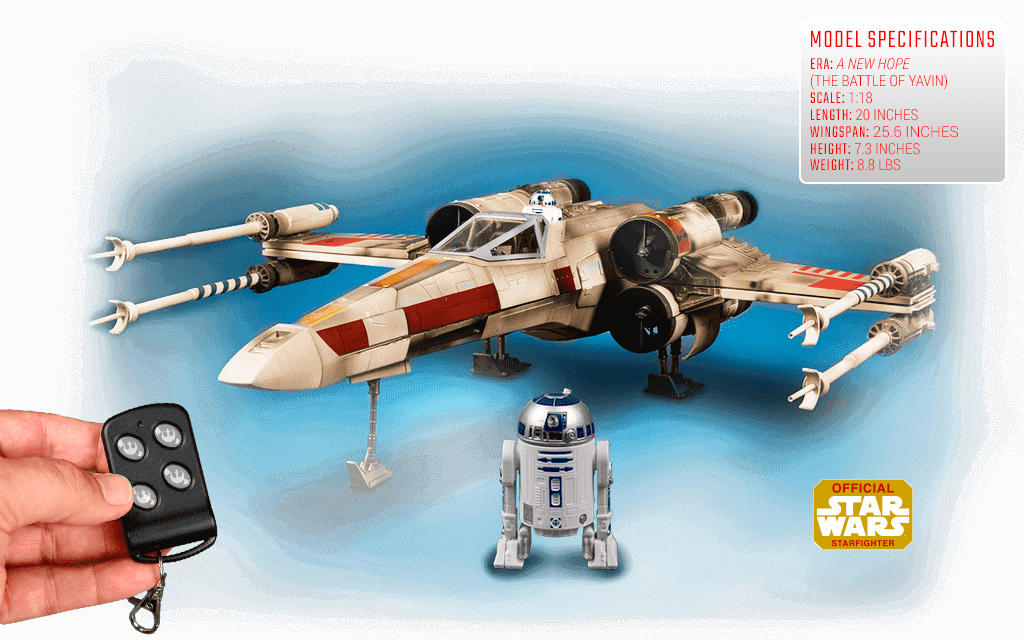
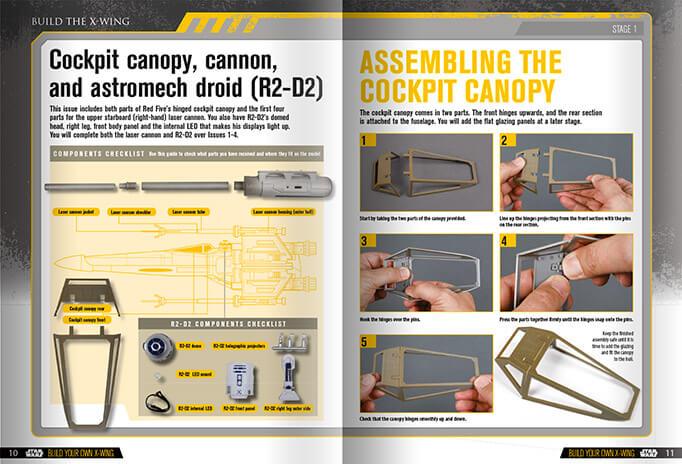
The DeAgostini X-Wing model is a 1:18 scale replica of Luke Skywalker’s X-Wing fighter from the Star Wars films. The entire kit is subscription-based, and each issue comes with model parts, tools, and a small magazine that doubles as instructions. The model kit lights up, the s-foils open/close, and R2-D2 is removable. Place him into the X-Wing, and he lights up and moves as well. A remote is also included.
The issues are published weekly in the UK. In the US, they are shipped once a month (for 25 months), and four issues at a time. The cost is $64.99 per month for the standard subscription, and $74.99 for the premium subscription. Both subscriptions come with a free binder (included with 3rd shipment), a stormtrooper powerbank (9th shipment), and a set of X-Wing bookends (11th shipment).
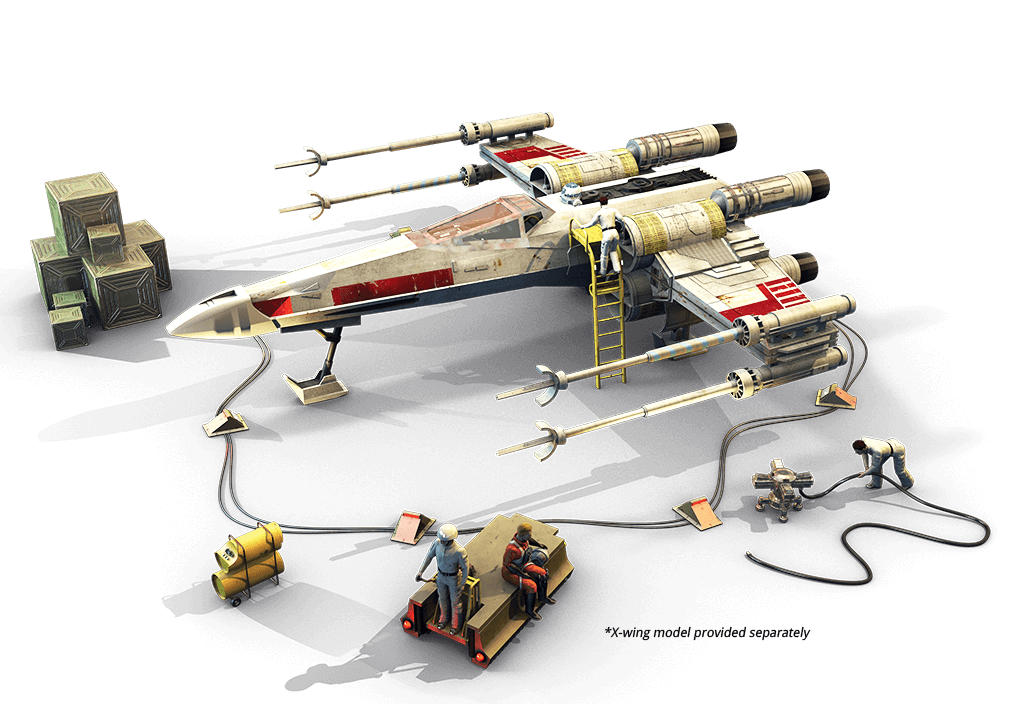
In response to a poll that was conducted earlier this year, I ordered the premium subscription which comes with extra accessories and figures—including a Luke Skywalker pilot—to create a hangar scene. I’m not sure if I’ll personally use these since I haven’t figured out how to display the model, but I’ll give them a shot. Landing legs are included for display, and a mounting bracket will be available for display in flight mode, but that is sold separately.

Unlike the Millennium Falcon, the X-Wing comes fully painted—not that the Millennium Falcon model kit wasn’t super fun to paint and detail. In fact, I hope there are some areas that can be enhanced with additional paint and battle damage. The proton torpedo bay and hyperdrive are both removable, revealing interiors which I’m sure will provide opportunities for grunge detailing. I can already tell that R2-D2 will need some modifications.
Supplies
In anticipation of my first package, I watched several YouTube videos of other people’s builds. There are several to choose from, and it’s interesting to see how everyone is approaching their models differently. There is also a very interesting video from Steve Dymszo about some of the decisions that DeAgostini made with the model.
Since I still have a lot of the supplies from my Millennium Falcon model, gathering what I needed wasn’t hard. Throughout the build, I will include links to products that I use so that anyone can follow along or simply try out the items/techniques that I use.
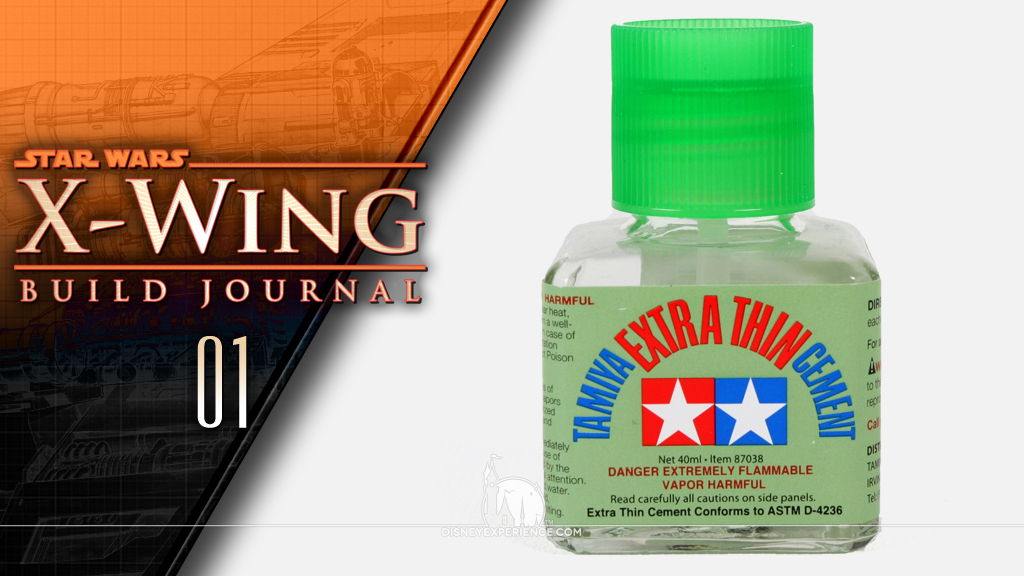
Right off of the bat, I can say that I hate regular model glue. ‘Loathe’ would be a better word. It’s thick, messy, and takes a long time to dry. Superglues are usually my glue of choice for plastic. They’re quick and not as messy, but they frost and damage clear parts, and I’m always leaving fingerprints. On the Millennium Falcon, I used Tamiya Extra Thin Cement, a very watery solvent that uses capillary action to seep into the space between parts. It melts the plastic parts, bonding them together as if they were one solid piece. I absolutely LOVE this stuff, and I have two bottles of it. For metal-to-metal or metal-to-plastic, I’ll use superglue.
The core of the X-Wing model will be a die-cast metal skeleton. Learning from the problems of the Millennium Falcon, I will need to use Loctite Thread Locker Blue to prevent the metal screws from working their way out.
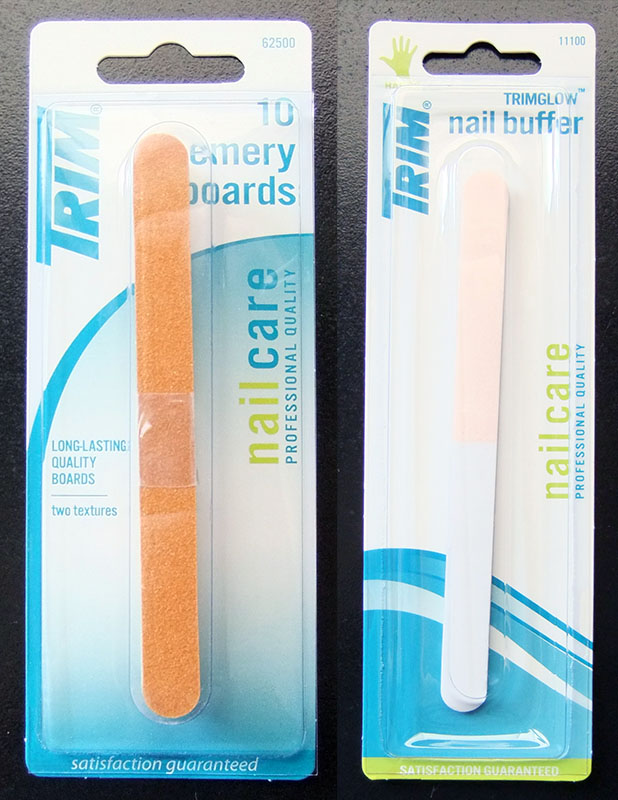
From prior experience, I know that I will need to clean up seam lines on the model parts. Since the model has both plastic and metal parts, I bought some files. For the plastic parts, I will use a combination of X-Acto knives and emery boards (sandpaper on a stick—used for fingernails) of varying grit. A nail buffing emery board has fine grit that can polish to a shine if I need it, although I am looking into switching to 5000 & 6000 grit sandpapers.
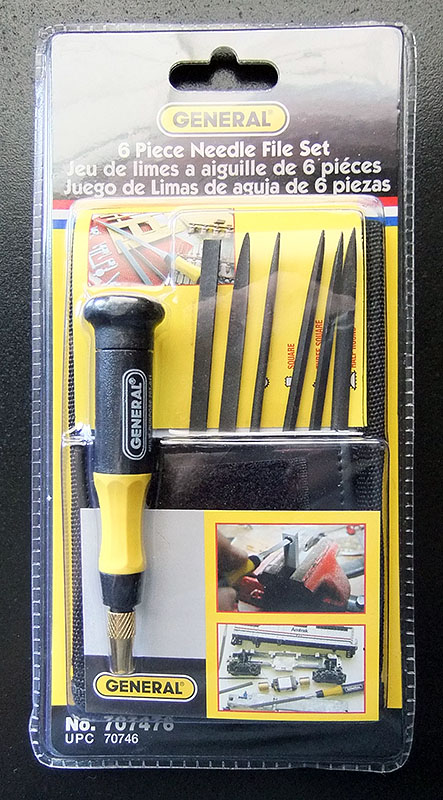

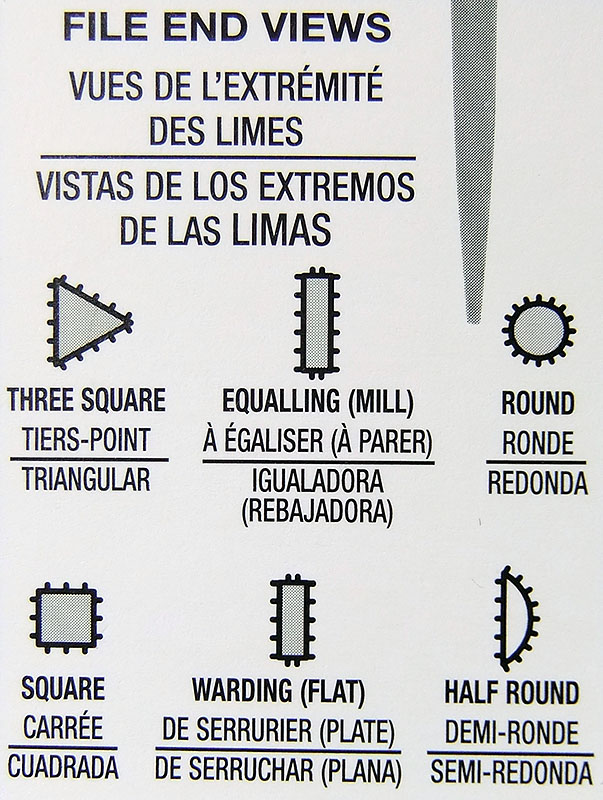
For the model’s metal parts, I have a set of needle files, although I’m not sure if I’ll need them. Better safe than sorry. The set that I have contains 6 files, has a canvas pouch, and it has a handle attachment for the files. The canvas pouch is nothing to write home about, but it will protect exposed hands from the long, sharp files. Inside, everything is neatly held in place with elastic bands.
The handle is decent, and should make holding the thin files easier. The files sit inside the tip, which locks the chosen file in place with a few twists.
And, of course, I have my Paasche Falcon airbush. It’s not horribly expensive, and it costs even less if you buy it without the accessories. I personally recommend buying the full kit; it’s more expensive in the long run buying the parts separately.
To be all-inclusive, here are some other supplies that I find useful:
- Pill Case (useful for storing screws)
- Toothbrushes (for washing & scrubbing parts)
- Liquid Hand Soap (no fragrances, no dyes)
- Gray Primer (for light blocking and priming surfaces for paint)
- Milliput (great for filling holes)
Both the post author and this website have not received any compensation for writing this post. Both the post author and this website have no material connection to the third-party brands, products, or services that have been mentioned. Some of the links in the post above are “affiliate links.” This means that if you purchase the item, we will receive a commission. As an Amazon associate, we earn from qualifying products. This is being disclosed in accordance with the Federal Trade Commission’s 16 CFR, Part 255: “Guides Concerning the Use of Endorsements and Testimonials in Advertising.”
Do you have a thought about this post? Why not leave a comment . . .