“Hex Marks the Spot” or “Dead Man’s Raft”
Trader Sam | April 13, 2020
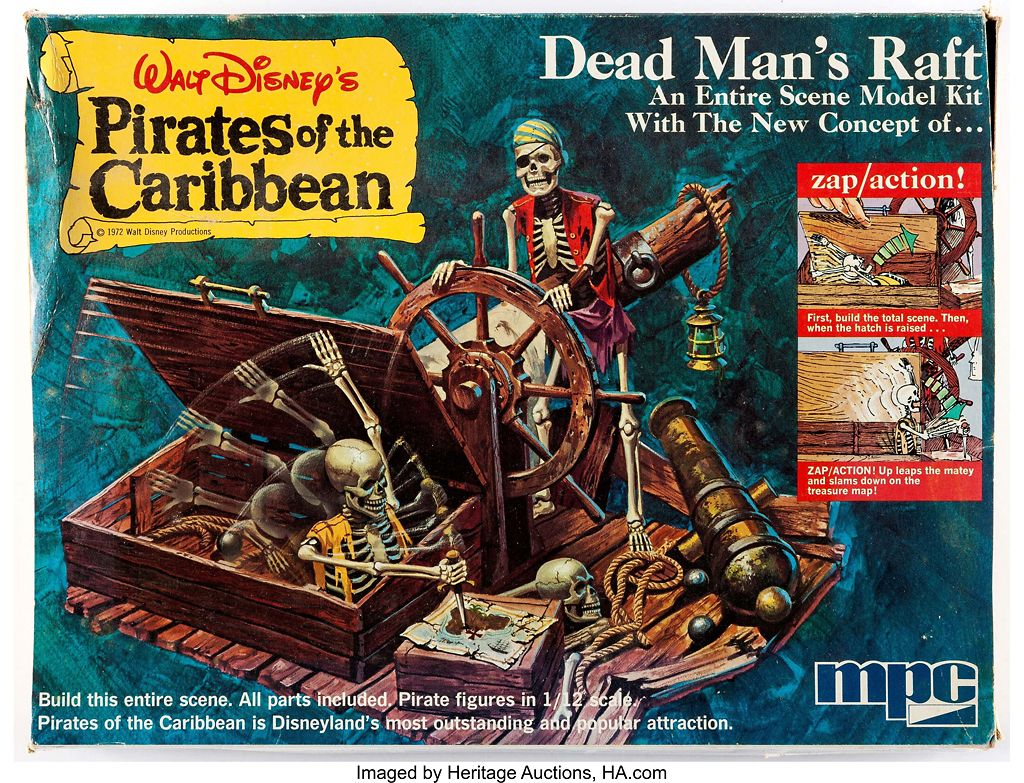
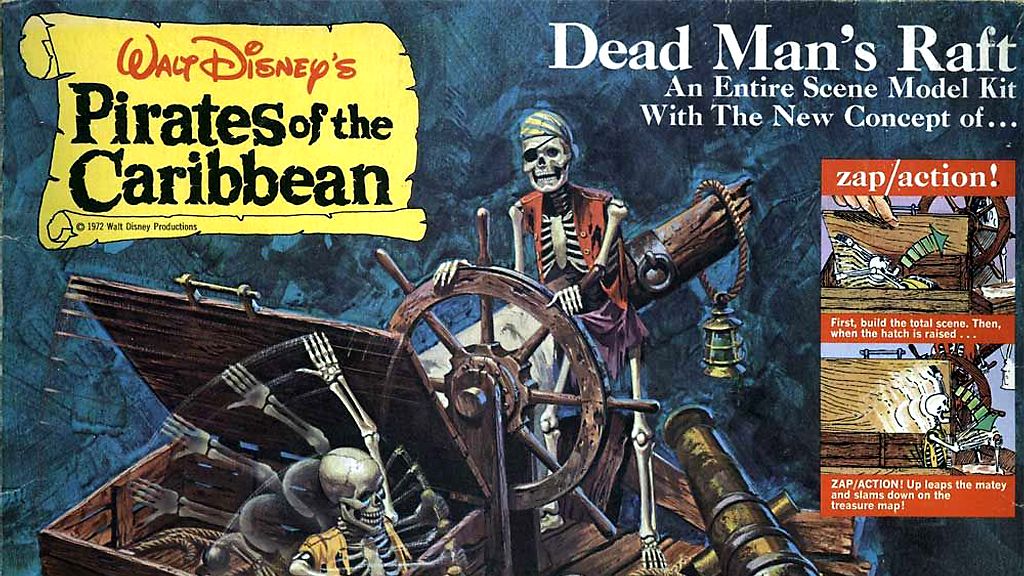
In a previous post, some exciting news was shared that the 1970s MPC Pirates of the Caribbean model kits were being reissued under a new brand and with new names, sans any Disney branding. At the time, there were only three kits available. Now, all but one have been released, and I tried my hand at “Hex Marks the Spot,” formerly “Dead Man’s Raft.”
Other kits include: “Dismay Be the End,” “In the Pinch of Peril,” “Shining Spoils of the Scallywag,” “Freebooter’s Last Leg,” and “Escape the Tentacles of Fate.” The reissued classic “Ghost of the treasure Guard” model kit has not been released at the time of this writing.
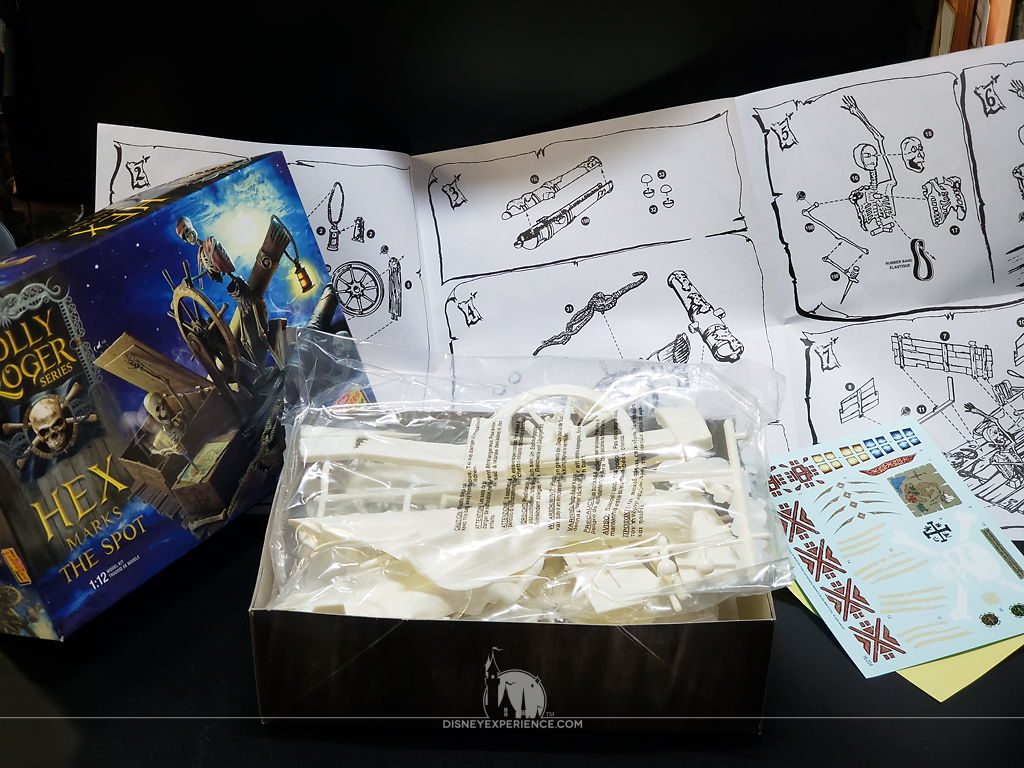
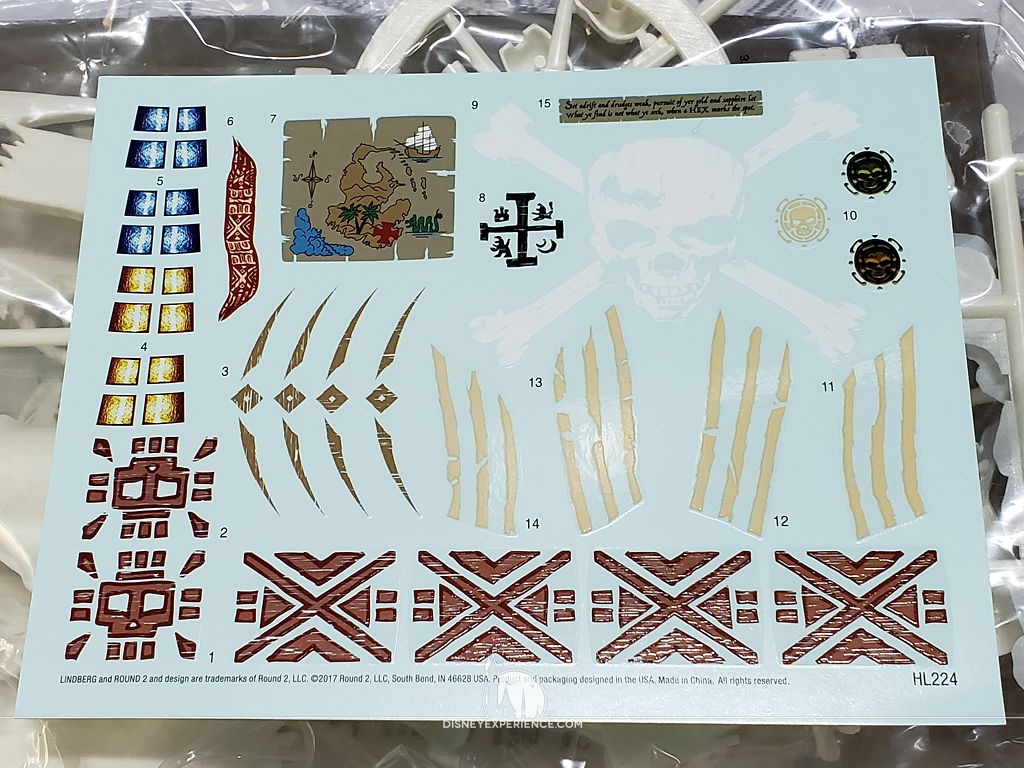
The contents of the new models are pretty much the same as the originals. However, I did a little sleuthing, and I don’t think that the original models had waterslide decals. Since I wanted to paint this up to look like the original model, I only used the map decal—I wasn’t in the mood to paint the tiny details of the map.
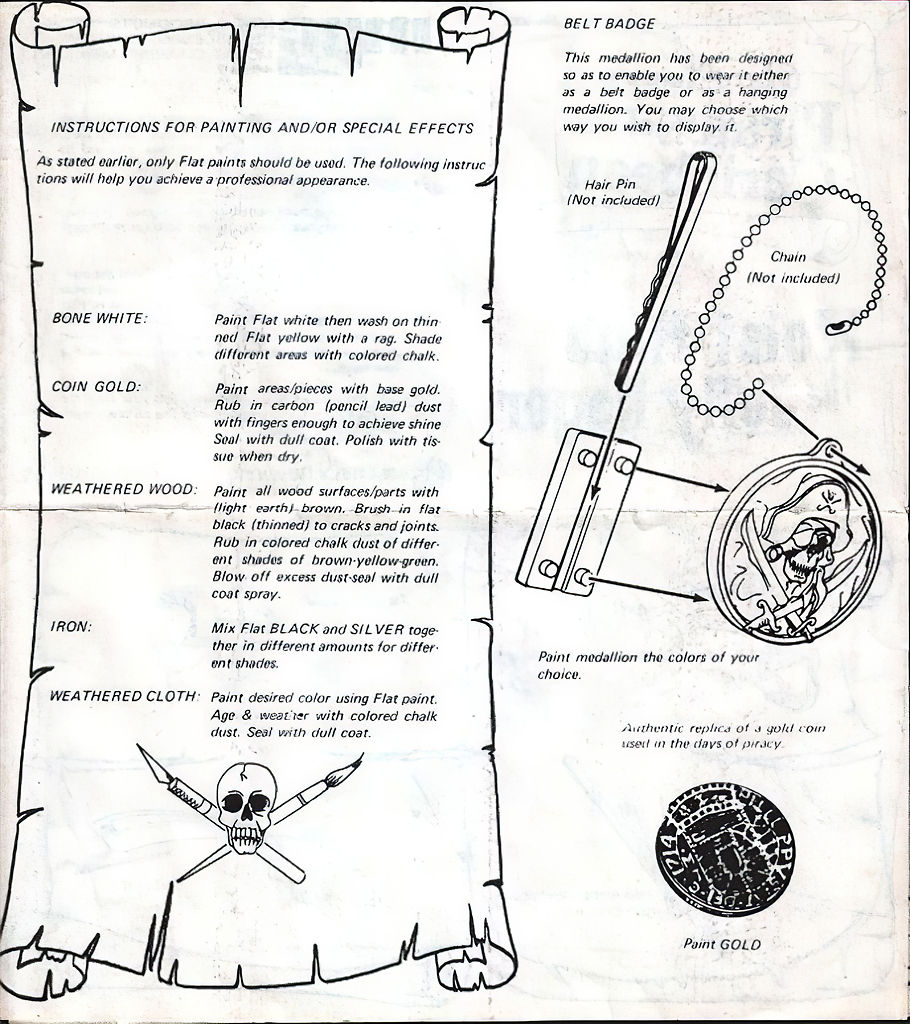

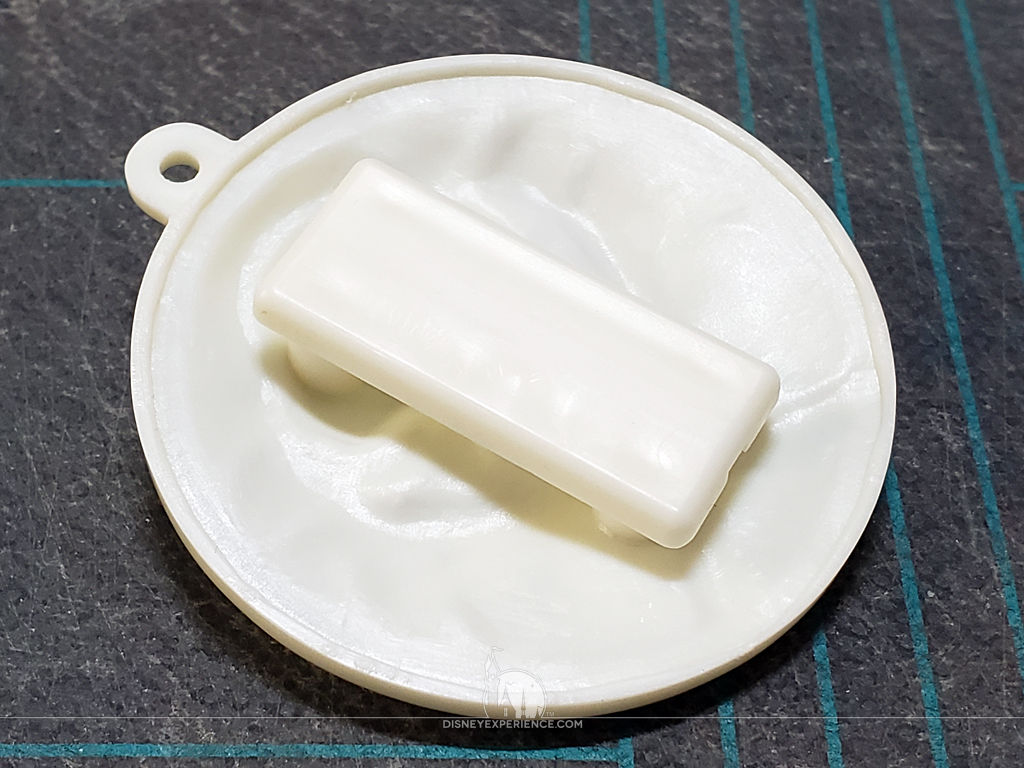
I also discovered that the instructions do not mention anything about the bonus medallion or replica coin. I was curious about this because the medallion has a flat piece that gets attached to the back, and I didn’t know what it was for. After finding a set of original instructions, the panel—combined with a hair pin (not included)—is for wearing the badge on a belt or pocket.
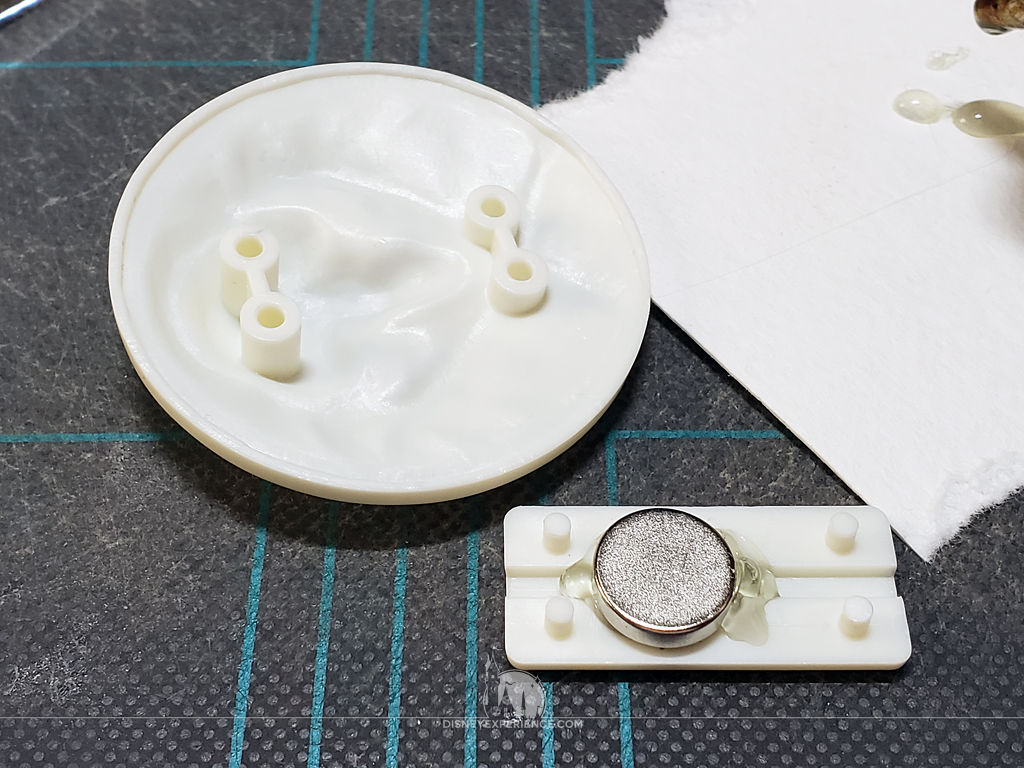
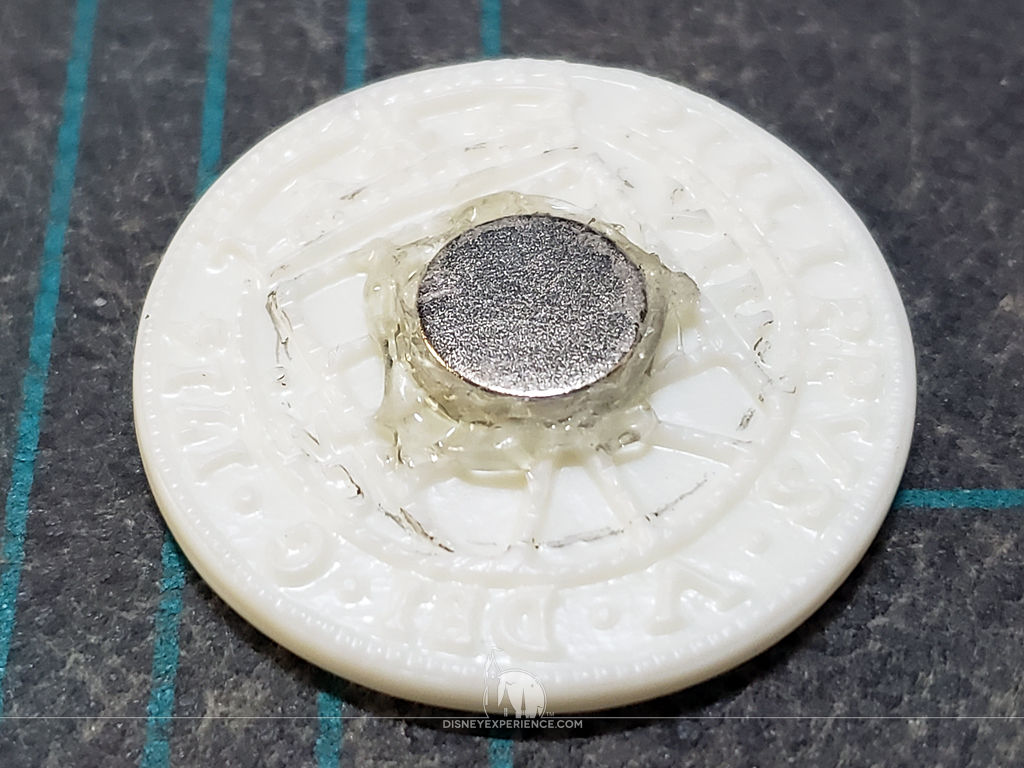
While the medallion and coin are neat bonuses, I wanted to make them more useful. So, I added neodymium magnets to the backs of each so that I could add them to my refrigerator.
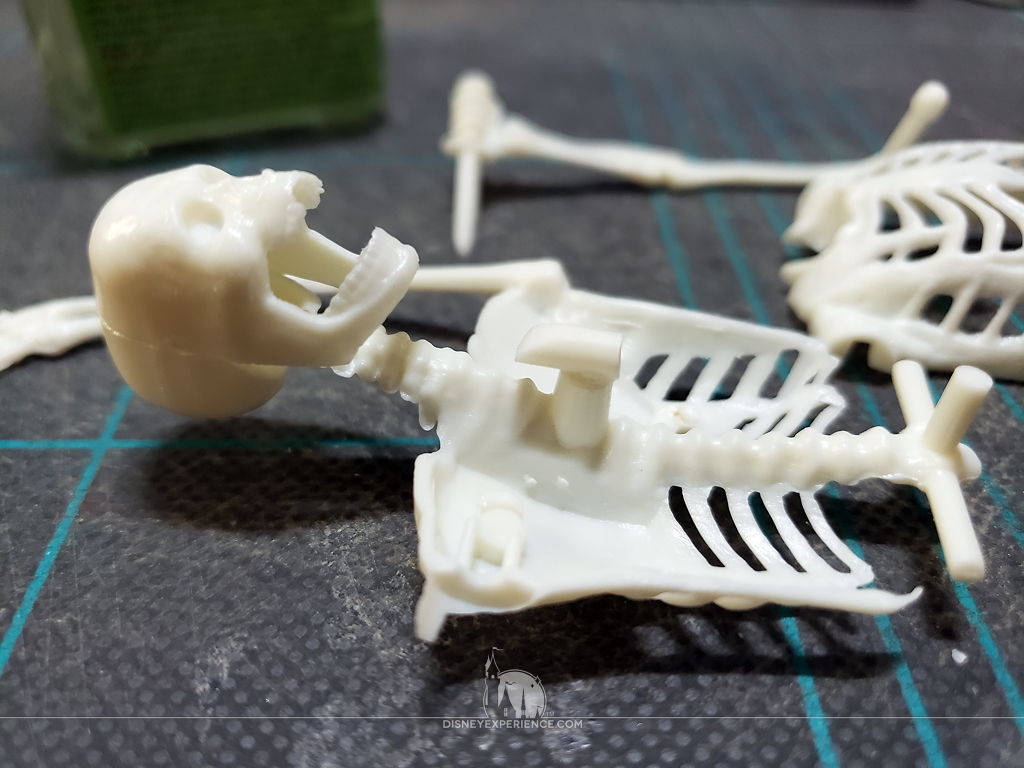
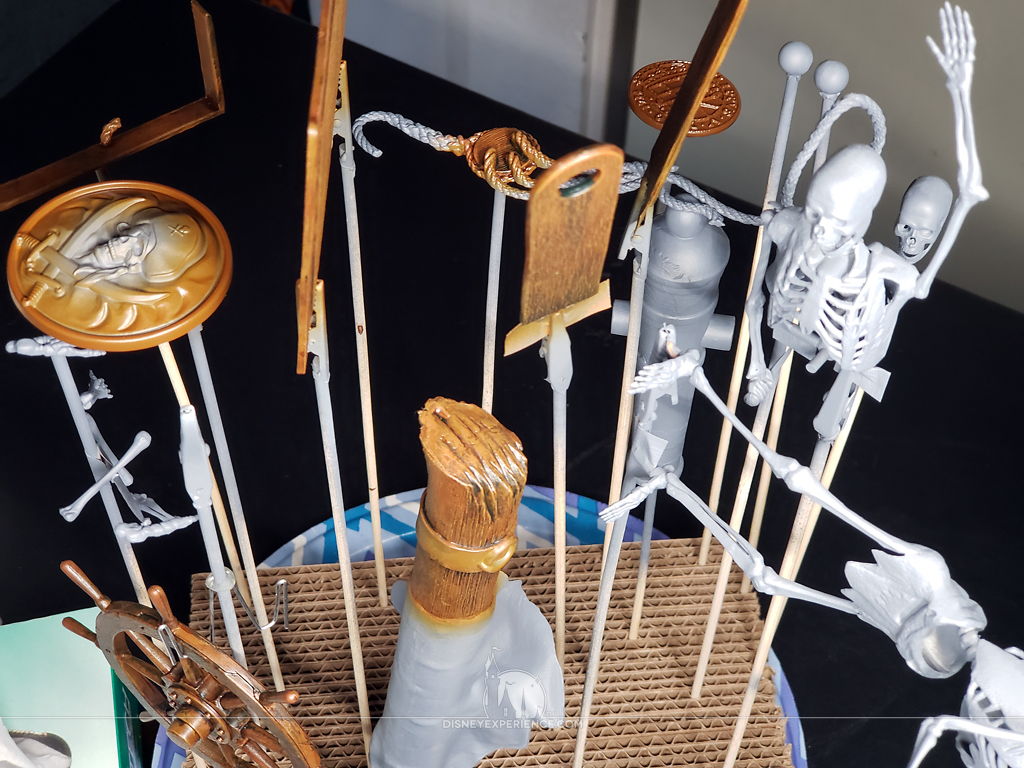
Before painting the parts, I modified the pop-up skeleton. The skeleton’s action is powered by a small rubber band that fits around a post in the skeleton’s chest. Unfortunately, once the skeleton is completed, there is no way of changing the rubber band once it loses its elasticity. So, I turned the post into a hook by attaching a spare piece of sprue.
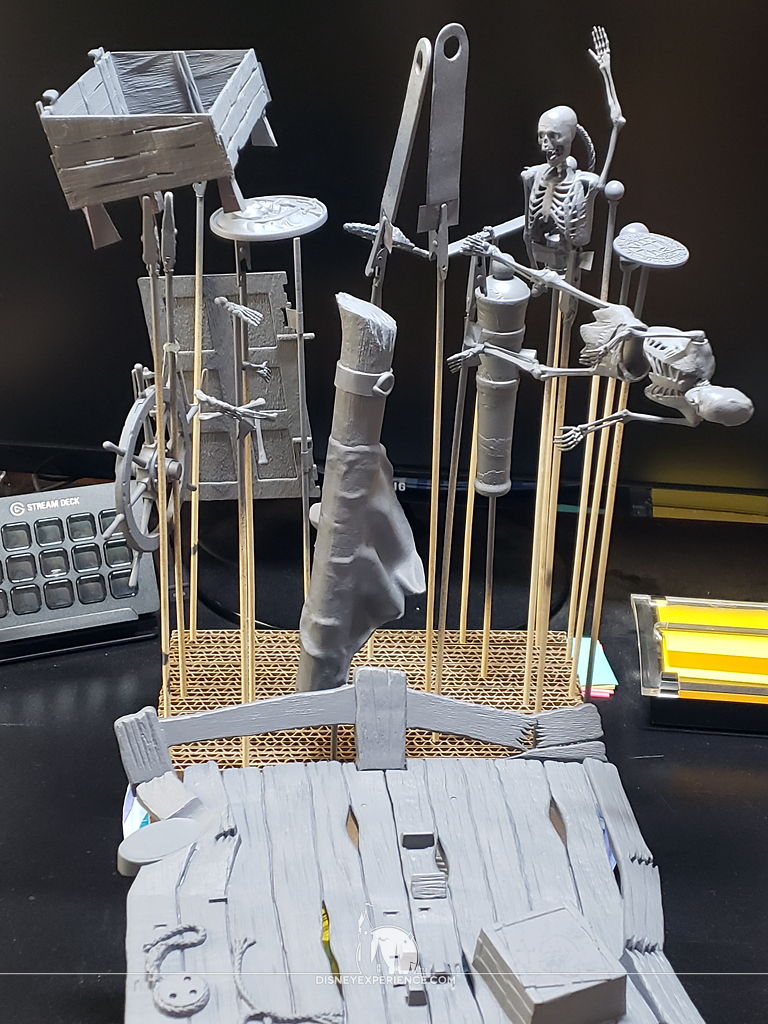
After filling in the seams with J-B Weld PlasticWeld and sanding them smooth, I sprayed everything with Rust-Oleum flat gray primer.
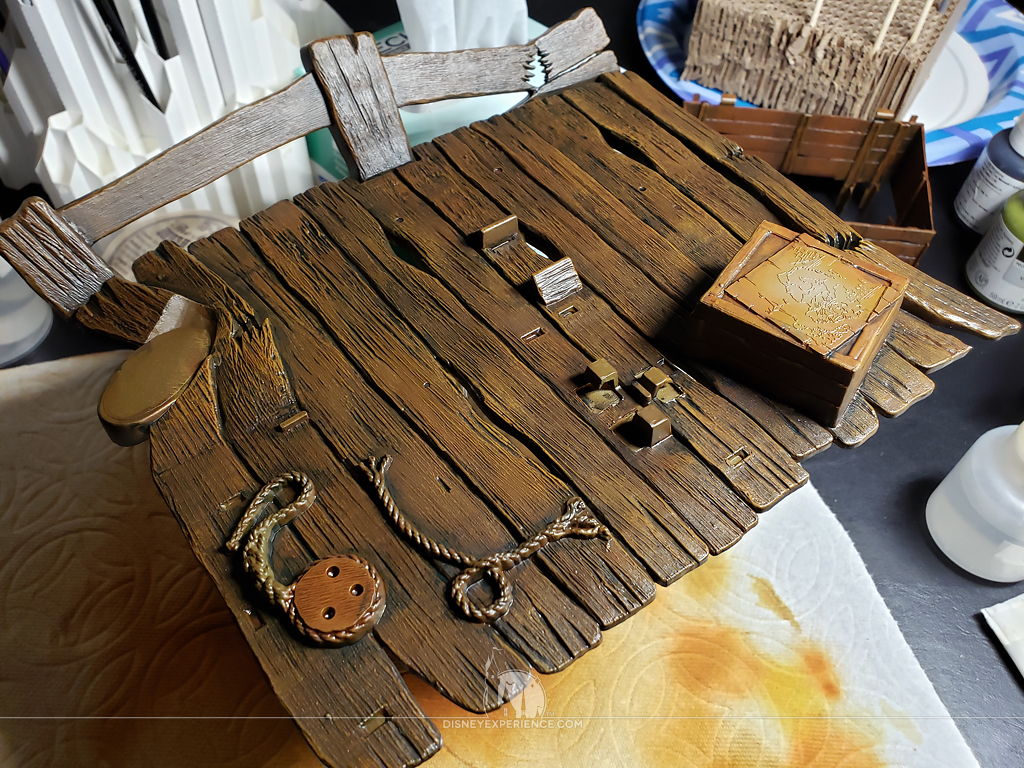
For me, whenever I think of old model kits, I think of them as being simplistic and not very detailed. But, then I come across one like this. The wood textures alone are wonderful and fun to detail. Yes, some of the textures and shapes are simplified, but there’s far more put into this than I imagined.

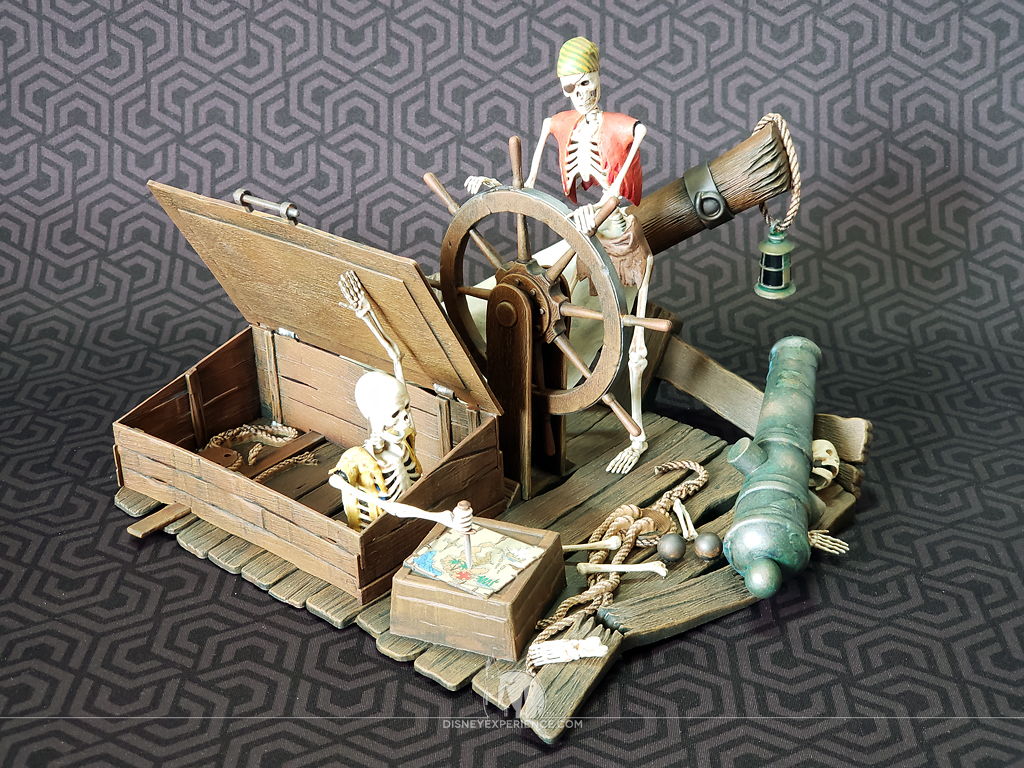
I used the original 1970s box art as color inspiration. And, I’m glad that I didn’t use the decals—the treasure map looks a touch out of place. I’m thinking that I should have painted the map by hand.
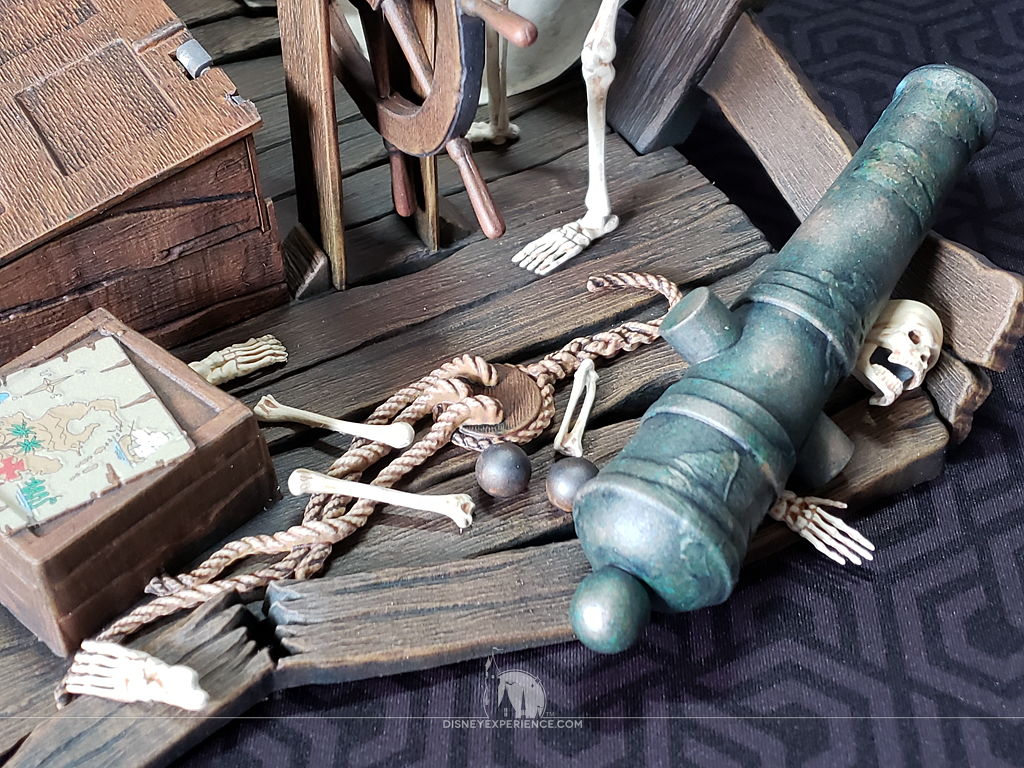
For the scattered skeleton bones, I made it look like someone was crushed under the heavy cannon. His rotted body was mostly washed/carried away over the decades.
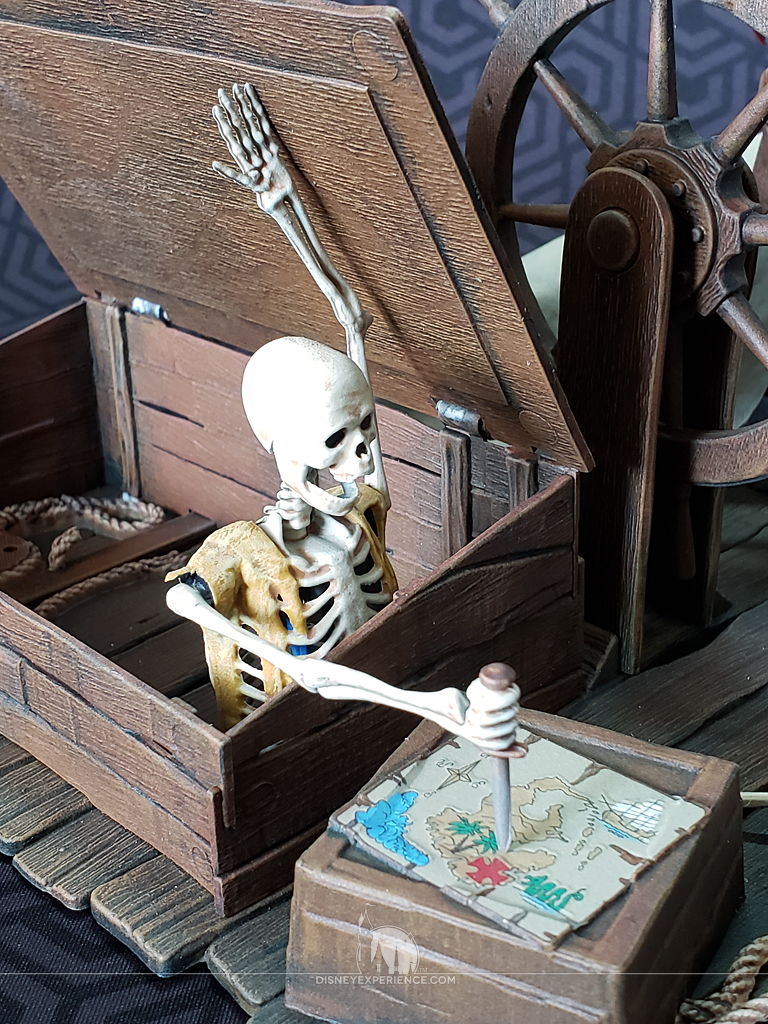
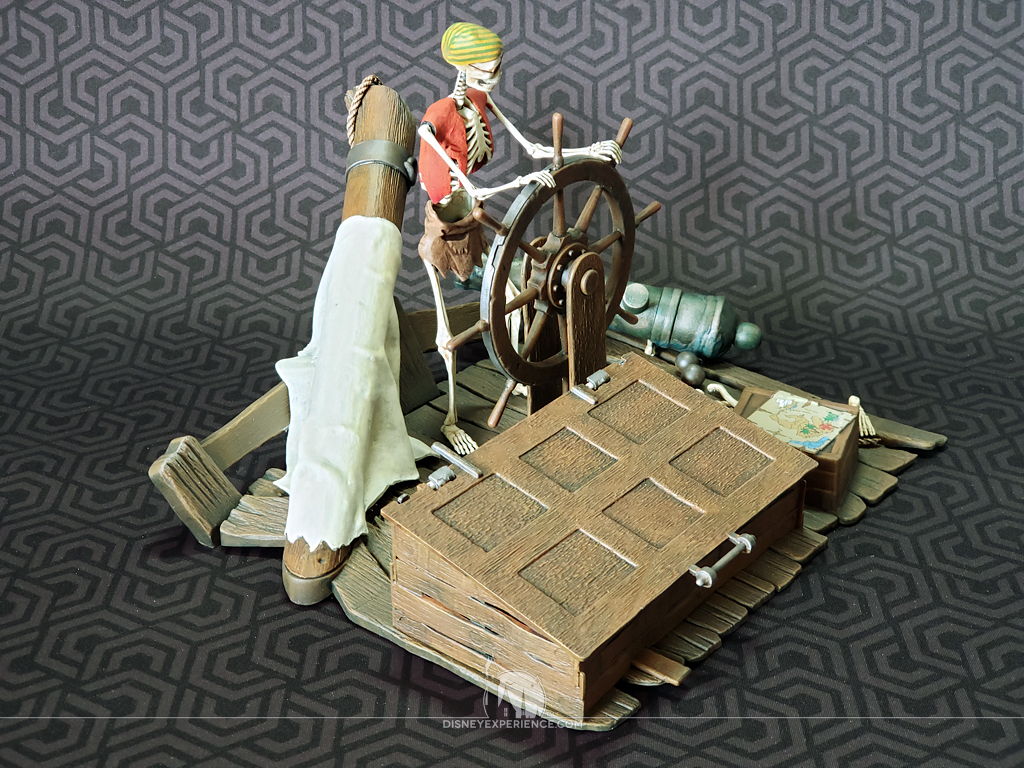
The pop-up skeleton mostly works. But, that’s due to the layers of varnish that still need to fully set. Right now, the varnish is soft and doesn’t allow for smooth movement. But, it has improved just over the past couple of days. It’s a fun little gimmick.
While on display, I prefer to leave the pop-up skeleton in the “up” position. Laying him down puts tension on the rubber band, which can wear it out faster.
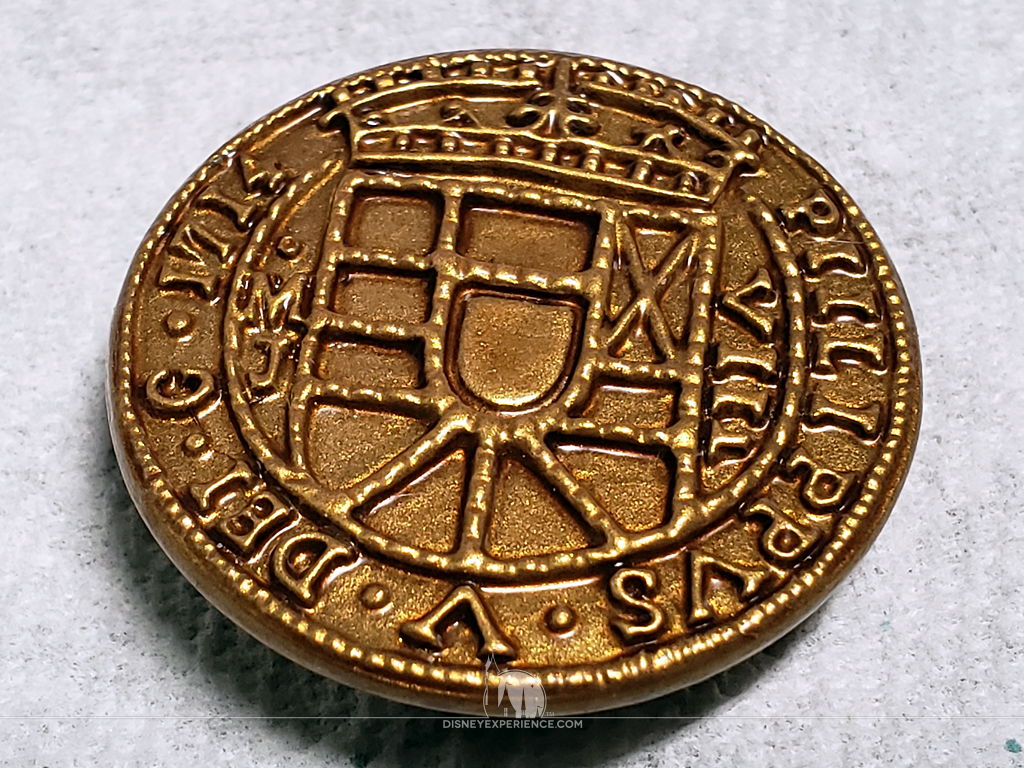
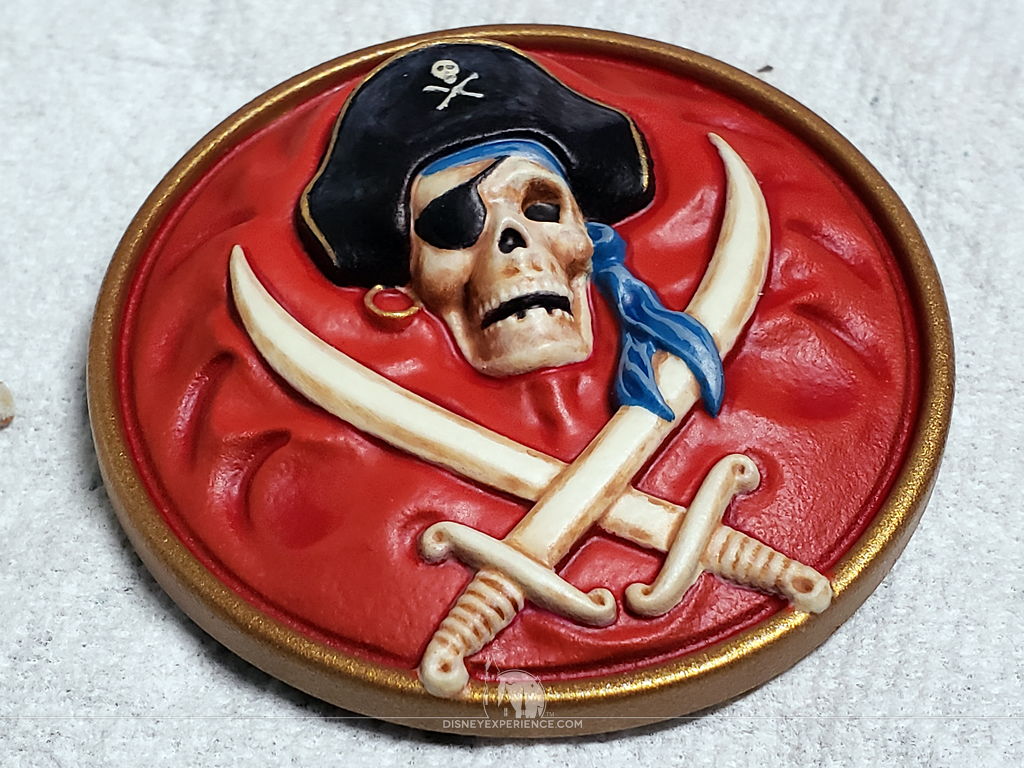
I painted the coin in gold (obviously), but I painted the medallion roughly the same colors as the talking skull in the original Pirates of the Caribbean attraction.
This model kit was a welcomed distraction during the early weeks of the Coronavirus pandemic. Taking my time, it took me nearly two weeks to complete. The wood textures were so fun to paint, and I explored with painting tarnished metal which I don’t often get to do (and still have to improve upon). The detail of the crushed body adds some story to the scene, and I got two fridge magnets out of the kit! All-in-all, this model was a neat project that came with a few “extras.” I also got to learn a little bit about the history of the model as I searched for reference pictures and original instructions.
Now, I’ll have to try my hand at the Polar Lights Haunted Manor series, a reissue of classic Haunted Mansion model kits.
Both the post author and this website have not received any compensation for writing this post. Both the post author and this website have no material connection to the third-party brands, products, or services that have been mentioned unless otherwise explicitly stated. Some of the links in the post above are “affiliate links.” This means that if you purchase the item, we will receive a commission. As an Amazon associate, we earn from qualifying products. This is being disclosed in accordance with the Federal Trade Commission’s 16 CFR, Part 255: “Guides Concerning the Use of Endorsements and Testimonials in Advertising.”
Do you have a thought about this post? Why not leave a comment . . .