Craft Tip: Turn Your Cross Stitch Into an Iron-On Patch
The Disney Experience | April 16, 2020
If you have small cross stitch patterns, and you don’t know what to do with them, why not turn them into iron-on patches?
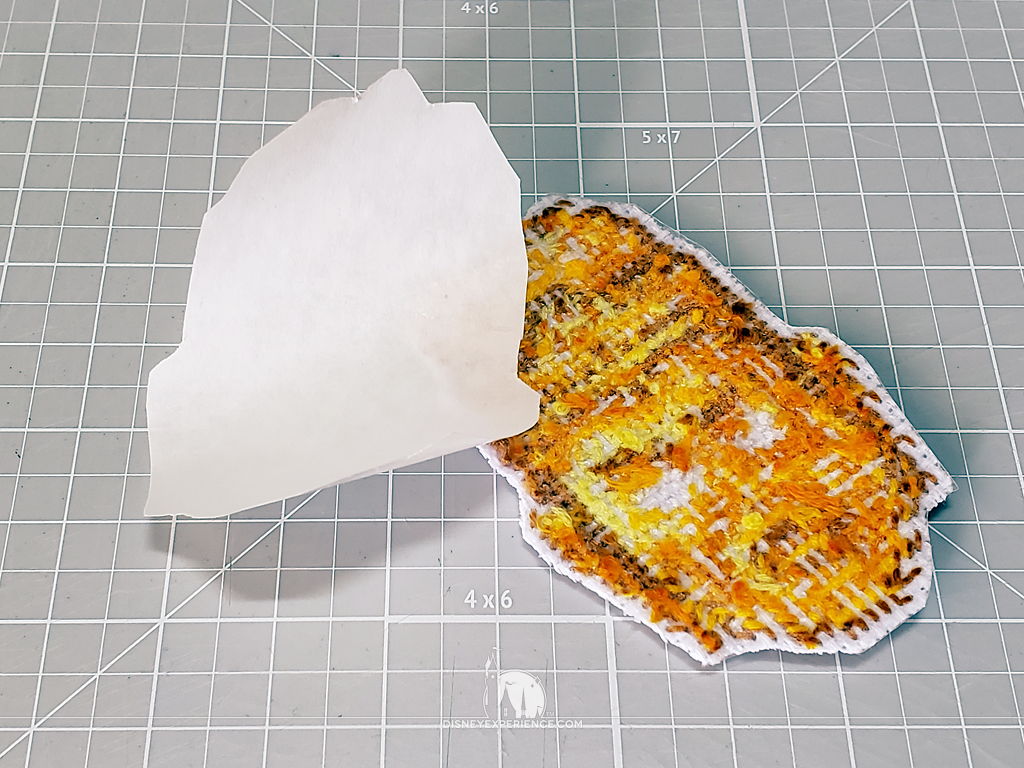
Cut out a piece of HeatnBond UltraHold large enough for your cross stitch. Iron the rough side of the HeatnBond onto the back of the cross stitch—it only takes a couple of seconds.
When the piece has cooled, carefully trim around the cross stitch pattern, leaving a 1/16″-1/8″ border. Remove the paper backing.
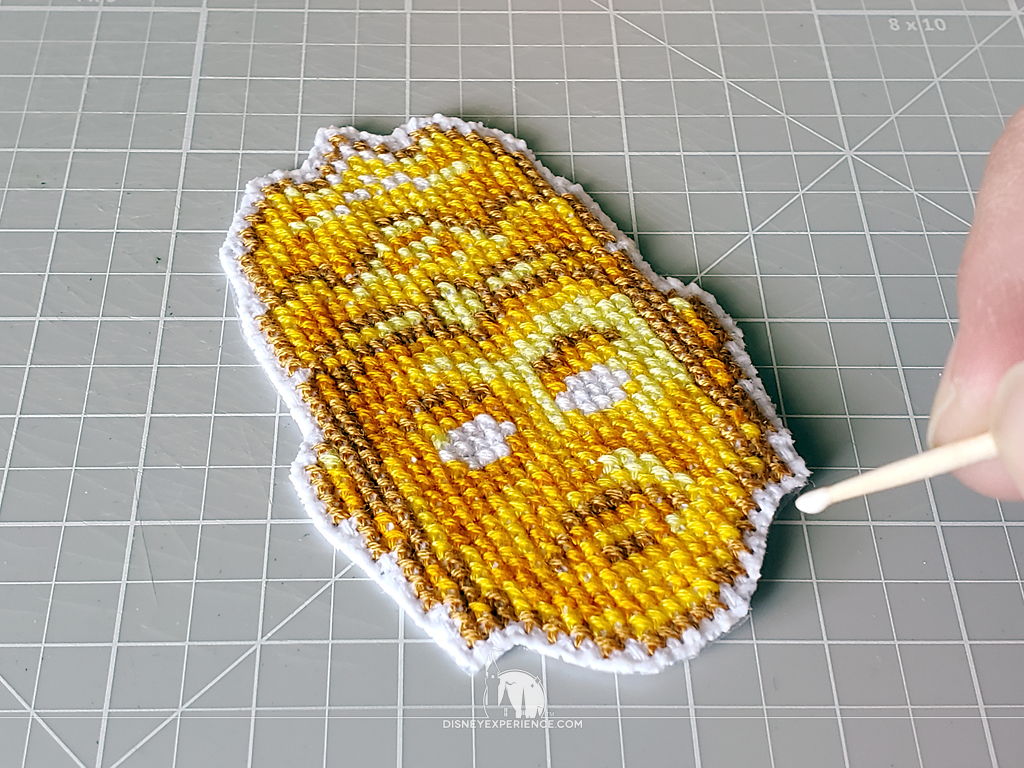
Apply no-fray fabric glue to the edges of the fabric. This will keep the cloth fibers from poking up.
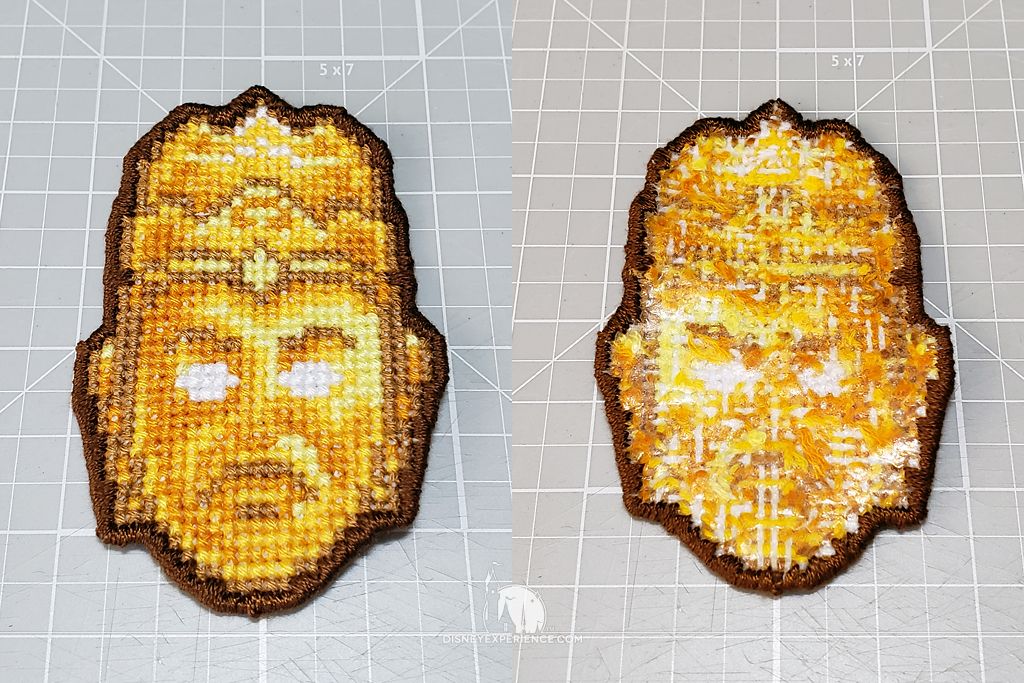

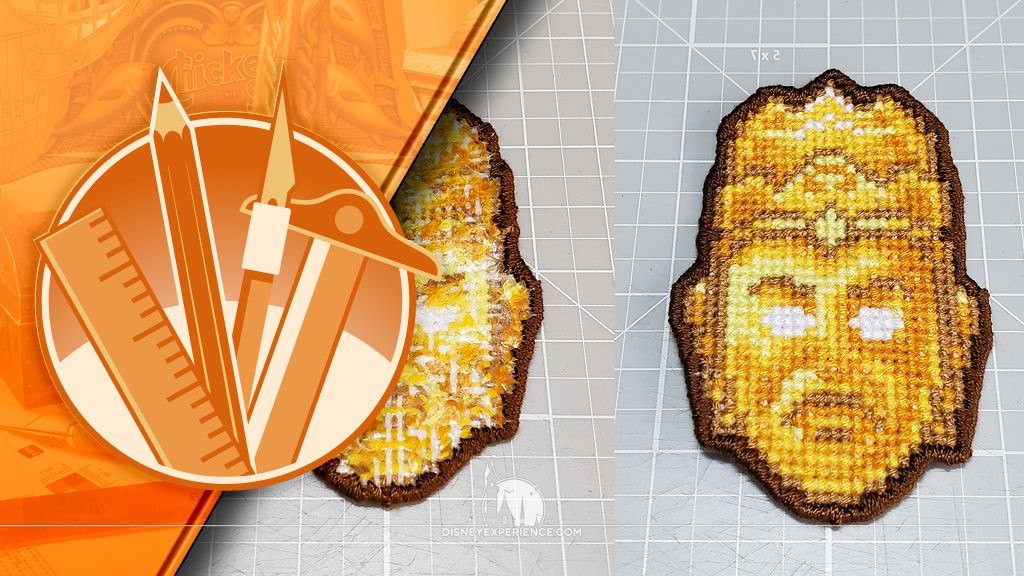
Sew a border around the cross stitch pattern, wrapping it around the edges. When you’re done, you’ll have a hand-made iron-on patch that you can put onto clothing, bags, backpacks, et al.
Both the post author and this website have not received any compensation for writing this post. Both the post author and this website have no material connection to the third-party brands, products, or services that have been mentioned unless otherwise explicitly stated. Some of the links in the post above are “affiliate links.” This means that if you purchase the item, we will receive a commission. As an Amazon associate, we earn from qualifying products. This is being disclosed in accordance with the Federal Trade Commission’s 16 CFR, Part 255: “Guides Concerning the Use of Endorsements and Testimonials in Advertising.”
Do you have a thought about this post? Why not leave a comment . . .