X-Wing Build Journal No. 17: Issues 57-60

Trader Sam | July 20, 2020
What’s Inside
I am SO close to finishing the wings and moving on to the rest of the ship.
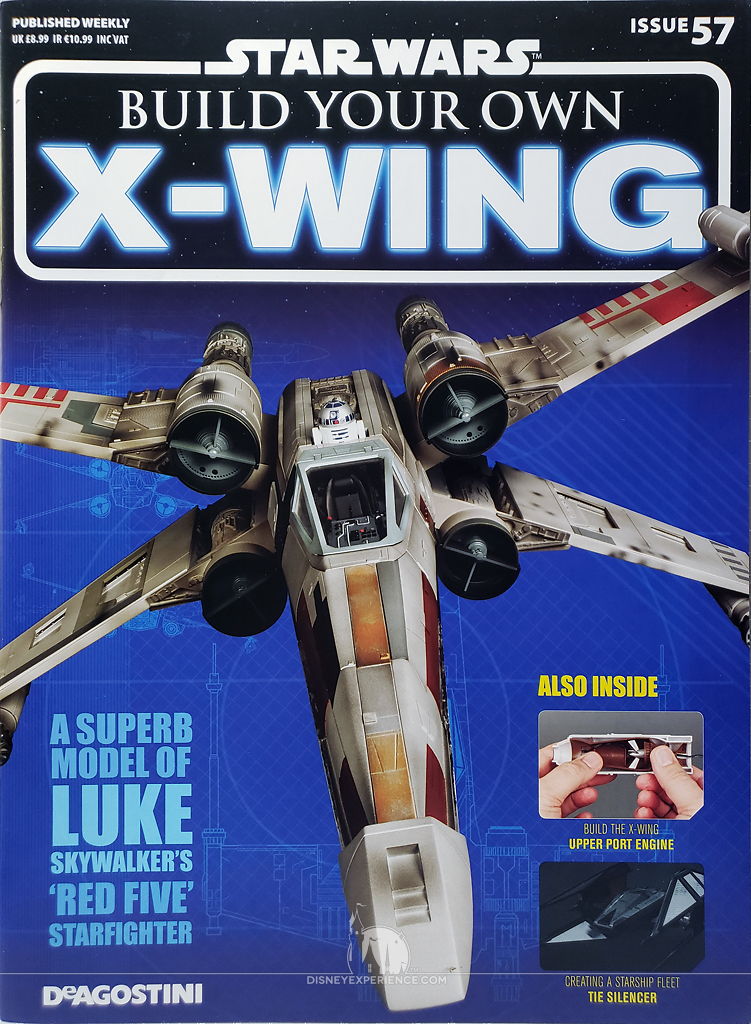
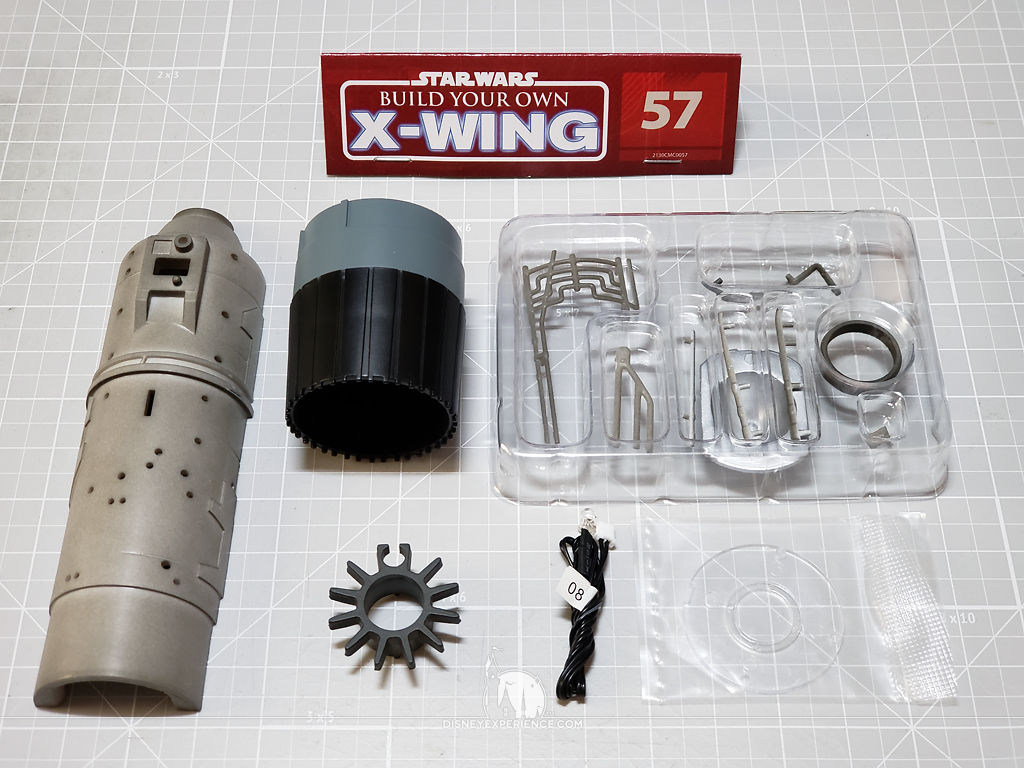

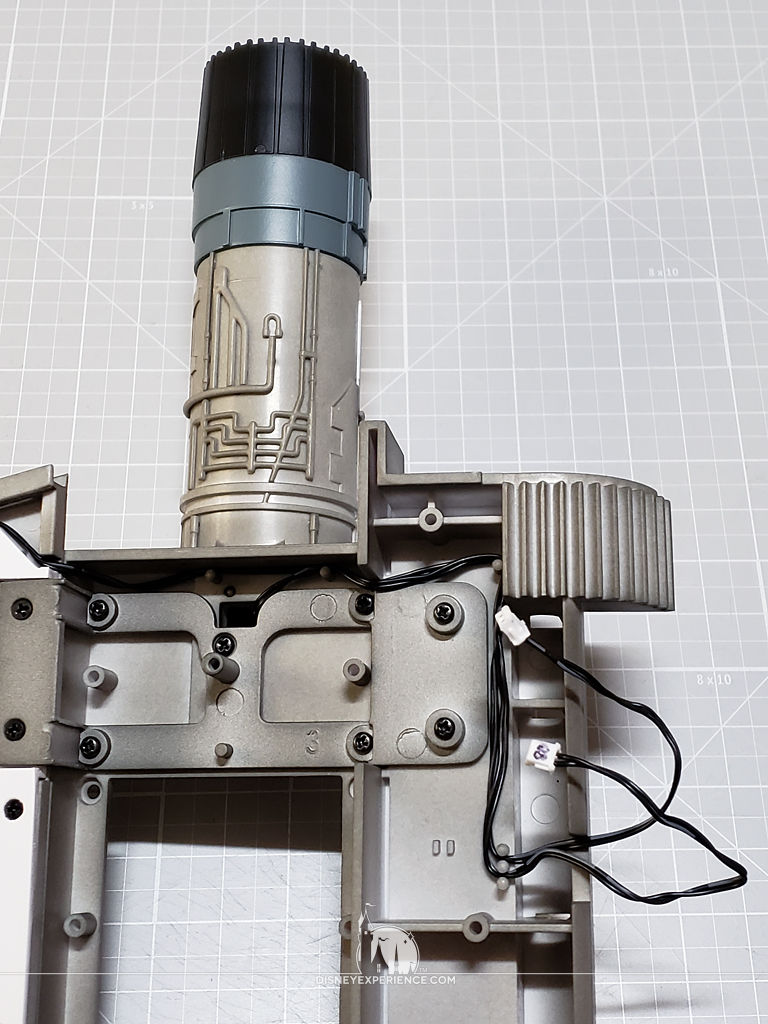
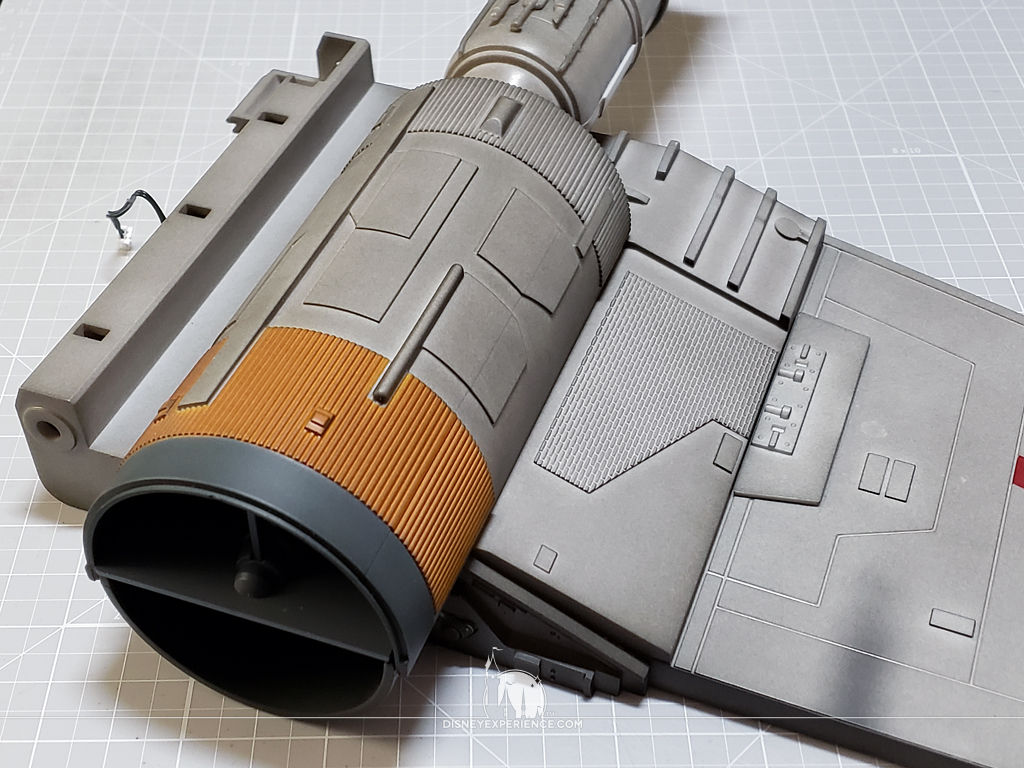
The Thruster
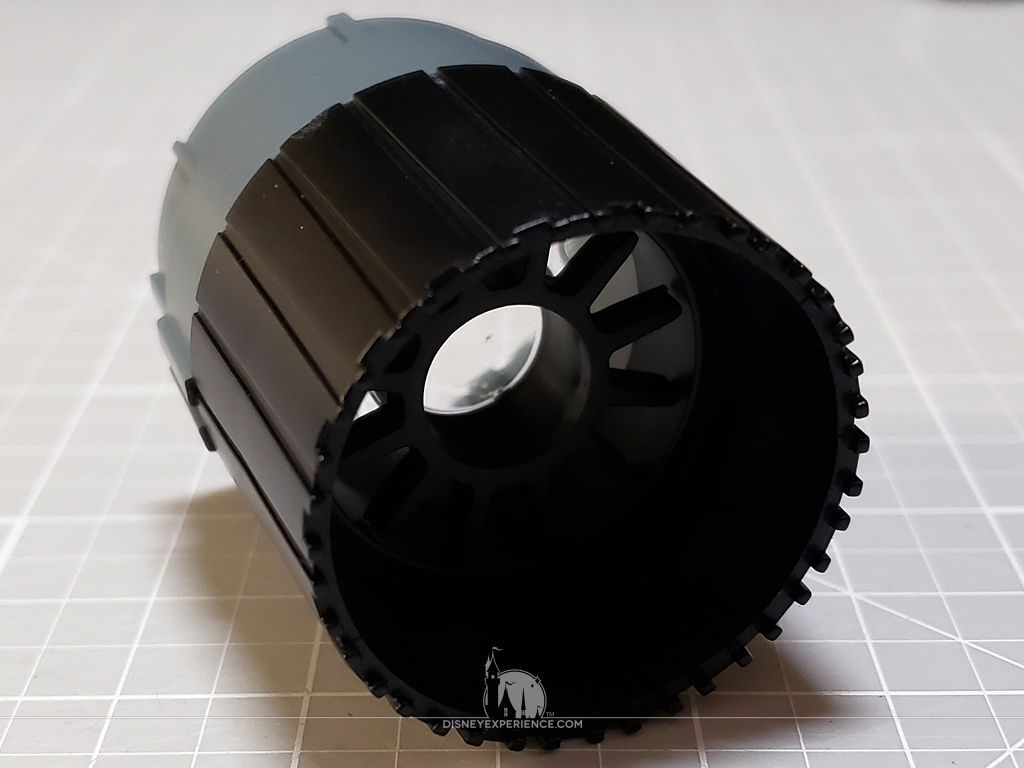
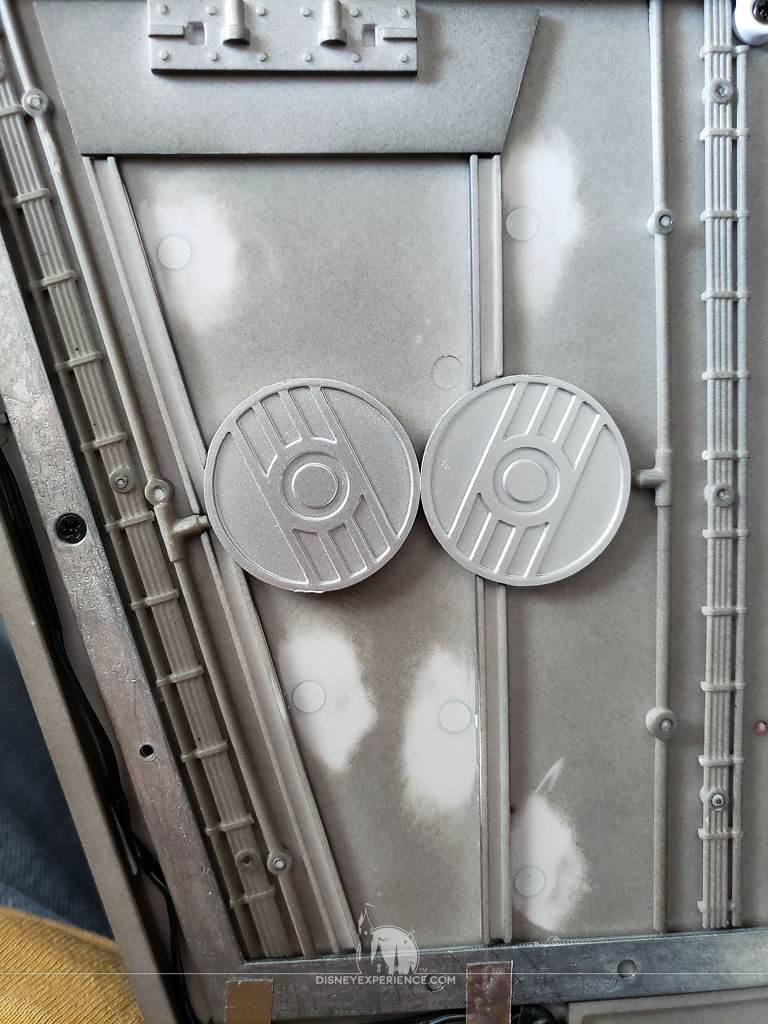
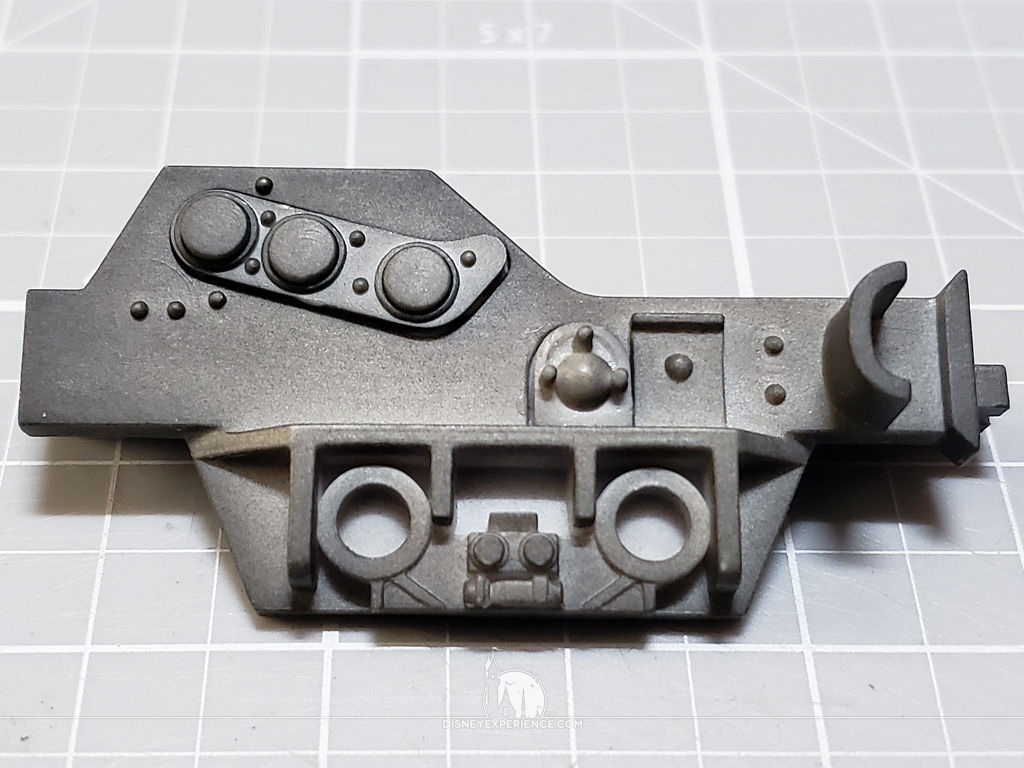
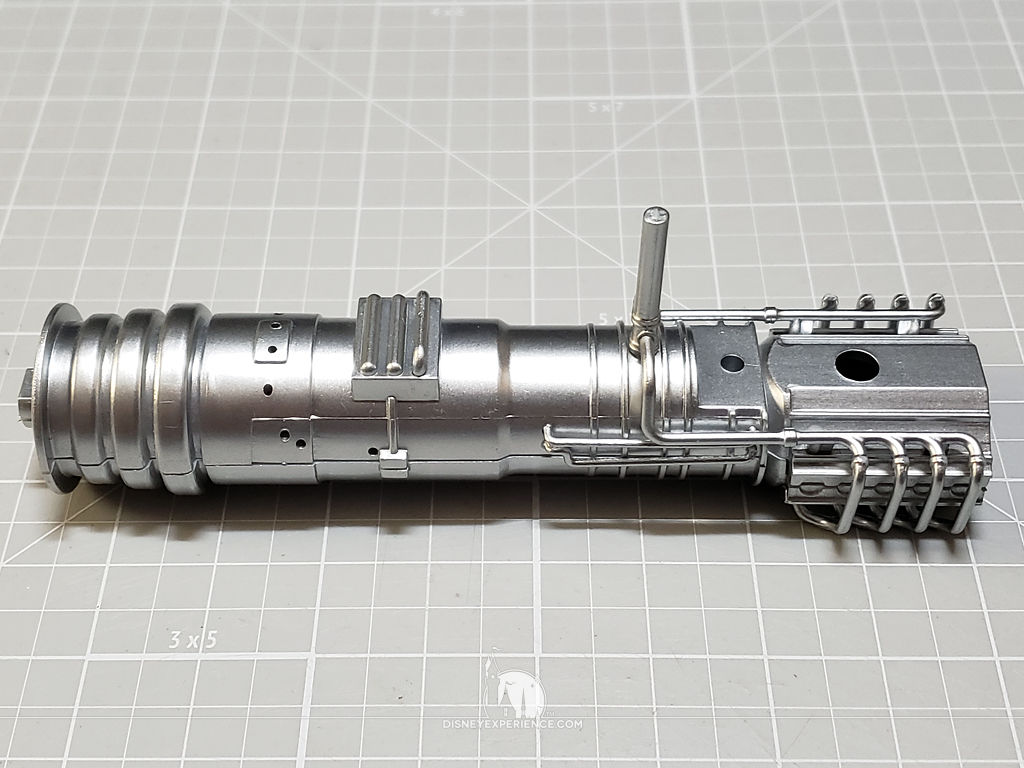
It’s time to finish the thruster by assembling the exhaust port, adding some greeblies to the outside of the casing, and adding the electronics.
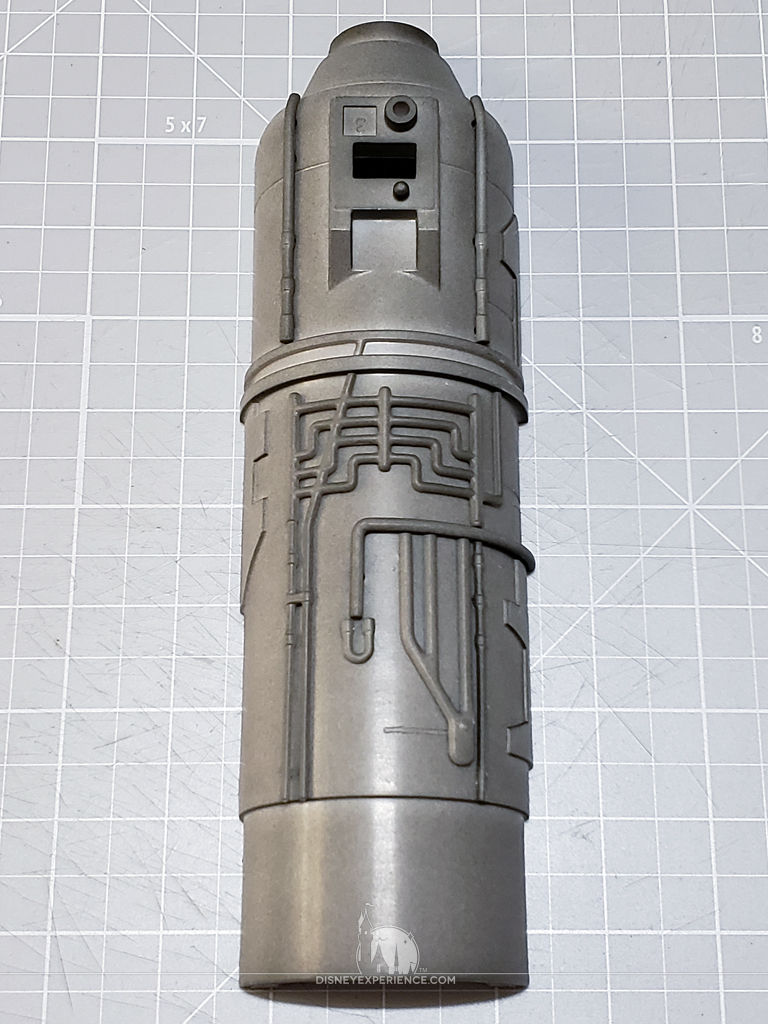
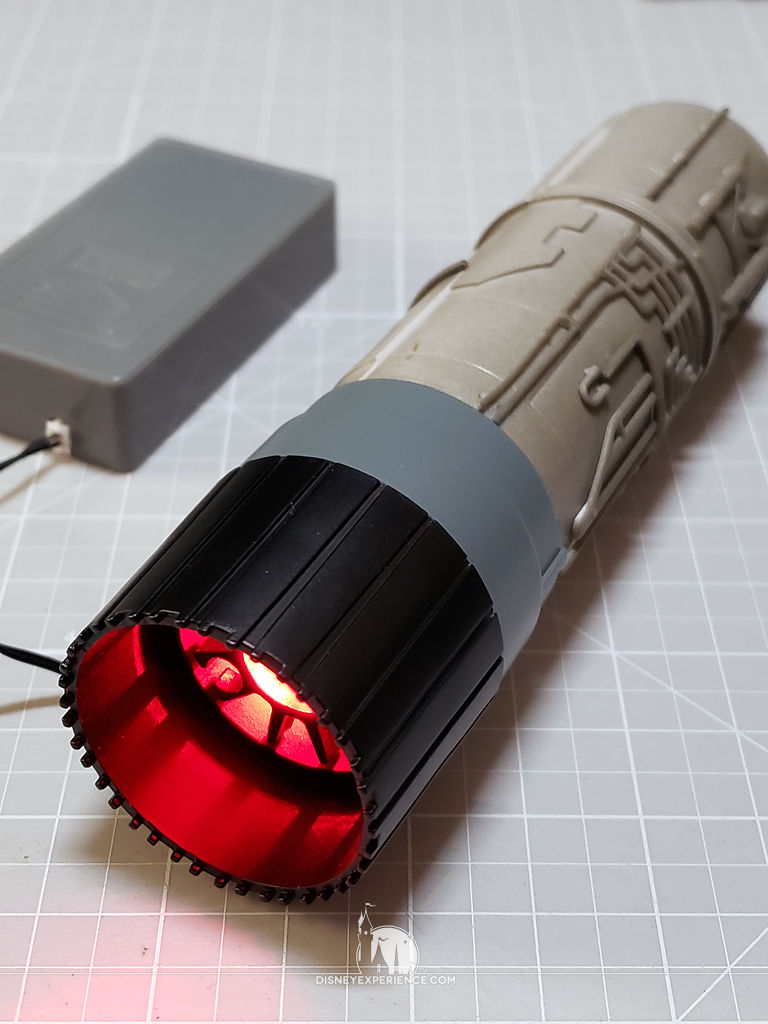
Of course, testing the light before and after assembly is crucial.
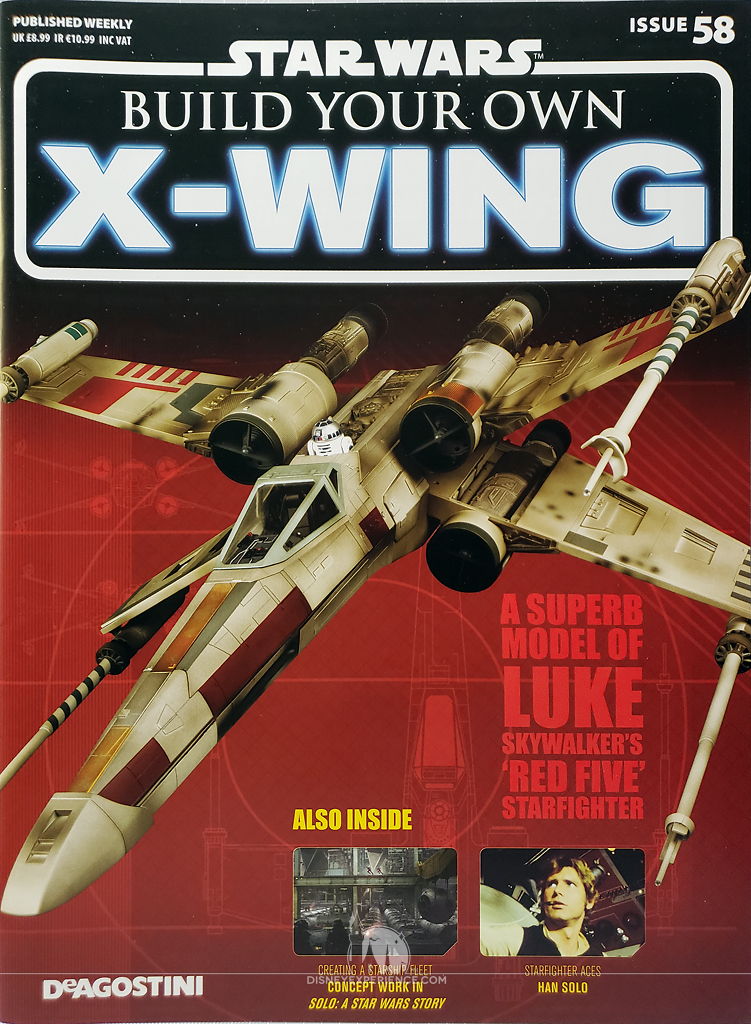
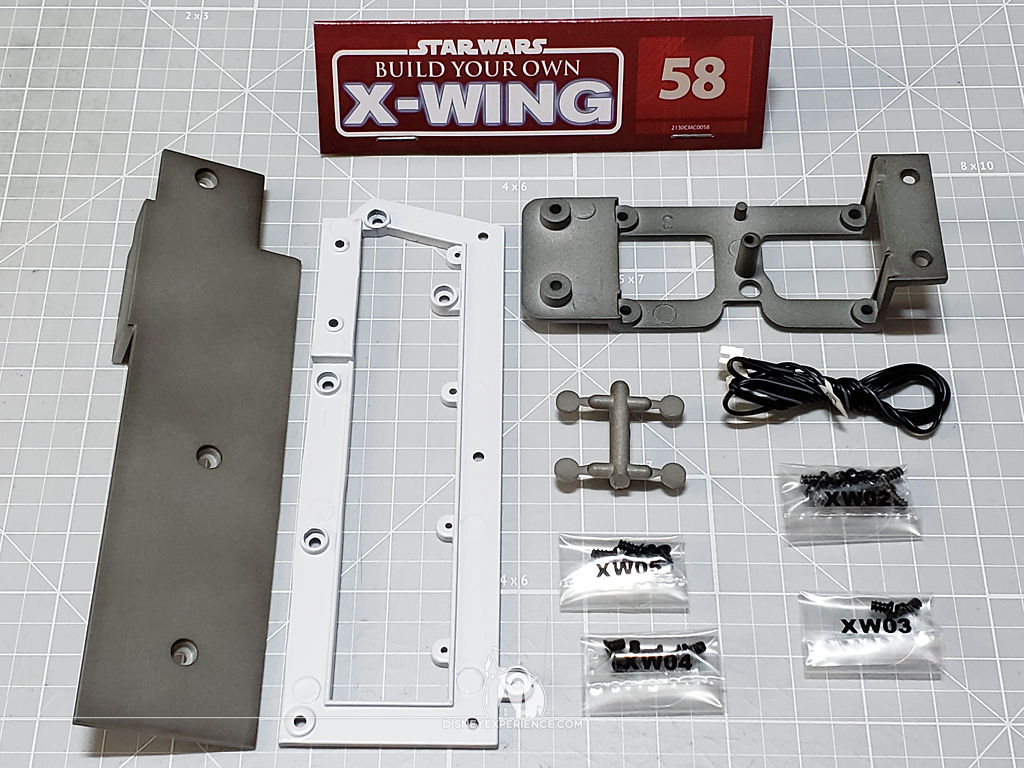
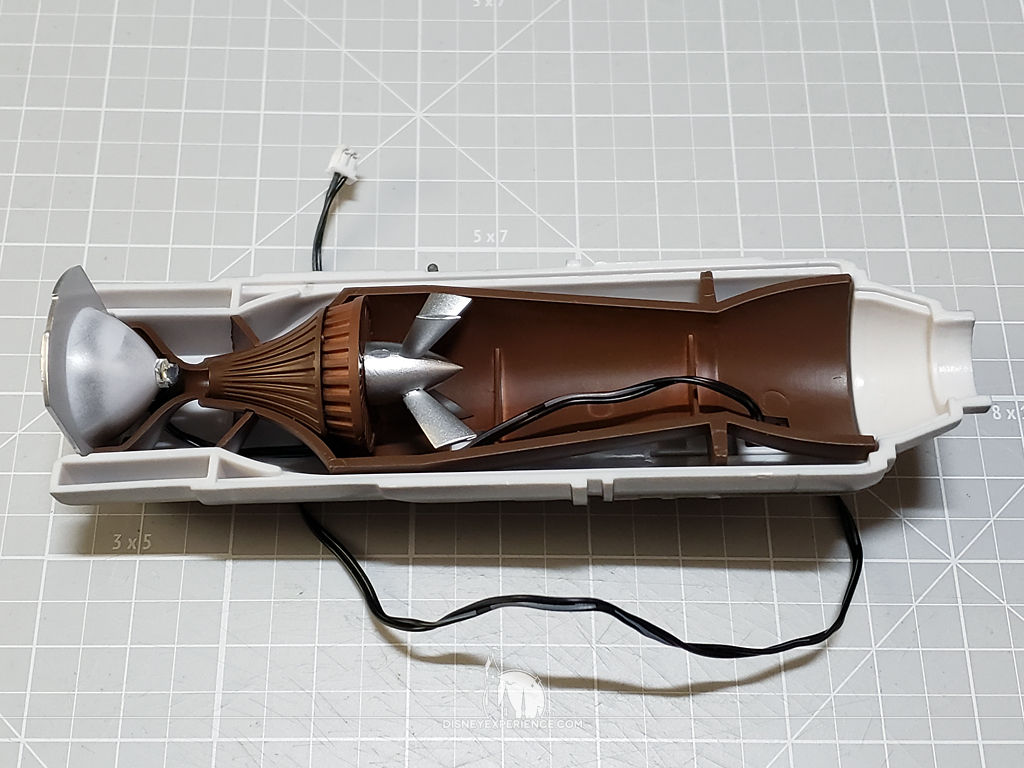
The Wing
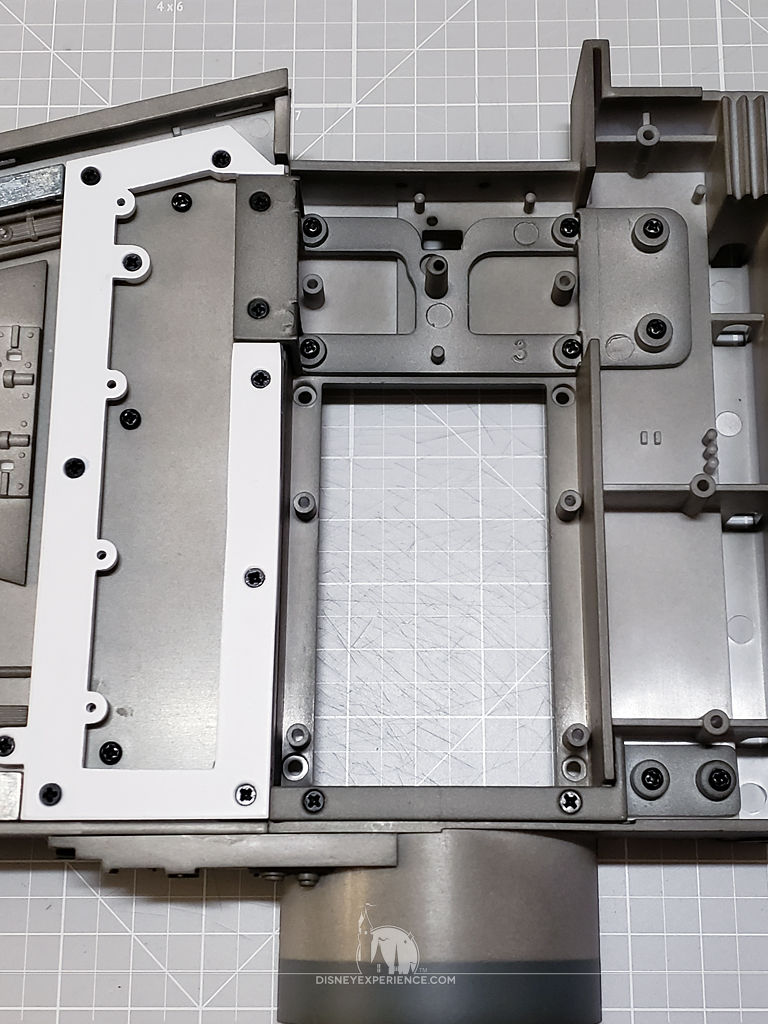
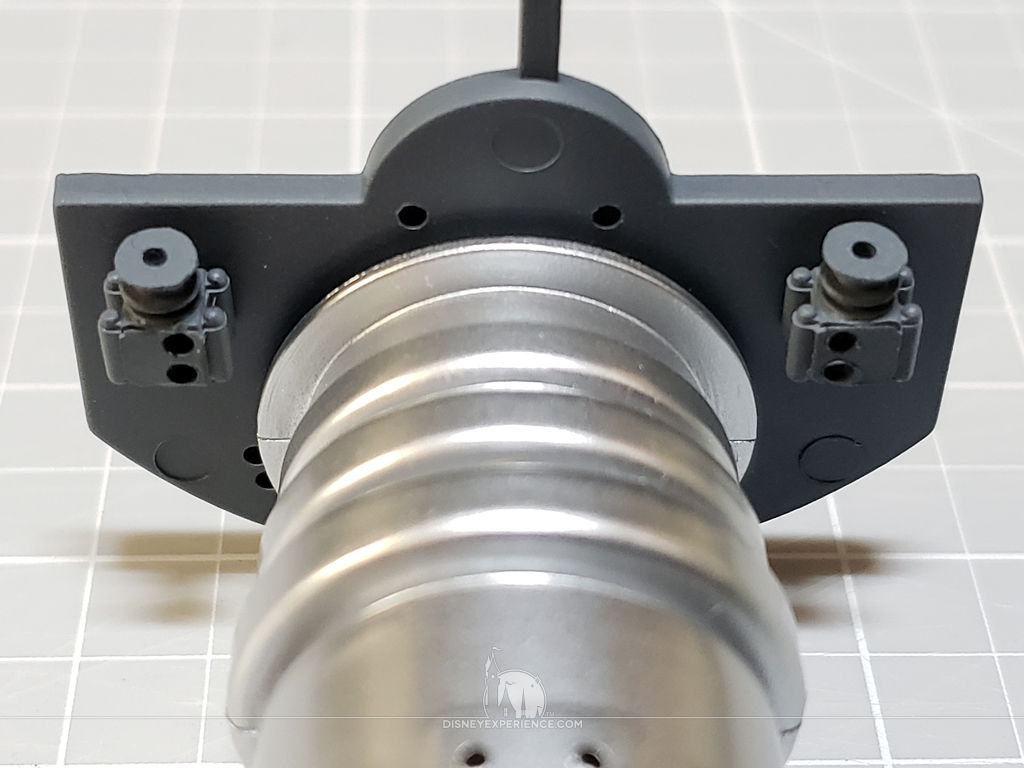
Moving to the wing, I work on some internal components, starting with the two metal supports.
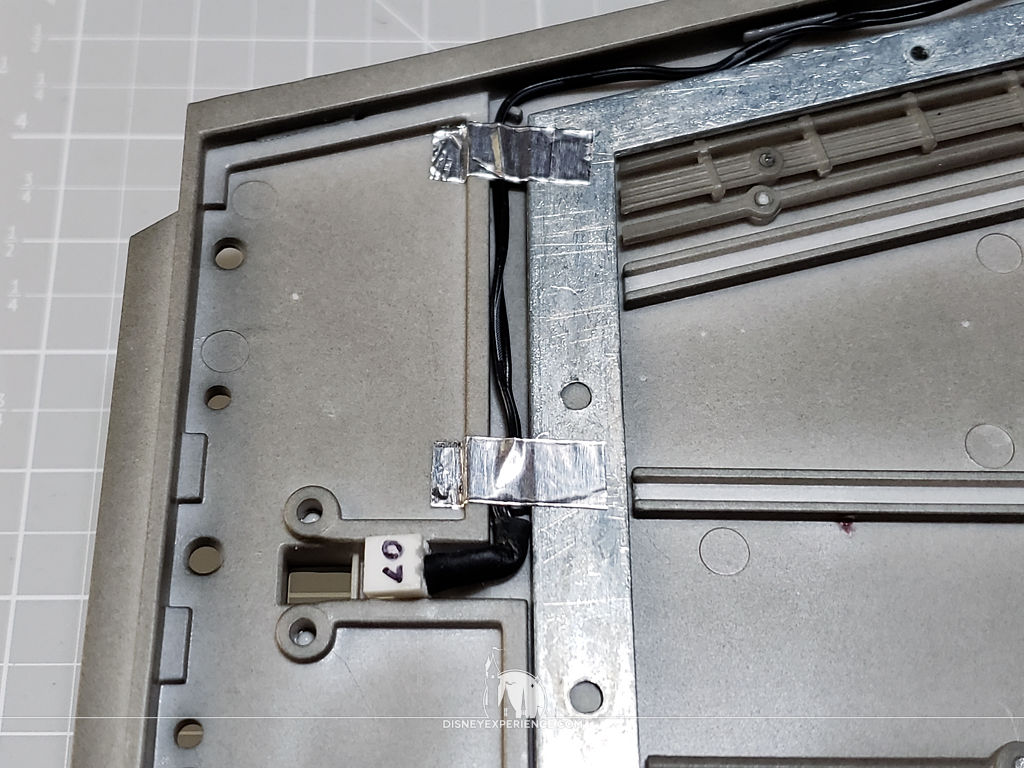
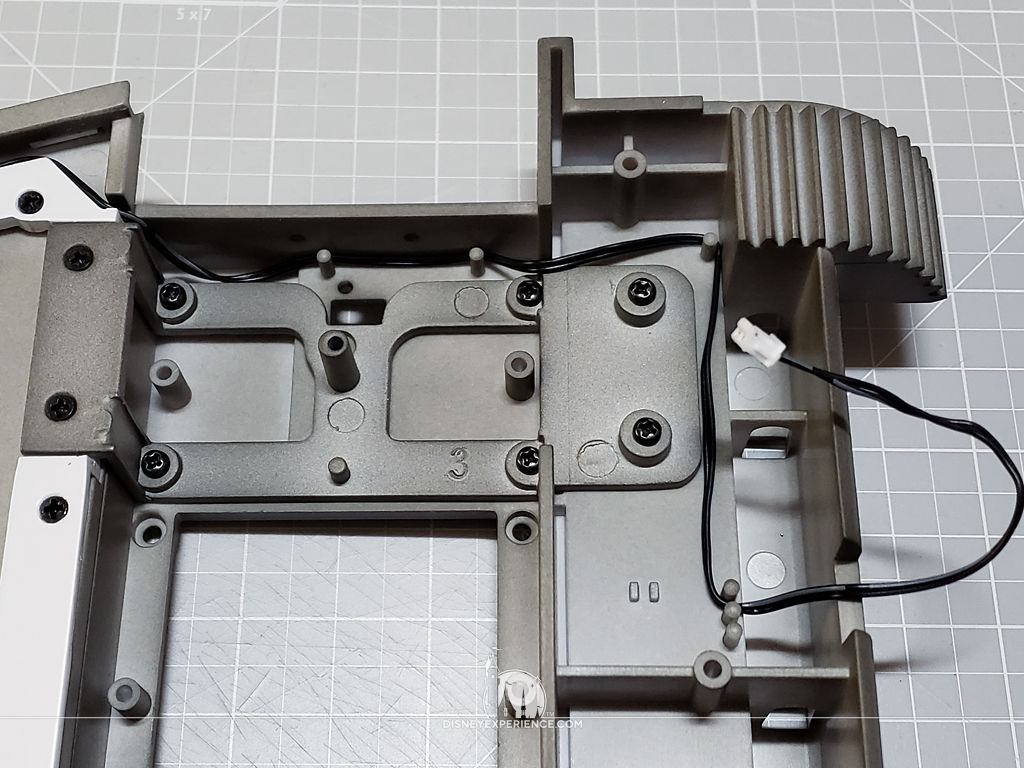
Next is the wiring and attaching the thruster engine to the wing. I now label all of the wires with an ultra fine Sharpie and I rip off the numbered paper tags for a cleaner look.
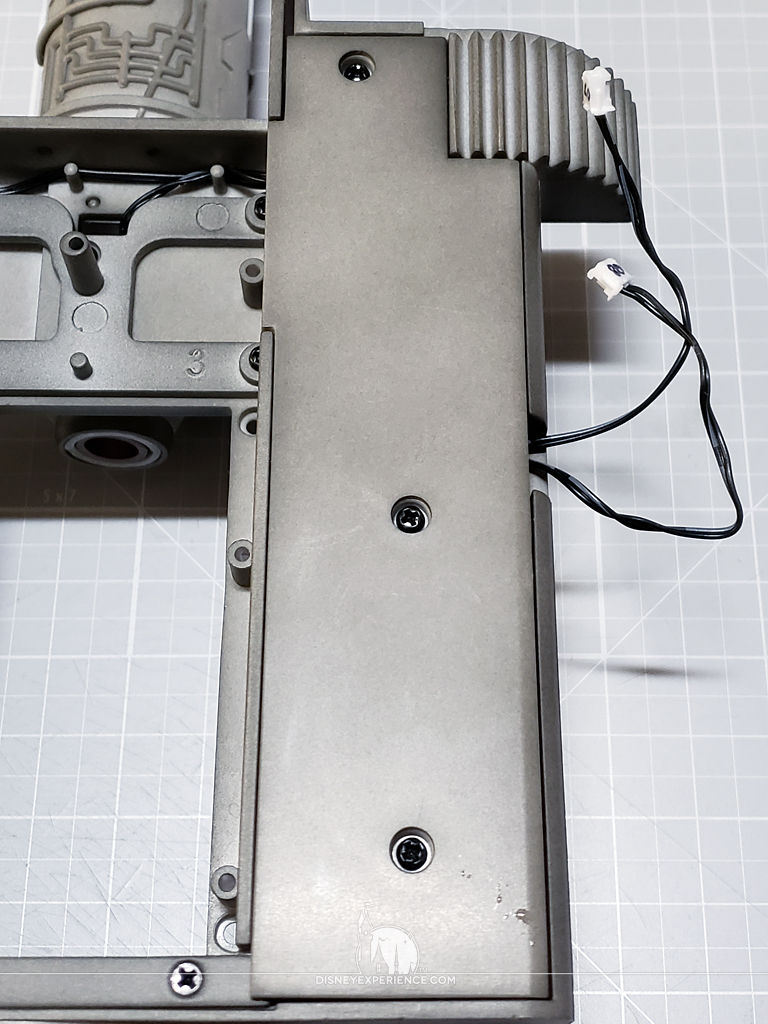
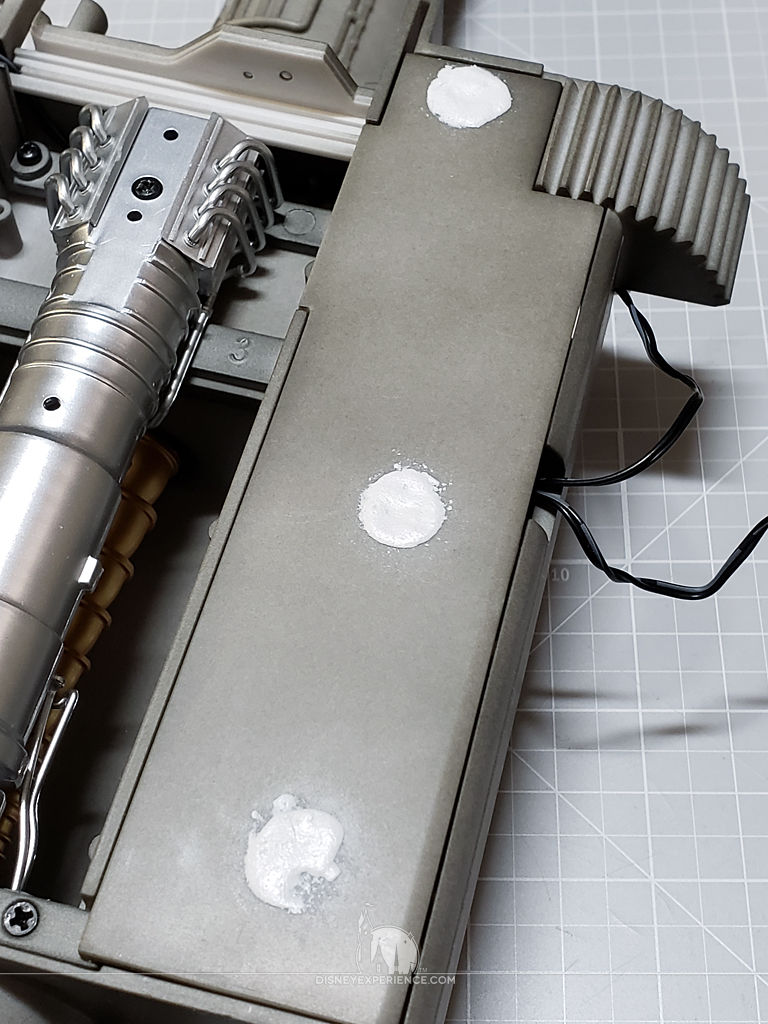
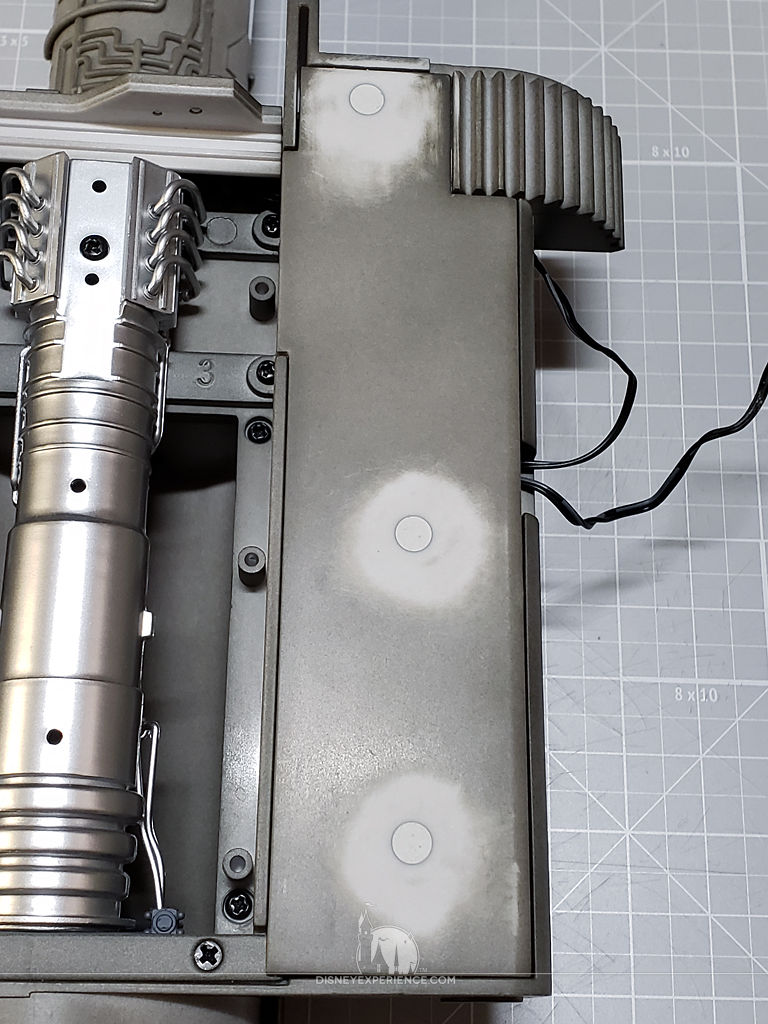
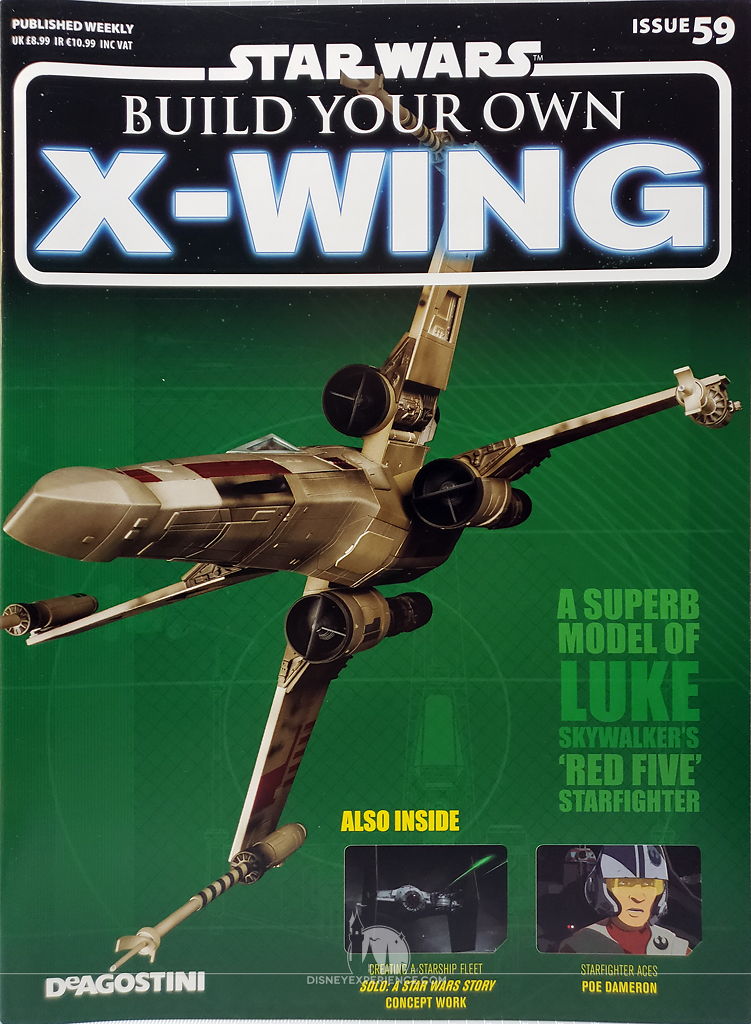
For the cover plate, I forewent using the supplied plugs and just filled the screw holes with J-B Weld PlasticWeld. The next day, I sanded the areas smooth.
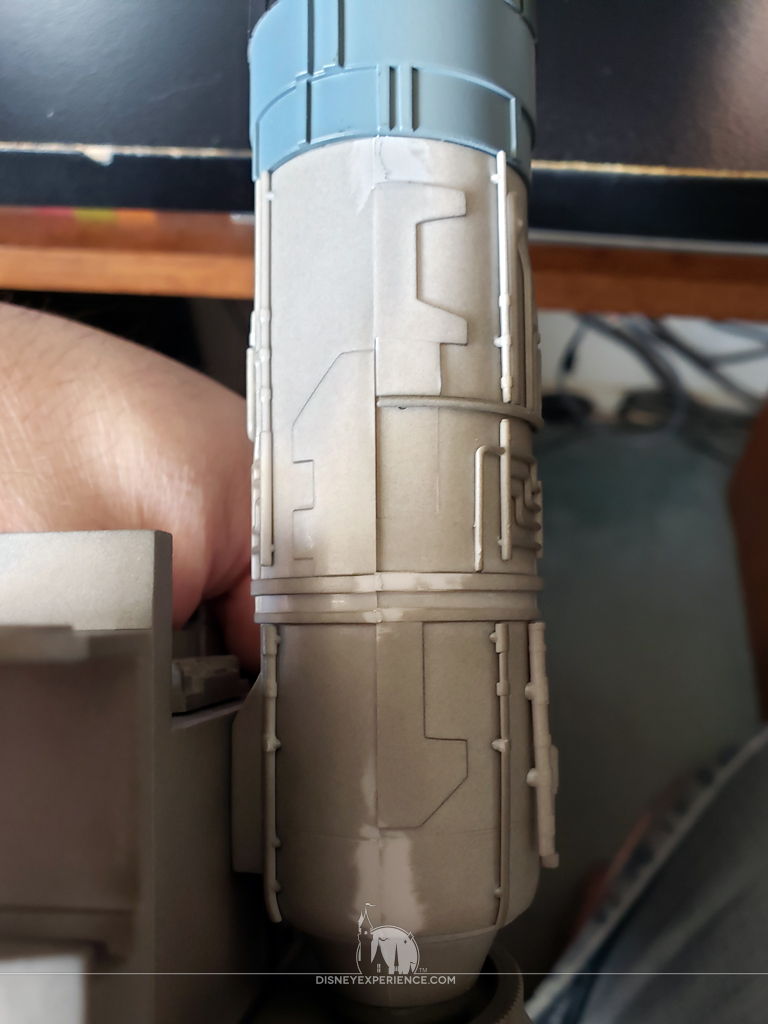
After completing the wing, I realized that I forgot to fill & sand the gaps in the wing and the thruster engine. It was too late to remove the thruster engine from the wing, so there were a couple of areas that I could not get to.

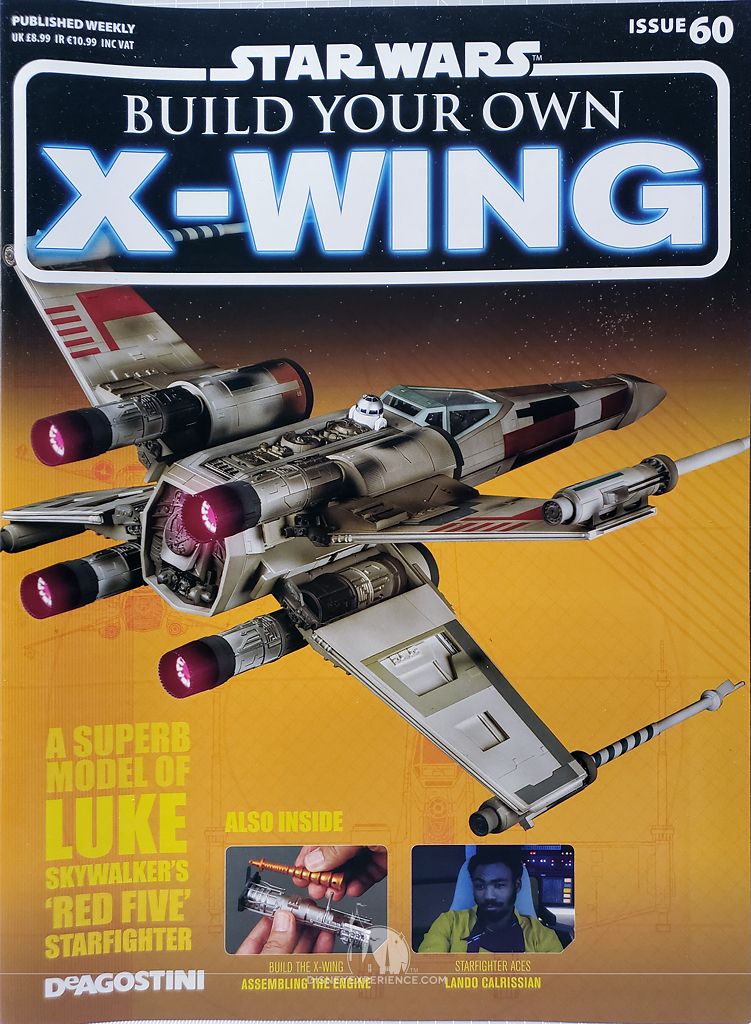
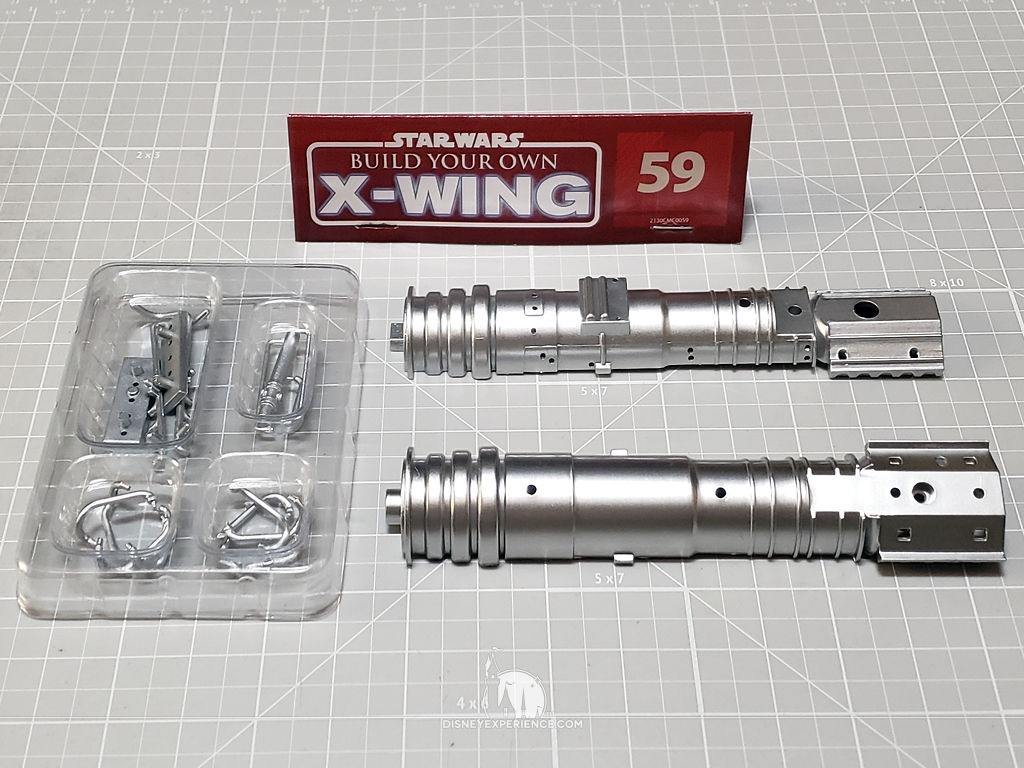
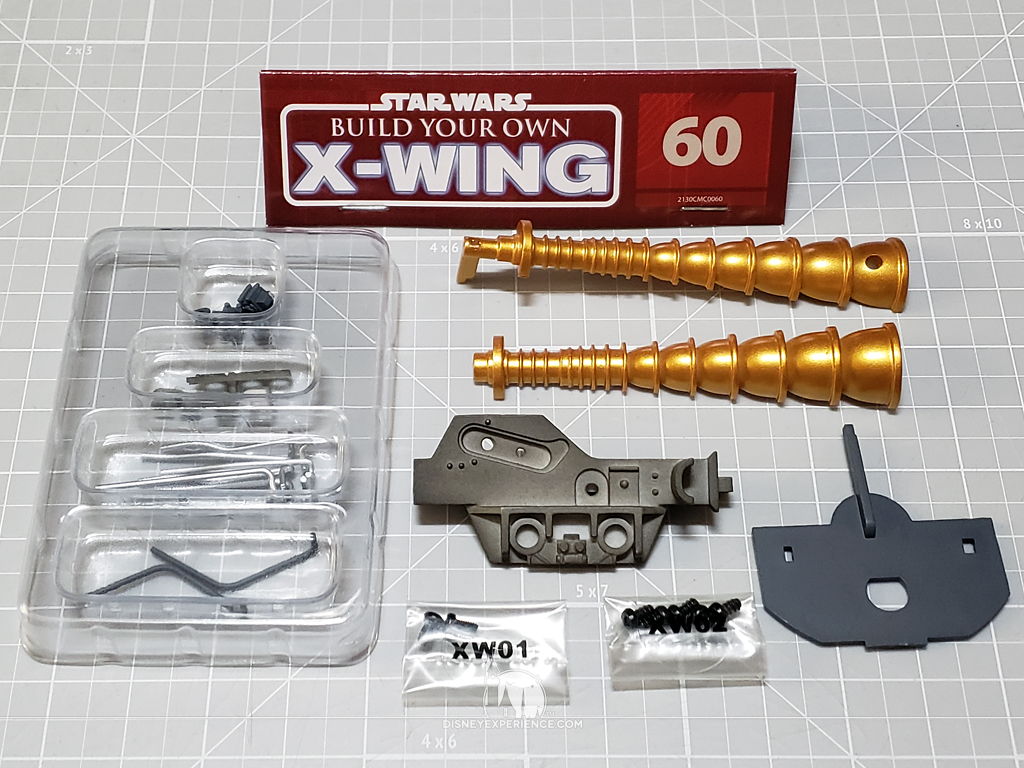
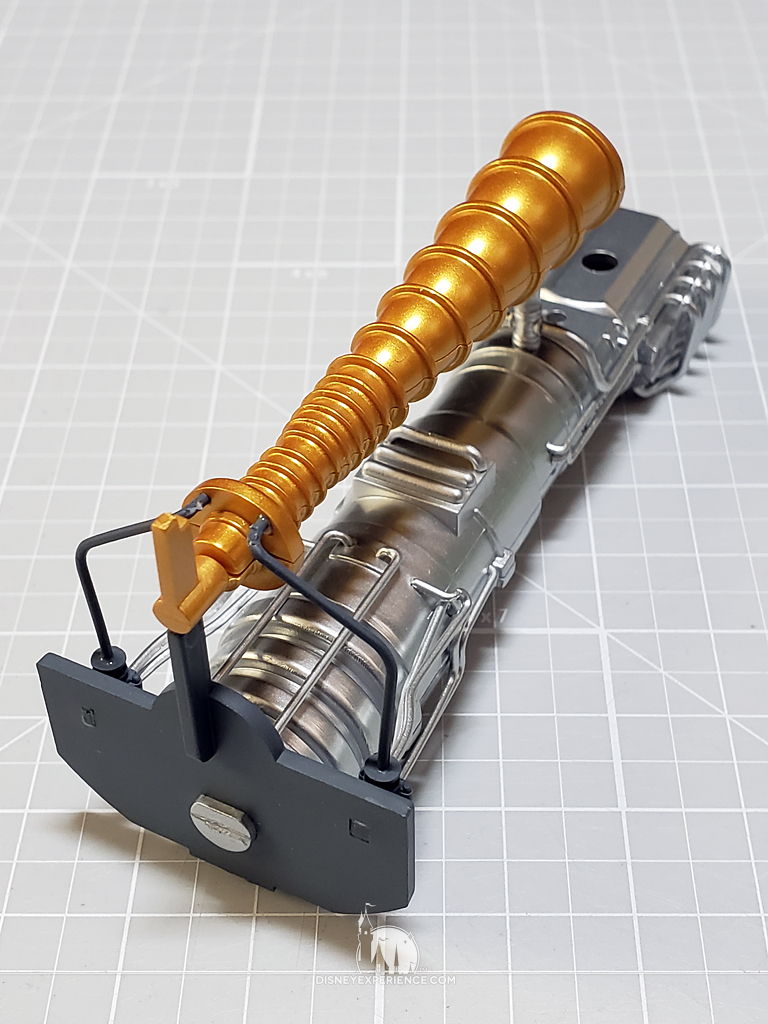
Main Engine

Well, DeAgostini finally noticed their labeling mistakes on the main engine pipes. They actually got them labeled correctly this time . . . mostly. Pipes ‘G’ and ‘H’ are still reversed.
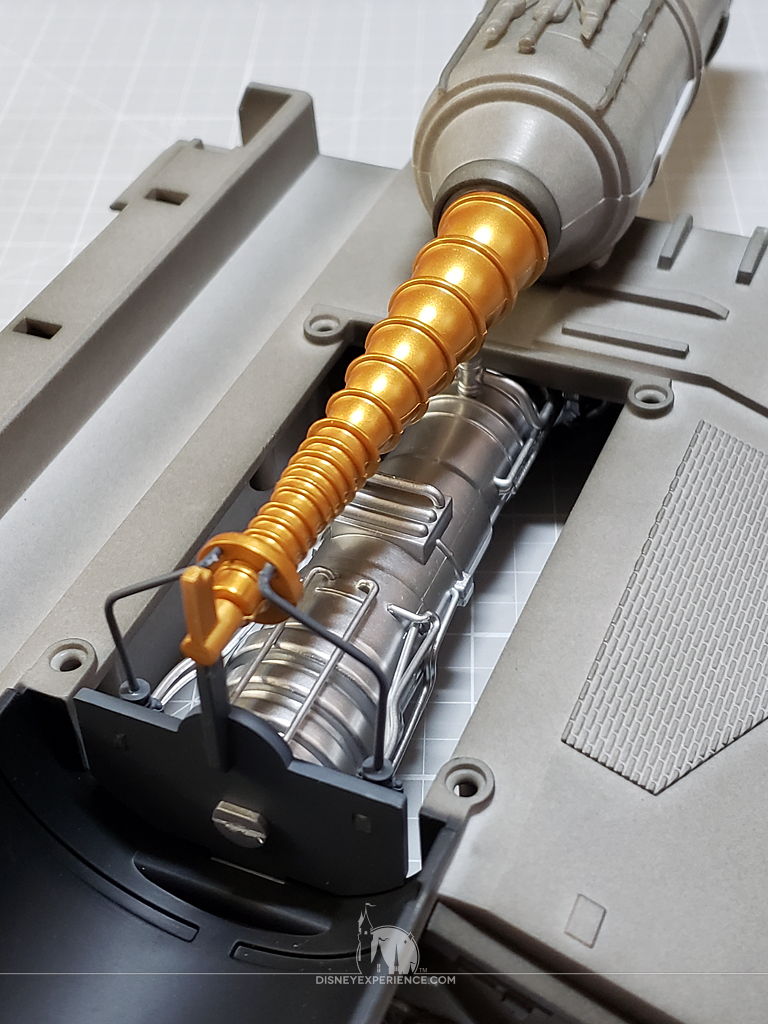
After finishing the engine, it is inserted into the wing and covered. Just one more pack, and I will finally be finished with all of the wings—except for painting and weathering.
Prev Journal Entry | Next Journal Entry
Both the post author and this website have not received any compensation for writing this post. Both the post author and this website have no material connection to the third-party brands, products, or services that have been mentioned. Some of the links in the post above are “affiliate links.” This means that if you purchase the item, we will receive a commission. As an Amazon associate, we earn from qualifying products. This is being disclosed in accordance with the Federal Trade Commission’s 16 CFR, Part 255: “Guides Concerning the Use of Endorsements and Testimonials in Advertising.”
Do you have a thought about this post? Why not leave a comment . . .