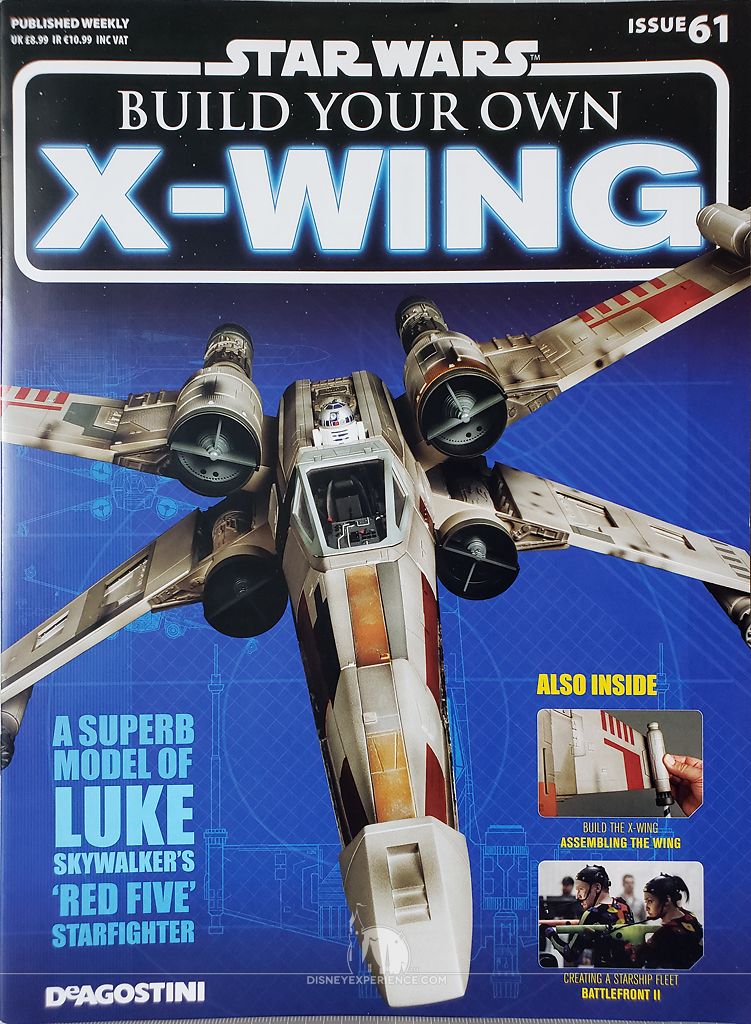
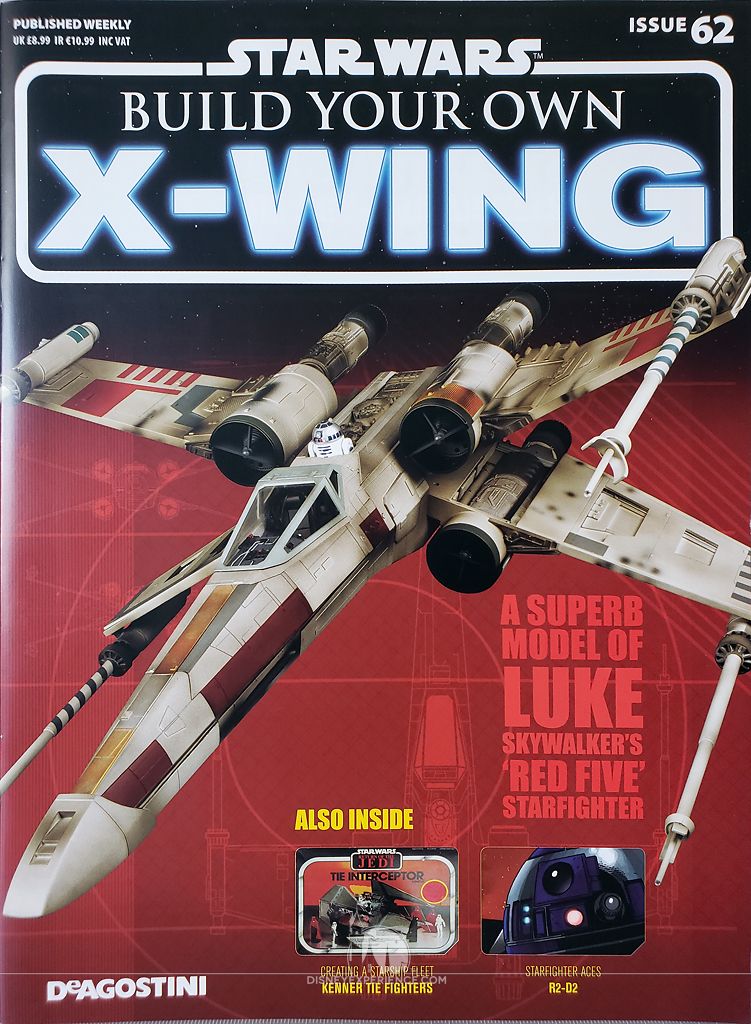
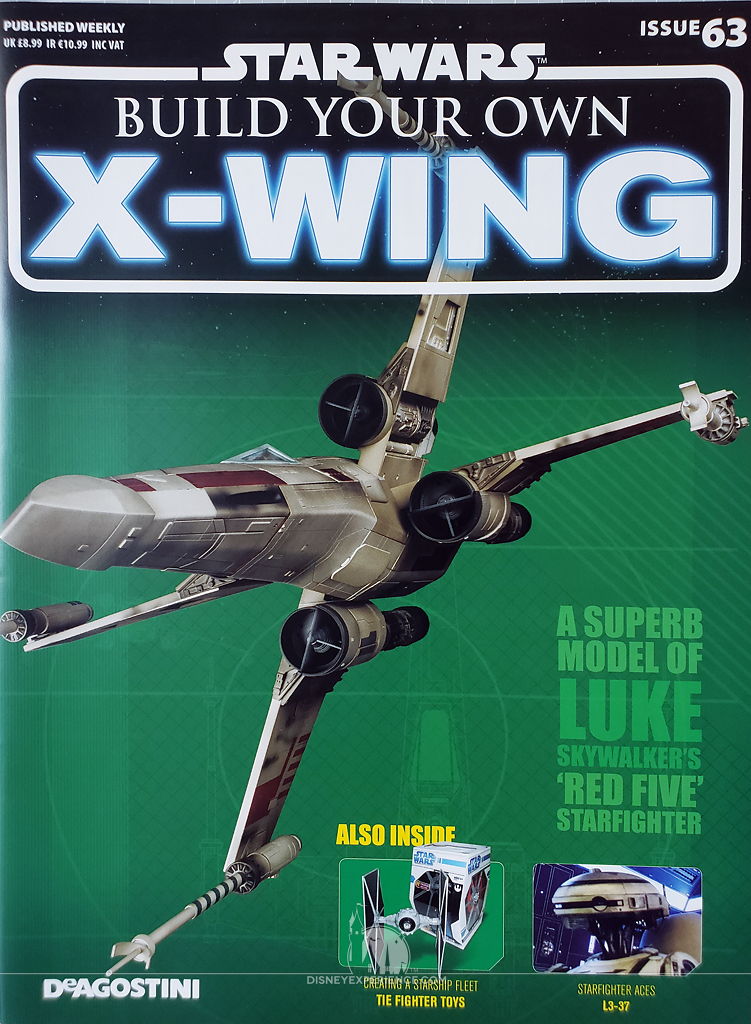
X-Wing Build Journal No. 18: Issues 61-64
Trader Sam | August 10, 2020
What’s Inside
Yay! The wings are finished, and I do quite a bit of work on the cockpit.


Completing the Wings (Finally!)
Okay, let’s get these things completed!
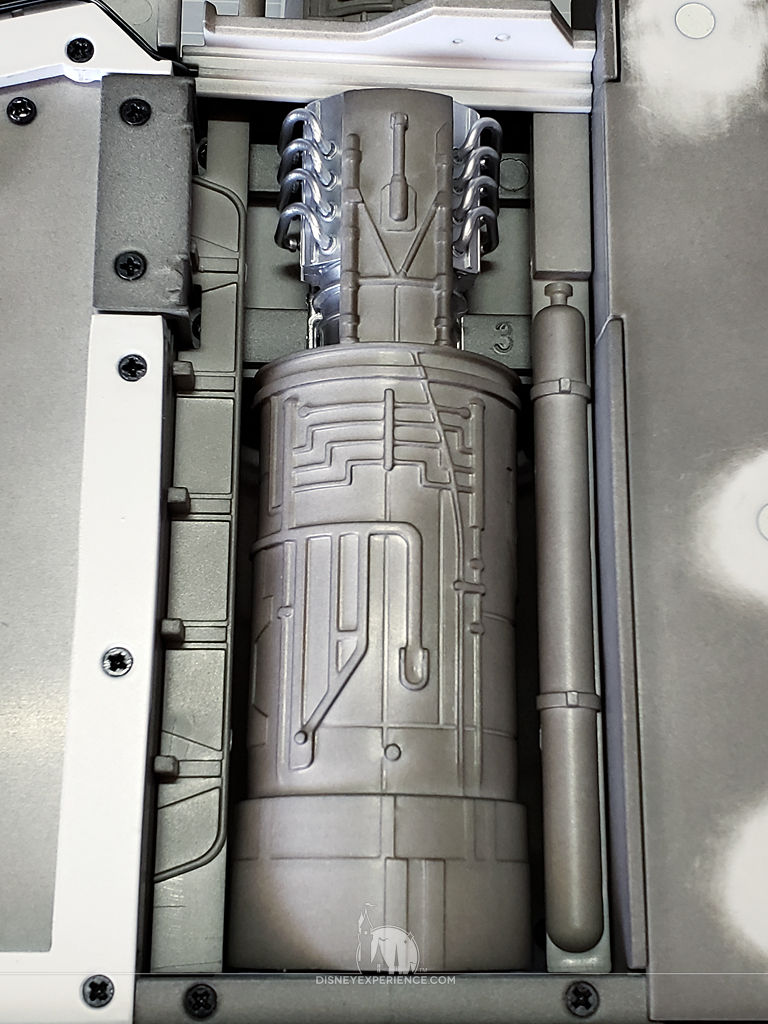
The last wing needed a few parts for the engine . . .
. . . the attachment of the laser cannon, a single wire connection, . . .
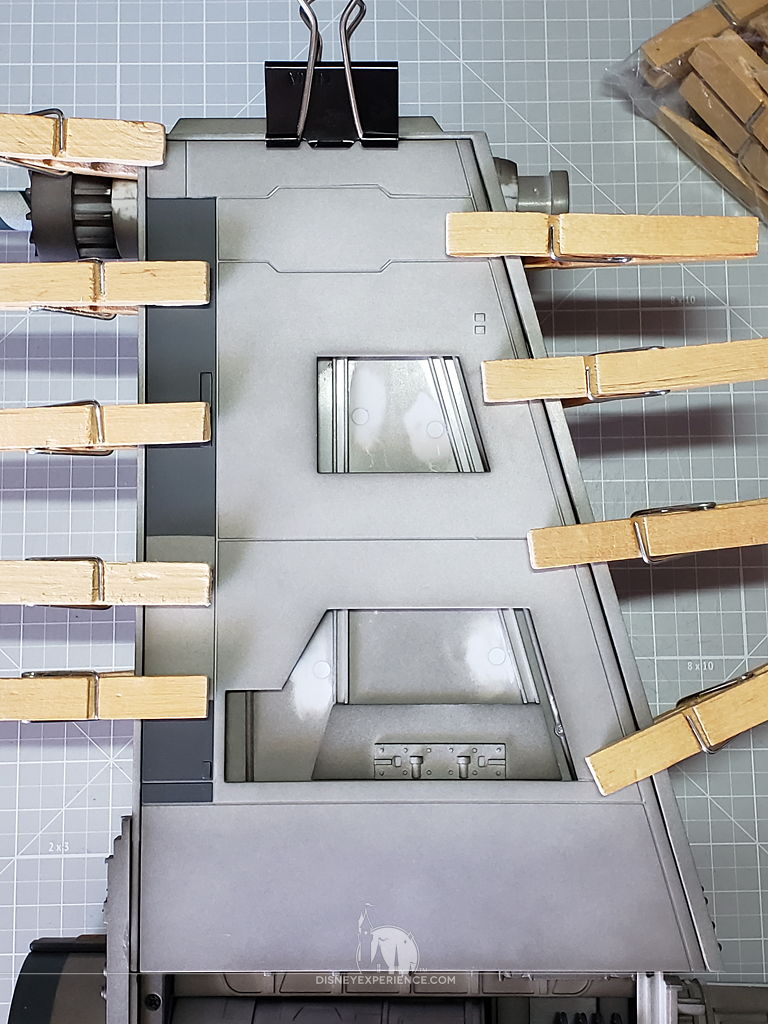
. . . and closing the wing with the final cover. Again, I used Loctite super glue to glue the wing cover on, using clothes pins to keep the edges down.
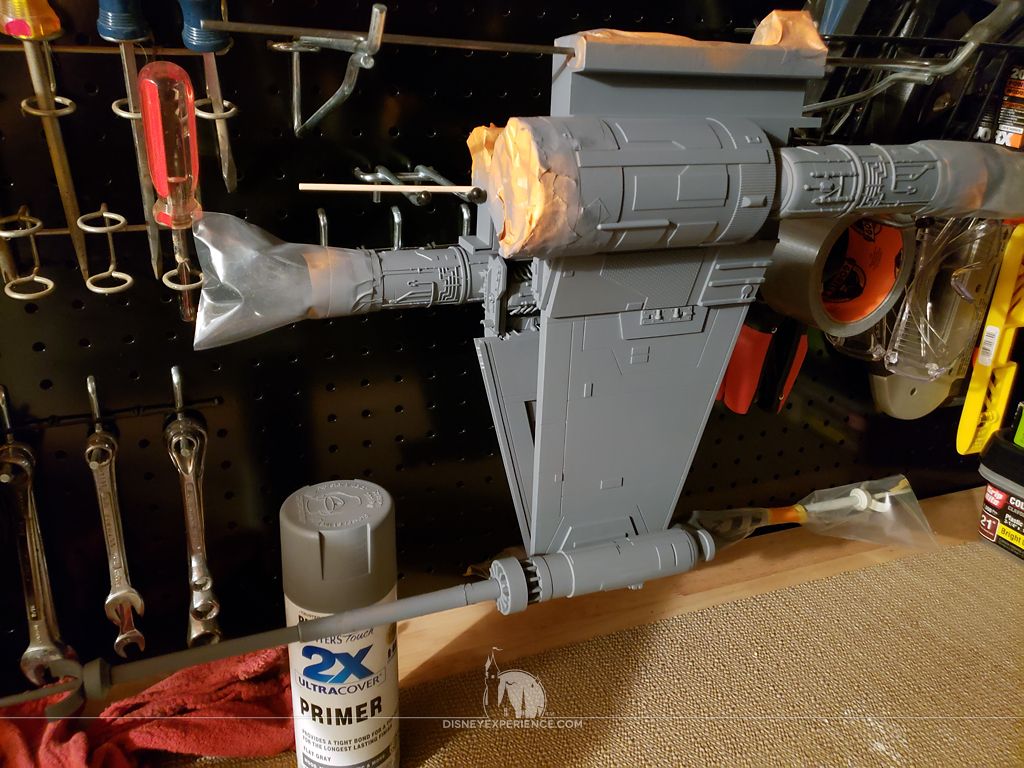
With the last two wings now completed, it was time to prep them for paint. First, I masked off the areas that I didn’t want touched, mainly the engine ports and the large orange band. These are just the right colors, so there’s no need to repaint them. I also had to mask off one of the laser cannons because it had been painted when I did the first two wings. I thought that it was going to be a pain to mask it off, but it went surprisingly well.
After the primer came the base color. When that had dried, I could remove all of the masked areas.
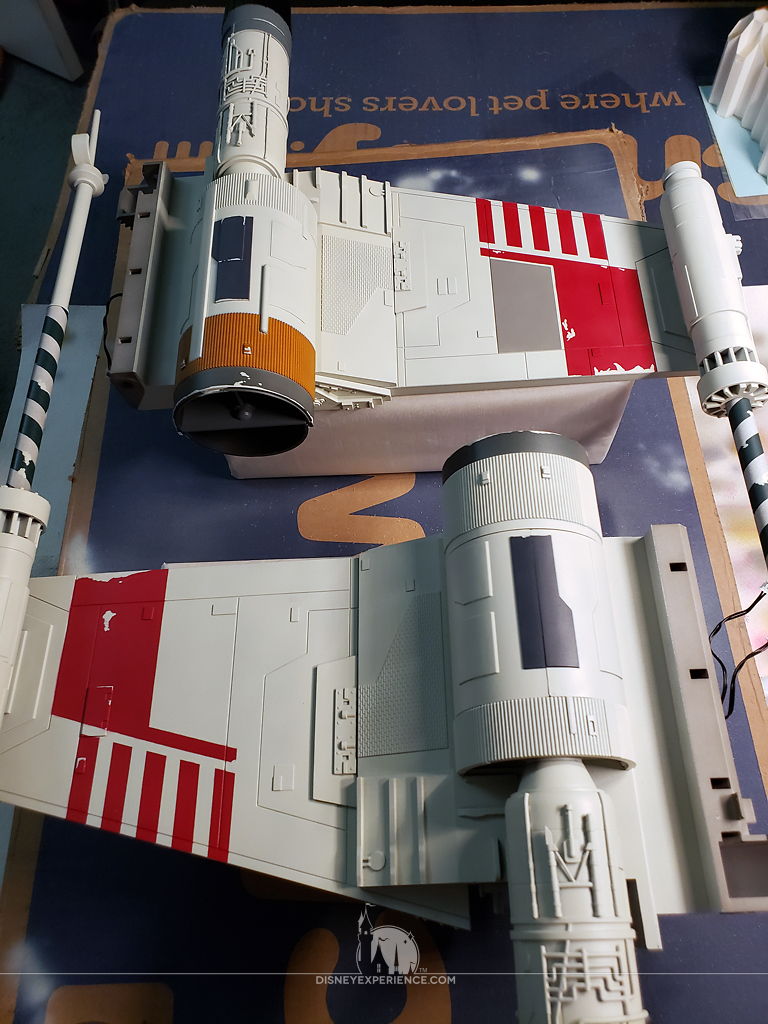
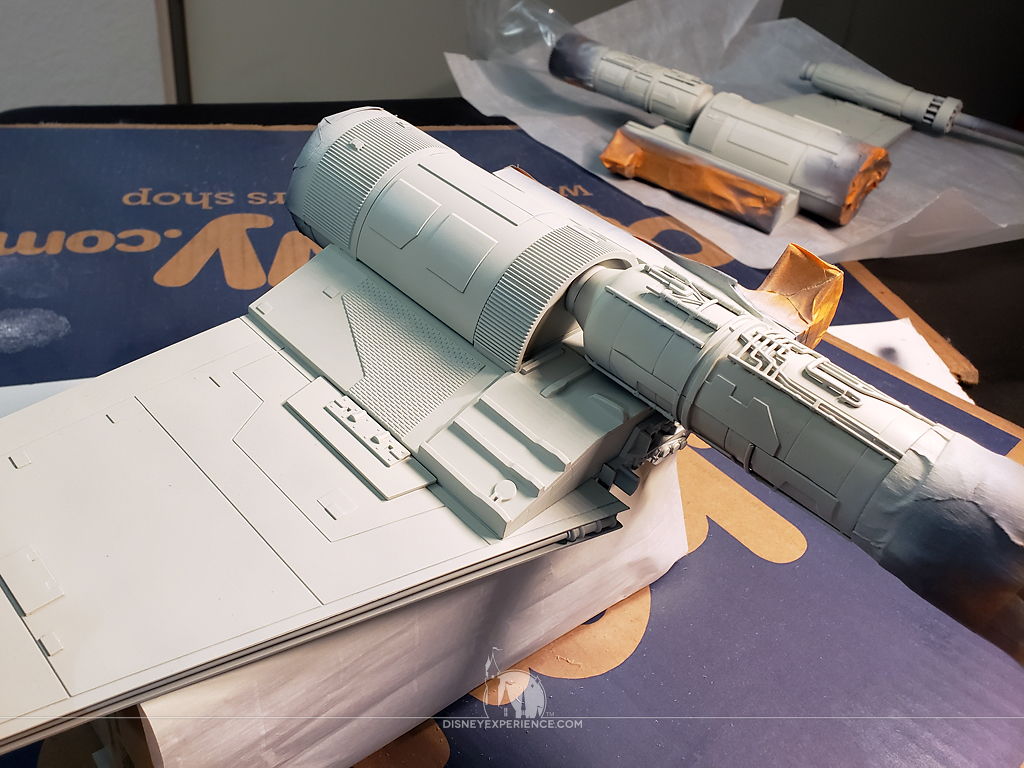
I repainted the wing panels according to the reference photos, and I added the red markings using my own stencils. With some of the base color, I painted simulated paint chipping.
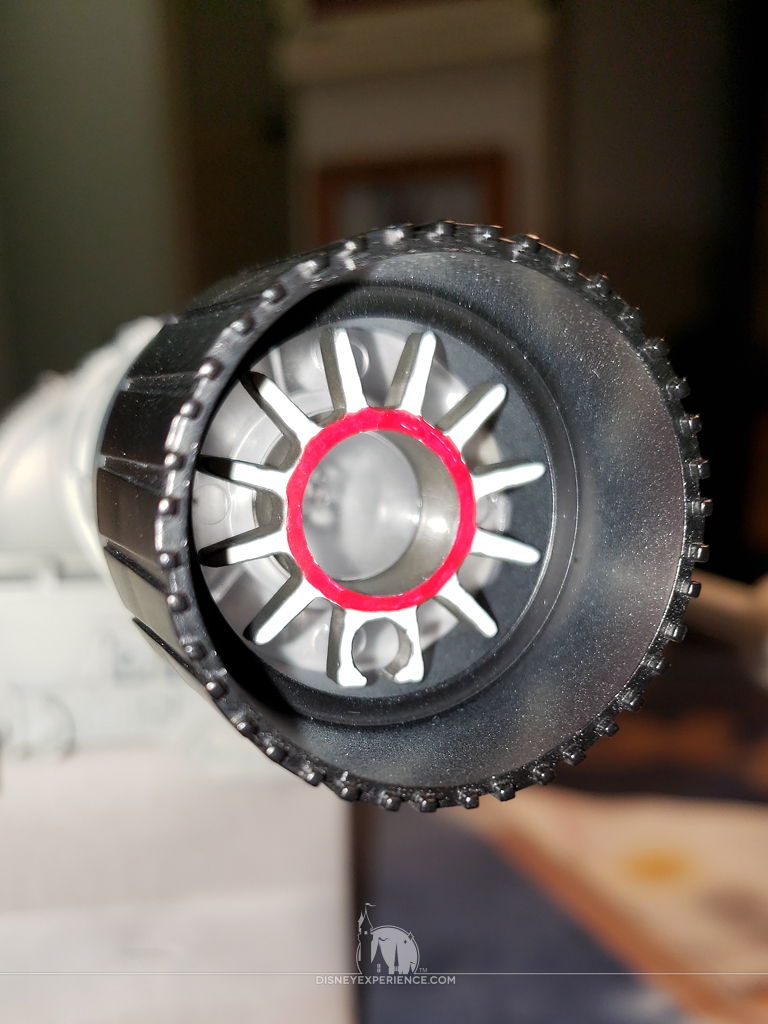
I also painted the interior of the thruster engines, which I really like.


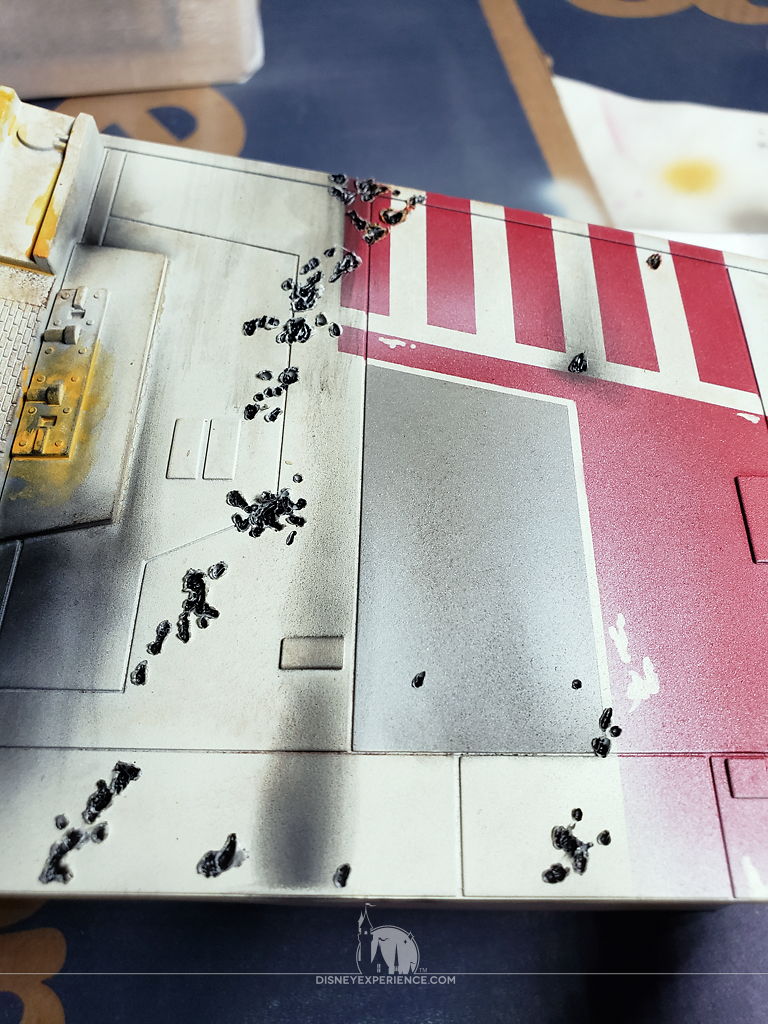
After adding some “space dust,” I added some carbon scoring and rust. Then, I used a wood-burning tool with a pointed tip to carefully melt blaster holes into the plastic.
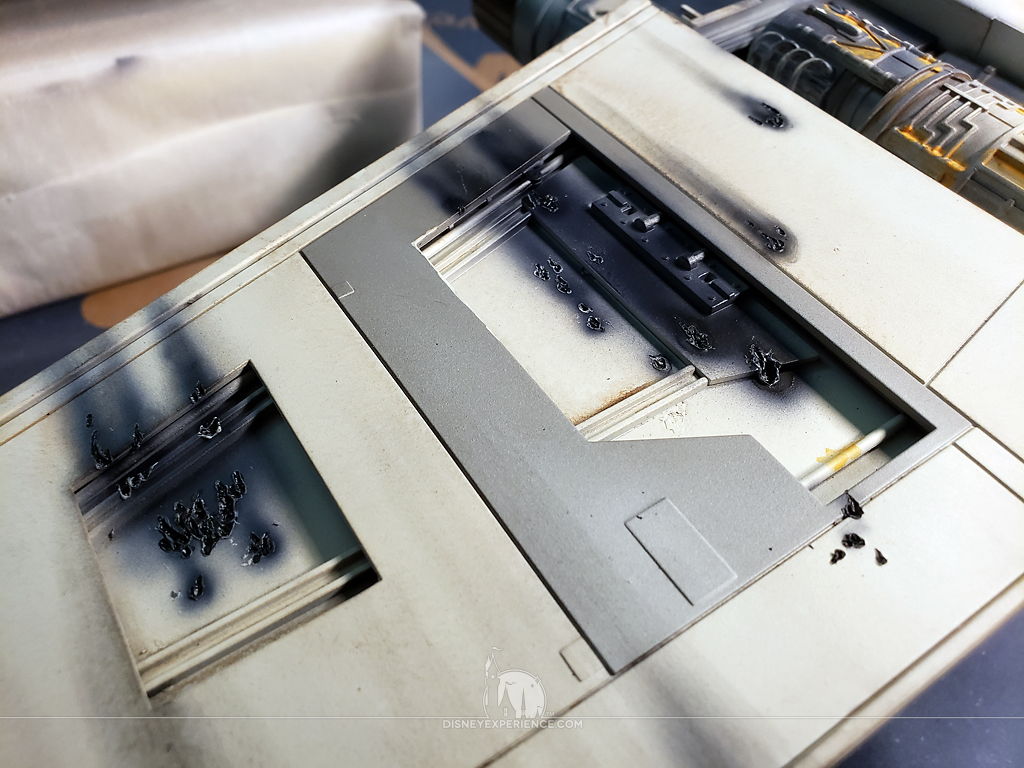
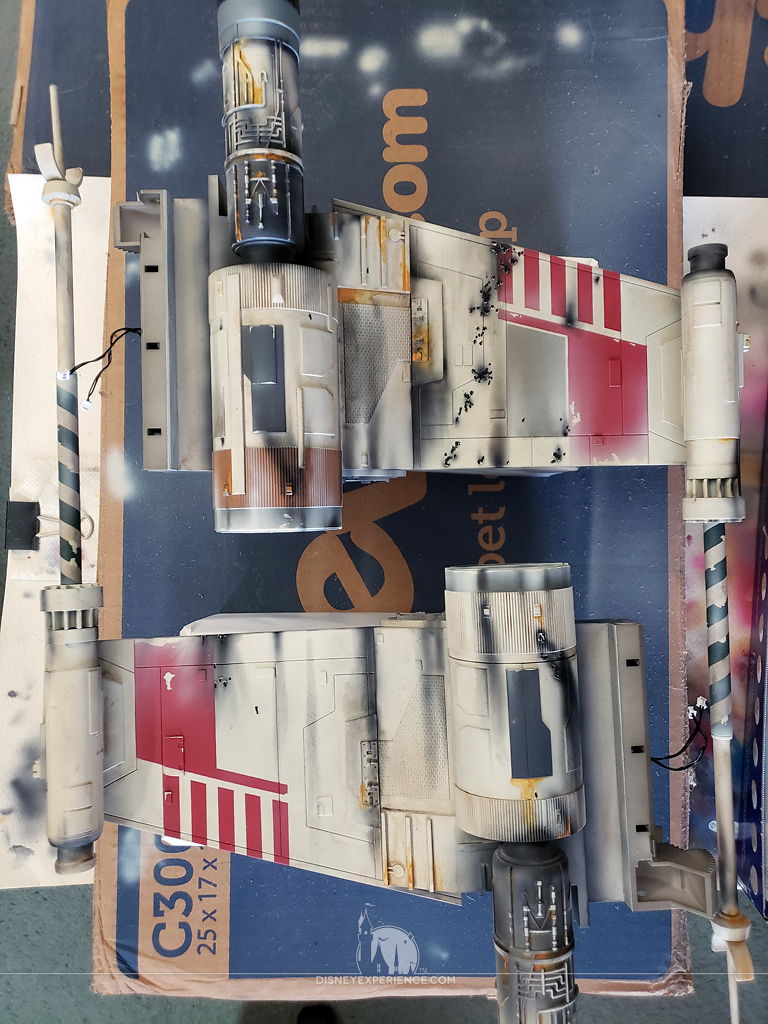
With some airbrushing to enhance the blaster marks, the wings were complete.
Looking at the laser cannons, I did notice a mistake made by DeAgostini. The dark spirals are going in the wrong directions—they need to be swapped. Since I’ve glued mine into place, I can’t switch them. I don’t think it’s a terribly important detail that many people will notice unless they are an eagle-eyed, die-hard X-Wing fan.
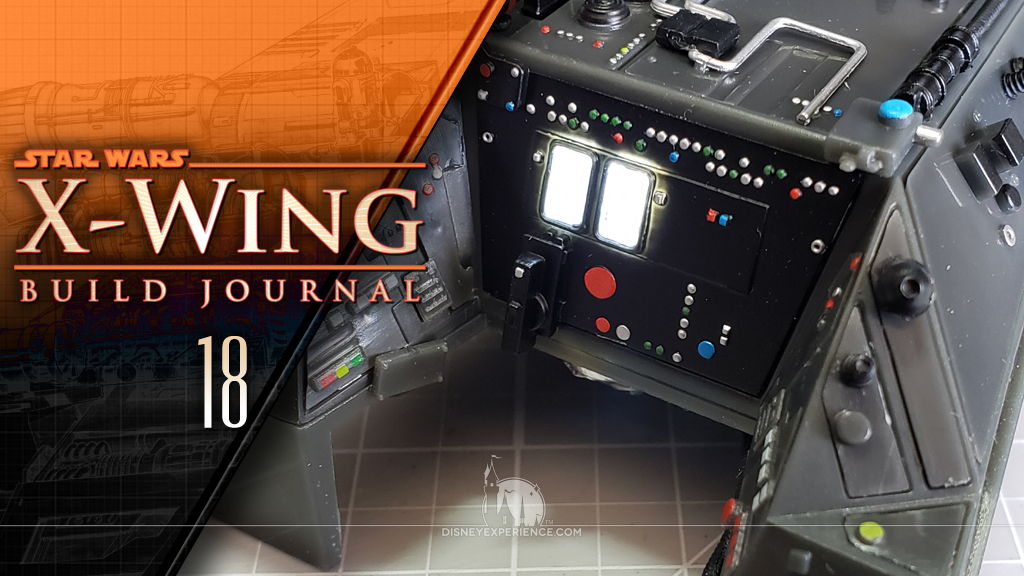
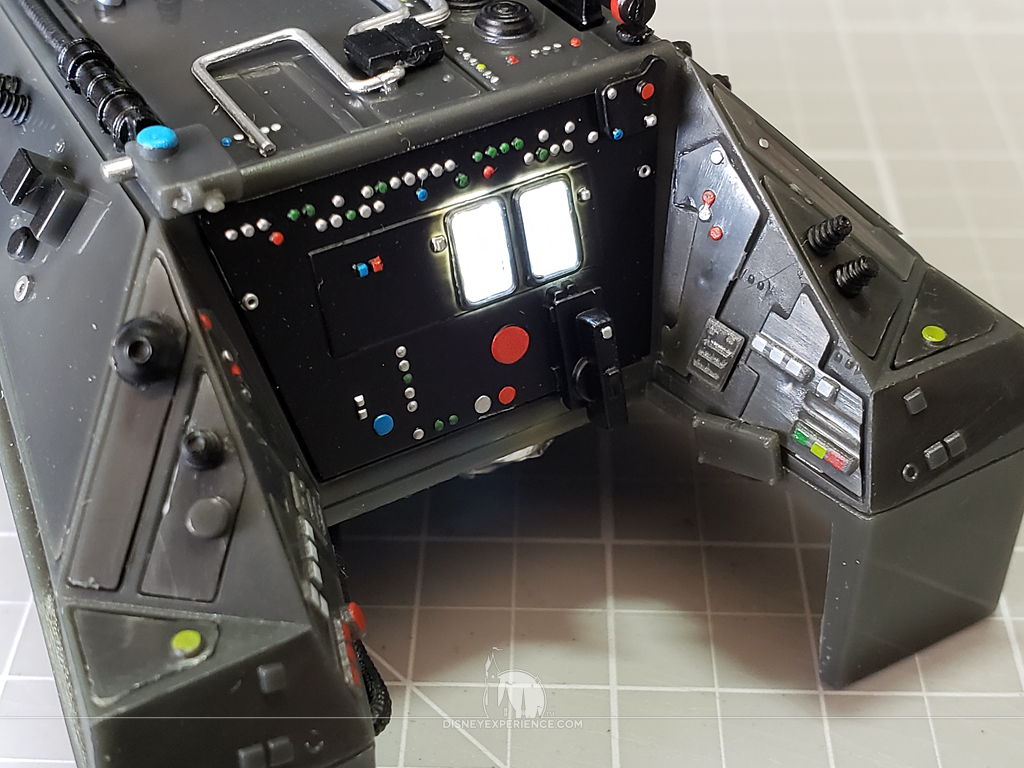
The Cockpit
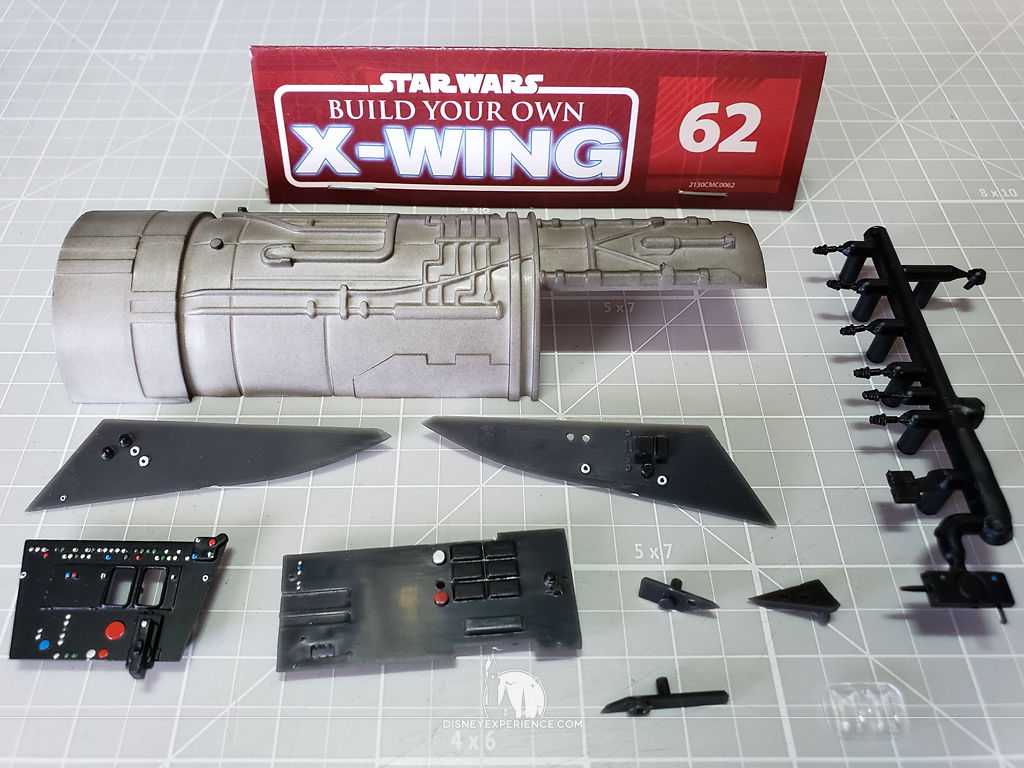
The dashboard panels are thin and sharp. Pokey; they’re very pokey. And, they hurt.
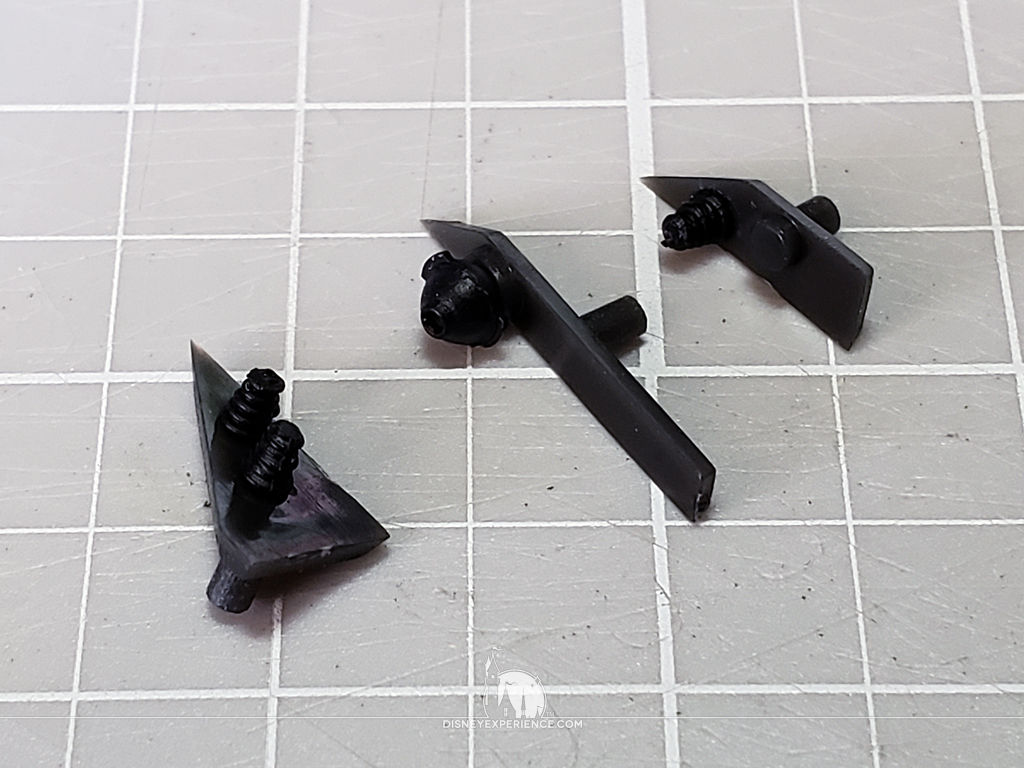
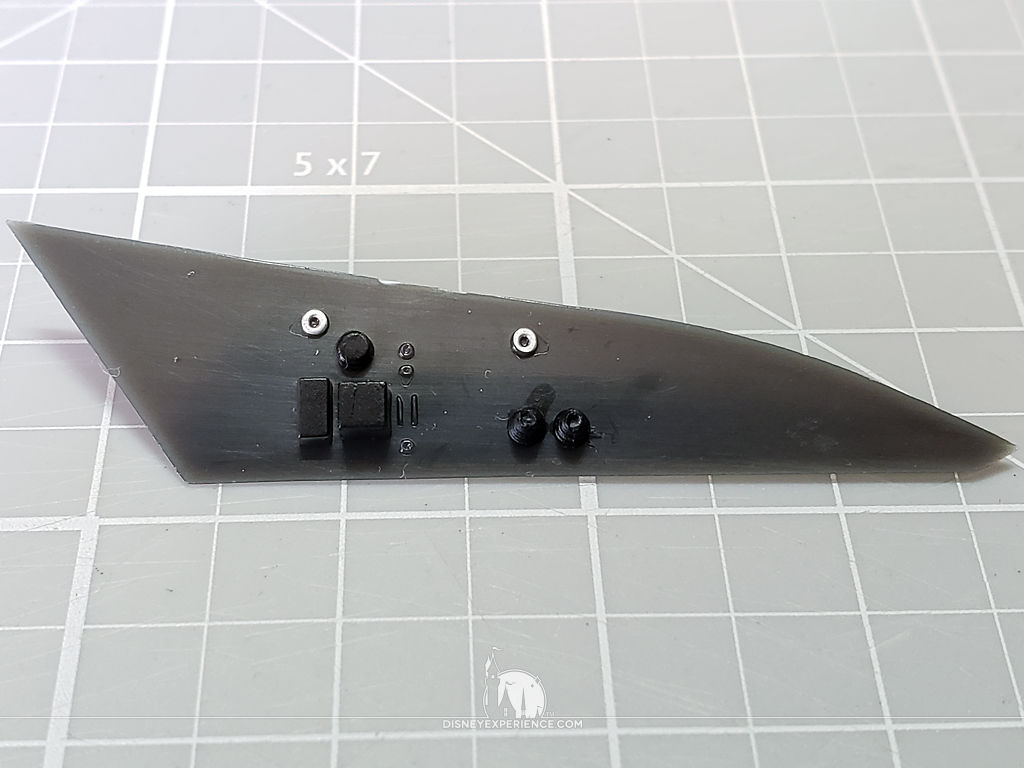
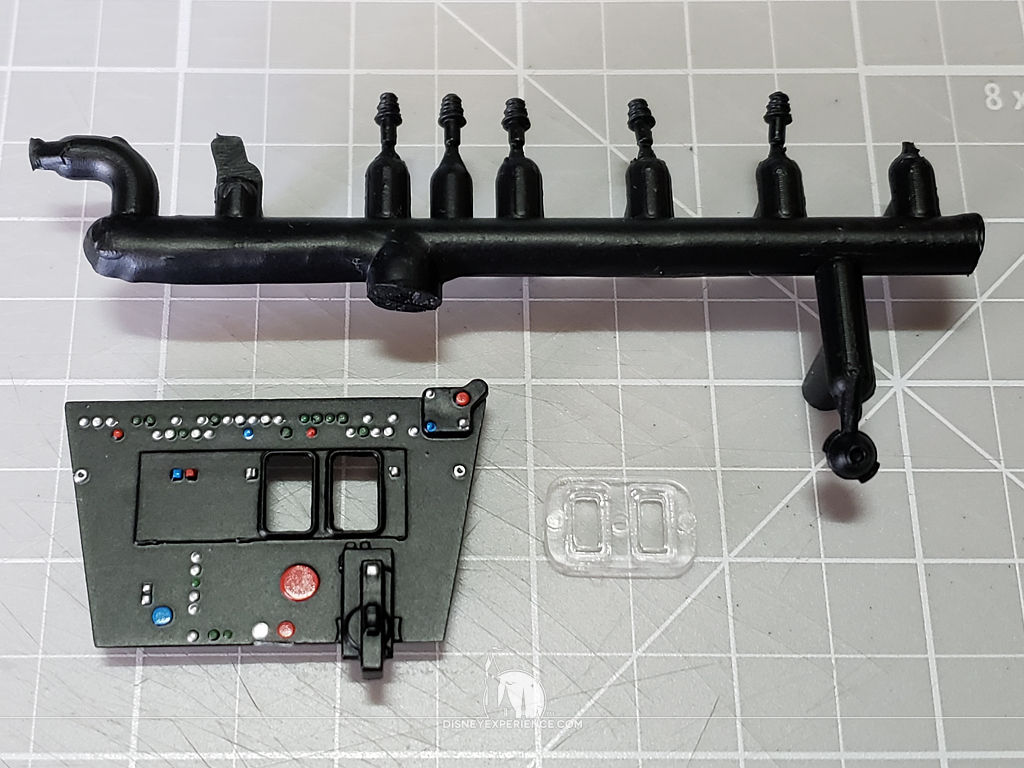
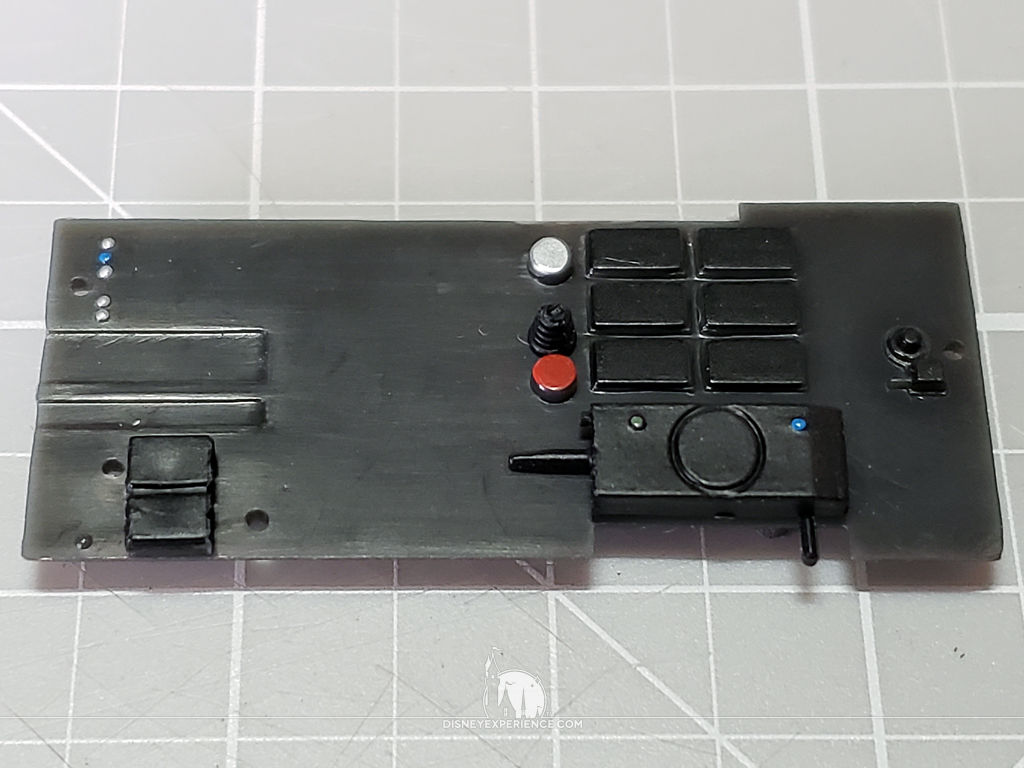
A few tiny nubs and details are glued to the panels. I should note that Issue 62 shows the main display part as a solid black piece on the sprue. This is not that case as it has been replaced with a clear part. Even the instructions show a solid black piece being assembled.
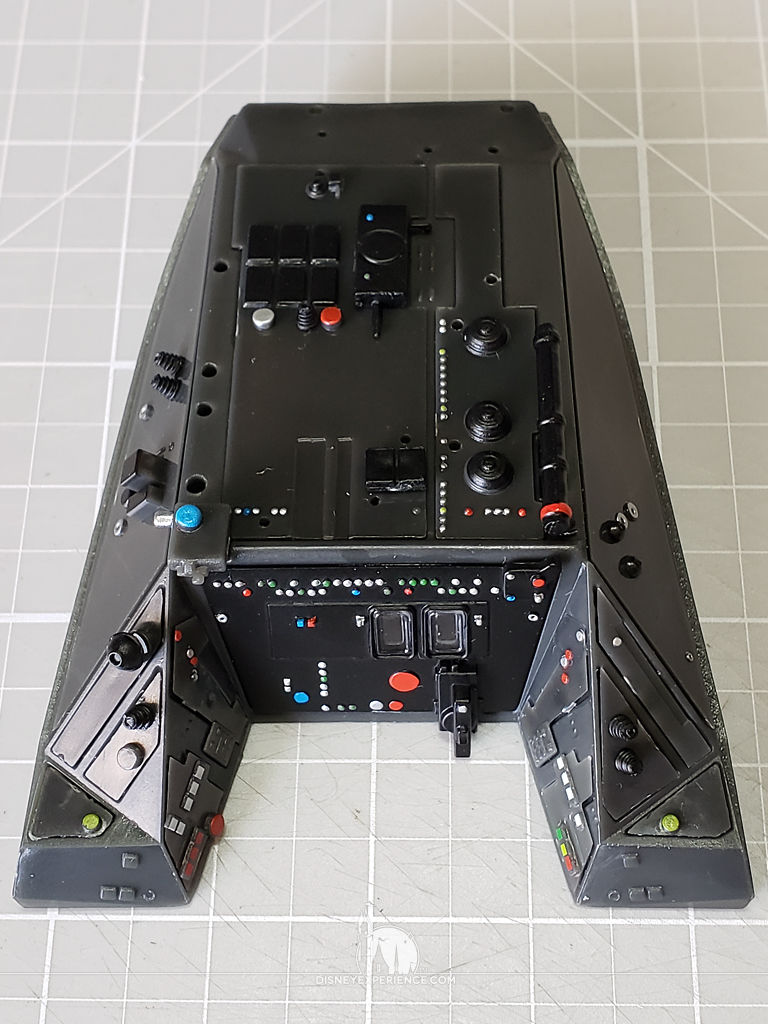
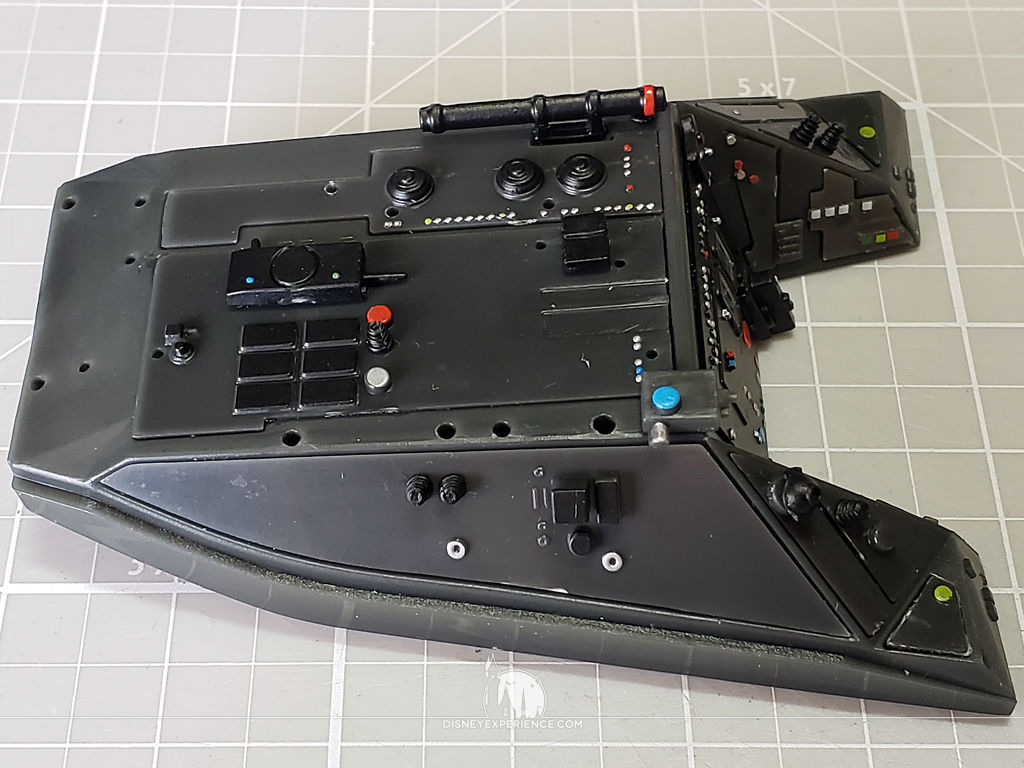
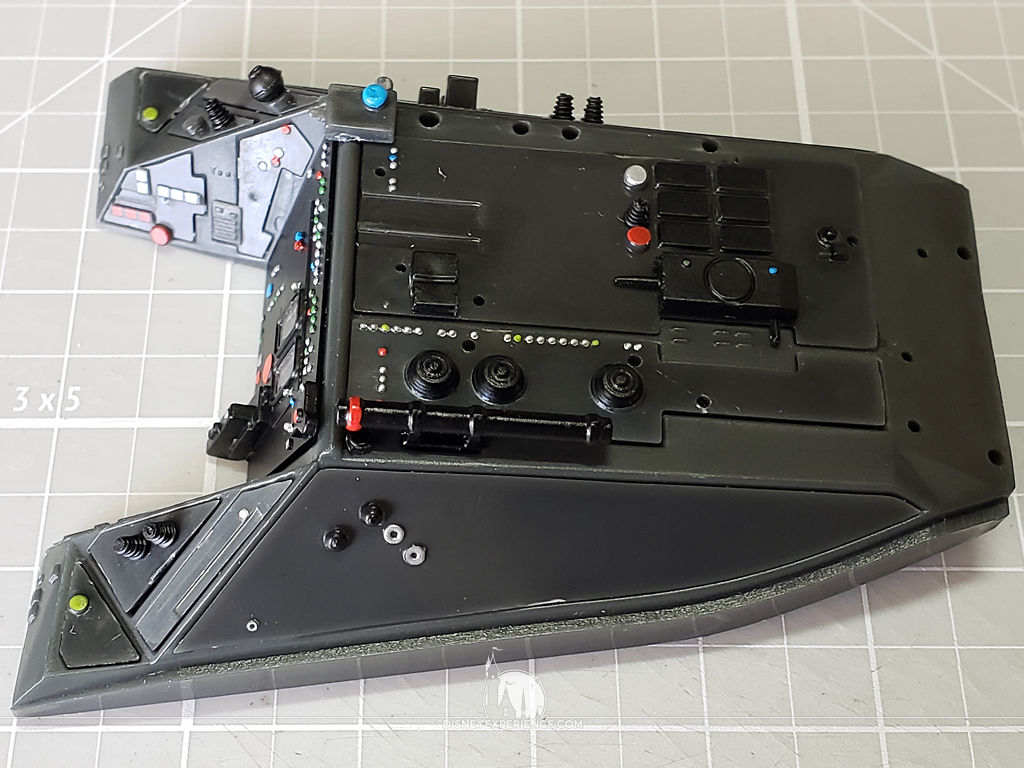
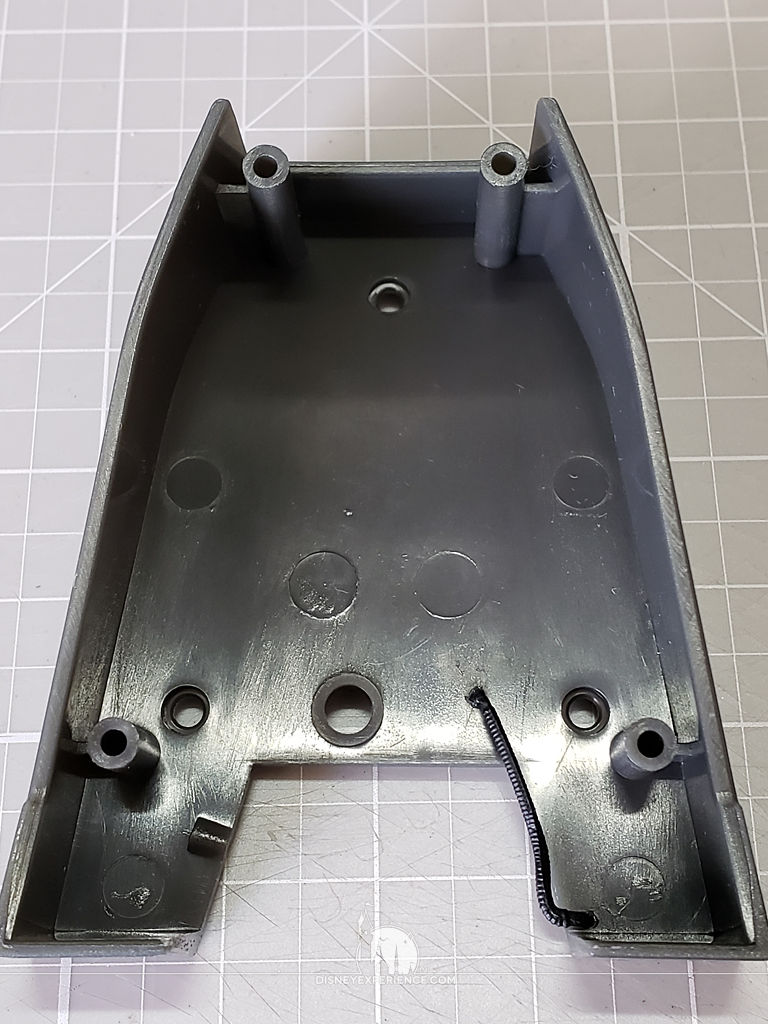
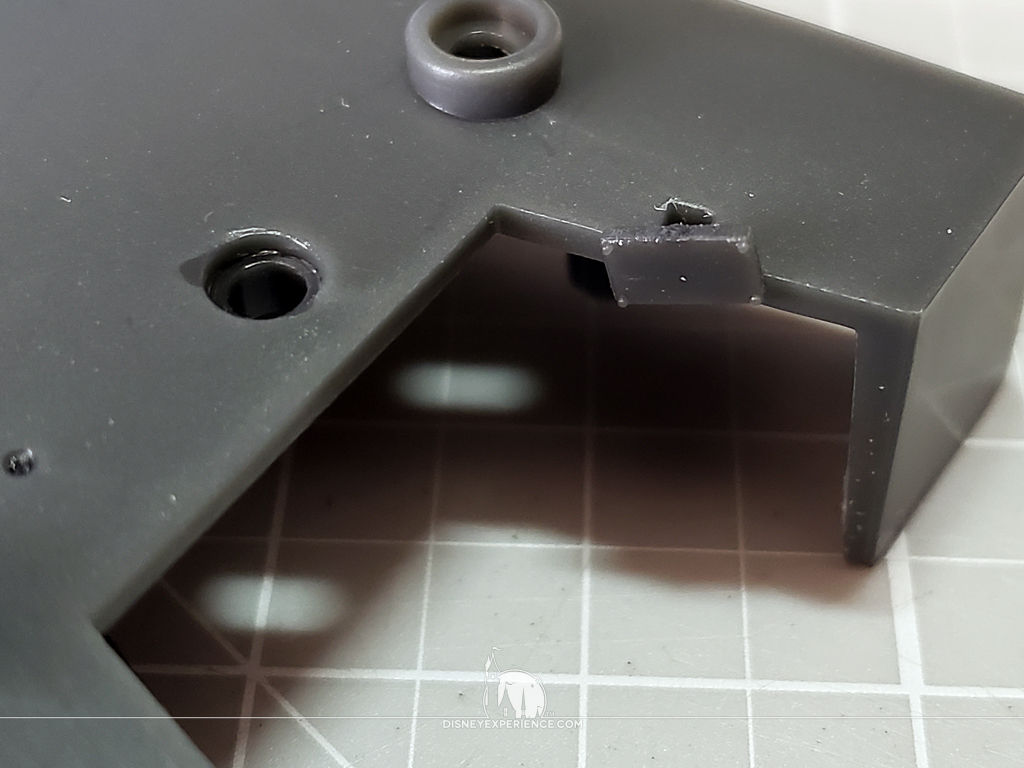
After gluing the panels to the dashboard, I added a few final details to the dashboard housing.
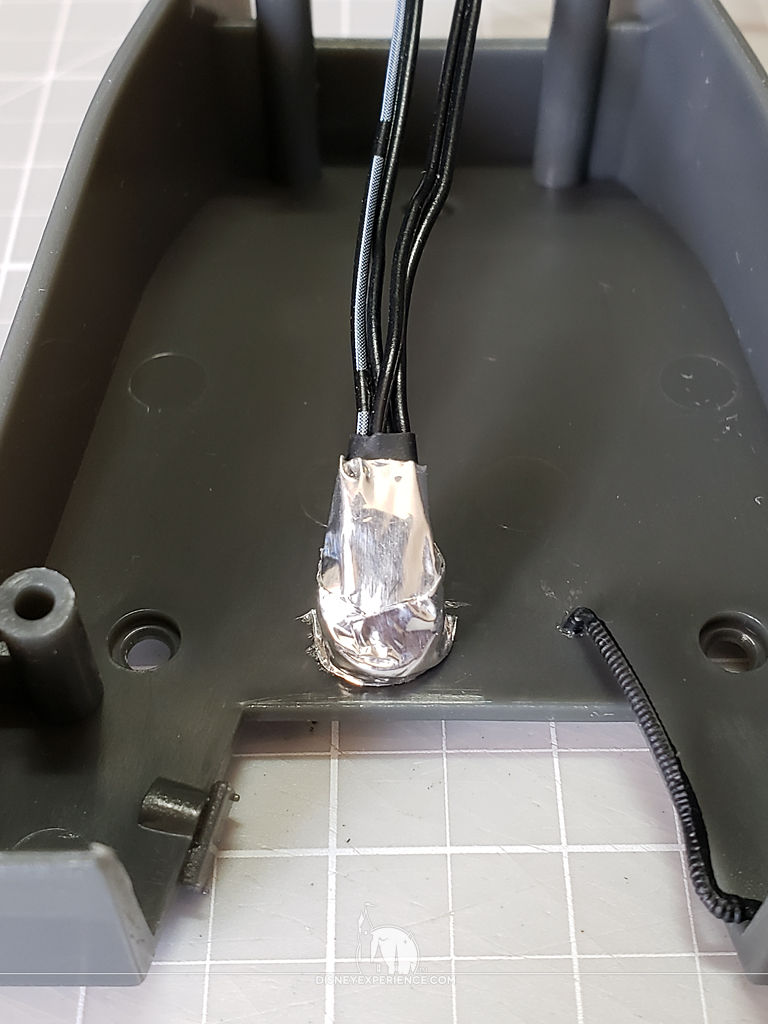
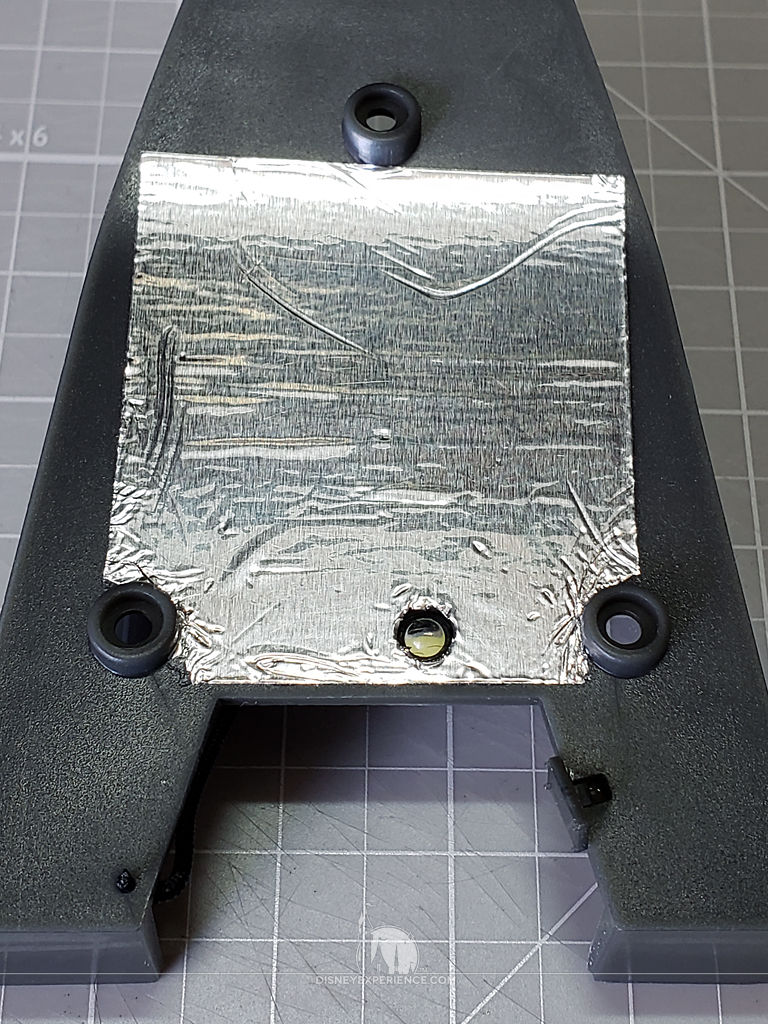
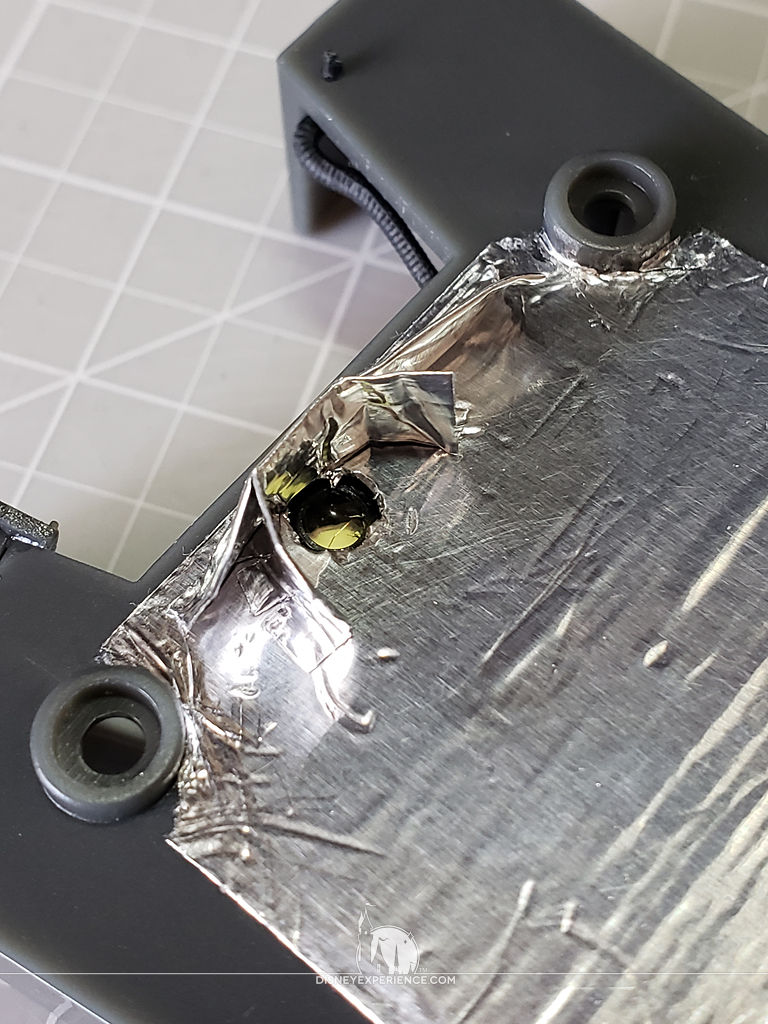

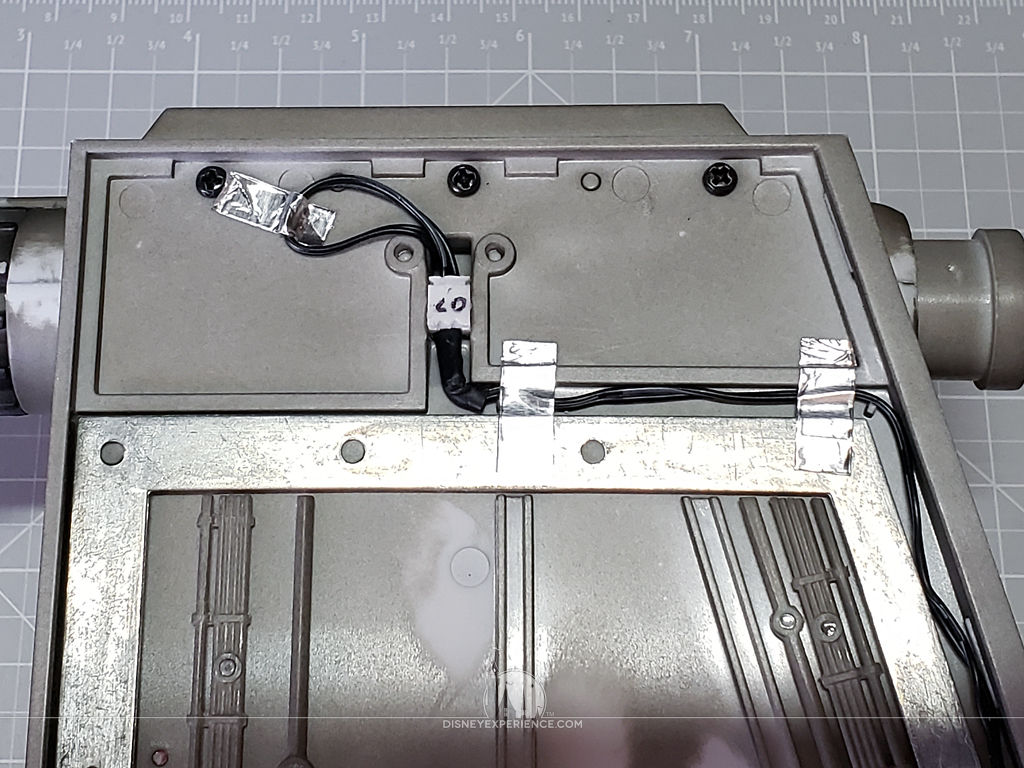
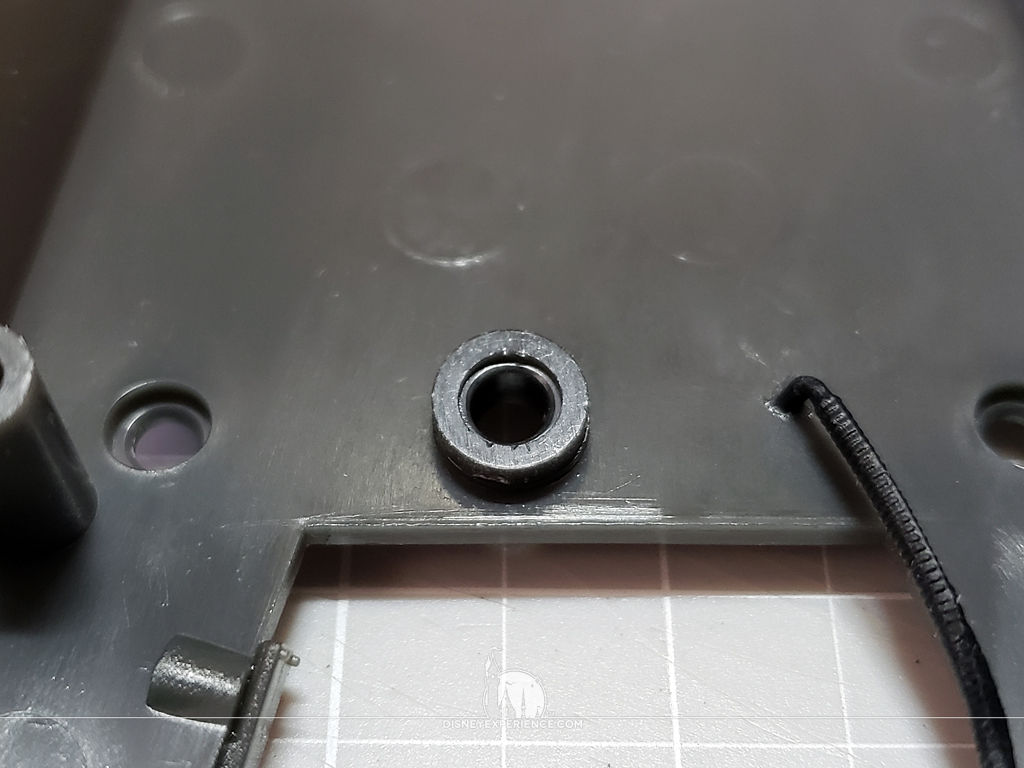
Rather than light blocking the inside of the dashboard with paint, I decided to go with foil tape.

The LED wires stick out under the dashboard, so I will have to paint that black later on. The instructions never show this, nor dose it say to bend the wires to make them less visible.
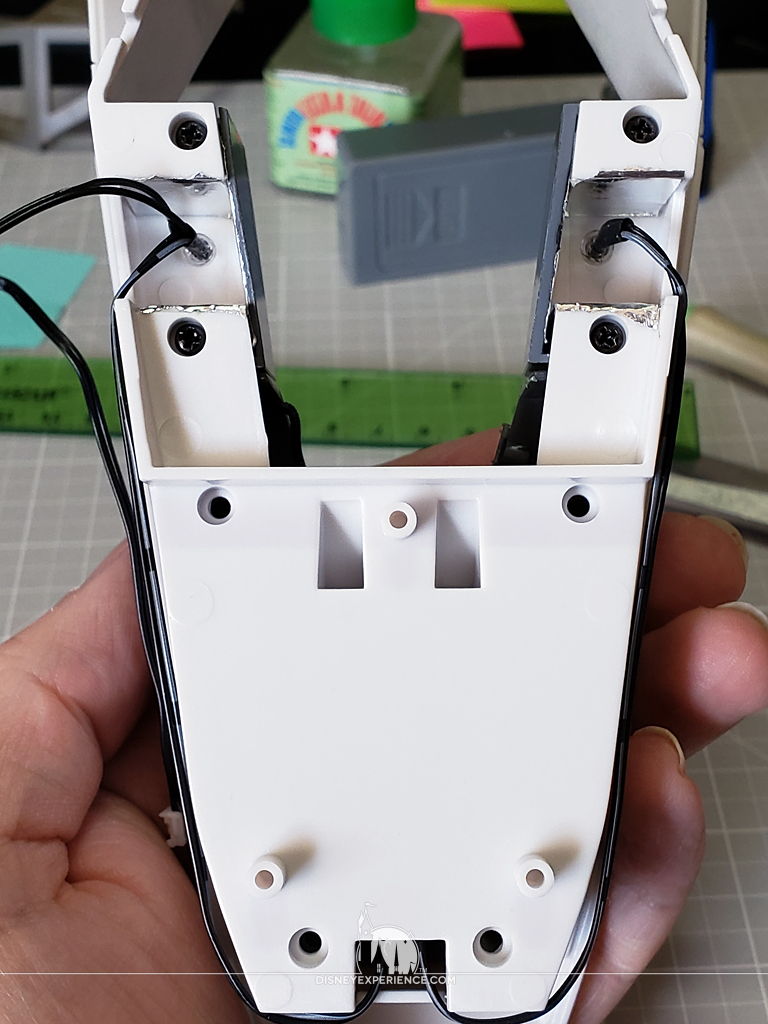

After setting the dashboard into the cockpit and routing the wires around the shell, I tested the electronics.
New Display Bracket!
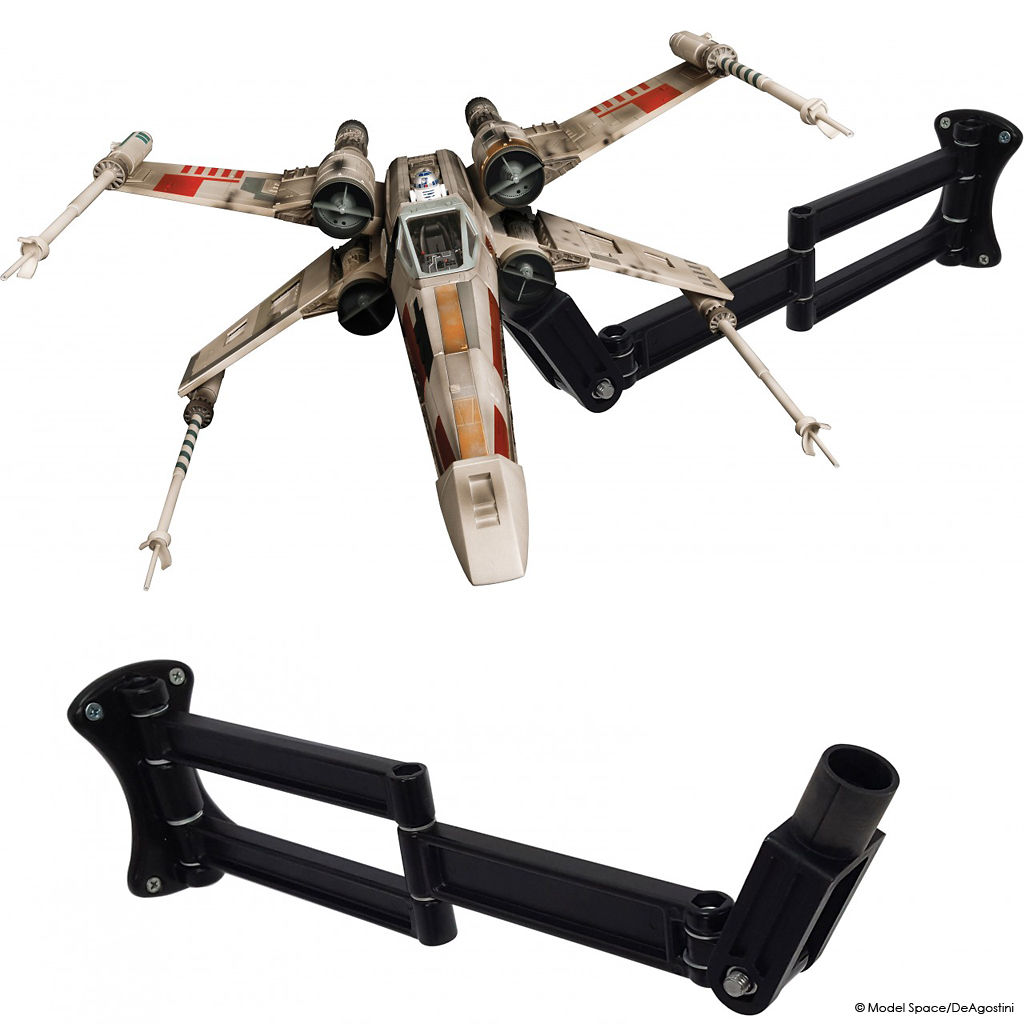
Last month, Model Space released the new $50 X-Wing display bracket. The bracket is for mounting the X-Wing onto a wall, and it looks similar to the one that came with the Millennium Falcon. This one uses a custom attachment head, so I can’t go out and buy a cheaper bracket. But, by the look of it, there appears to be a large range of motion for creating great display poses. I will undoubtedly buy the bracket since I don’t have the space to display it otherwise.
Prev Journal Entry | Next Journal Entry
Both the post author and this website have not received any compensation for writing this post. Both the post author and this website have no material connection to the third-party brands, products, or services that have been mentioned. Some of the links in the post above are “affiliate links.” This means that if you purchase the item, we will receive a commission. As an Amazon associate, we earn from qualifying products. This is being disclosed in accordance with the Federal Trade Commission’s 16 CFR, Part 255: “Guides Concerning the Use of Endorsements and Testimonials in Advertising.”
Do you have a thought about this post? Why not leave a comment . . .