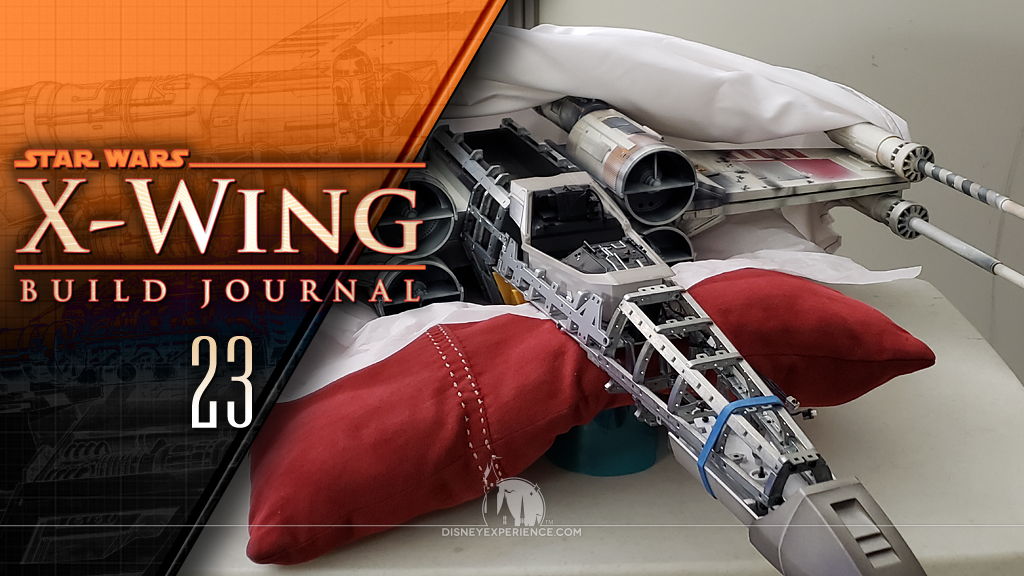
X-Wing Build Journal No. 23: Issues 81-84
Trader Sam | January 11, 2021
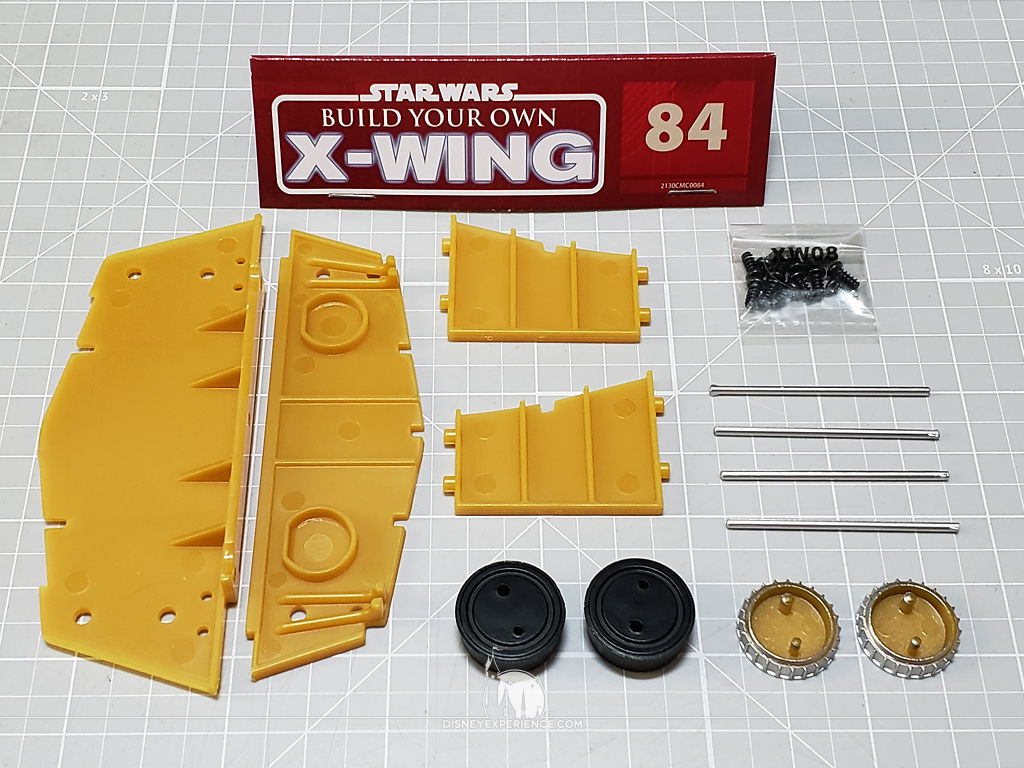
What’s Inside
This month, I continue working on the hyperdrive unit, and I move on to the torpedo housing. The X-Wing’s nose is married to the body, and an error/defect is found while installing the cockpit.


Continuing the Hyperdrive
Work on the hyperdrive continues, adding more details and pipes.
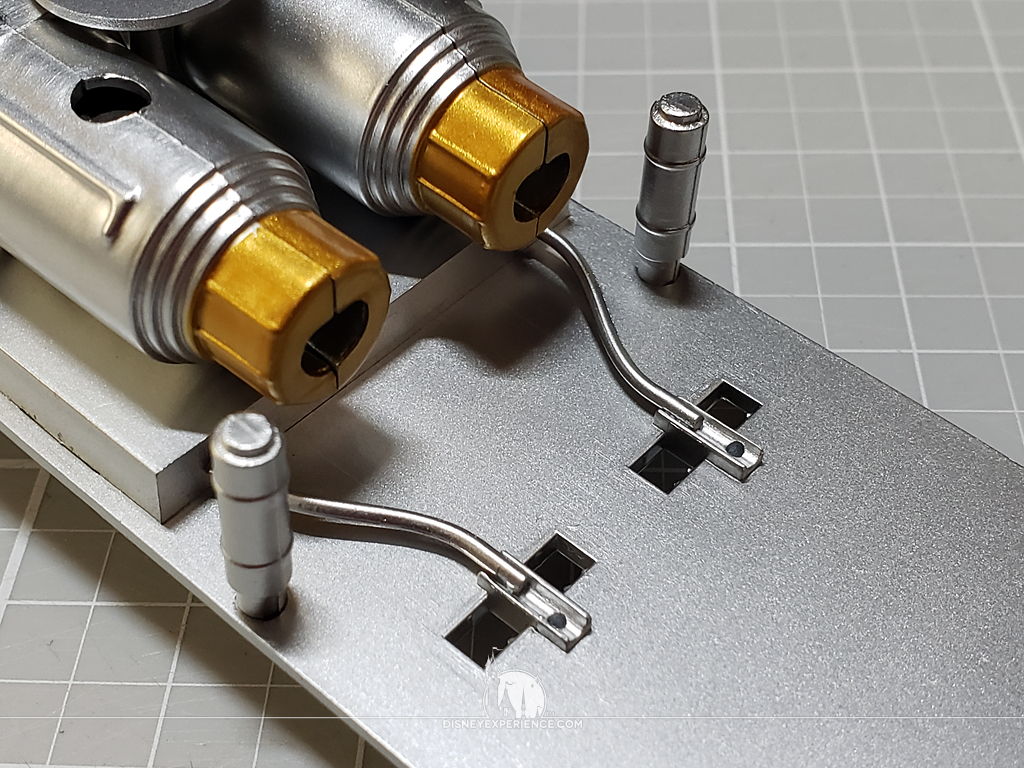
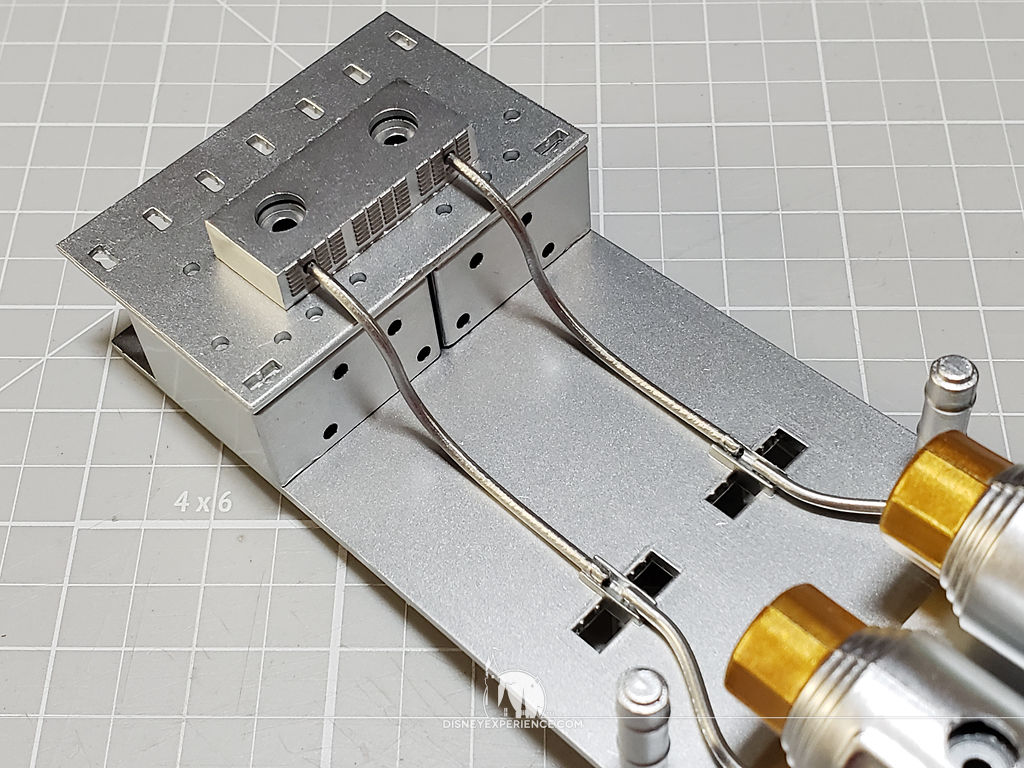
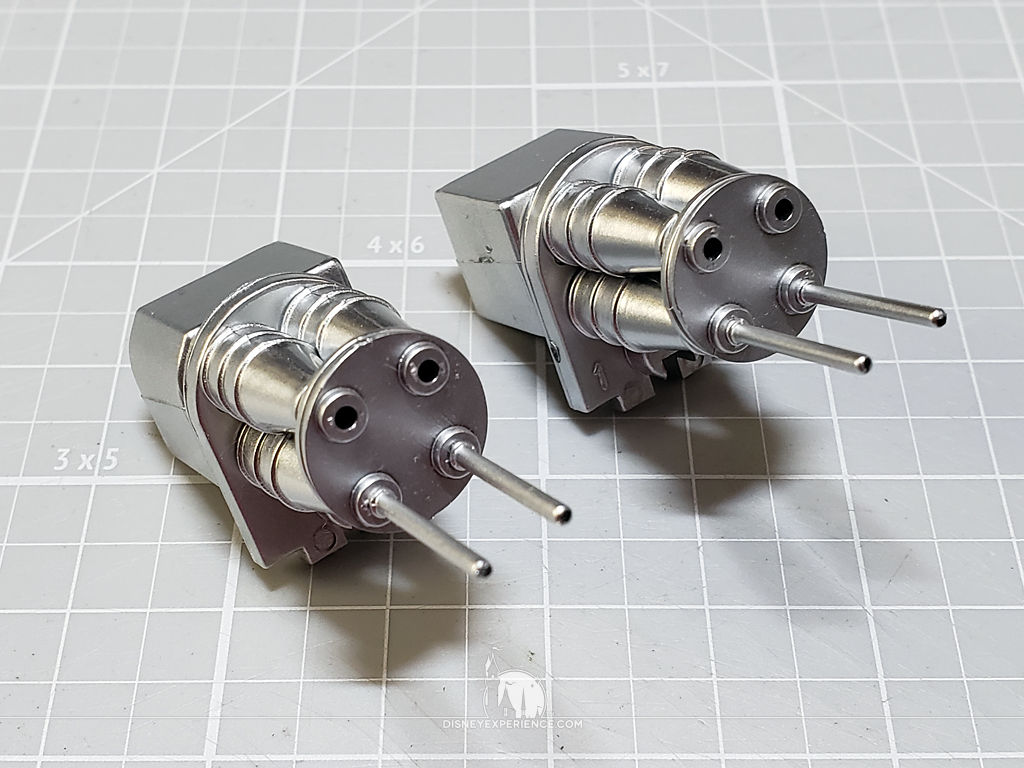
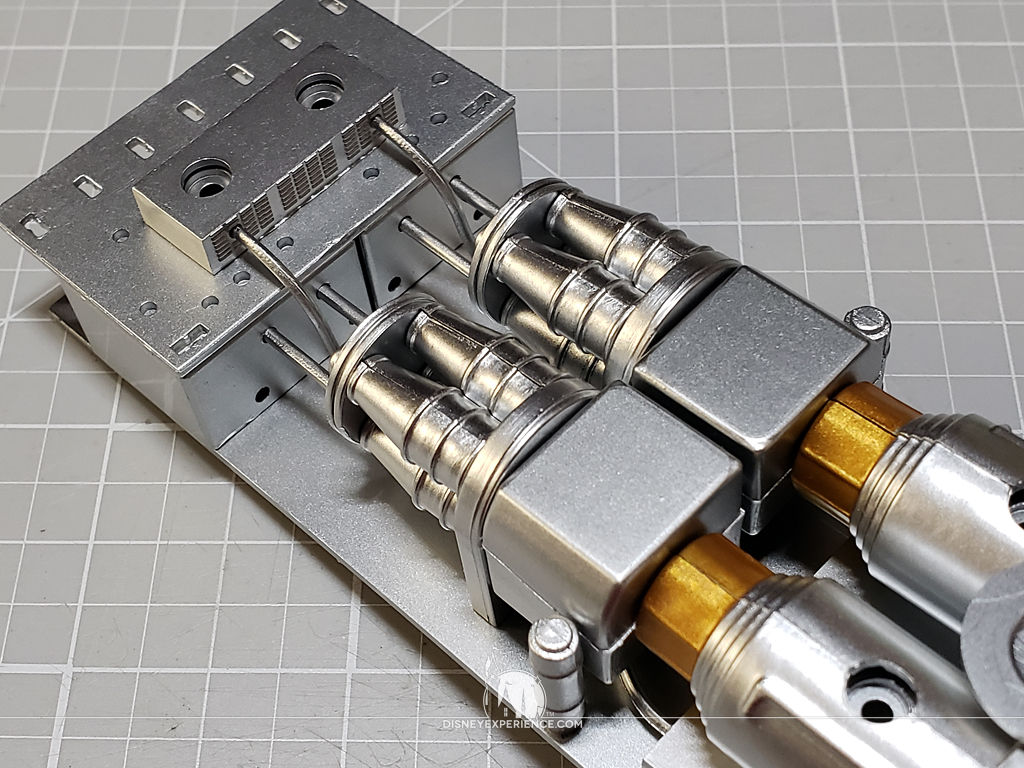
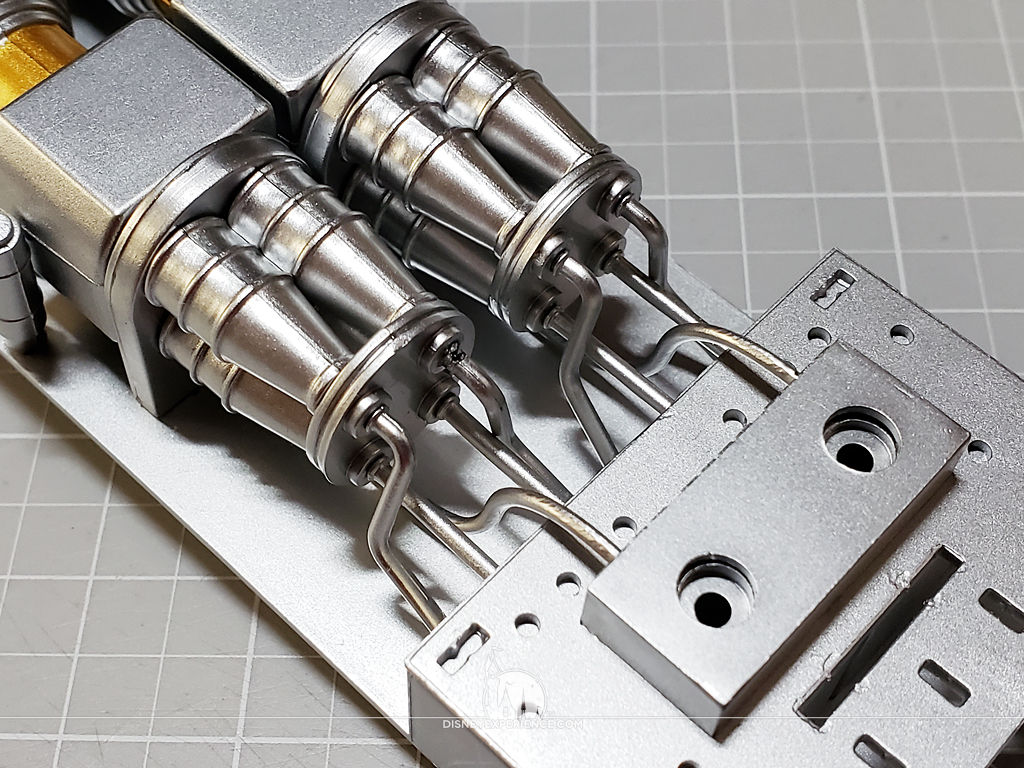
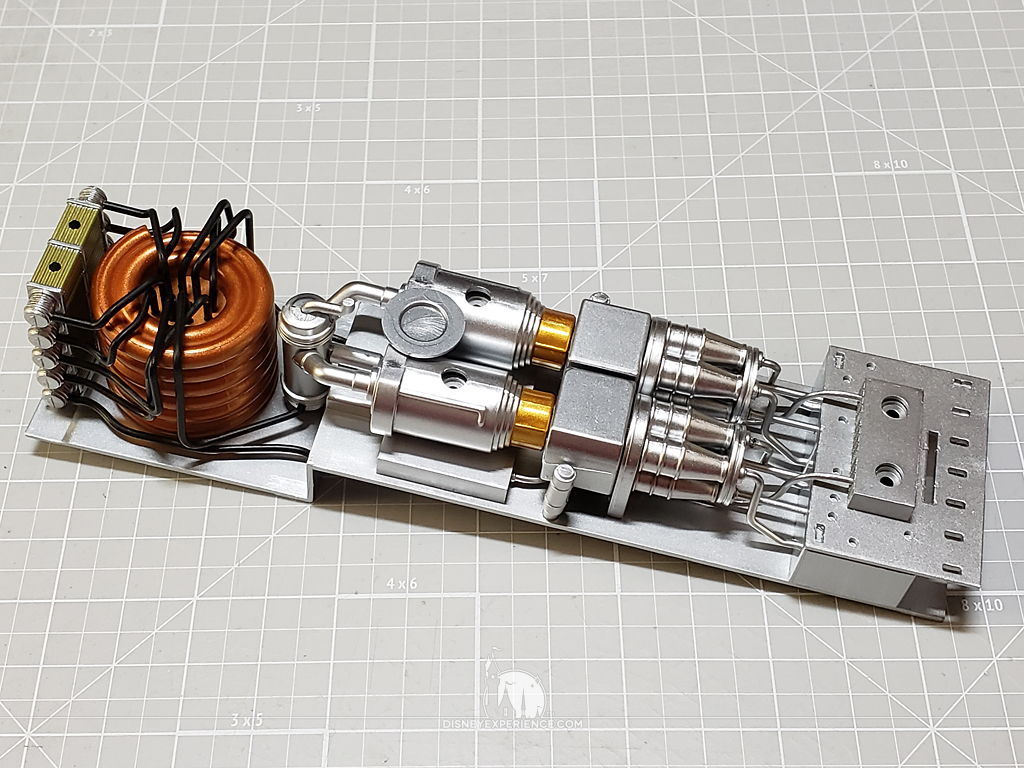
The hyperdrive is really shaping up; I like all of those pipes. I can’t wait to weather this!
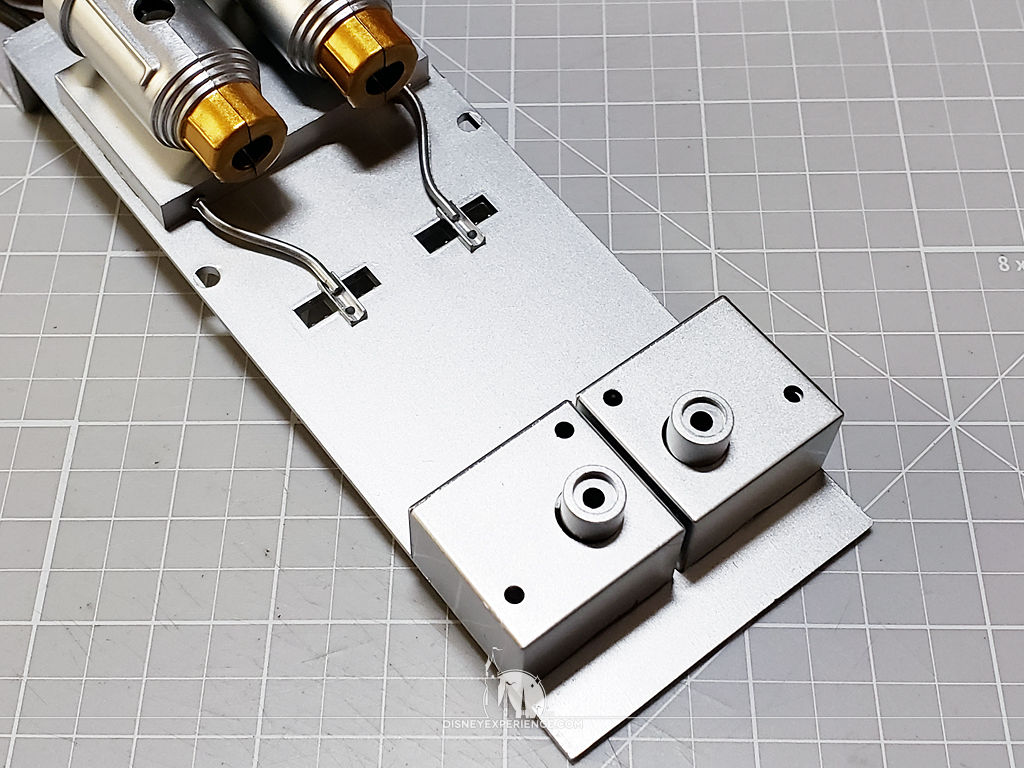
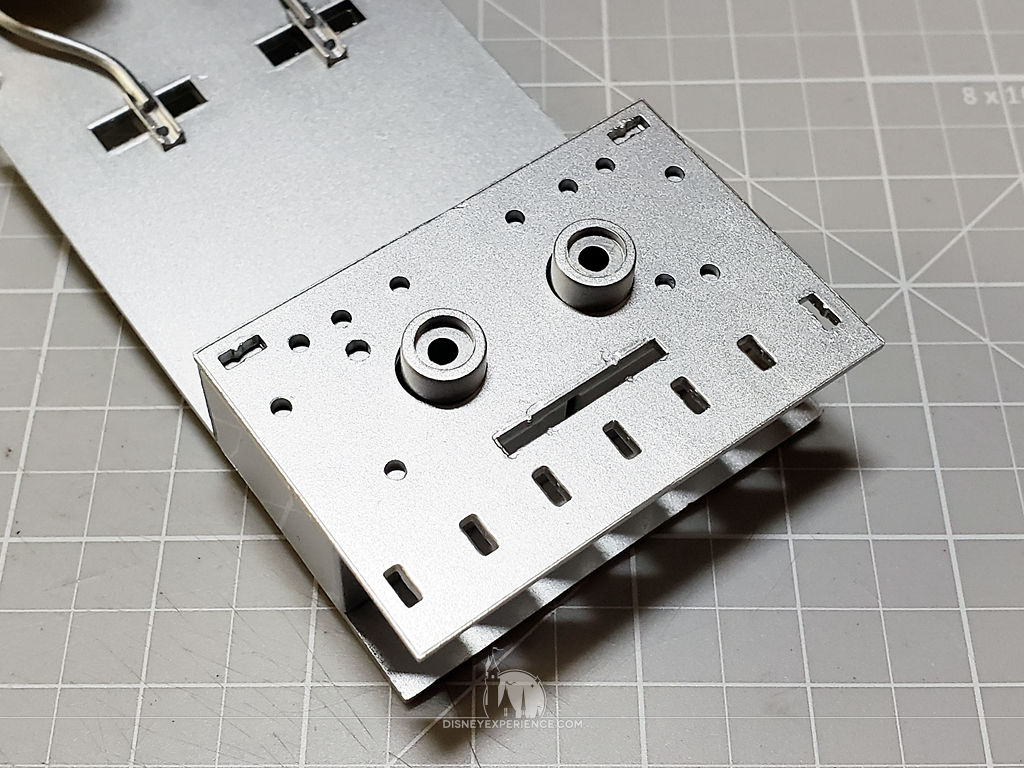
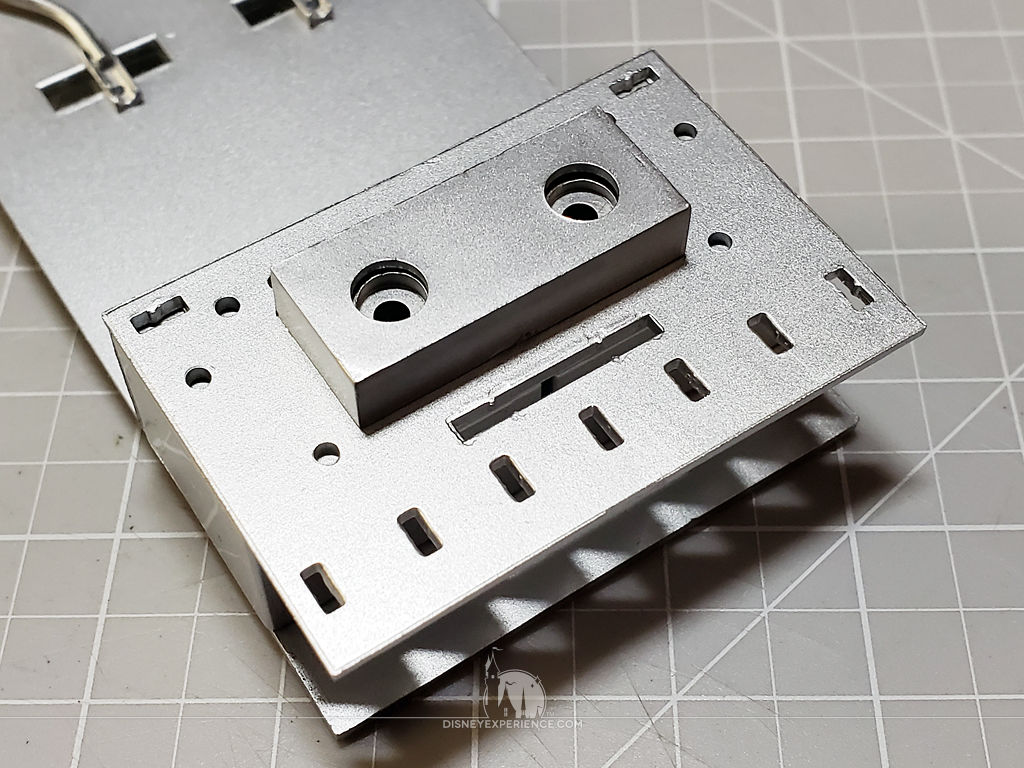
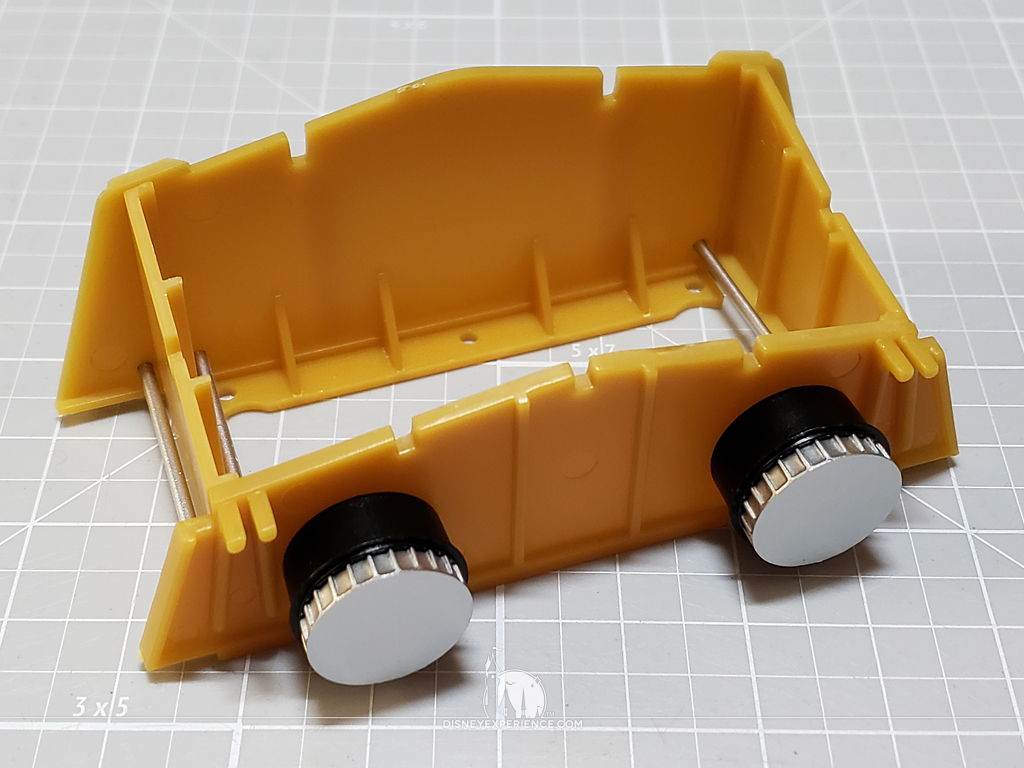
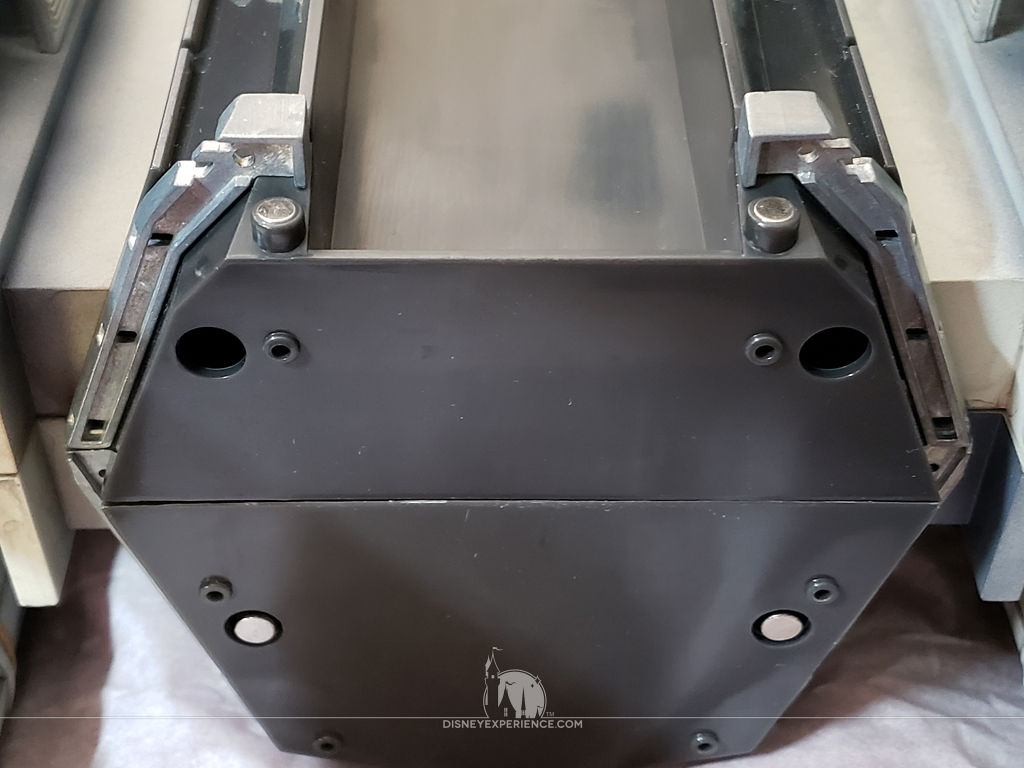
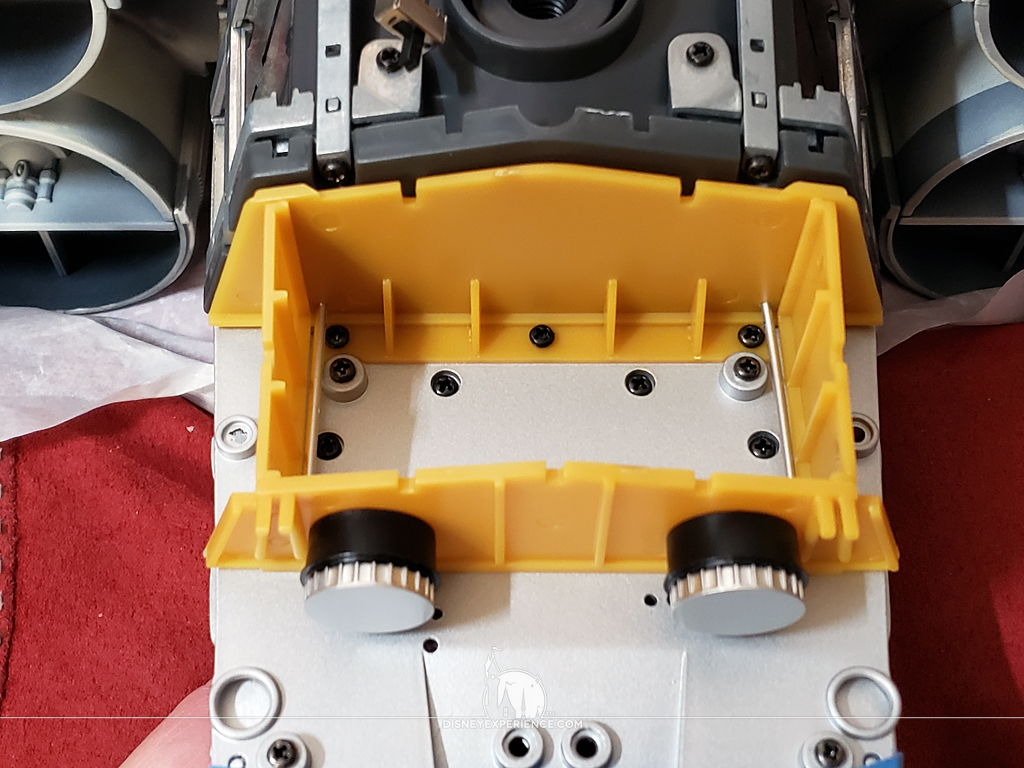
Torpedo Housing
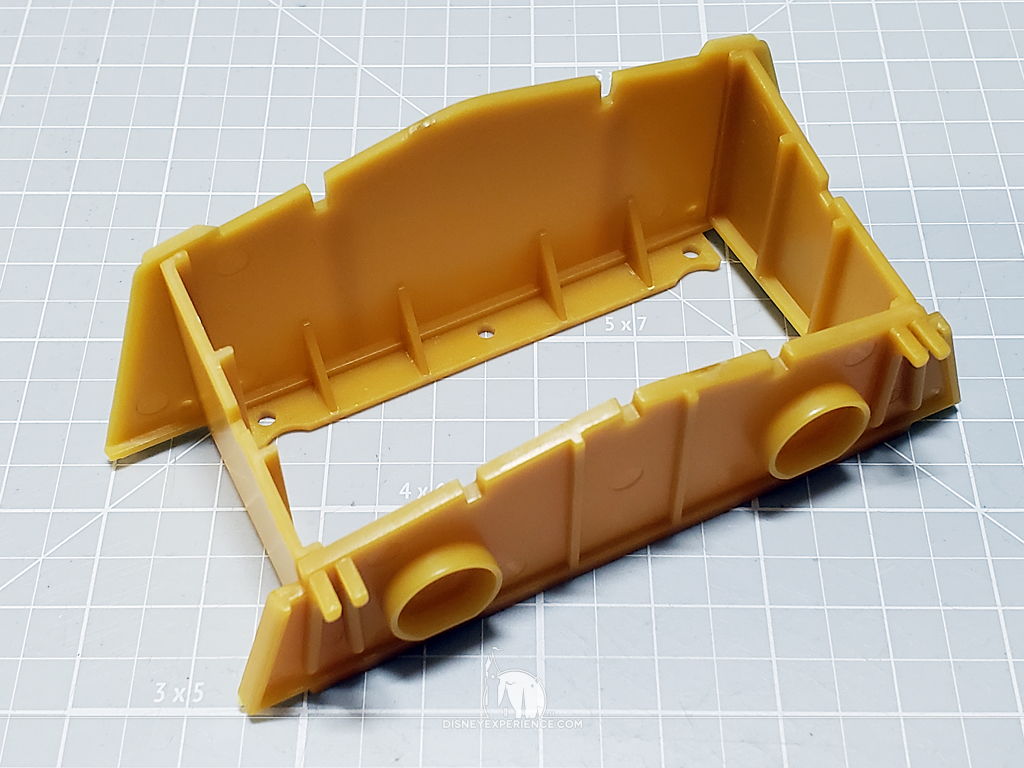
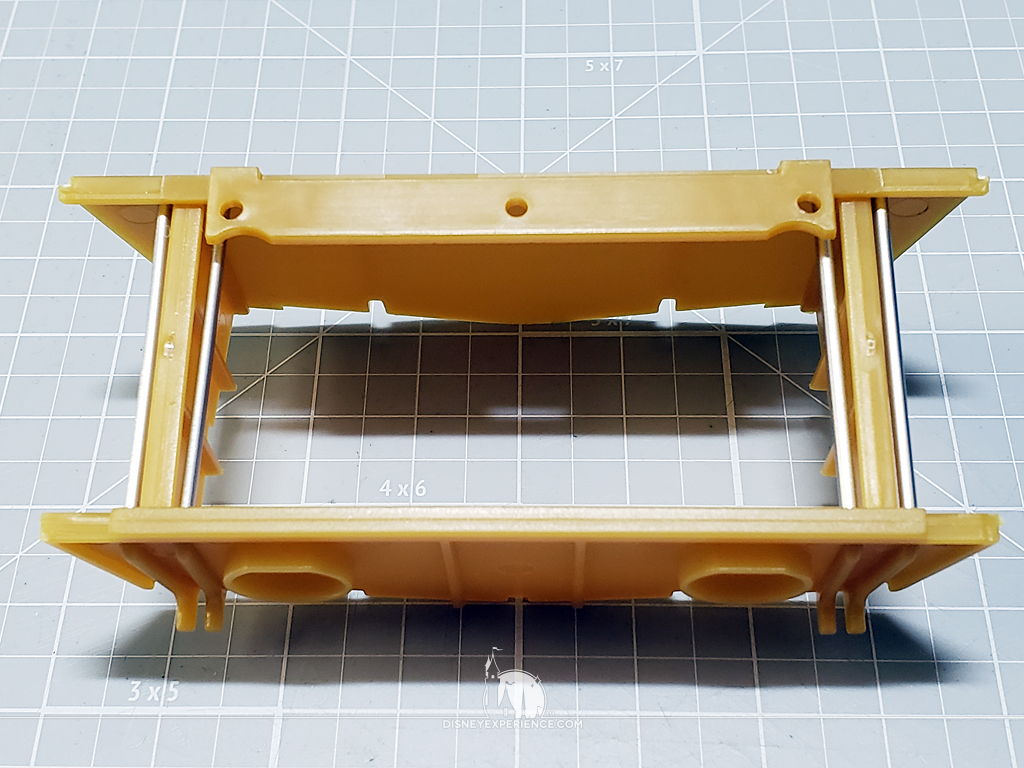
The torpedo housing is pretty simple, and it isn’t much to look at.
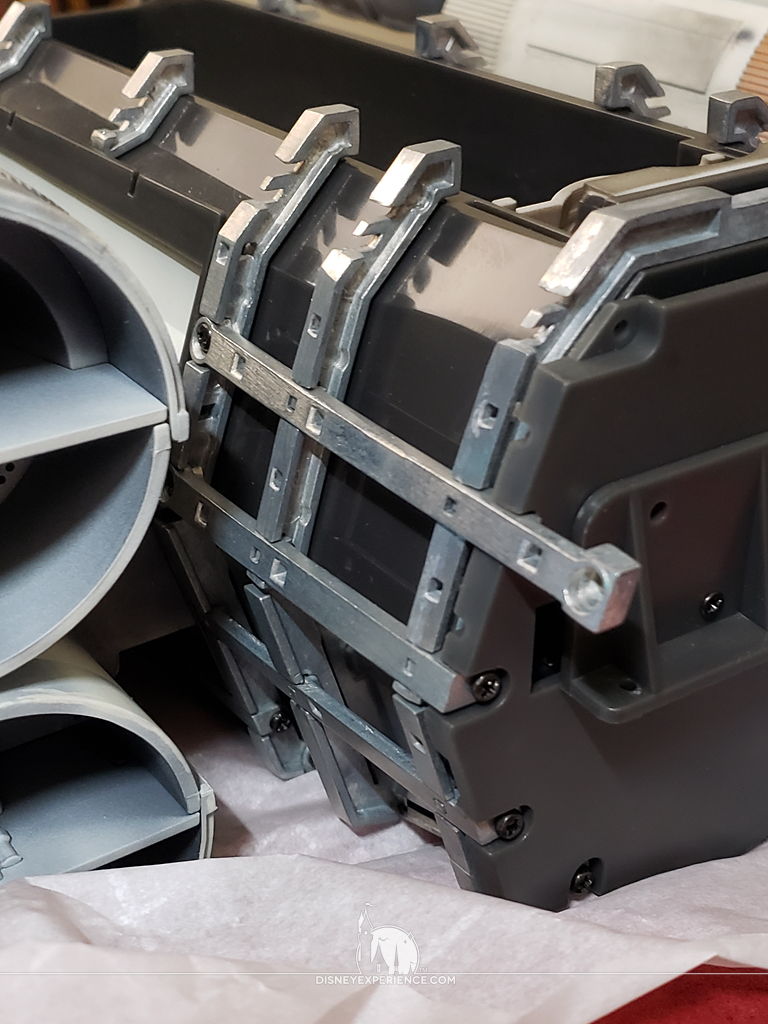
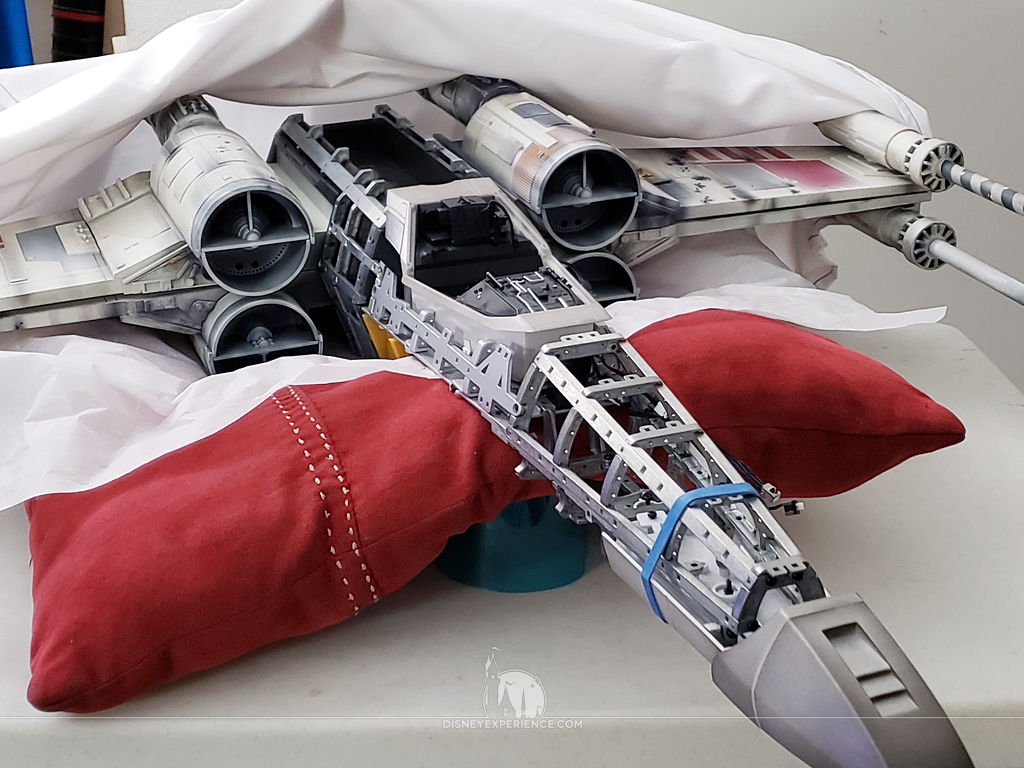
Extending the Fuselage Frame
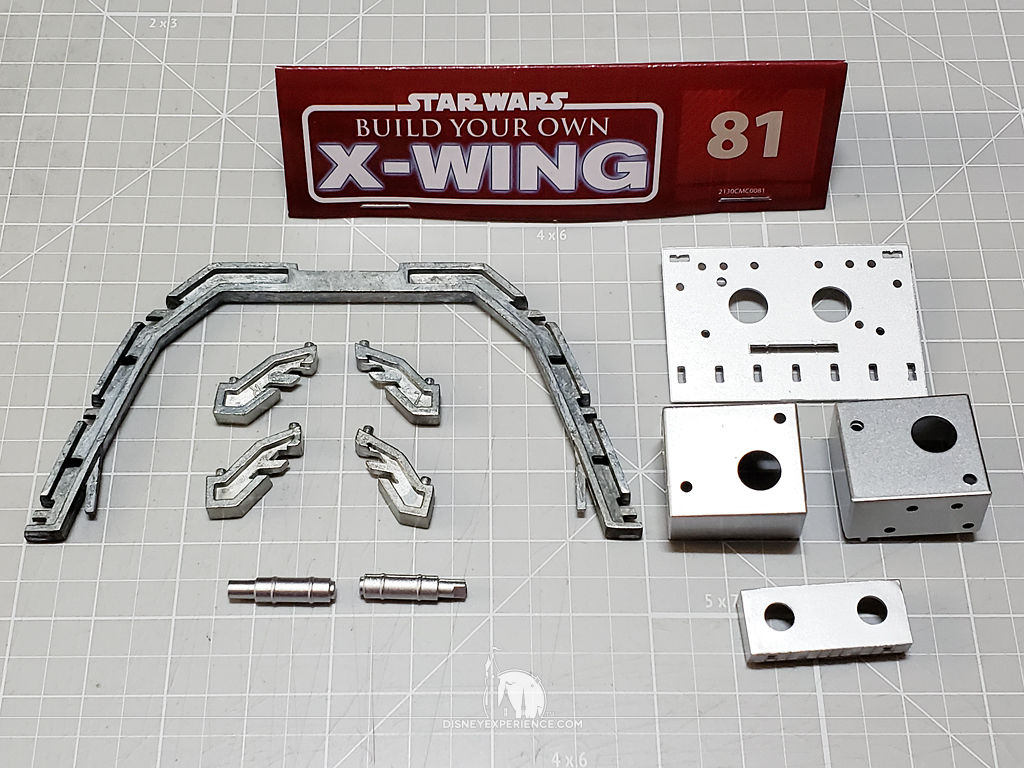
The fuselage now gets some more metal framework. I begin by adding several loose pieces which sit at the front, . . .
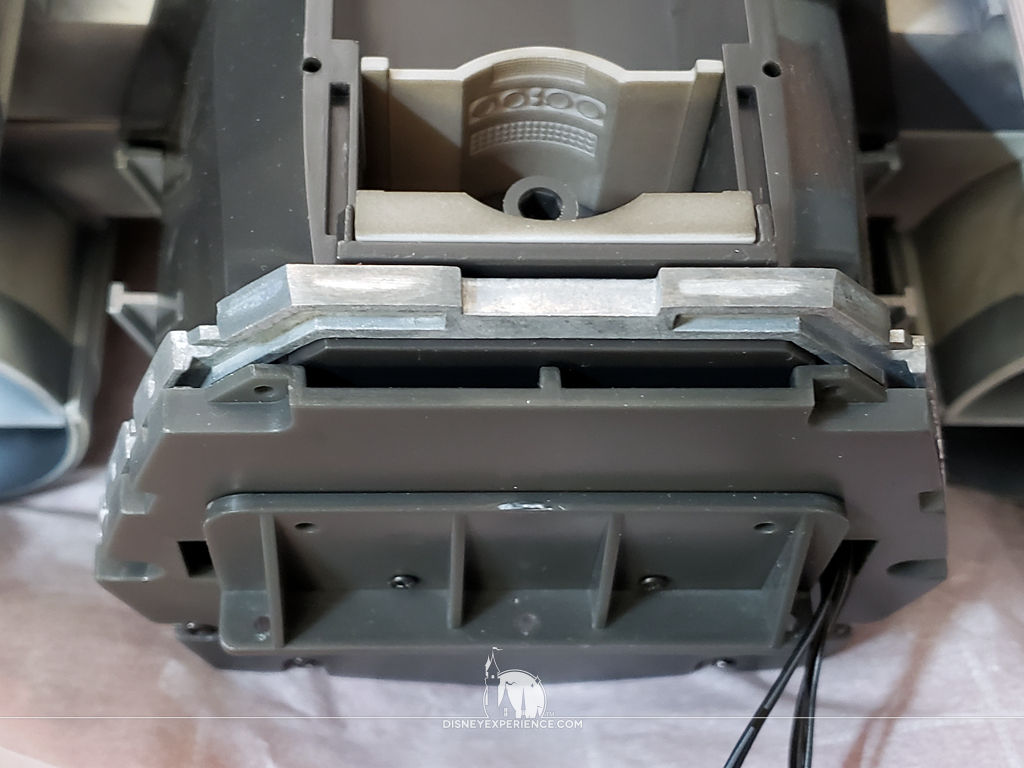
. . . the sides, . . .
. . . and the rear of the main body.
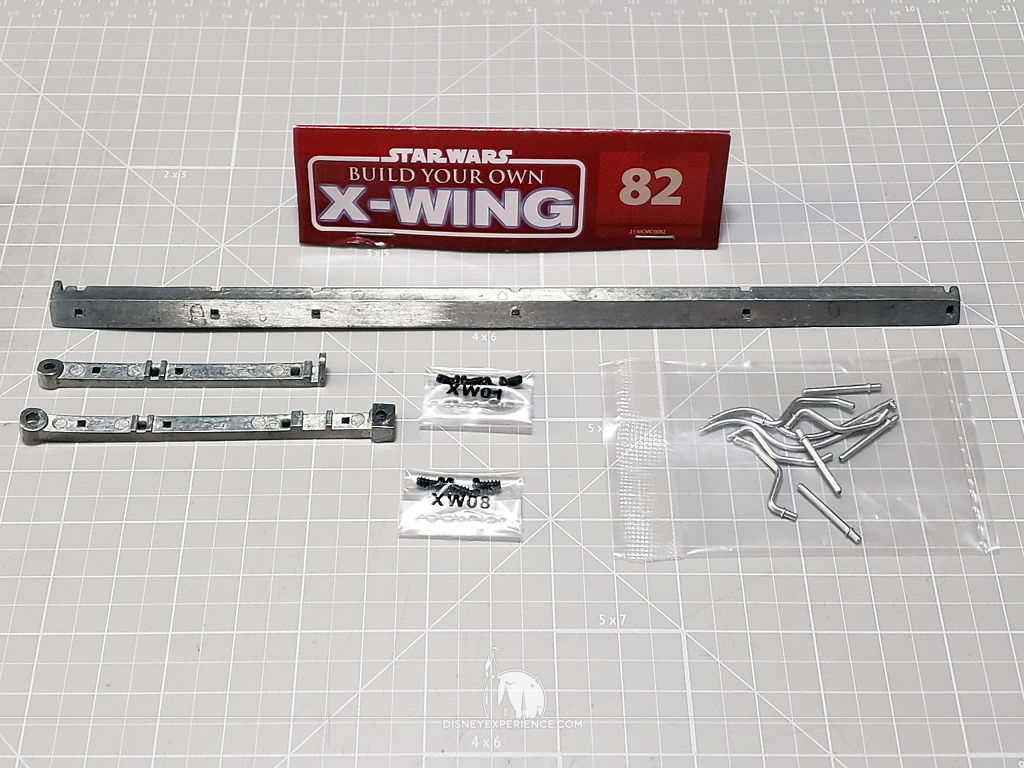
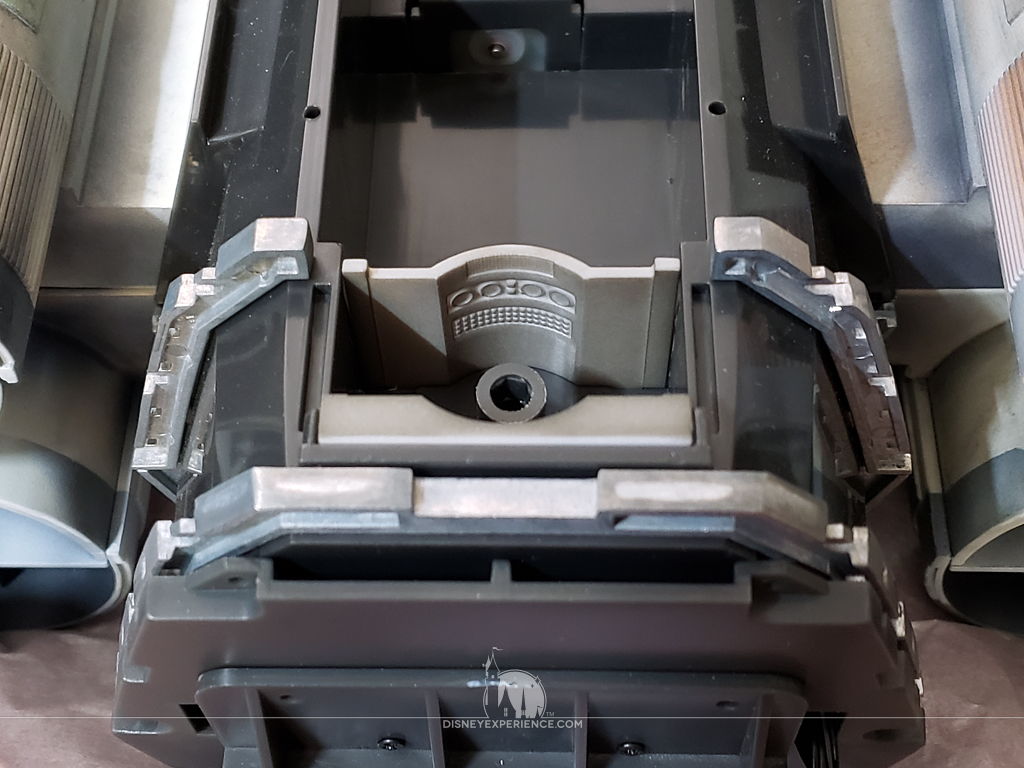
Next, two frame assemblies needed to be assembled . . .
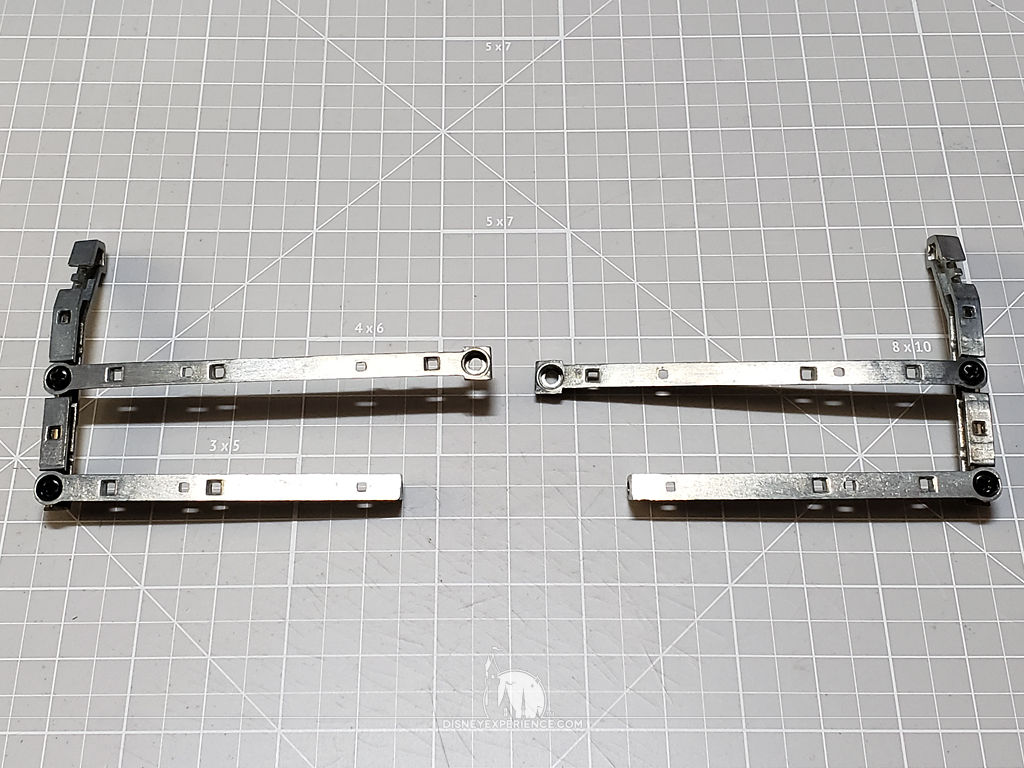
. . . before being attached to the sides of the body. Fitting was tight, and I had to use a pair of pliers to gently coax a piece or two into place.
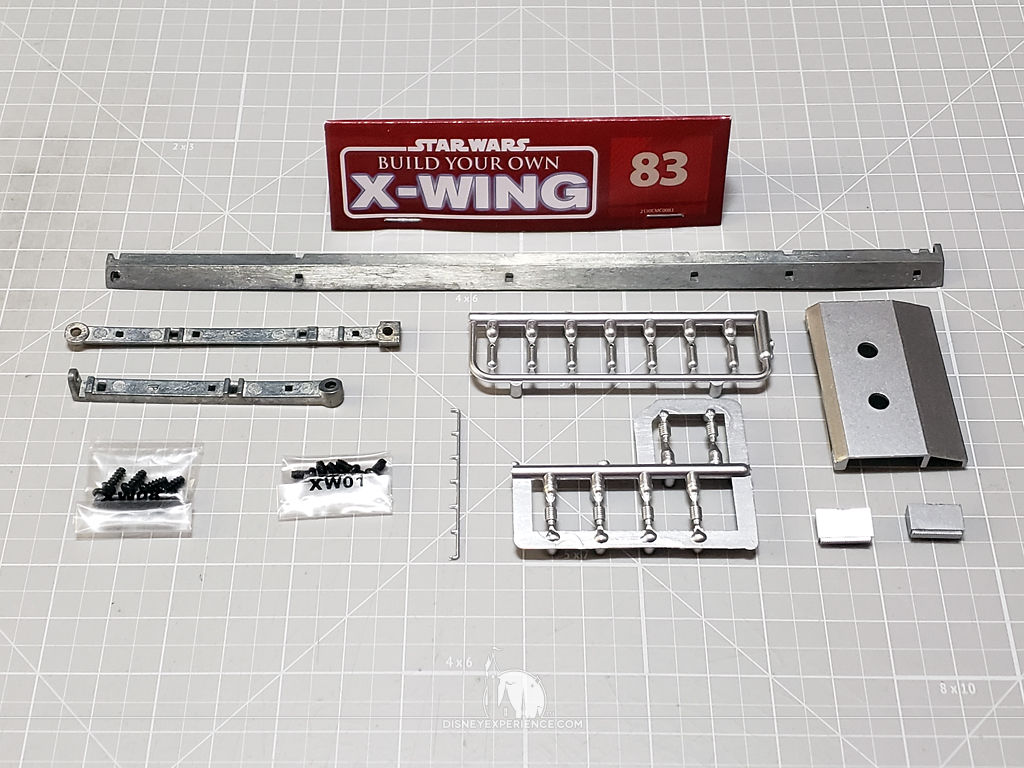
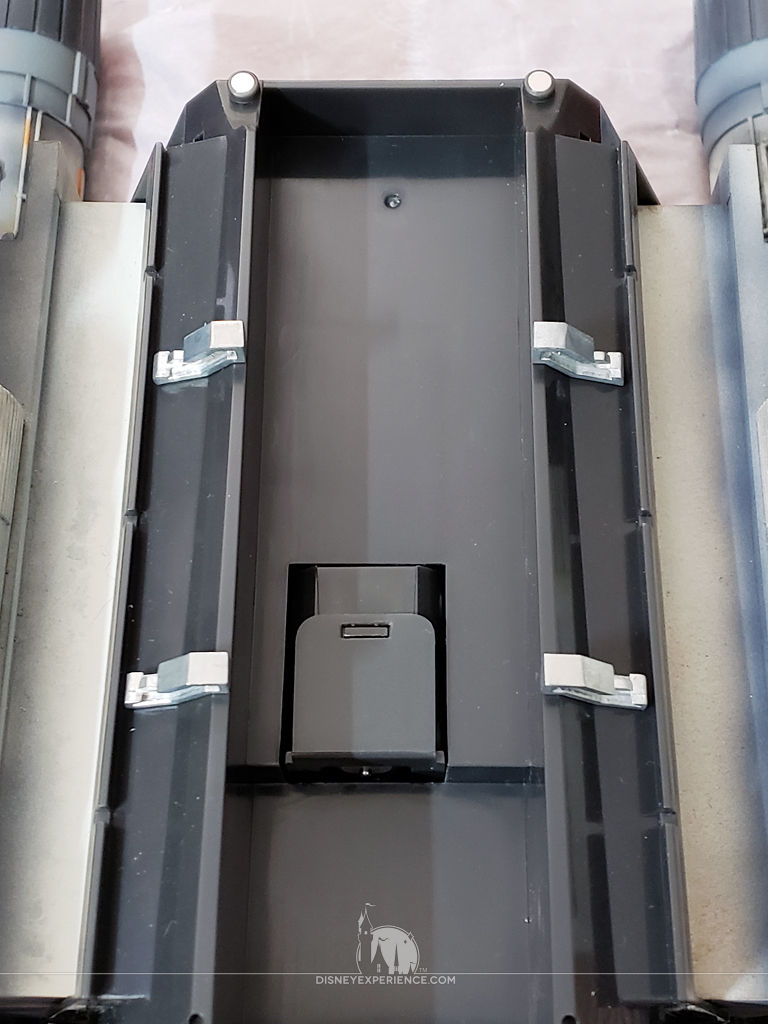
Two long frame pieces hold everything in place. Note that the ends of the two long frame pieces are slightly bent toward the front of the body. This is intentional.
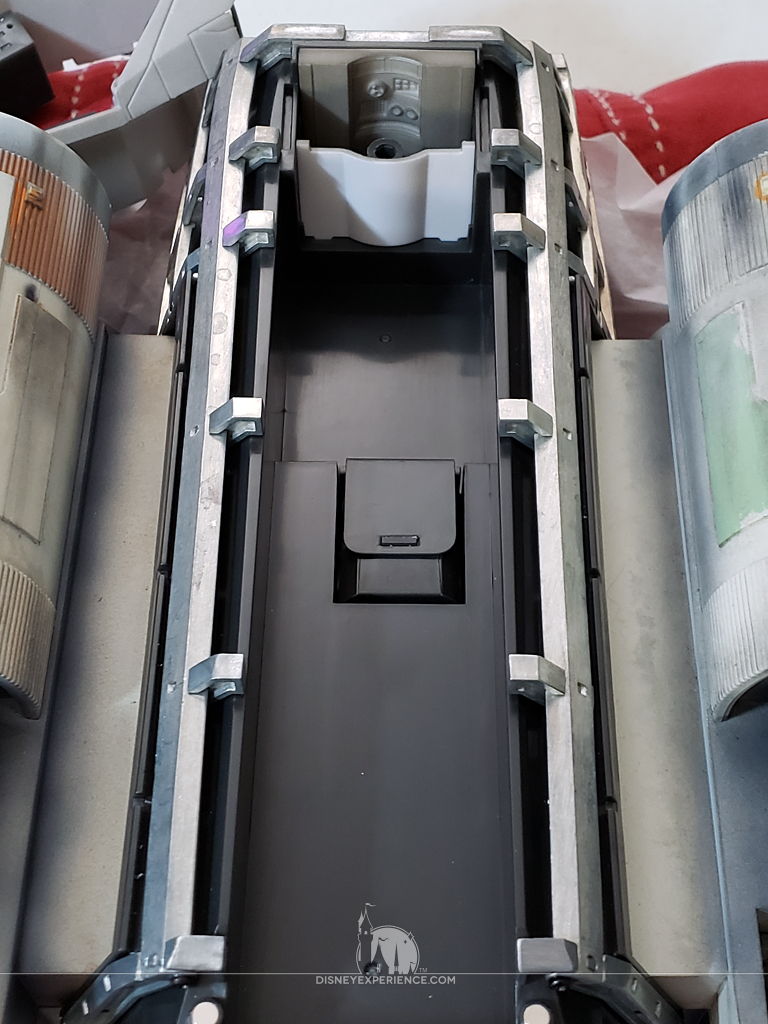
Joining the Two Halves of the X-Wing
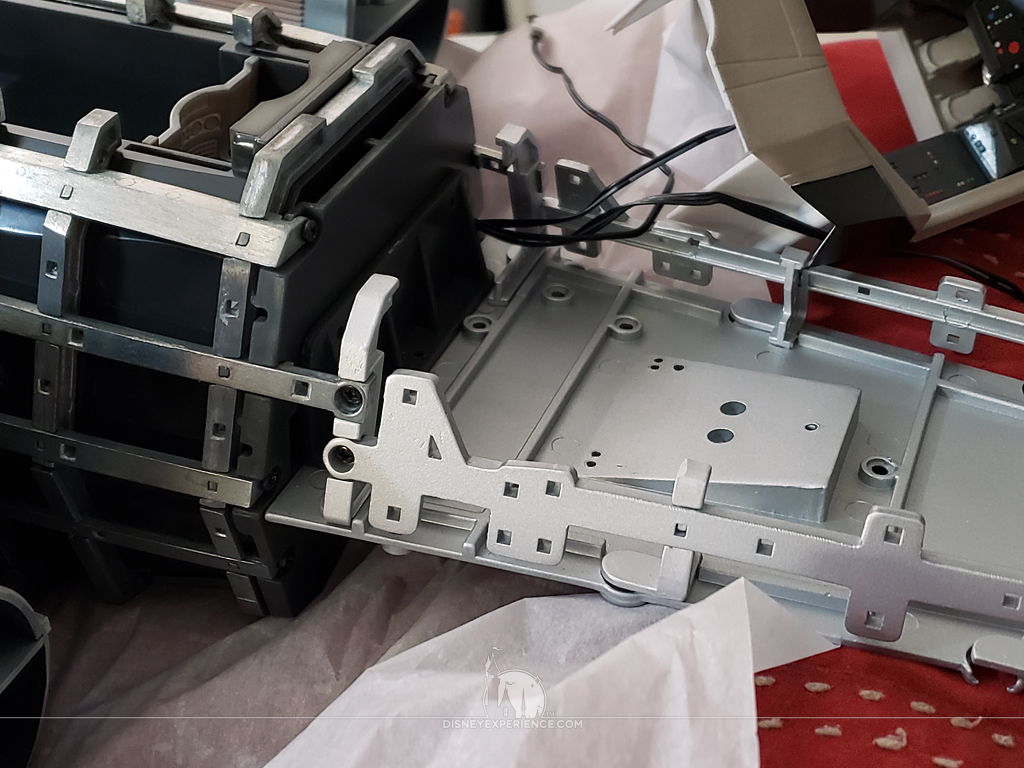
With the new framing in place, it was time to join the nose to the body with two side screws.
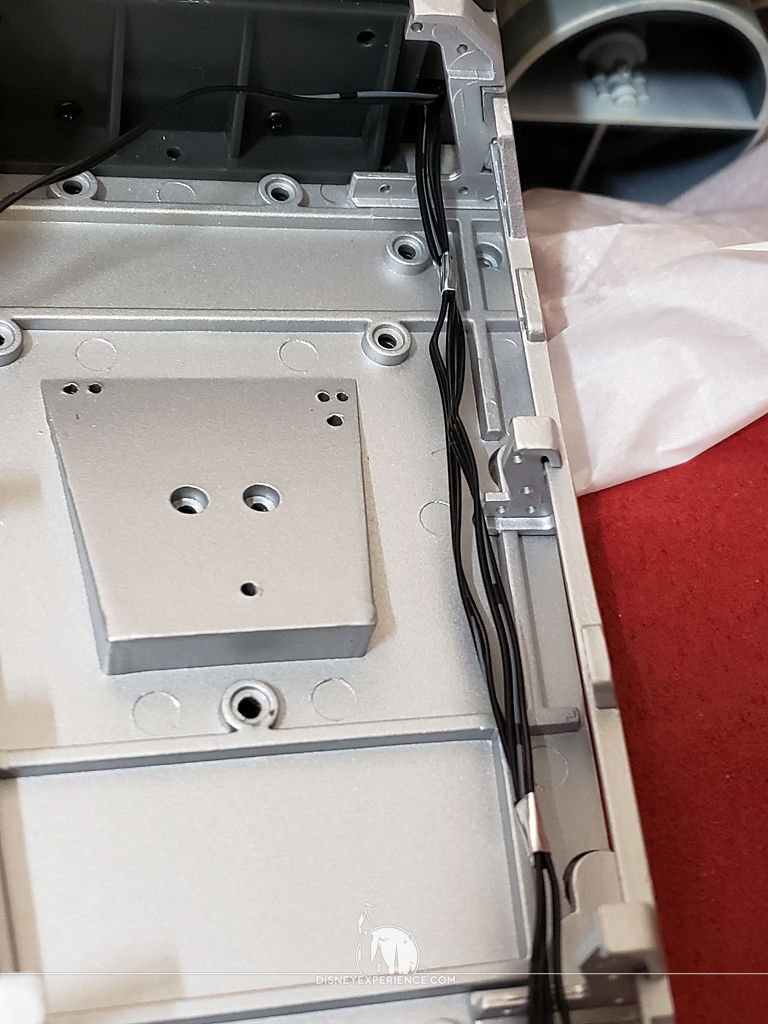
Next, the cockpit needed to be fitted into the nose section. The instructions say to remove the side pieces of the nose, which does help with preventing the wires from being pinched. But, since I already used threadlocker compound on those screws, I opted not to remove them. The cockpit slides in just fine anyway. It’s just harder to keep the wires out of the way.
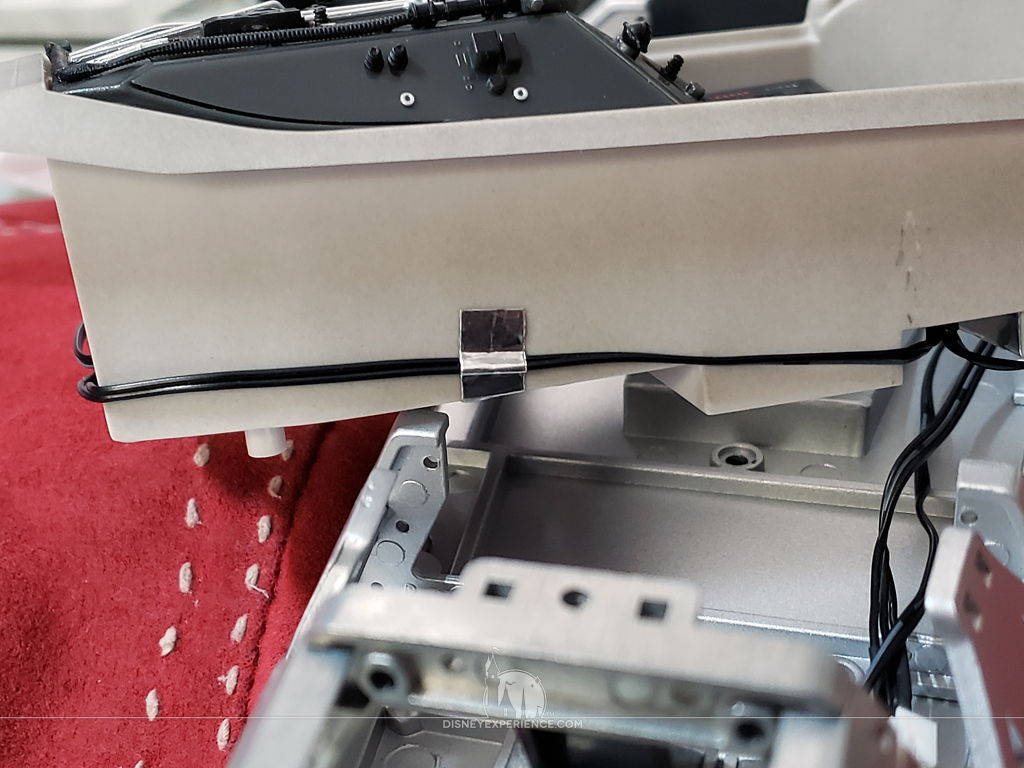
To tame the wires, I used tiny bits of foil tape to keep them tidy, in place, and out of the way. Mini zip ties would also have worked.
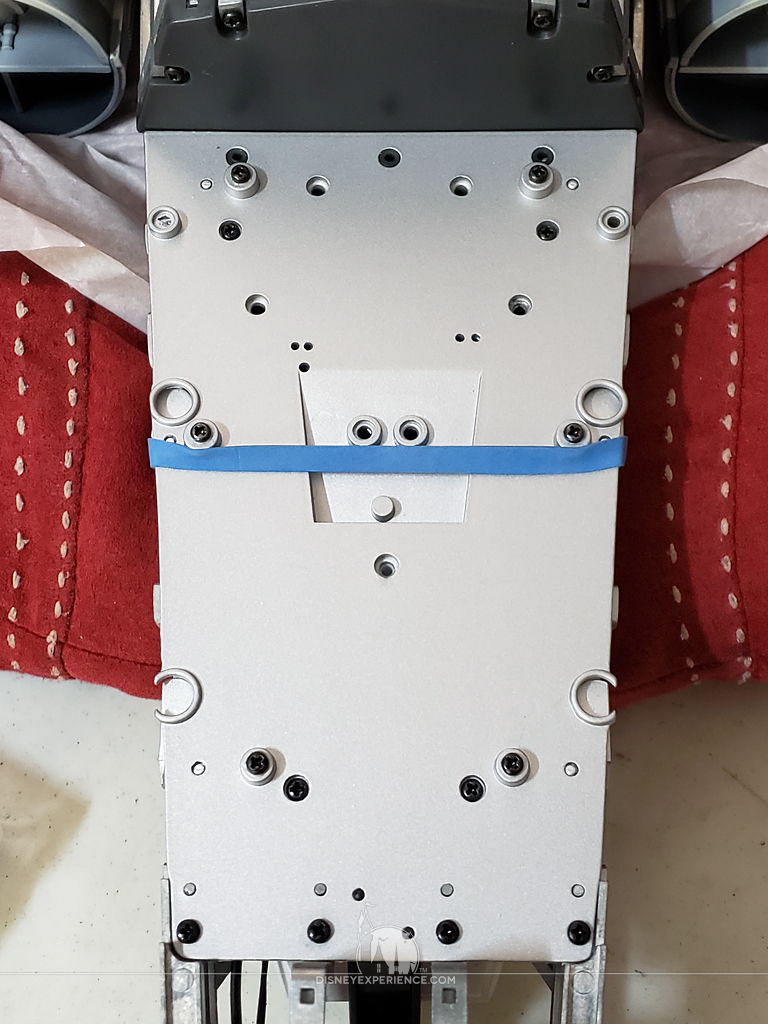
With the cockpit in place, I used a rubber band to hold it in while I flipped the whole X-Wing onto its back. Screws were used to secure it into place. Then, the same was done (sans the rubber band) with the targeting computer, which slid into the rear of the cockpit.
Finally, the torpedo housing was secured which added three more connection points between the nose frame and the body.
For safe storage, I keep the nose tip attached with a rubber band. Then, I cover the whole ship with a large piece of fabric to keep dust and debris out.
After assembly, I noticed that the remote sensor did not reach far enough for it to be placed back into its socket near the front of the nose. I know that the extension wire is not caught on anything, which means that the wire is too short. Is this a defective part? Will there be another extension cable in the future?
I’ve contacted ModelSpace for a replacement extension wire, which I can simply plug into the existing extension wire—no disassembly needed, thankfully. I received a friendly and courteous response within 24 hours, and a new cable will be arriving within 3 weeks . . . free of charge.
Prev Journal Entry | Next Journal Entry
Both the post author and this website have not received any compensation for writing this post. Both the post author and this website have no material connection to the third-party brands, products, or services that have been mentioned. Some of the links in the post above are “affiliate links.” This means that if you purchase the item, we will receive a commission. As an Amazon associate, we earn from qualifying products. This is being disclosed in accordance with the Federal Trade Commission’s 16 CFR, Part 255: “Guides Concerning the Use of Endorsements and Testimonials in Advertising.”
Do you have a thought about this post? Why not leave a comment . . .