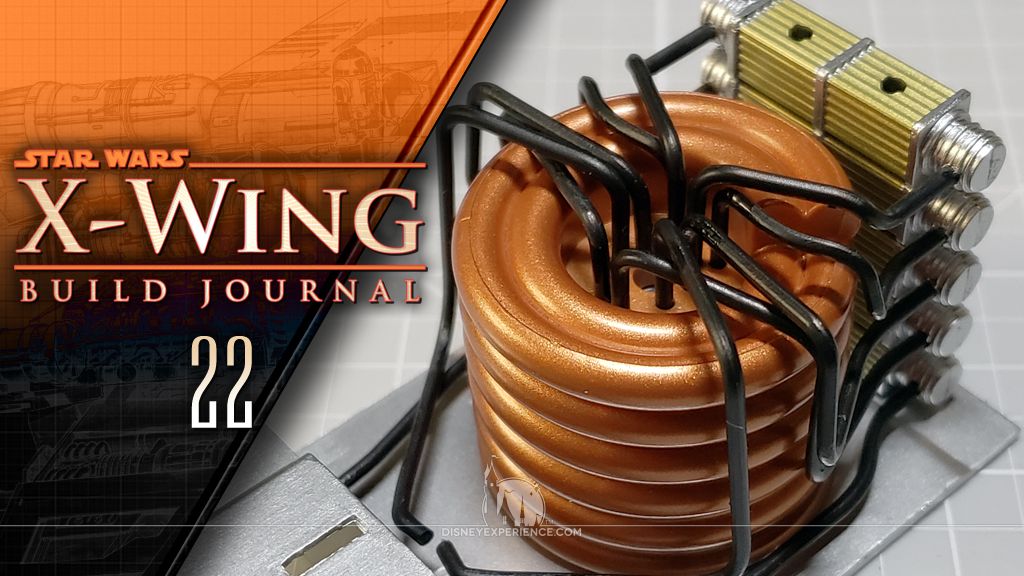
X-Wing Build Journal No. 22: Issues 77-80
Trader Sam | December 14, 2020
What’s Inside
Work begins on the power generator and hyperdrive units. The fuselage gets its top cover, and I repair some broken wires.


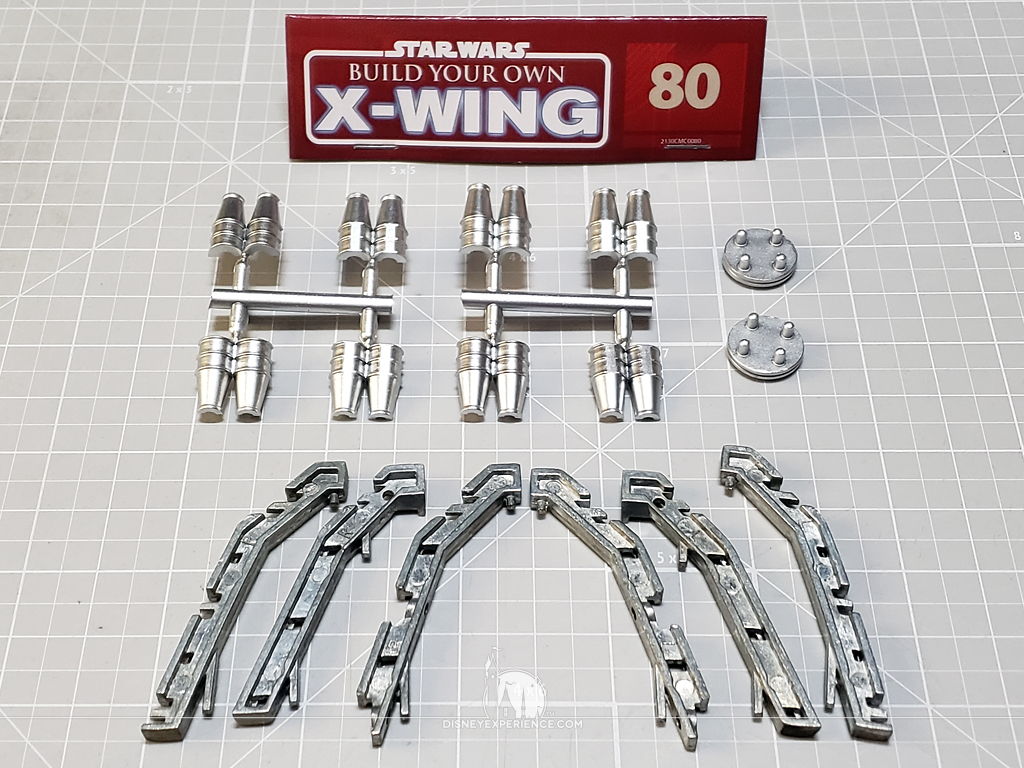
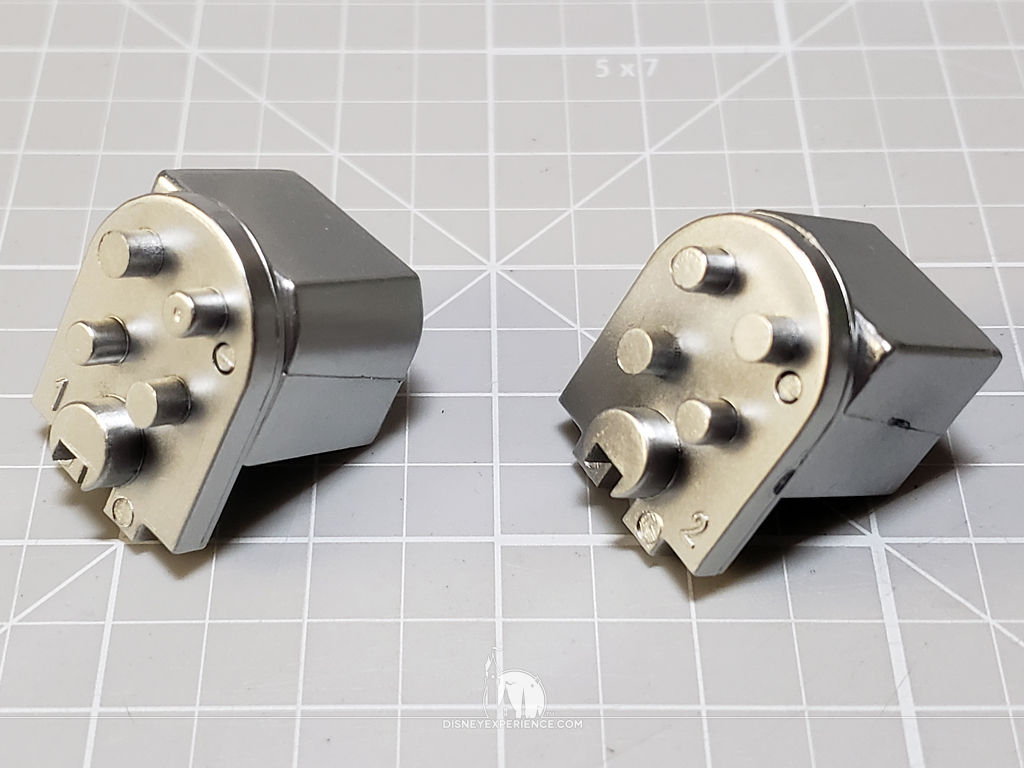
Power Generator and Hyperdrive
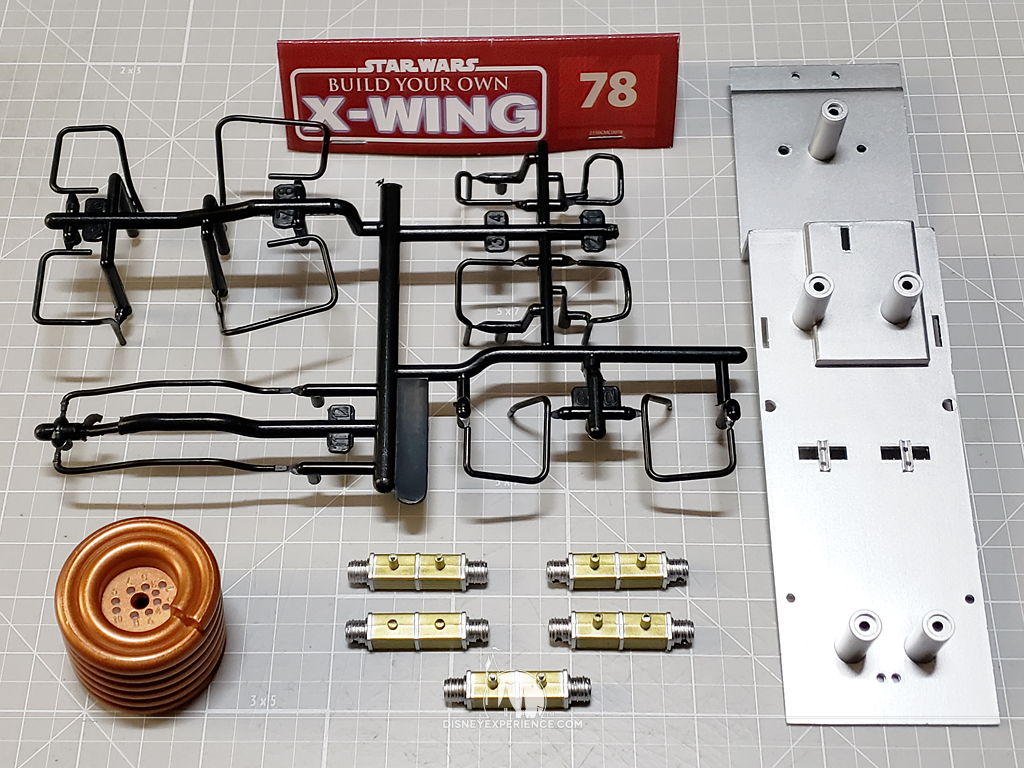
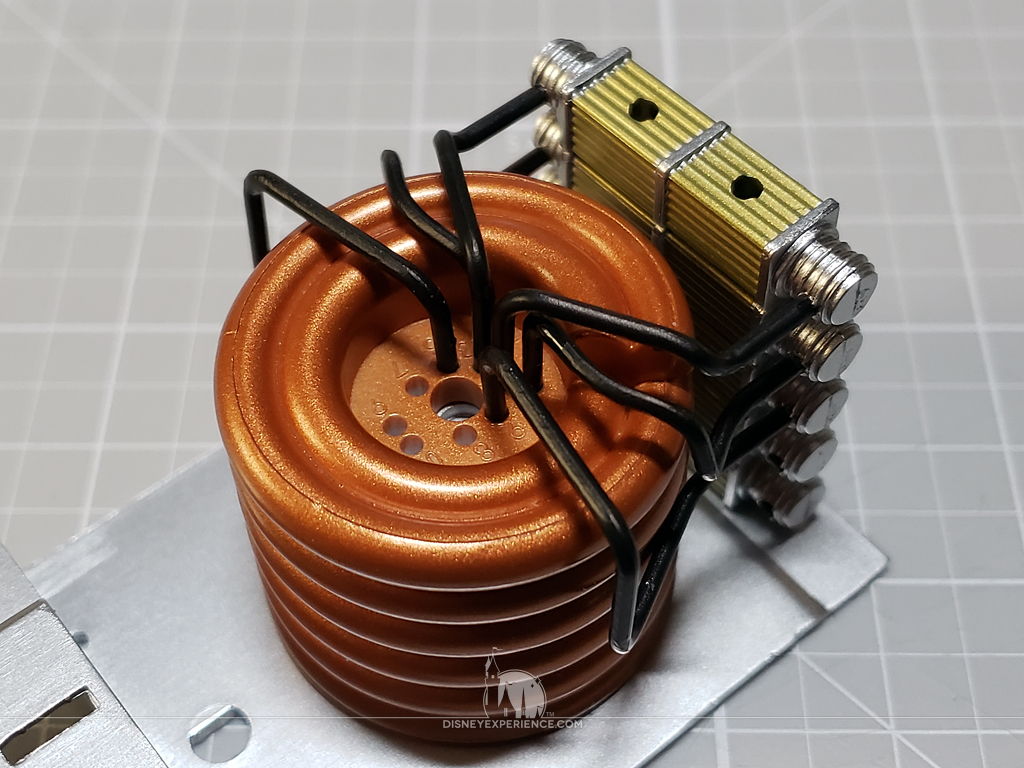
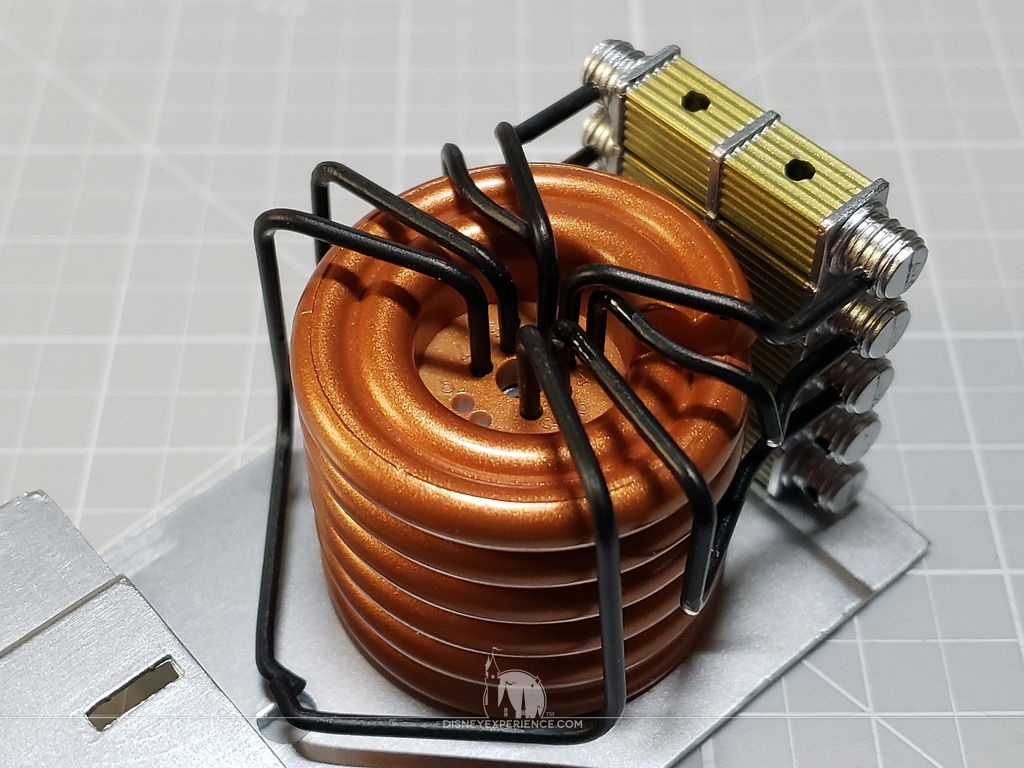
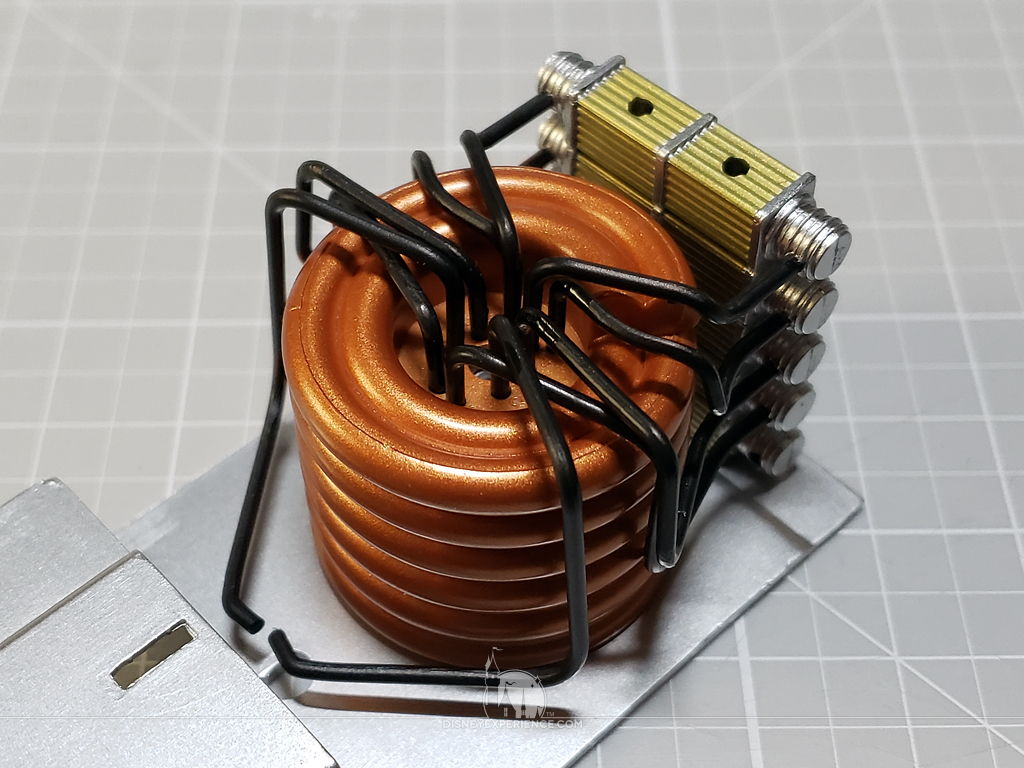
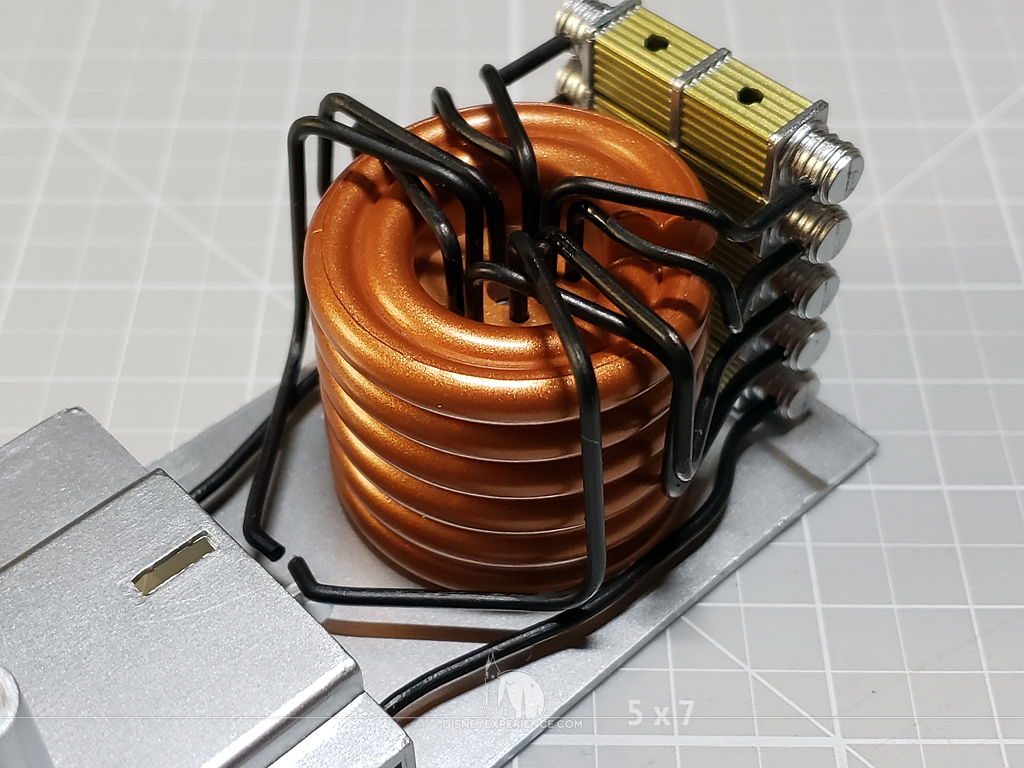
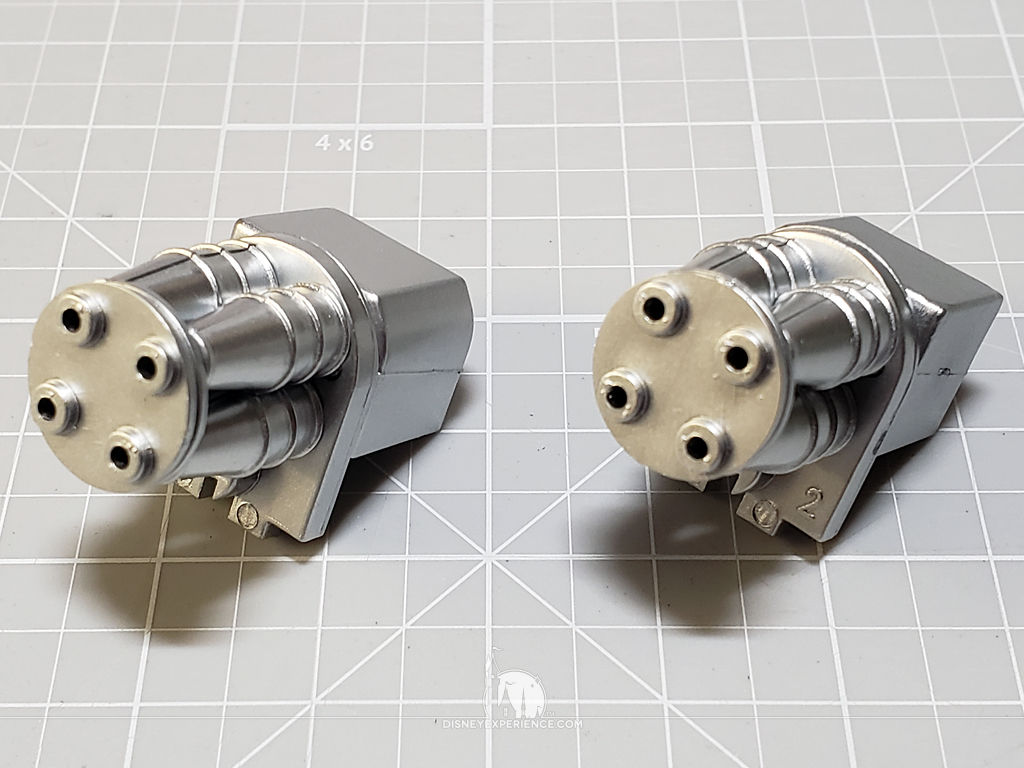
The power generator is a neat-looking coil with many pipes jutting out of it. It makes up part of the fuselage interior details that I plan on dirtying up.
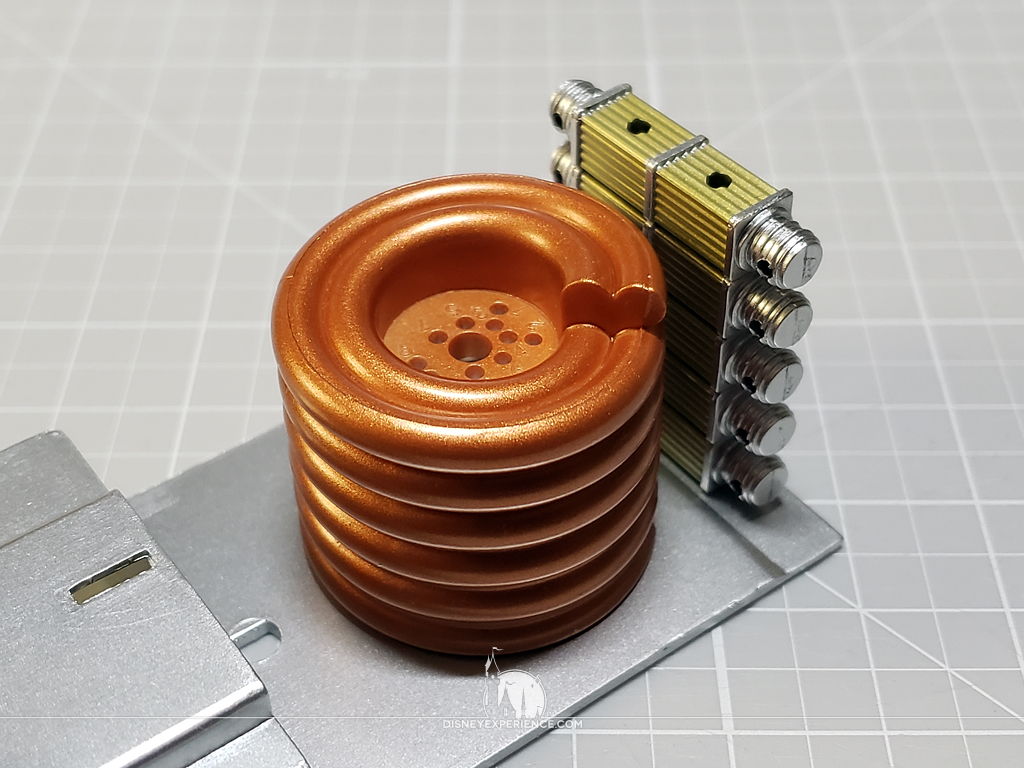
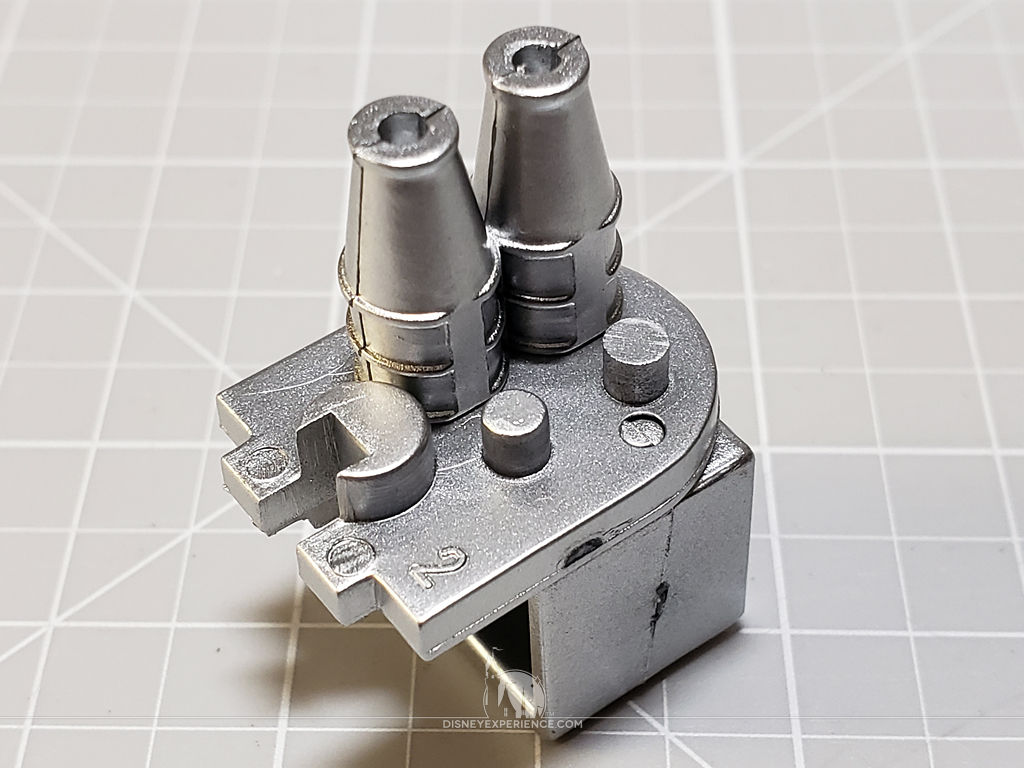
After installing the pipes, I found that it would have been a lot easier if I had installed pipes 9 & 10 first. They sit underneath all of the other pipes which makes installation tricky.
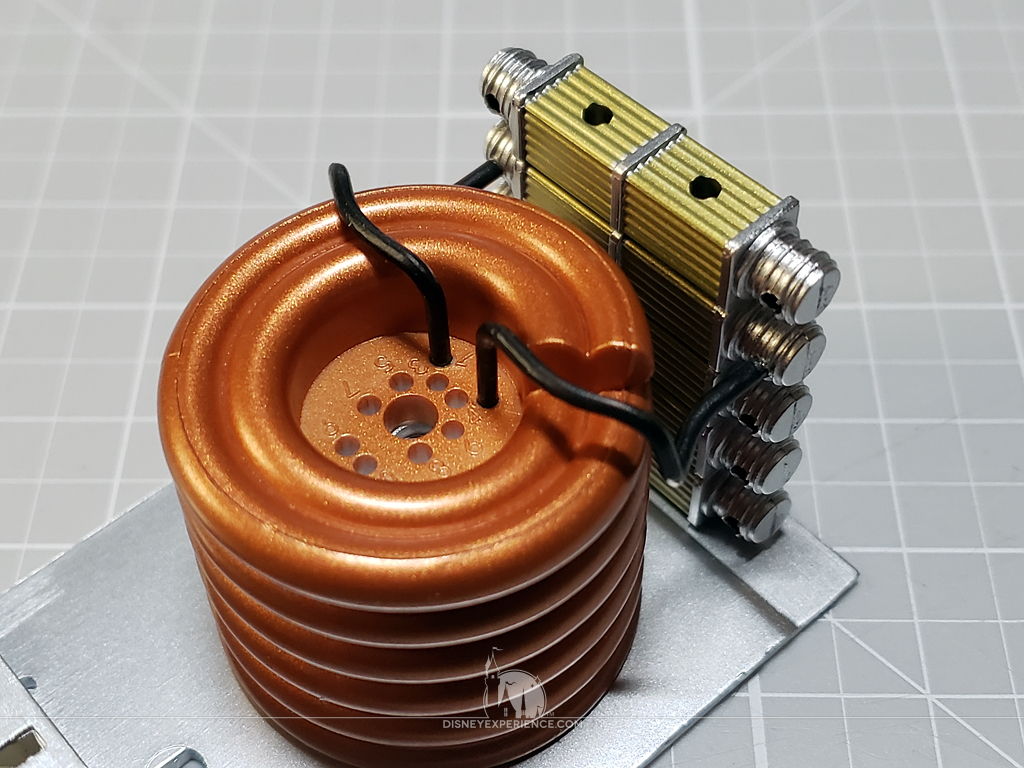
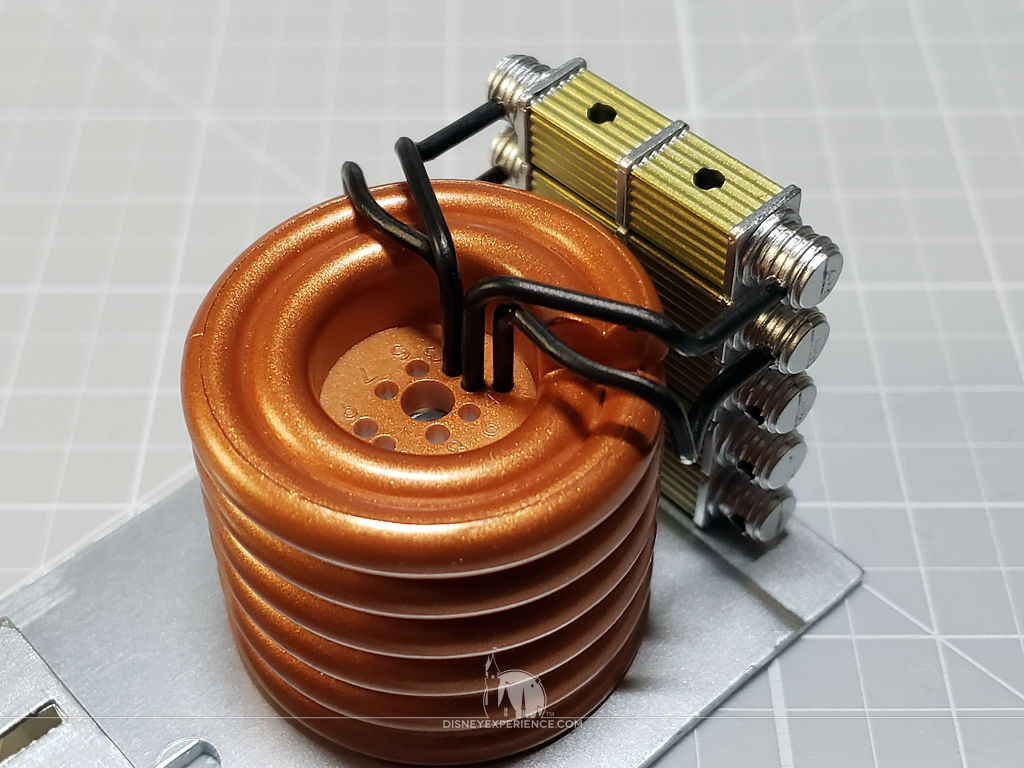
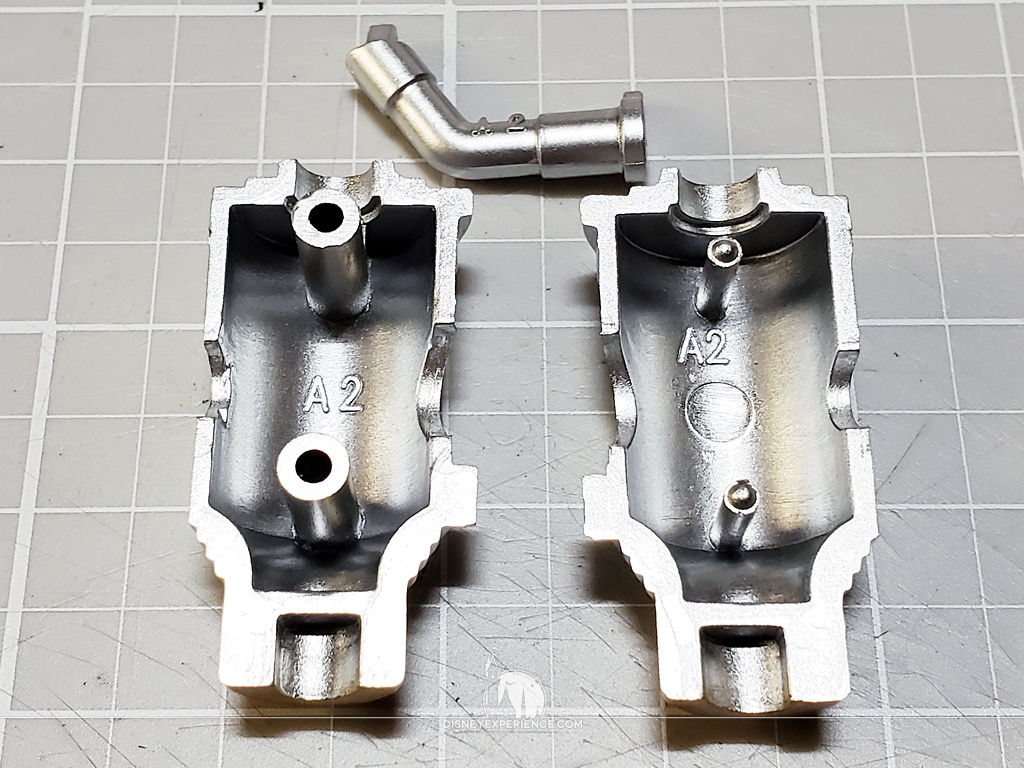
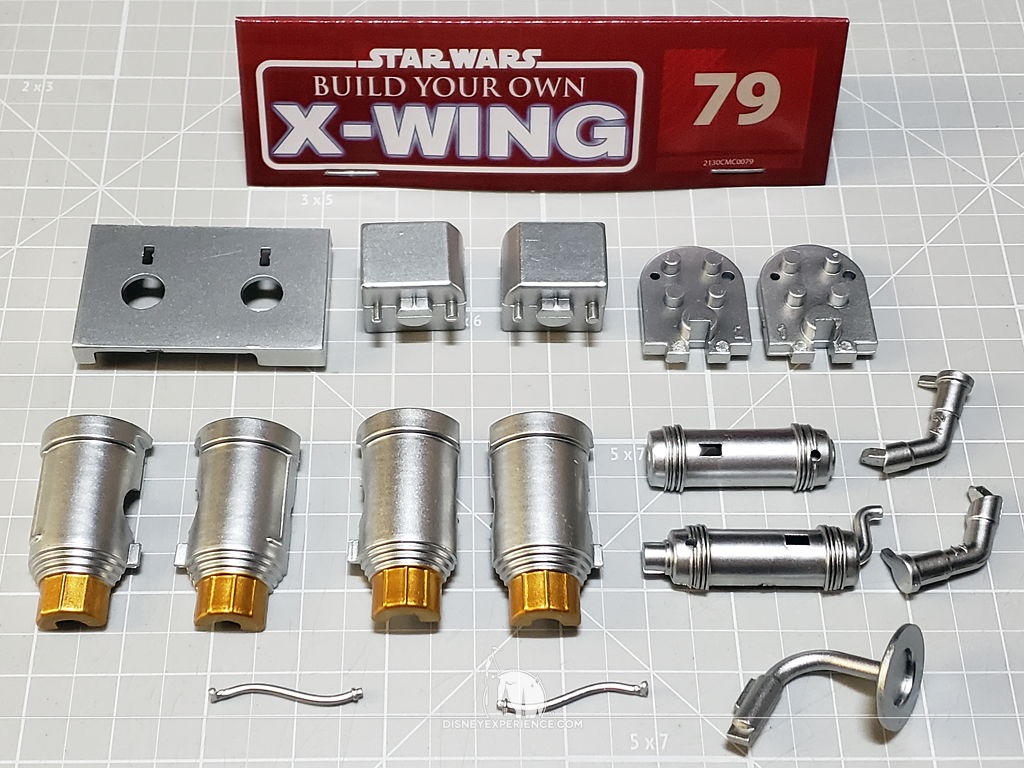
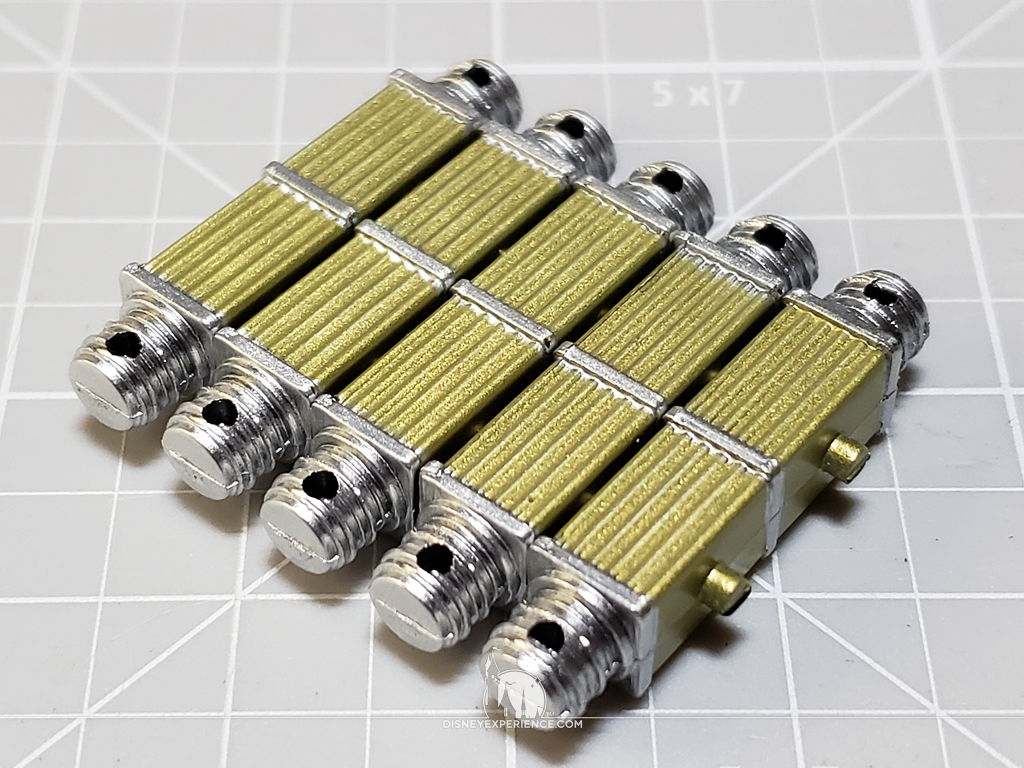
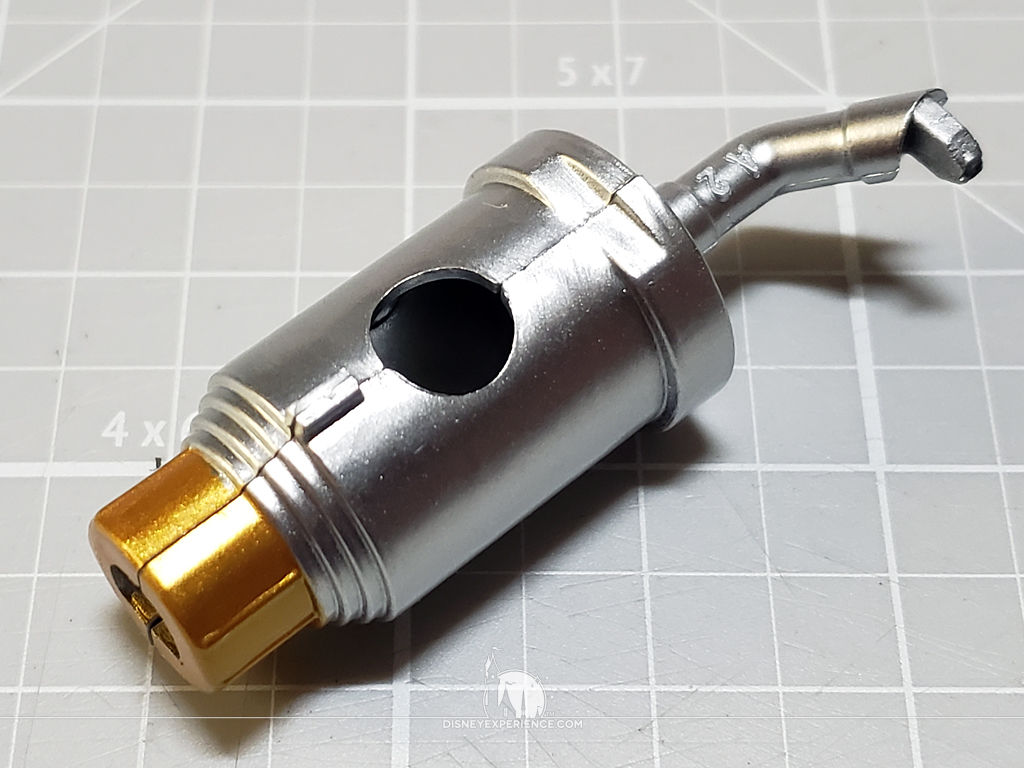
The parts for the heat exchangers are clearly labeled as ‘A1’ and ‘A2’, which makes it impossible to get the parts confused.
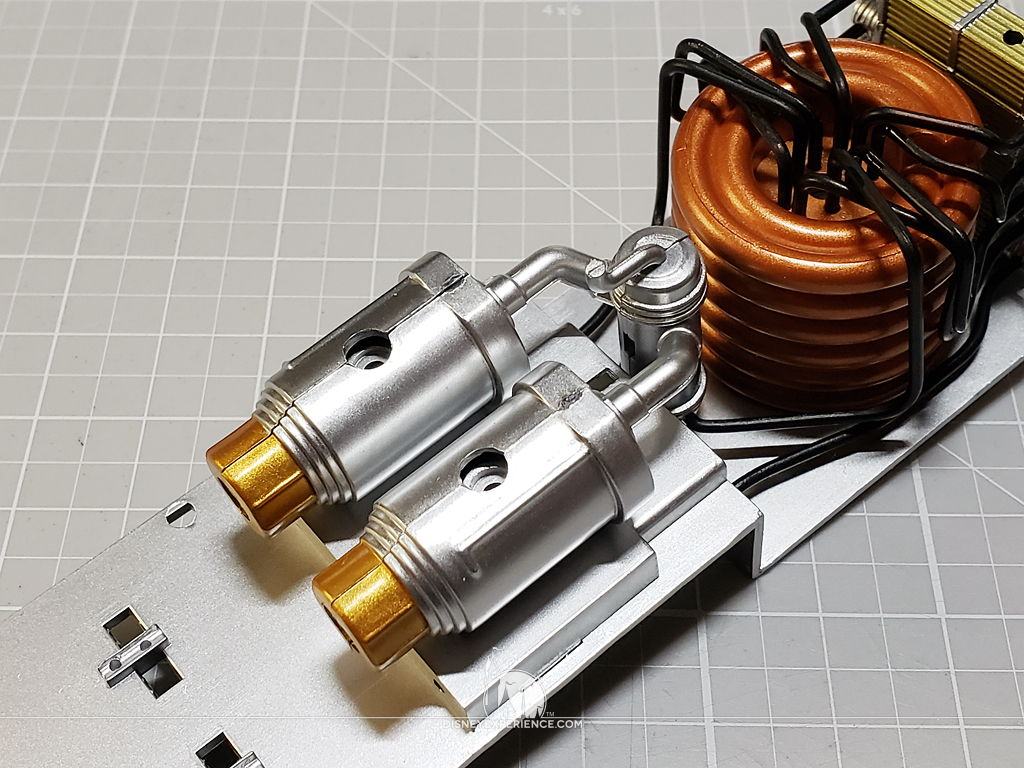
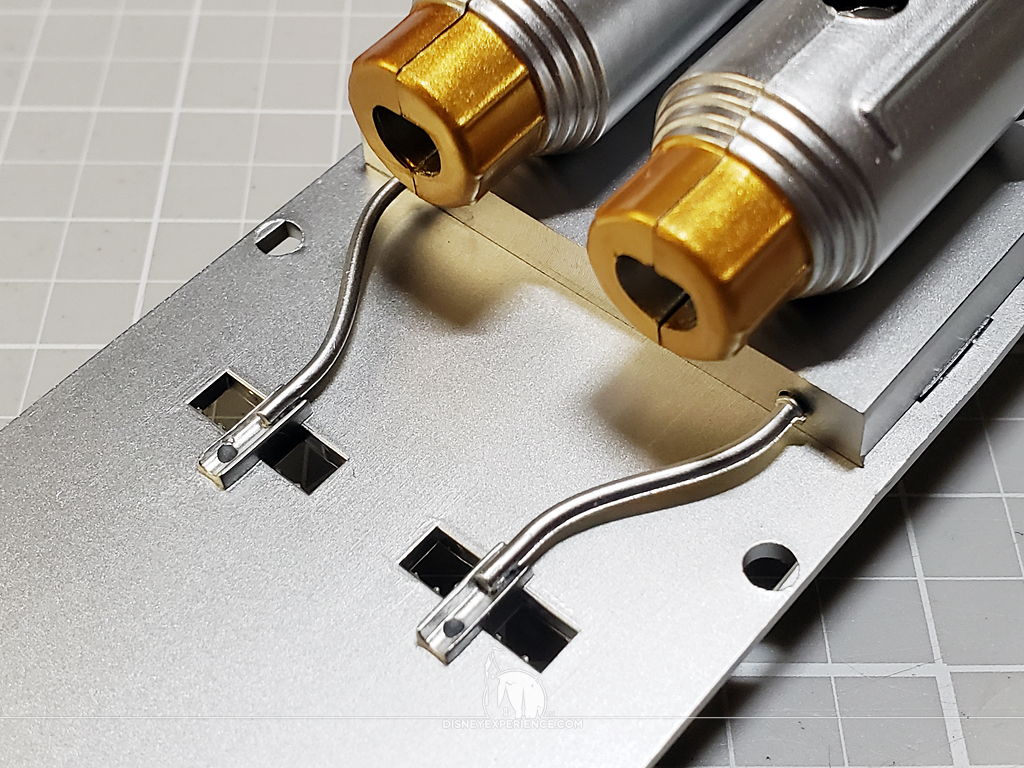
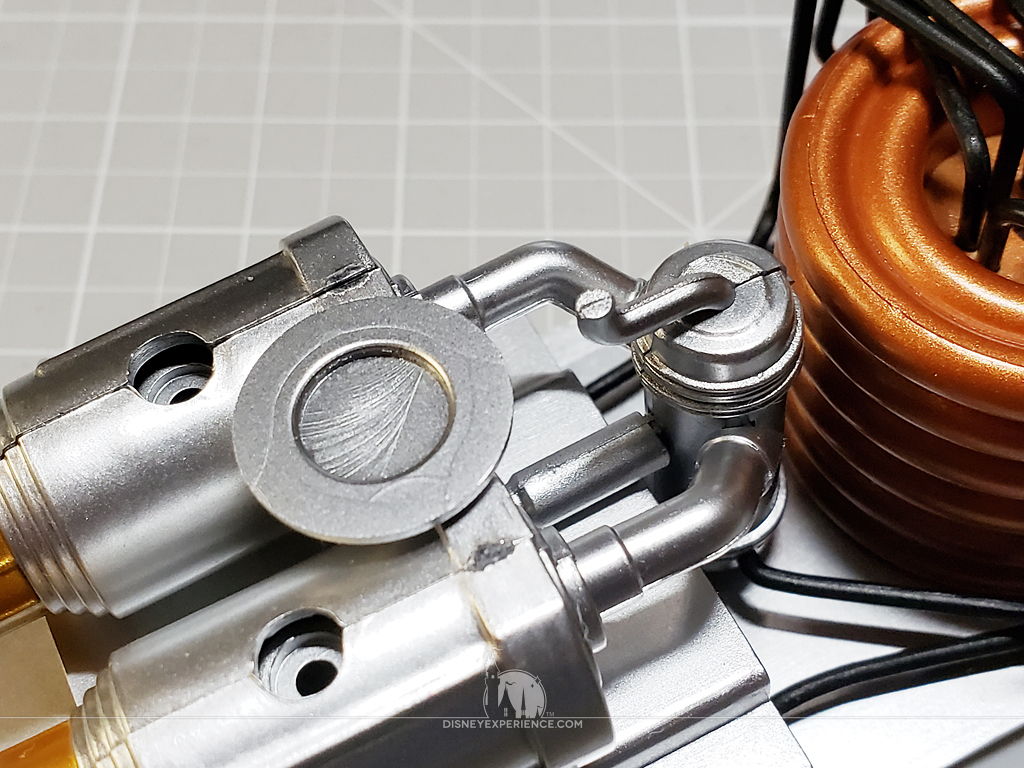
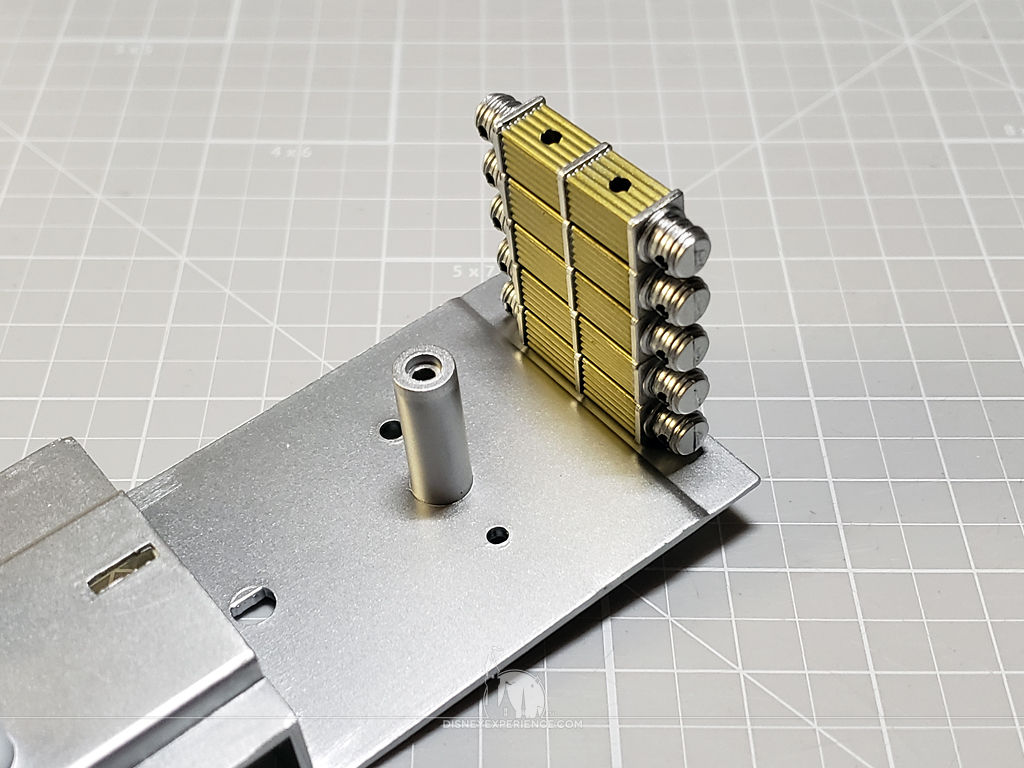
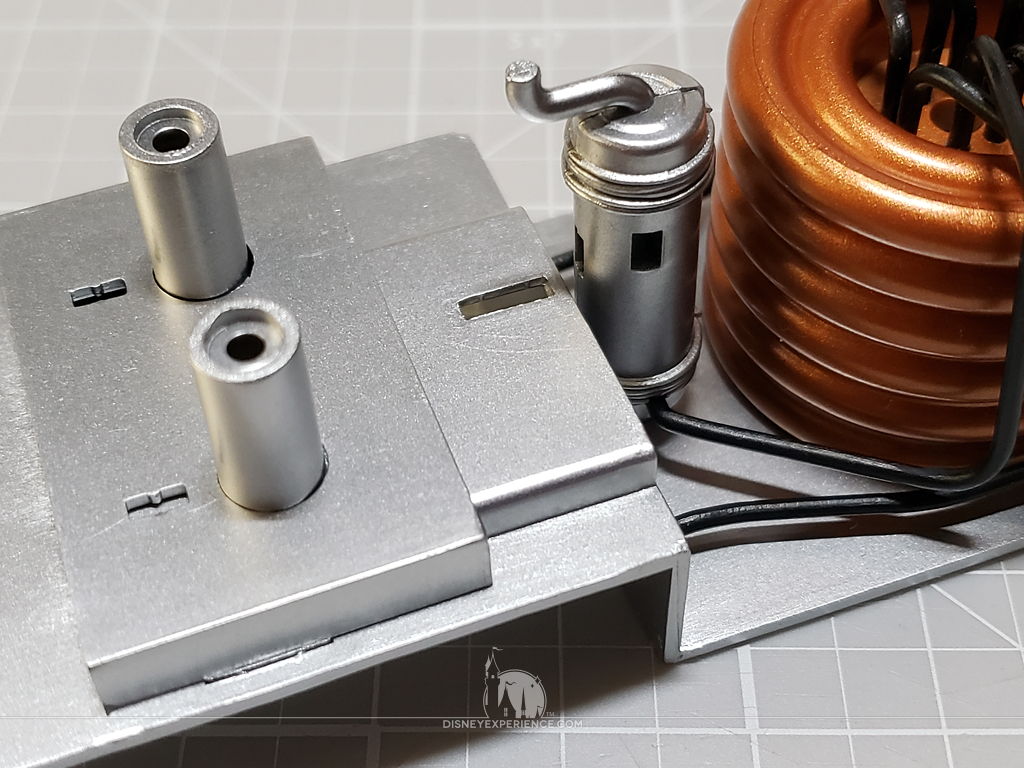
The piece that fits between the heat exchangers was tricky to fit in, but it went in with some force.
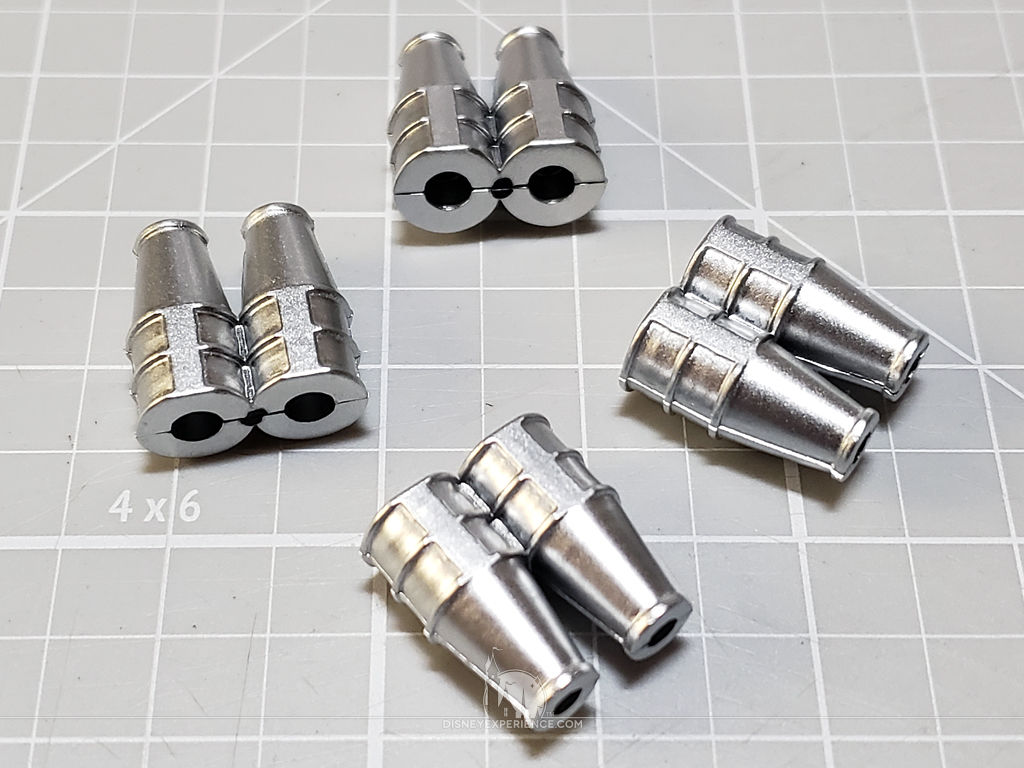
When fitting the hyperdrive jets, the instructions made the mistake of not mentioning that the flat sides should face each other. Otherwise, the jets will not fit side-by-side onto the pegs.
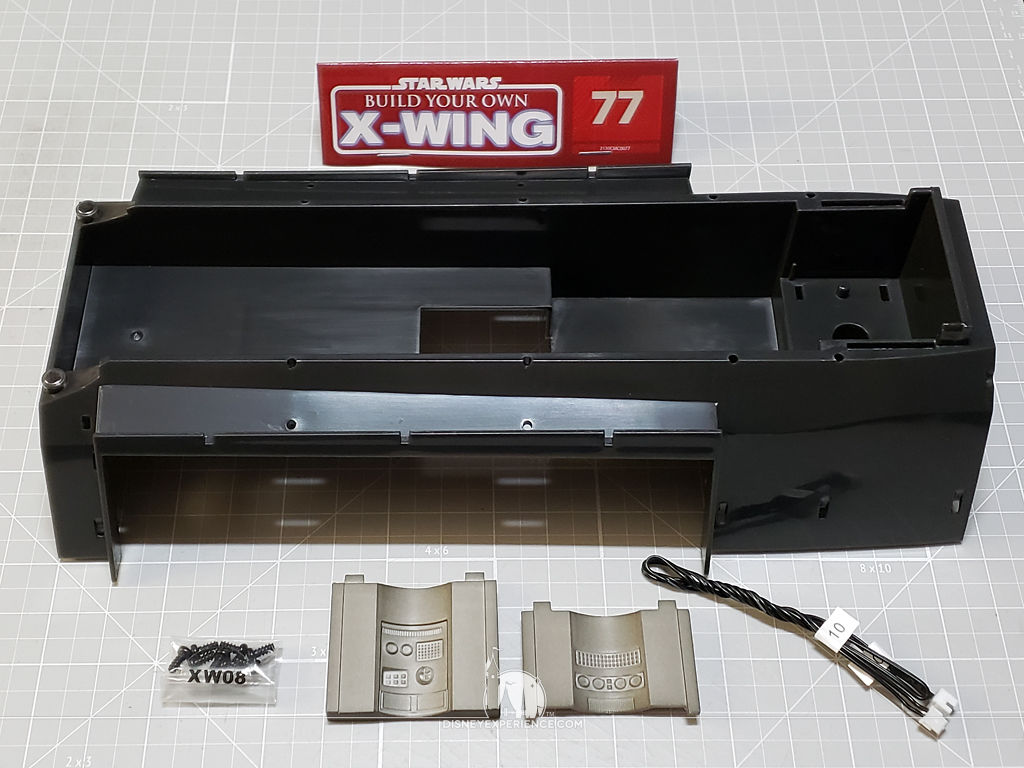
Closing Up the Fuselage
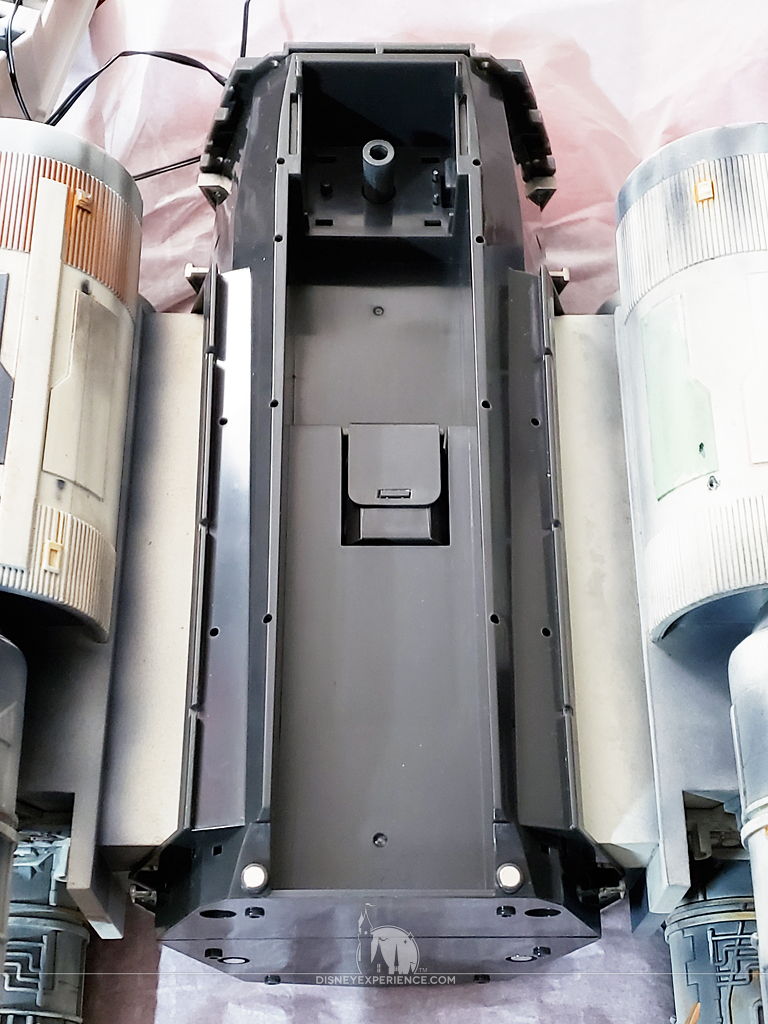
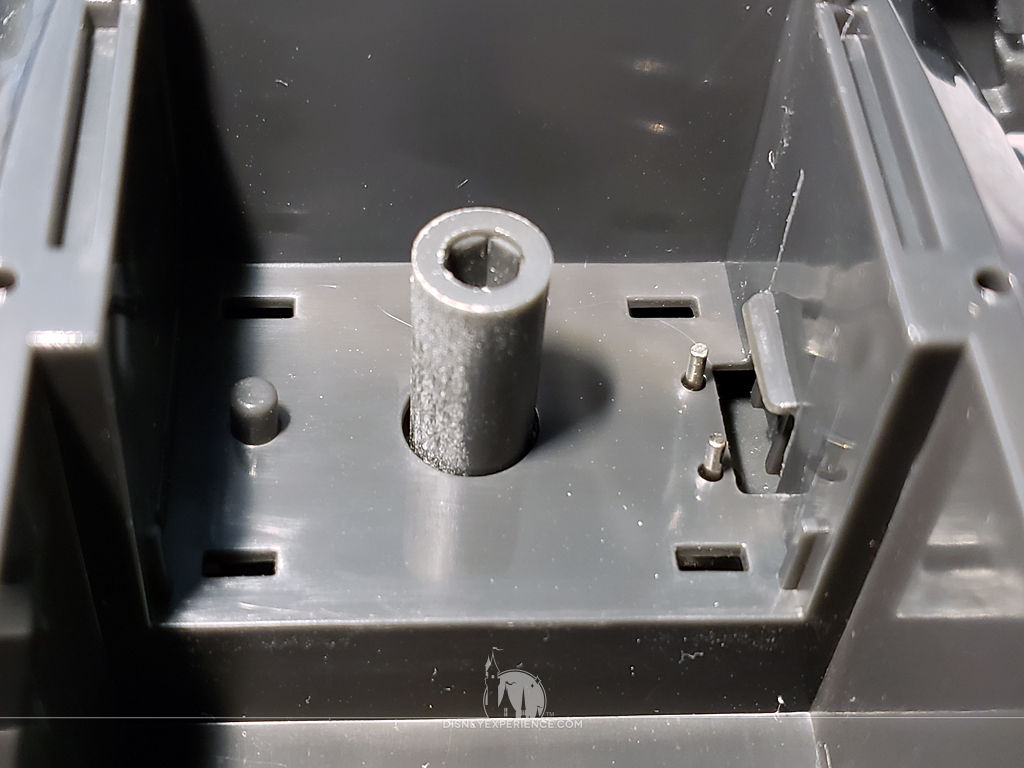
The fuselage now gets closed up with its upper half. The tricky part of this is getting the two metal pins through the small holes while maneuvering the tight-fitting fuselage half.
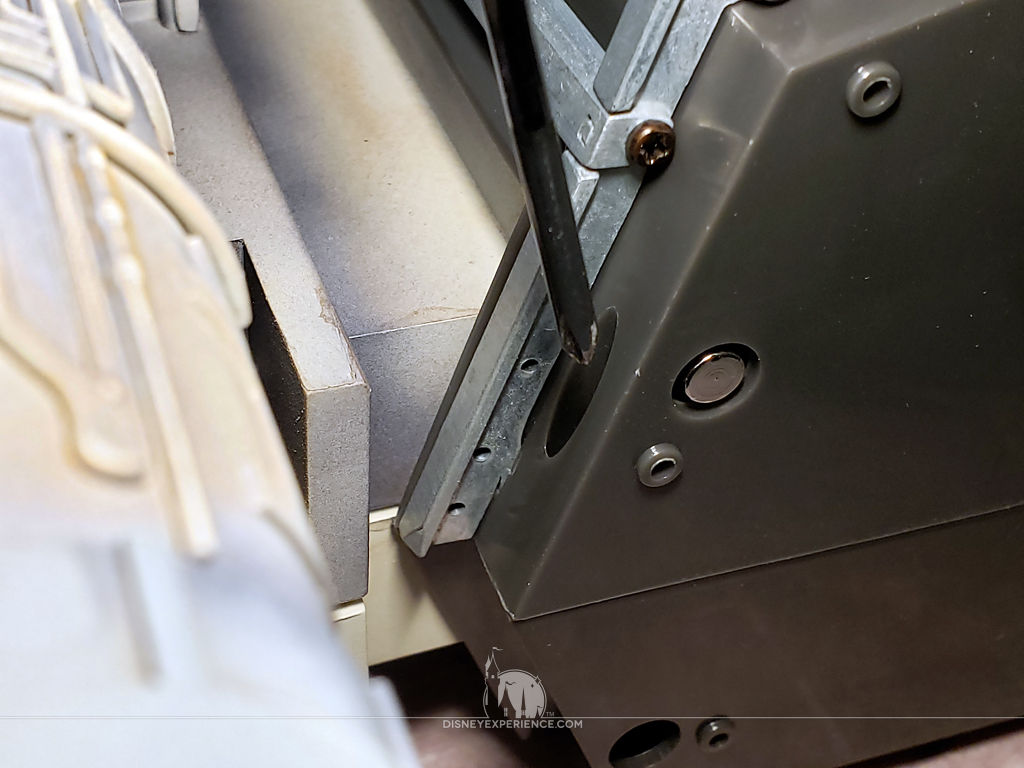
The whole X-Wing needs to be carefully flipped over to screw the fuselage halves together.
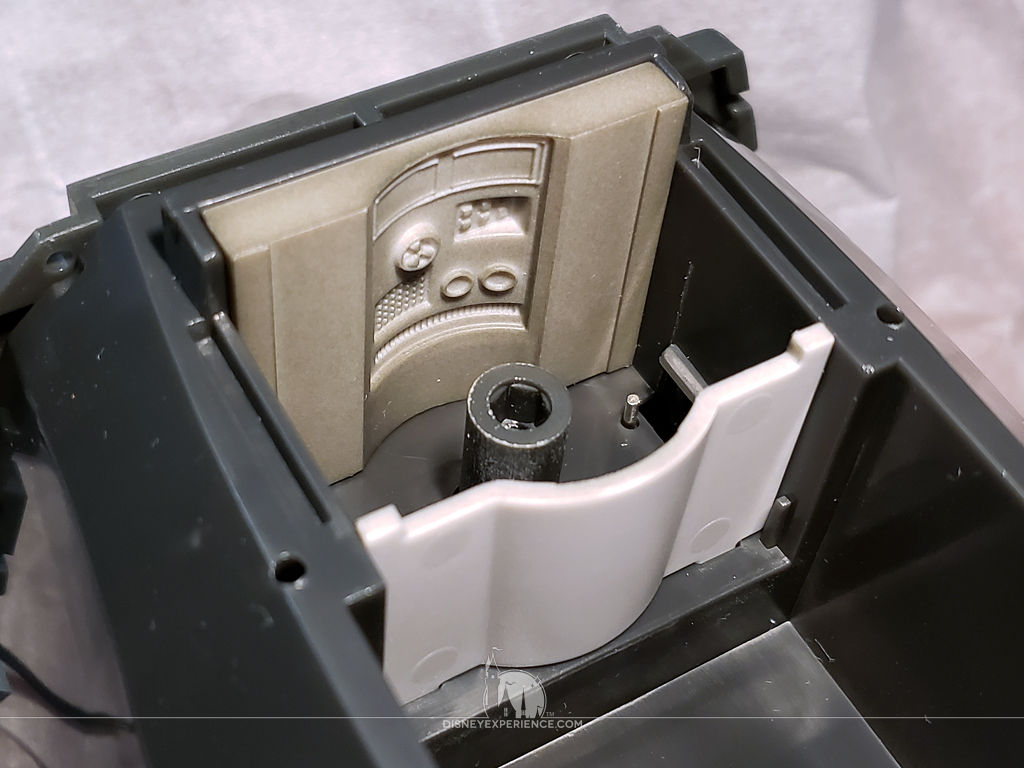
Flipping the X-Wing over again, I installed the two walls of the droid socket. I then turned on the power, inserted R2-D2, and I tested the electronics. R2-D2’s lights worked, but the motor for turning his head did not.
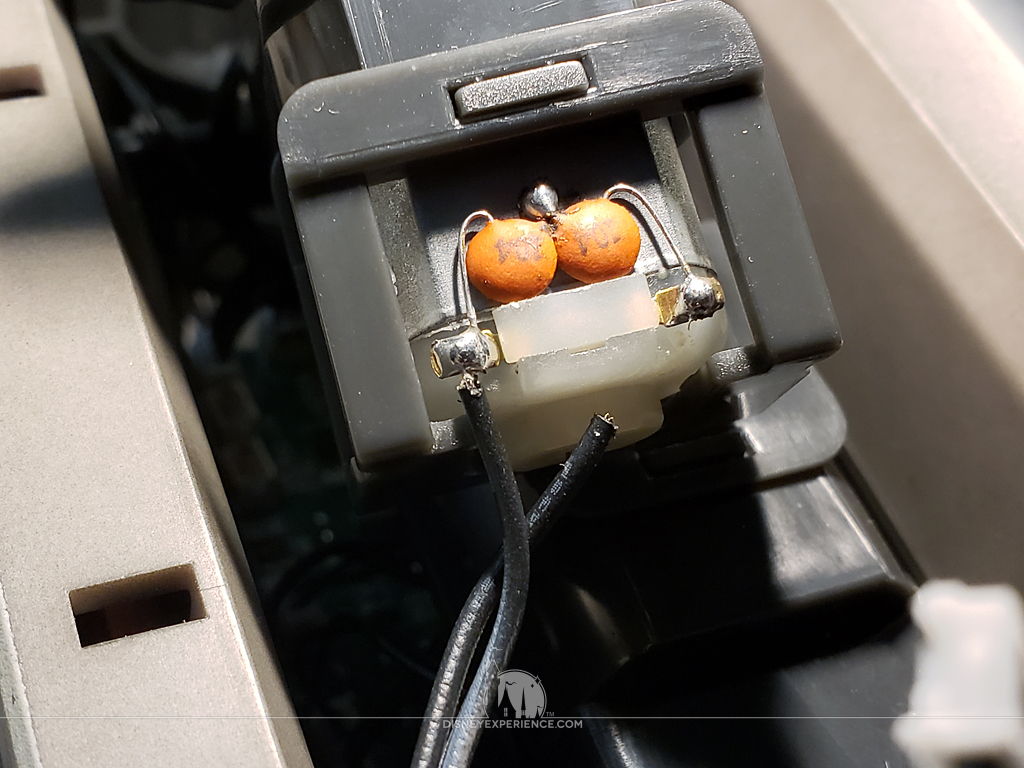
Removing the fuselage top and checking the droid motor, I discovered that one of the wires had broken off. The other wire was barely hanging on.
I removed the wires, noting which went where, I exposed some new wire, and I used a wood burning tool with a soldering tip to solder the wires back on.
I re-assembled everything and tested R2-D2 again, and he worked perfectly. Being able to fix small electronic connections like this is very satisfying. However, I’m hoping that I never have to look at those electronics ever again!
Prev Journal Entry | Next Journal Entry
Both the post author and this website have not received any compensation for writing this post. Both the post author and this website have no material connection to the third-party brands, products, or services that have been mentioned. Some of the links in the post above are “affiliate links.” This means that if you purchase the item, we will receive a commission. As an Amazon associate, we earn from qualifying products. This is being disclosed in accordance with the Federal Trade Commission’s 16 CFR, Part 255: “Guides Concerning the Use of Endorsements and Testimonials in Advertising.”
Do you have a thought about this post? Why not leave a comment . . .