X-Wing Build Journal No. 25: Issues 89-92
Trader Sam | March 22, 2021
What’s Inside
The X-Wing gets more panels & paint, and it finally gets mounted onto the wall. Plus, disaster strikes, threatening to end this series prematurely!


Extending the Remote Sensor
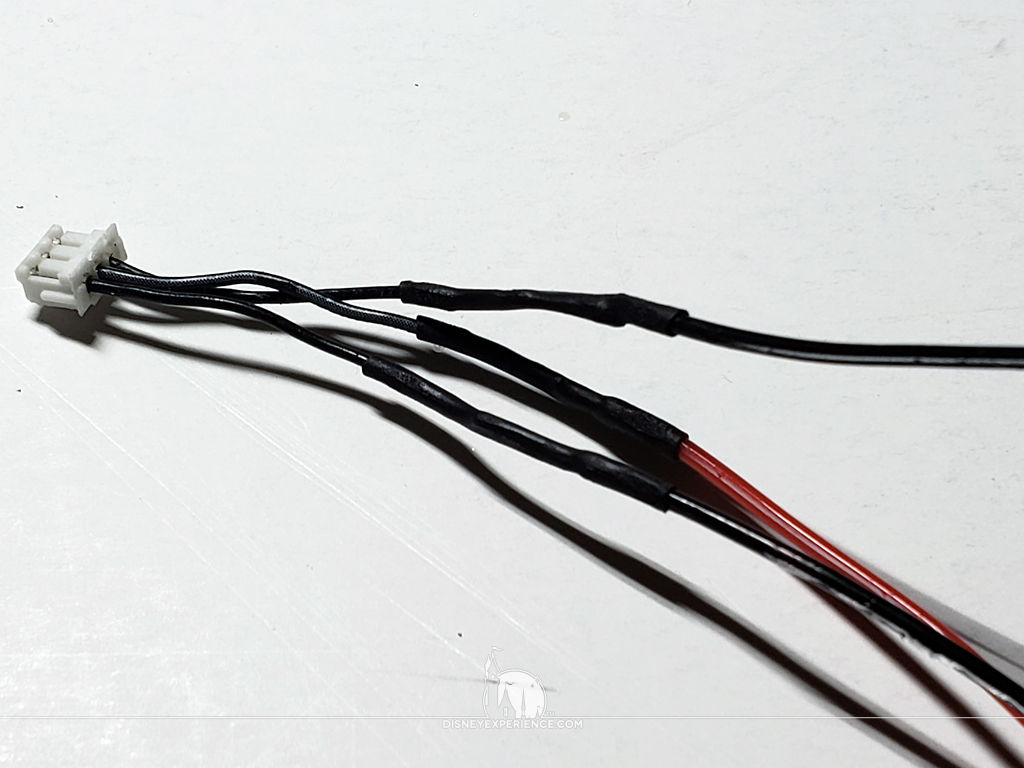
I have yet to receive the extension wire for my remote sensor. I really need it so that I can install the sensor before the nose is enclosed with more side panels. But, then I remembered that I’ve been learning a lot about soldering (I’m a first-timer), and I realized that I could extend the wires myself.
Digging through some spare parts from my Millennium Falcon model, I salvaged some red/black wire.
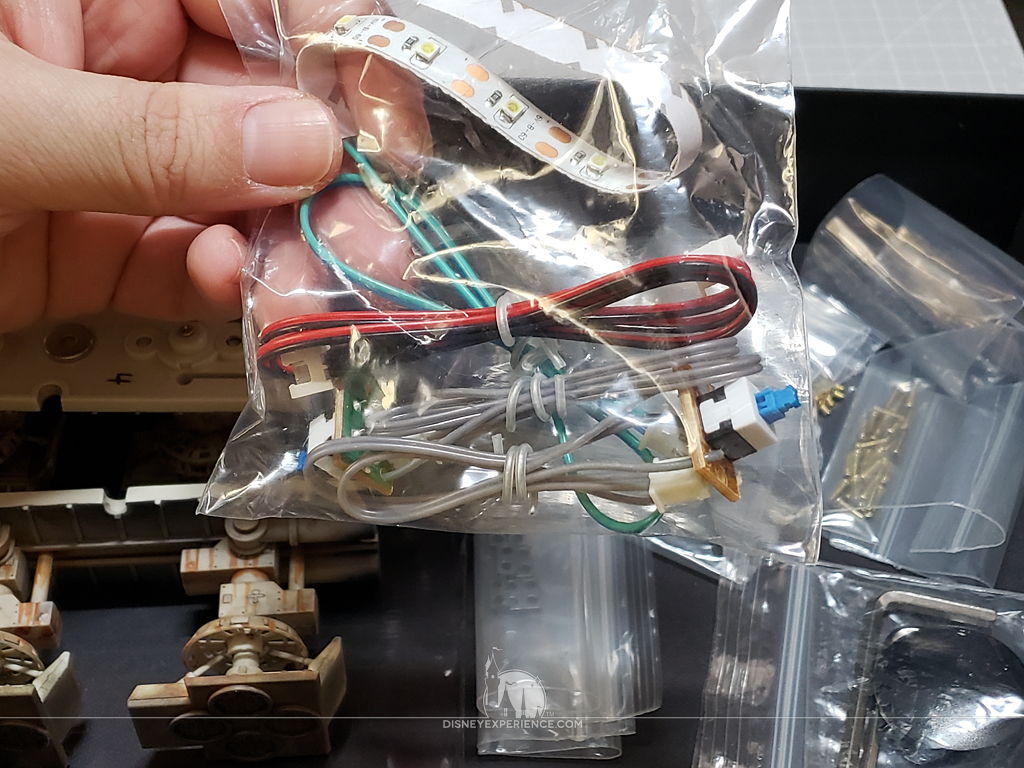
I used the red wire to extend the positive wire (I think it’s the positive wire), and I used the black wires to extend the other two. The plastic coating on the wires are very sensitive to heat, melting easily.
To prevent shorts, heat shrink tubing was used to protect the wires.
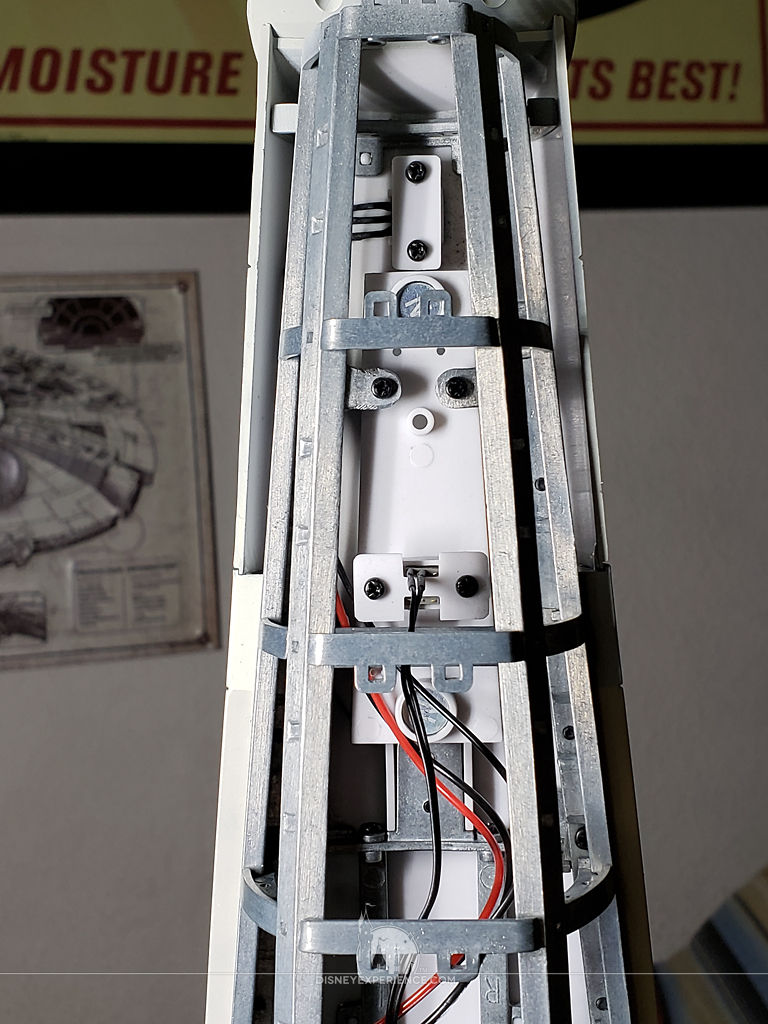
With the remote sensor extended, I tested the electronics to make sure that I wired everything correctly. Then, I secured it into place inside of the nose.
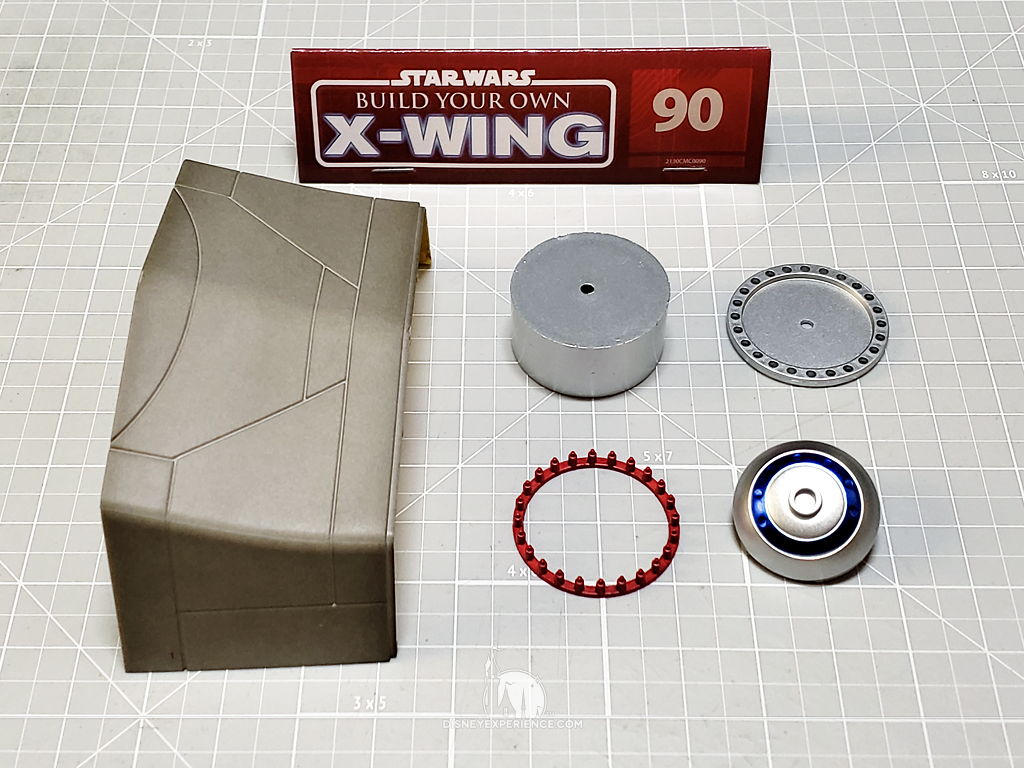
Assembling the Bays
Before painting the hull plates, I have to assemble the two lower bays.
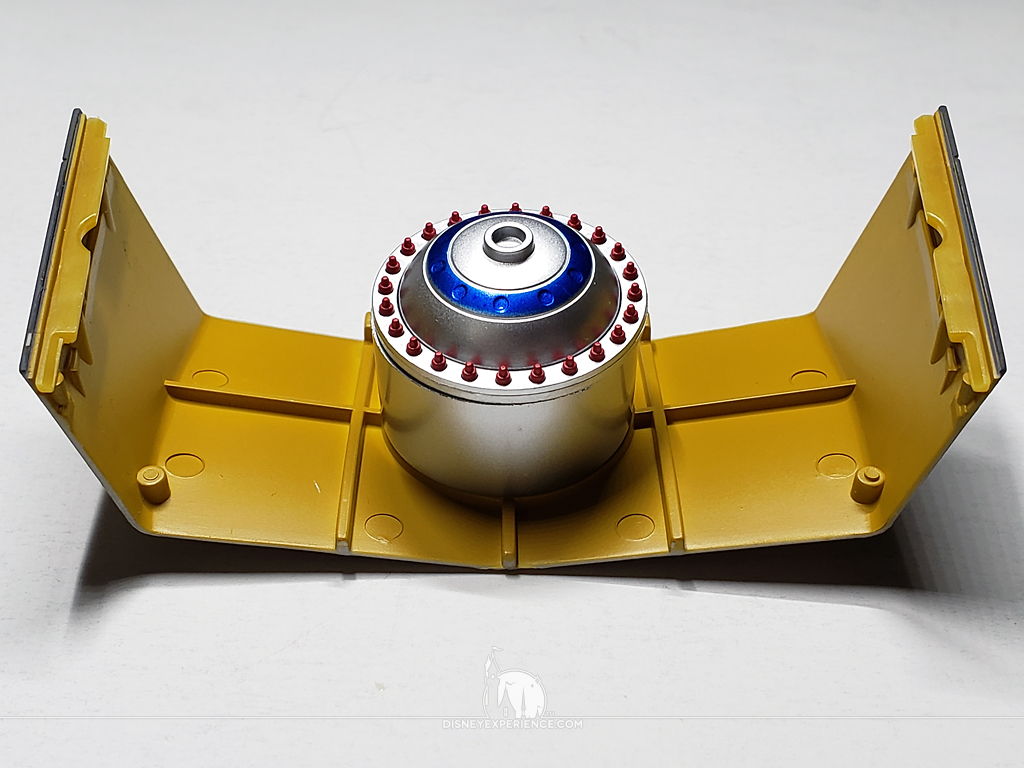
First up is the accelerator compensator bay, which is a super-simple assembly. This is yet another part that will never be seen.
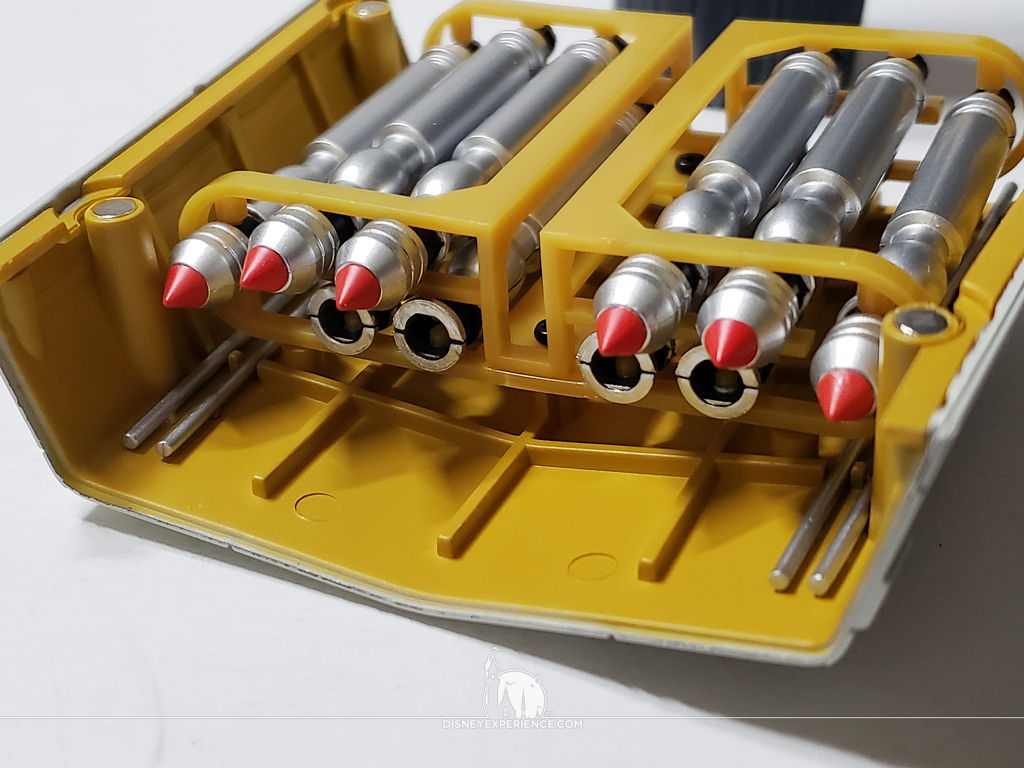
The torpedo bay was next.
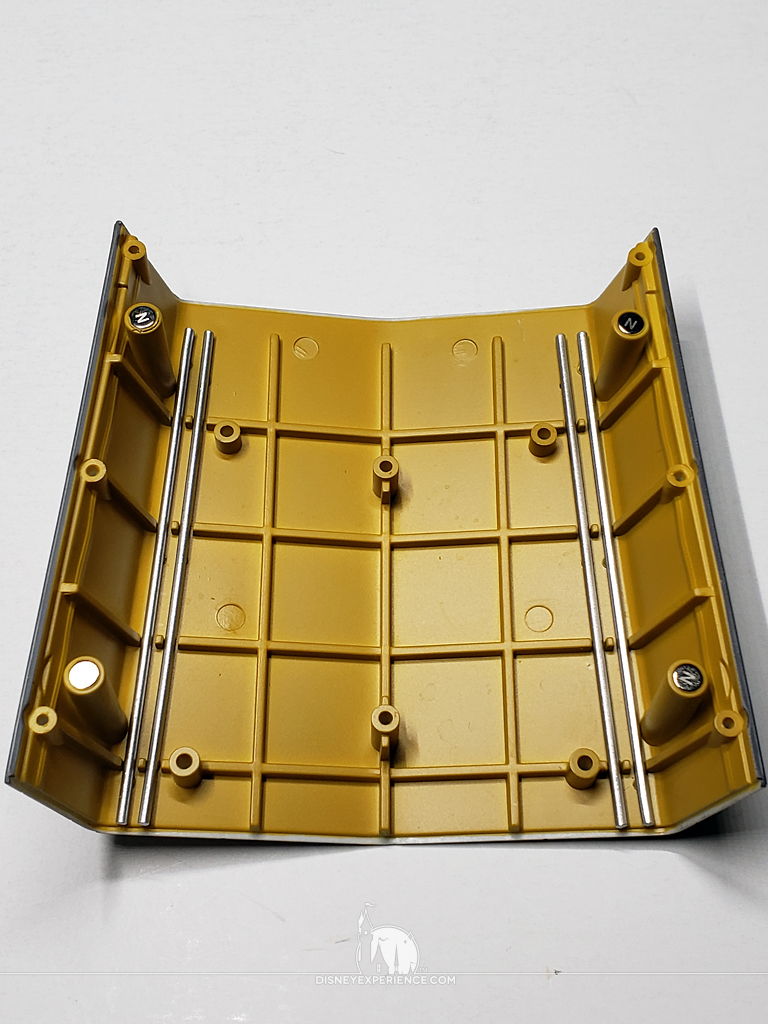
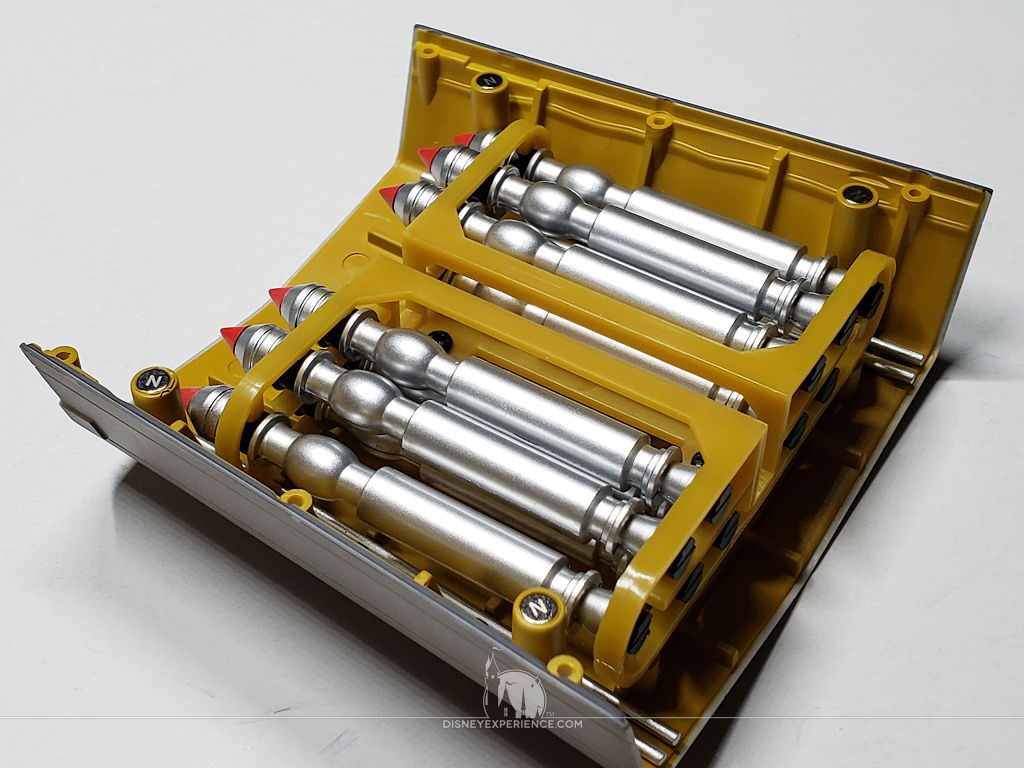
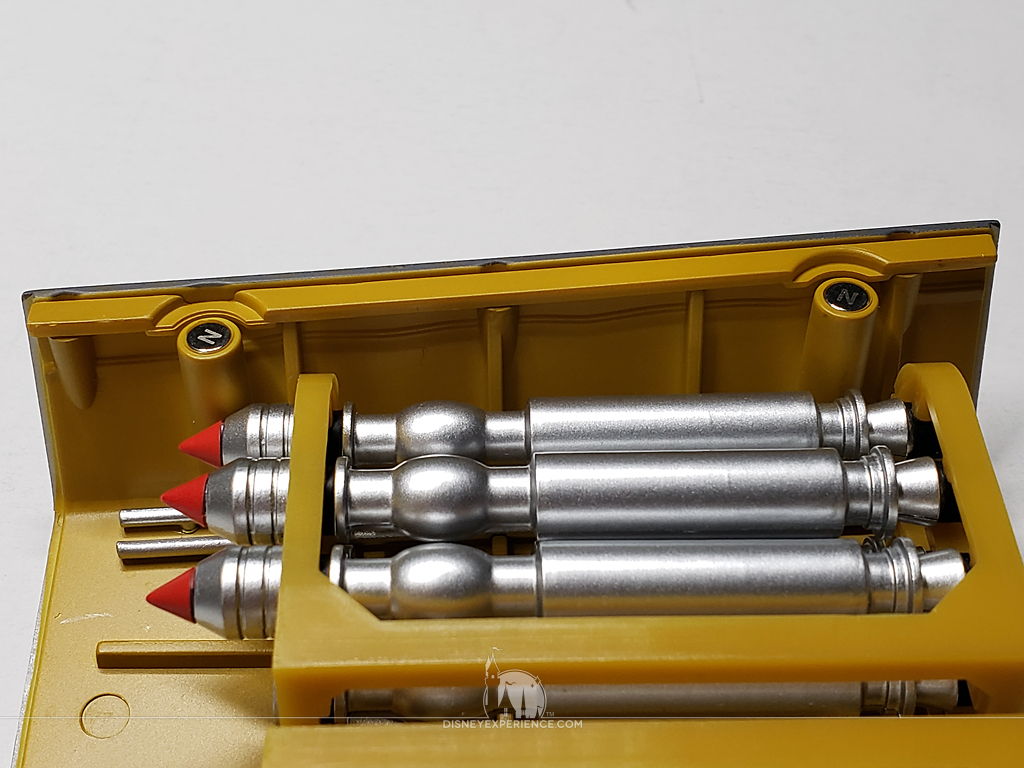
There are still four torpedo heads missing, and four magnets need to be installed before the bay can be magnetically attached to the ship. I will wait until then to add dirt and grime to the bay.
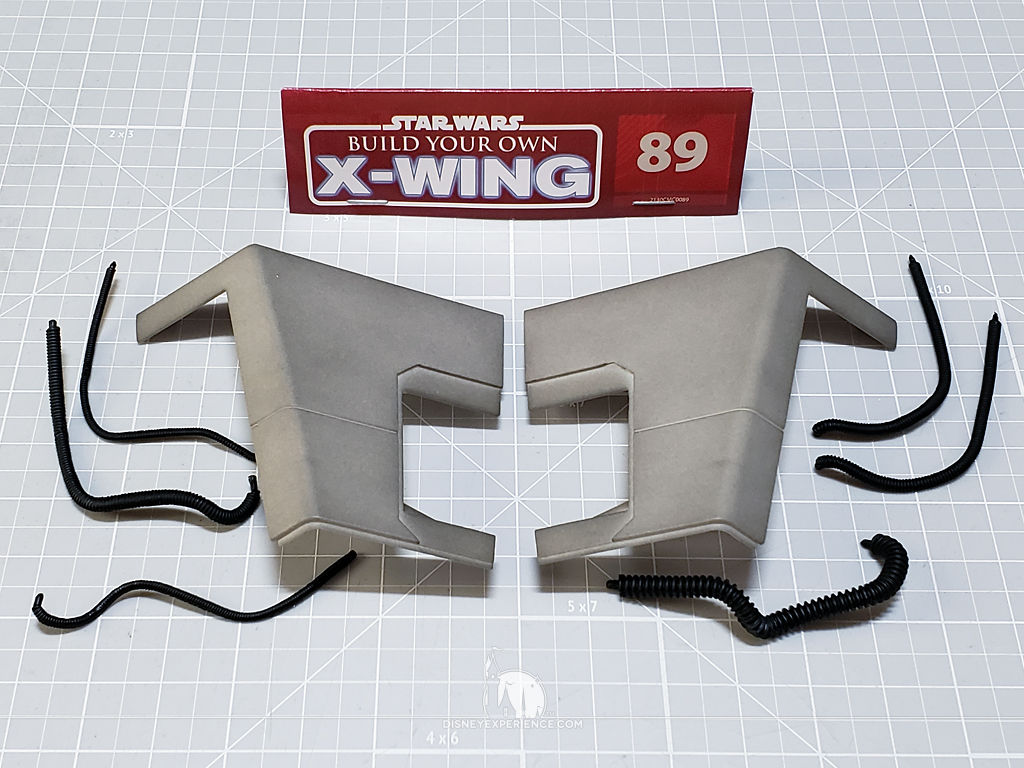
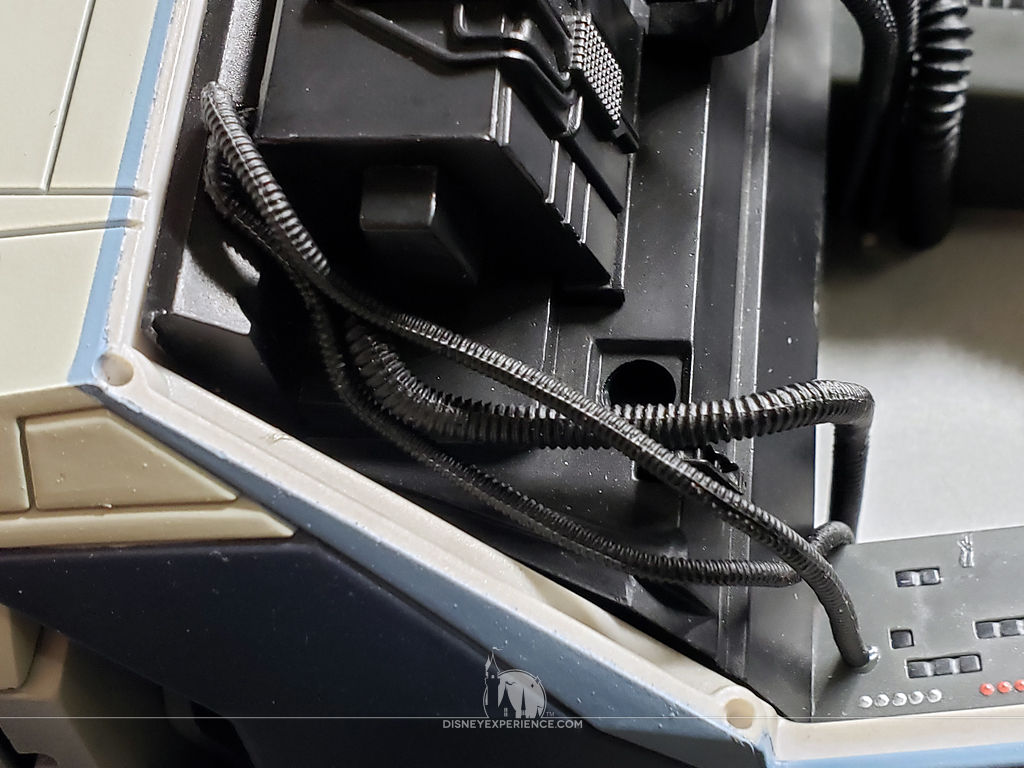
The Cockpit
Working on the cockpit, two small hoses are glued into place on the port side . . .

. . . followed by the large hose.
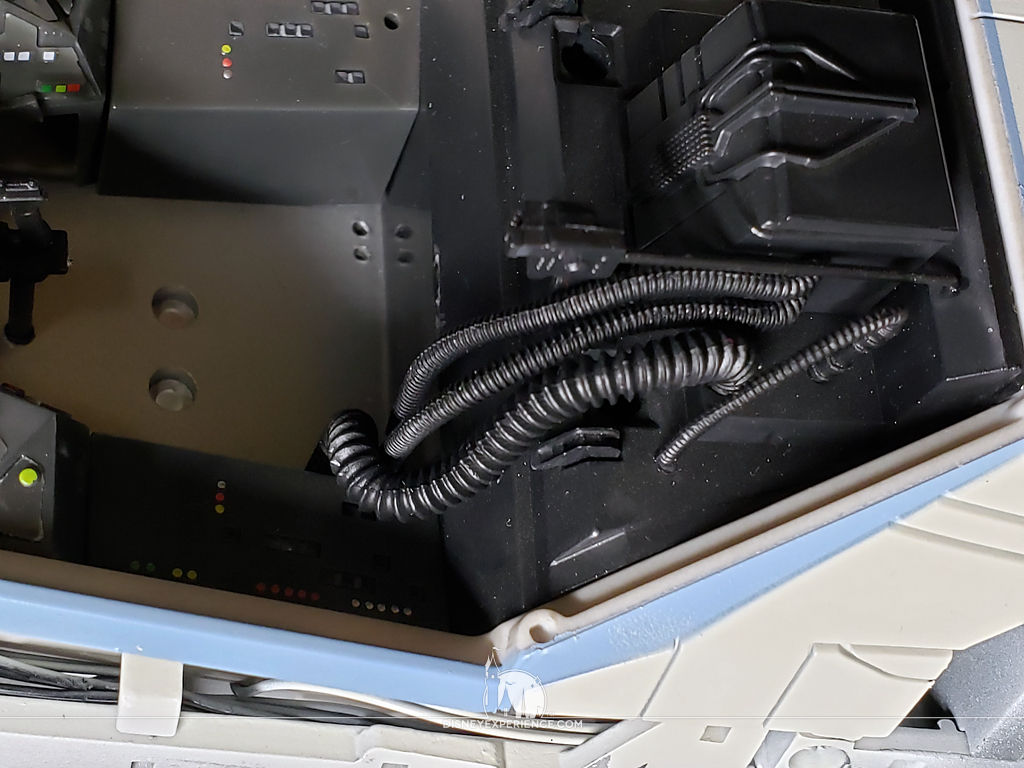
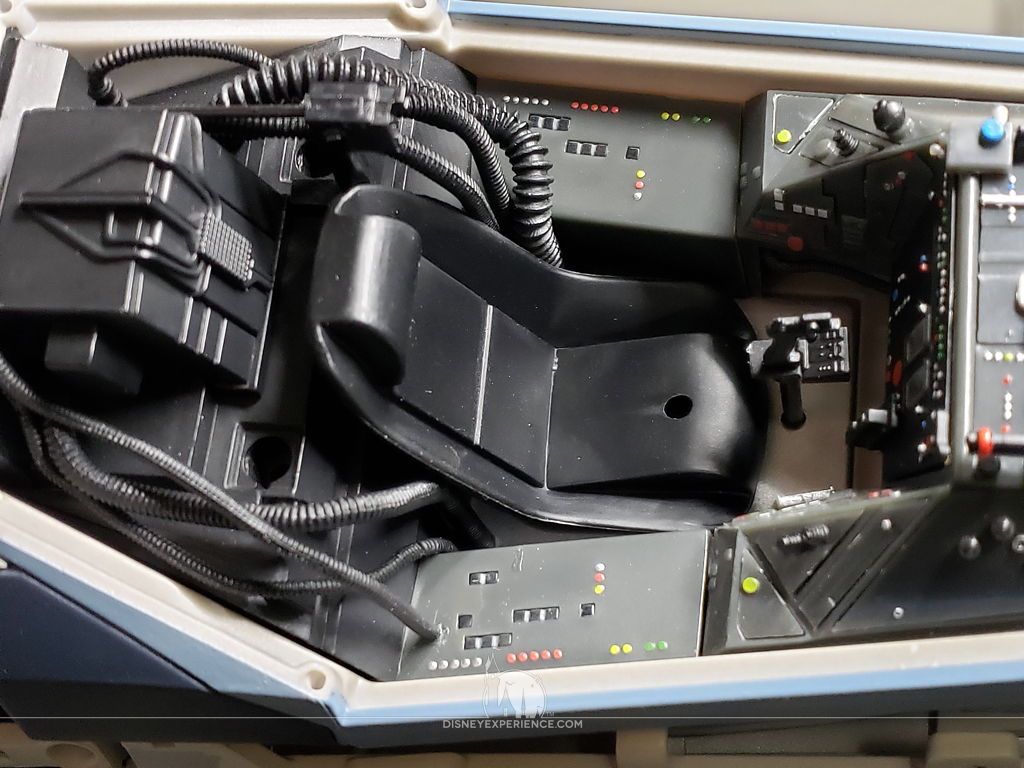
On the starboard side, I think DeAgostini got their hose placement mixed up. I was having a hard time getting them into place as the instructions say. Finally, I started over, going more by what is shown in the photos, beginning with the large hose and then installing the two smaller hoses.
Lastly, the seat was installed.
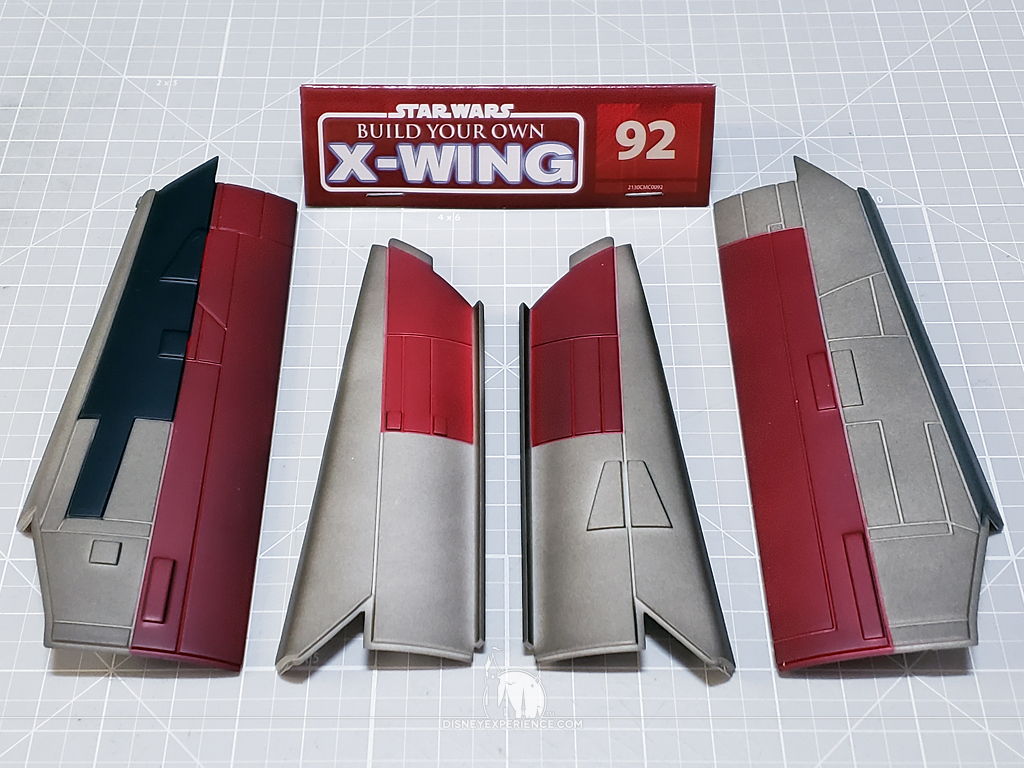
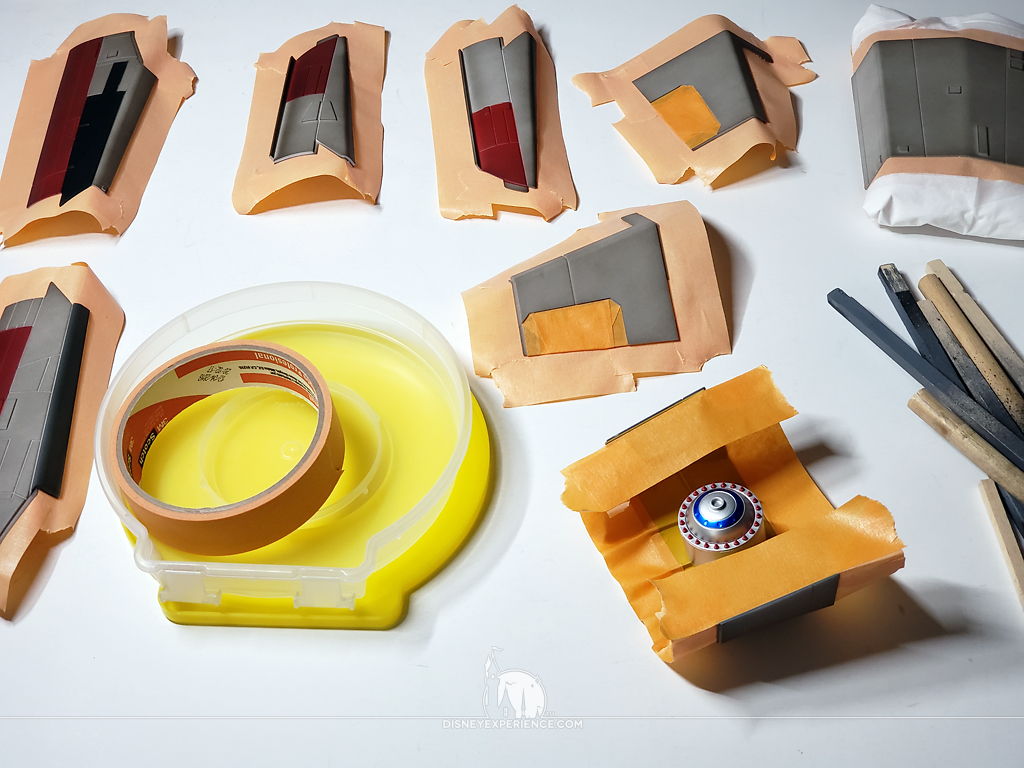
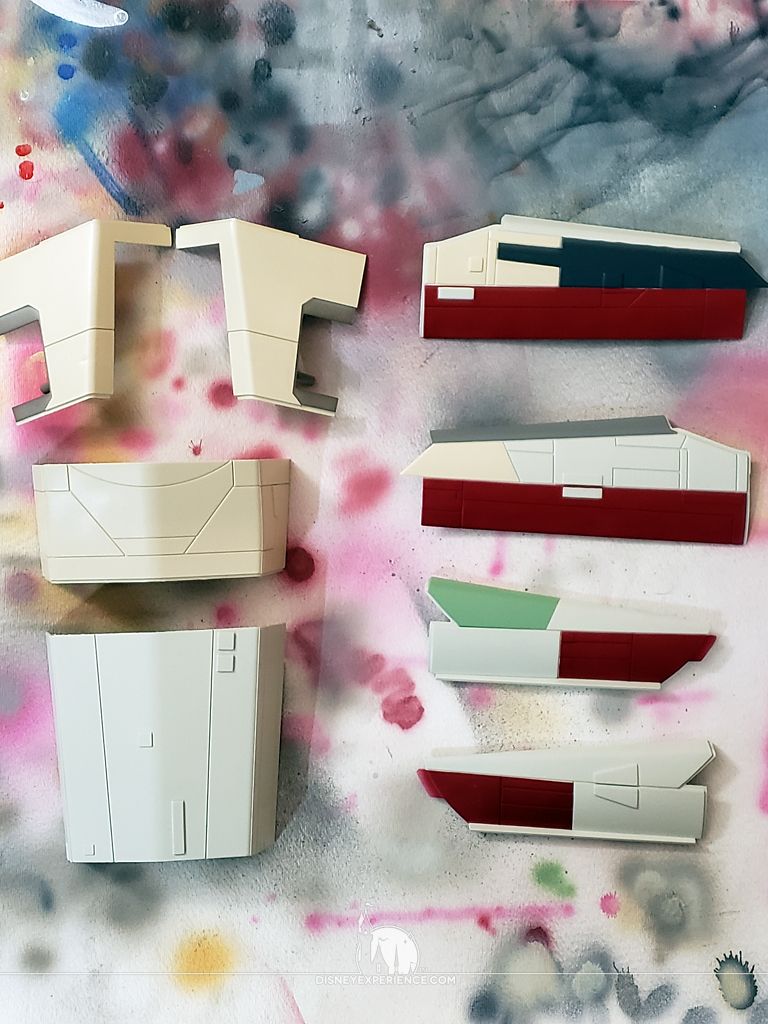
Painting
When I prep parts for painting, I like to use a sticky tape, like Rust-Oleum masking tape, that can stand up to being handled a lot without peeling away.
With everything masked, I prime the parts with gray spray primer. I like to attach wooden dowels, as handles, to the undersides of the parts for easy handling. To attach the dowels, I use UGlu dashes.
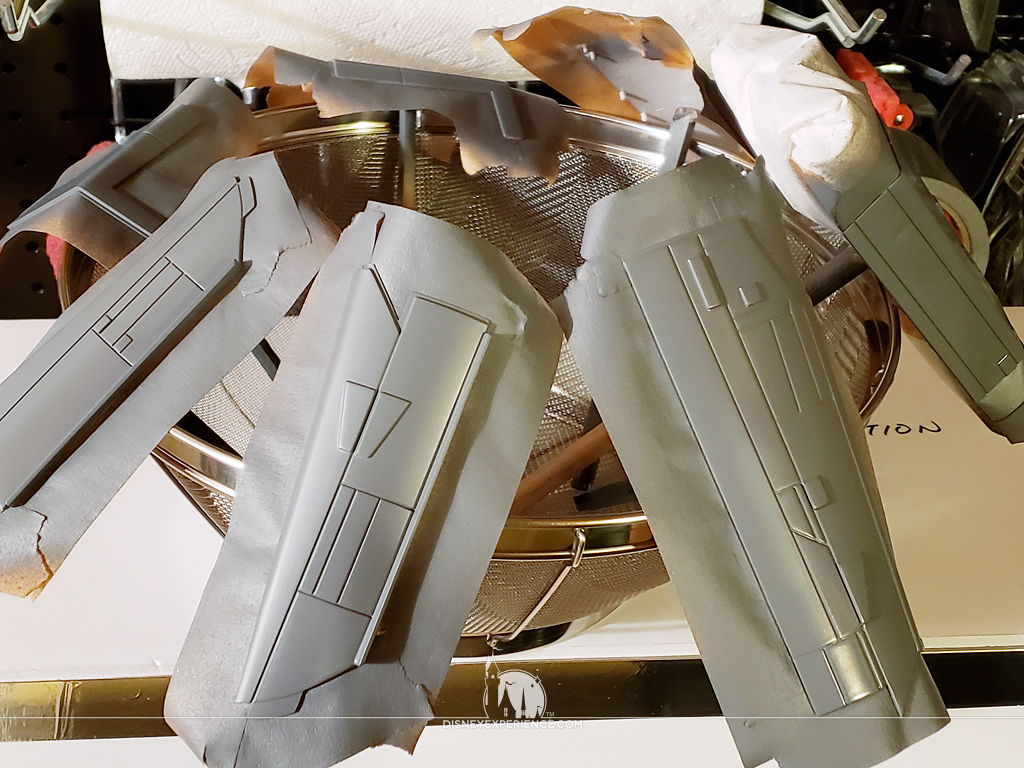
Lastly, I airbrush the colors and details.

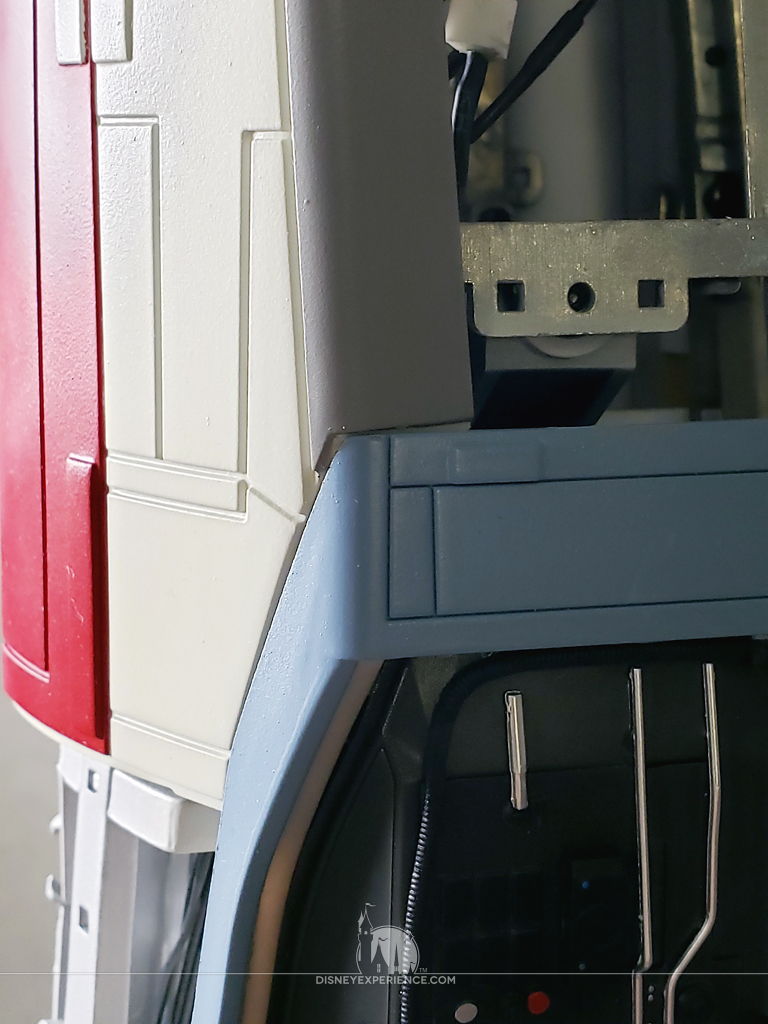
Attaching the Hull Panels
The first panels to be attached are the side cargo panels.

The accelerator compensator bay simply clicks into place.

When adding the nose panels, the instructions failed to mention that they must fit underneath the lip of the cockpit frame first.
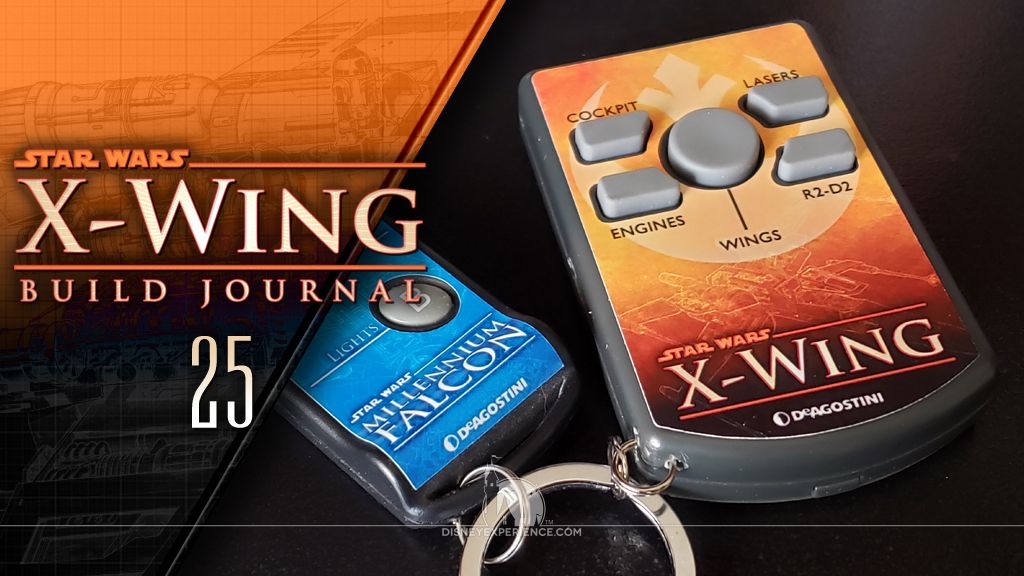
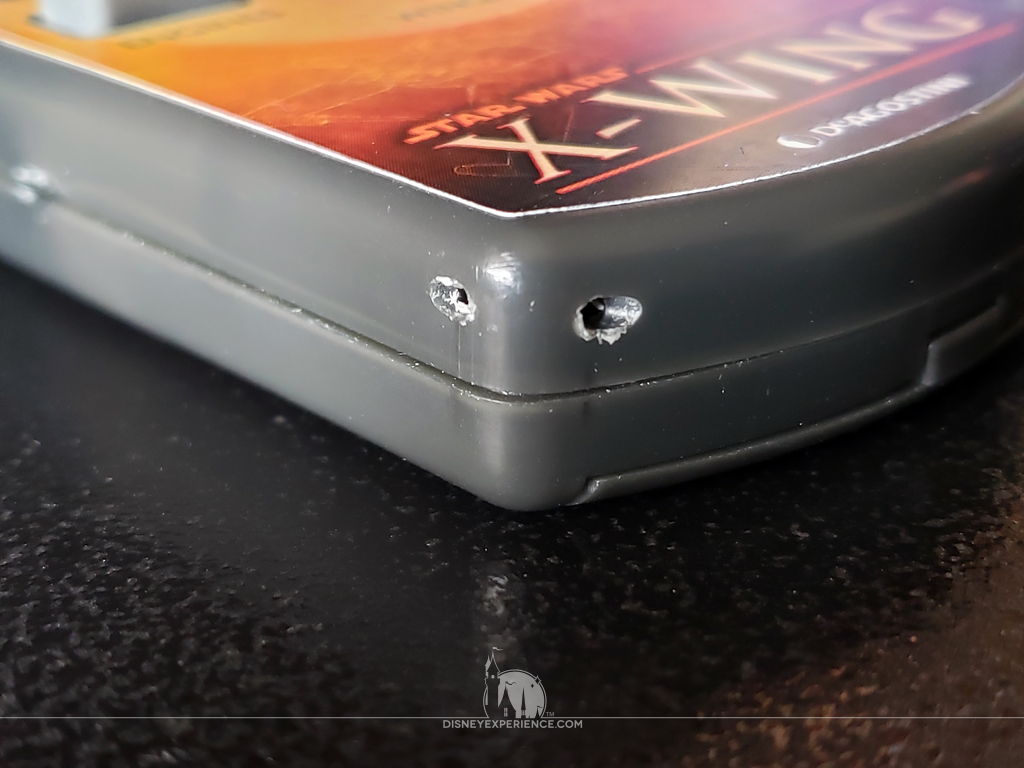
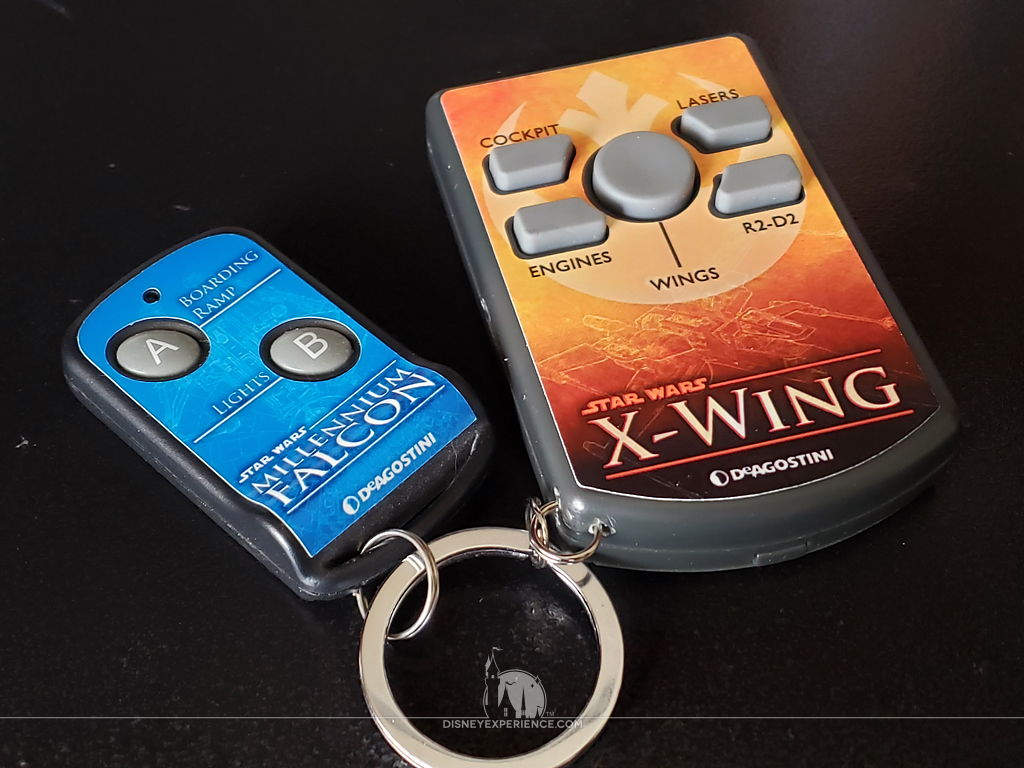
Modifying the Remote
I wanted to have both of my model remotes together on a keychain. The X-Wing remote doesn’t have such a feature, so I made one.
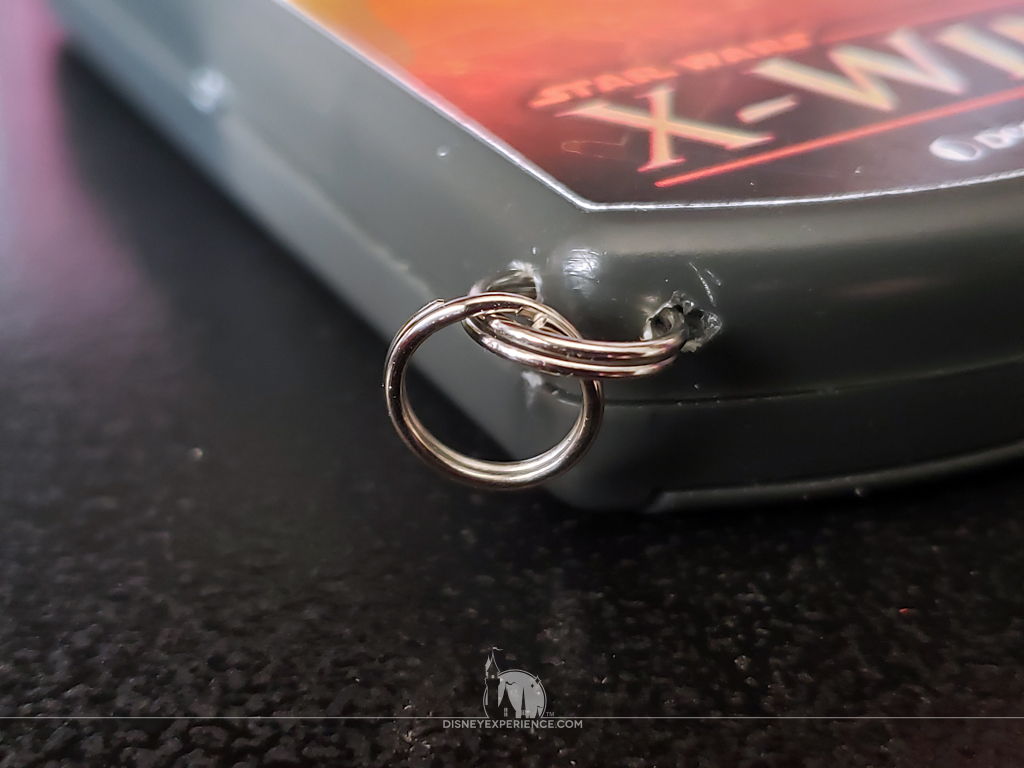
I drilled two small holes into a corner of the remote.
Then, I inserted a couple of 10mm split jump rings.
Display Bracket
I finally ordered the wall-mounted display bracket, which I have decided to use as a storage solution. Granted, I will have to remove the X-Wing once a month to apply new parts, but since there are only two more boxes coming in, it shouldn’t be a big deal.
The parts are simple, and they are packed into a small, plain white box. No instructions were included, so I had to figure out how to assemble it on my own.
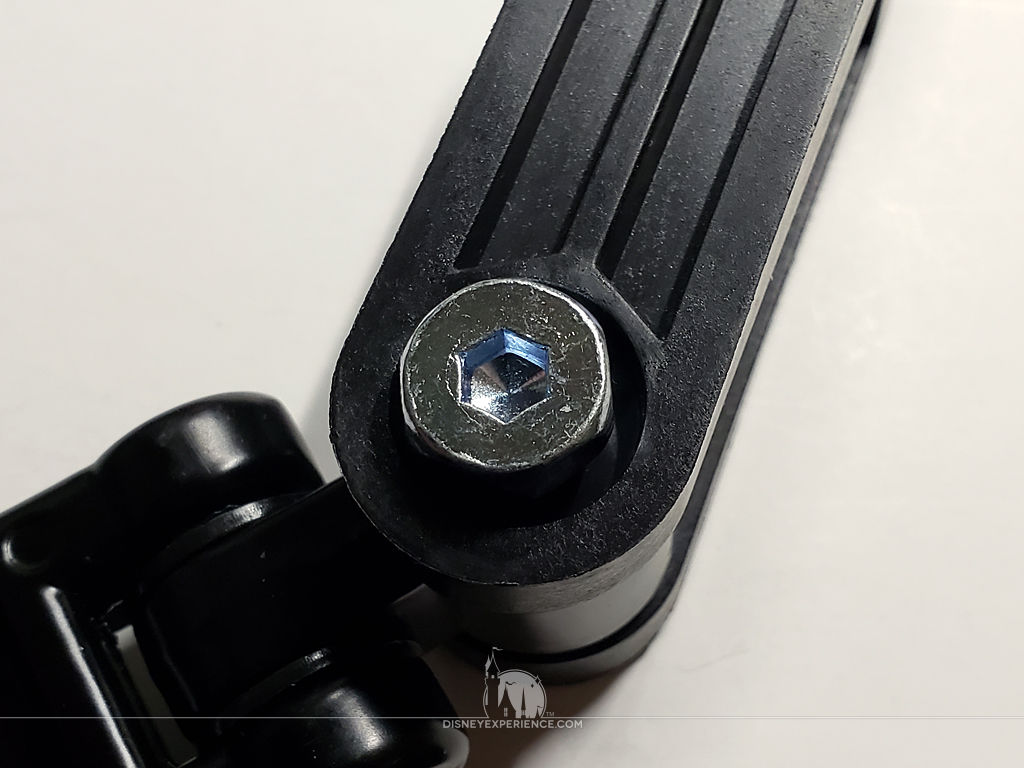
The X-Wing is heavy, so it’s important to really secure the pivoting arm so that it does not move.
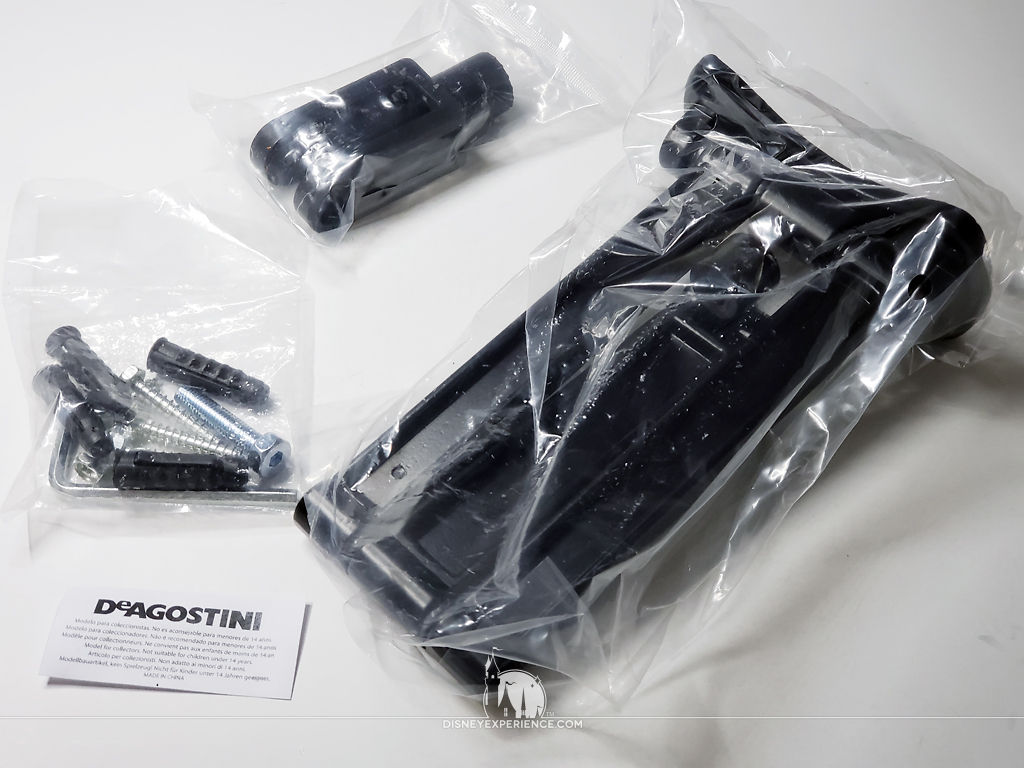
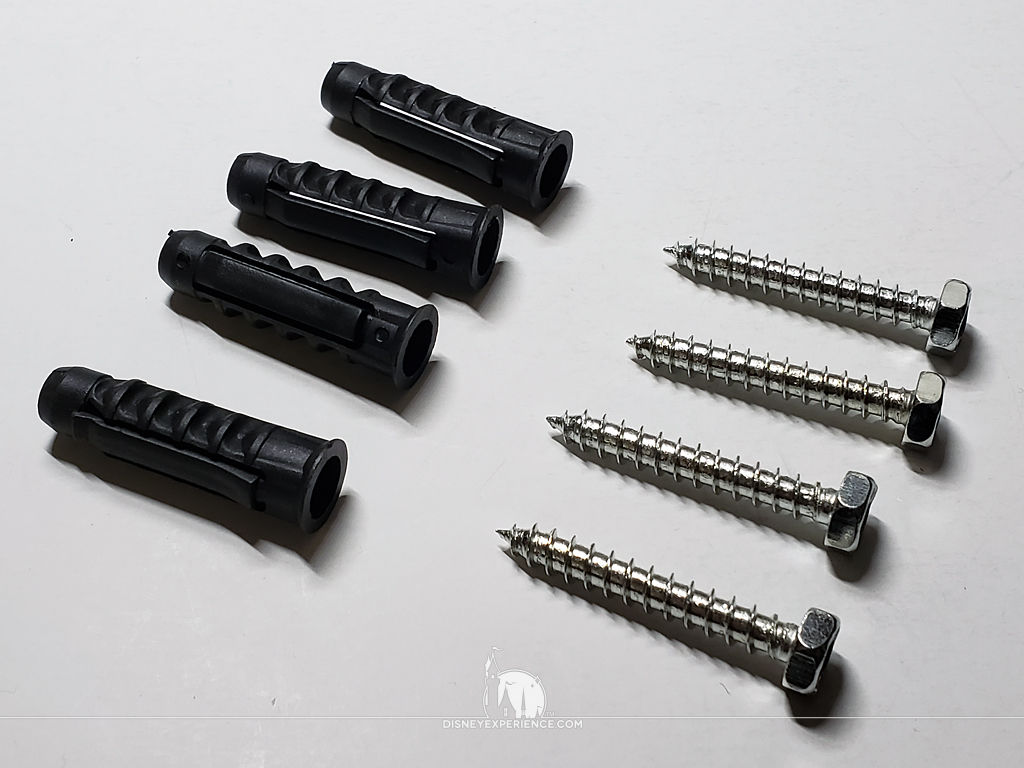
The included drywall anchors will needed a 3/8-inch drill bit. But, it’s more important that the screws go into a wall stud—more on that later.
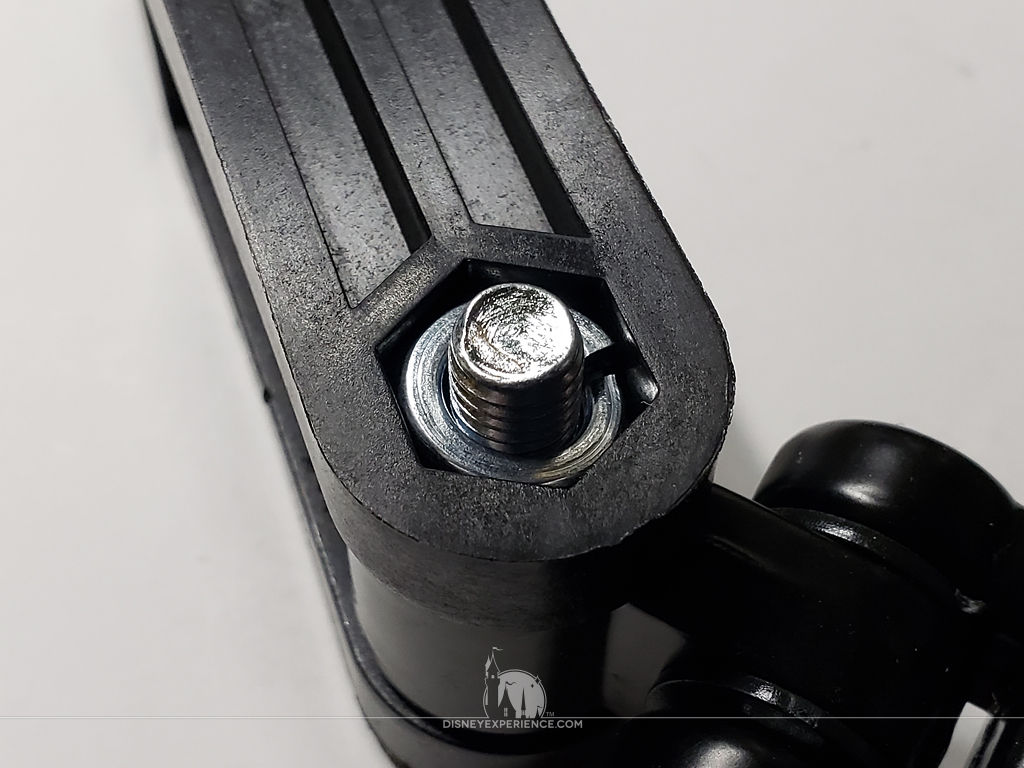
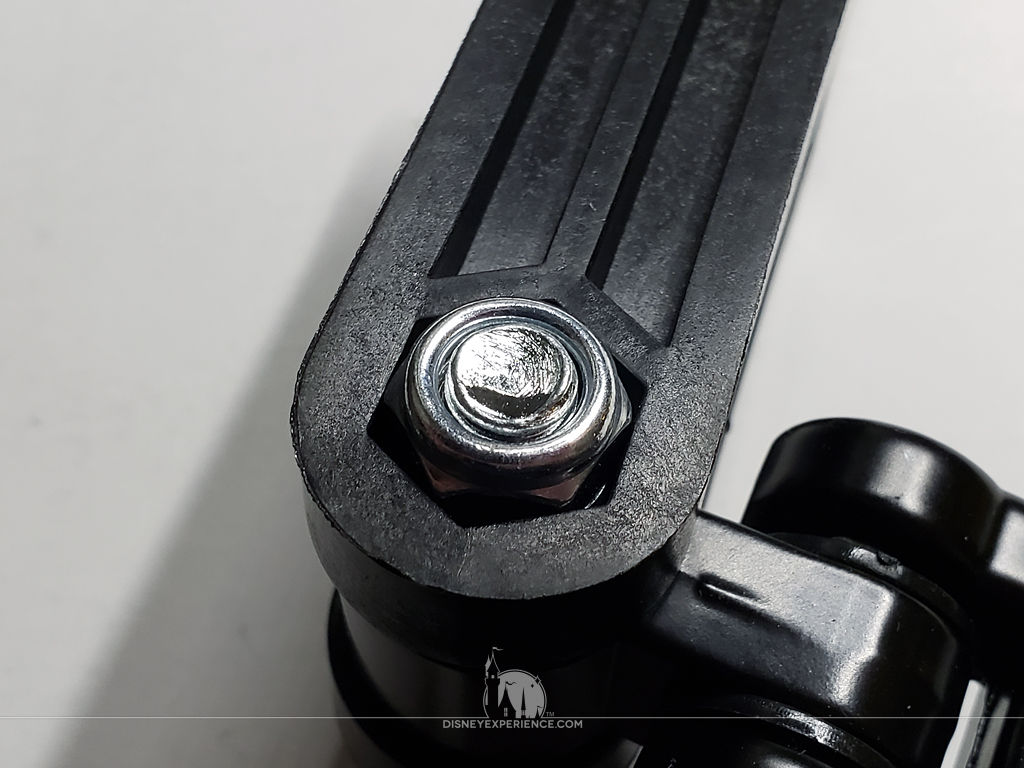
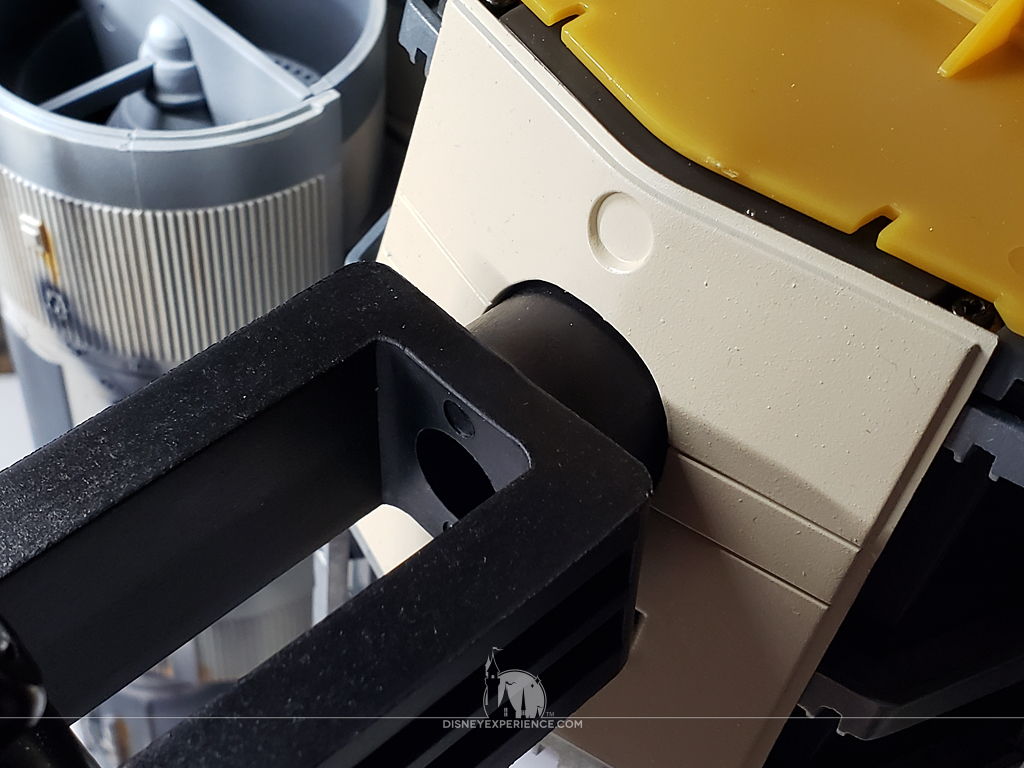
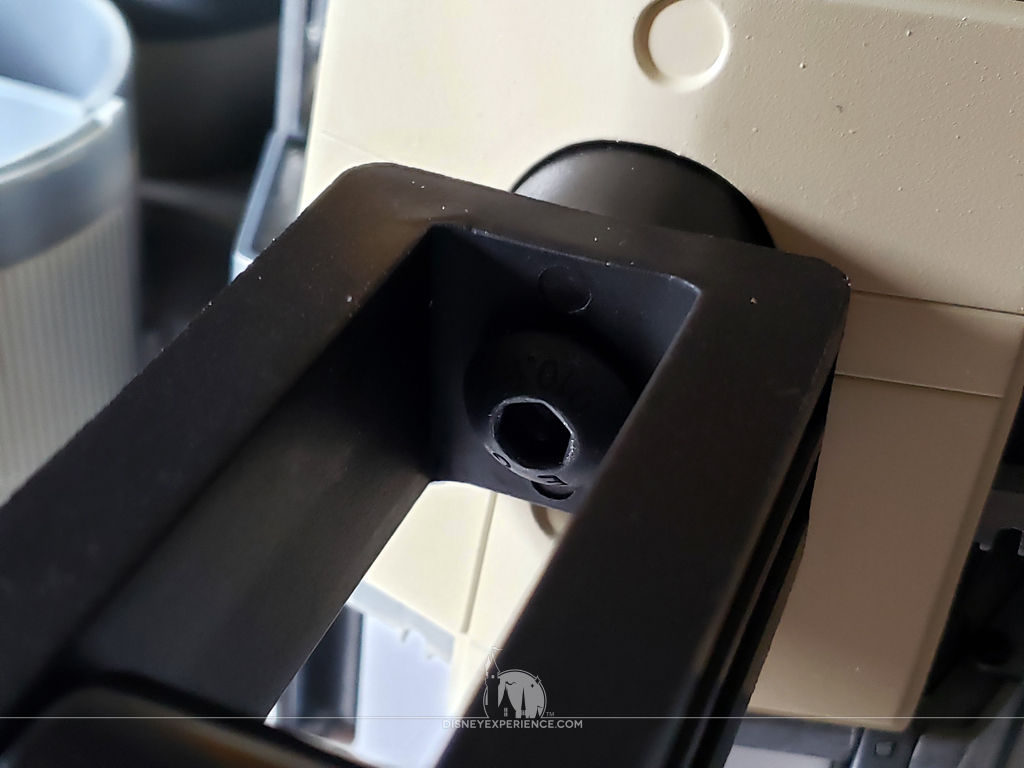
The X-Wing slips over the end of the arm easily, and is secured with a bolt.
There is not a lot of room for the included allen wrench, so screwing the bolt by hand as much as possible saves a heck of a lot of time.
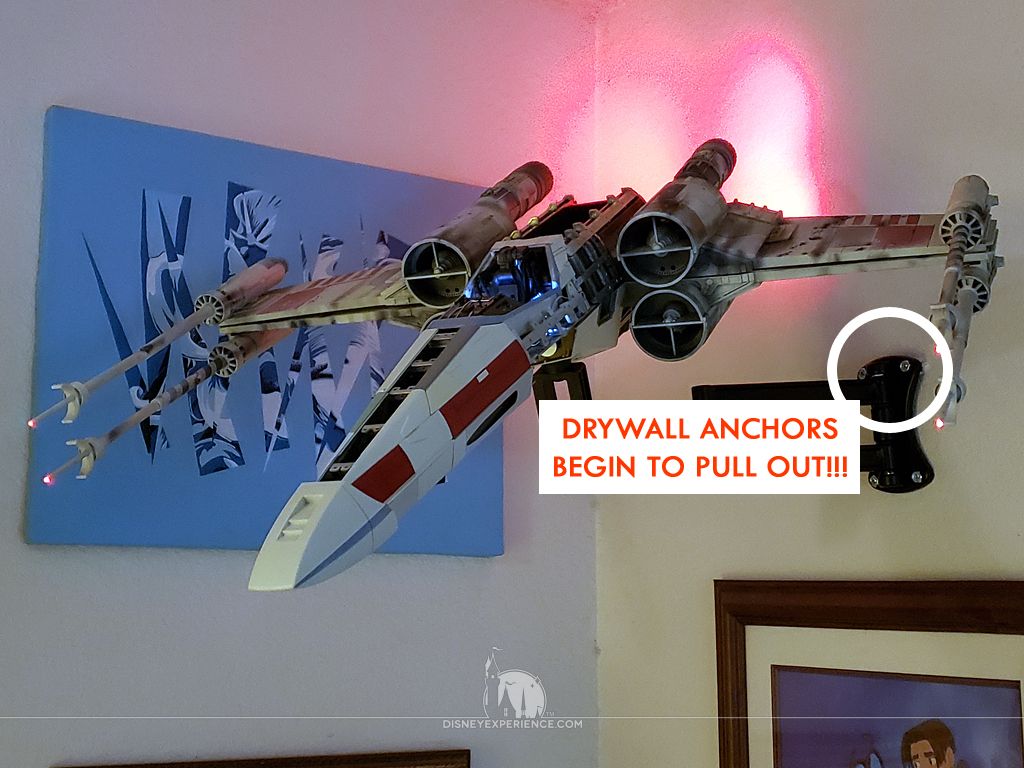
With the X-Wing proudly mounted, I tested the electronics.
Remember when I mentioned securing the wall mount to a wall stud? Well, when I edited the photos for this Build Journal, I found the point at which the drywall anchors began to pull out of the wall due to the weight of the X-Wing. For the first time in my life, I DID NOT secure a heavy object into a wall stud!
The X-Wing was mounted directly above where I sleep. At 4am, I was jolted awake by a very hard blow to the forehead. The whole X-Wing, display mount and all, fell off of the wall.
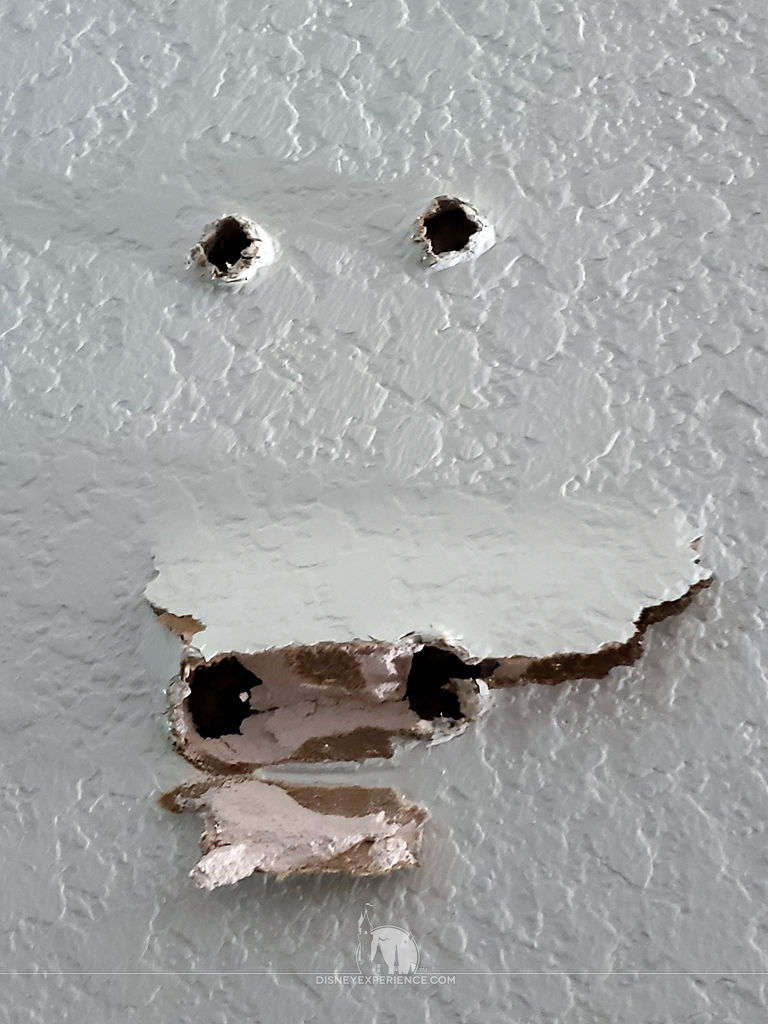
From what I can tell, the weight slowly pulled the top two drywall anchors out of the wall, the whole arm swung down (breaking the picture frame below), and finally ripped out the last two drywall anchors.
I felt like an idiot. I honestly don’t make mistakes like this.
The two starboard engines were broken, as well as one of the laser cannons. I went through several emotions, mostly anger (at myself) and disappointment. I thought I was going to have to end this Build Journal prematurely, losing over $1000 of components and hundreds of hours of labor.
However, everything was still attached by the electrical components (which still worked), and the breaks were clean and fixable.
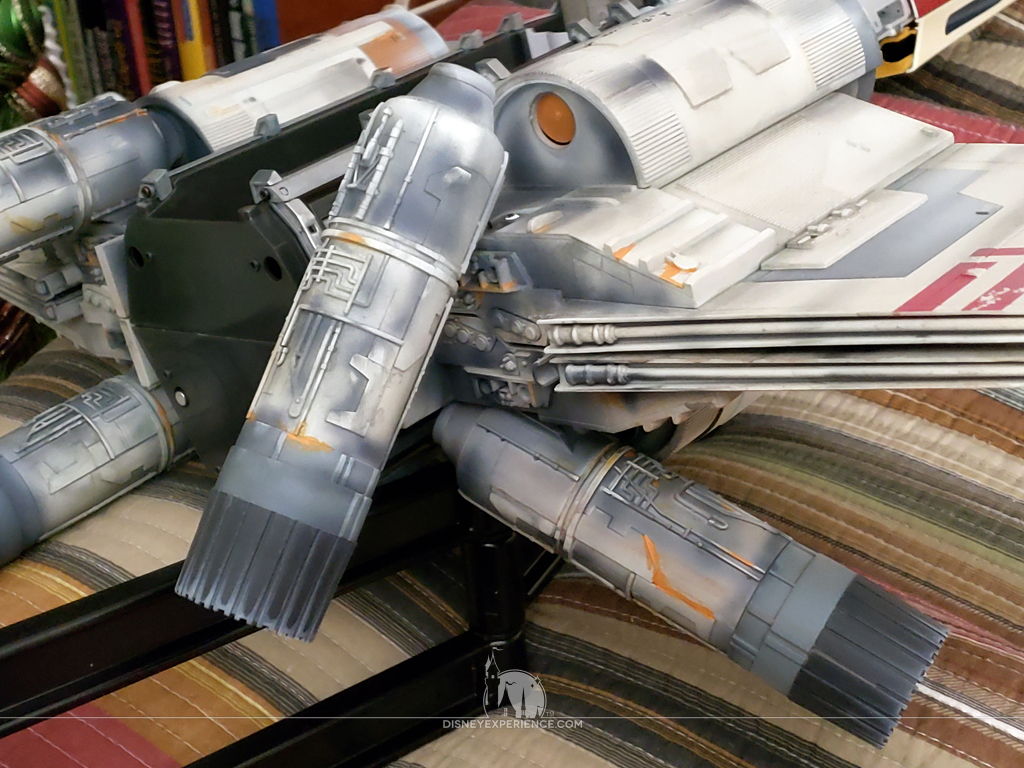
Gorilla Glue Epoxy saved all of the broken parts.


After repairing and repainting the drywall, I found a vertical wall stud. The four screws of the display arm wouldn’t fit onto the stud, so I only secured the two left-hand screws. The right-hand screws were secured with new drywall anchors that add extra interior support.
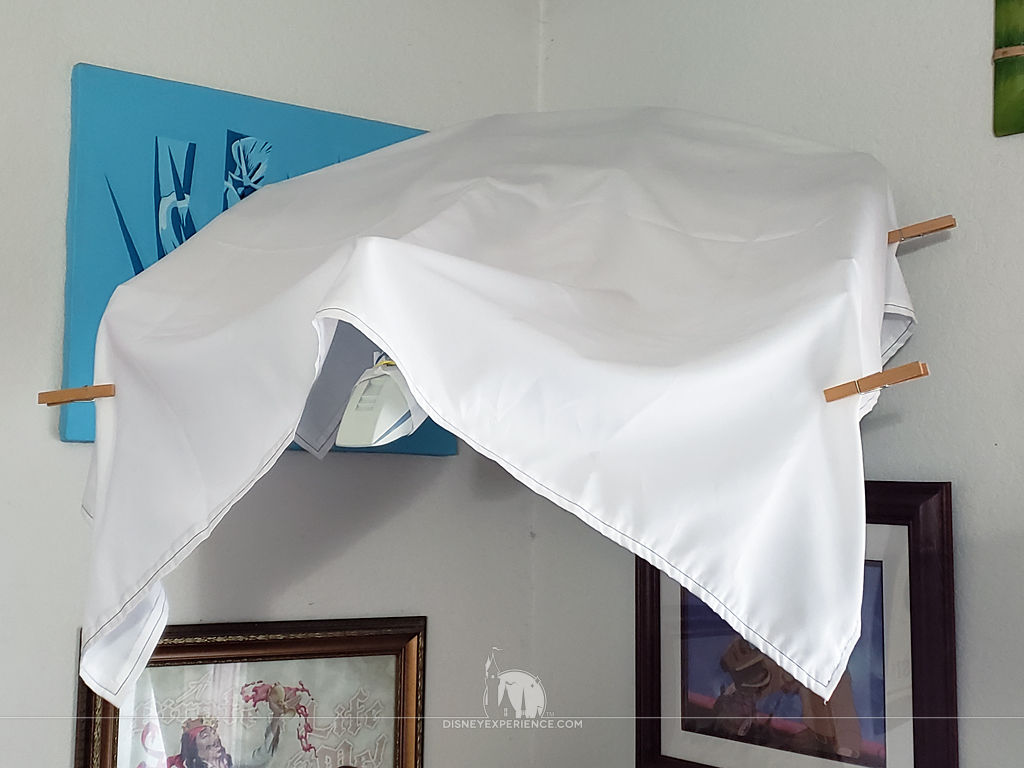
Considering how ding-dang hard it was to get the screws into the wall stud, I’m VERY confident that the X-Wing will not be coming loose again.
With the whole incident finally put behind me, I put a dust cover over the X-Wing to await next month’s parts.
Prev Journal Entry | Next Journal Entry
Both the post author and this website have not received any compensation for writing this post. Both the post author and this website have no material connection to the third-party brands, products, or services that have been mentioned. Some of the links in the post above are “affiliate links.” This means that if you purchase the item, we will receive a commission. As an Amazon associate, we earn from qualifying products. This is being disclosed in accordance with the Federal Trade Commission’s 16 CFR, Part 255: “Guides Concerning the Use of Endorsements and Testimonials in Advertising.”
Aye yi yi! You got lucky!
Yeah, it hurt. Broke the skin a little, but nothing serious. Lessons learned.