X-Wing Build Journal No. 26: Issues 93-96
Trader Sam | April 12, 2021
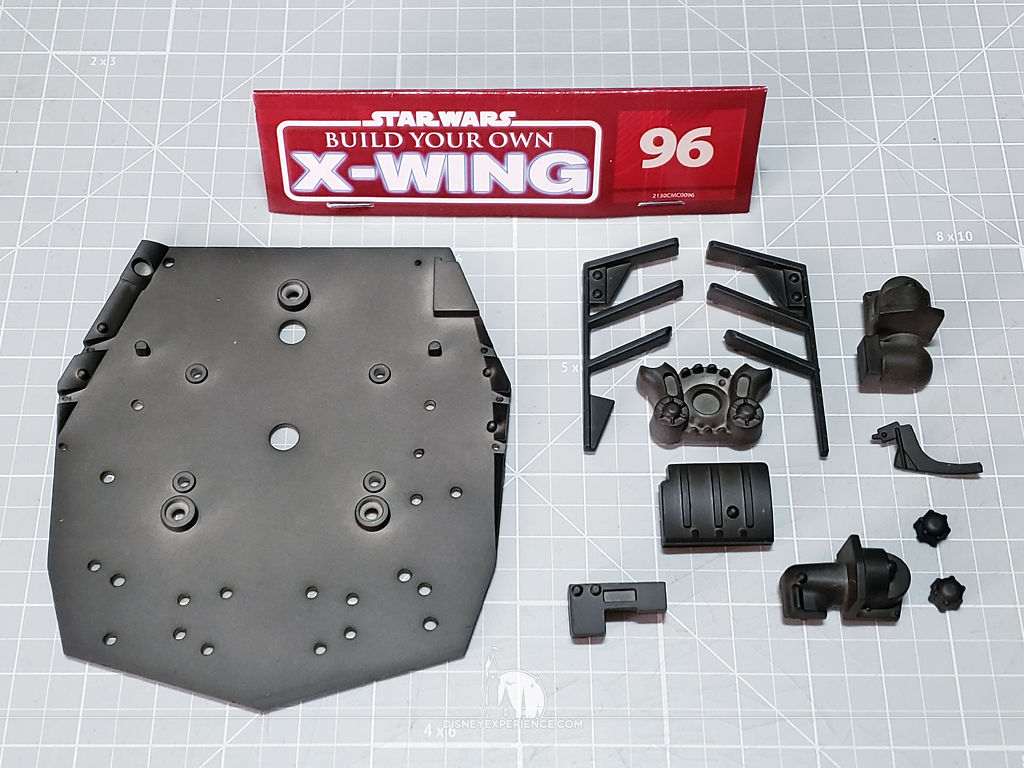
What’s Inside
The X-Wing gets more panels & paint, and it looks nearly completed. Only one more month to go!
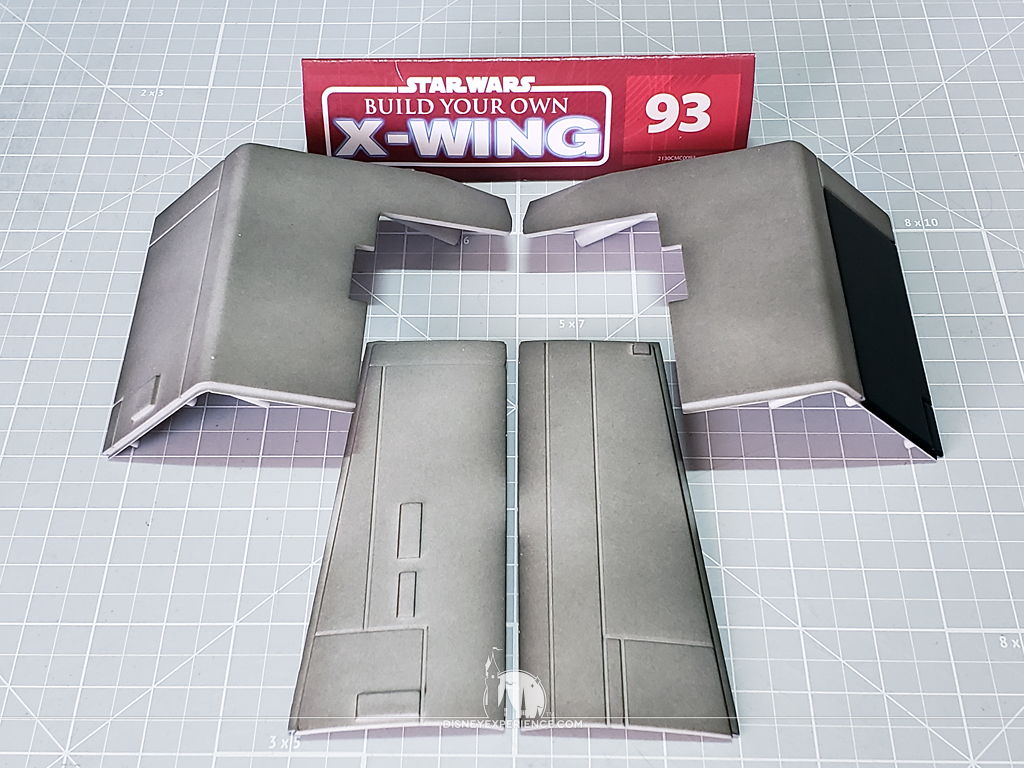

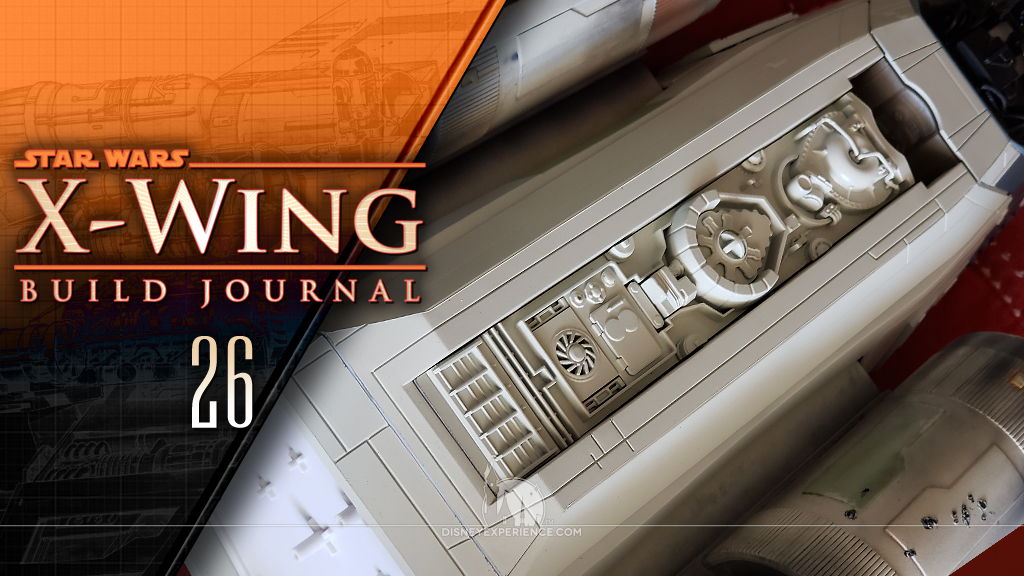
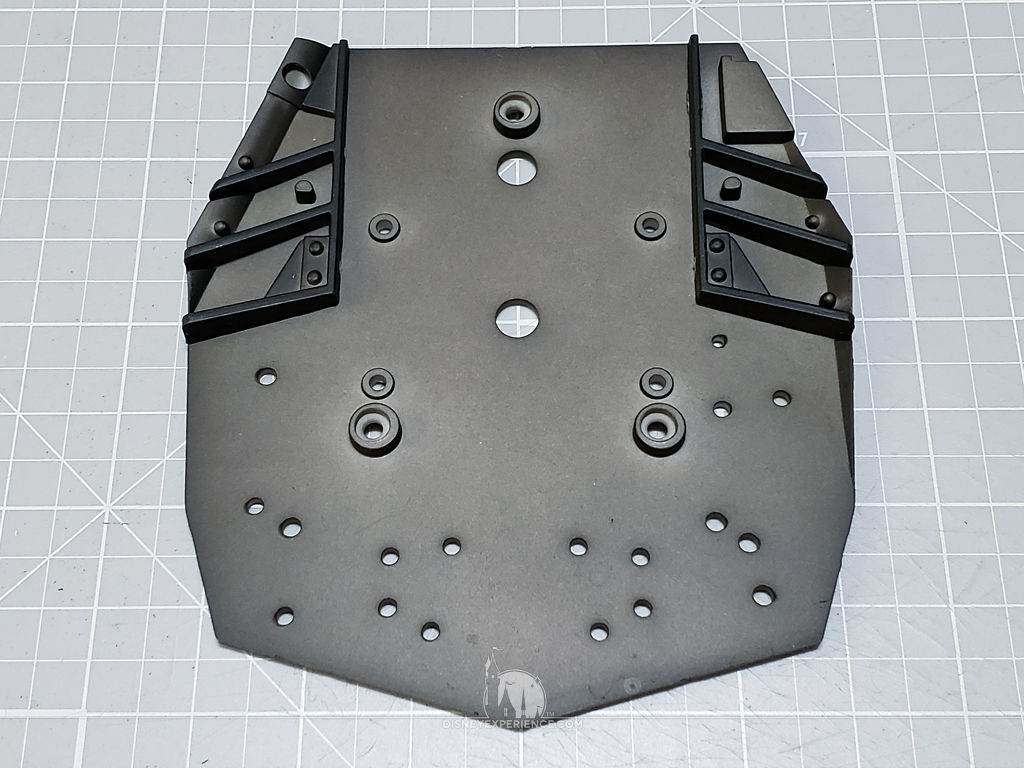
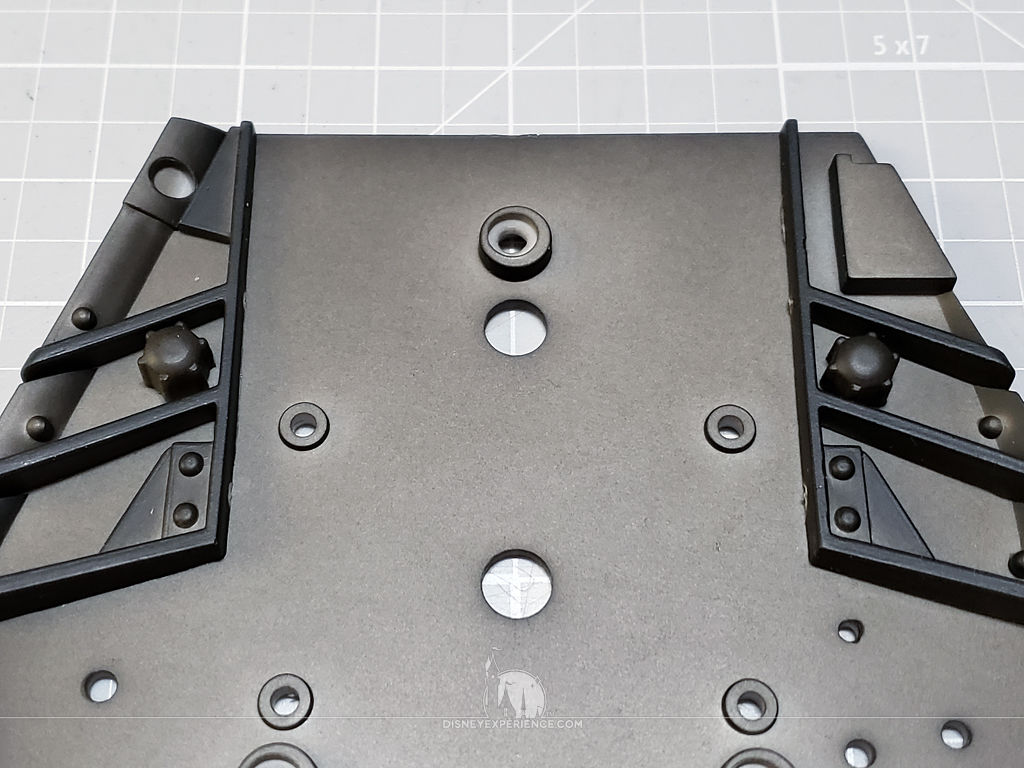
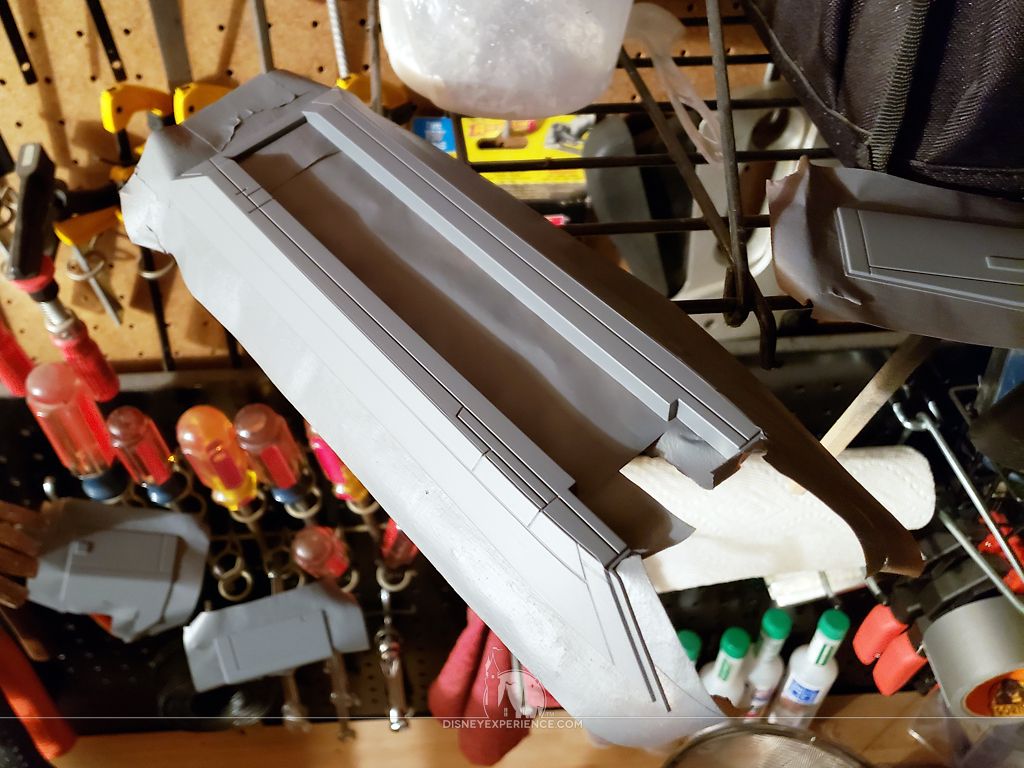
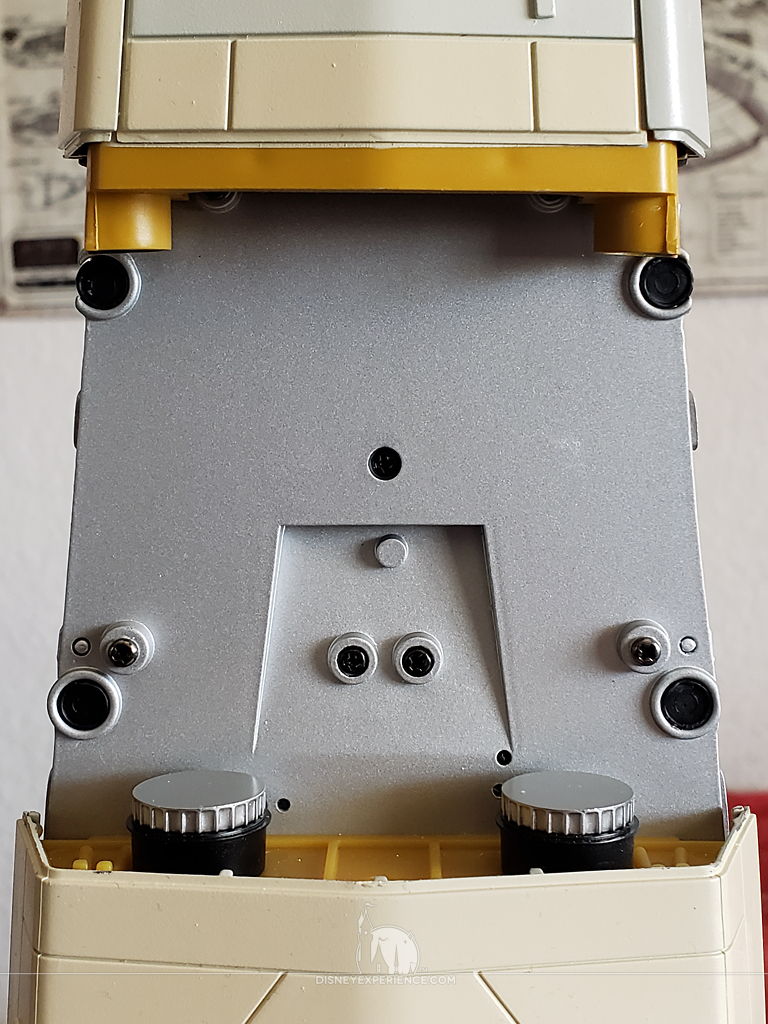
Rear Fuselage Details
I began with the rear fuselage. Since it doesn’t get completed this month, it doesn’t need to be painted, and I can set it aside.

Painting
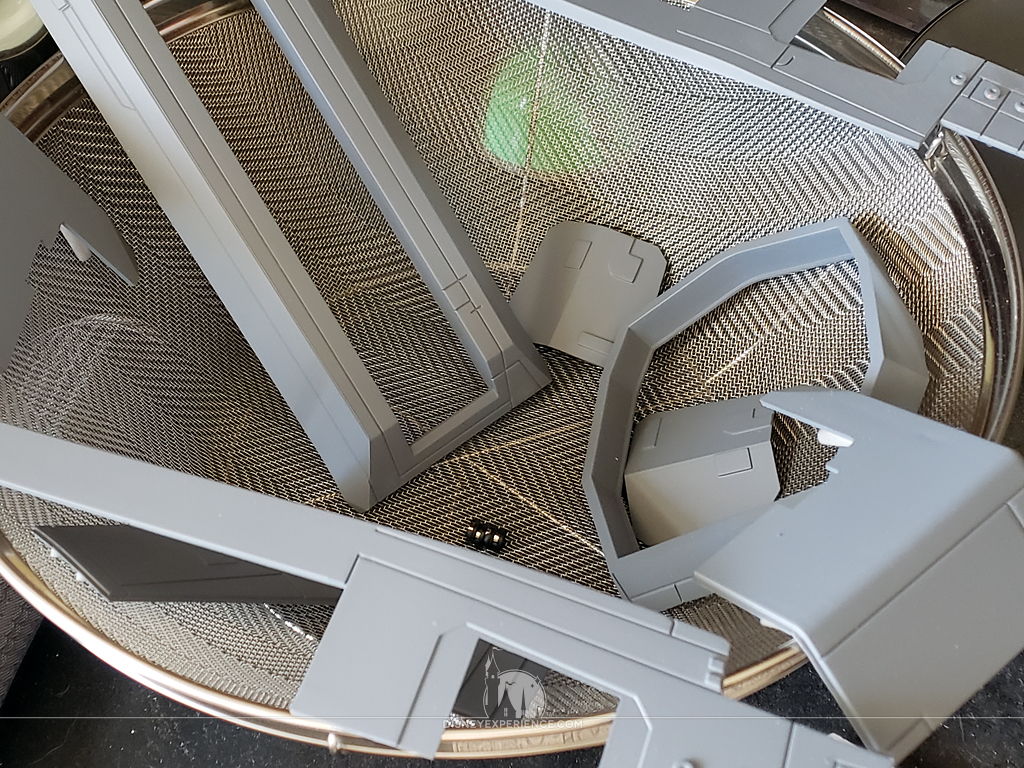
After washing and drying the parts thoroughly, they are masked and primed.
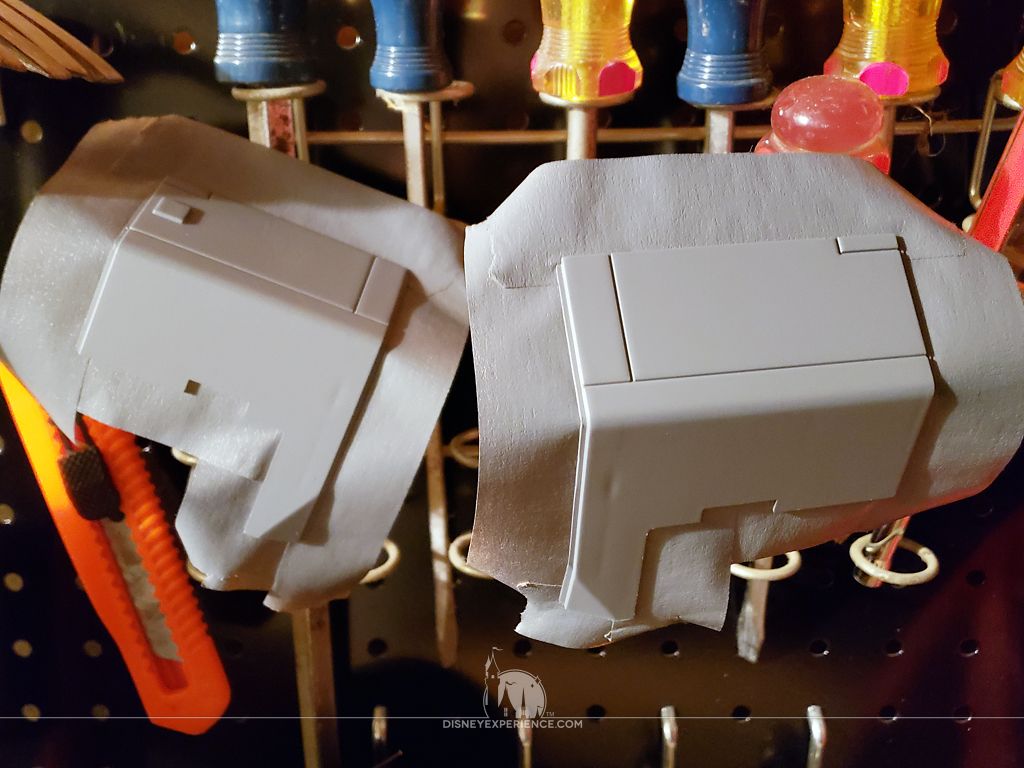
After priming, I decided to do something different: I took the whole operation outdoors, into the garage. Normally, I paint indoors, in a small room with proper ventilation, fans, etcetera. But, that creates a lot of “dust” that settles onto everything. This time, I felt like getting some fresh air and having a much larger working area.
The whole experience was very nice & much more relaxing, and it didn’t take much effort to haul all of my parts & supplies from upstairs (and back when I was finished). I could also make as much of a mess as I liked, which was a bonus.
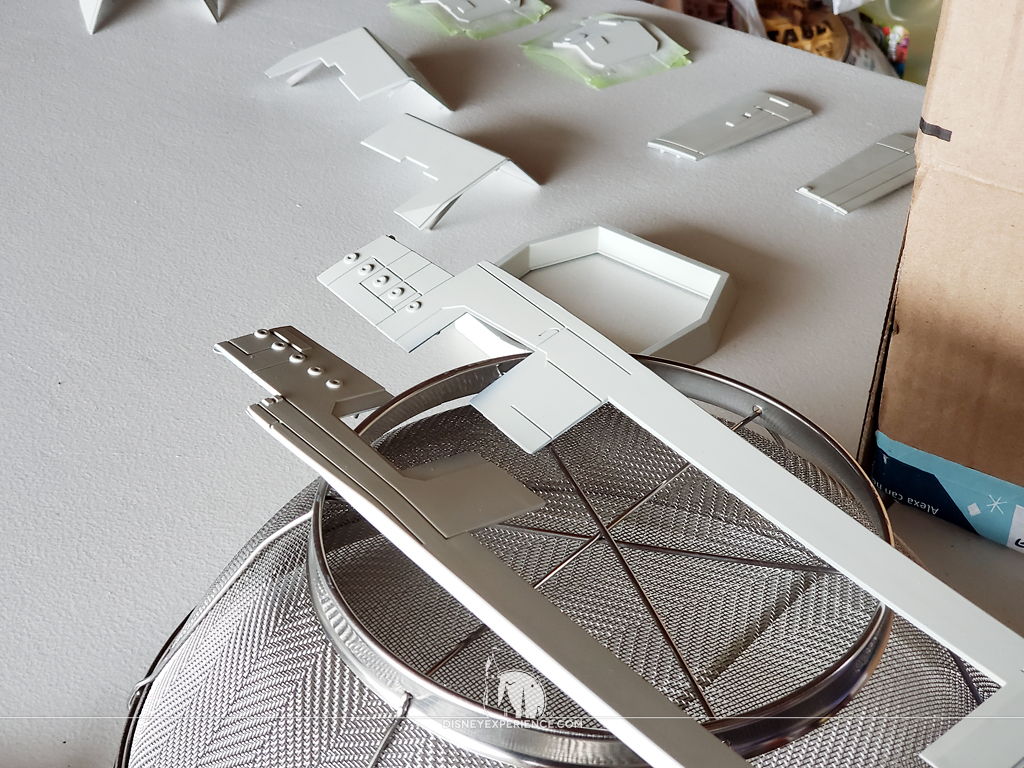
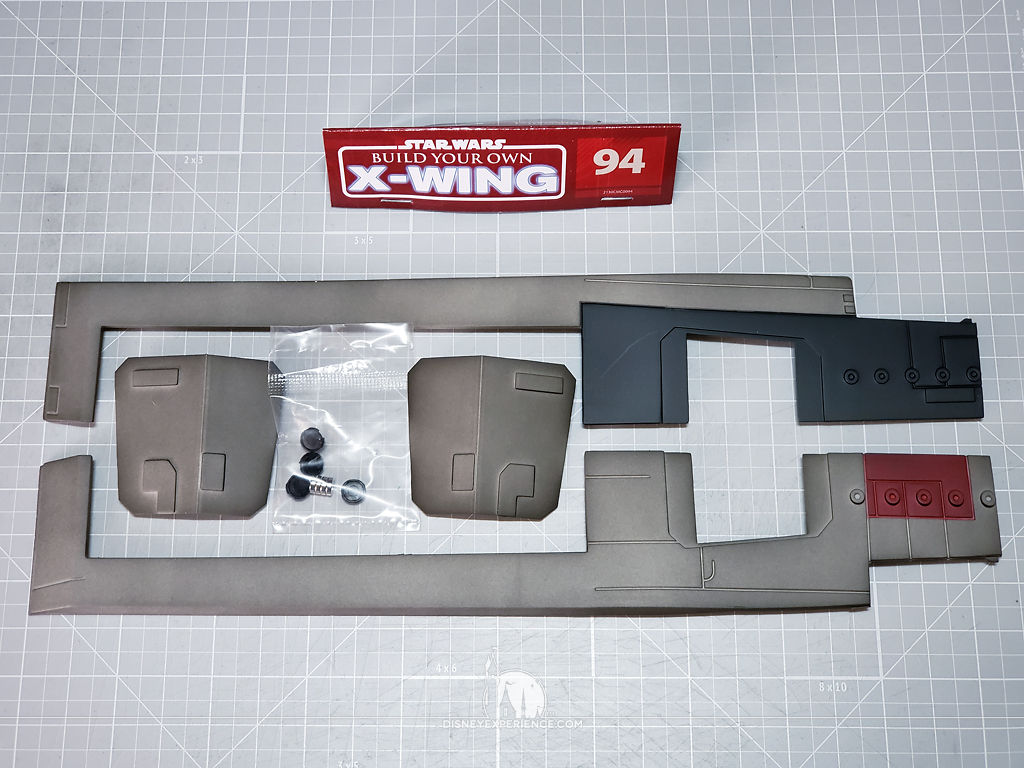
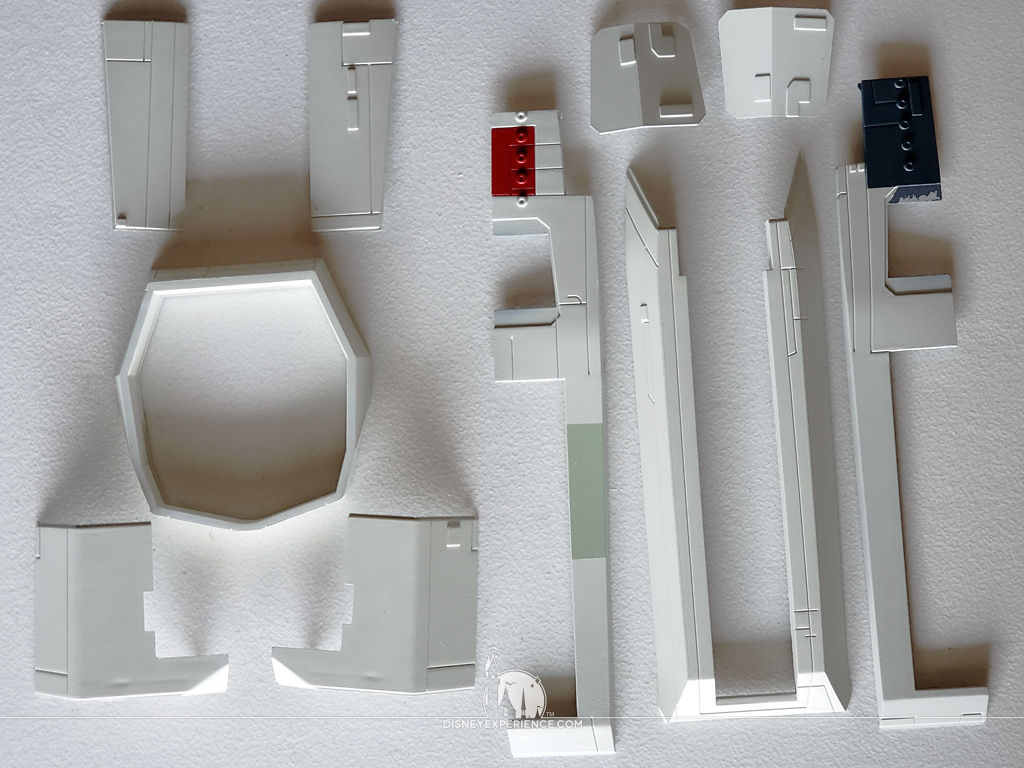
After applying the base color, I added what few colors were needed on the panels. I did miss one panel, so I will have to go back and color that in at a later date.
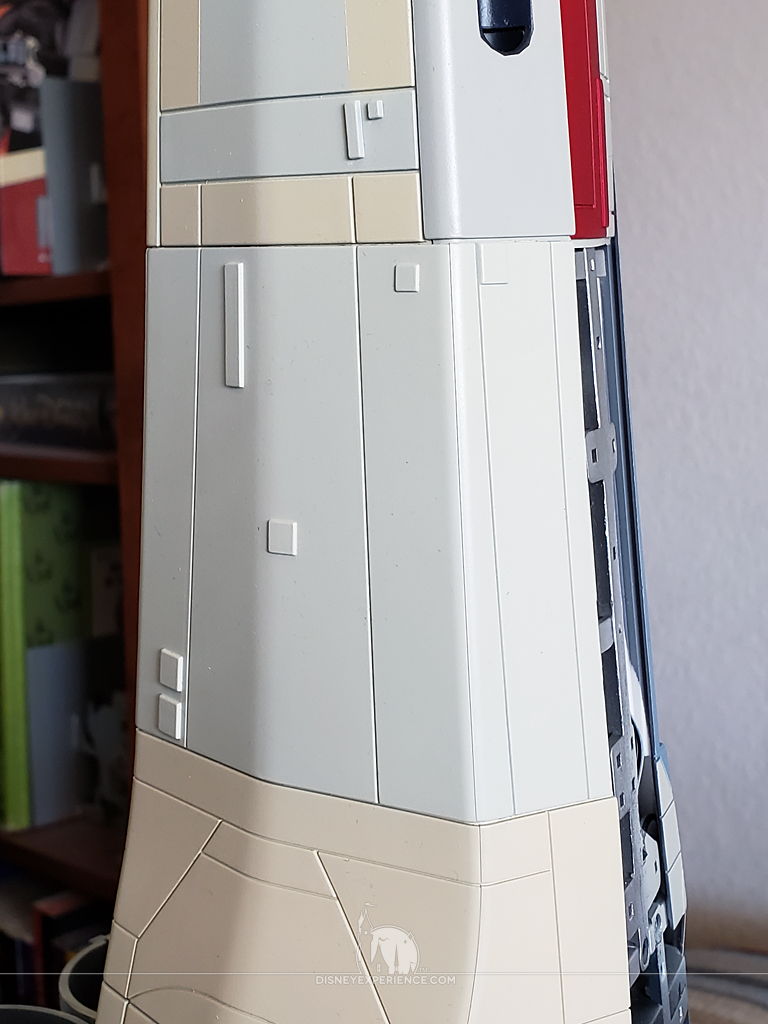
Attaching the Panels
I tried to use epoxy to glue the magnets into their plastic holders, but the surfaces were both so smooth that the magnets just popped right out. Instead, I switched to my trusty Loctite Super Glue, holding the pieces together with clothes pins.

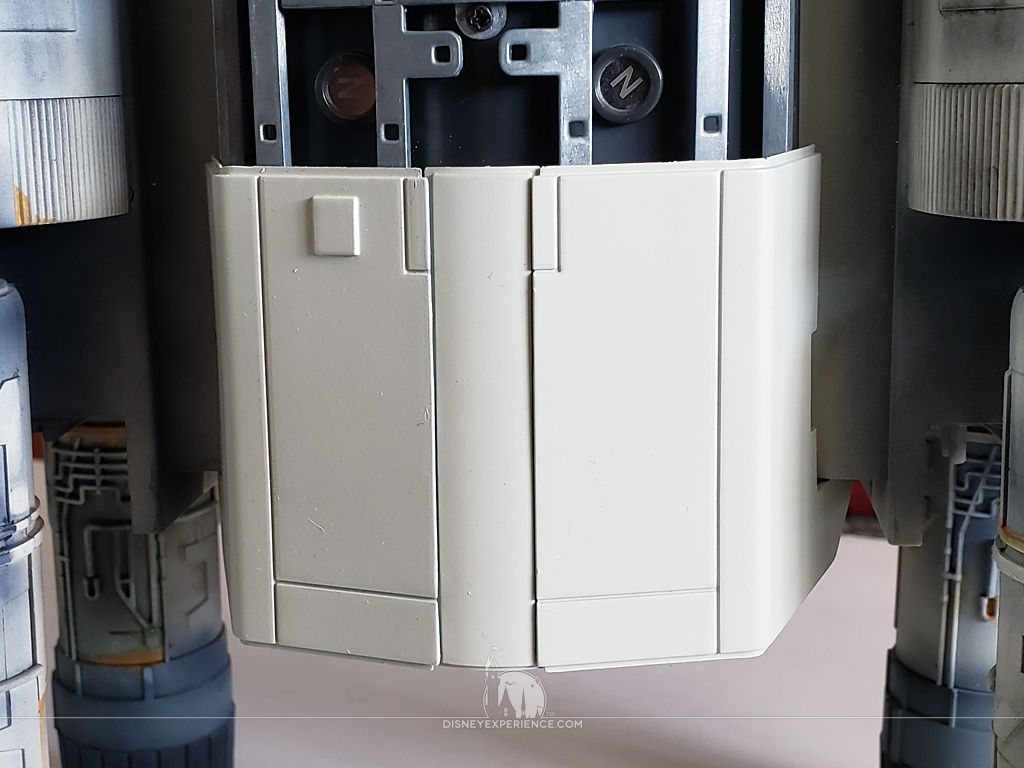
Then, I popped the magnets into their holders within the torpedo bay. The holders were pretty snug, so no glue was needed.
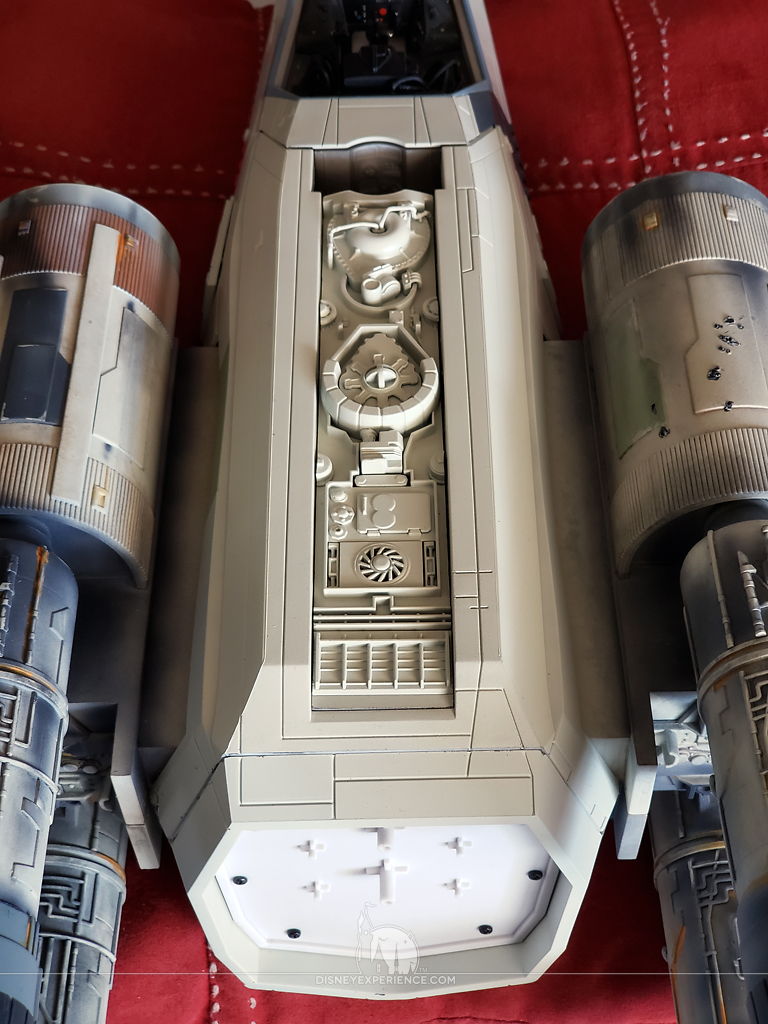
The torpedo bay popped into place easily, being held by the magnets as well as lightly snapping into place.
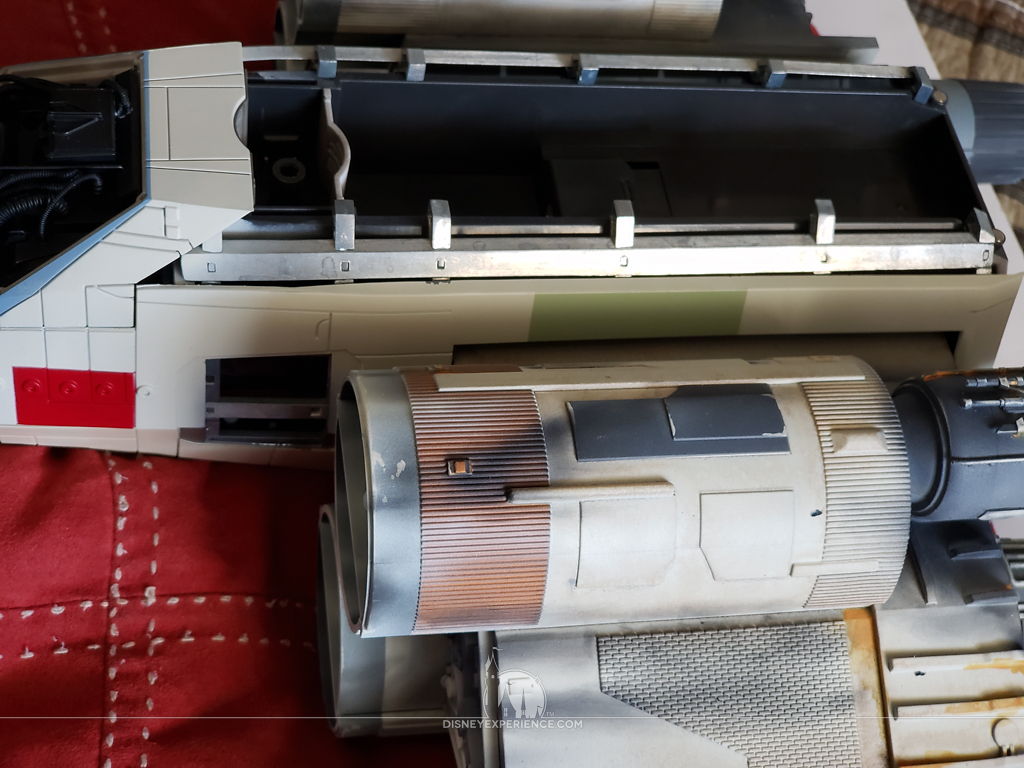
Moving on, the side cockpit panels were placed . . .
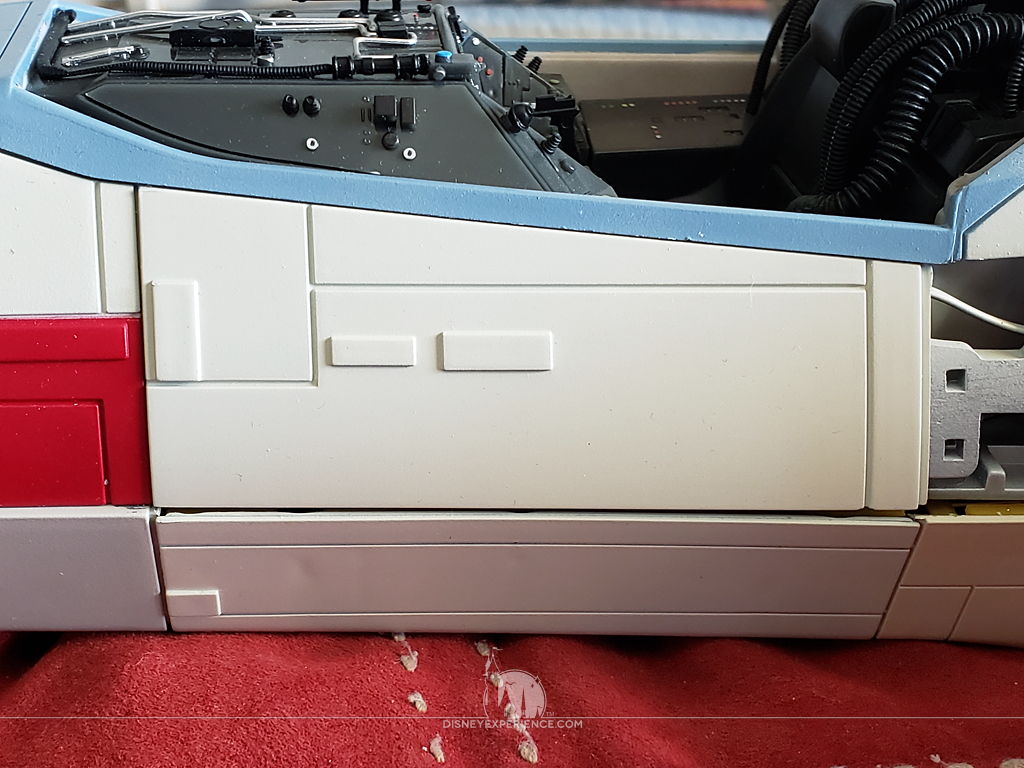
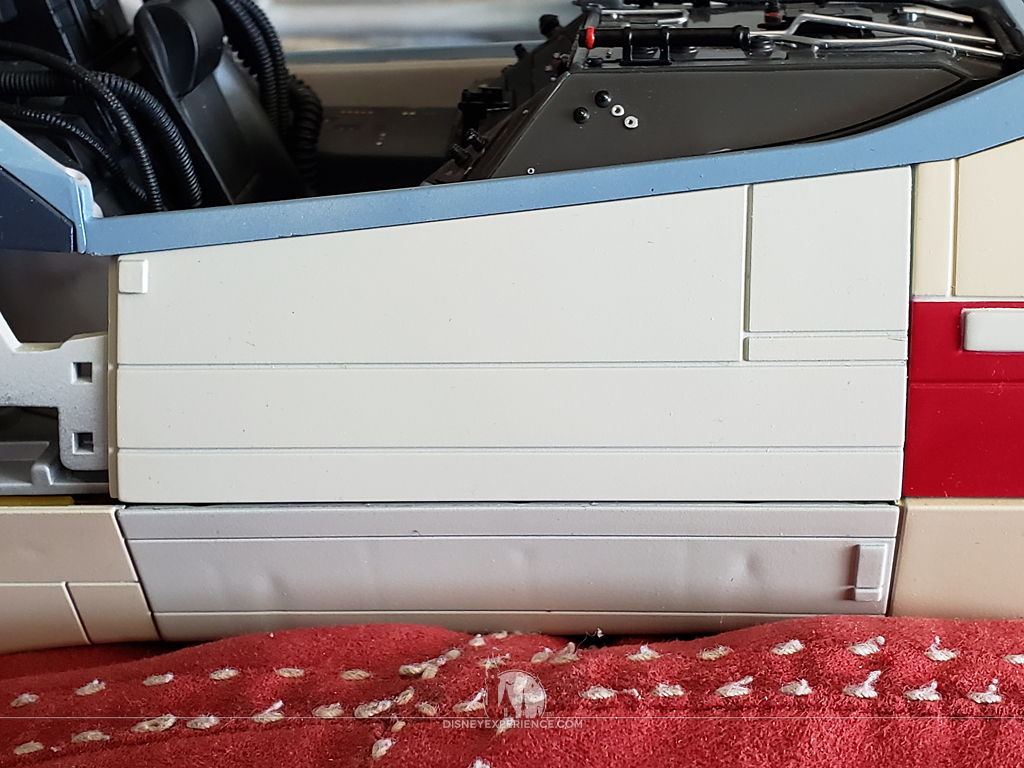
. . . followed by two large panels on the underside of the fuselage.
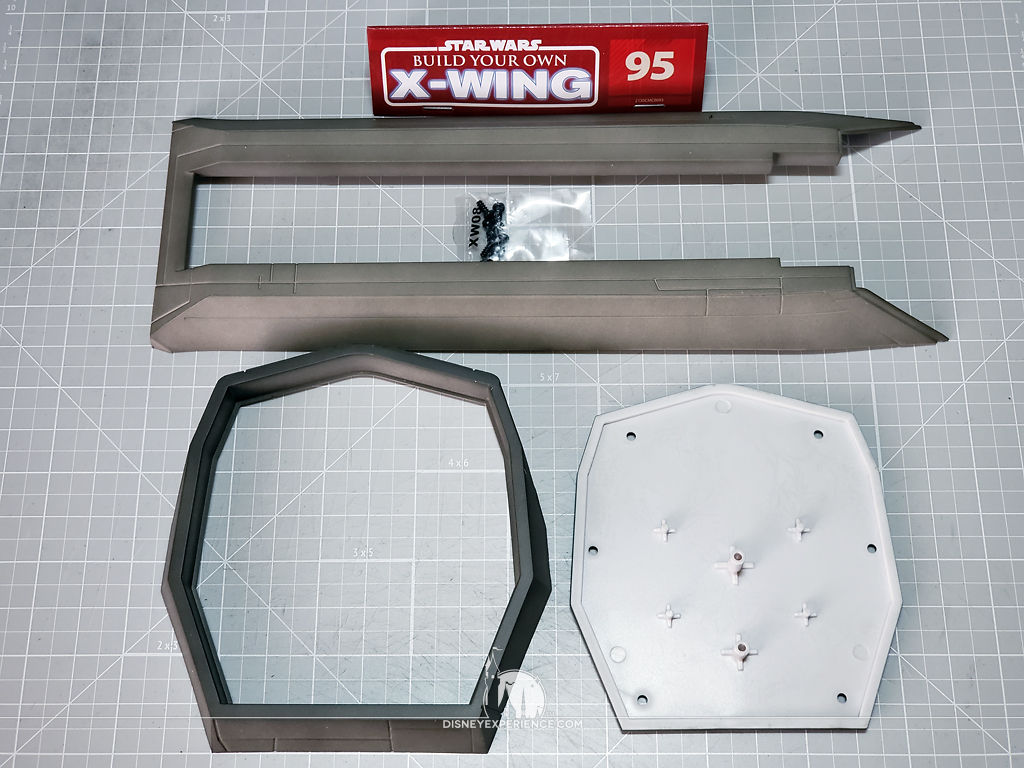
The side fuselage panels were a pain to get into place as some of the pins were too stubborn to go into their assigned holes.

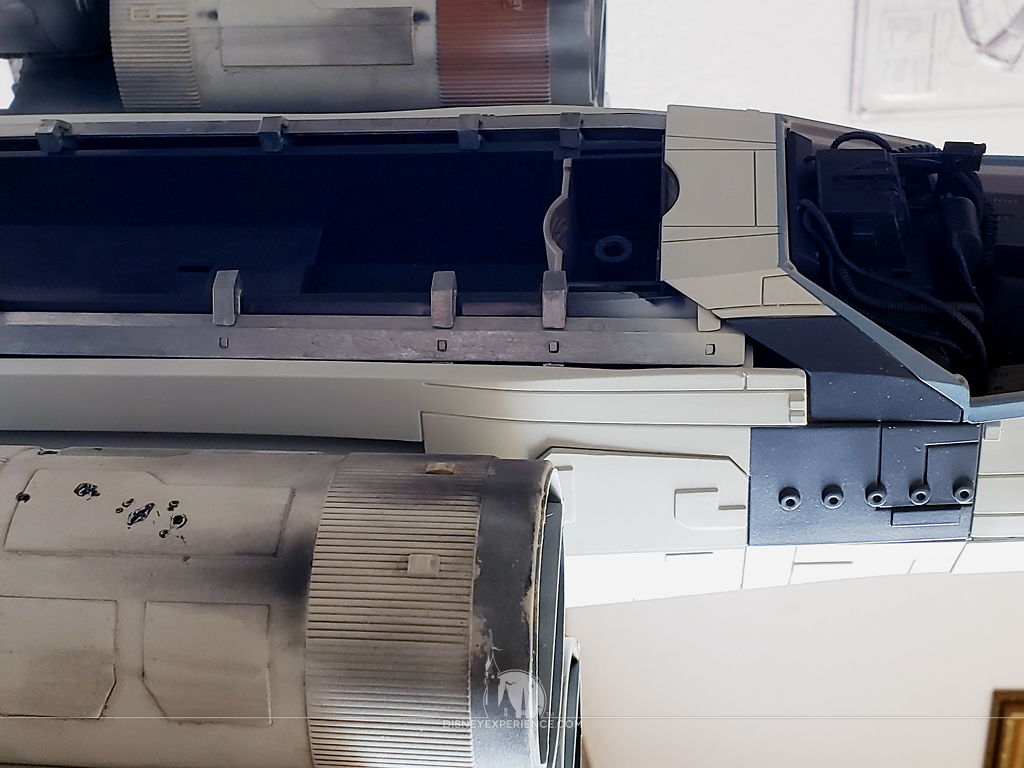
The most trouble that I had was with the rear frame that capped all of the fuselage panels into place. They needed to be corralled, and one panel always seemed to pop loose before I could secure the frame with screws. Grrr!
Fitting the top of the fuselage, I needed to sand away some paint and plastic for a nice fit.
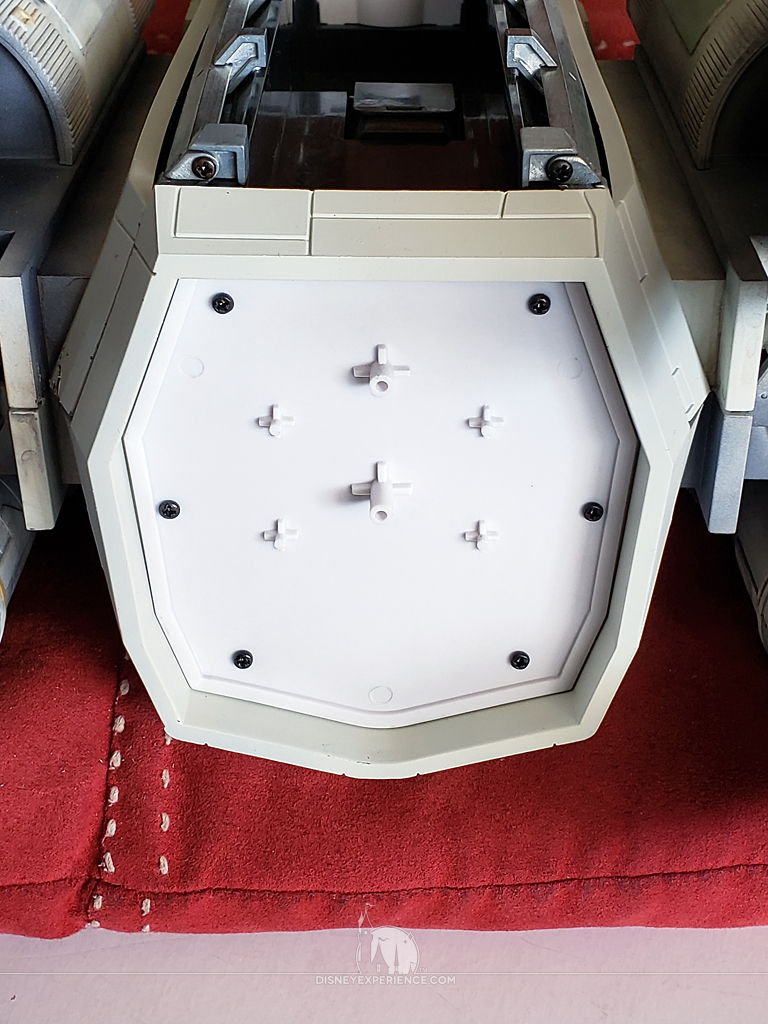
Test fitting R2-D2, I discovered that the top fuselage panel has to be removed in order for the figure to fit inside.
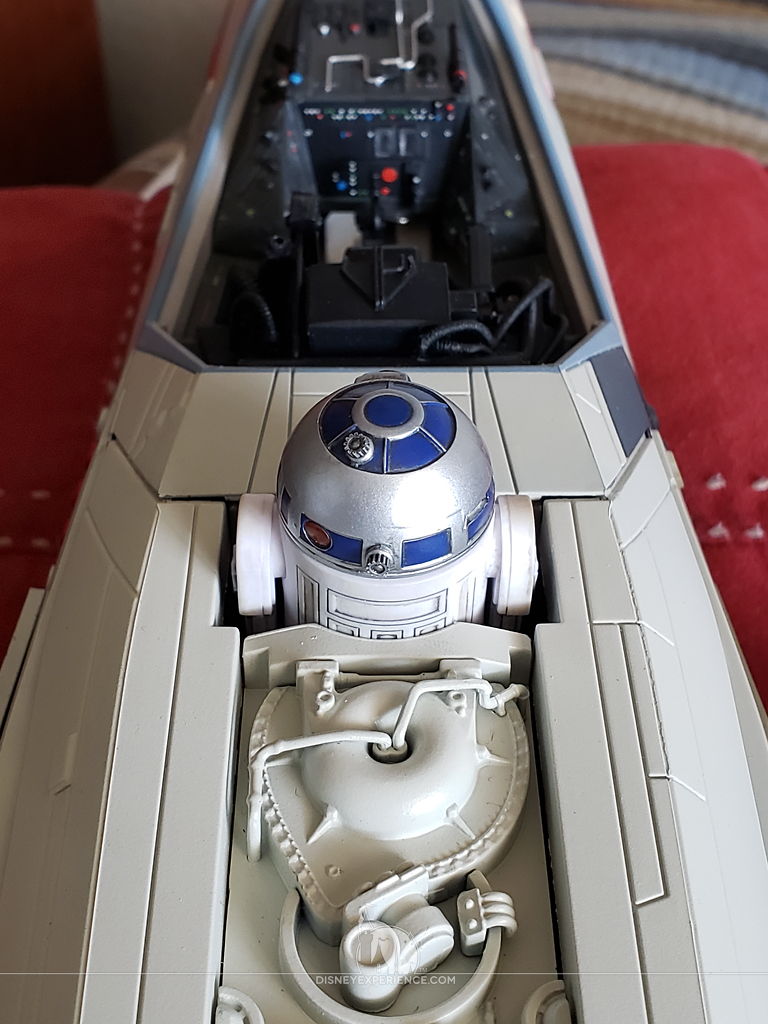
Lastly, I glued the canopy struts into the cockpit.
There is only one more month of parts, and I don’t know when the bonus figures will arrive.
Both the post author and this website have not received any compensation for writing this post. Both the post author and this website have no material connection to the third-party brands, products, or services that have been mentioned. Some of the links in the post above are “affiliate links.” This means that if you purchase the item, we will receive a commission. As an Amazon associate, we earn from qualifying products. This is being disclosed in accordance with the Federal Trade Commission’s 16 CFR, Part 255: “Guides Concerning the Use of Endorsements and Testimonials in Advertising.”
Do you have a thought about this post? Why not leave a comment . . .