X-Wing Build Journal No. 14: Issues 45-48

Trader Sam | April 20, 2020
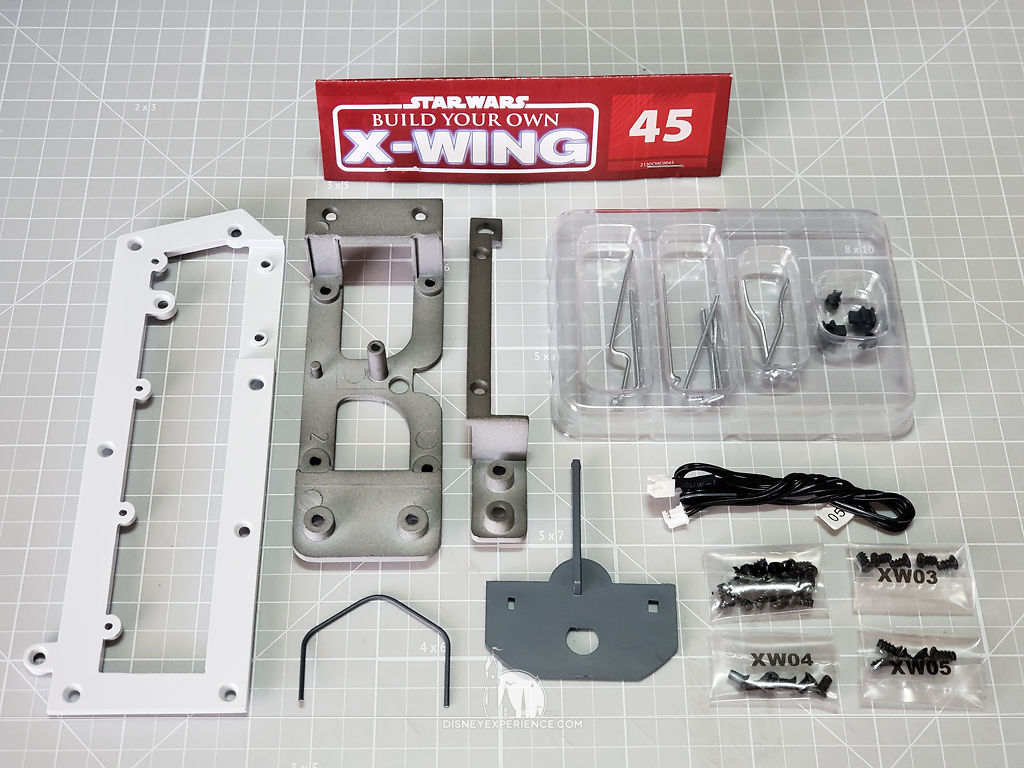
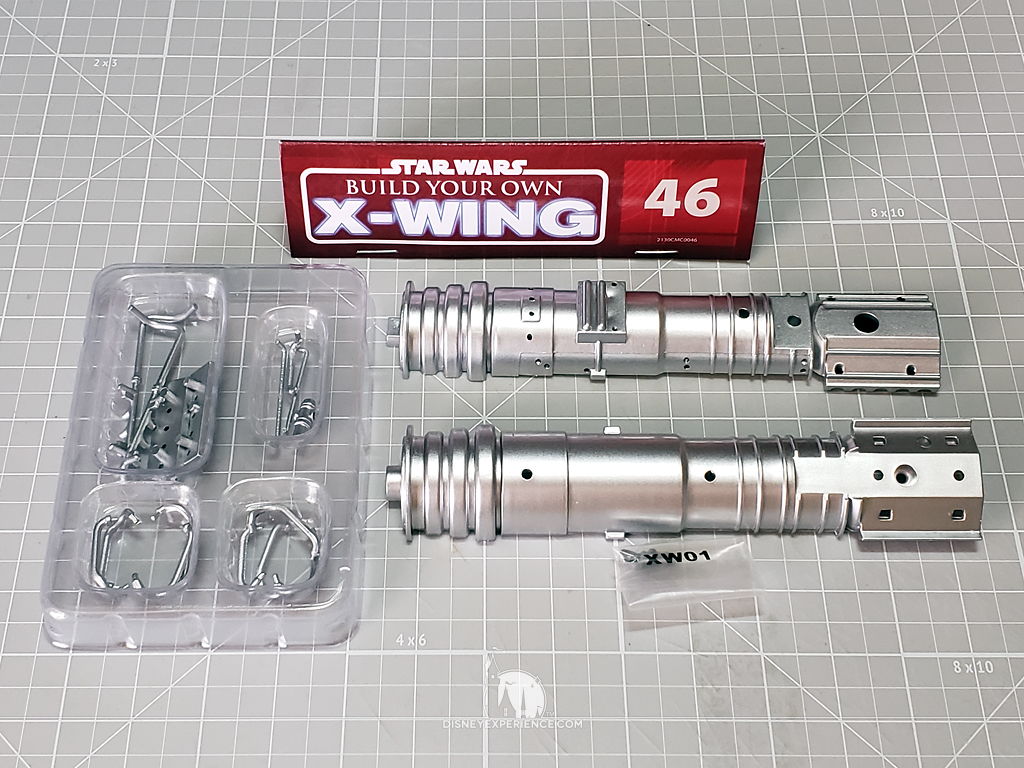
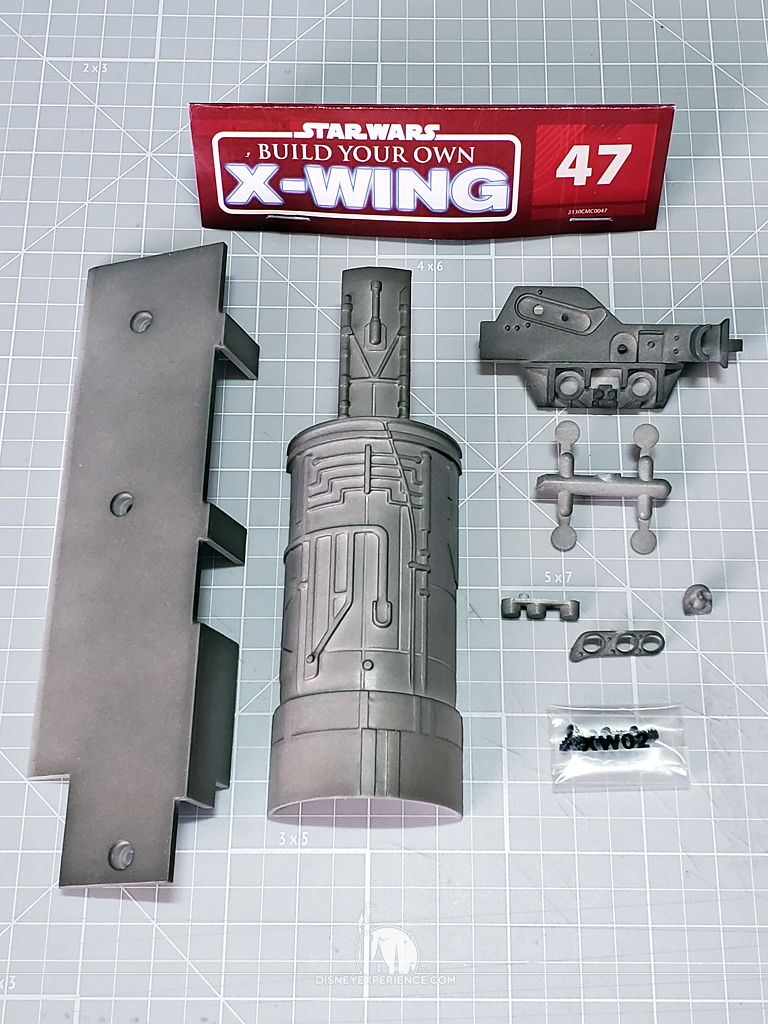
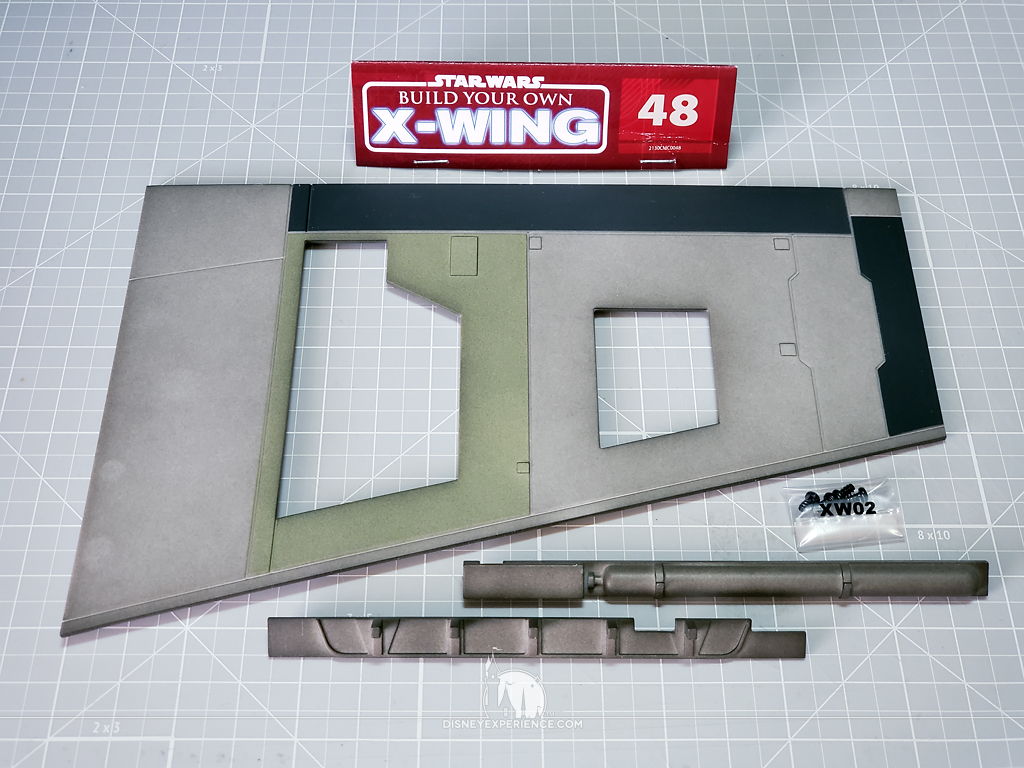
What’s Inside
The third wing is complete—sans painting & weathering—and there is an accident.

Working on the Third Wing
Woo-hoo! Three wings down, and only one more to go. I am more than ready to move on from these things. It would be much more tolerable if some of the X-Wing body was sprinkled here and there.

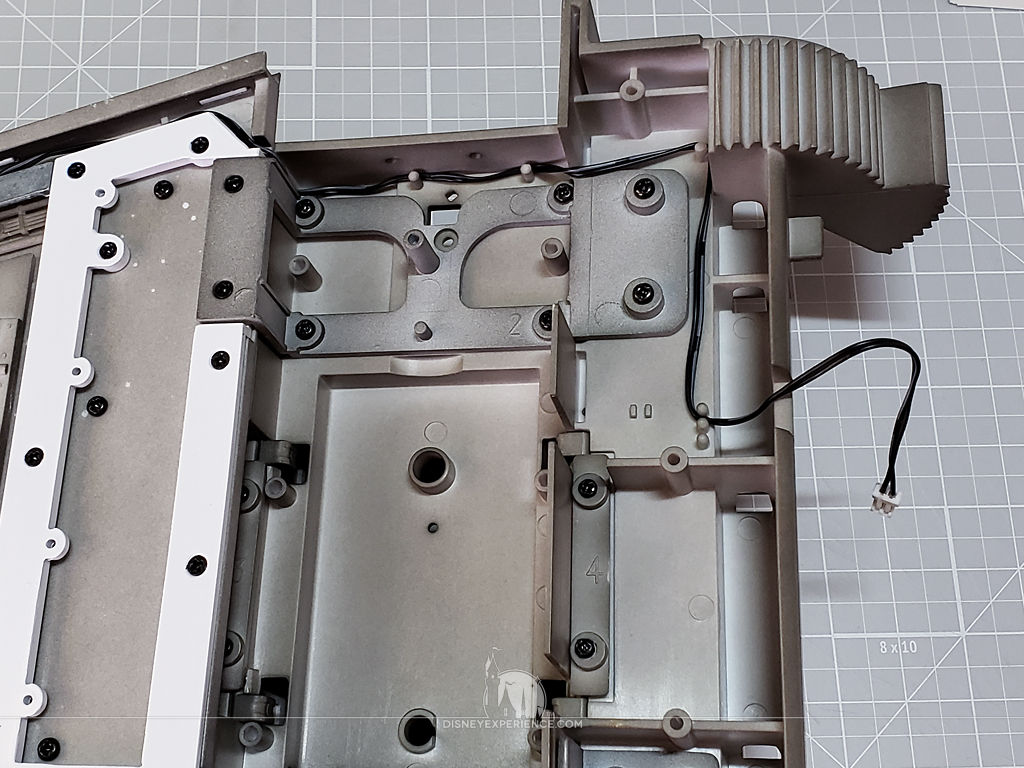
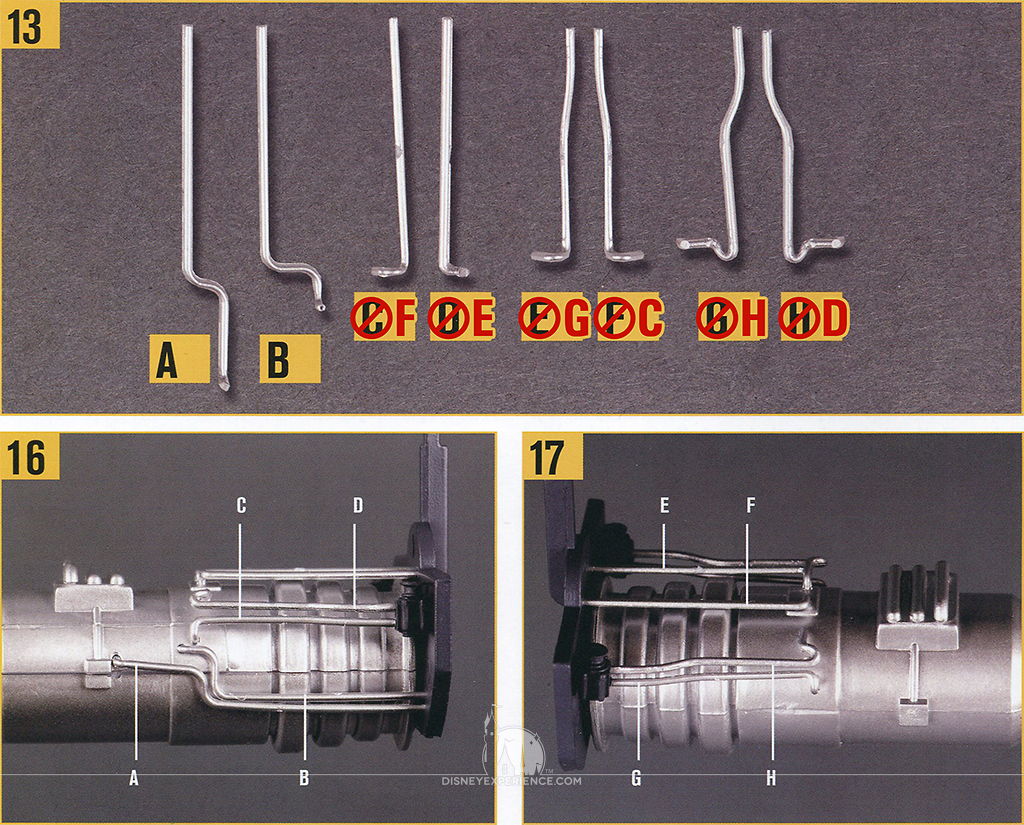
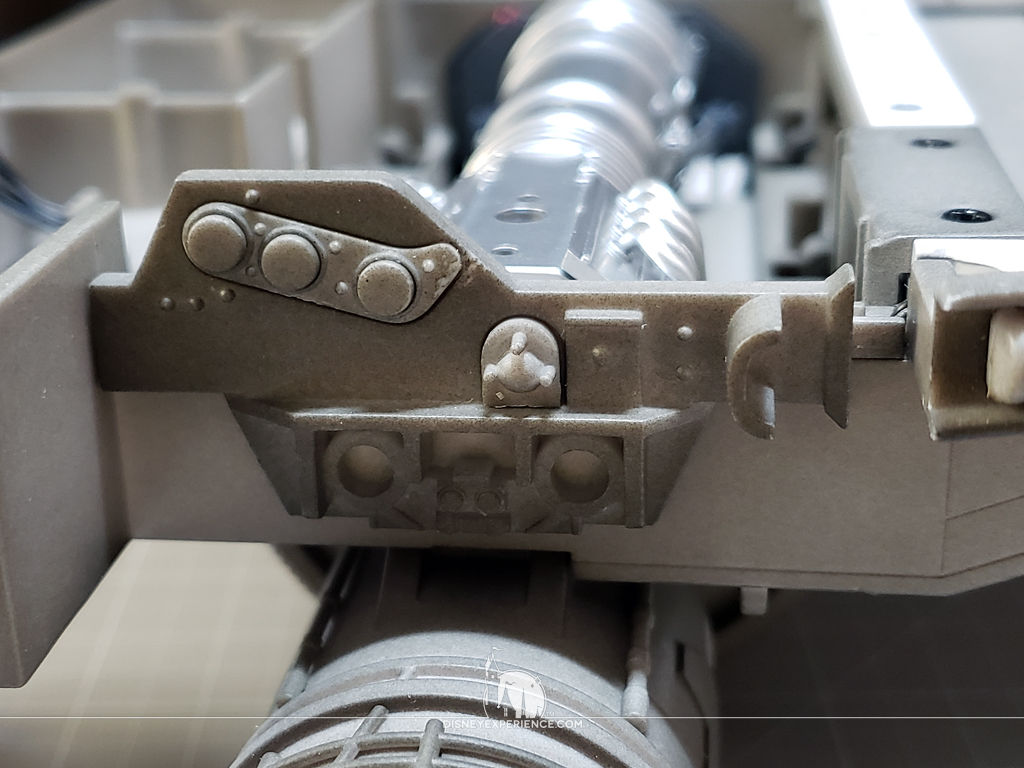
First, the two wing halves are joined, and the three metal support frames are screwed down with a lot of screws. Then, the extension wire for the laser cannon is routed through the wing.
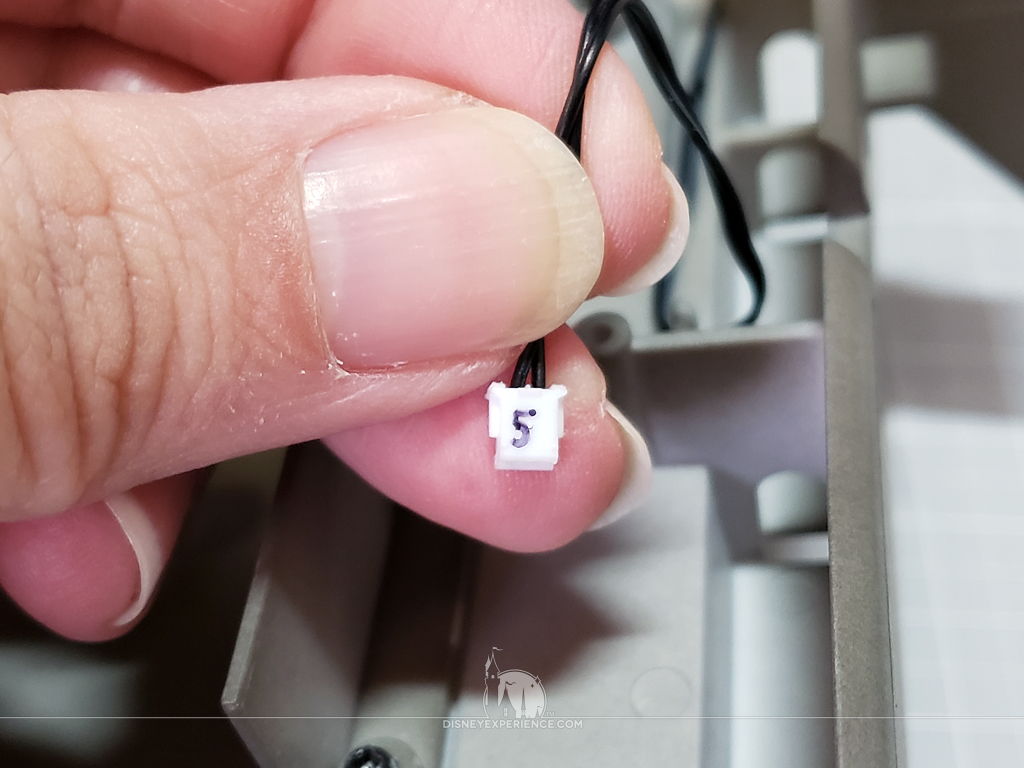
From the beginning, I have been tearing off the small, numbered tags on the wires. I figured that they were for packers to be able to identify which wires go in which box. But, I’ve noticed that the magazines have started referencing these numbers (early issues did not), which has me thinking that they may be important later on when they are plugged into the circuit board. So, I went through my model and numbered every plug using an black ultra fine point Sharpie.
It took some digging through online videos (early issues do not have the tags pictured), but I found the numbers, which are as follows:
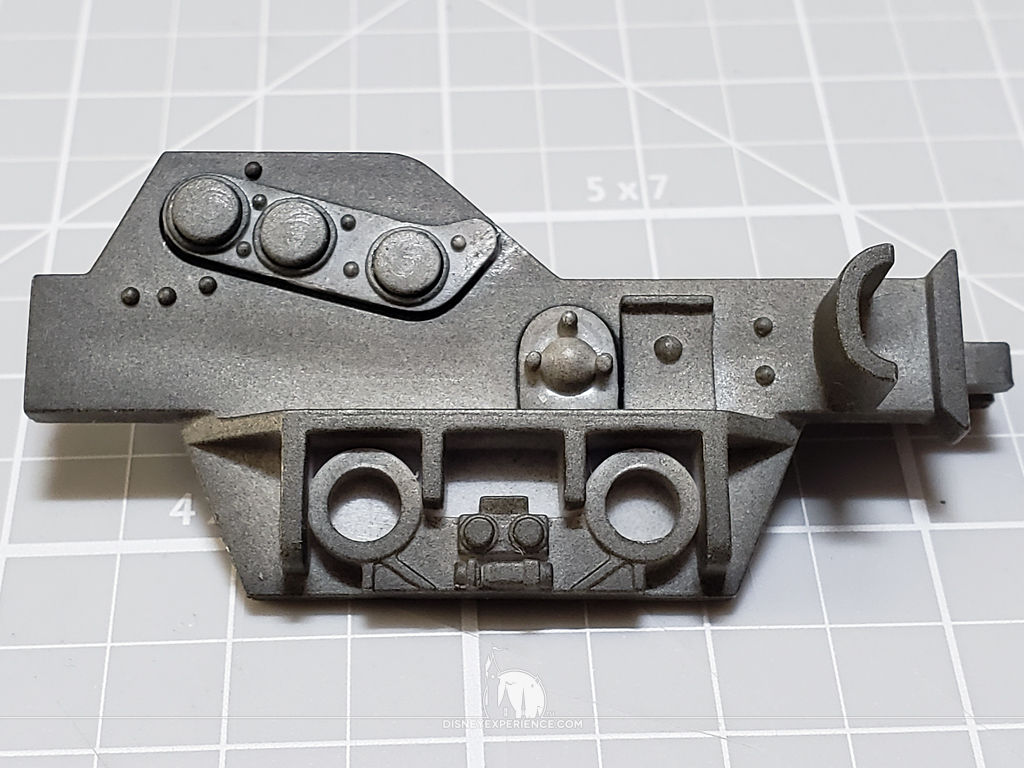
- First Assembled Wing
- Laser Cannon = No. 1
- Engine = No. 2
- Second Assembled Wing
- Laser Cannon = No. 3
- Engine = No. 4
- Third Assembled Wing
- Laser Cannon = No. 5
- Engine = No. 6
- Nose Cone
- Sensor = No. 9
- Toggle Switch = No. 10
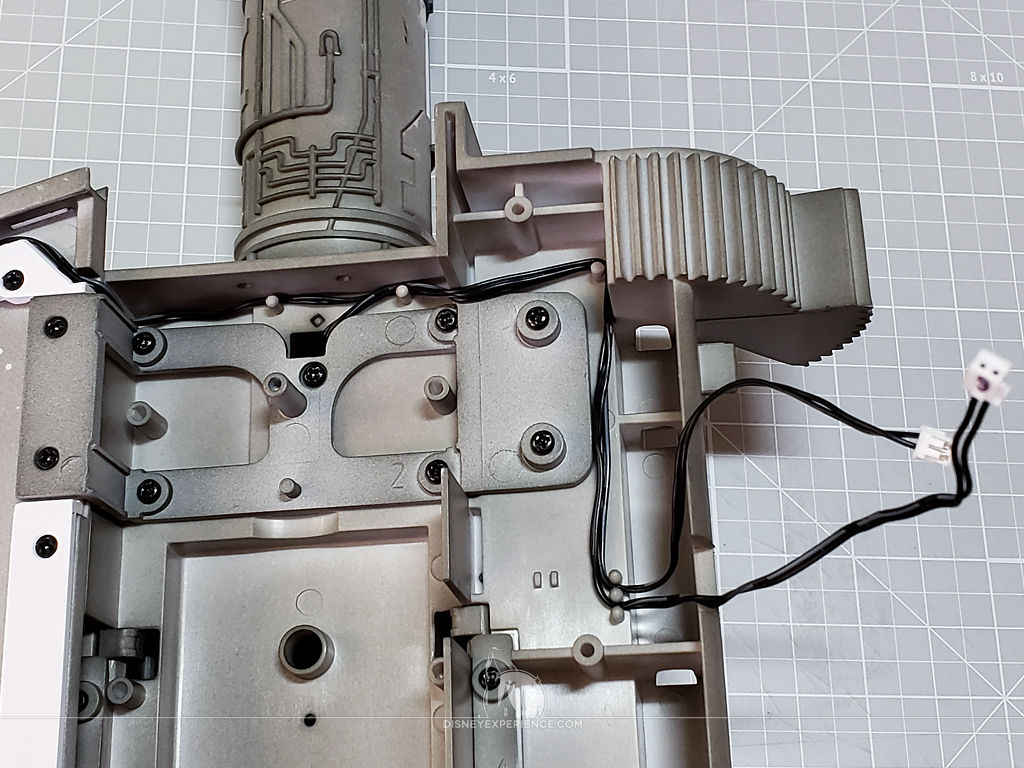
With all of the wires now properly numbered, I attached the engine and routed the wire through the wing.
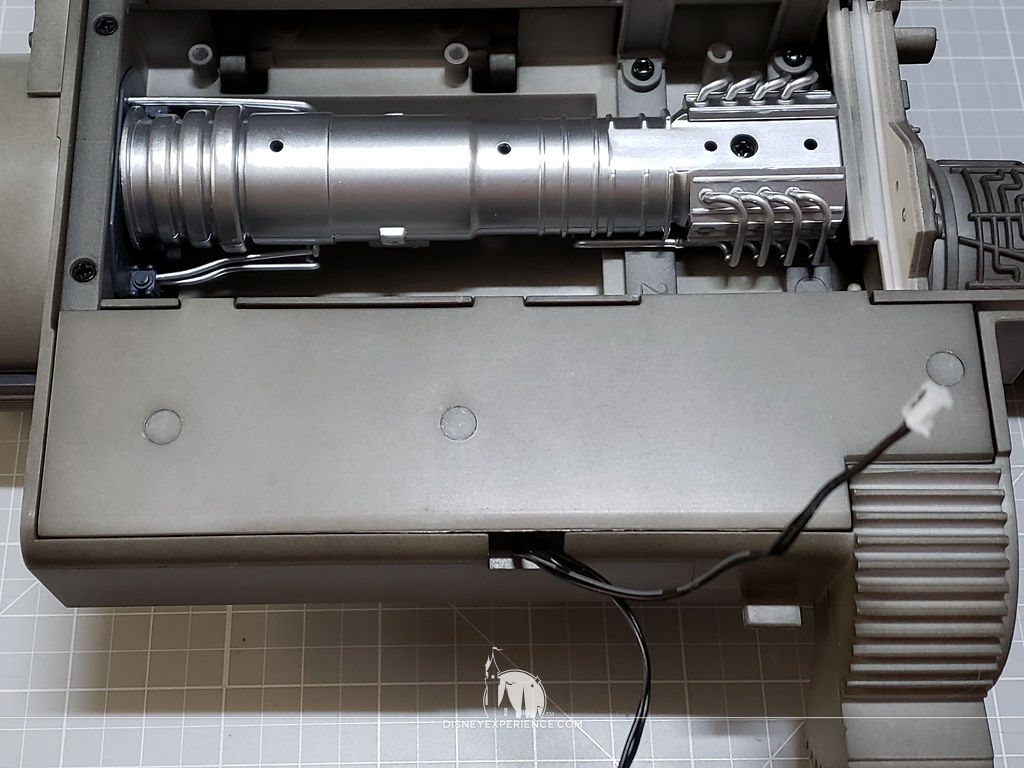
Assembling the Engine
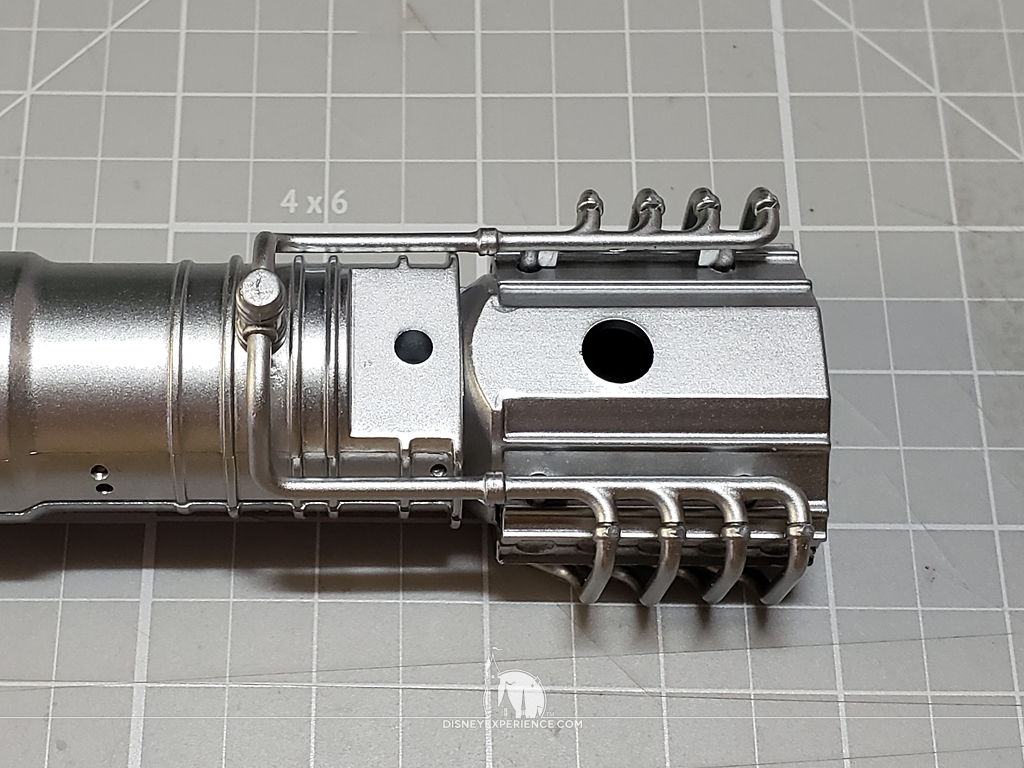
Now, it’s time to assemble the troublesome engine. Not that it’s hard to do; it’s just fiddly. Plus, DeAgostini is still incorrectly labeling the pipes. Note that in the corrected image, all of the parts and locations are mirrored on the actual engine.

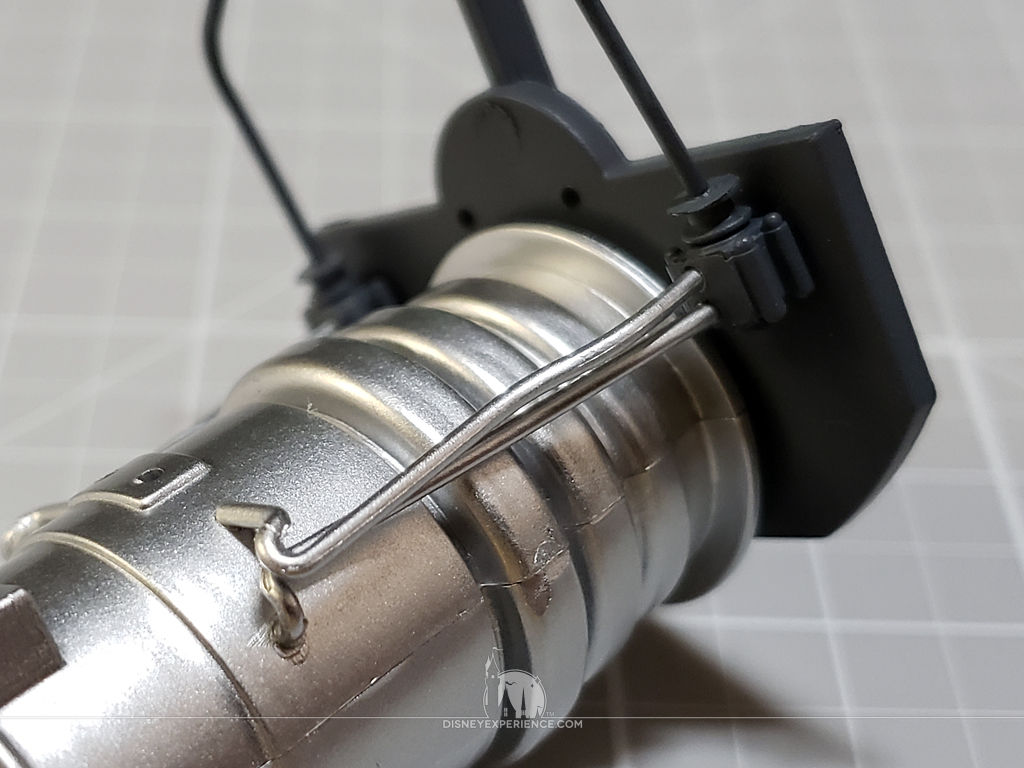
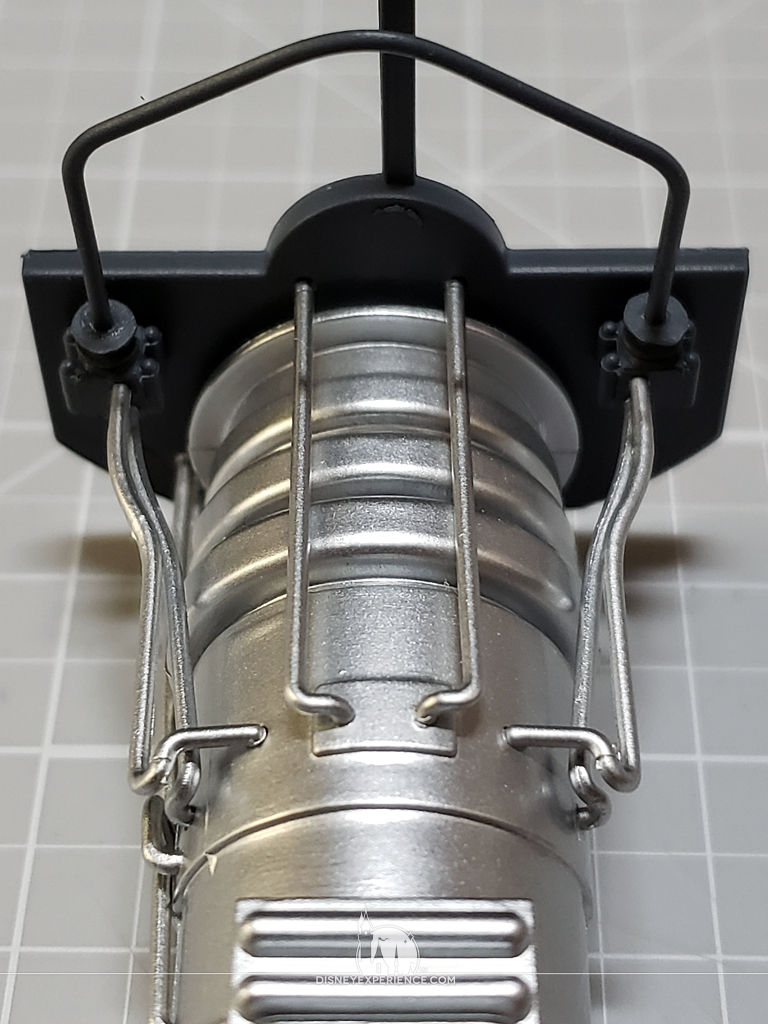
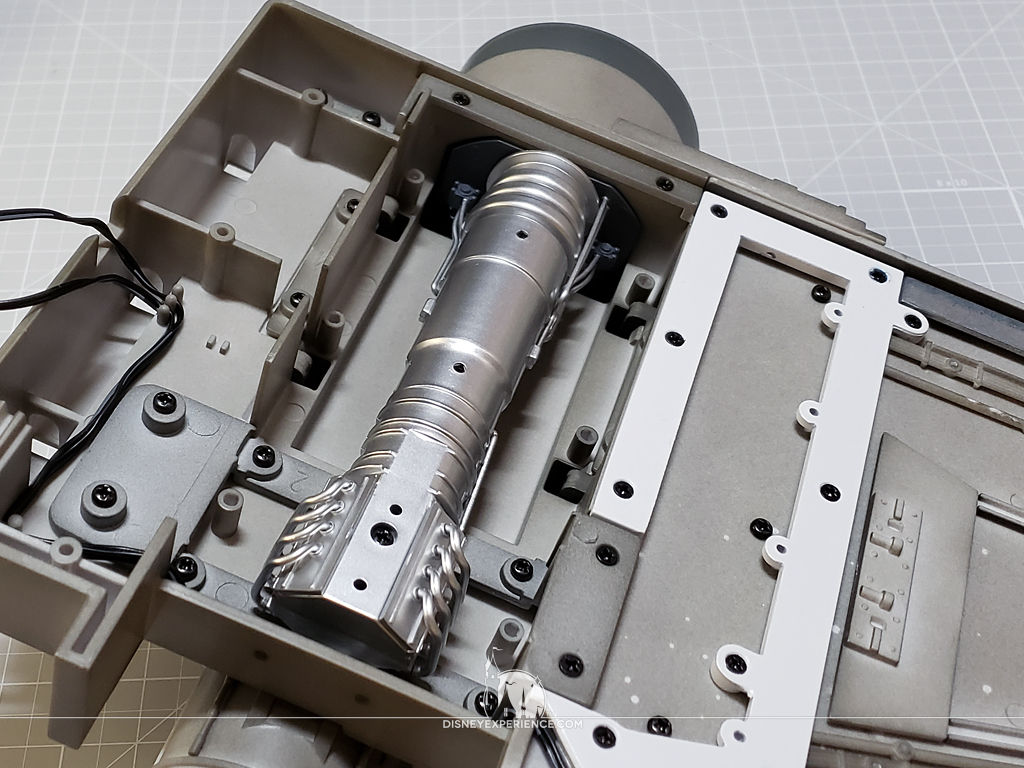
The completed engine is secured inside of the wing.
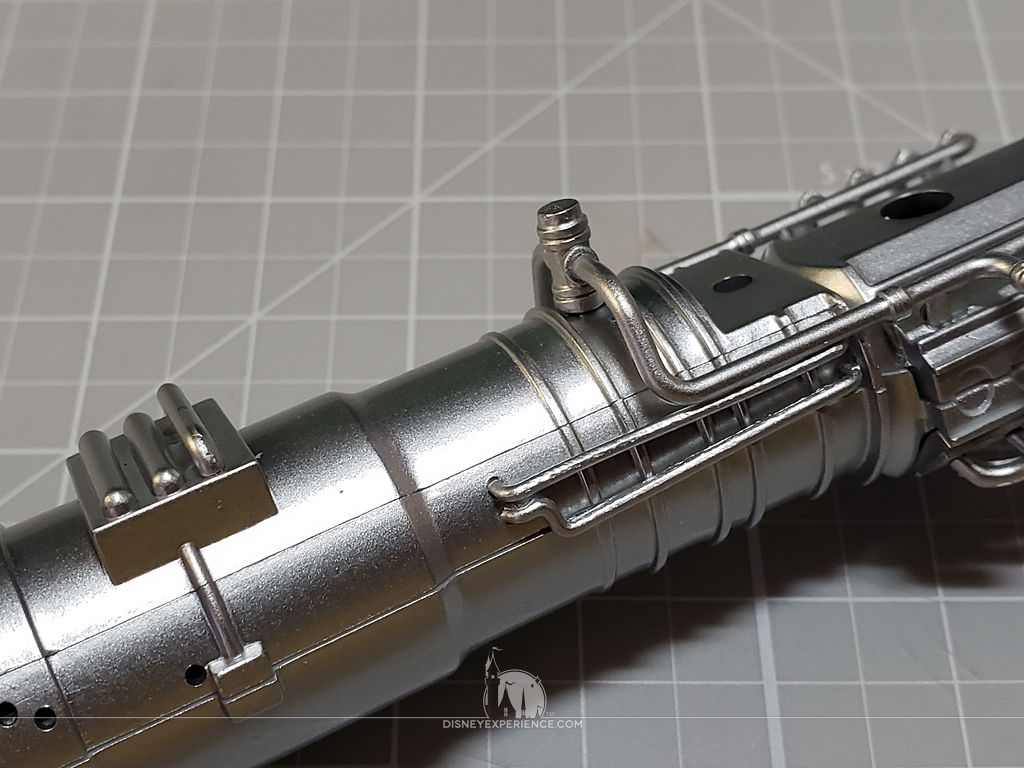
Completing the Third Wing
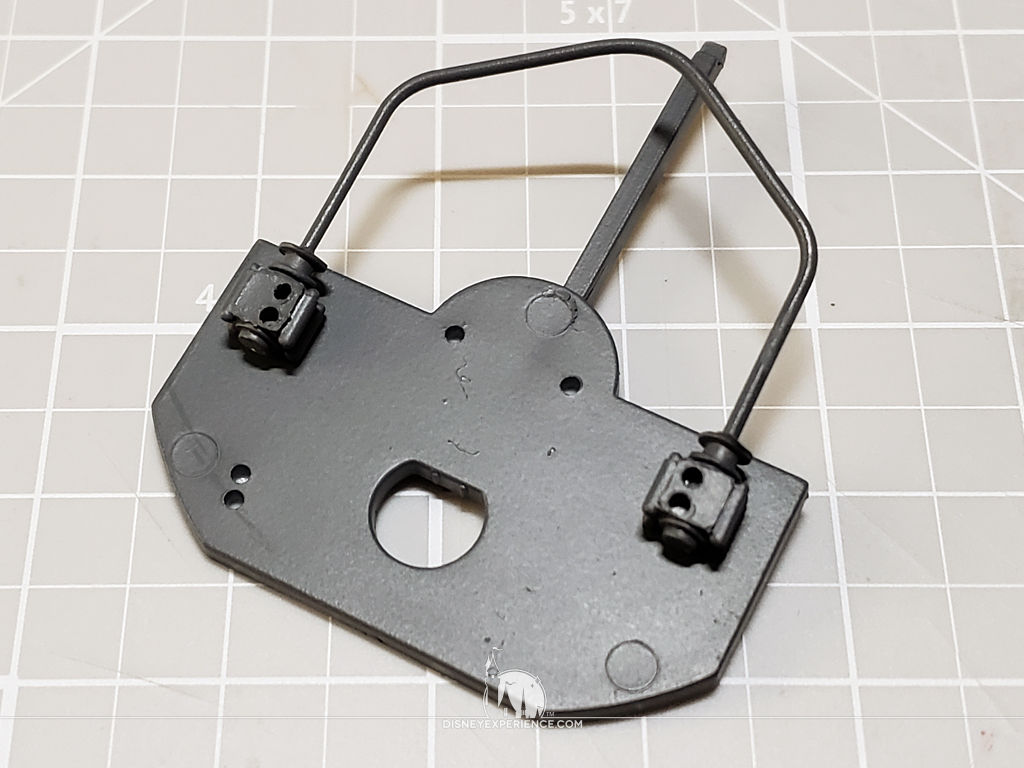
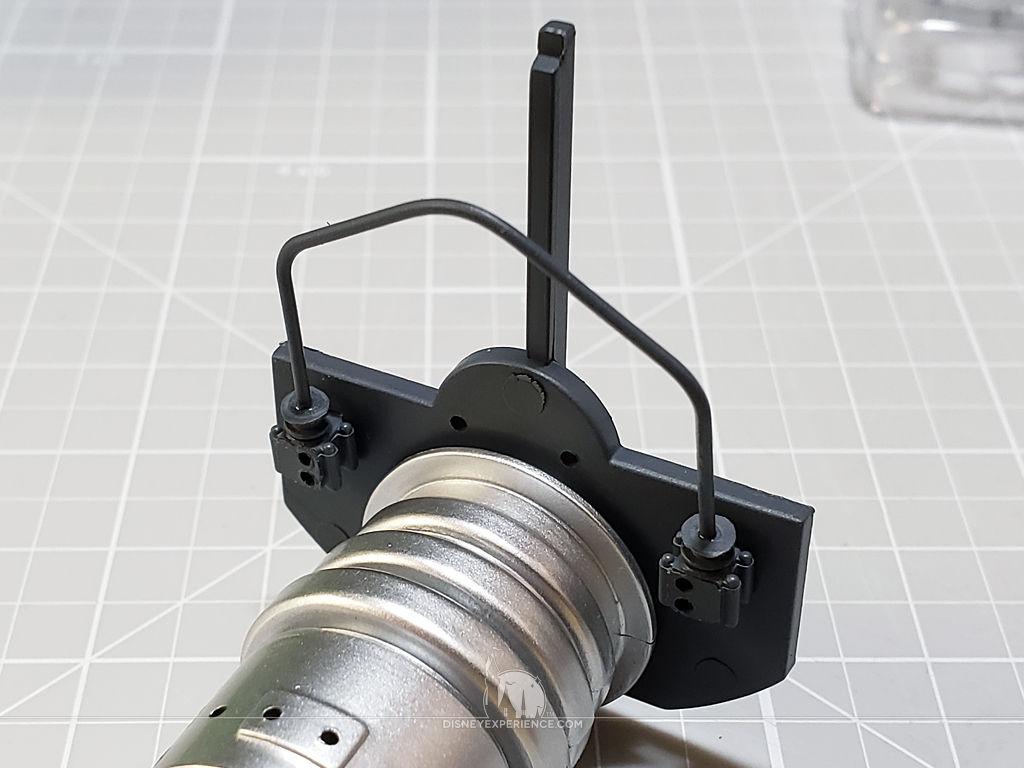
Greeblies are assembled and attached to the wing, just under the thrust engine.
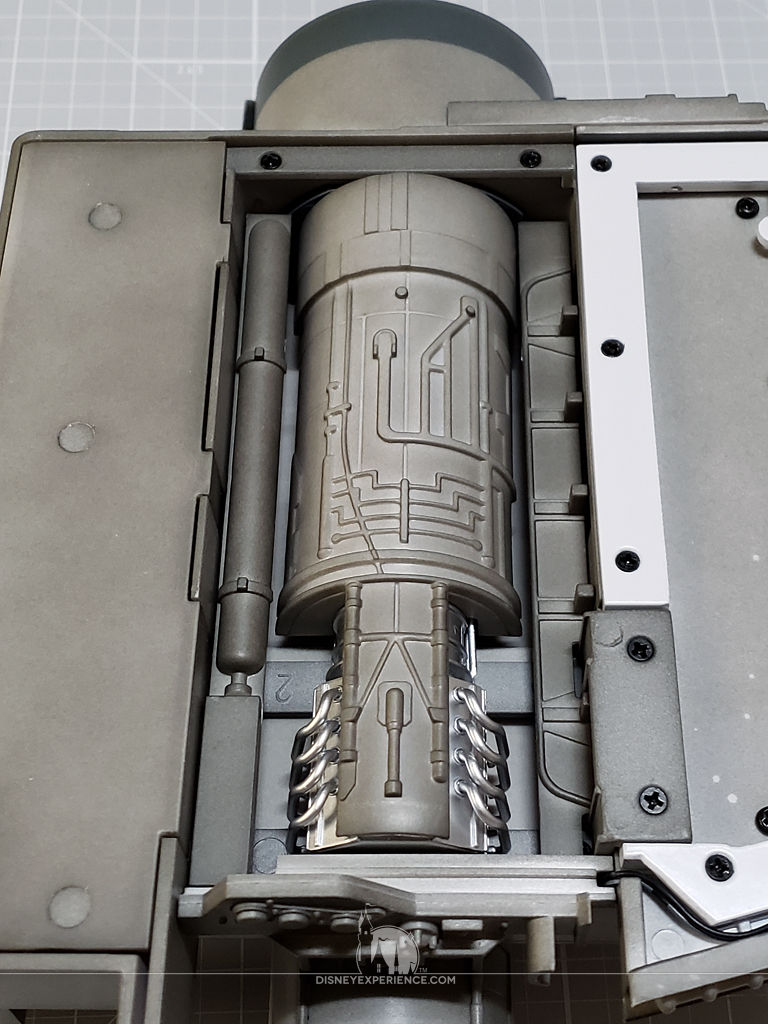
The electronics are hidden with a large panel, and the screws are covered with small caps. The engine cover is glued to the engine, and two final greeblies are added to either side of the engine bay.
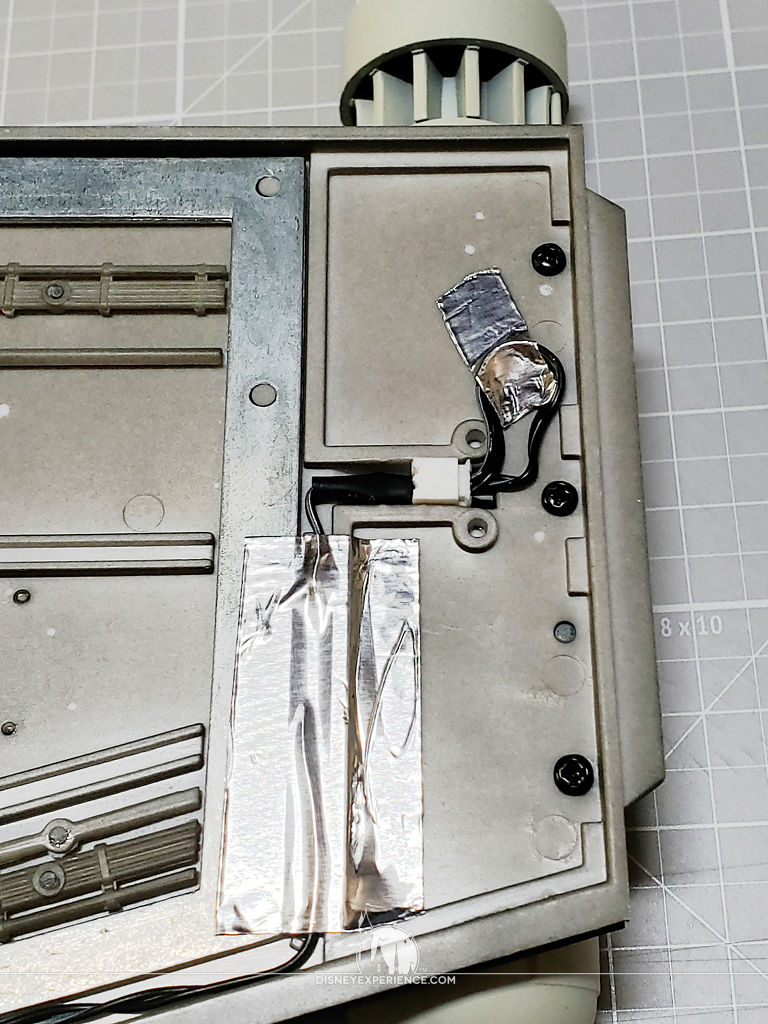
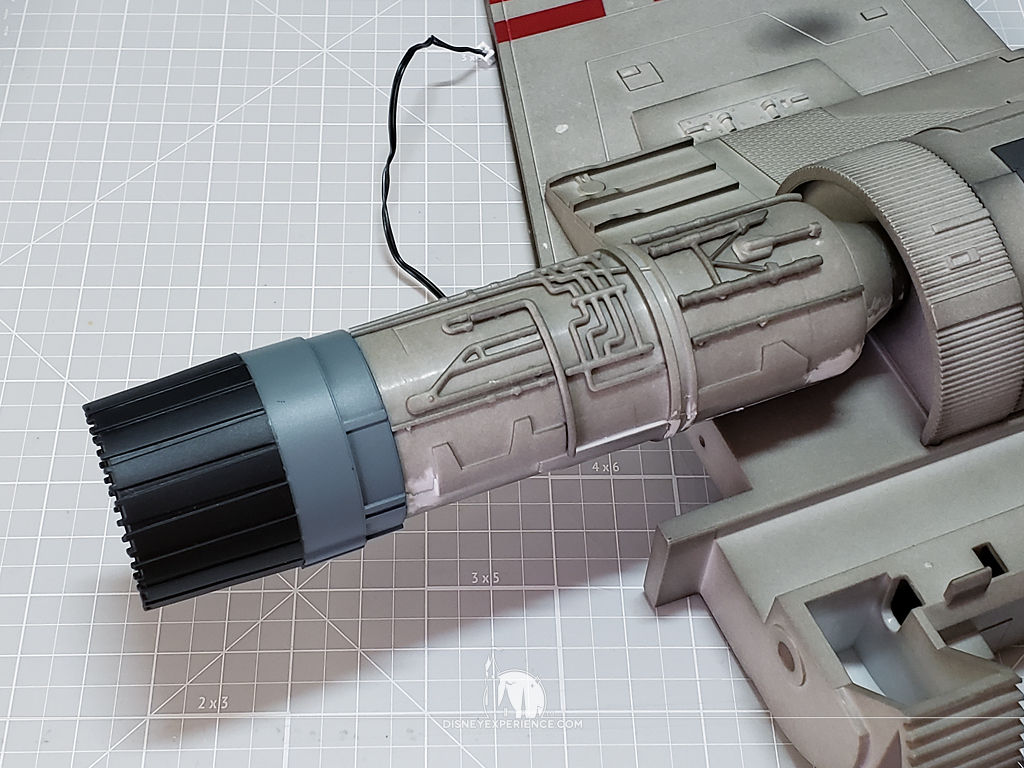
The cannon is mounted to the end of the wing, connecting the wire to the existing extension wire. I used foil tape to secure the wires and the keep them as flush with the wing as possible.
When I took the laser cannon assembly out of storage, I noticed that I had already painted it. I forgot that I did that, and it will create a slight problem when I paint the wing. I will have to carefully mask the whole laser cannon when I apply the gray primer. Next time, I will paint everything at one time.
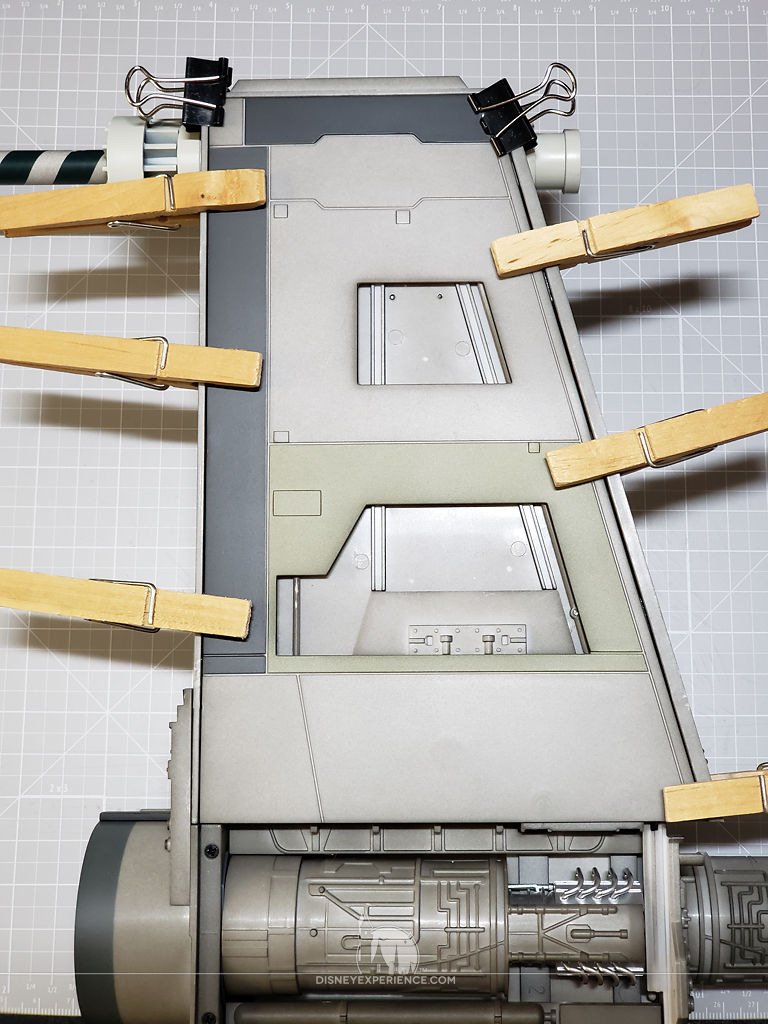
I dry-fitted the wing cover, and I discovered that it was very loose. So, I glued it with Super Glue and held it in place with clothes pins and small binder clips.
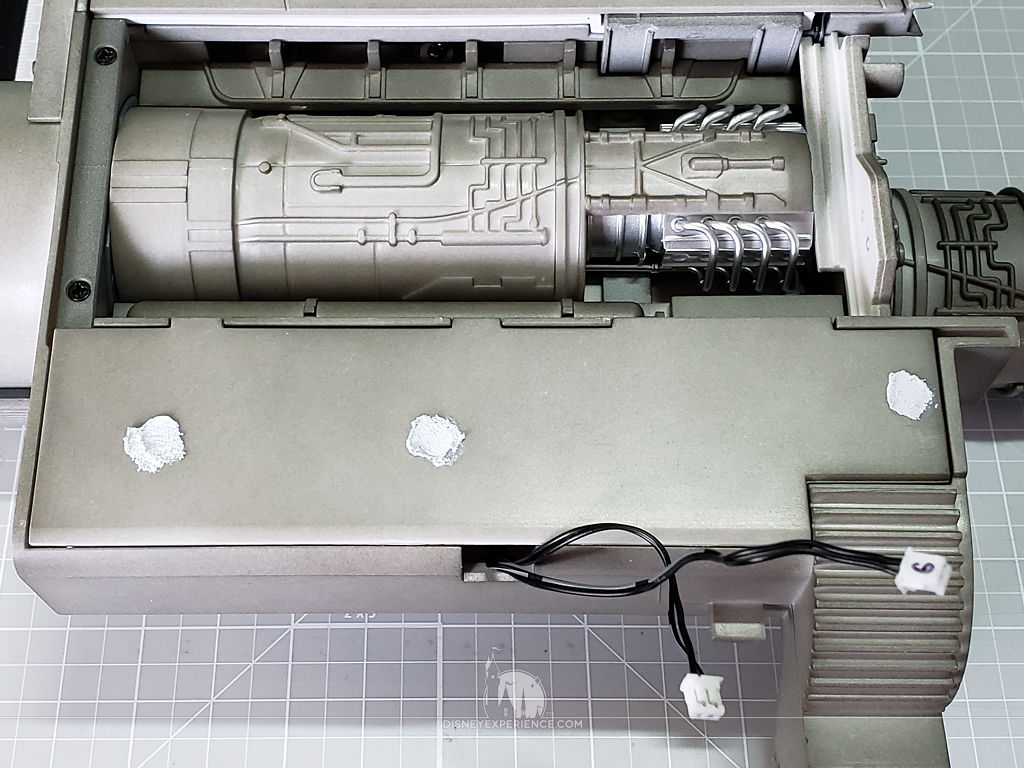
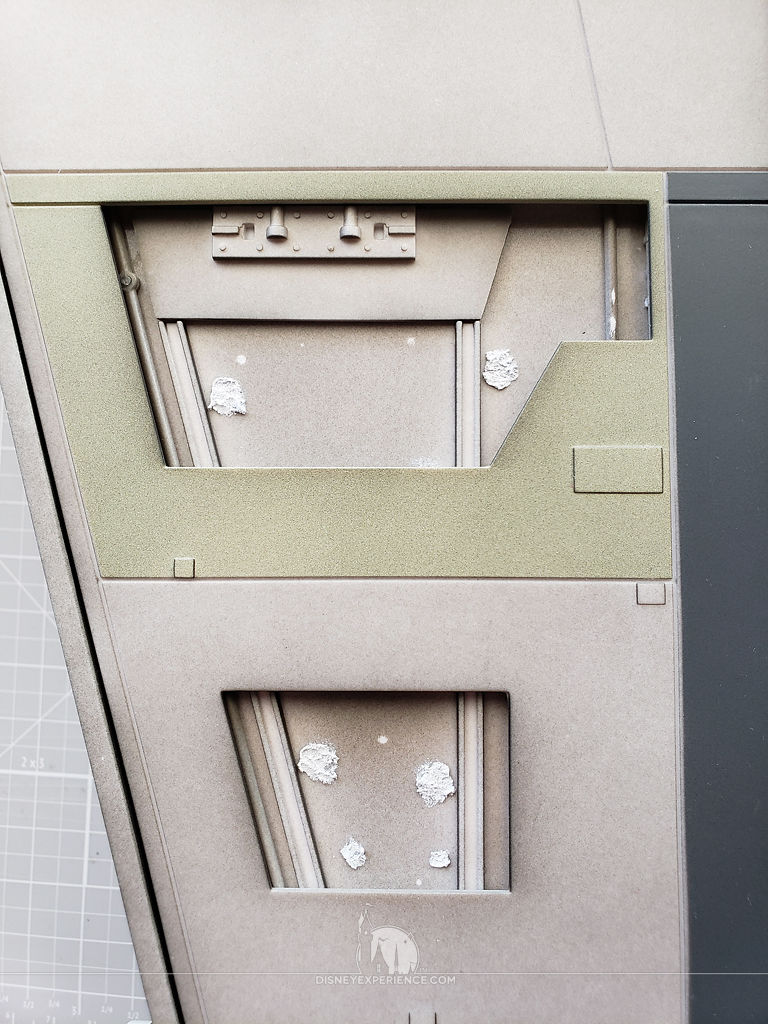
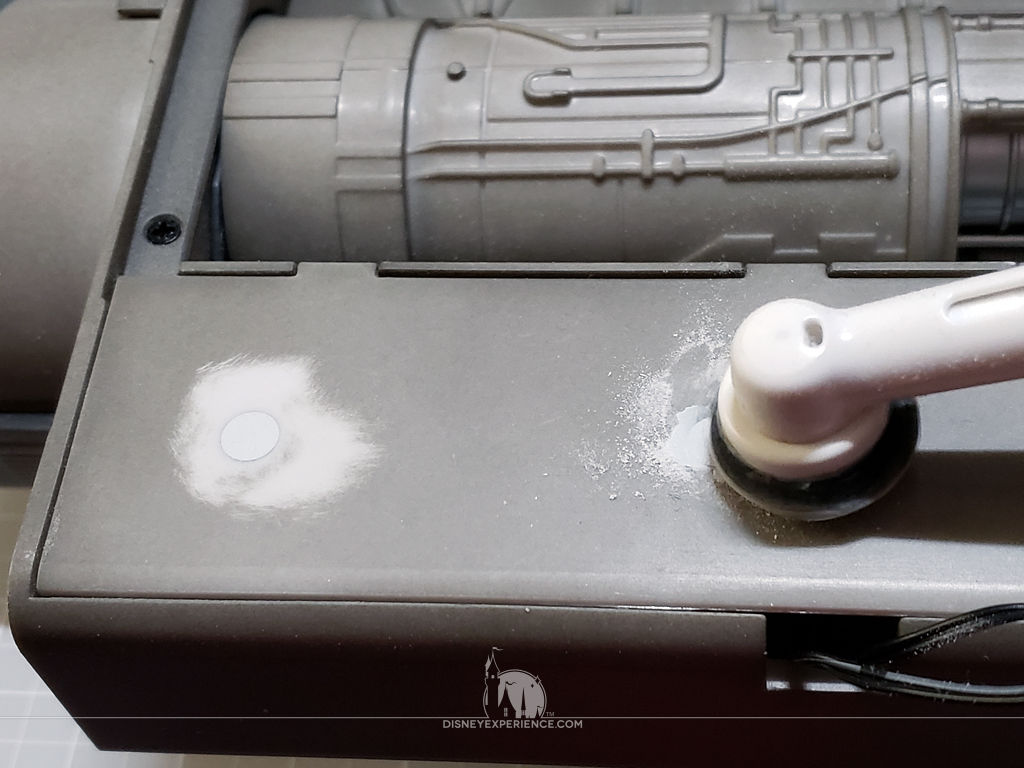
With the wing completed, I filled in areas with epoxy putty. After the putty hardened, I sanded it flush with my homemade mini power sander.
Damage to the X-Wing
I keep the wings stored on a high shelf in my closet, and one of them decided to jump off. I wasn’t able to catch it; it fumbled in my finger tips. It hit the floor with a thud and a snap. The thrust engine had slightly twisted, but it popped right back into place with no damage. The laser cannon tube, however, snapped off from the main cannon housing. Fortunately, it was a clean break, and I was able to glue it back on. I tested the electronics to make sure that they still worked, and everything seems to be fine.
There was a teeny, tiny nick in the paint on the laser cannon, but I can fix later.
Prev Journal Entry | Next Journal Entry
Both the post author and this website have not received any compensation for writing this post. Both the post author and this website have no material connection to the third-party brands, products, or services that have been mentioned. Some of the links in the post above are “affiliate links.” This means that if you purchase the item, we will receive a commission. As an Amazon associate, we earn from qualifying products. This is being disclosed in accordance with the Federal Trade Commission’s 16 CFR, Part 255: “Guides Concerning the Use of Endorsements and Testimonials in Advertising.”
Do you have a thought about this post? Why not leave a comment . . .