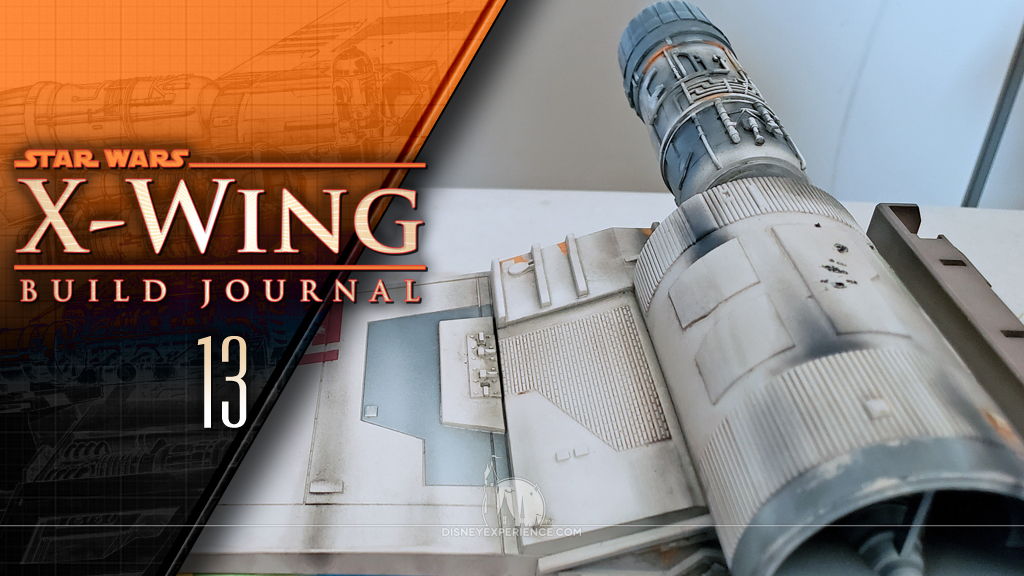
X-Wing Build Journal No. 13: Issues 41-44
Trader Sam | March 23, 2020
What’s Inside
It’s finally month #11, which means the final free gift should be here. Work continues on the third external engine, and I finish painting the first two assembled wings.


Free Gift: X-Wing Bookends
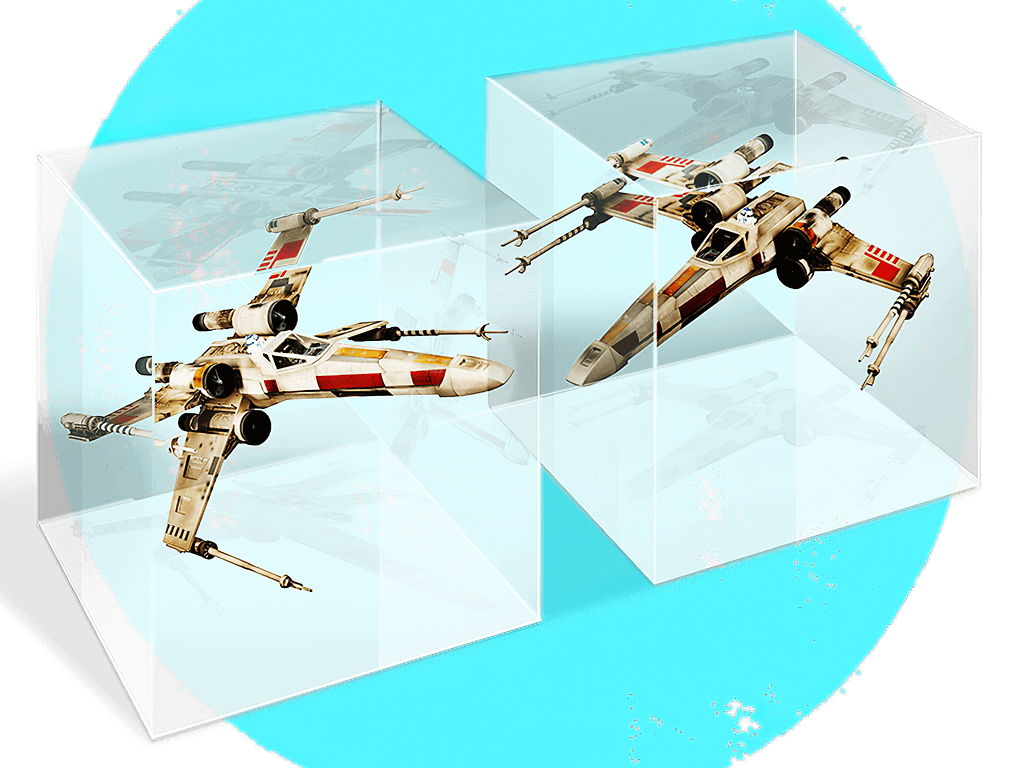
Well, month 11 is here, and that means that it’s time for the third and final free gift: a set of X-Wing bookends! I was so anxious to for the box to arrive; I waited all day. The UPS driver must have been behind that day, because the box was not delivered until 7 pm. Imagine my surprise when instead of a bulky box, there was just the standard thin, white Model Space box. Bummer!
I contacted Model Space about the issue, and they said that it was on back order. They were working with other branches of Model Space to restock their inventory. No estimated shipping date could be given. Sigh. The X-Wing bookends would have been a nice little “Christmas gift.”
Weathering the Wings
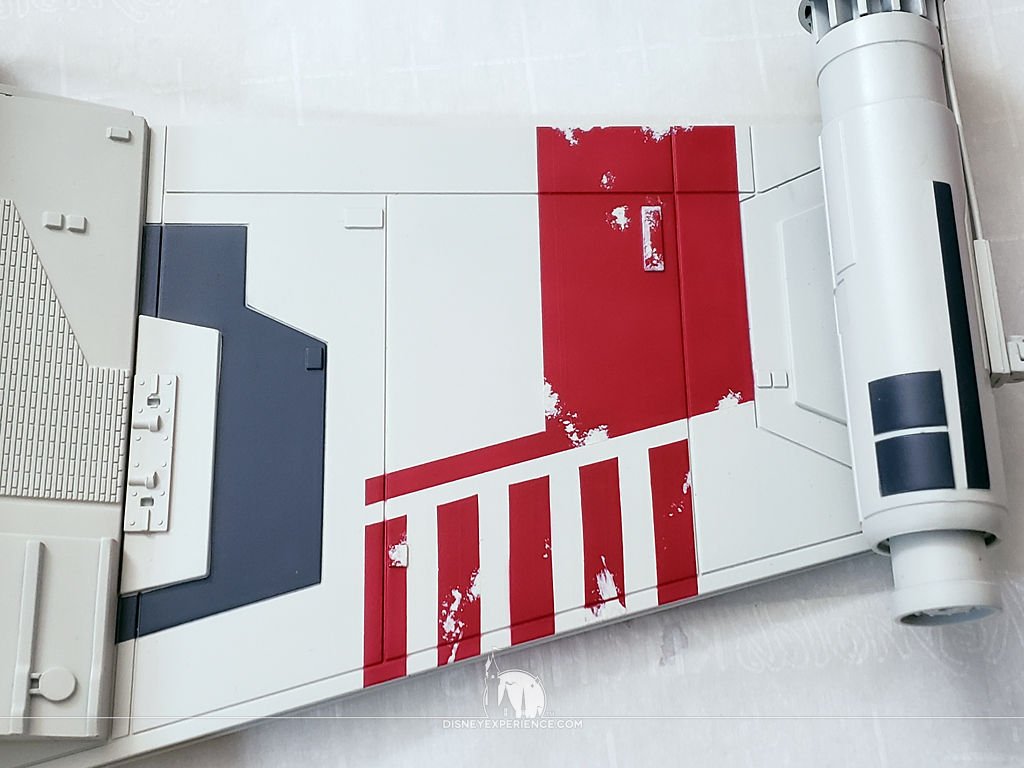
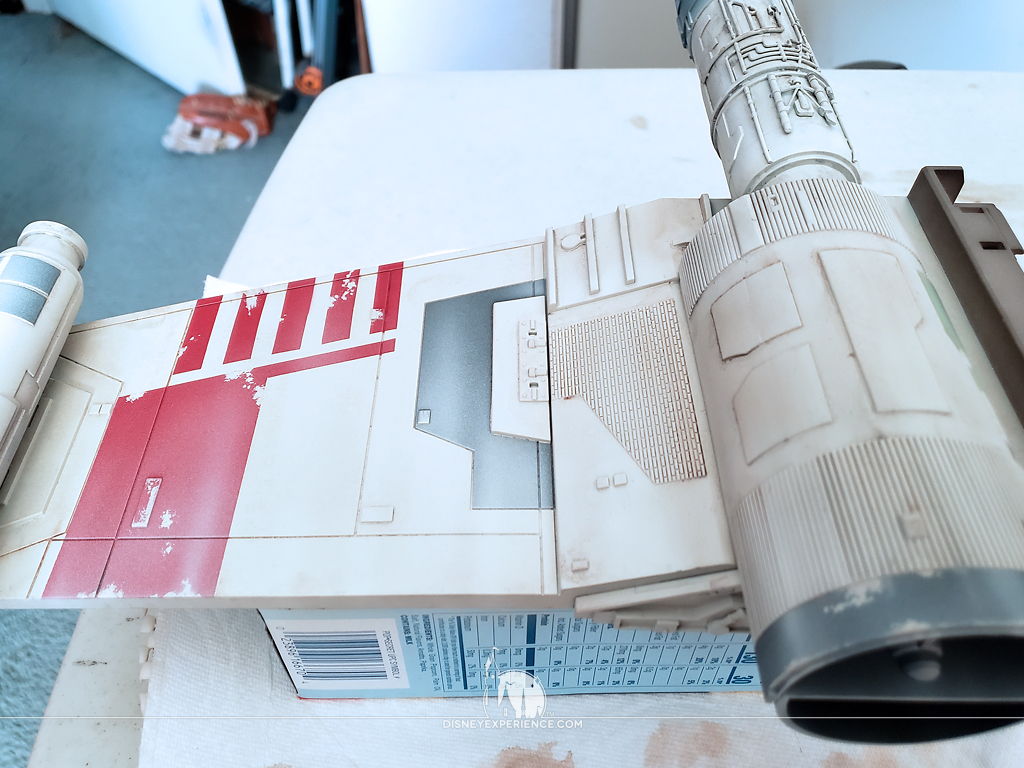
It’s time to weather the wings! Throughout this process, I referred to the reference pictures (download), but kept in mind that I do have some creative freedom since the finished model will not be a perfect copy.
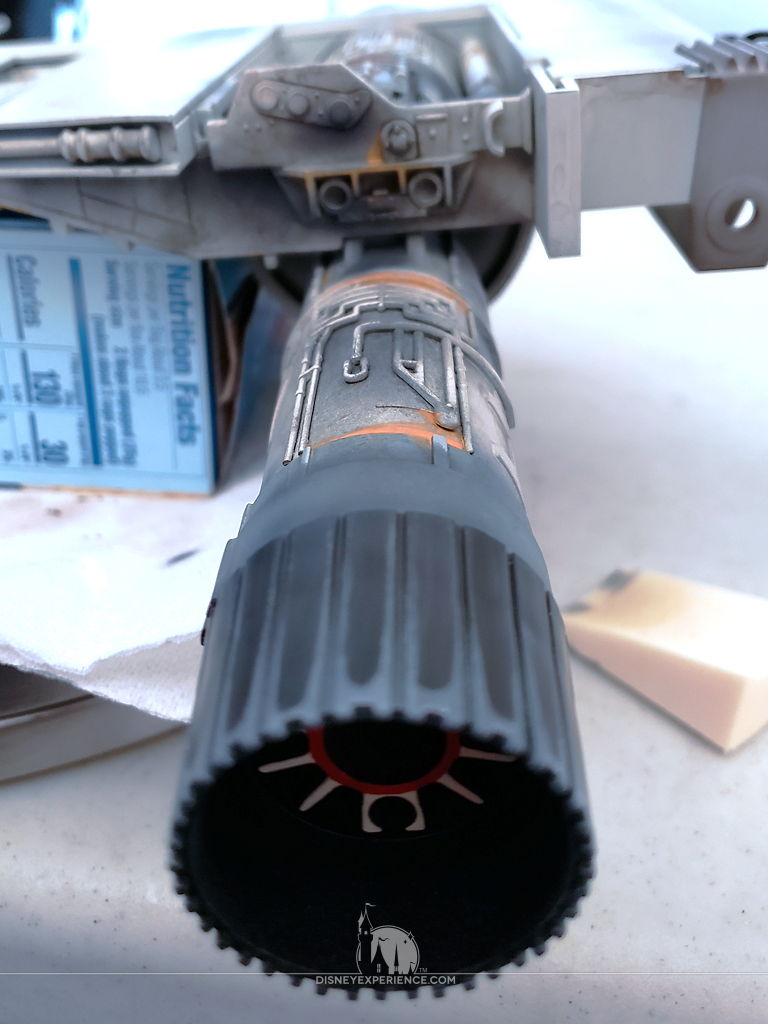
I began with some simulated paint chipping. I just used some extra base color to paint the chipping onto the red markings. I know that there are other, more realistic ways to do this, but sponging the paint on is just fine, too.
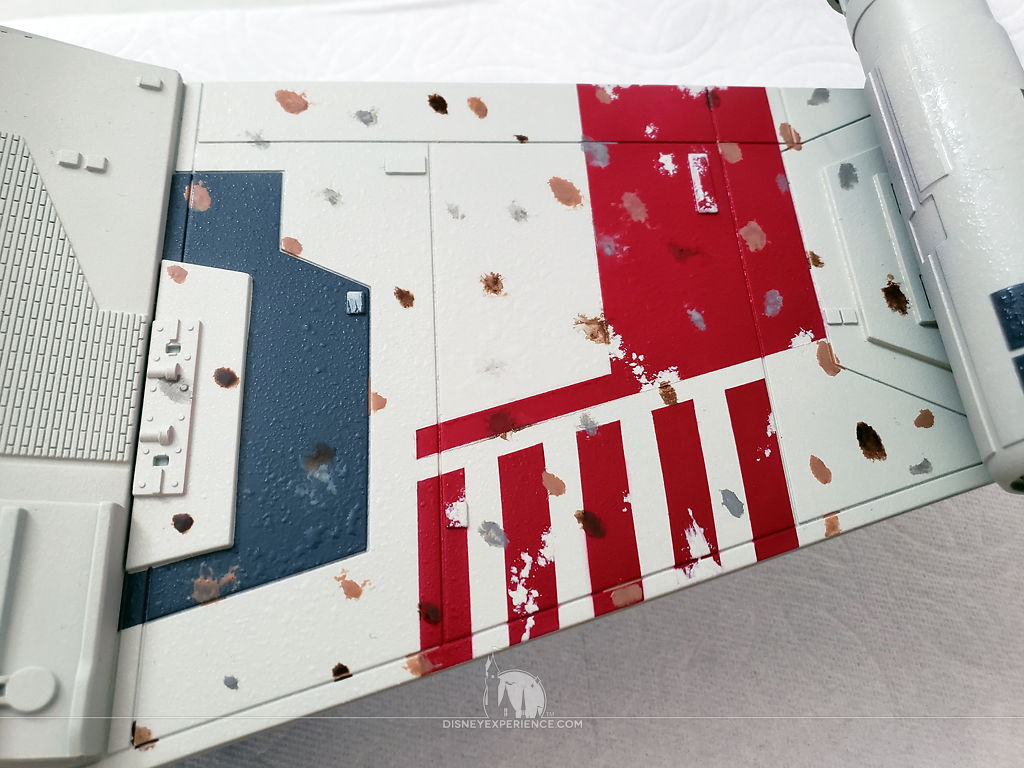
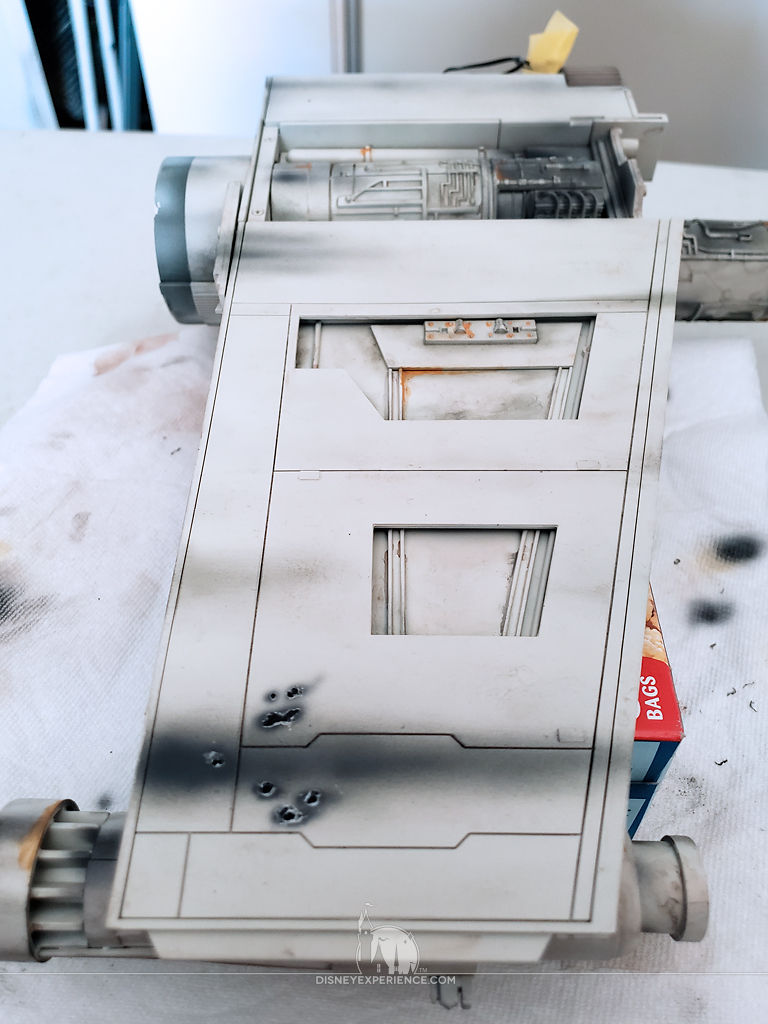
Next, it was time to dirty up the pristine paint. Working in sections, I moistened the area and applied daubs of paint—gray and a couple of different browns—to add some age and dirt. With a damp brush, I spread the paint in a streaking motion to blend them. This also filled in the panel lines and crevices, bringing out the greeblies.
Next, I added some dust. Is this space dust? It covers a lot of the X-Wing, especially on the forward edges.
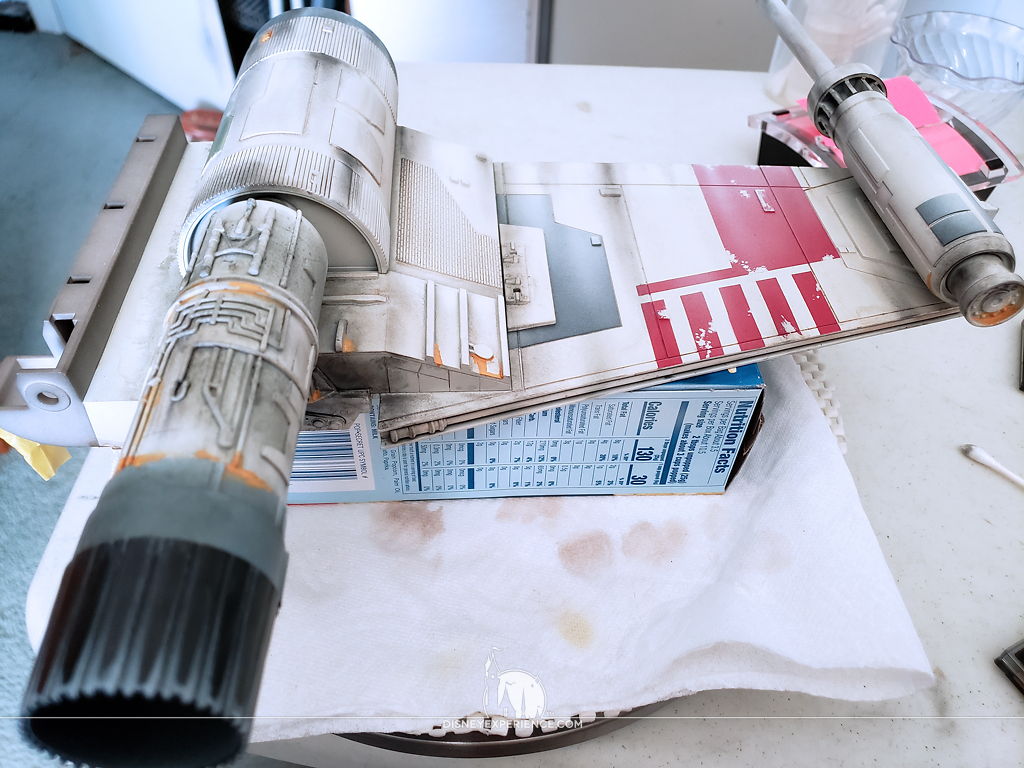
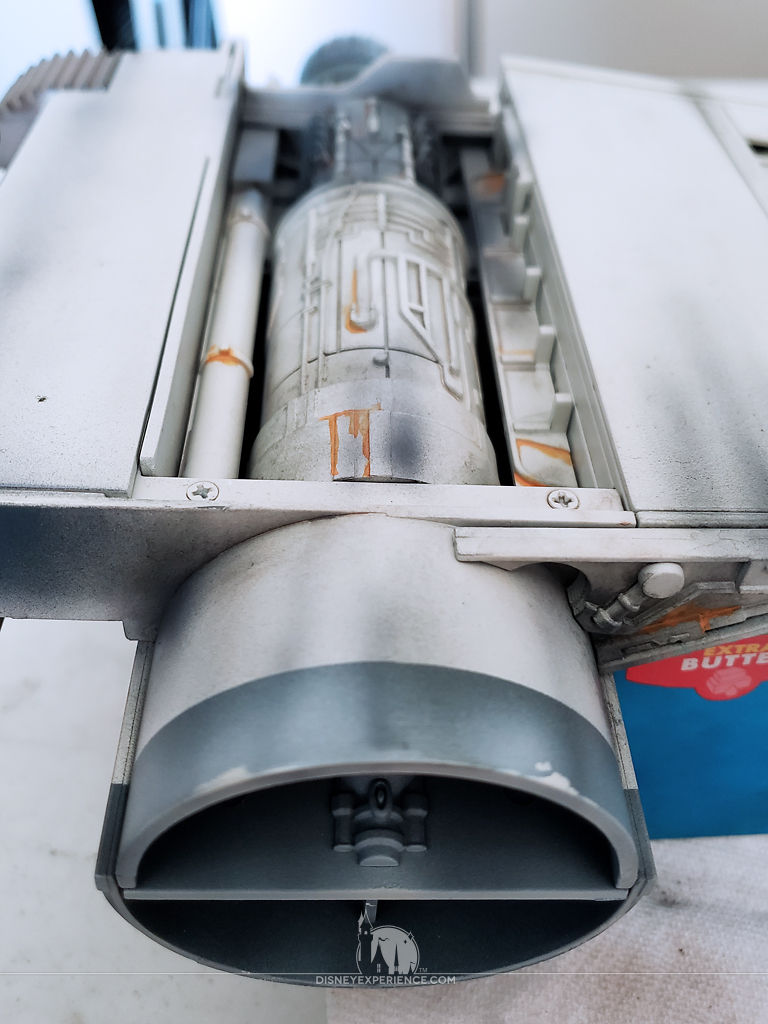
Using some Tamiya Weathering Master Set B, I applied “soot” all over. The engine exhaust port got some “snow”. Using Tamiya Weathering Master Set C, I used a small brush dipped in isopropyl alcohol (70%) to mix and apply “orange rust” in a few places.
The soot was not as dark as I’d like it to be in some places, so it needed to be enhanced with some airbrushing.
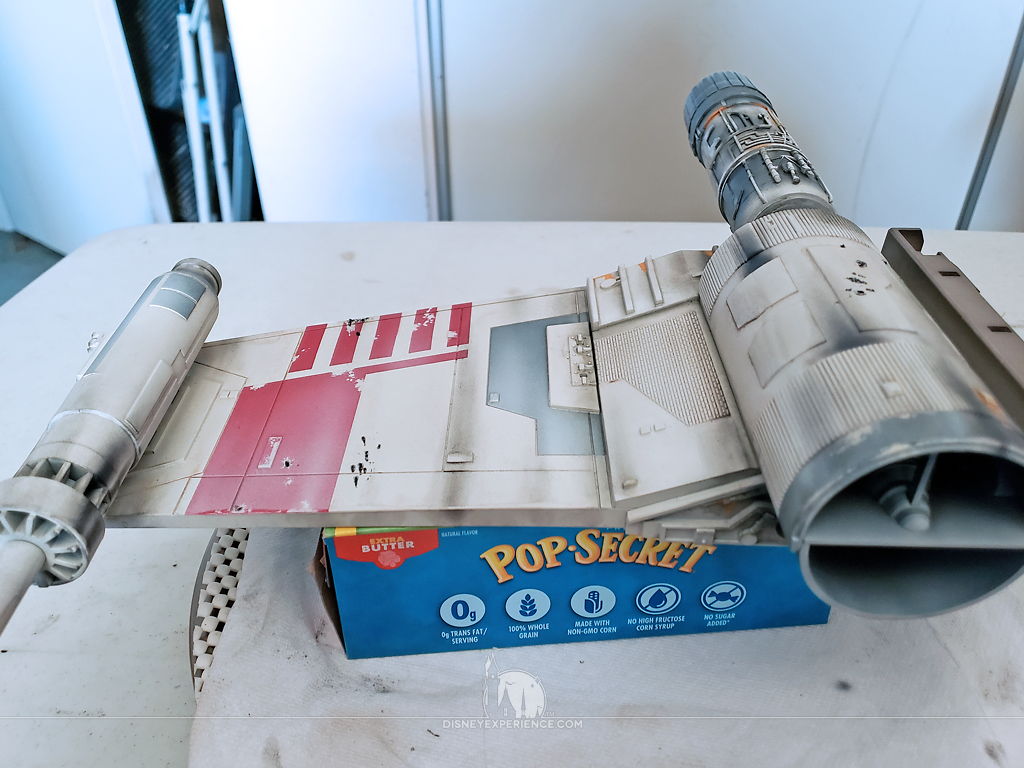
For the blaster marks, I took my own approach and used a wood-burning tool with a fine tip to melt holes into the plastic. I airbrushed some added char where needed, I painted the holes black, and I cut off the excess melted plastic with a hobby chisel blade.
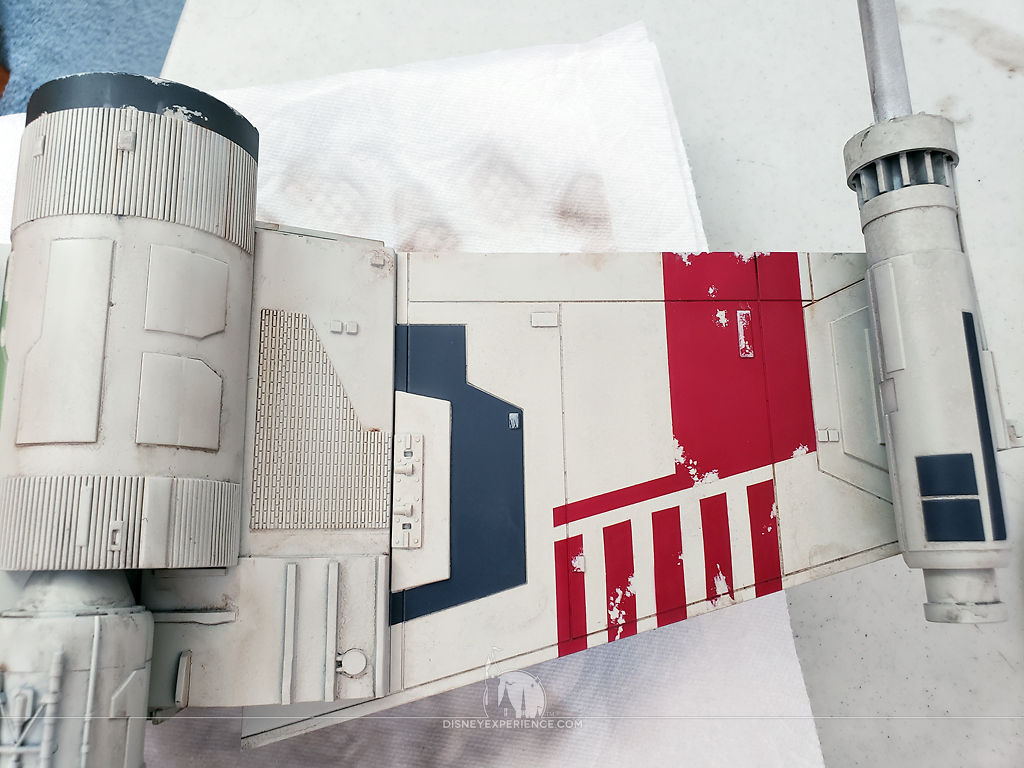
Lastly, I used some isopropyl rubbing alcohol (70%) to remove some soot from the engine pipes and along some of the edges.
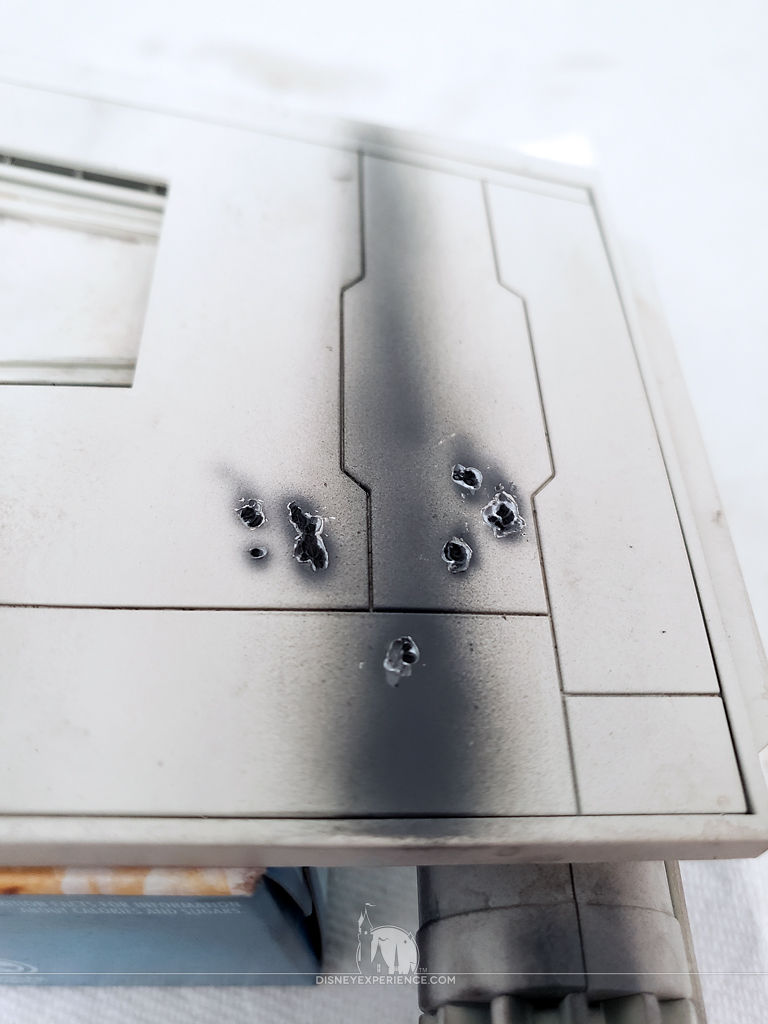
Scraping away the excess melted plastic creates natural light edges around the blaster areas.
Now, all that is needed are some coats of glossy varnish for durability against bumps and scrapes, followed by some matte varnish for a nice flat finish.
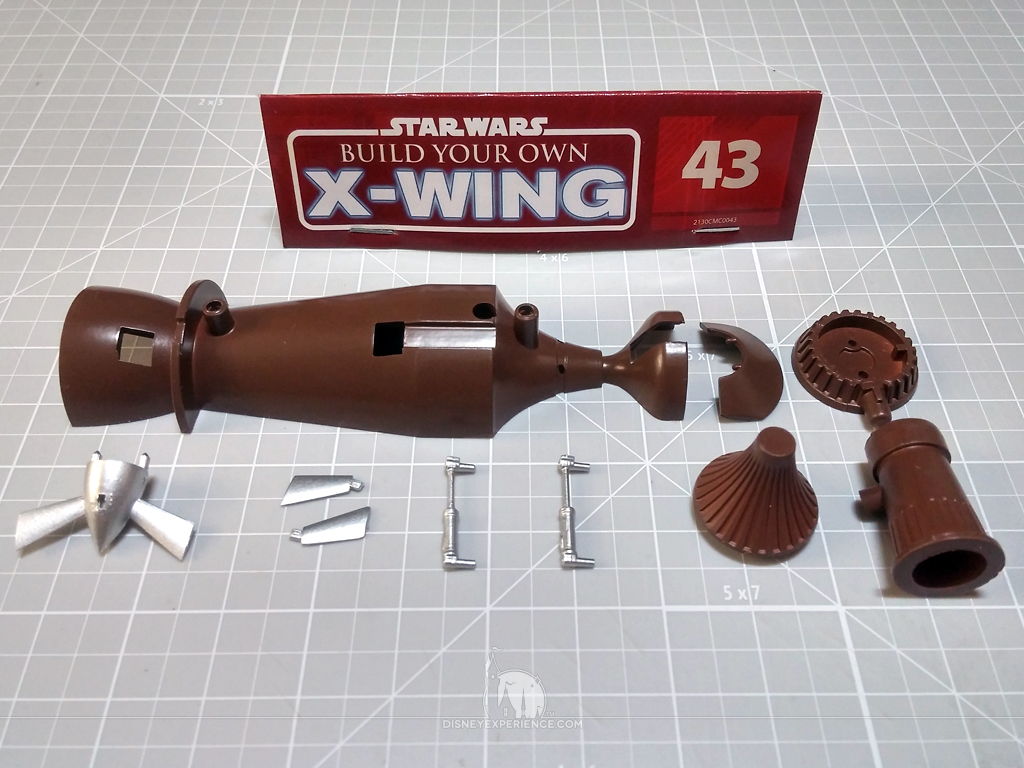
Completing the Laser Cannon

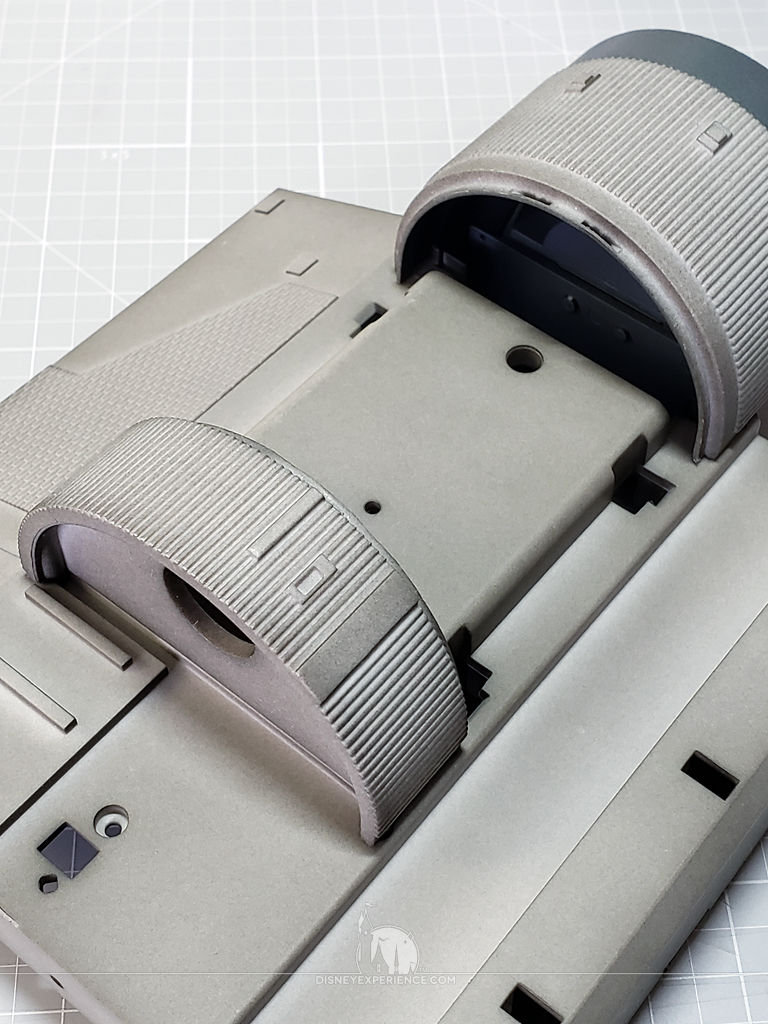
Work continues on the third wing, which has another set of landing gear doors. Closed, the doors sit nice and snug. But, they can be hard to open since there isn’t a lip for good finger purchase.
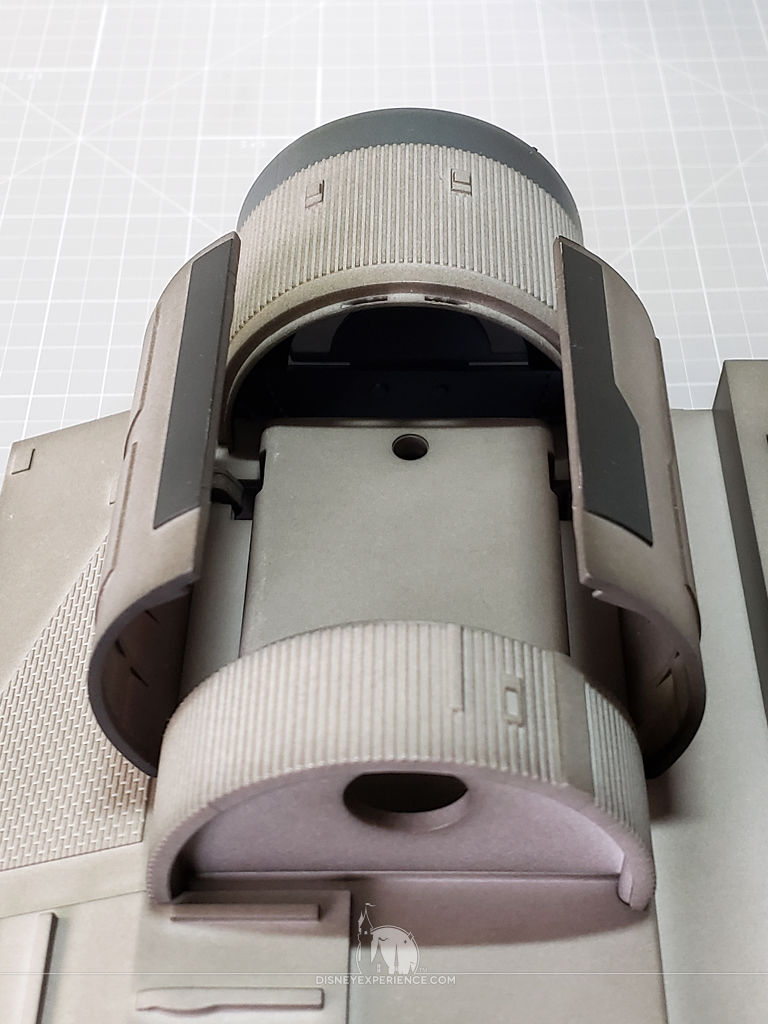
I may glue a piece of metal to the inside of one of the doors, and then use a strong magnet to pull the doors open.
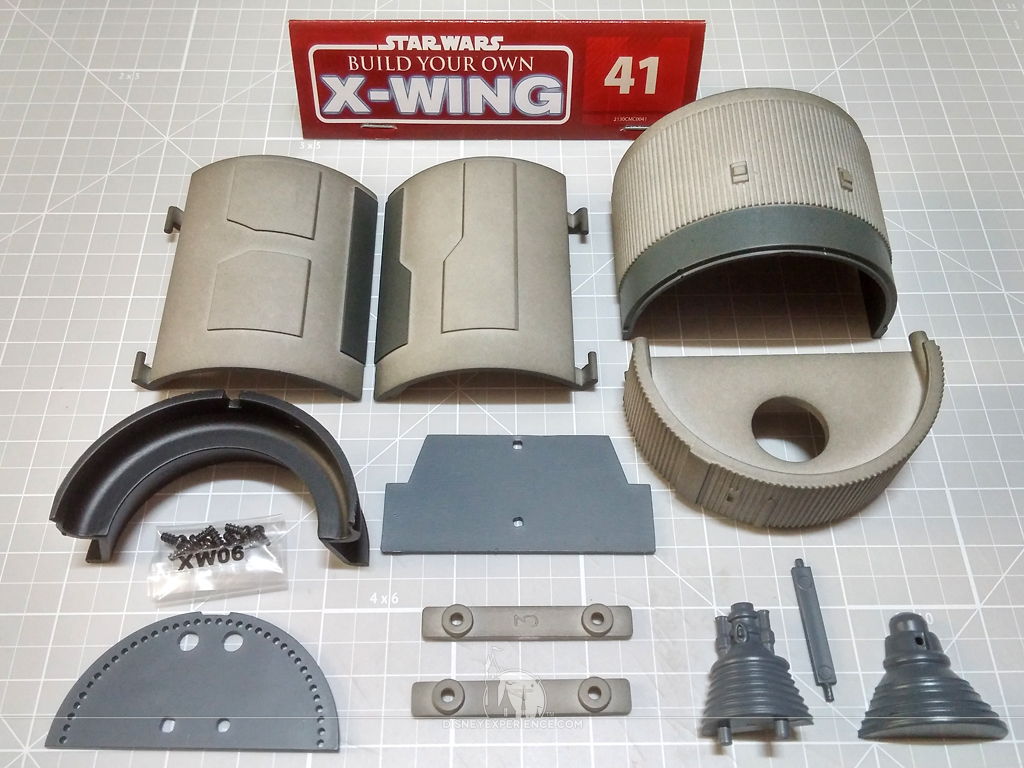
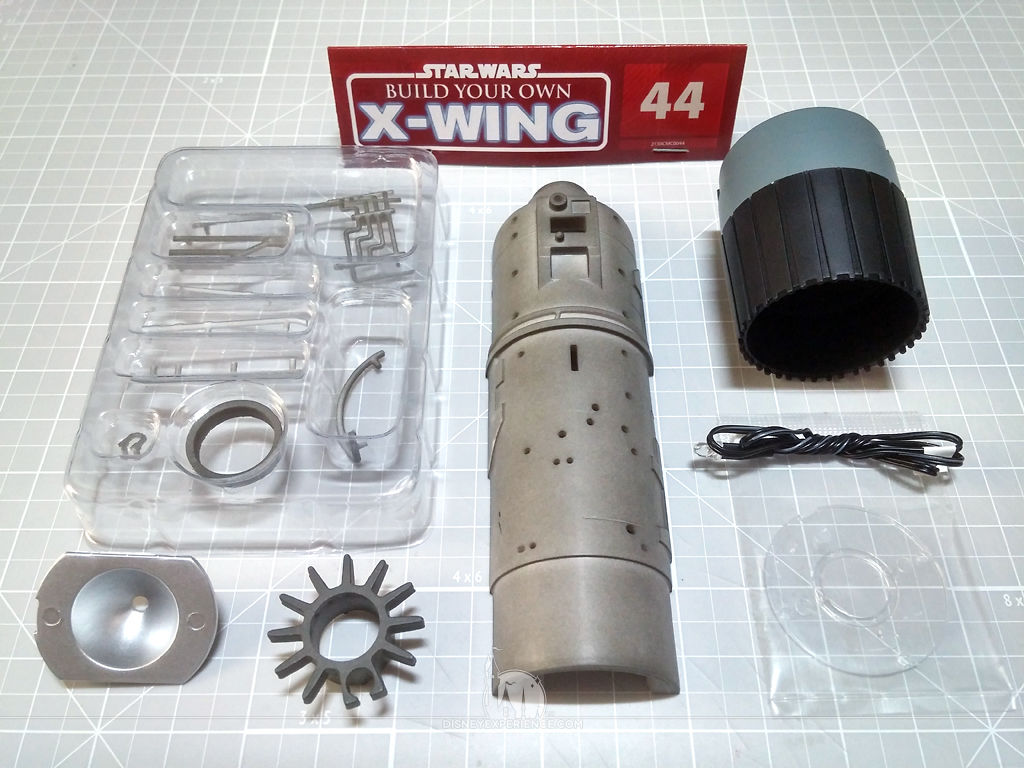
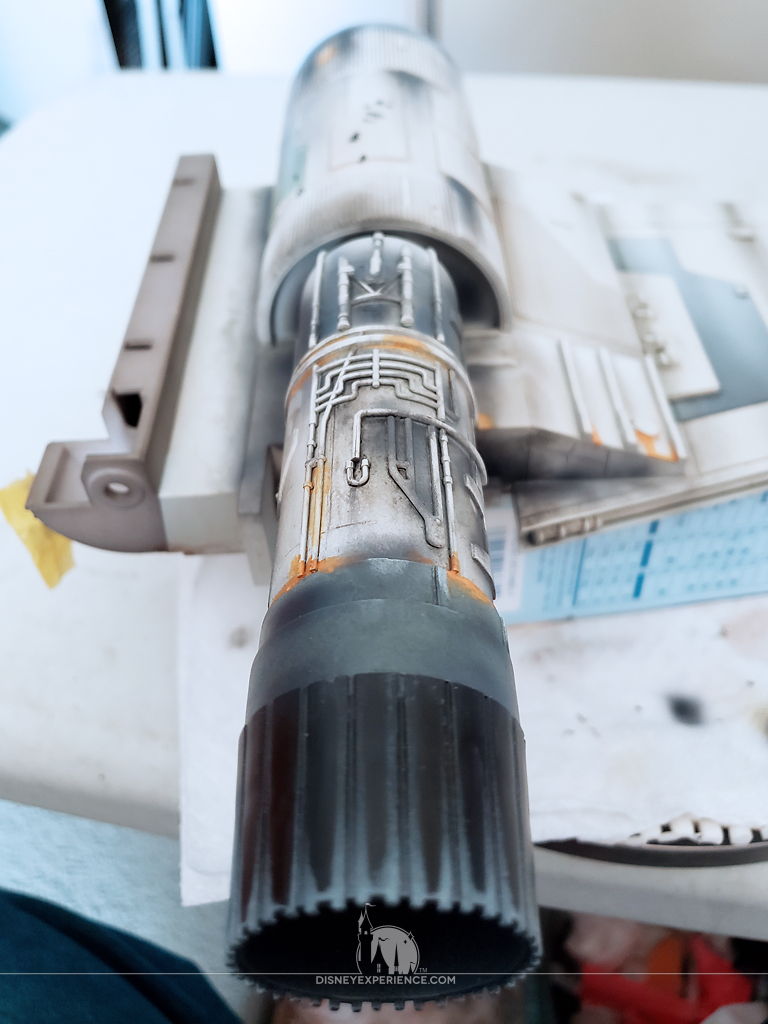
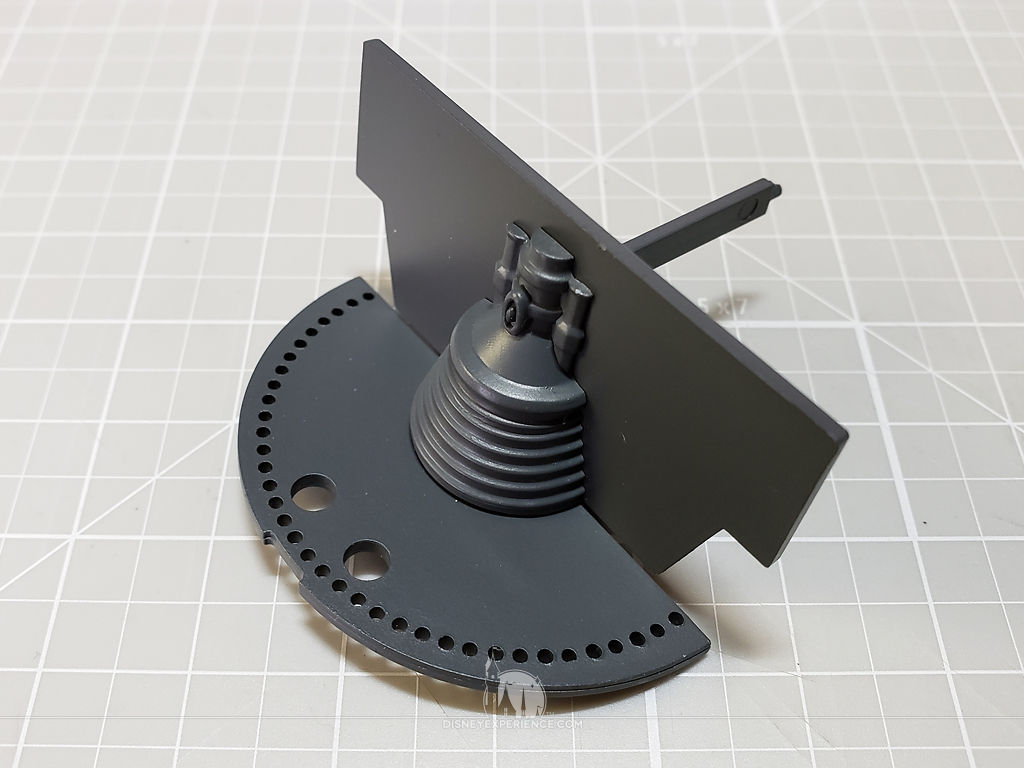
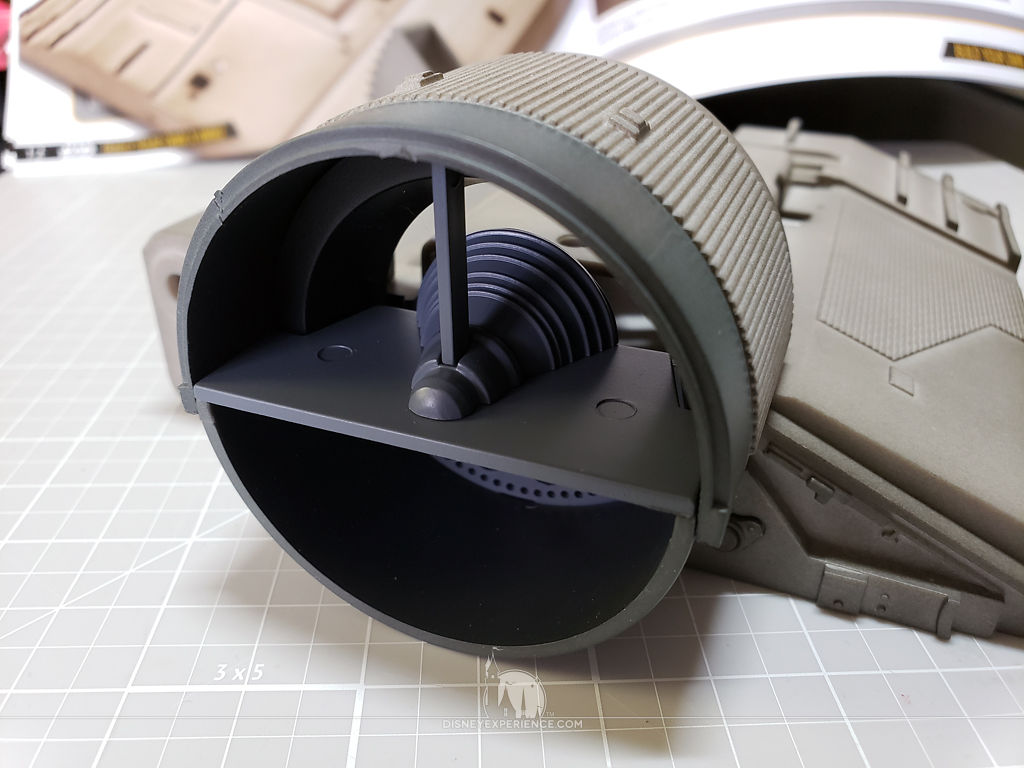
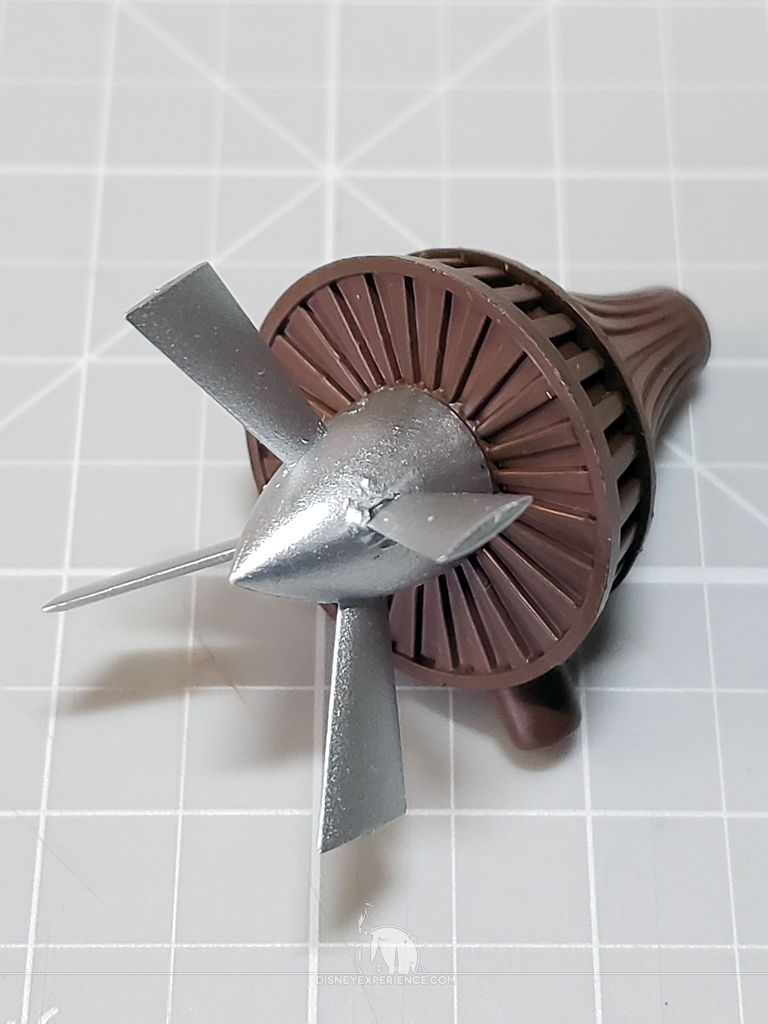
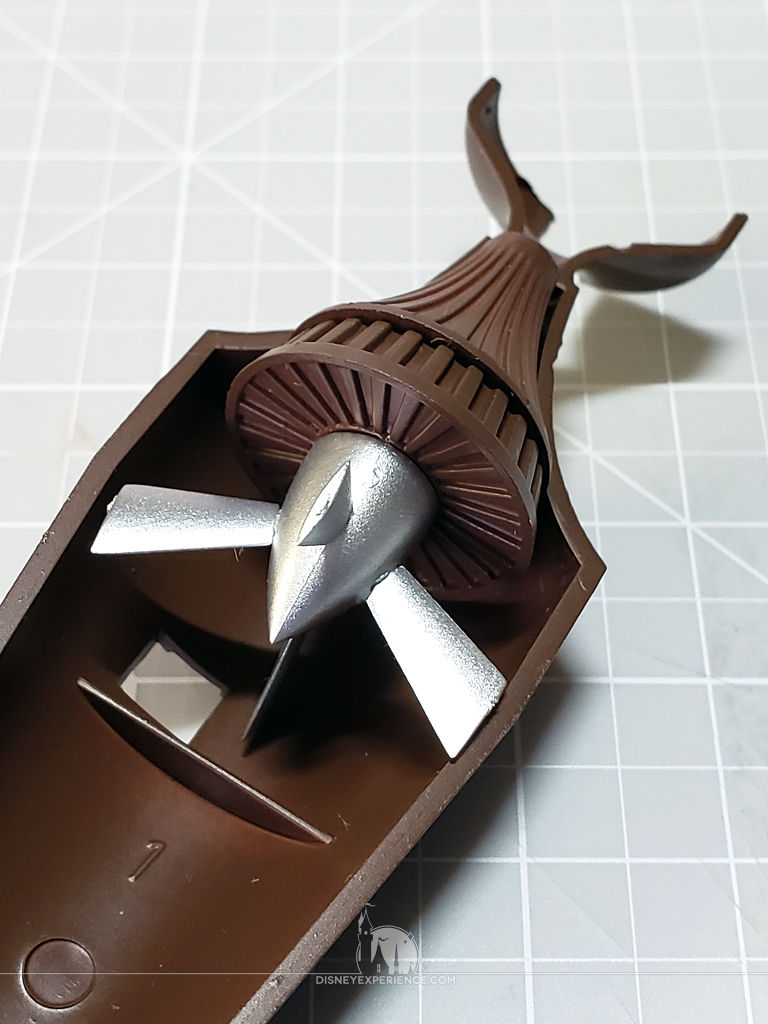
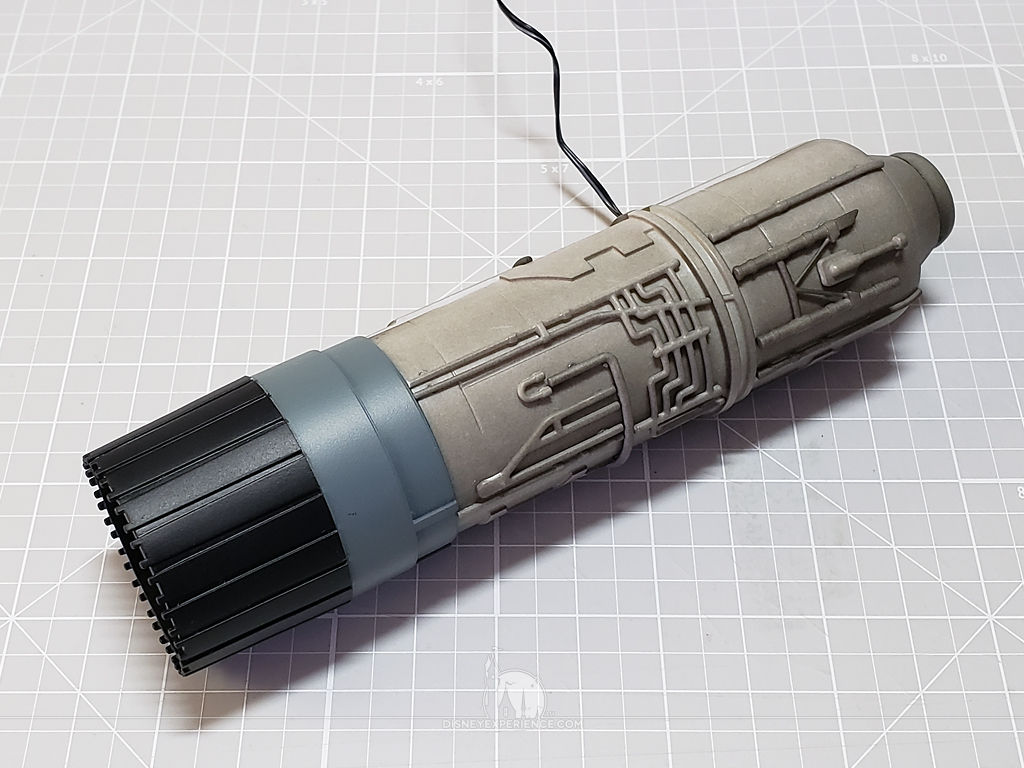
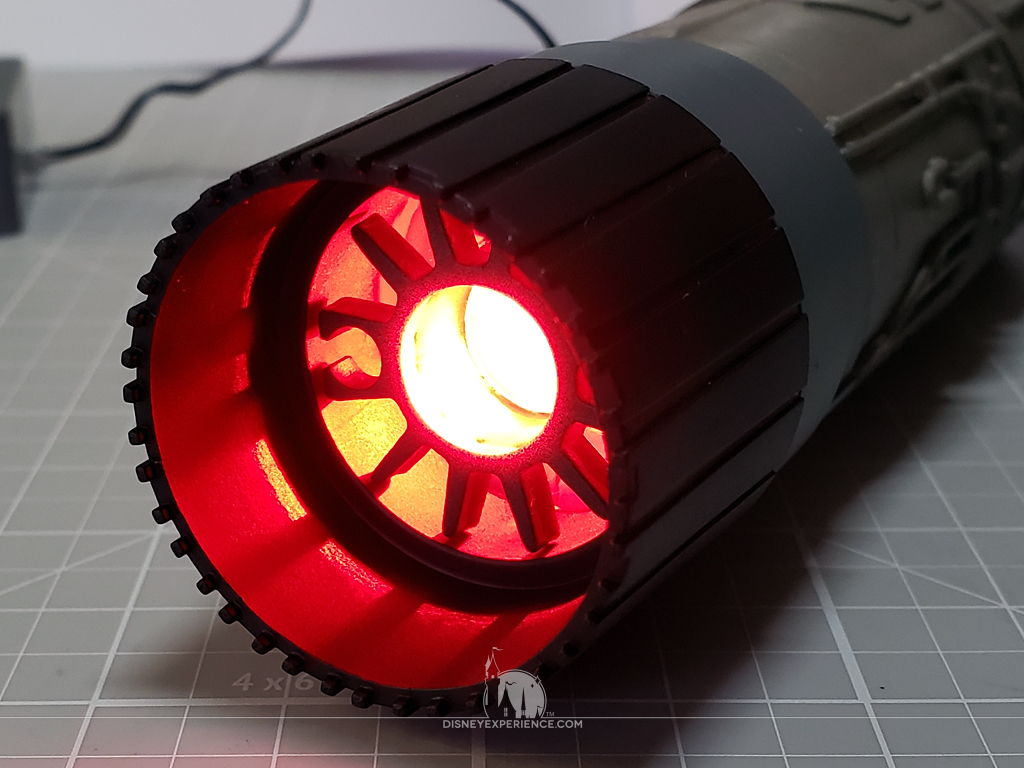
External Engine
The external engine is completely assembled this month. I think it was previously split over two months.
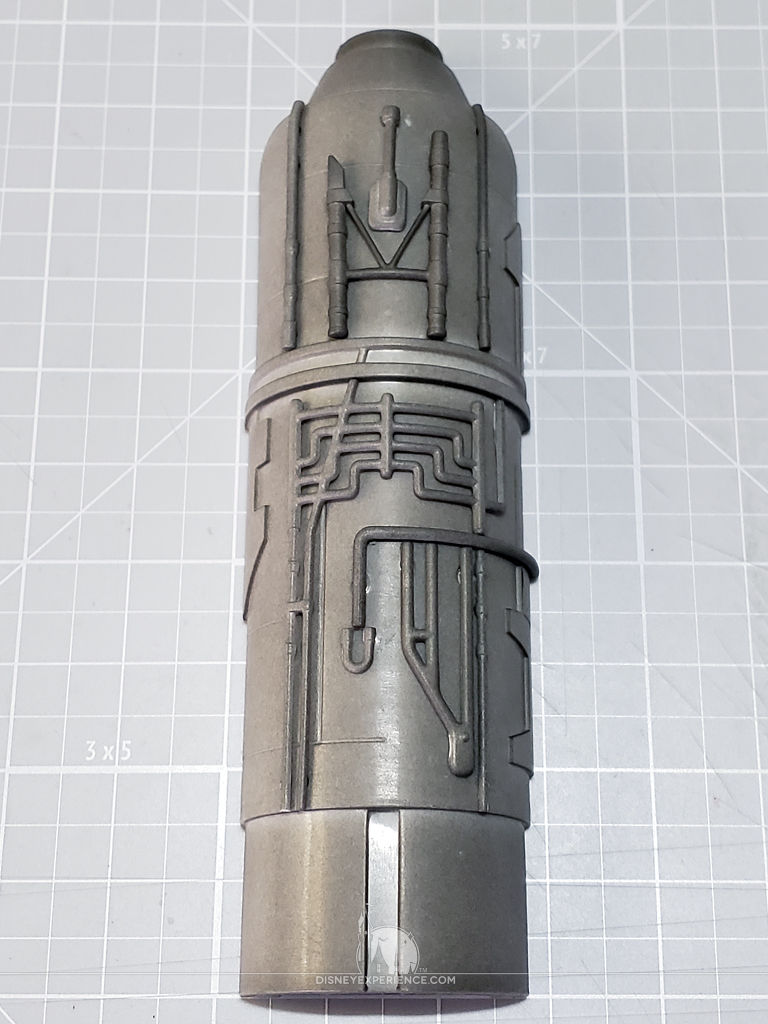
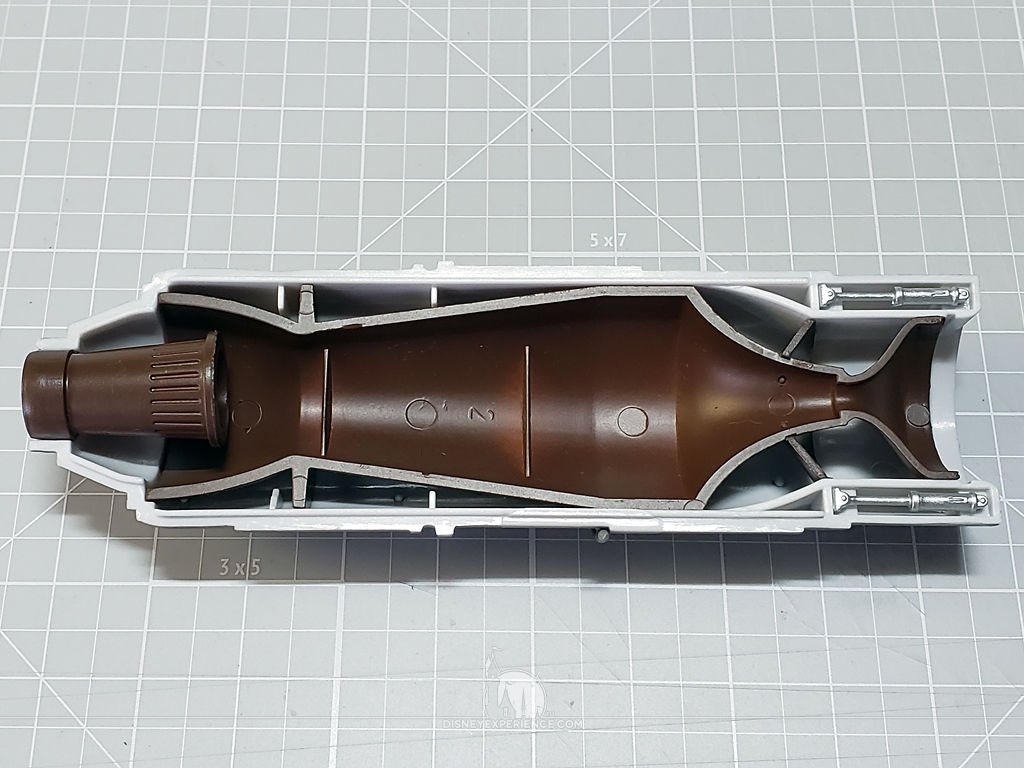
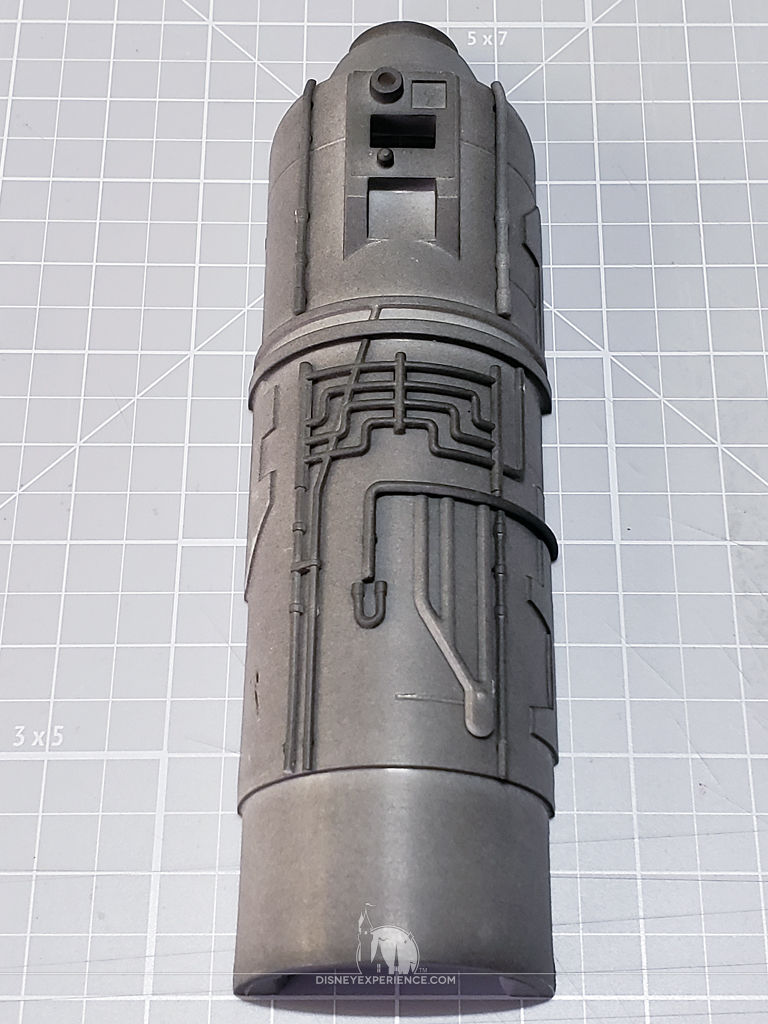
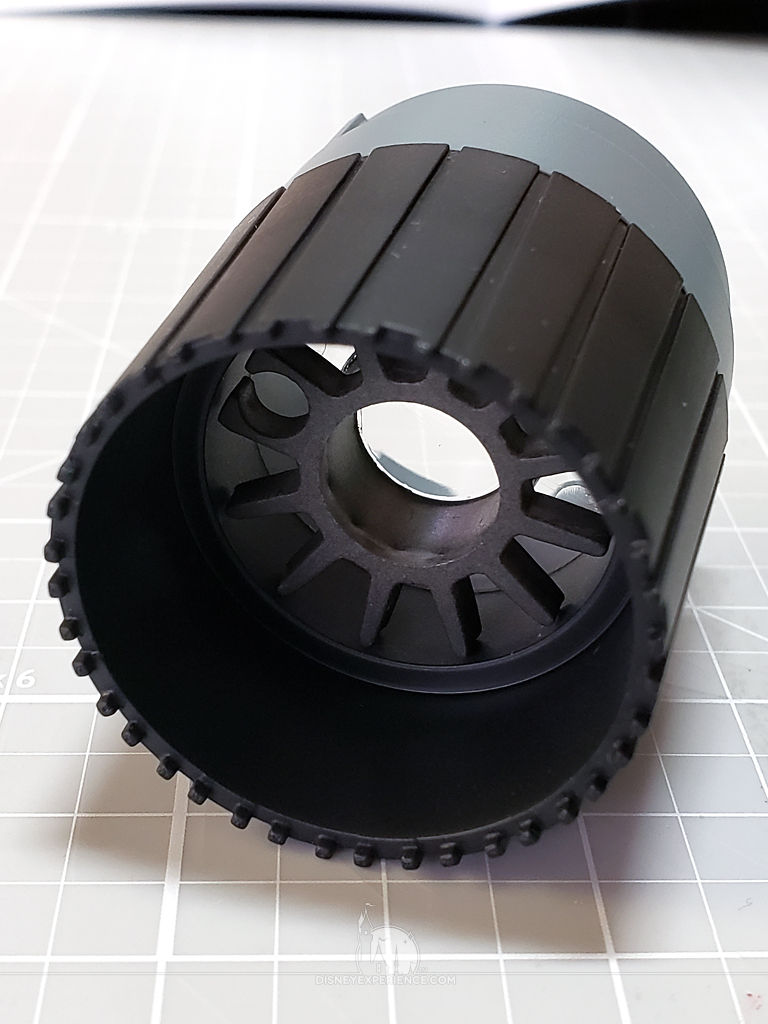

With the external engine assembled, I filled in some of the gaps with J-B Weld PlasticWeld. If you use this stuff, I recommend wearing disposable gloves as this stuff is sticky. It loves to stick to skin, and it doesn’t come off easily until it hardens.
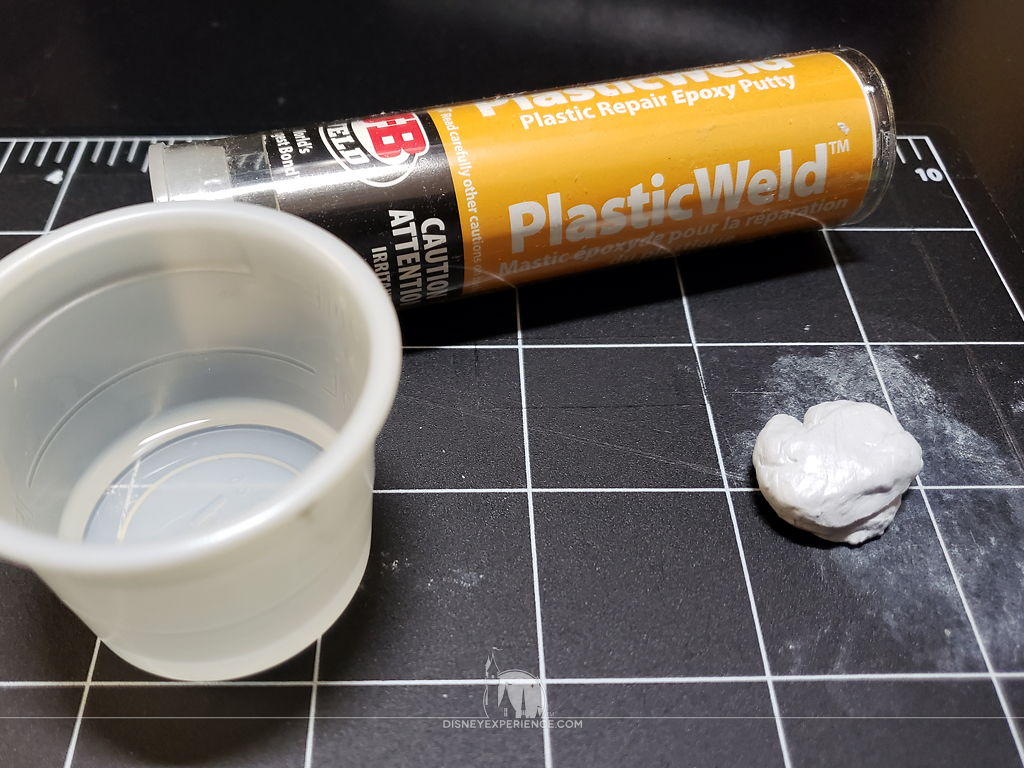
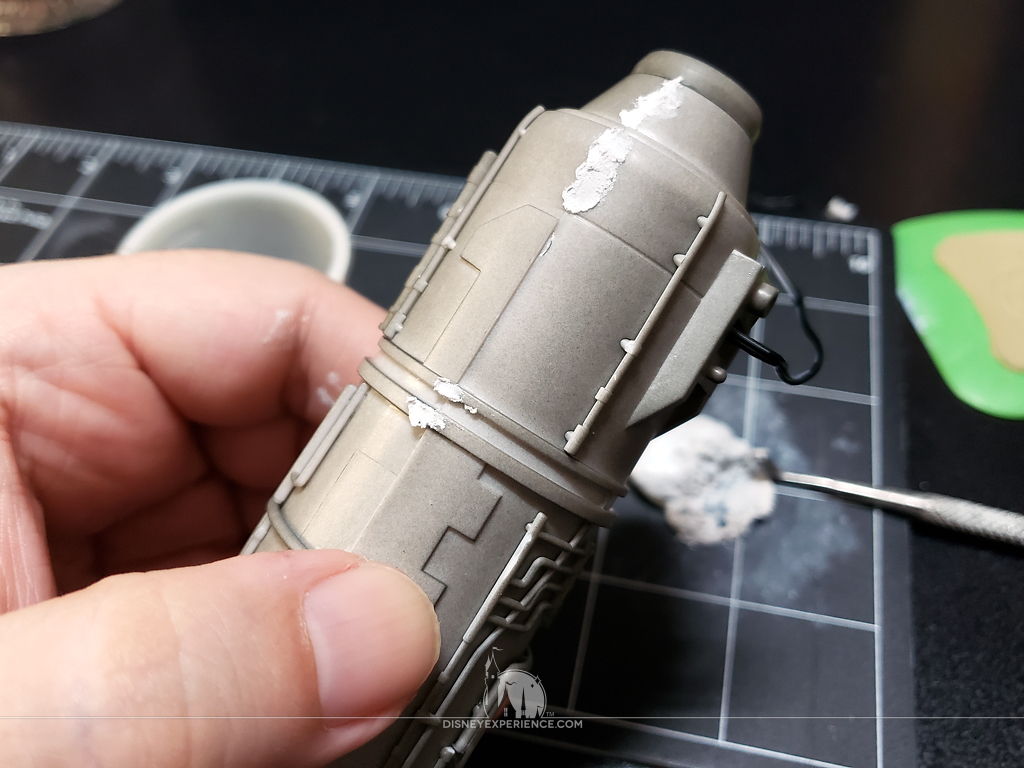
I use wax carving tools to trowel the PlasticWeld into the crevices, and then I use a homemade mini power sander to sand it smooth.

Prev Journal Entry | Next Journal Entry
Both the post author and this website have not received any compensation for writing this post. Both the post author and this website have no material connection to the third-party brands, products, or services that have been mentioned. Some of the links in the post above are “affiliate links.” This means that if you purchase the item, we will receive a commission. As an Amazon associate, we earn from qualifying products. This is being disclosed in accordance with the Federal Trade Commission’s 16 CFR, Part 255: “Guides Concerning the Use of Endorsements and Testimonials in Advertising.”
Do you have a thought about this post? Why not leave a comment . . .