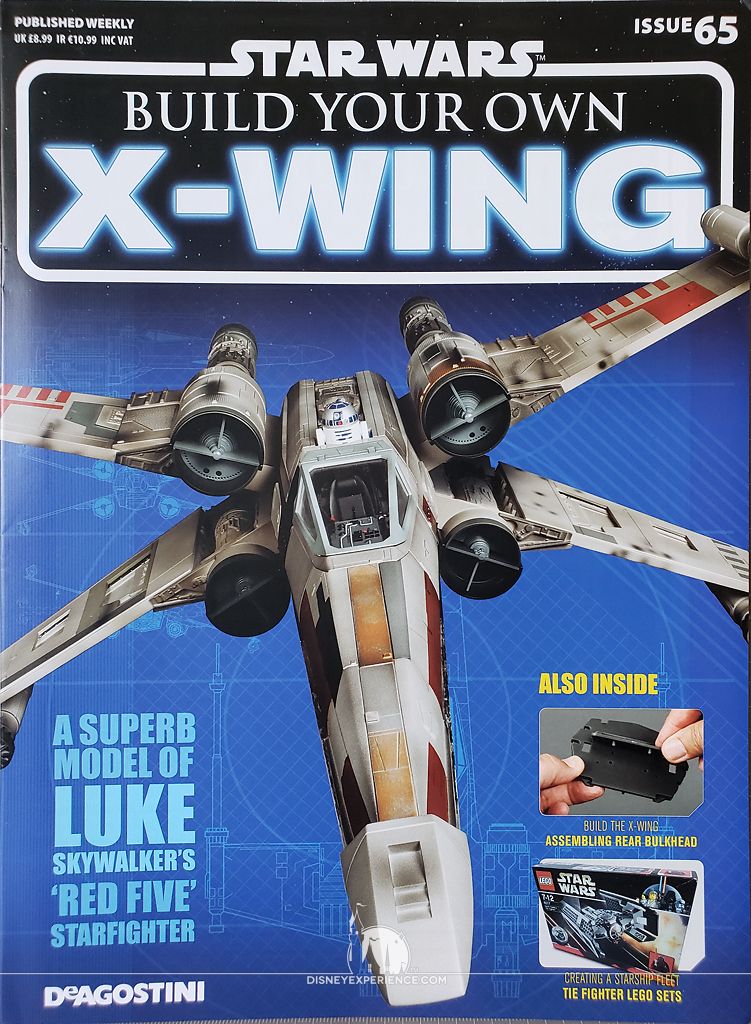
X-Wing Build Journal No. 19: Issues 65-68
Trader Sam | September 14, 2020
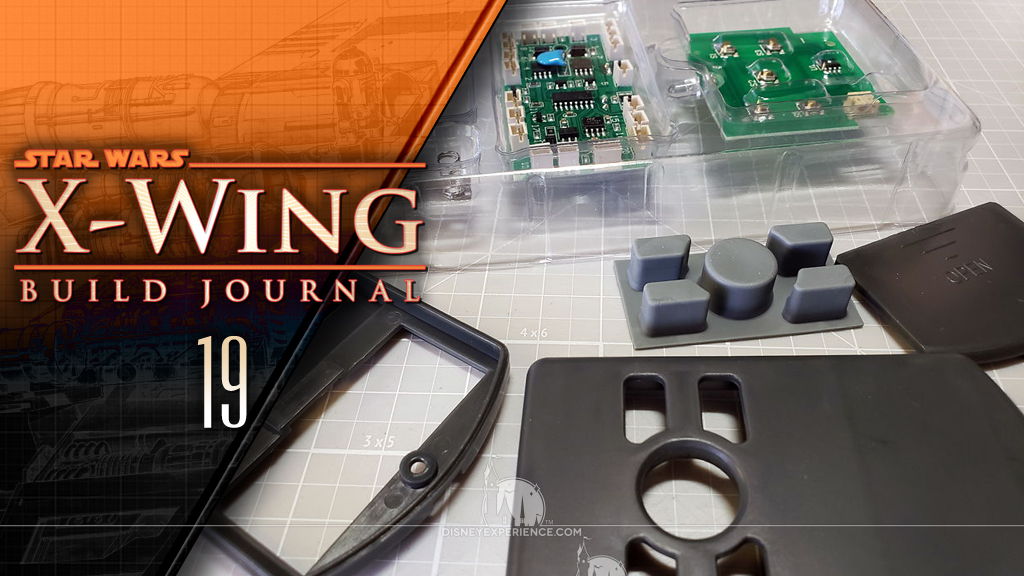
What’s Inside
This month, I work on some electrical components for the DeAgostini X-Wing model, primarily completing the remote control and the gear box.


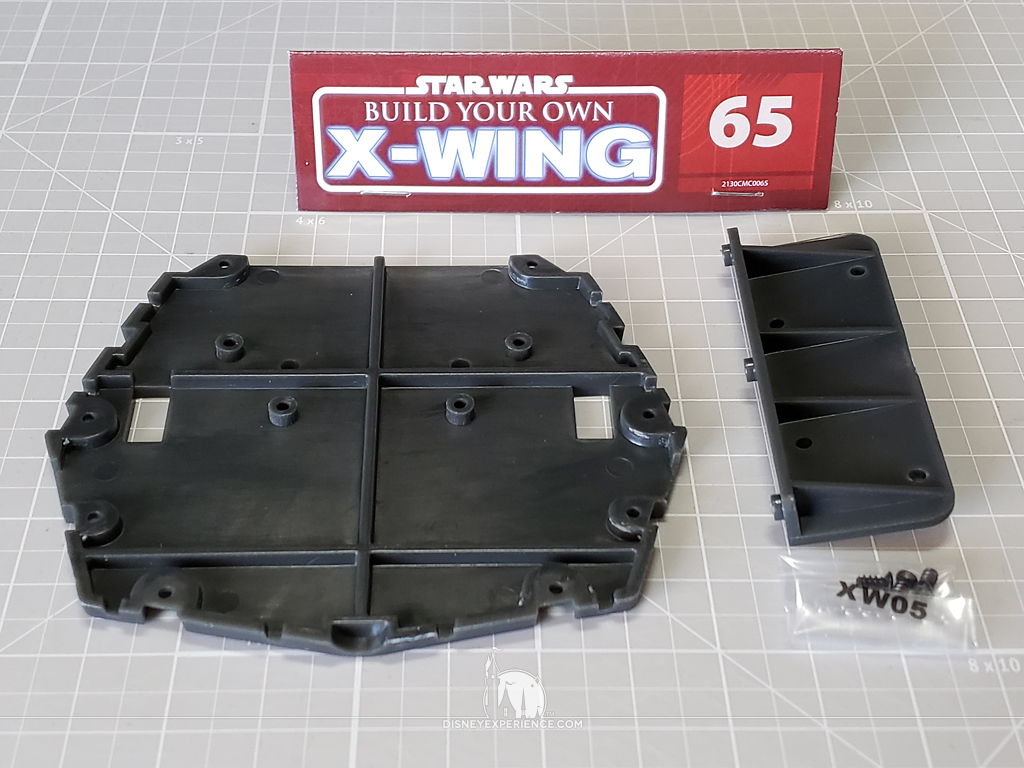

The Body
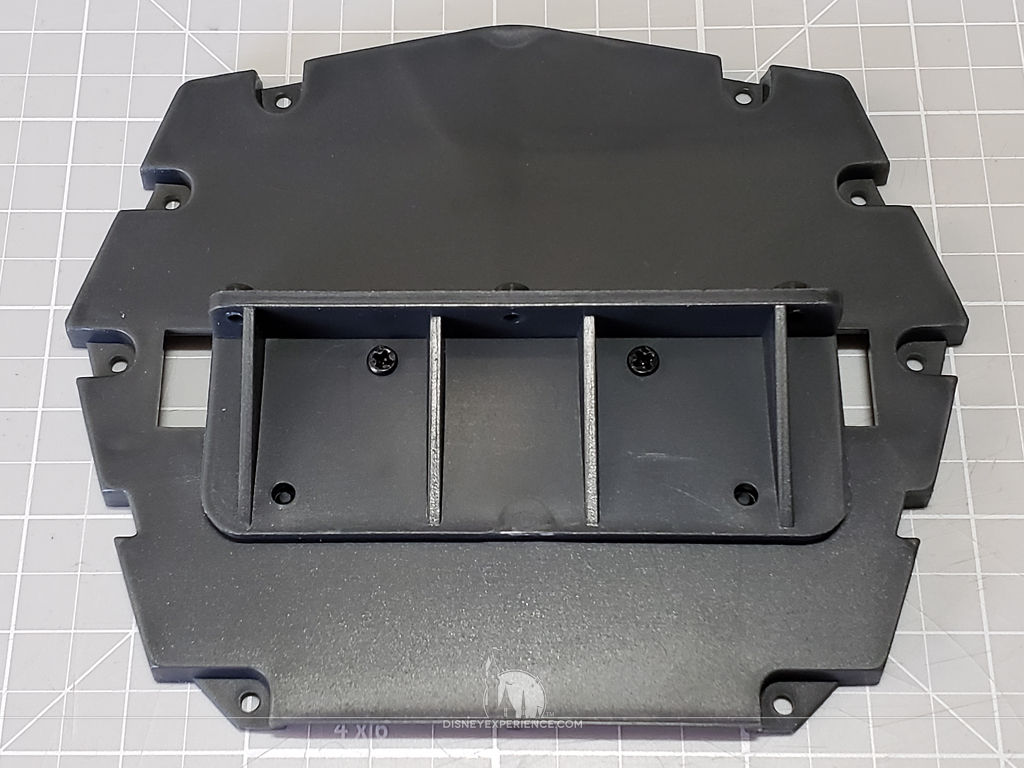
Working very briefly on the body, the only thing assembled is a support shelf.
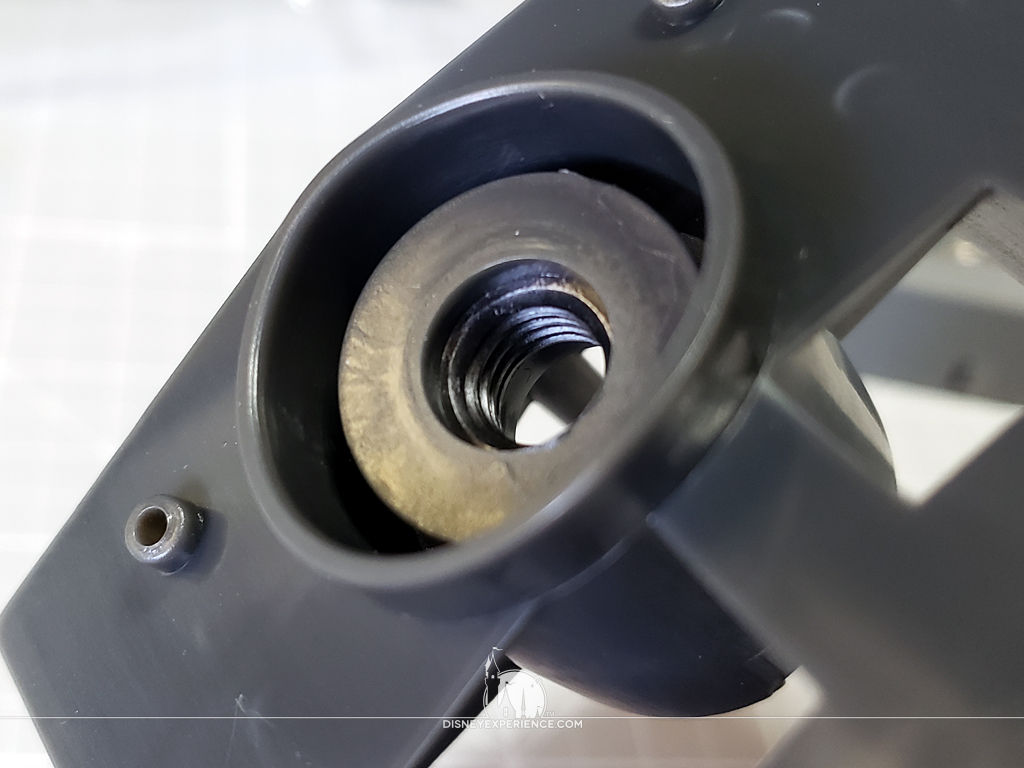
On the bottom of the body is a threaded hole for a future display stand, which I’m sure will be an extra premium. I’m not quite happy that the hole is plastic; a threaded metal insert would be better at supporting the weight of the model and less likely to strip.
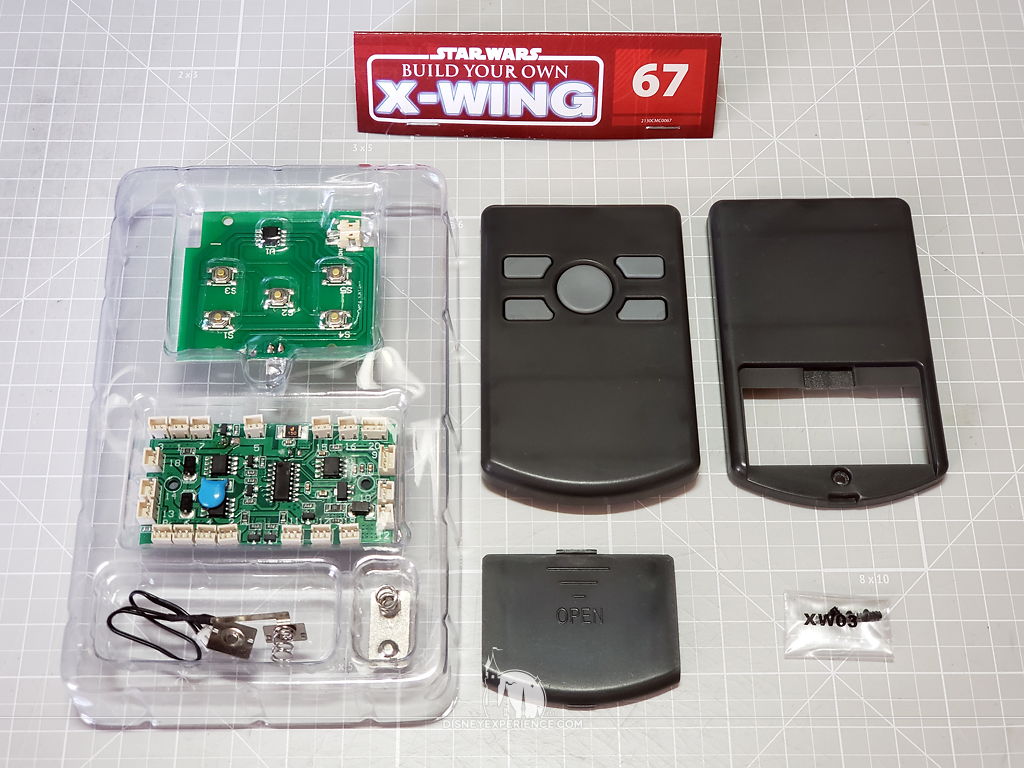
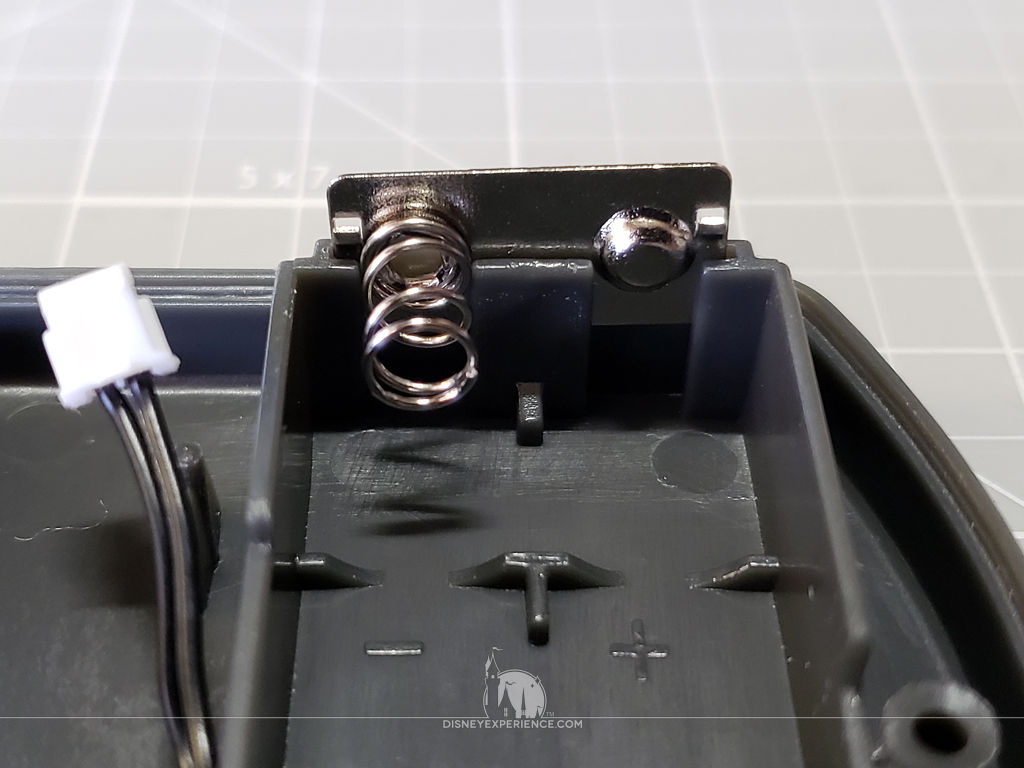
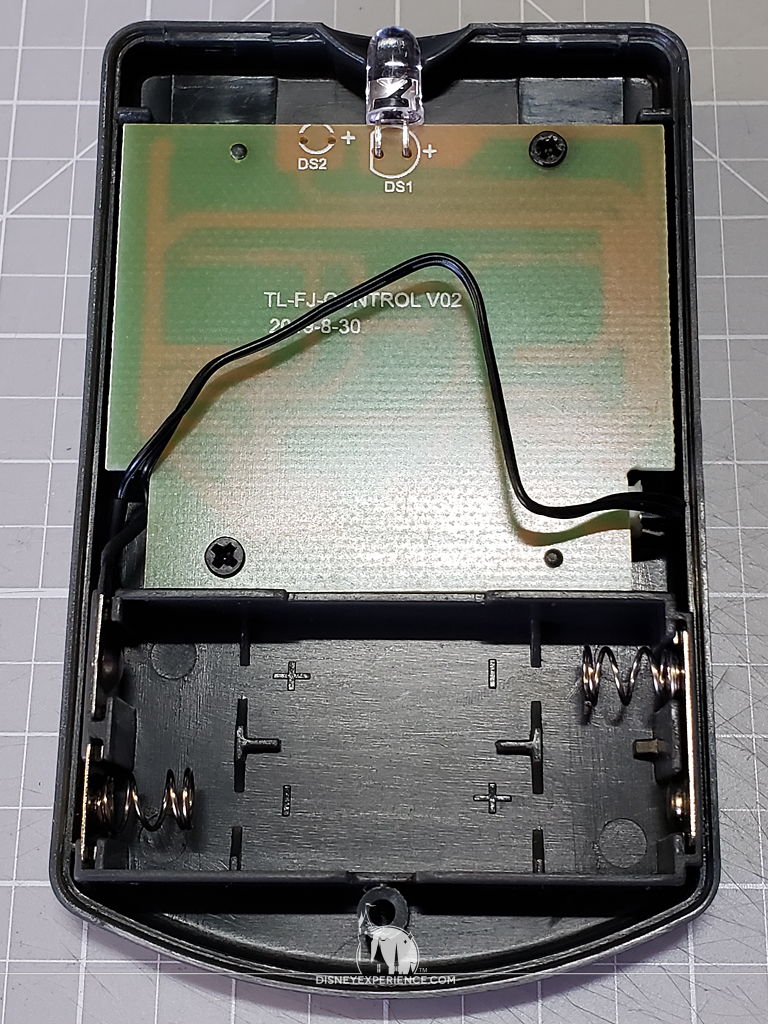
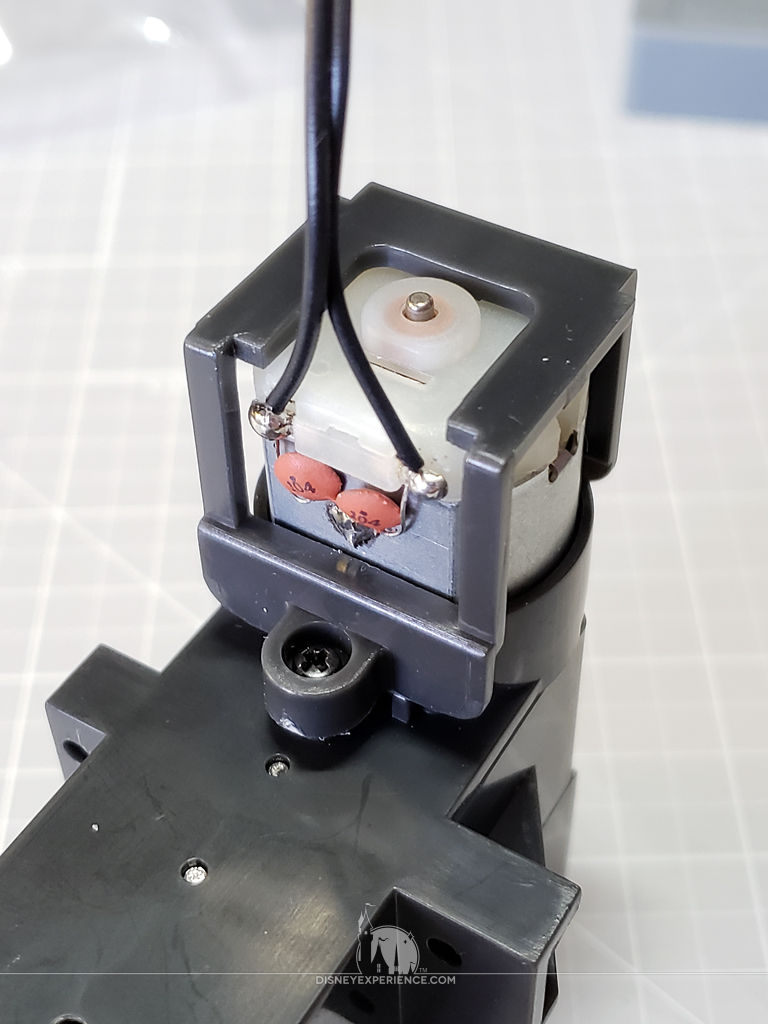
Assembling the Remote

Yup, your eyes are not deceiving you—the remote control has to be manually assembled. This is yet another slightly annoying tactic for DeAgostini to water down the subscription and extend the length of the build to justify the monthly price tag. Delicate things like wires and circuit boards that have to be man-handled increase the likelihood of failure at some point. And, the blame can easily be shifted to builder error, requiring the purchase of an extra issue.
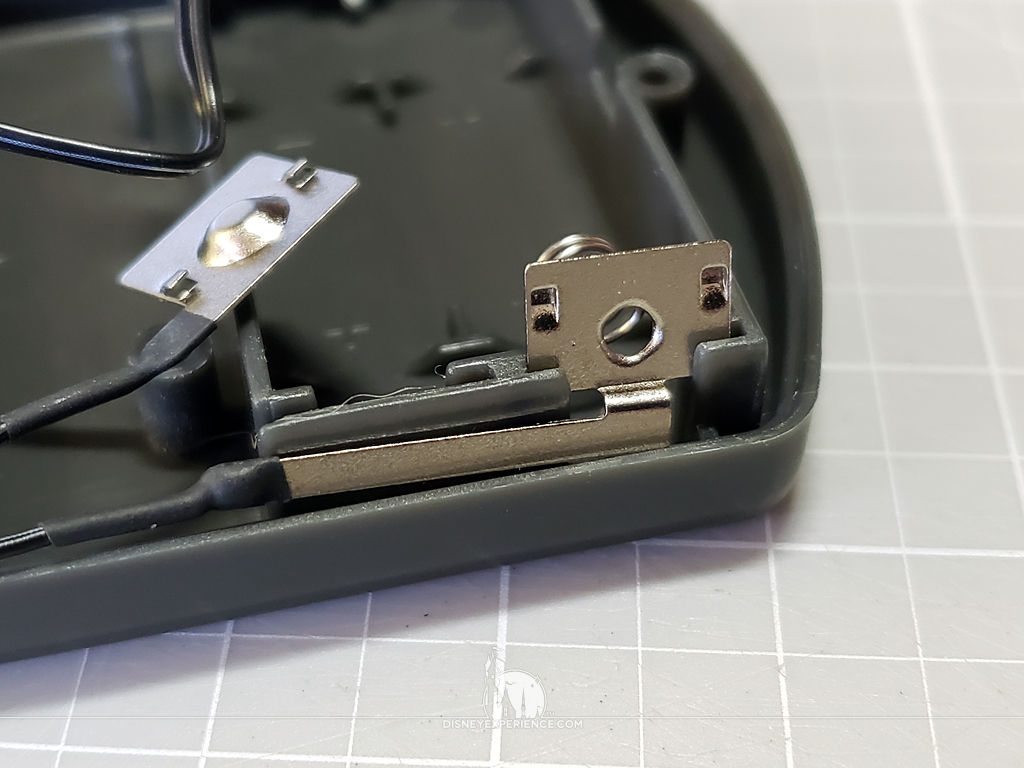
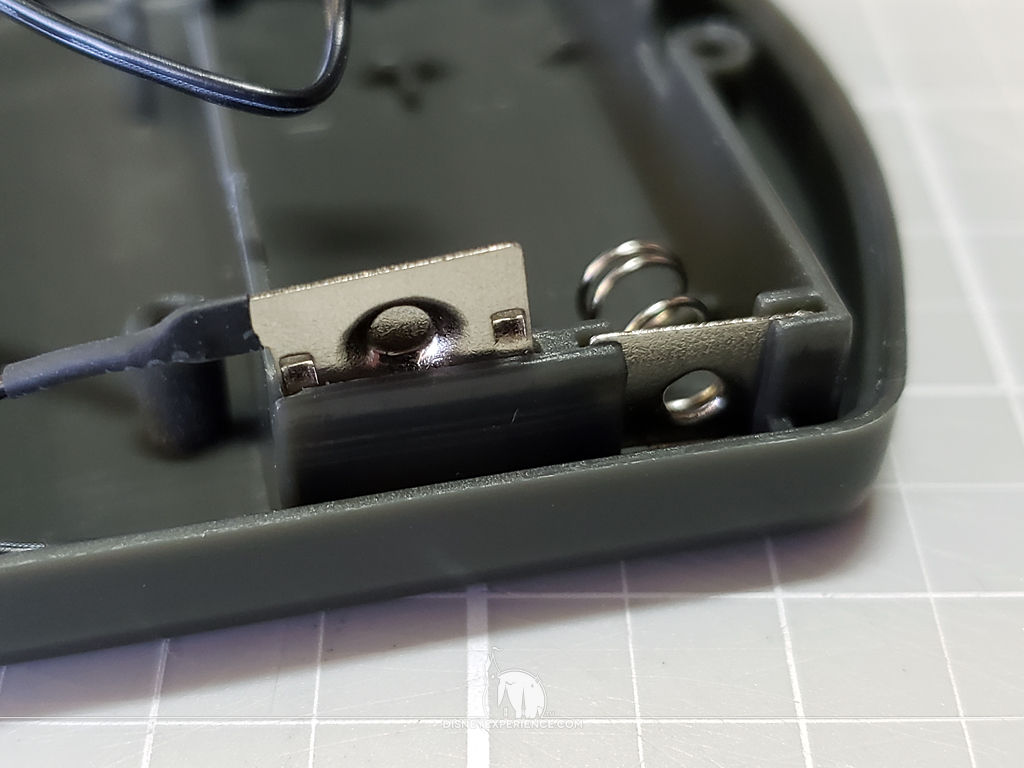
When I installed the circuit board, I ran the wire around the back of the board rather than the front, like it was shown in the magazine. The less chance of the wire interfering with the circuits, buttons, and chips, the better.
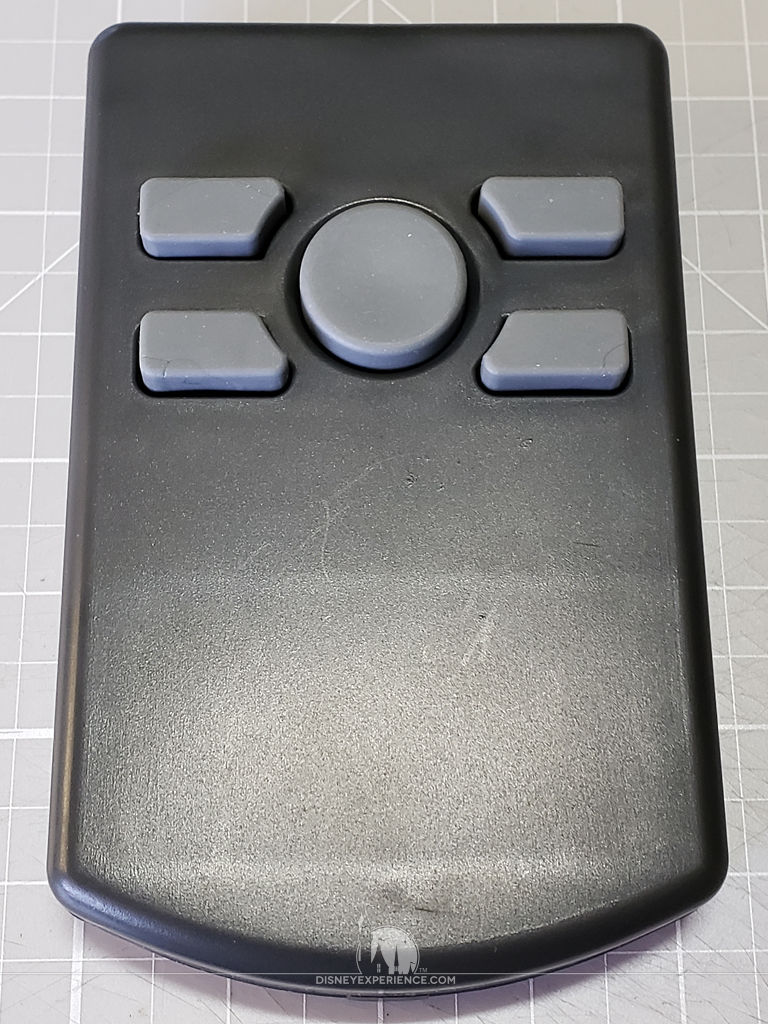
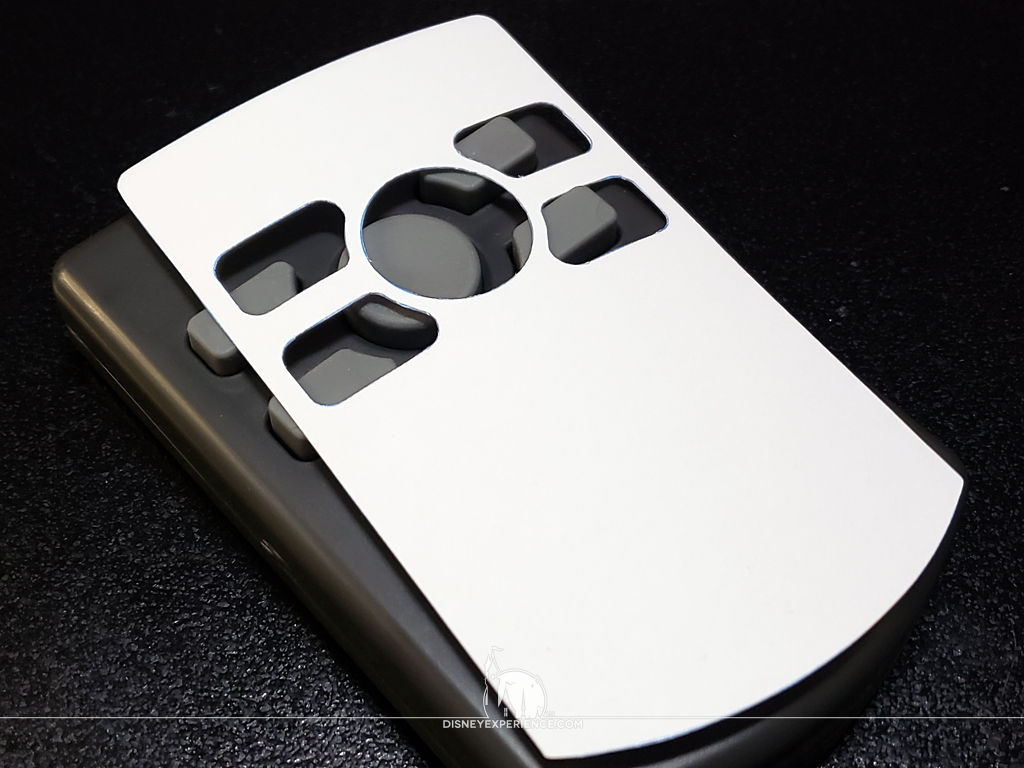
With the remote completed, I began working on a sticker to cover the face and label the buttons. I don’t know what each button does, so I can’t complete the sticker just yet.
I also want to try to add a key chain so that I can join it to my Millennium Falcon remote.
The remote takes two AAA batteries, and the model takes four AAA batteries. The instructions say not to buy them yet because it will be some time before we can use them—presumably so that the batteries do not drain. Since I will be using rechargeable batteries, I ignored this advice and ordered some.
Since I needed six batteries, I bought a 4-pack of Duracell rechargeable batteries and a Duracell premium charger kit that comes with both 2 AA batteries & 2 AAA batteries. This was perfect since it gave me the exact number of batteries that I needed, I can always use more AA batteries, and I was in the market for a new charger.
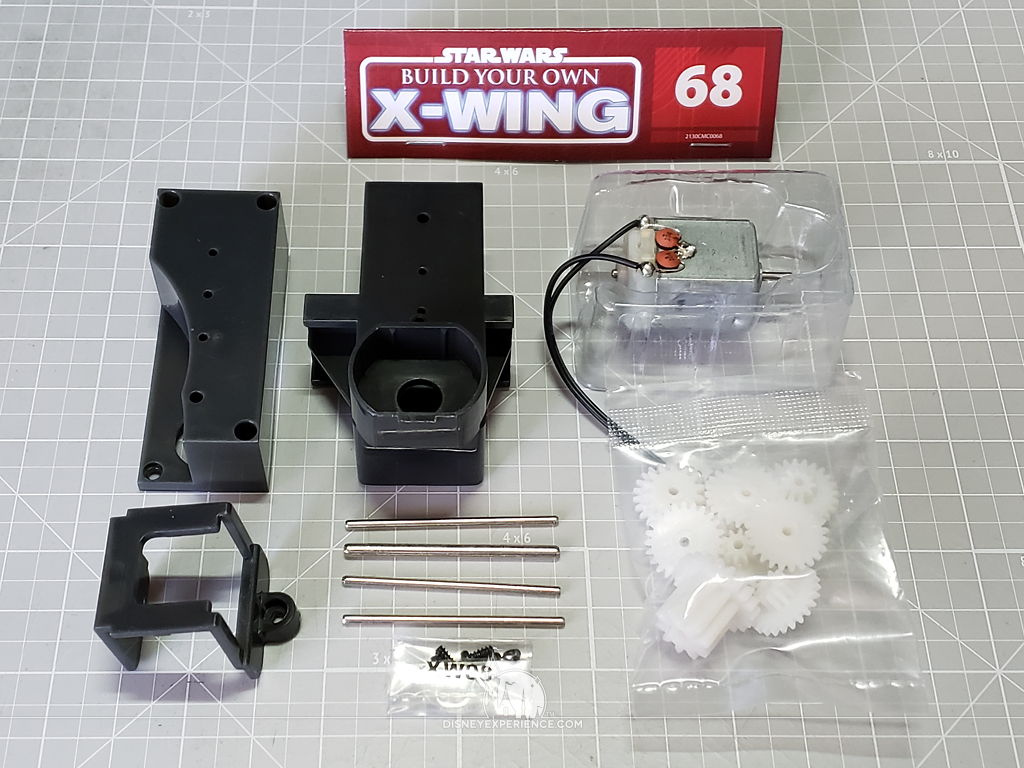
Assembling the Gear Box
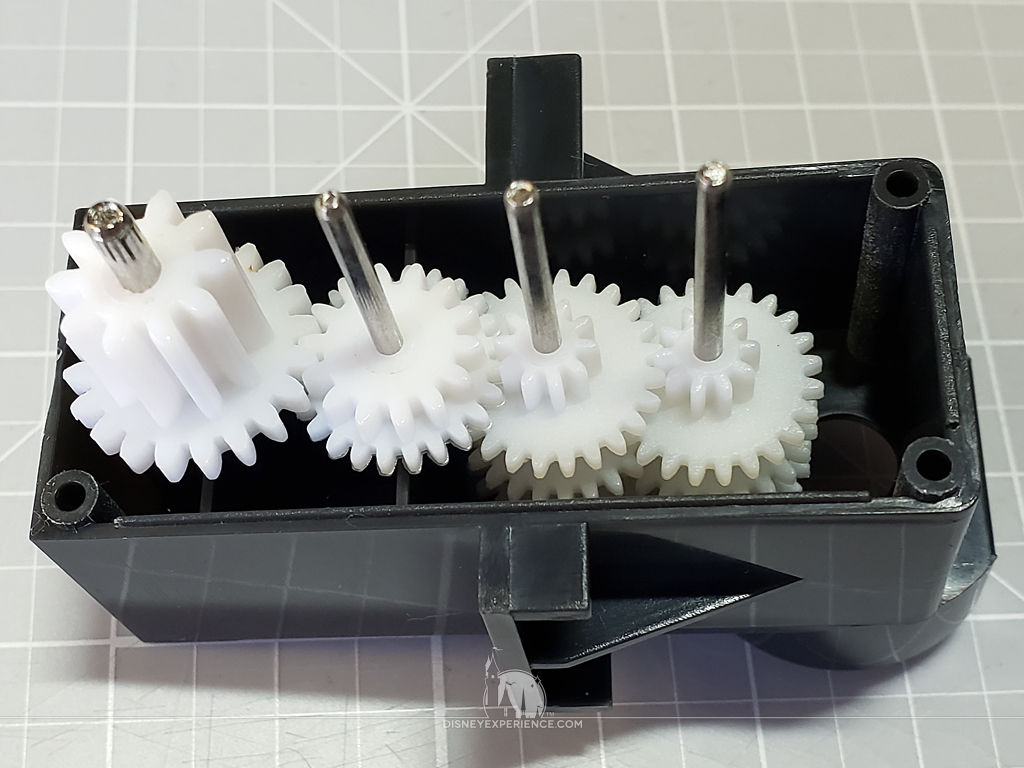
The gear box is yet another major point of failure because builders have to assemble it themselves. Thankfully, the assembly is pretty simple .
I do know that some builders have been having problems with their wings functioning properly, but since they don’t speak English, I can’t determine what the problem is. From what I’ve seen and heard, there is a possibility of the gear teeth being stripped due to some error. I really wish I knew what was going on so that I could make any preparations or alterations to possibly prevent any sort of disaster.
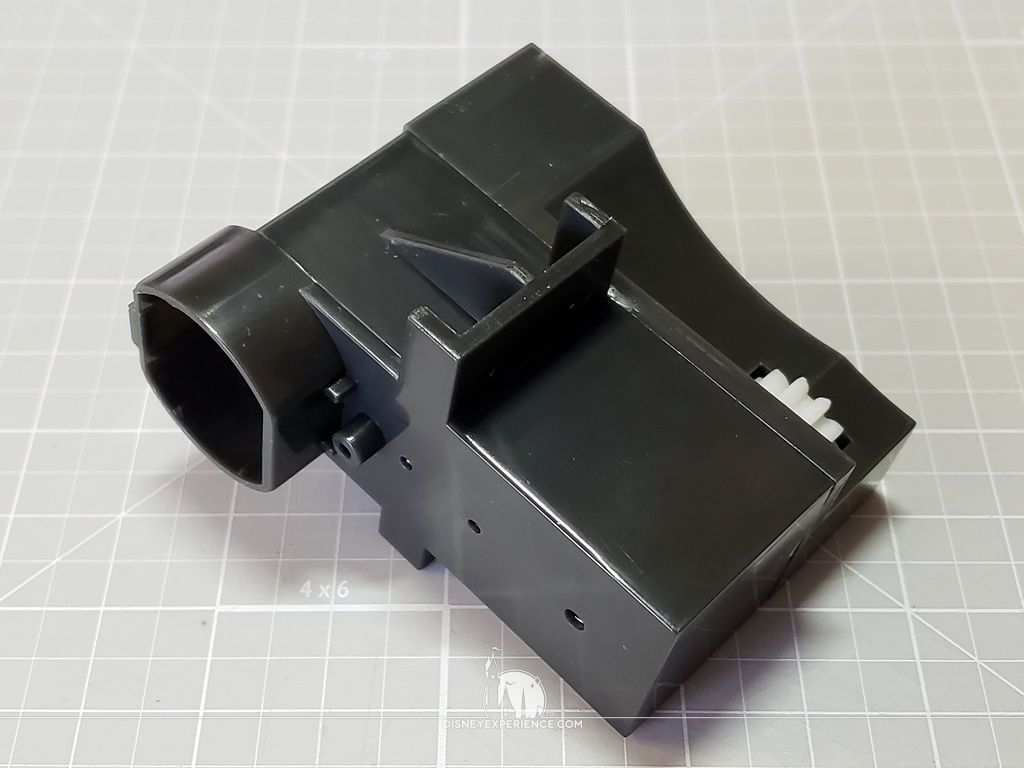
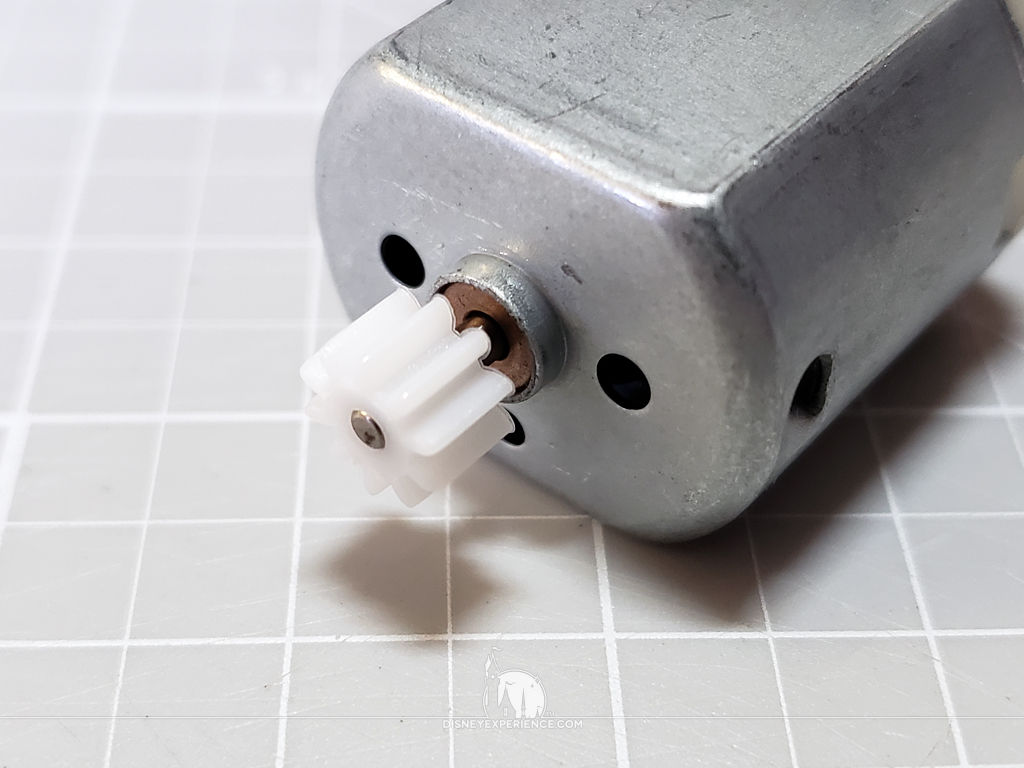
Closing the gear box housing and mounting the motor completes this month’s assembly. Despite the numerous pieces this month, all I have to show for my time is a support shelf, a gear box, a remote control, and the beginnings of a remote sticker.
Prev Journal Entry | Next Journal Entry
Both the post author and this website have not received any compensation for writing this post. Both the post author and this website have no material connection to the third-party brands, products, or services that have been mentioned. Some of the links in the post above are “affiliate links.” This means that if you purchase the item, we will receive a commission. As an Amazon associate, we earn from qualifying products. This is being disclosed in accordance with the Federal Trade Commission’s 16 CFR, Part 255: “Guides Concerning the Use of Endorsements and Testimonials in Advertising.”
Wow. You’re awesome. I was positive I had flushed over a thousand dollars down the toilet. It actually DOES work – as long as you don’t test it when the directions actually tell you to.
Great to hear! I really wish they didn’t hide the solution to this in the forum. A simple flyer or email would have sufficed. This is why I wait a few months and let other people discover these problems for me. Well, that and there’s usually a sale for $1 shipping for the life of the model subscription. That’ll knock off $150 or so in the long run.
I’ve been on the monthly plan for the Deagostini X-Wing for well over a year now. When month 17 arrived, none of the electronics worked. The LED on the remote didn’t even light up. After trying (and failing) to get replacement parts that work, I paid for two additional month 17 packages. None of those work either; even to the extent of the remote control LED. I’ve read some online reviews and read the same thing from other buyers – none of the remotes ever work. Is this company just a scam?
Someone, the electronics on this model could have been done better. I had a hard time, too.
If you haven’t read it yet, read Build Journal #20. I know that issue 72 says to test the electronics, but there is a critical piece missing.
Also, the LED on the remote does not light up. It’s infrared. The only way that you’ll know that the remote is working is when you finally get to test all of the electronics.
If you want to know what the buttons on the remote control do clockwise from top left: cockpit lighting, laser cannons, R2, sublight engines. Centre button: Open & close S foils.
The problem people were experiencing that was stripping the teeth on the cog wheels is that the tabs on the third wing were not reaching the kill switches on the chassis so there was no signal telling the board to stop opening or closing the wings. This may be due to a faulty switch, improper positioning of the wings when installing them in the plastic inner body or a design problem. This can be avoided by leaving the battery cover open & getting ready to pull a battery out if the wings won’t stop opening or closing. Taking great care to position the wings properly when installing them may prevent this but if not extending the tabs on the wings that activate the kill switches will. Just don’t extend them too much or the wings won’t open or close fully.
Thanks, Neil. I’m actually 3 months ahead of the build journals. I’ve already solved the electrical problems aside from the remote sensor extension cable being too short for some reason. It’s not caught on anything, so it must be a production mistake. DeAgostini is sending me a new one which should just plug into the existing cable without me having to disassemble the X-Wing.