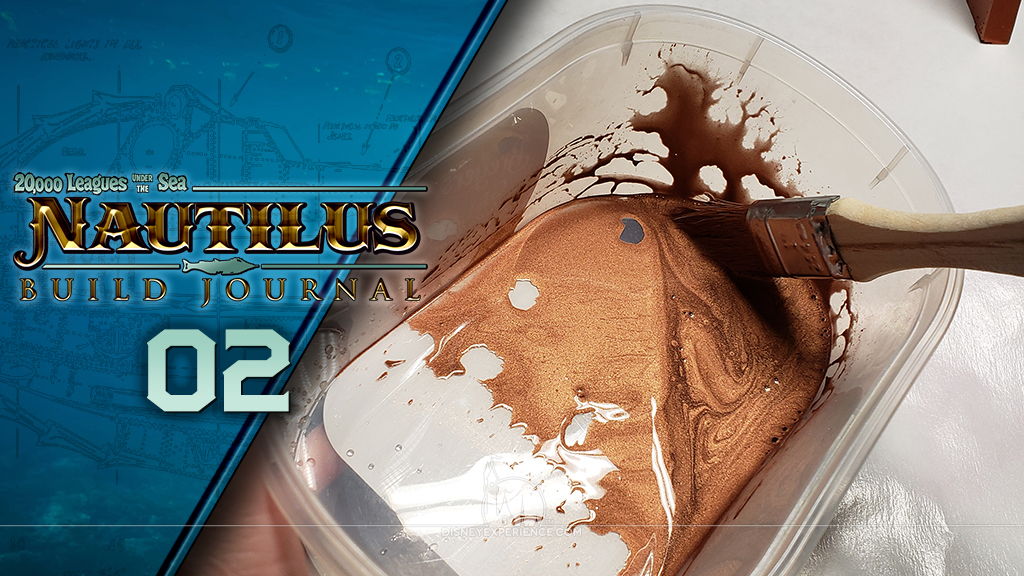
Nautilus Build Journal No. 02
![]() Trader Sam | July 21, 2021
Trader Sam | July 21, 2021
The New Arrival; What’s in the Box?

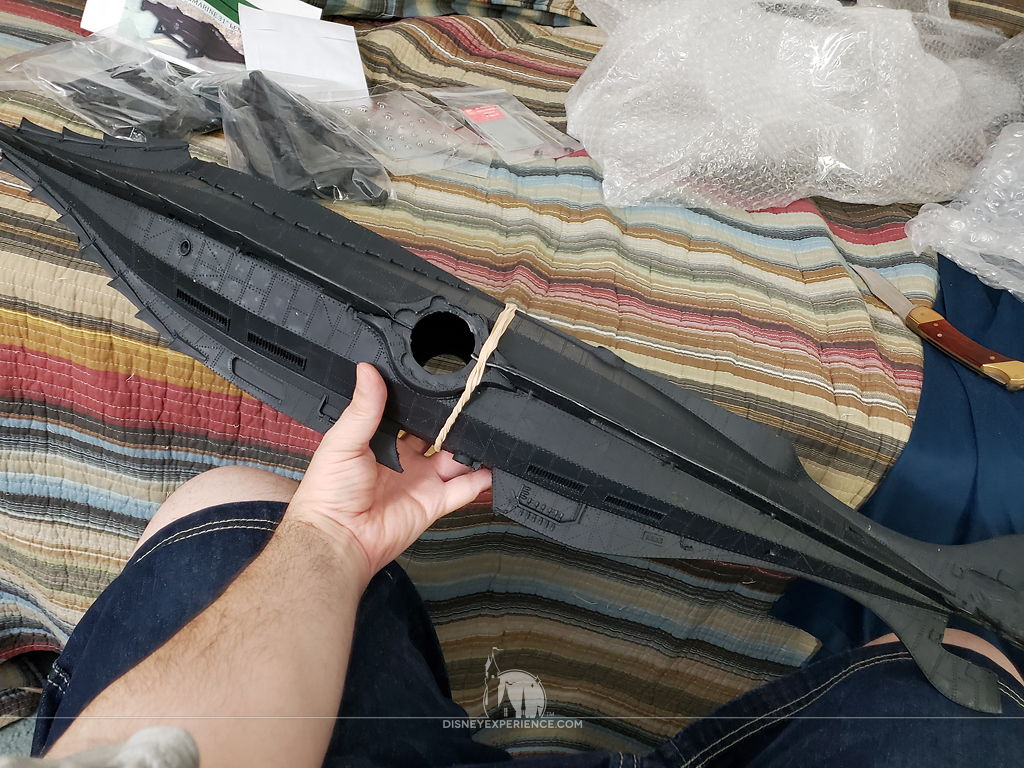
Oh, joy of joys; the Nautilus is here! It’s big, and it’s heavy; the parts are thick and solid. So this is what a resin model is like.
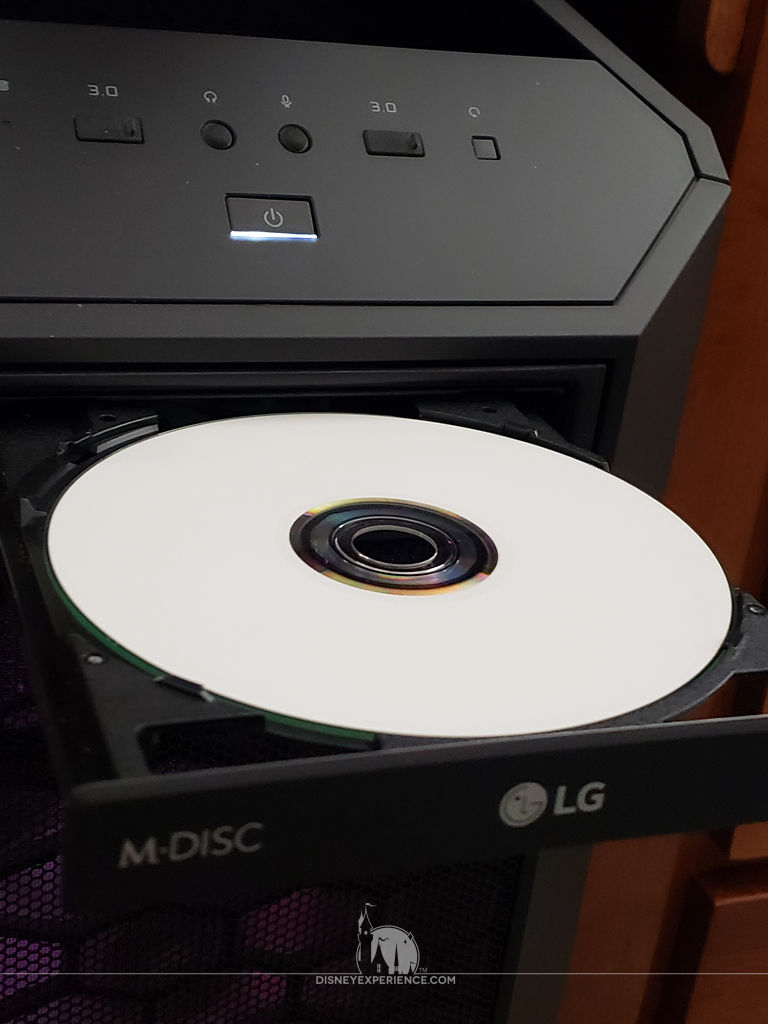
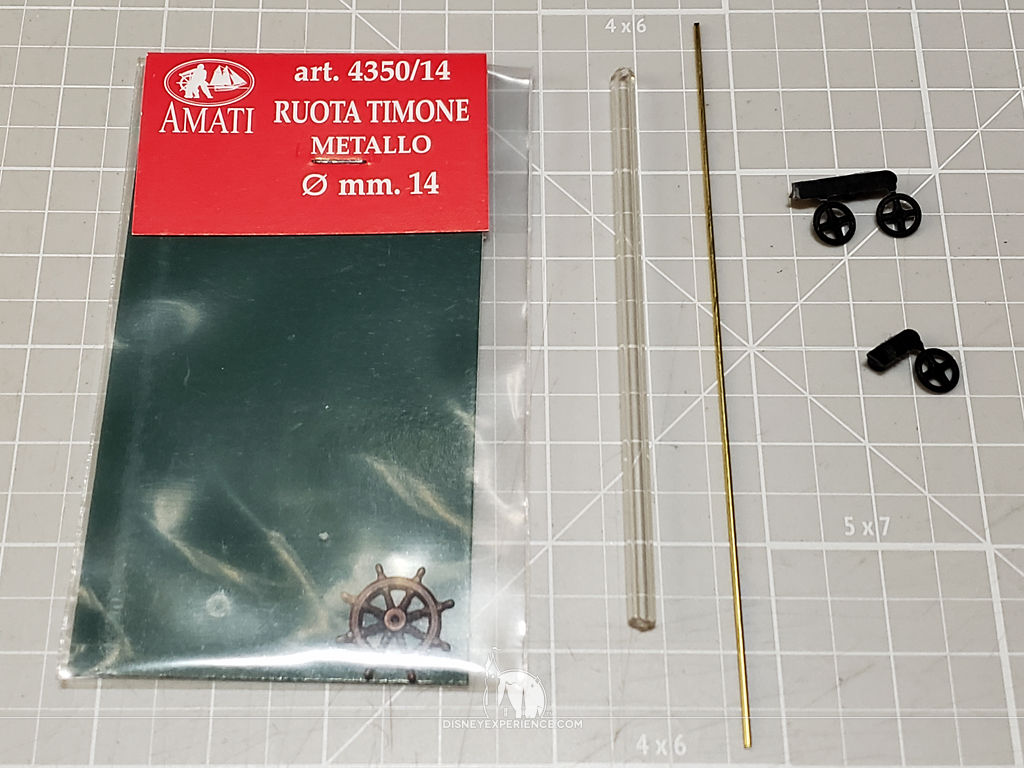
Inside the box, there are a couple of surprises. There is a CD-ROM that contains nothing more than a PDF of the instructions, the same file that can be downloaded from the website.

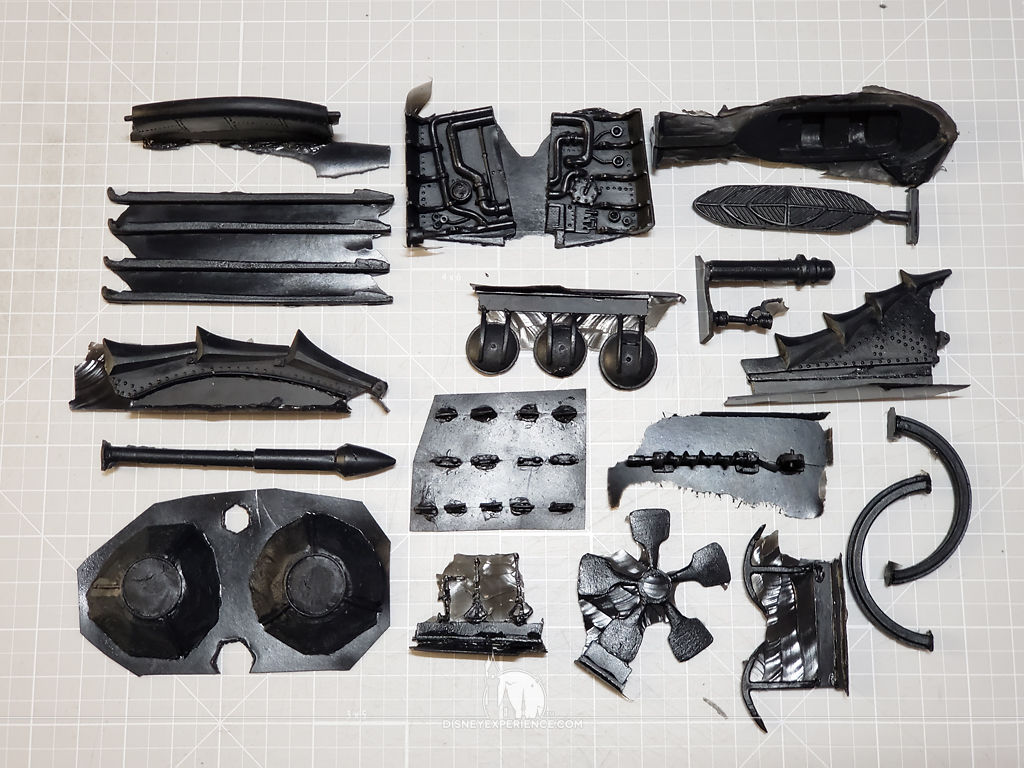
The vacuum-formed view ports are made from nice, thick plastic; I was expecting something way thinner. These are nice and durable.
Another surprise: no googly eyes! Instead, there is another set of vacuum-formed floodlights. They are made from the same thick plastic, which I imagine would make it hard to cut them out. Thankfully, I will be using some cast pieces.
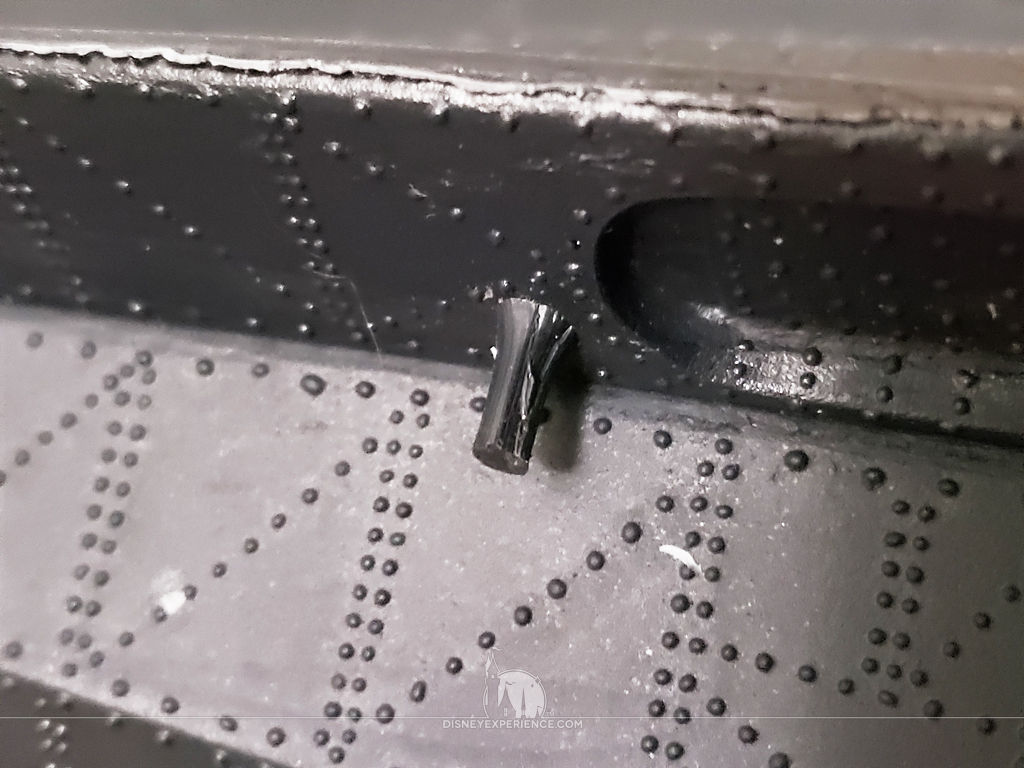
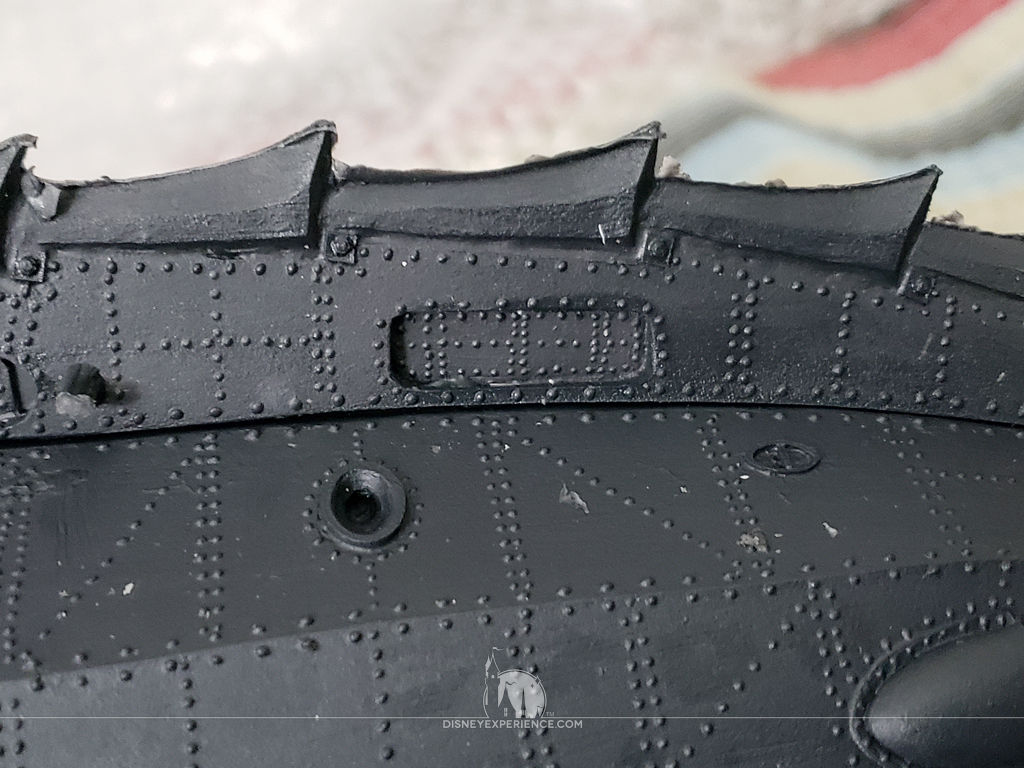
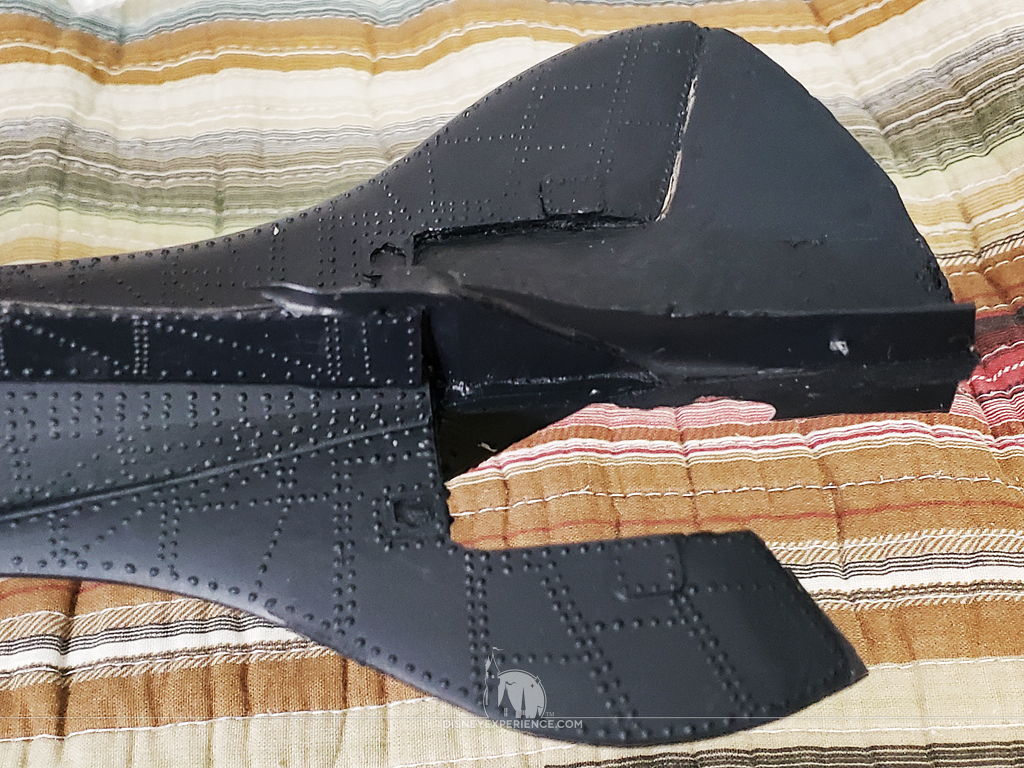
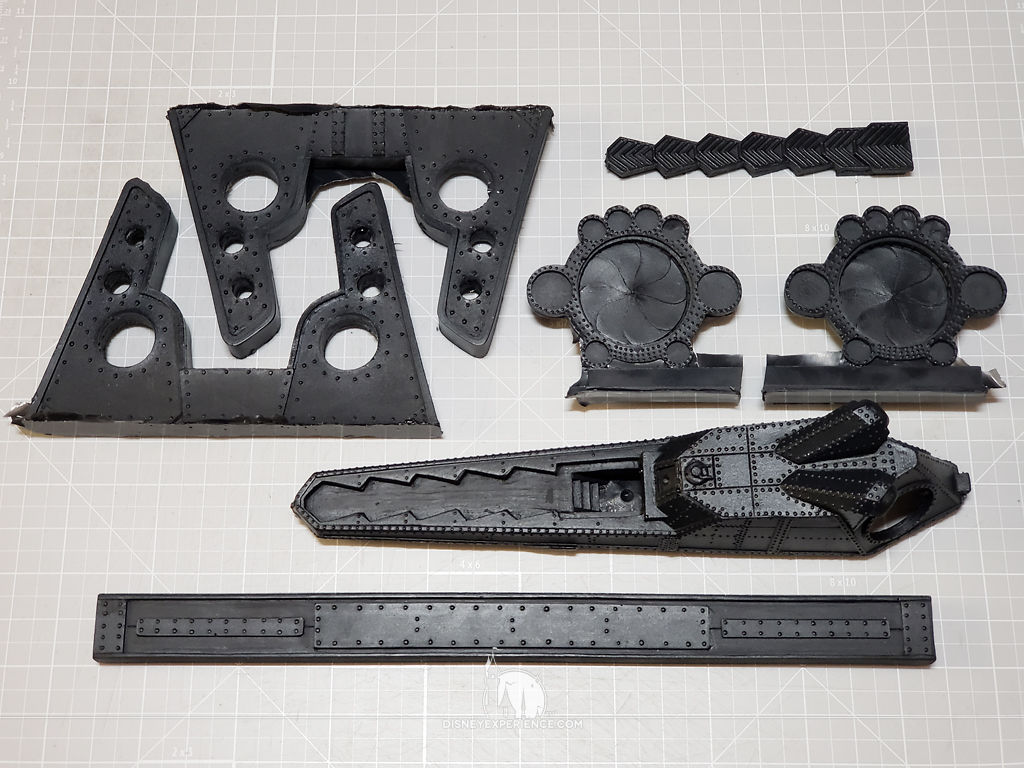
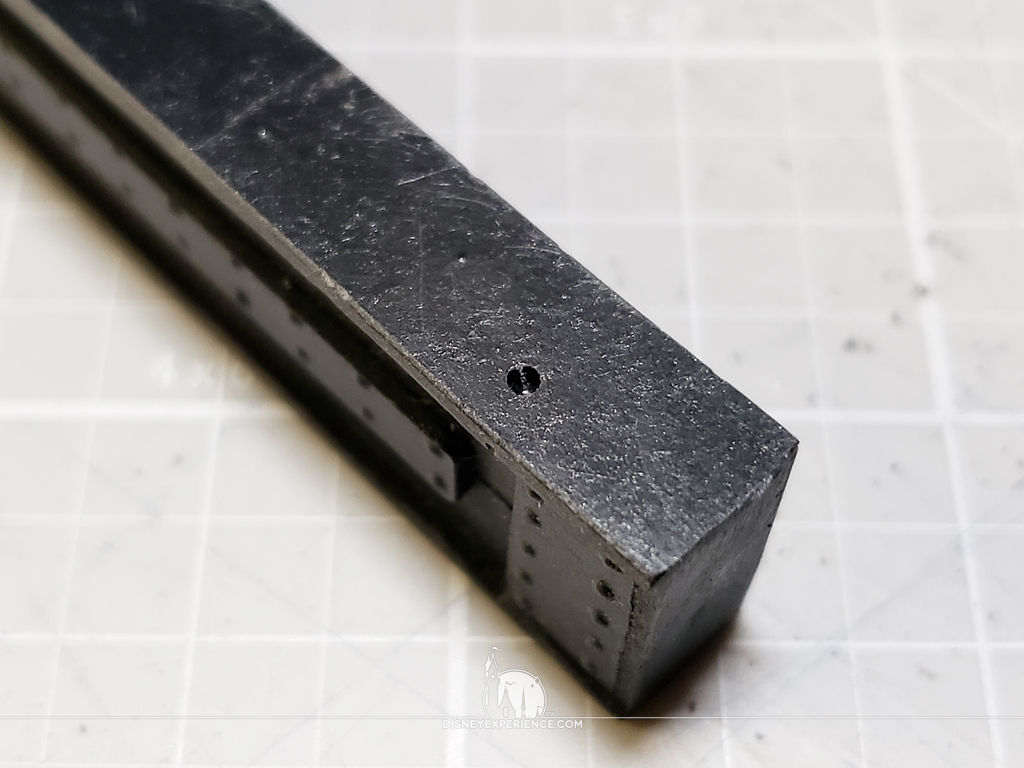
This kit is rough; it’s not polished like the mass-produced model kits that are typically sold in retail stores. There are a lot of excess flashing and sprues that need to be cleaned & trimmed, as well as holes that need to be opened up or filled.
I also need to begin thinking about where the 9-volt battery is going to be placed. I’m thinking of making one of the salon windows removable. But, we’ll see.
Overall, the model is nice, and the details are great. There a ton of tiny imperfections, but they really just add more character to the model. I can’t wait to start assembling this bad boy!
The Display Stand
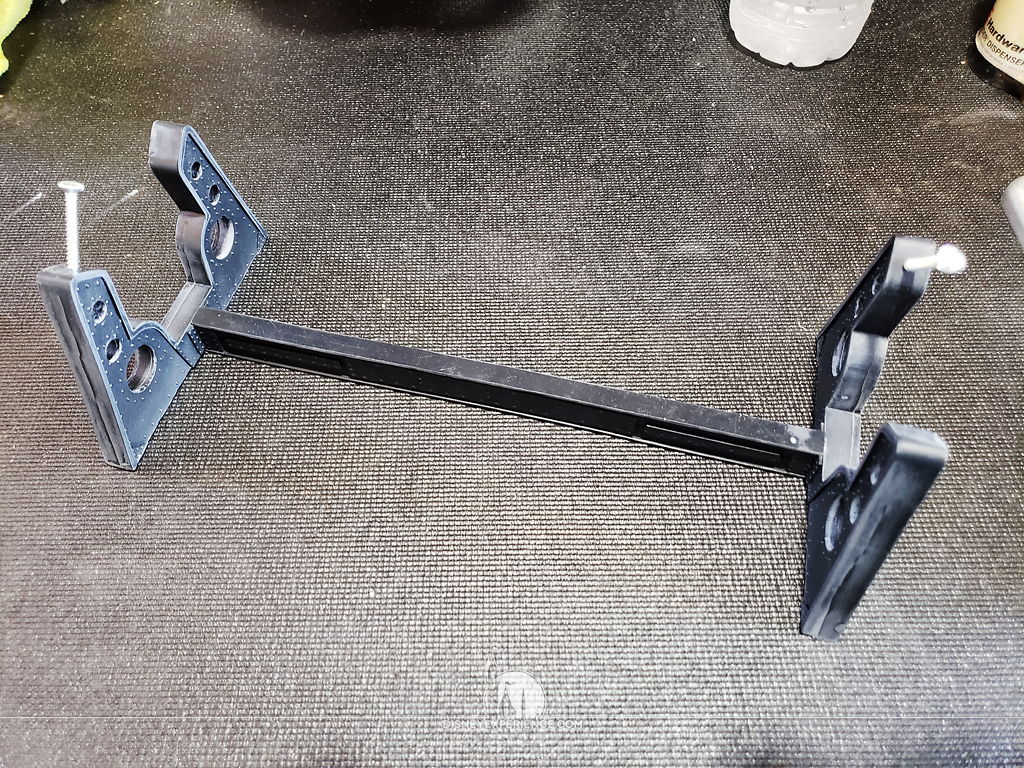
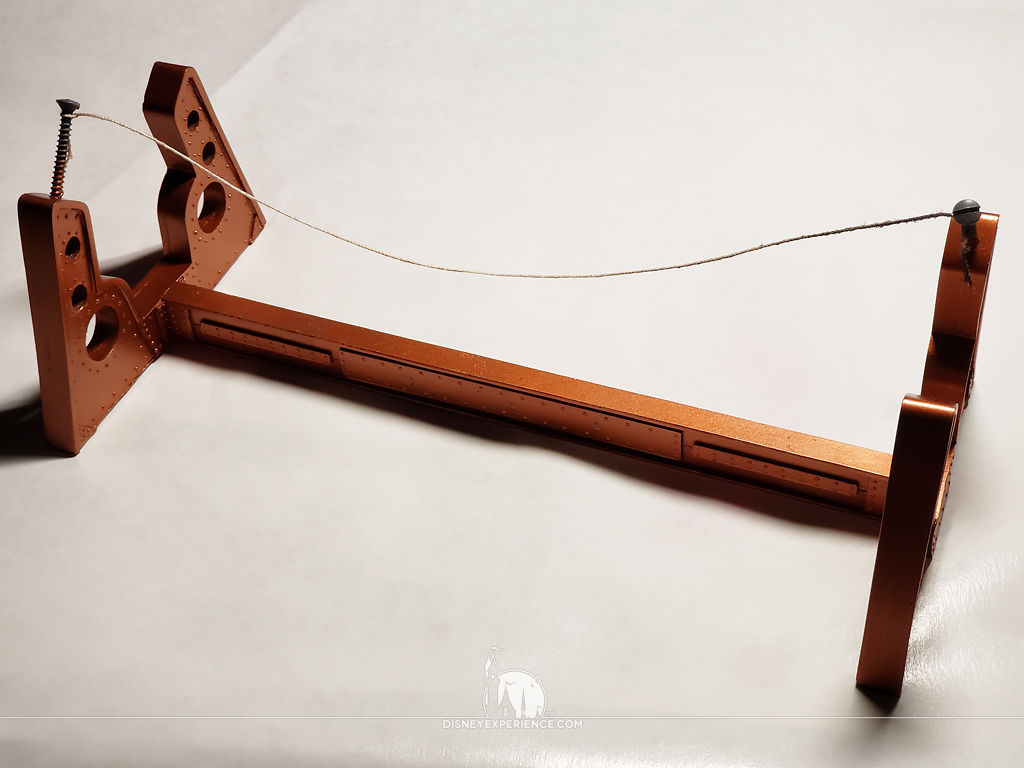
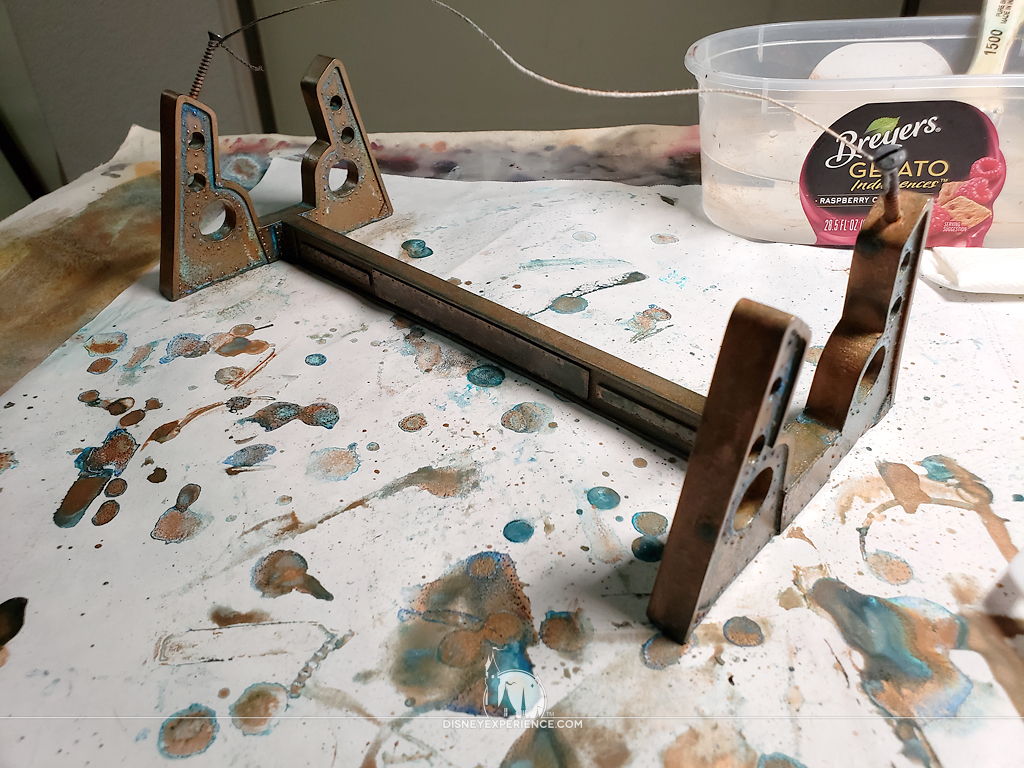
The first thing that I begin working on is the display stand. That will give me something to set the Nautilus on as I work on it (or store it).

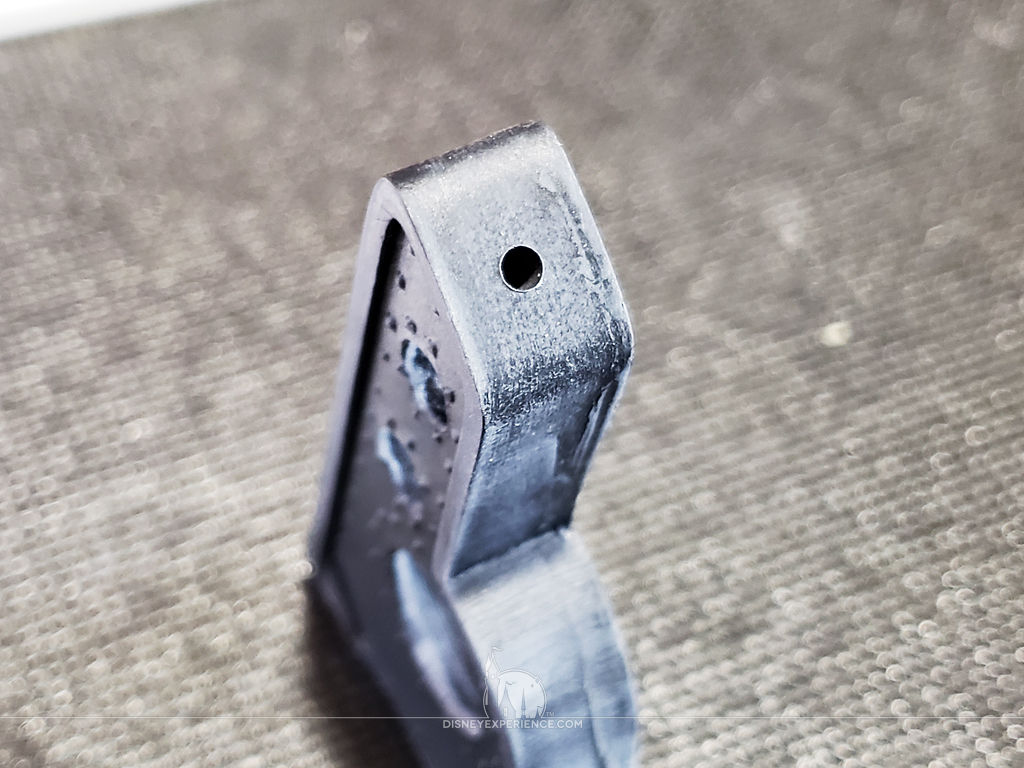
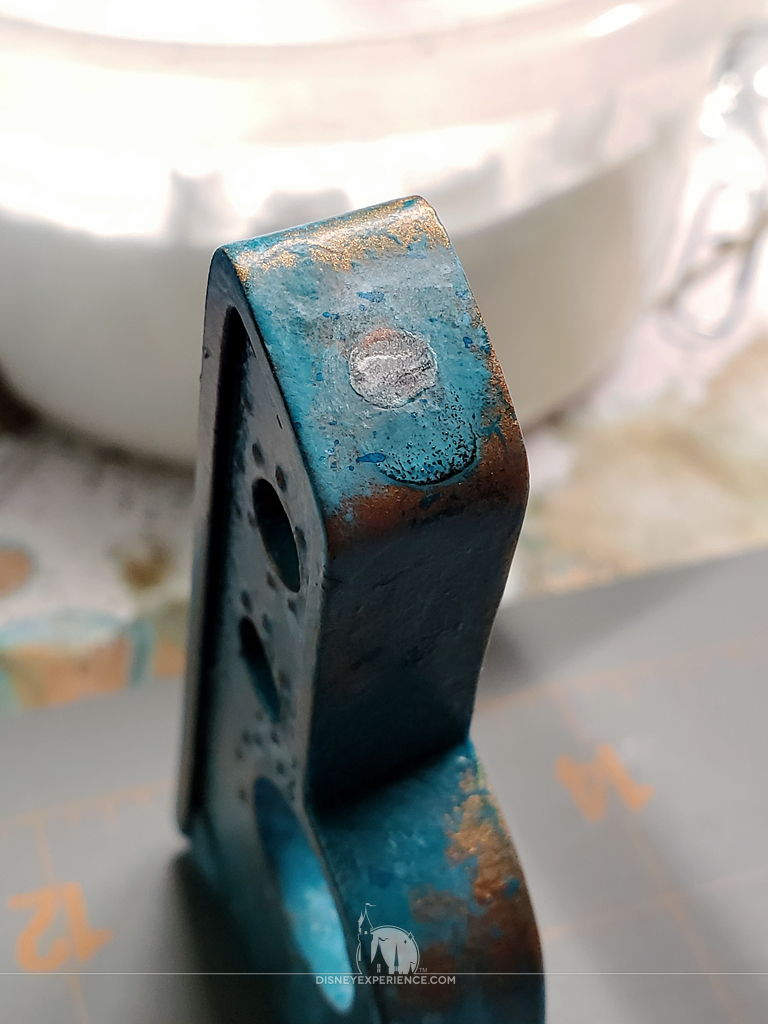
Inspecting the parts, I find a small hole, caused by an air bubble trapped in the mold. Using some CA glue and baking soda, I fill it in and sand it flush. Easy-peasy!
Although regular CA glue is great for filling in gaps, I will be using rubber toughend CA glue for joining parts where needed. Regular CA glue tends to crack over time.
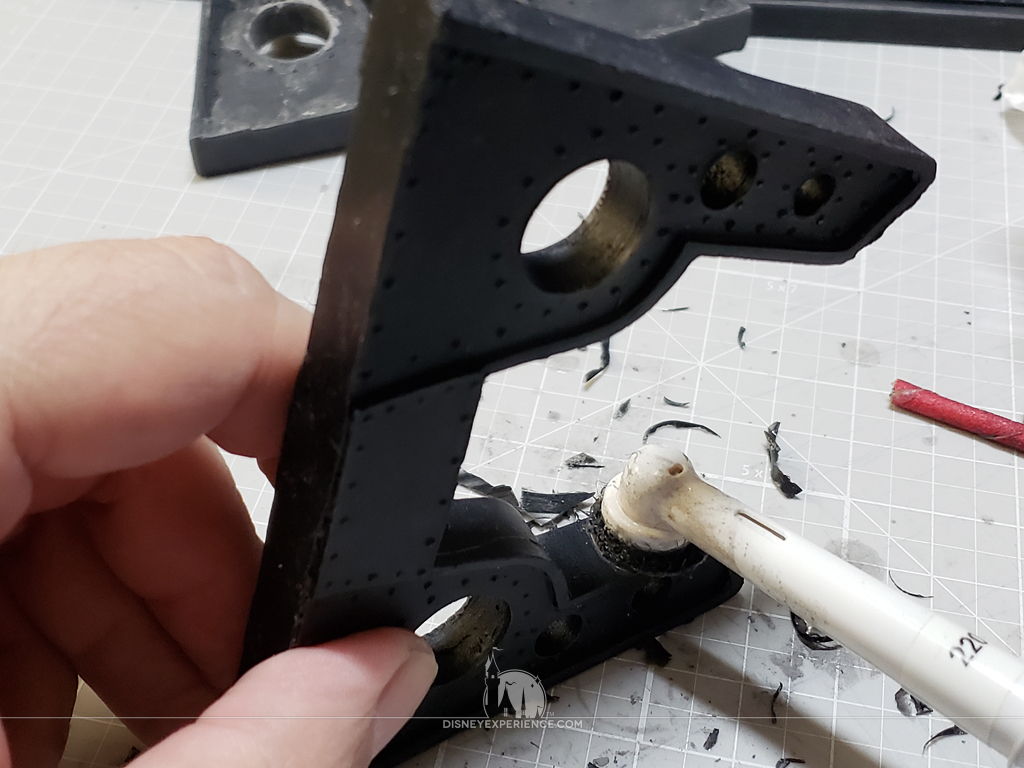
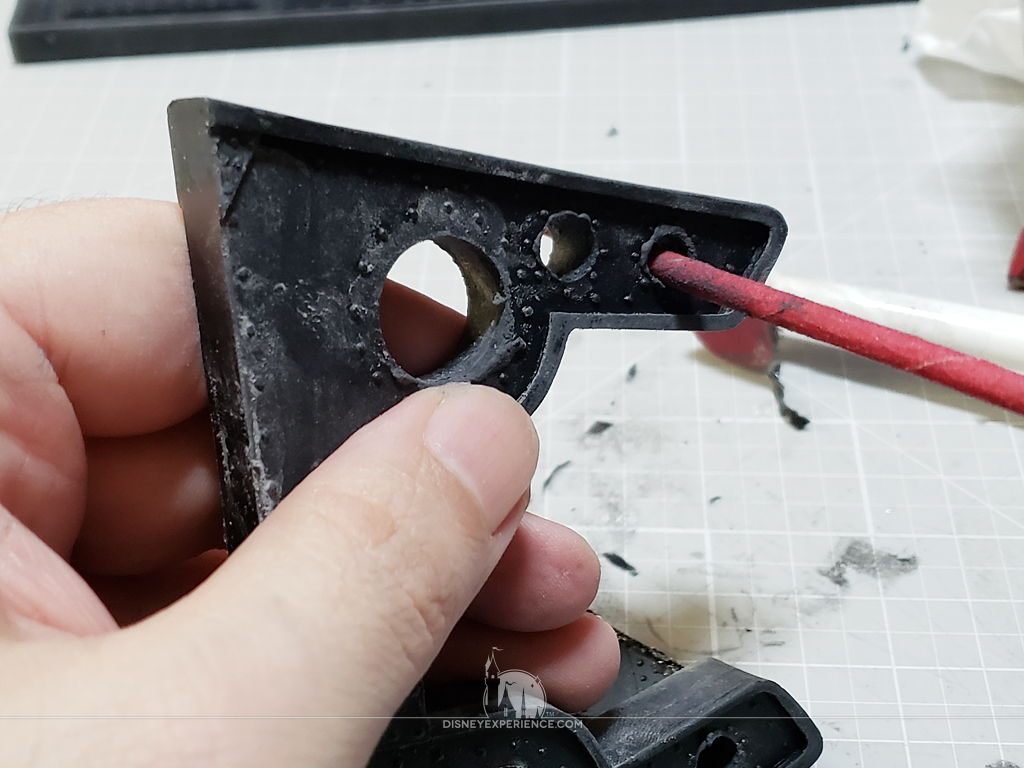
Next, I sand off the abundance of excess flash with my homemade mini power sander. For the interiors of the holes, I use a homemade sanding stick. To reduce dust, I decide to give wet sanding a try. While wet sanding does keep the dust down, it’s pretty messy, it can be hard to see my progress, and it breaks down the sandpaper way faster than dry sanding. And, yes, I used sandpaper design for wet sanding.
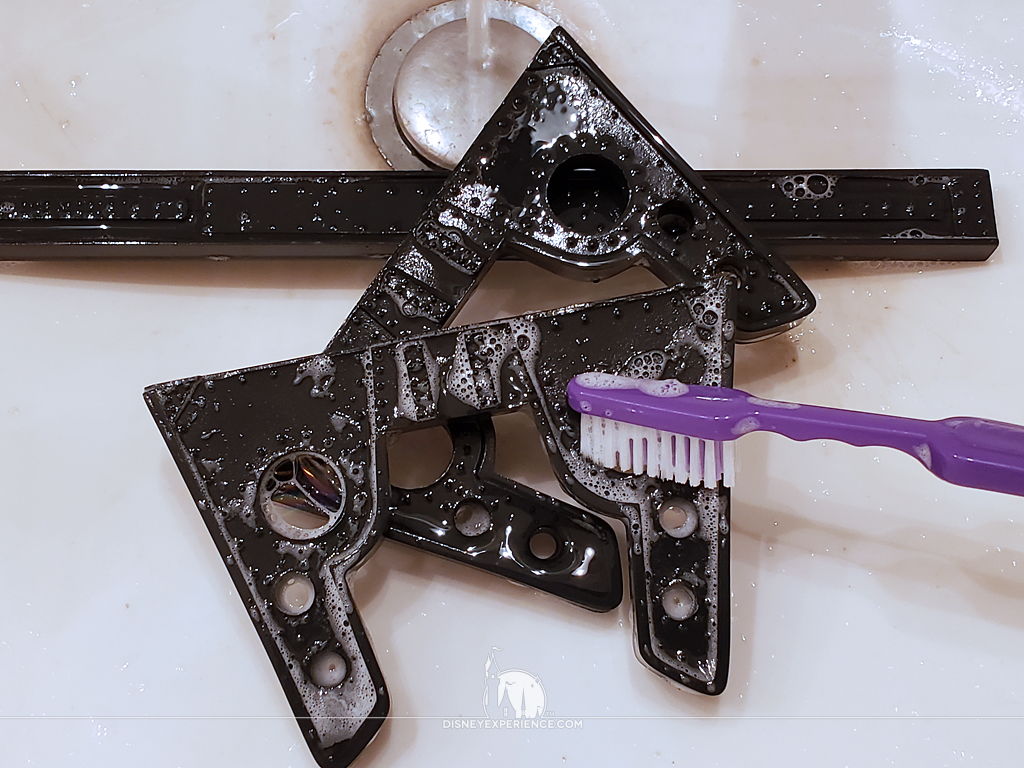
It’s always important to wash the parts of any model with warm water and soap; I never know which manufacturer uses a release agent in their molds—the Nautilus definitely does! This oily residue, although hard or even impossible to feel, can either prevent paint from sticking or make it peel away in the future.
I use Dawn Ultra and a toothbrush to scrub every centimeter of every part. The feeling of a clean part versus a pre-cleaned part is like night and day.
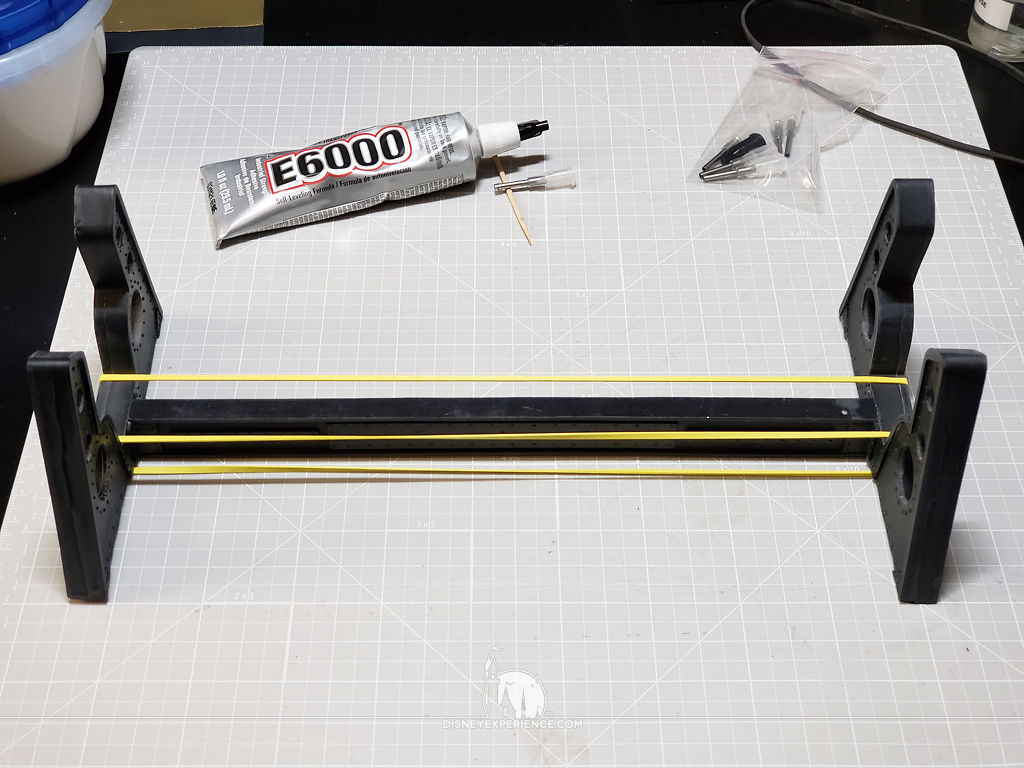
Cleaned, the three simple parts are glued together using E6000. I use a couple of rubber bands to keep the parts clamped together for 24 hours.
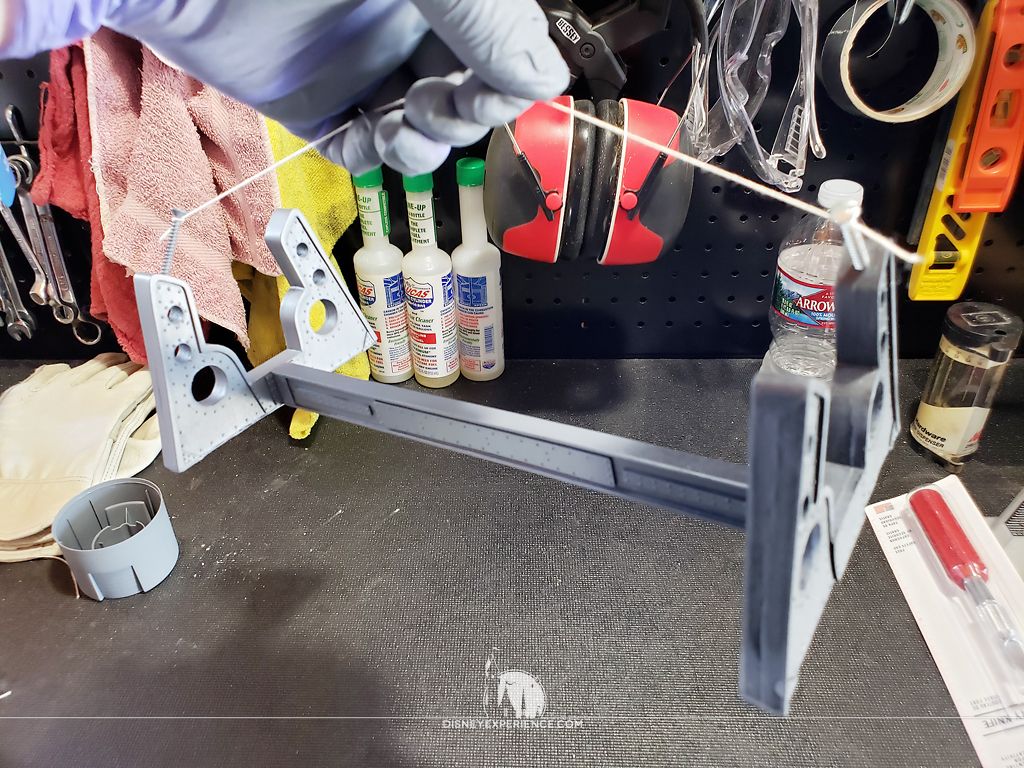
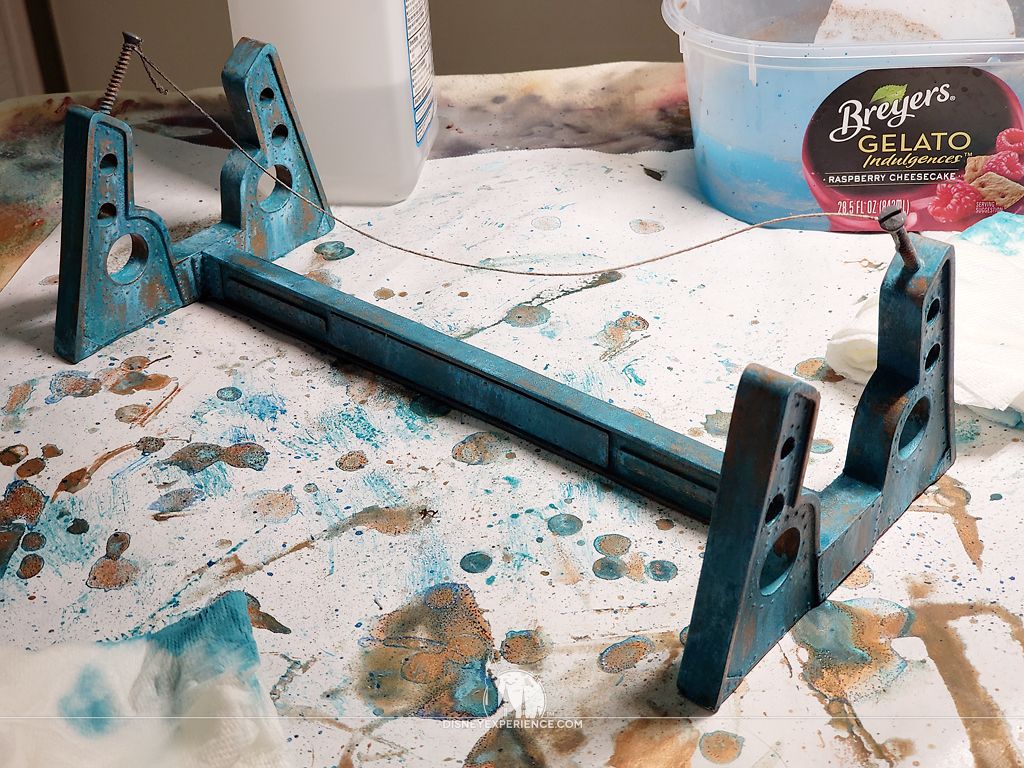
In the top of the stand’s two opposing corners, I drill holes and insert temporary screws—they will be removed and covered with felt later. A length of string tied to the screws form a makeshift handle for hand-free painting and drying. That way, I don’t mar the surface as I paint and varnish.
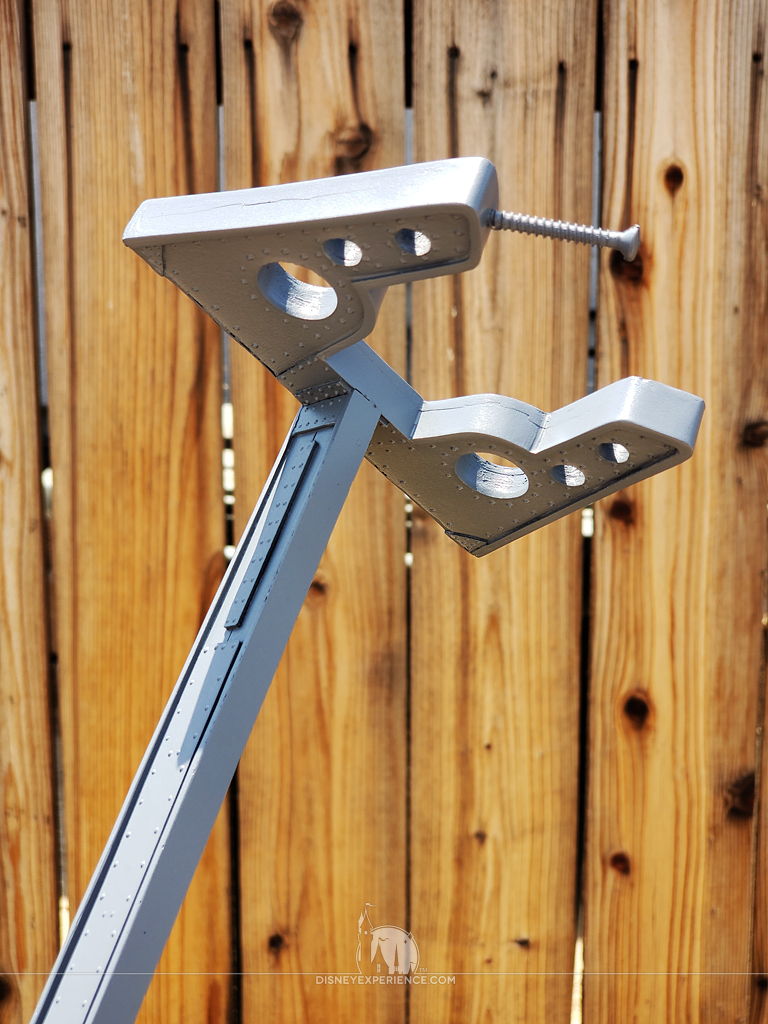
For the stand, I want an oxidized copper look. After priming, I airbrush a copper paint as the base color.
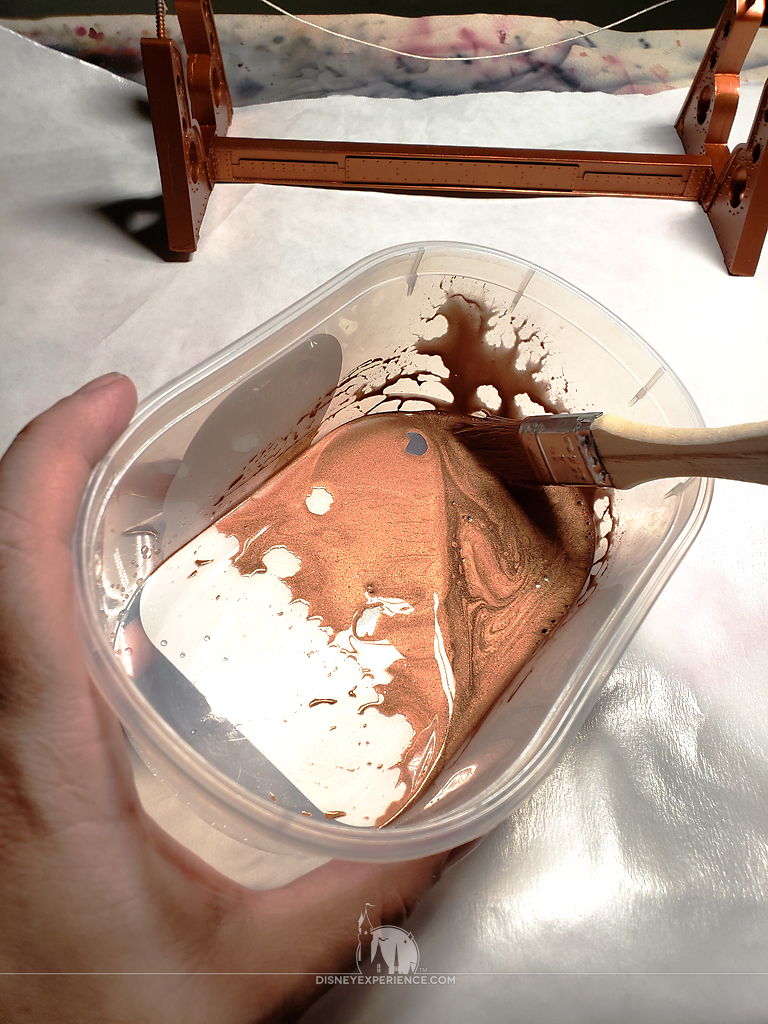
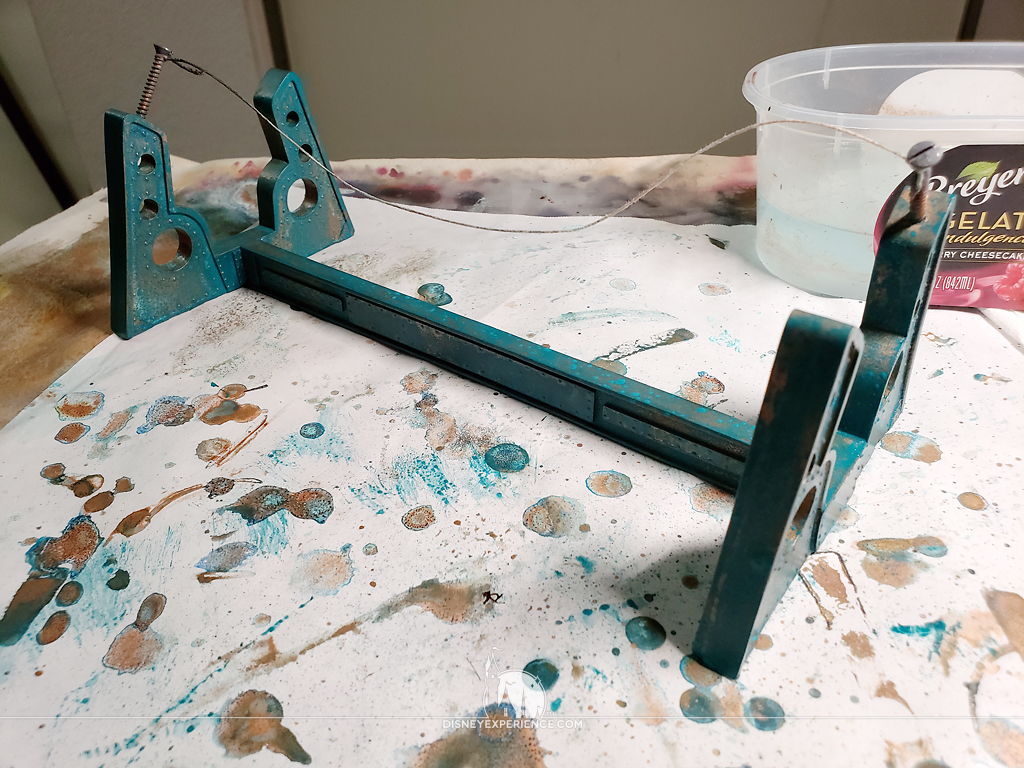
For the oxidizing effect, I use a mix of oxidizing copper paint, vinegar, and salt to create a slurry. I slop it all over the display stand and let it air dry and oxidize.
Sadly, the effect is minimal. When I re-applied, the old oxidation dissolves, disappearing. I try different viscosities, but nothing works as expected. With the California summer heat and the thin slurry thinning even more as it drips off, I don’t think the copper has time to oxidize.
I take a different approach and stand the display on its end, pooling a new batch of slurry into the horizontal surfaces. With much more liquid, it takes about 2 hours for it to dry up, giving it plenty of time to oxidize. I repeat this for each side (8-10 hours!), and there are, indeed, some pretty colors . . . just not very much. By this time, I am frustrated, and I decide to simply paint a faux copper patina by hand.
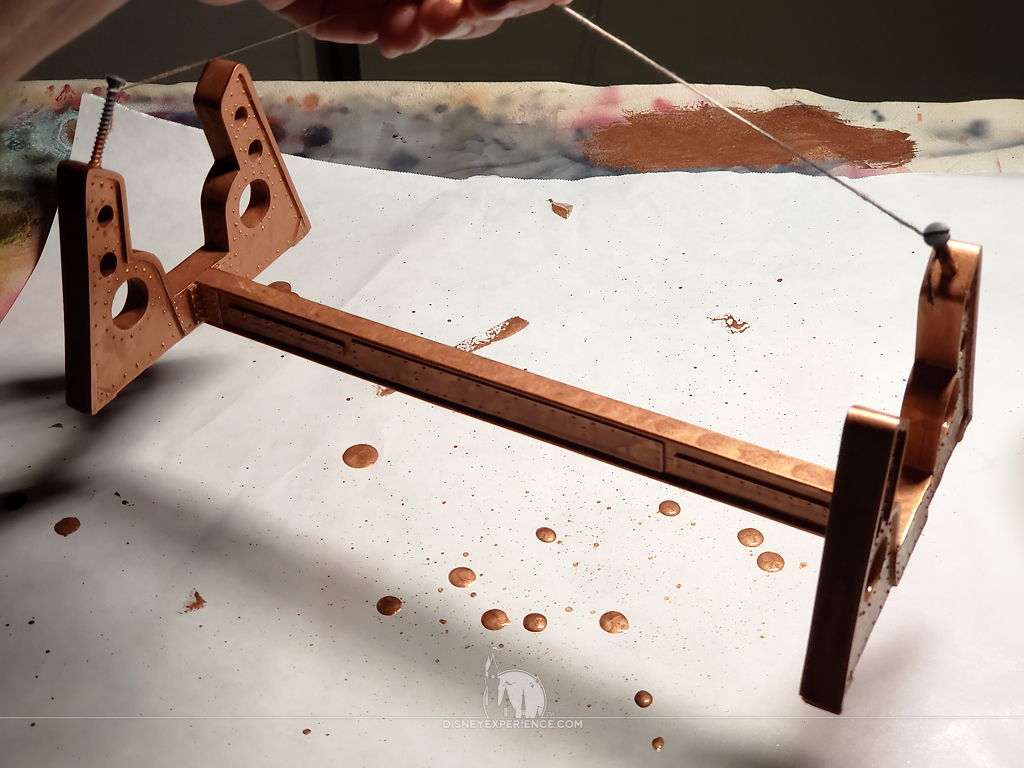
I spray a layer of matte varnish to protect the copper paint for what comes next.
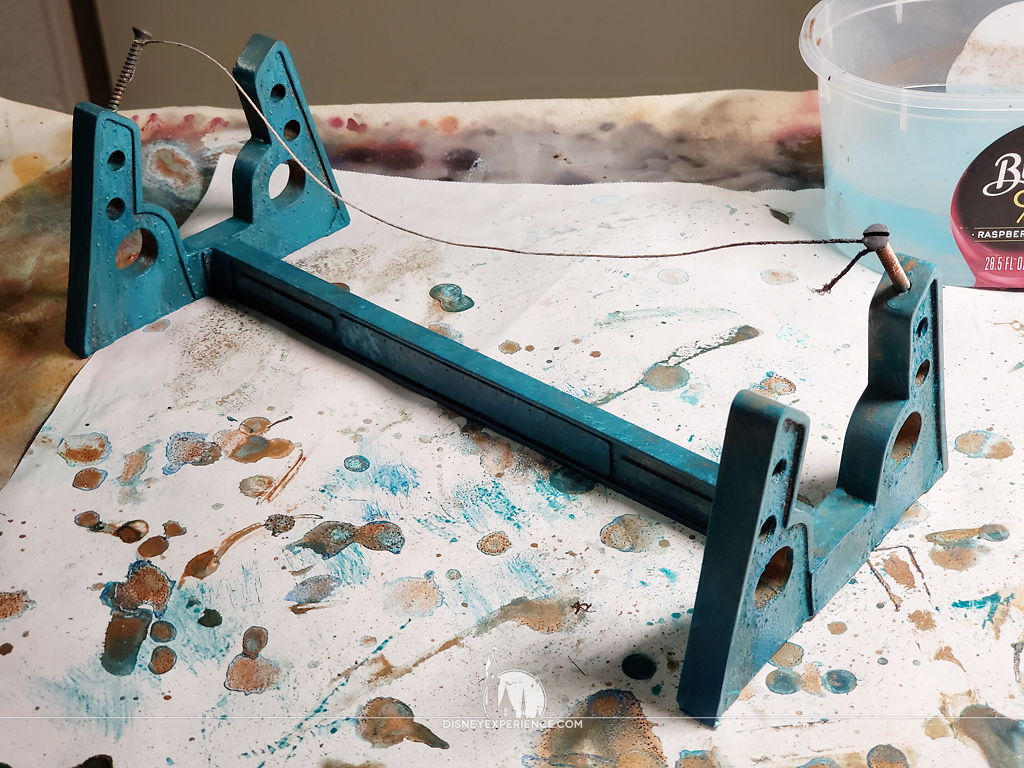
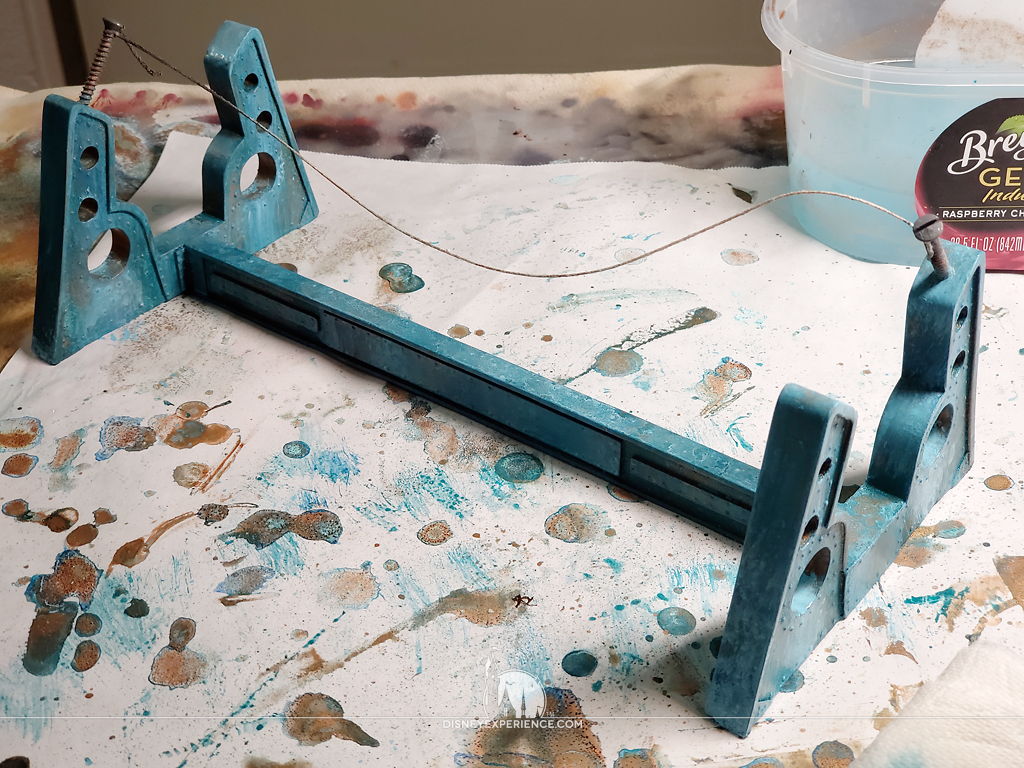
I apply various colors of aqua and turquoise in mottled & streaked patterns. Lastly, I use a paper towel soaked in 70% isopropyl alcohol to wipe away some of the faux oxidation and reveal the copper underneath.
To seal and protect everything, I apply two coats of spray gloss varnish and two coats of spray matte varnish. The gloss layers dries harder, providing protection against nicks, scrapes, and scratches. The matte layers are purely aesthetic.
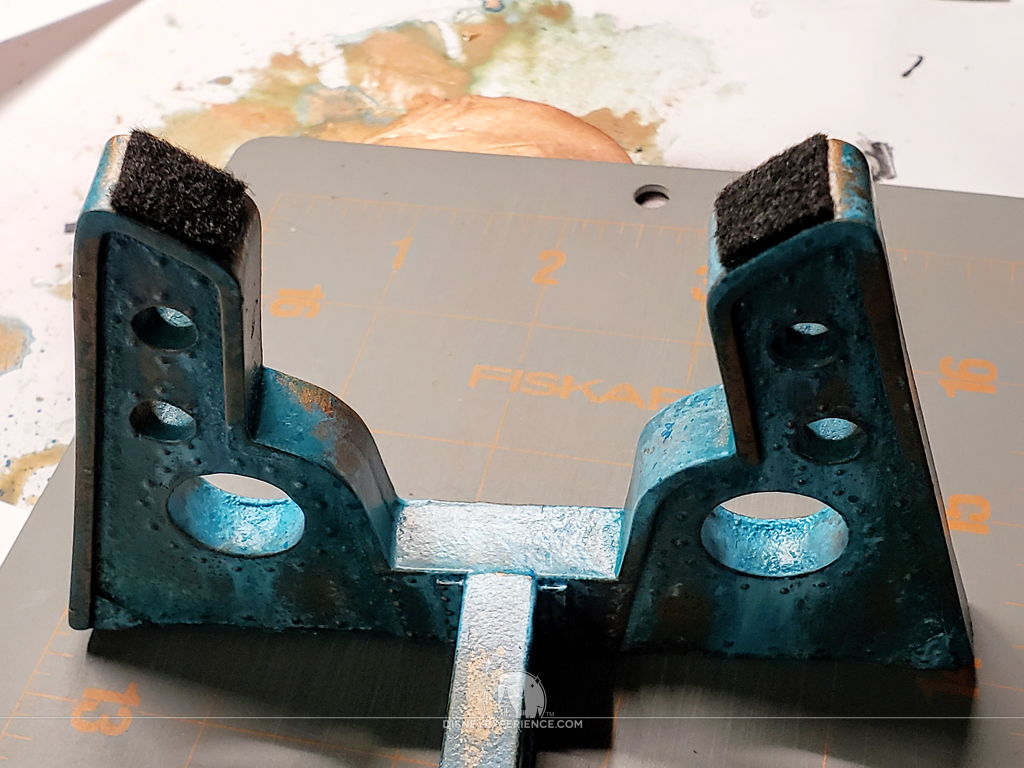
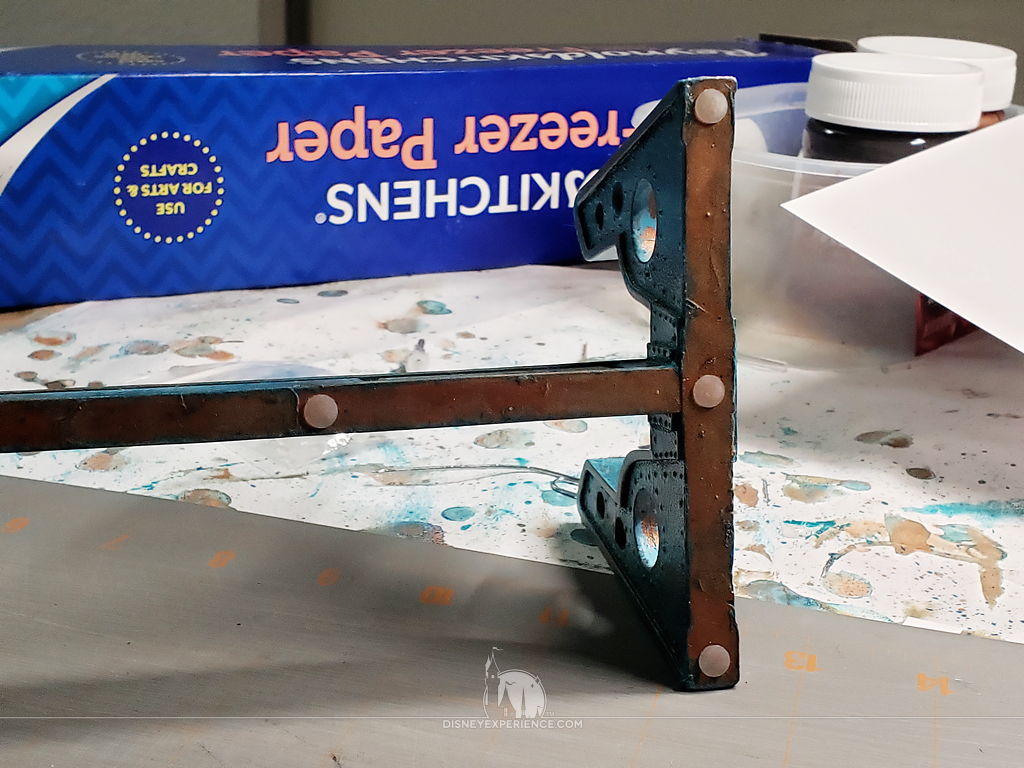
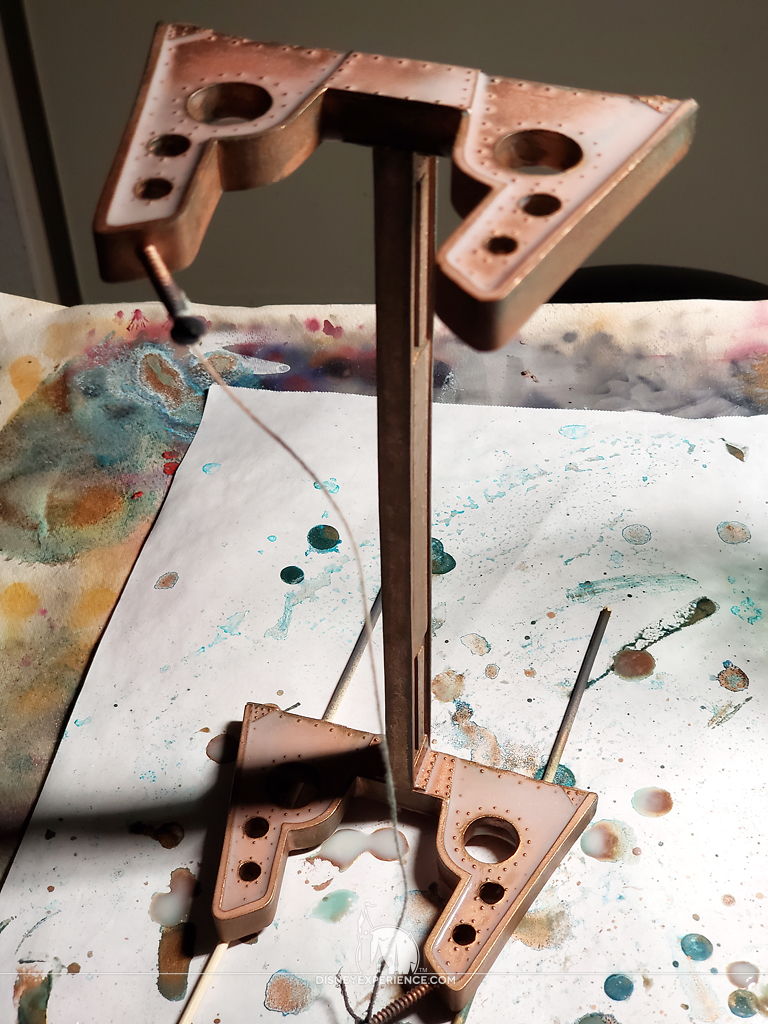
The temporary screws are now removed, and the holes are filled with CA glue and baking soda. Rectangular felt pads are glued to the tips of the display stand with e6000 to protect the Nautilus from scratches. To protect the surface areas of shelves, tables, et al, adhesive rubber pads are added to the underside.
As I built the stand, I thought about a name plaque. I ultimately decided against it; does the world’s most iconic submarine really need to be labeled? Then, I found a compromise.
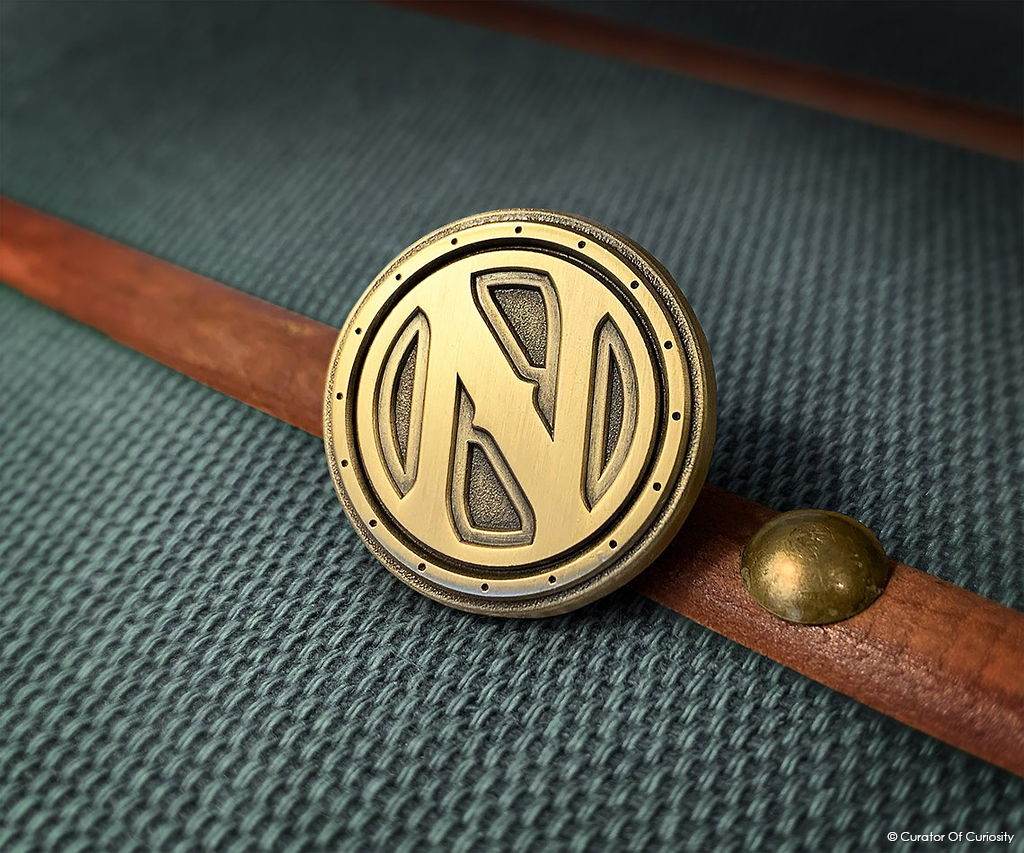
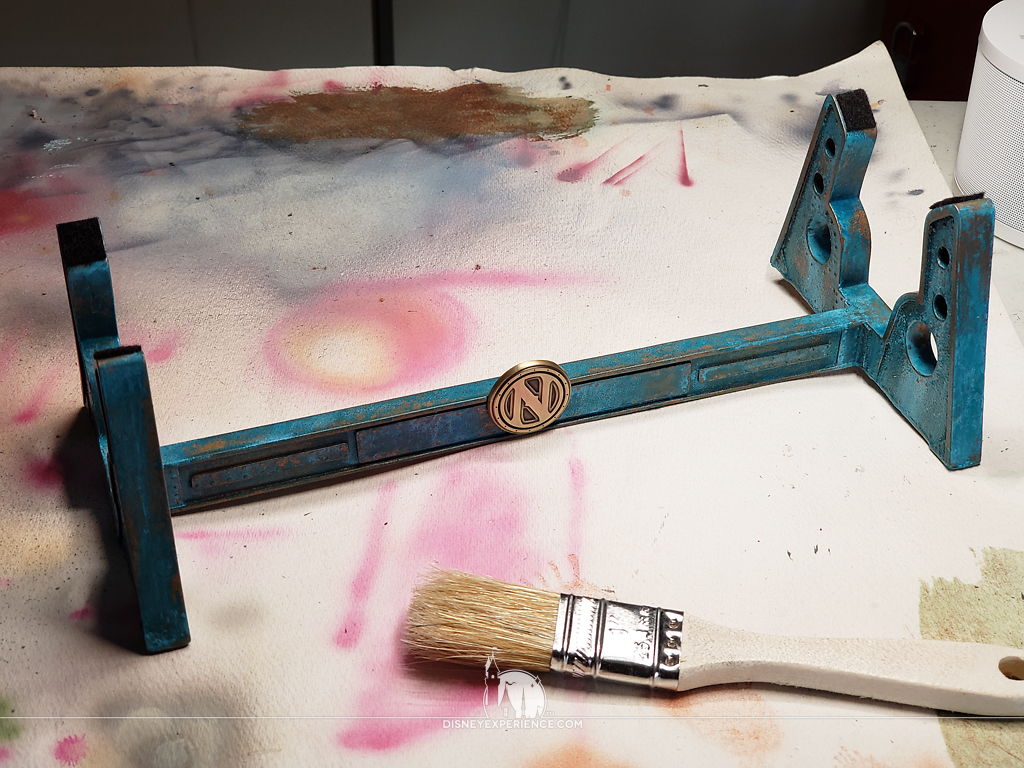
I found this Nautilus/Captain Nemo monogram lapel pin online, and it is an excellent addition to the center beam. I was originally going to give it an antiqued copper finish, but it like the contrast.
With the display base completed, I can finally move on to the Nautilus.
Prev Journal Entry | Next Journal Entry
Both the post author and this website have not received any compensation for writing this post. Both the post author and this website have no material connection to the third-party brands, products, or services that have been mentioned. Some of the links in the post above are “affiliate links.” This means that if you purchase the item, we will receive a commission. As an Amazon associate, we earn from qualifying products. This is being disclosed in accordance with the Federal Trade Commission’s 16 CFR, Part 255: “Guides Concerning the Use of Endorsements and Testimonials in Advertising.”
Do you have a thought about this post? Why not leave a comment . . .