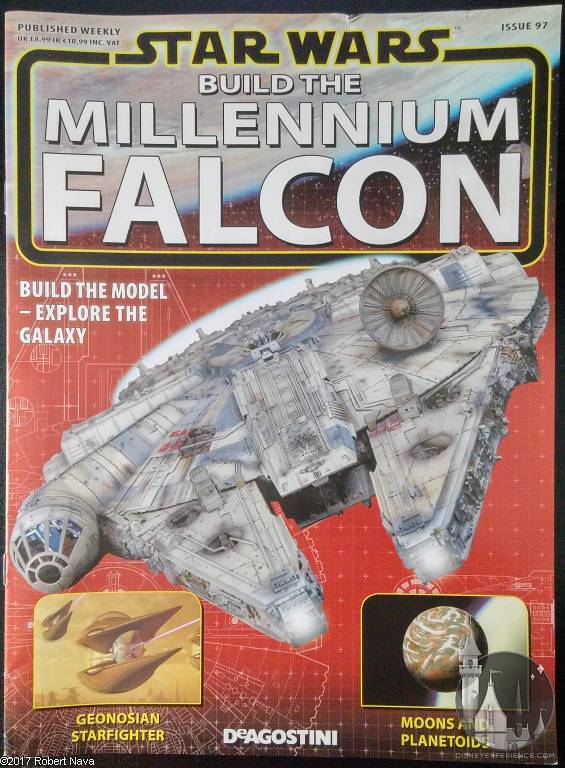
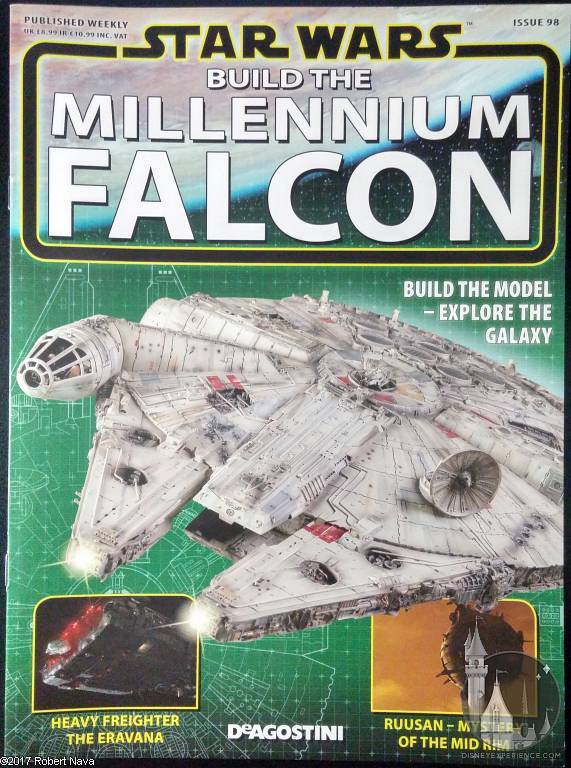
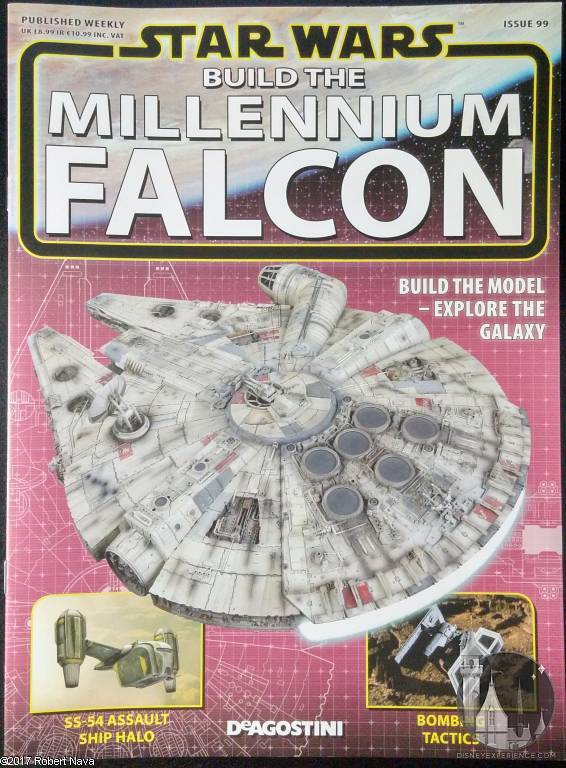
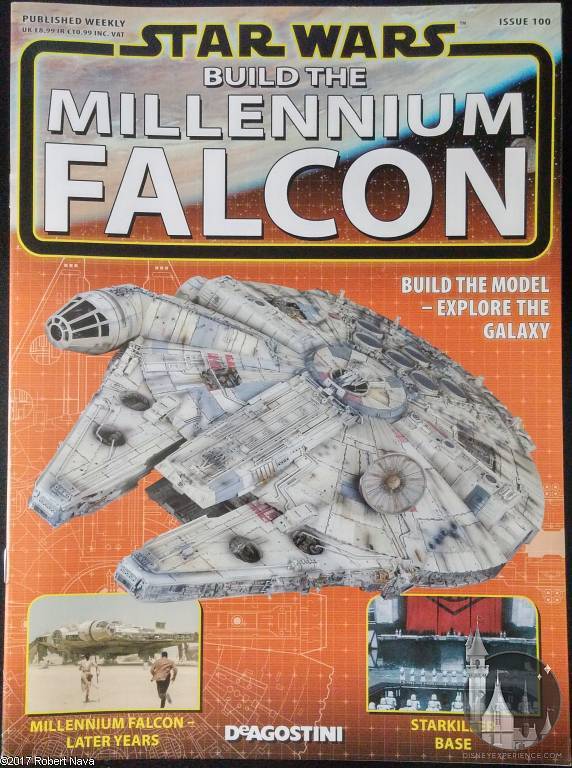
Millennium Falcon Build Journal No. 27: Issues 97-100
![]() Trader Sam | July 9, 2017
Trader Sam | July 9, 2017
The Contents
This is it; this is the last box of the Build the Millennium Falcon subscription . . . kind of. The builders at the ModelSpace forum have brought to light several greeblies that had been left off of the model. Reviewing the case, DeAgostini agreed, and they began designing and manufacturing the extra parts to be distributed to all subscription holders for free. That means there will be yet another box (unpaid) coming sometime in the Fall.
With DeAgostini, I’m constantly strung along, but they do eventually deliver.
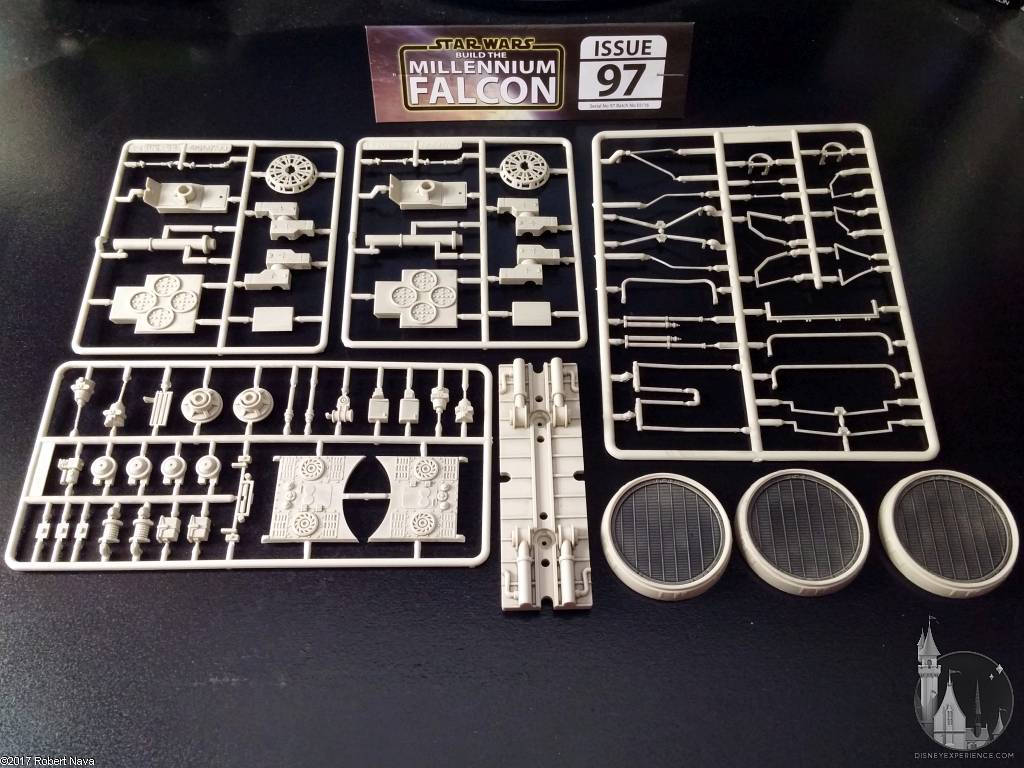

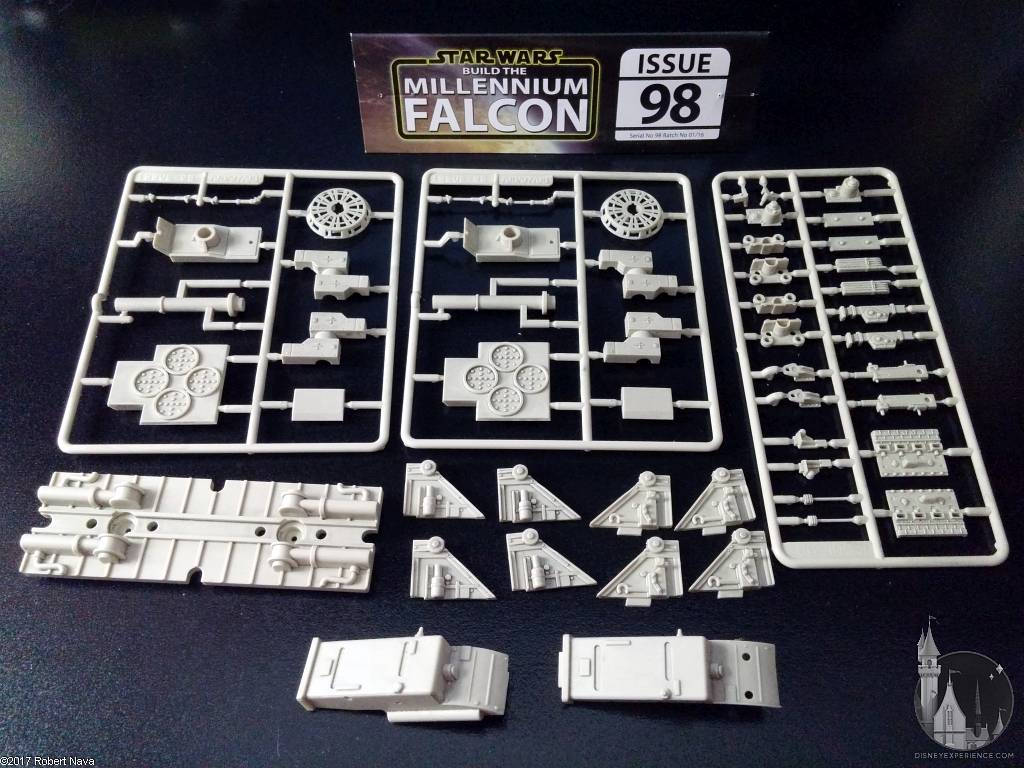


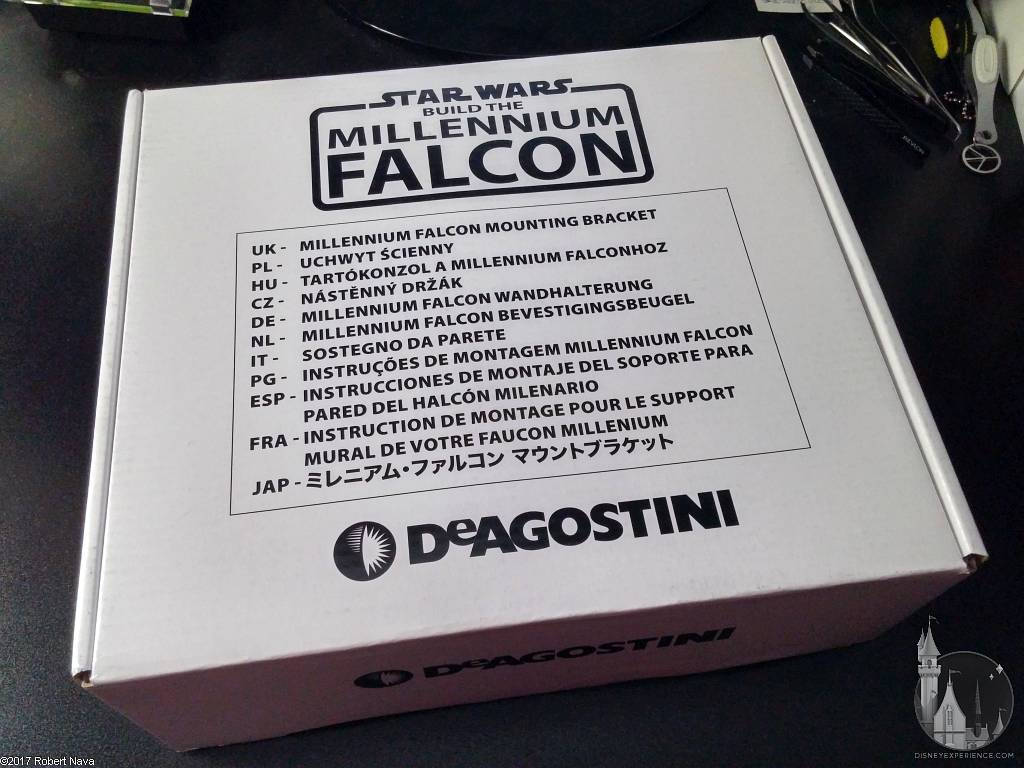
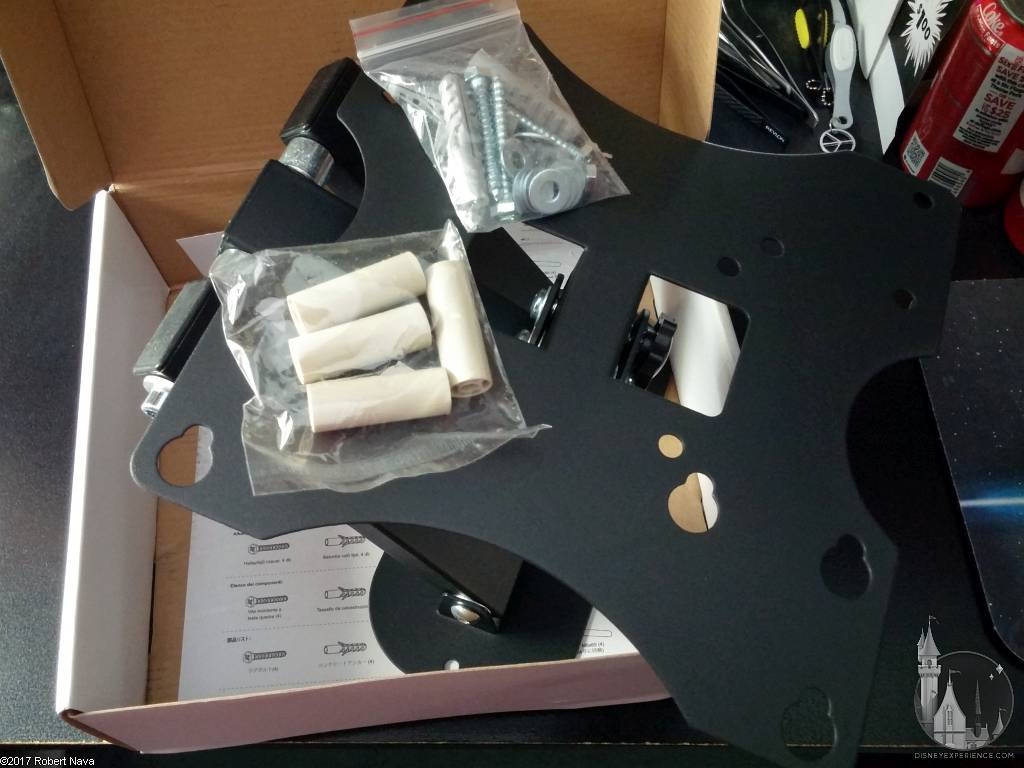
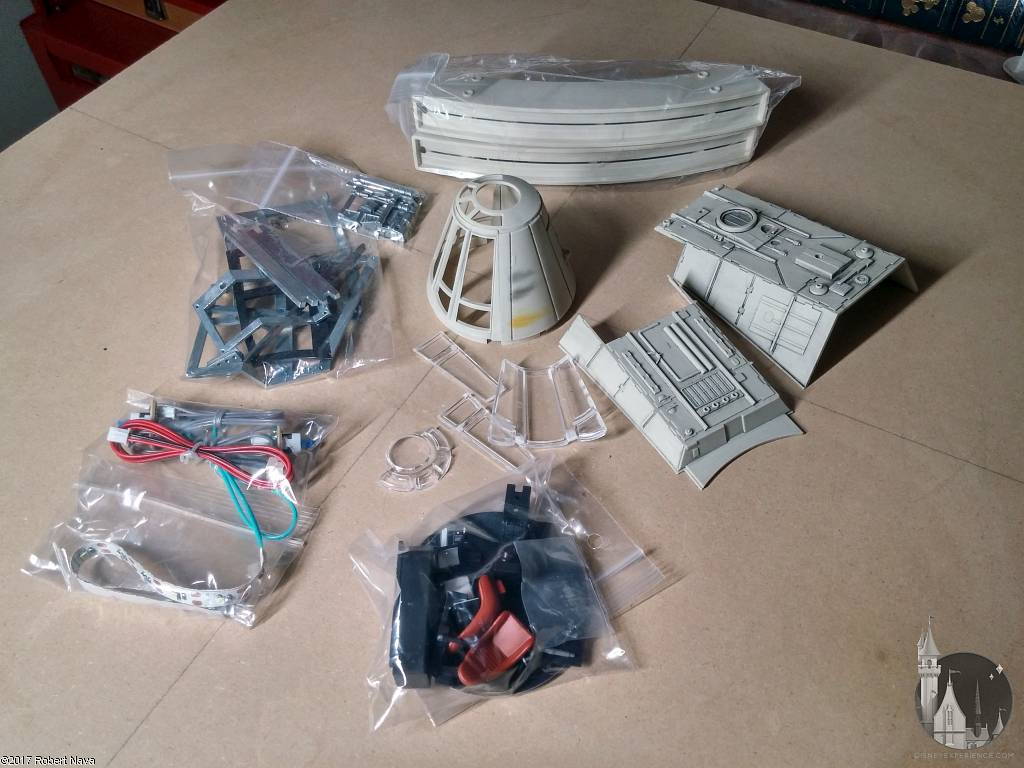
Inside the “final” box are the standard magazines, model parts, two fold-out posters, and the wall mount.
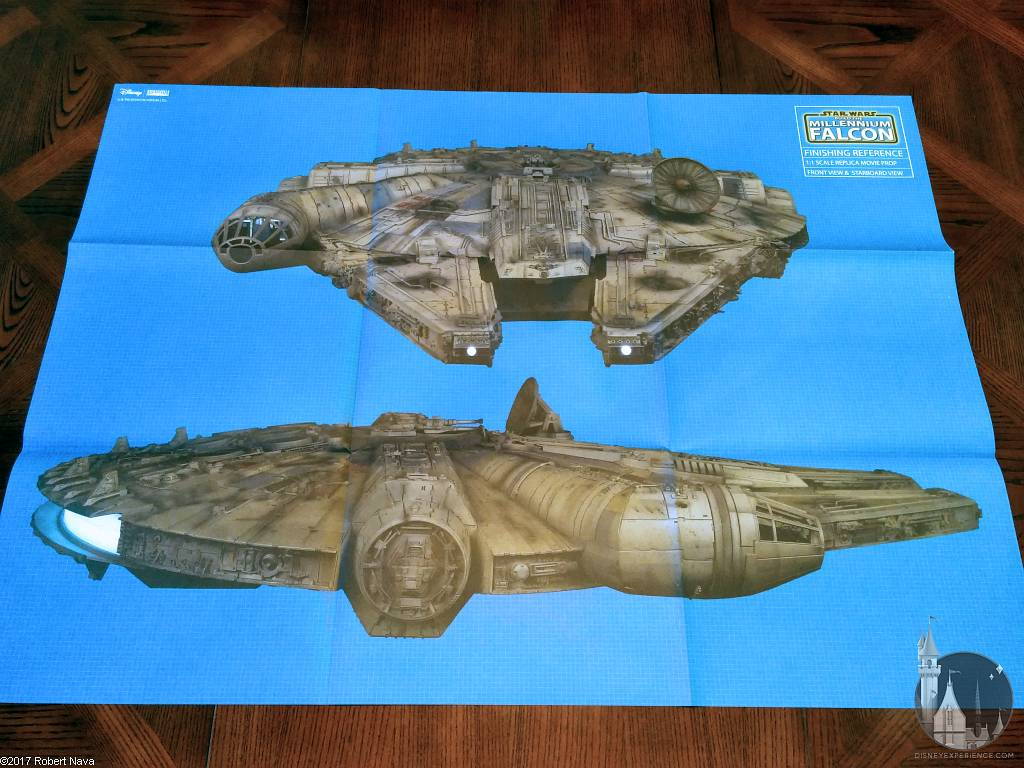
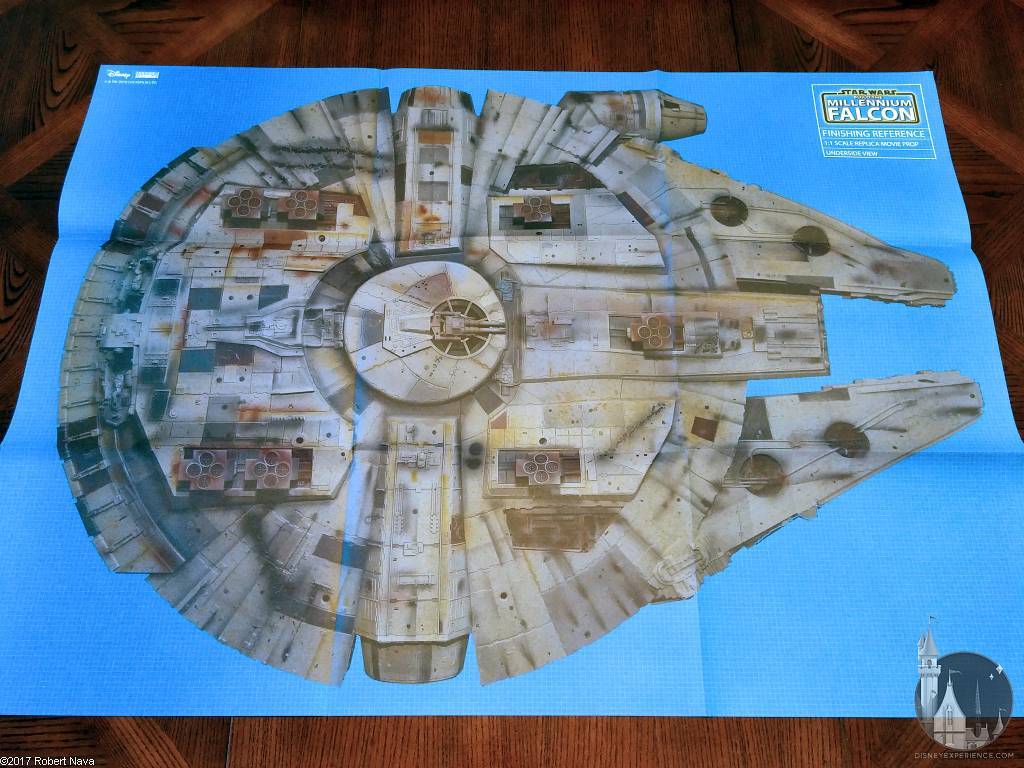
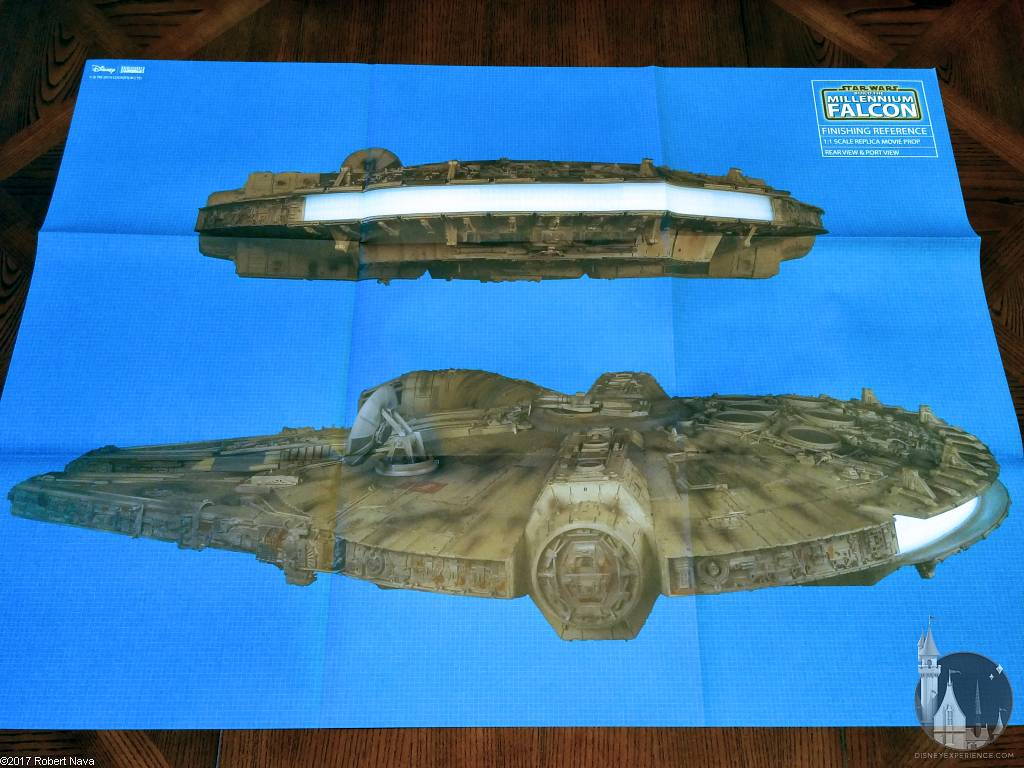

The two fold-out posters are double-sided, showing various views of the completed and fully painted model. Unfortunately, the images are dark, and the colors are off (the orange rust stains look red in at least one image). They’re not really all that handy.
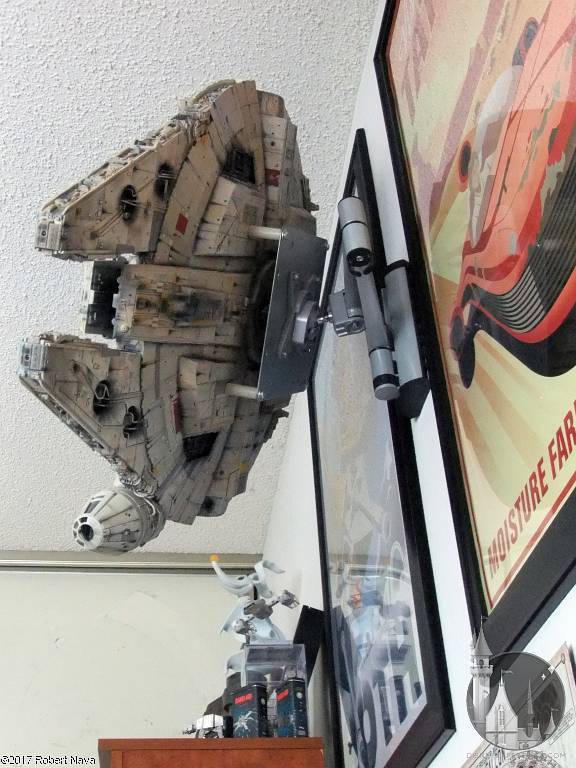
The wall mount comes inside a white box, complete with multi-language instructions, and all of the extra hardware. Overall, the wall mount is sturdy and firm, but I’m still going to use my Monoprice wall mount.
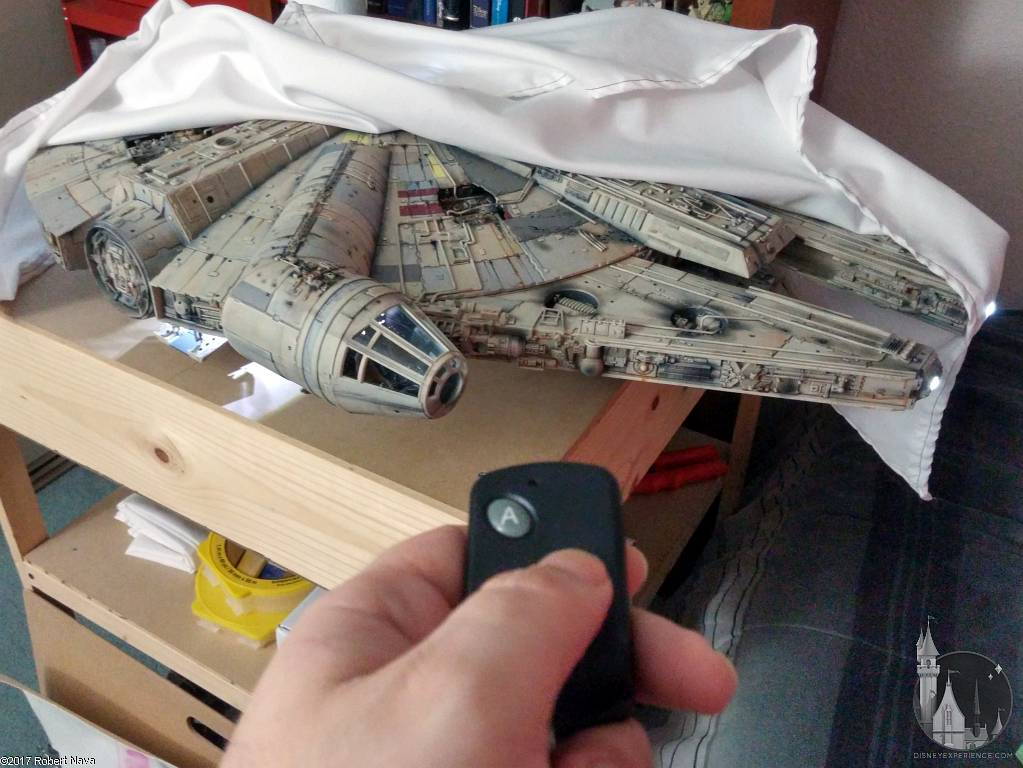
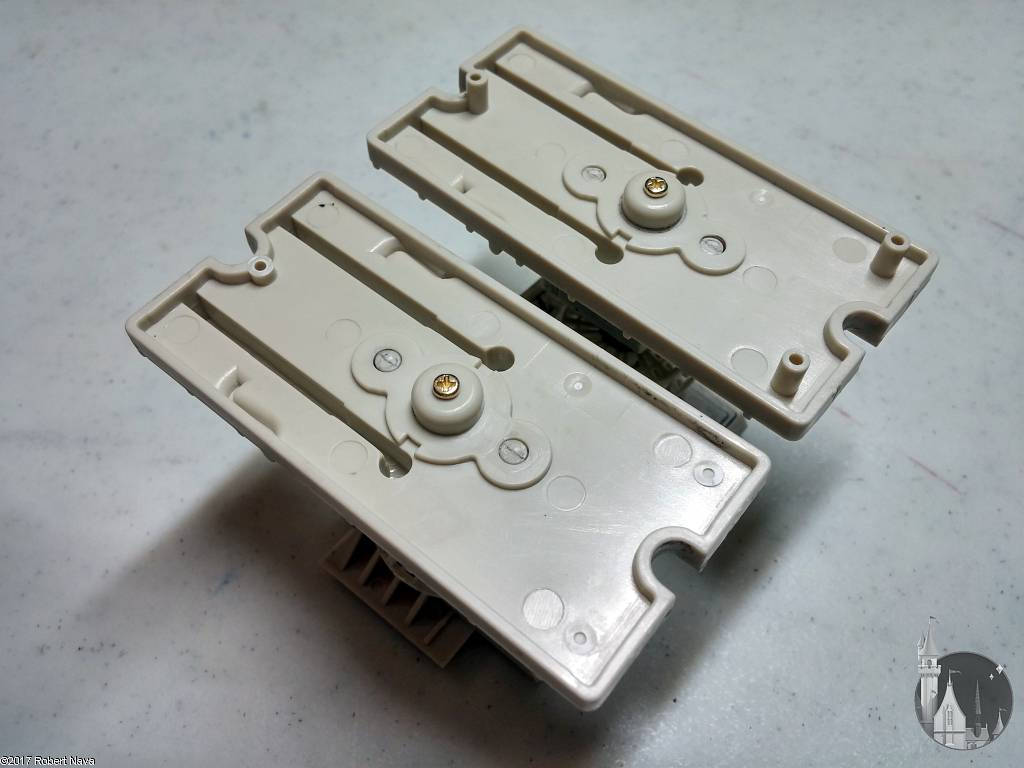
Testing the Remote Control
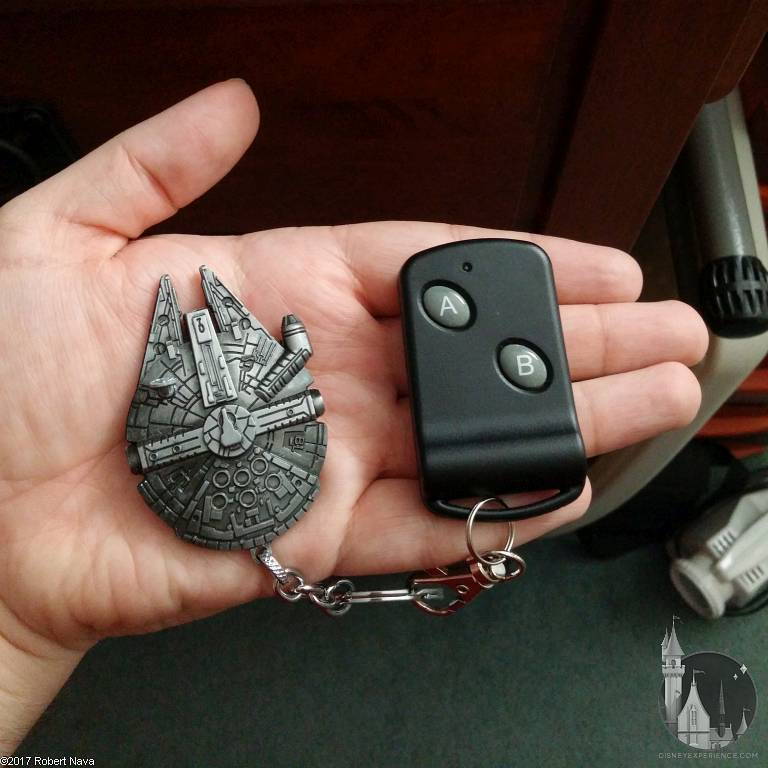
Before doing anything, I put a size A23 battery into the remote control to test it out. I’ve been looking forward to this day for quite some time. I even bought a Millennium Falcon keychain to attach to the remote for some added bling.
A note when buying the A23 batteries: watch out for the Use By date. These batteries have a limited lifespan, and are typically sold in packs of two. If bought online, one may never know what their Use By date is. Instead, I recommend buying them in-store wherever batteries are sold. They’re easy to find, and only cost $3-4.
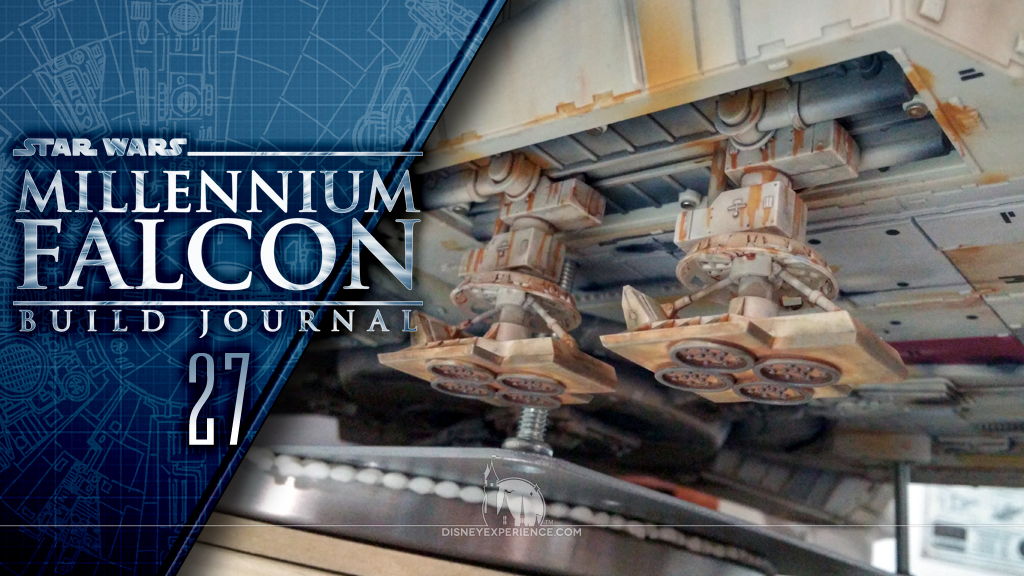
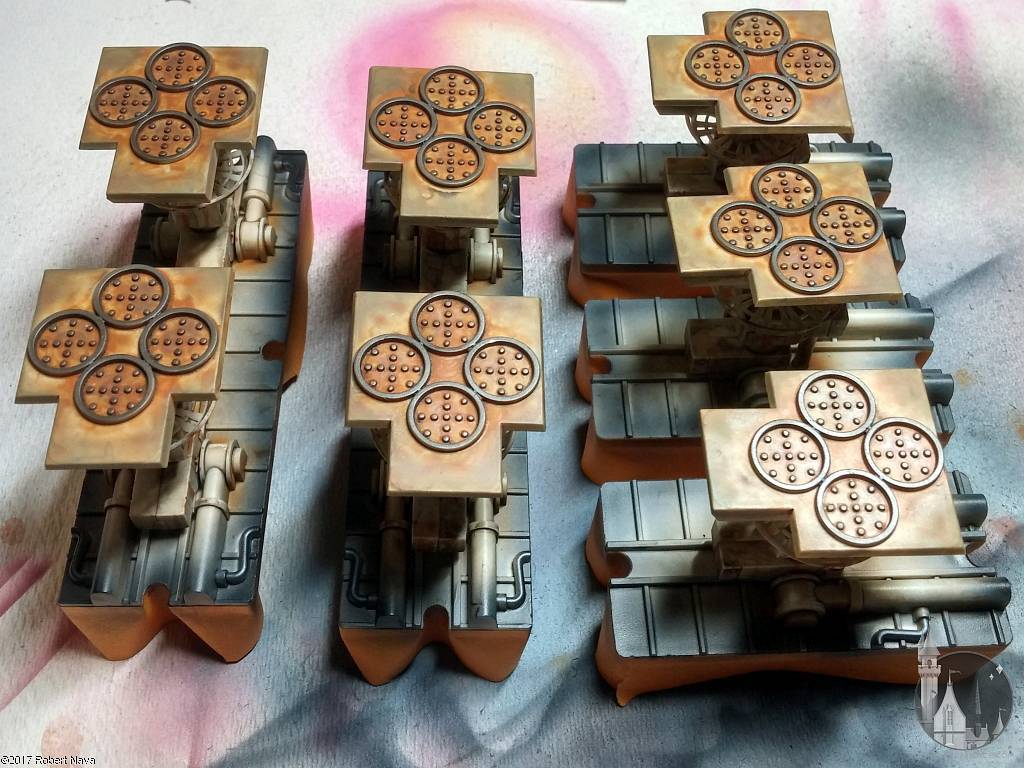
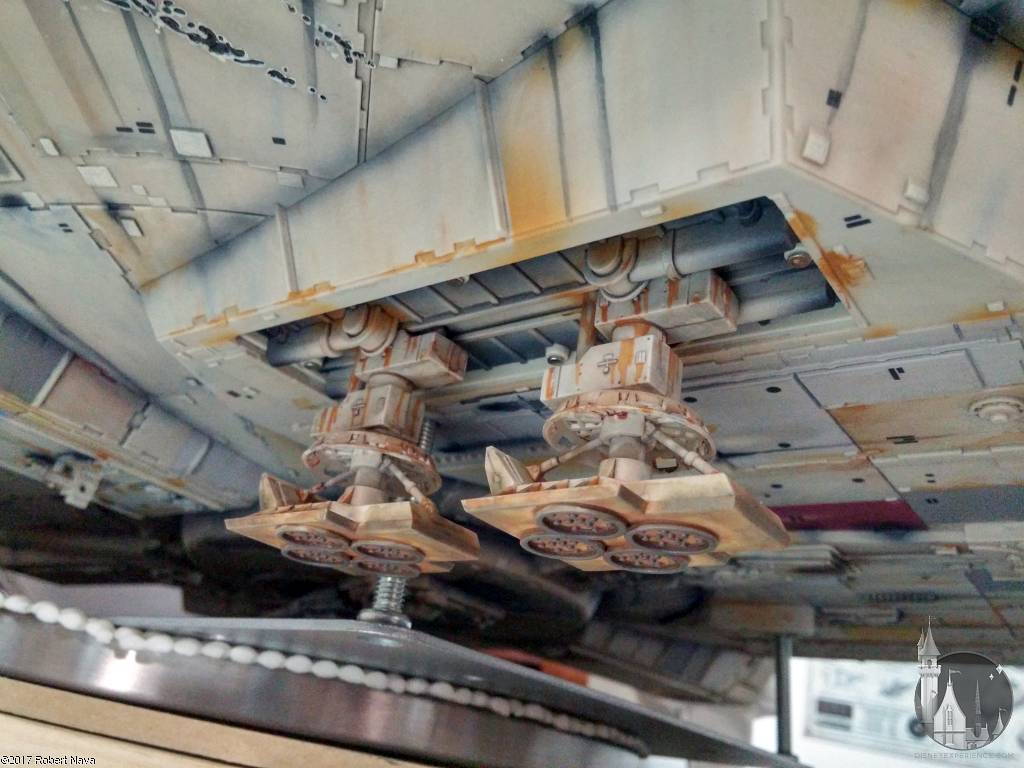
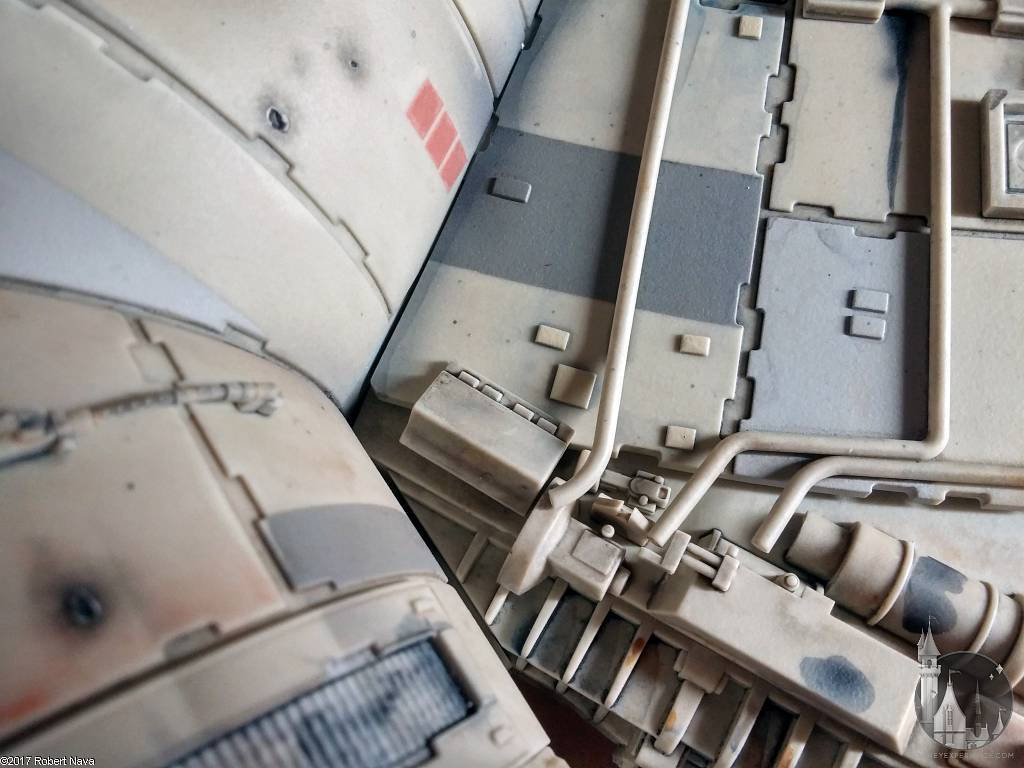
Completing the Engine Cover
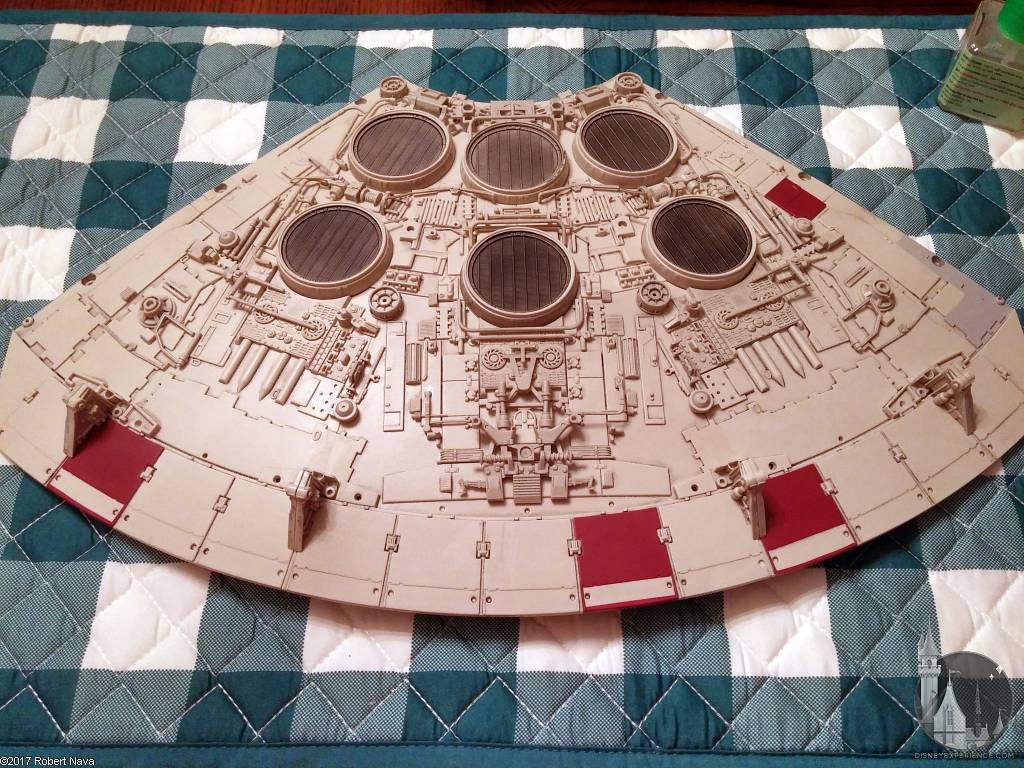
Since I’ve been skipping ahead whenever I can, the only things that I had to work on were the engine cover, the landing legs, and a few pieces for the mandibles.
There are a lot of small parts that went onto the engine cover. So much so, that I think that even DeAgostini got a tad confused. There are several instances where the instructions mix up part numbers, tell you to glue the parts into the wrong holes, or have the parts glued backwards. Luckily, these mistakes are pretty obvious, and having images of the actual film prop as references definitely helped.
The vector plate actuators were the first to be painted, then attached to the engine cover. The typical discoloration was applied, but, what I really enjoyed was adding the smoke streaks. The brown color really adds the impression that there is some tremendous heat being pumped out of those vents. From there, I touched up some spots with Payne’s Gray for added filth.
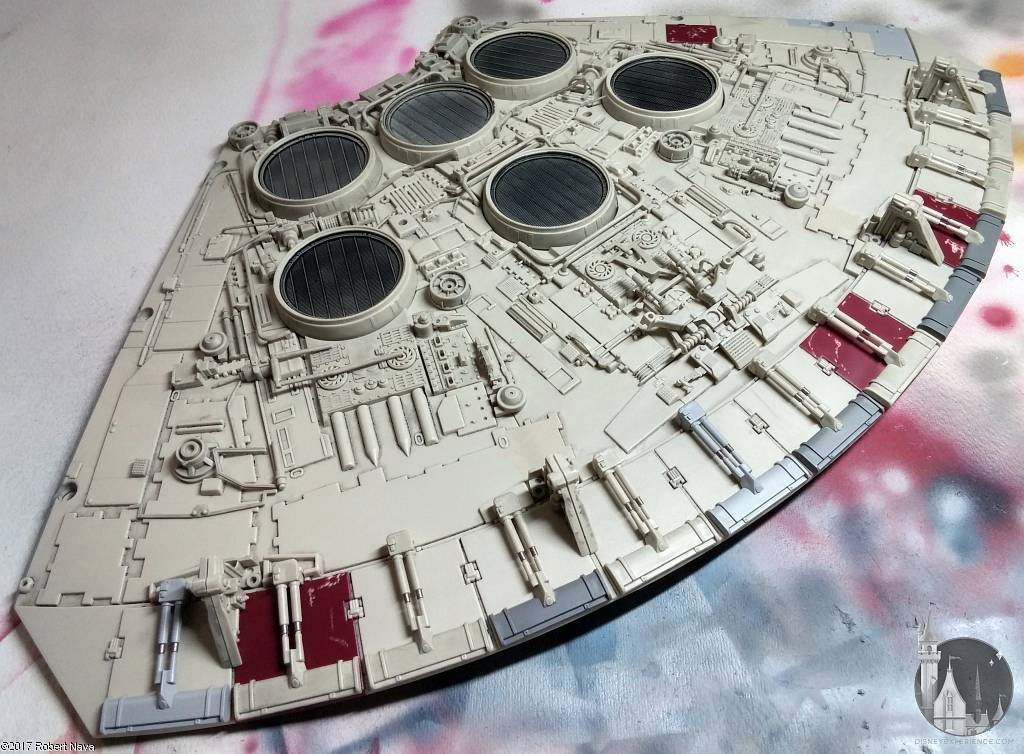
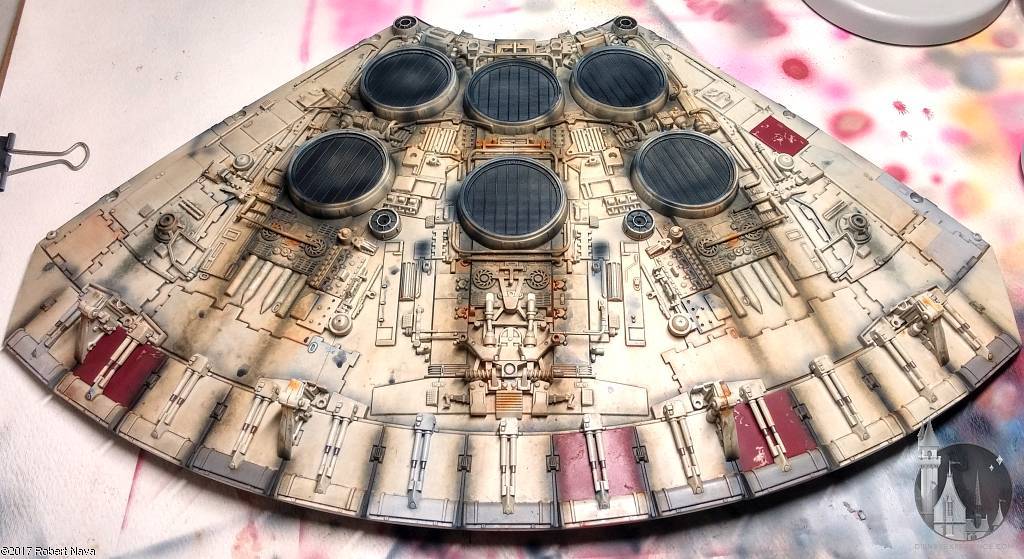
The engine cover is now complete. I removed the protective plastic film from both sides of the engine diffuser strip, and carefully screwed down the engine cover. Those engine cover screws can be tricky.
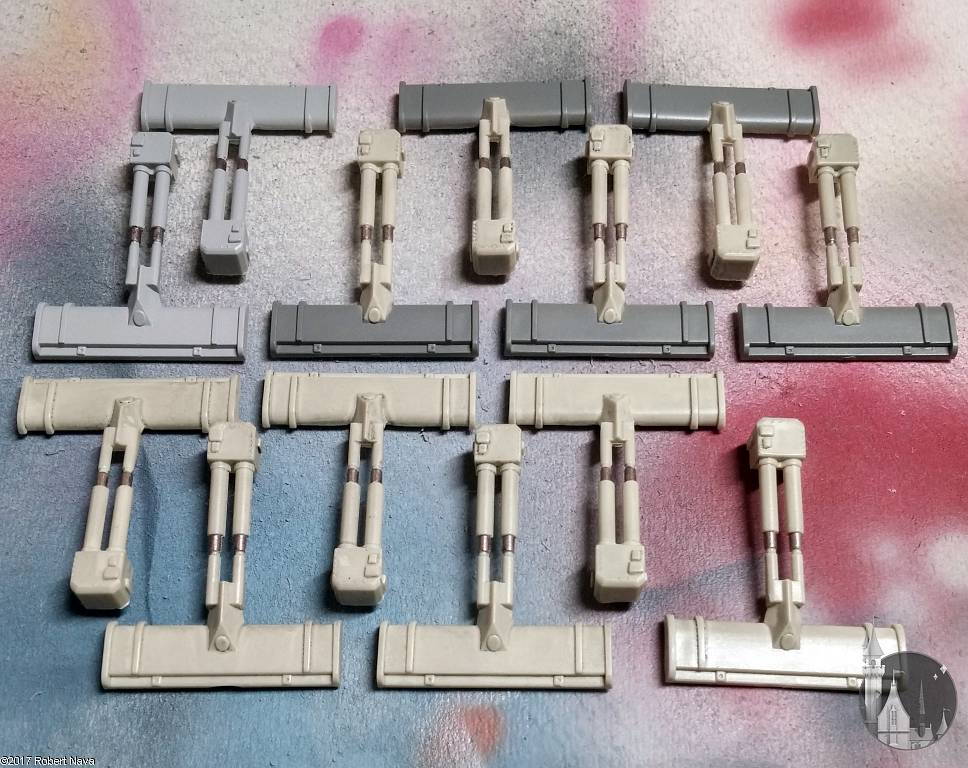
Customizing the Landing Legs
After assembling the landing legs, I began modifying them so that they attached magnetically. This will allow for easy transitioning between wall mounting and table mounting.
First, I cut off the small posts on top of each landing leg. Buh-bye! I didn’t want them hindering the removal of the legs.
Next, I test-fit each leg into place, sanding away edges where there was any amount of resistance. Numbering each bay, bay cover, and landing leg will help ensure that everything goes where it needs to go in the future. There can’t be any guess-work.
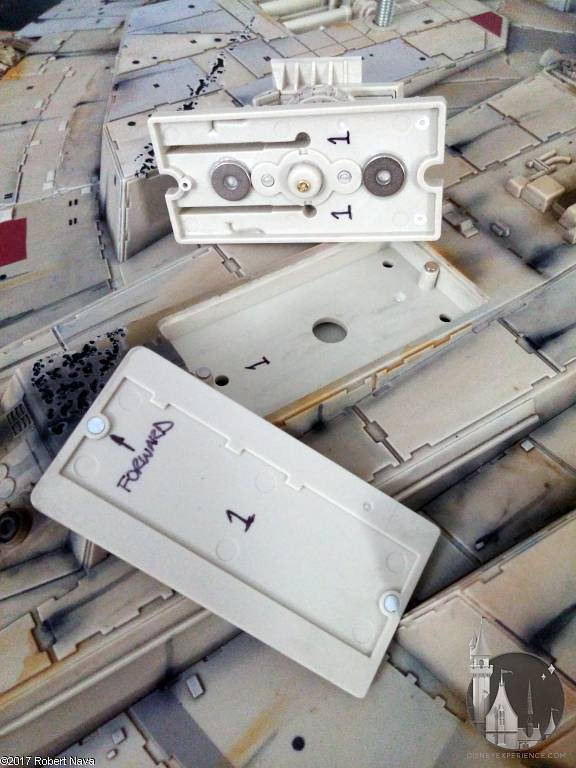
I then added two neodymium magnets to each of the single landing legs, and three magnets to each of the double landing legs. I used a five-minute epoxy to glue these all into place. There was just enough space between the tops of the magnets and the lip of the landing legs to allow for thin pieces of metal.
I went down to my local hardware store and bought a very thin sheet of metal. Just by happenstance, I found a single small sheet with no identifying information. I didn’t know what type of metal it was, what gauge it was, or even the price (there was no matching bar code). But, the thickness was perfect, magnets stuck to it, and it was super inexpensive ($0.90).
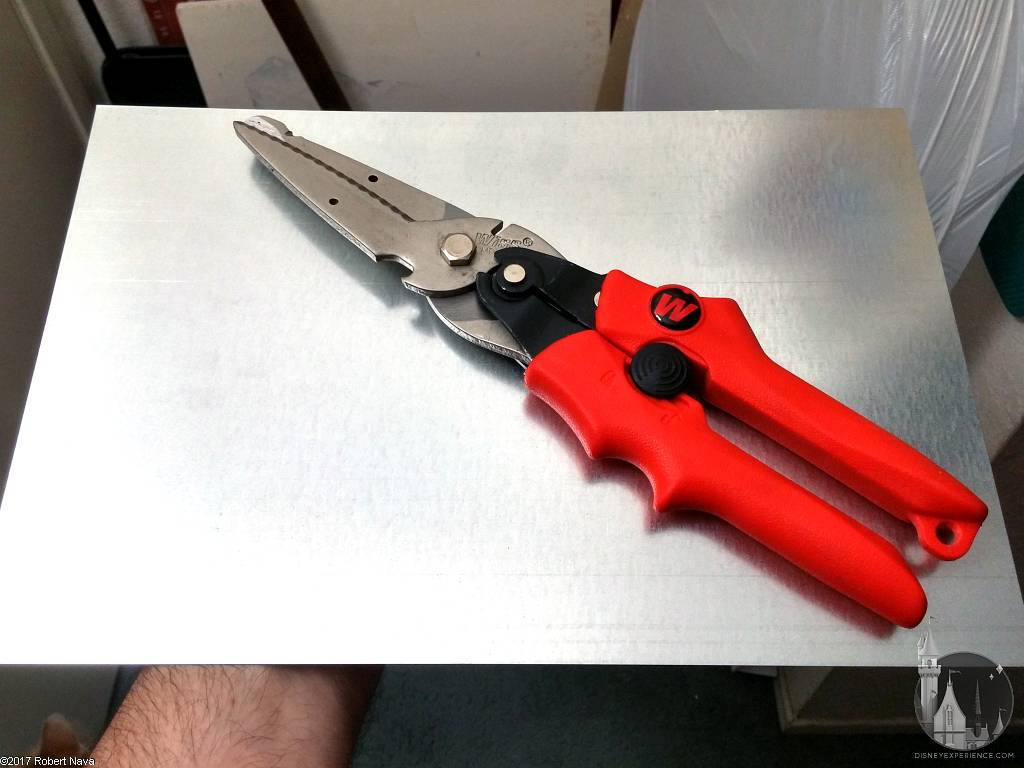
With the money that I saved, I bought a multi-use tin snip (WISS MPX5 MaxCut Multi-Purpose Cutters). Since I don’t cut metal often, it was prudent to invest in a tool that would have a usefulness in other non-metal-related projects.
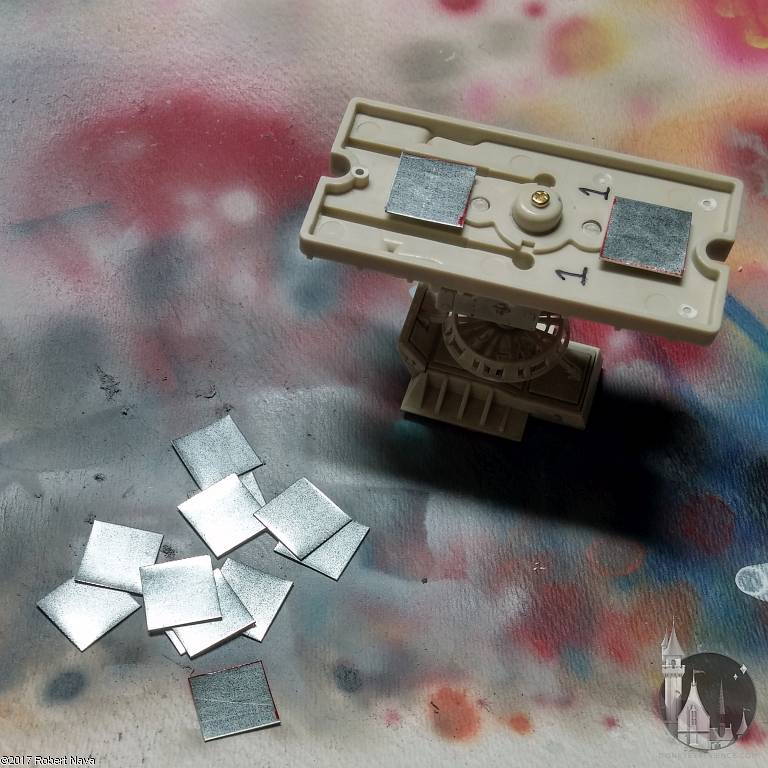
With a fine-point marker, I drew half-inch squares, and I cut them out with the tin snips. With a hammer, I gently flattened the corners and edges that had curled up from the cutting. With the squares complete, I attached one to each magnet, trimming corners where needed to make them fit.
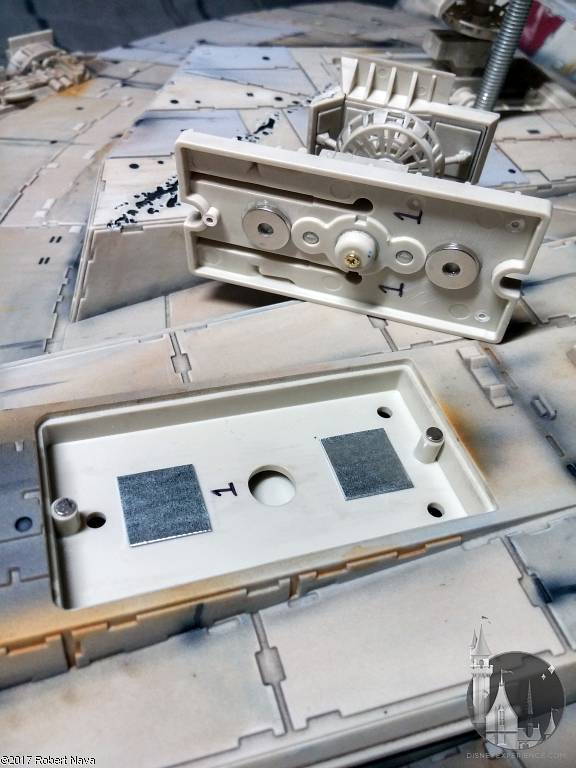
With the Millennium Falcon flipped over on top of a soft pillow, I applied tiny amounts of five-minute epoxy to the metal squares, and inserted each of the landing legs into their corresponding bays. The two larger landing legs had a small bow in them, so I added weights to keep them flat.
After a few hours, the epoxy had cured enough to test out the detachable landing legs. Carefully, I rocked each one until the magnets let loose. The metal squares were now permanently attached to the inside of the bays.
With all of that out of the way, I could finally paint the landing legs. I didn’t do anything special; I just added some dirt, grime, and rust.
The Curse of the Mandibles
It was time to complete the mandibles . . . again. How many times have I said that throughout this build? And, I think there might be some more greeblies to add to them when DeAgostini gets around to sending out those missing parts.
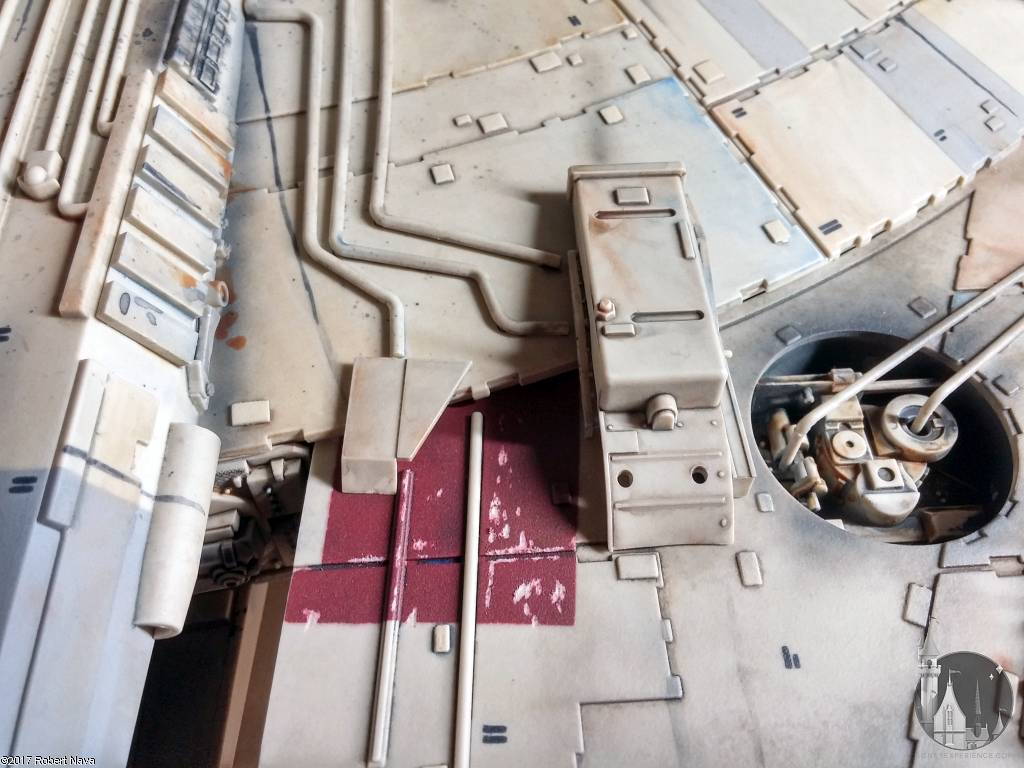
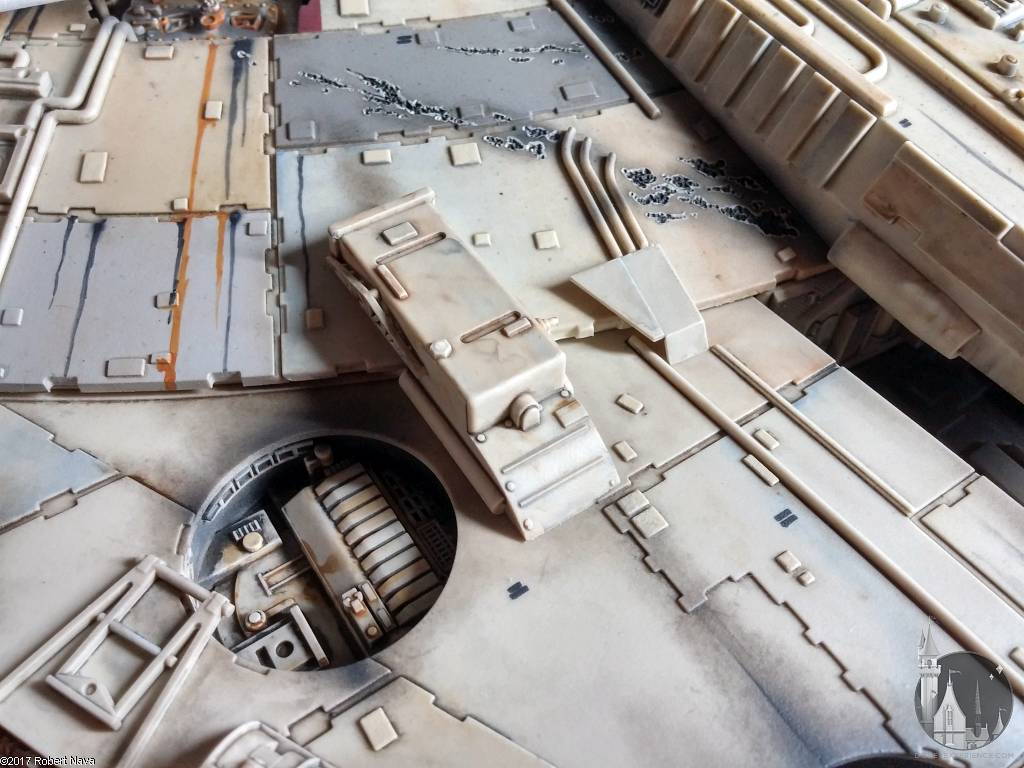
The last few pieces were simple, and they were attached over the area where the mandibles meet the upper hull.
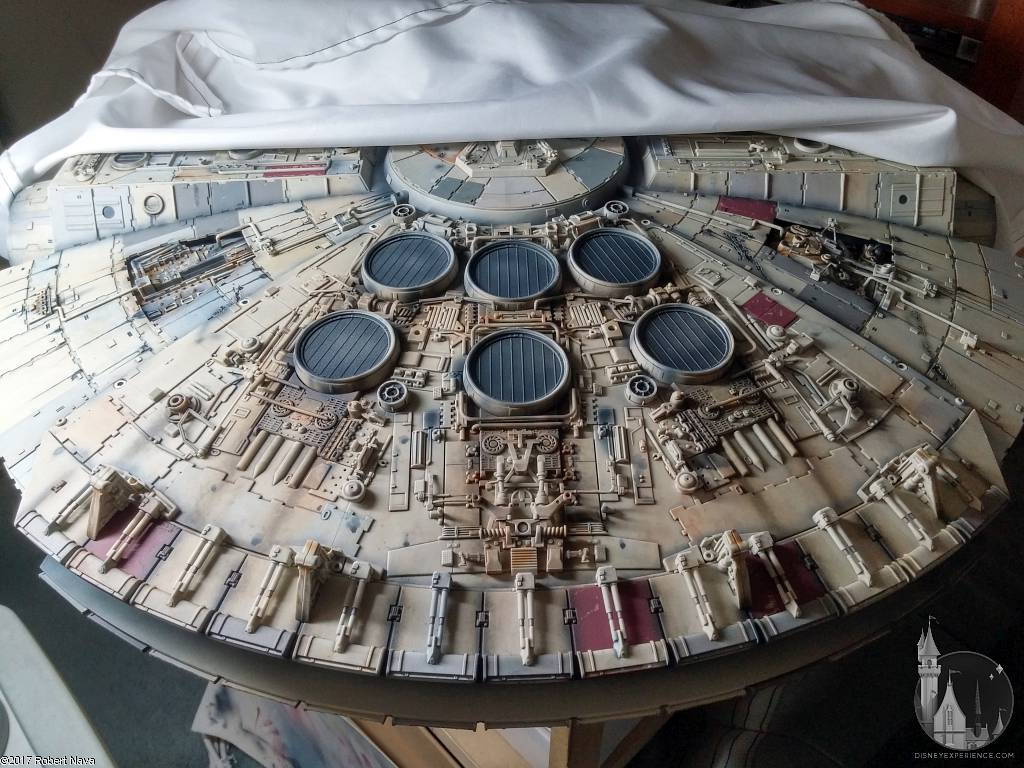
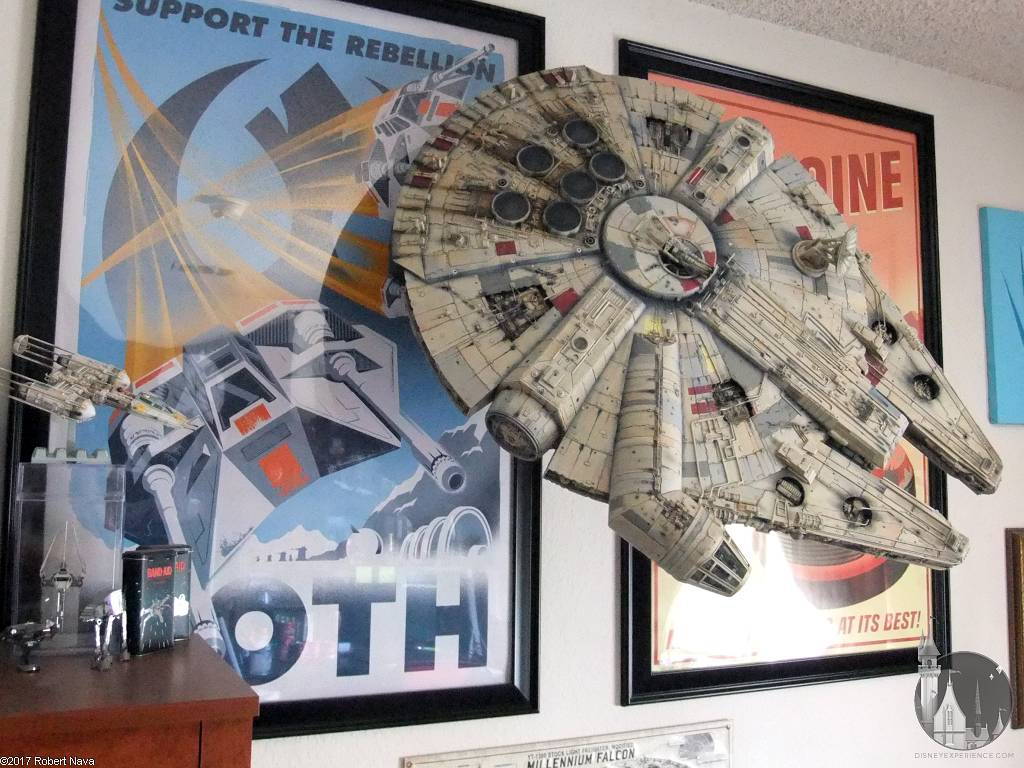
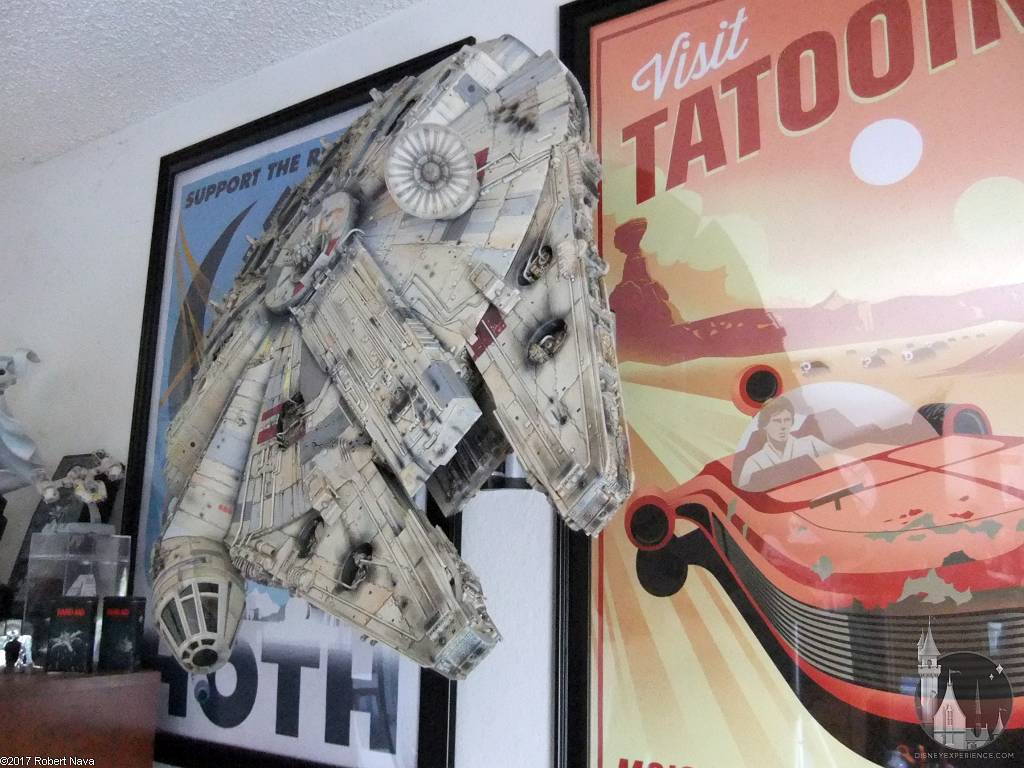
Mounting and Extras
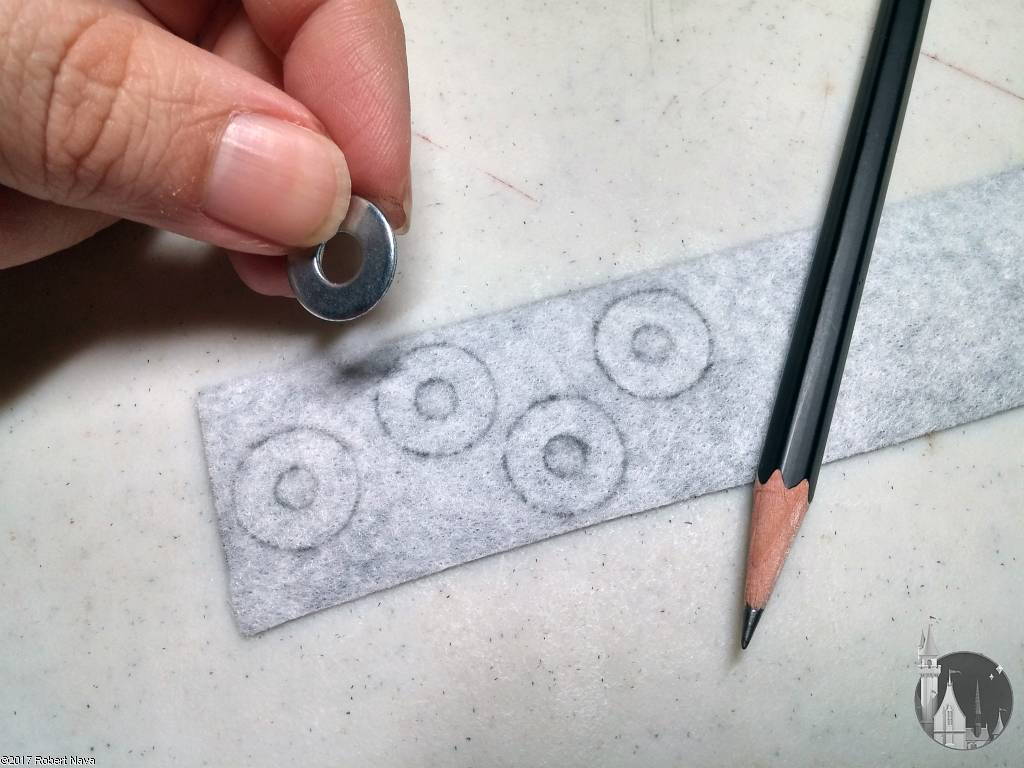
It was time to attach the mounting plate and get it onto the mounting arm. To save my paint job from getting scratched, I used a metal washer as a template to cut out felt washers.
Once I got the heavy ship hauled up and screwed into place, I screwed it into place to lock its position. The build is complete . . . so far . . . and I now have all of these extra pieces.
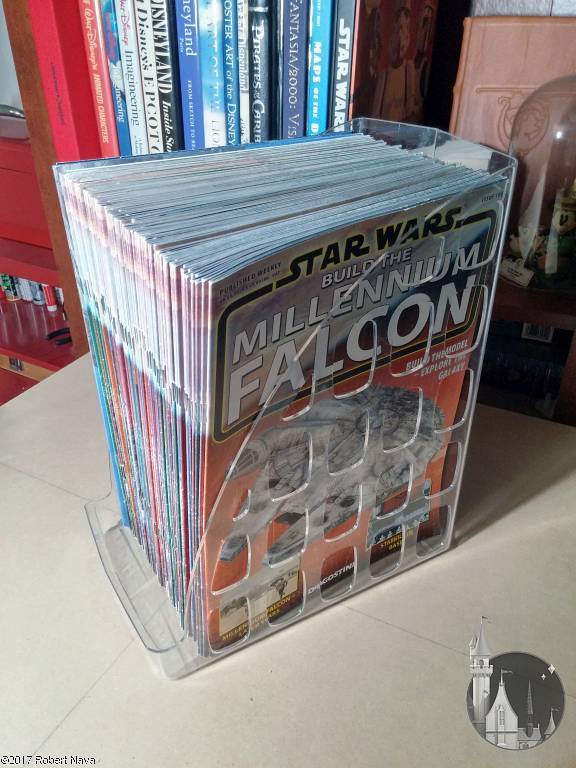

The most obvious are the one-hundred magazines (not counting the Japanese magazines) and their fold-out posters. I’m never going to read the articles, but there are some good reference images that could be useful in the future. I’m torn about these at the moment.
I also have many extra screws, which I’m sure could prove useful in future personal projects.
I’m undecided about what to do with the extra metal frames and plastic parts. The metal will probably get tossed into the recycling bin, and I might keep a few plastic pieces to test out colors and weathering techniques for future model kits. I do want to keep the electronic parts.
I considered keeping the plastic jigs for possible storage/moving purposes, but I think some soft pillows and blankets will do the job just fine in those instances. No sense in keeping unnecessary clutter around.
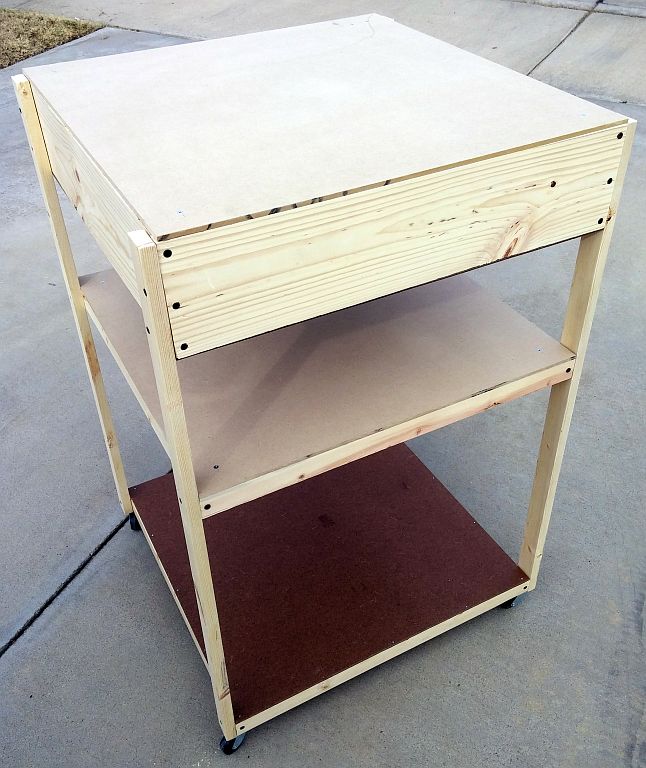
The wooden work table will go outside for possible tool/supply storage for the backyard.
Final Thoughts
The Millennium Falcon took up a significant part of my life for the past two years. Now that it’s completed (missing parts pending), I feel like there’s a void that needs to be filled.
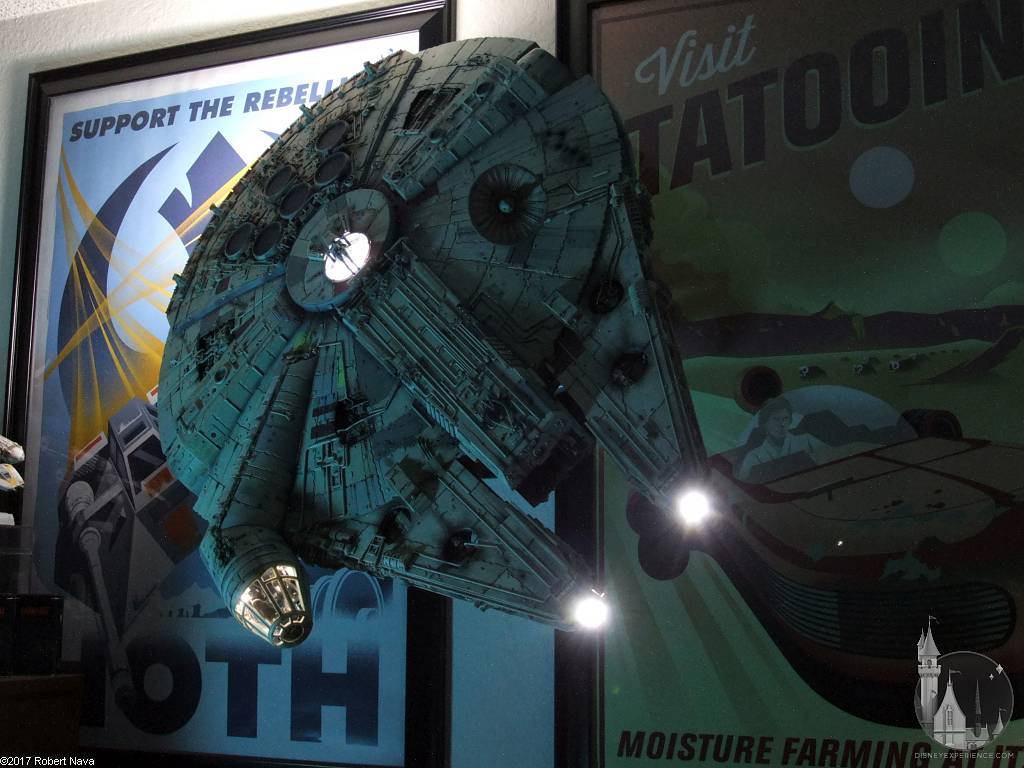
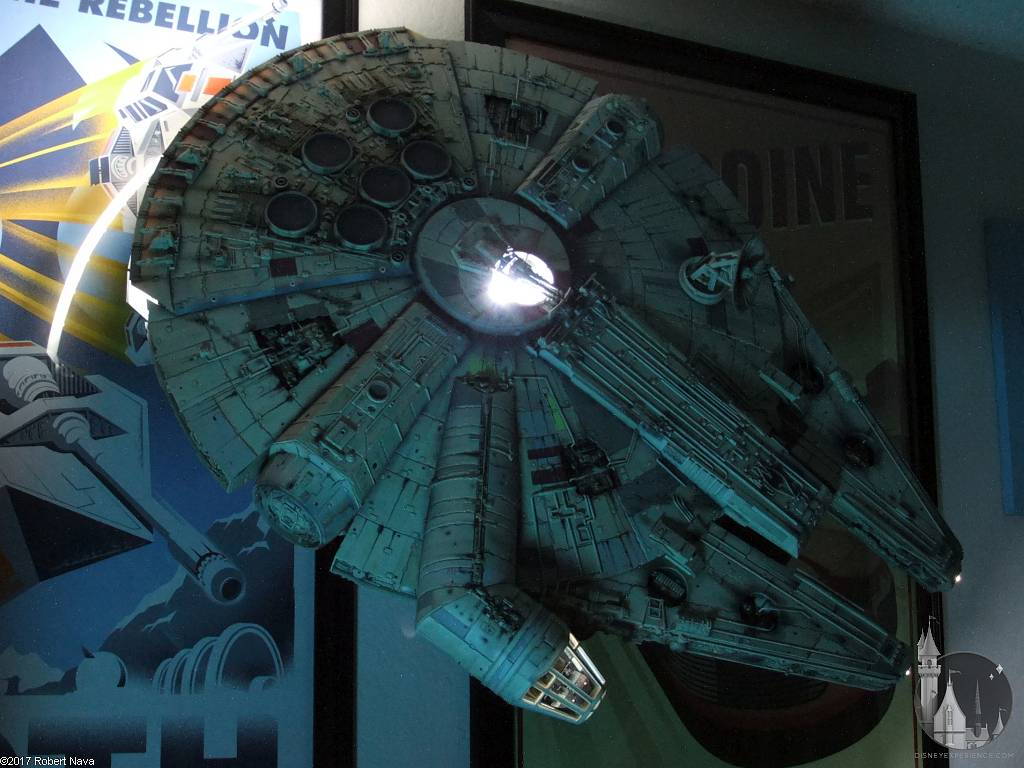
It’s now been several days. Hanging on the wall, the model somehow looks bigger and more impressive. Frankly, I’m surprised that it hasn’t come crashing down due to its weight. The Monoprice wall mount was definitely the way to go; the four large screws line up vertically to go right into a wall stud. Everything is holding like a champ.
The relocation of the work table has freed up a lot of space in the area. It’s nice to have the space back, which makes the room look and feel larger, but it’s another void. I’m not so sure that this one needs to be filled, though. I’ll get over it.
Checking the ModelSpace forums and watching YouTube videos will be coming to a halt. The only reason to check the forums is to stay up-to-date on the release of the missing parts that DeAgostini is currently manufacturing.
I’ve unsubscribed to one YouTuber since he has long been finished with his Millennium Falcon, and another YouTuber (he’s been my favorite) is wrapping up his model. A third YouTuber I’m keeping because he is building the DeAgostini R2-D2 and the Eaglemoss “Back to the Future” Delorean.
Needless to say, I have a few voids to deal with. While I enjoyed the experience of a subscription model kit, I think I’ll wait a little while before starting a new one. Display space is limited, and I was lucky that the Millennium Falcon could be mounted onto the wall. The upcoming X-Wing model looks promising, and the is a rumor that the Delorean may be coming to the U.S. soon.
Prev Journal Entry | Next Journal Entry
Both the post author and this website have not received any compensation for writing this post. Both the post author and this website have no material connection to the third-party brands, products, or services that have been mentioned. Some of the links in the post above are “affiliate links.” This means that if you purchase the item, we will receive a commission. As an Amazon associate, we earn from qualifying products. This is being disclosed in accordance with the Federal Trade Commission’s 16 CFR, Part 255: “Guides Concerning the Use of Endorsements and Testimonials in Advertising.”
Do you have a thought about this post? Why not leave a comment . . .