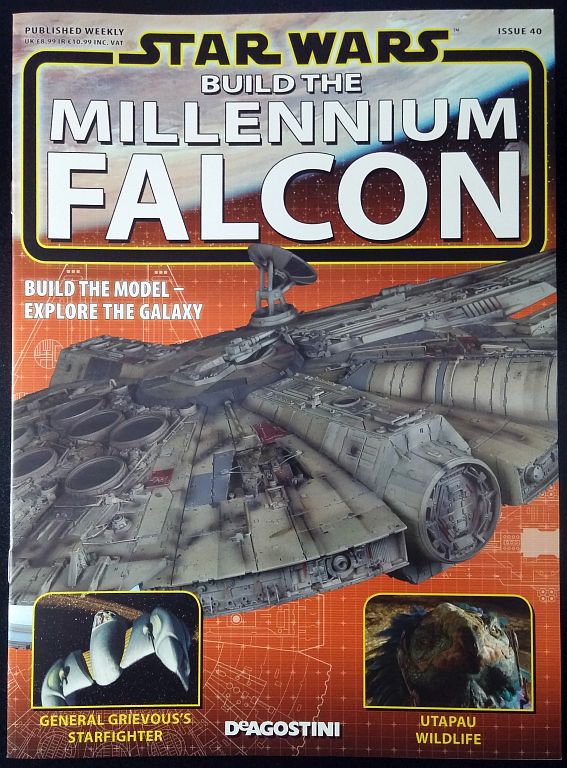
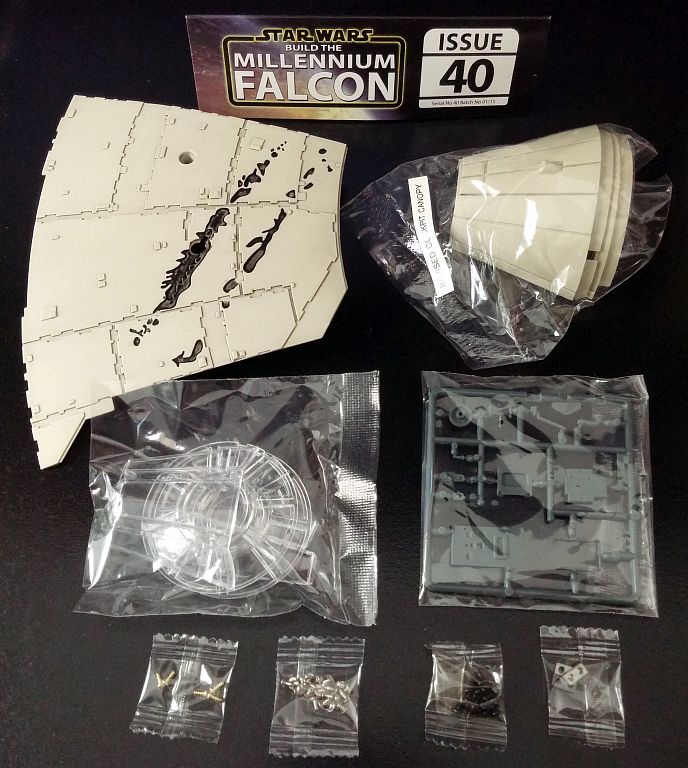
Millennium Falcon Build Journal No. 11: Issues 37-40
![]() Trader Sam | March 9, 2016
Trader Sam | March 9, 2016
The Arrival
My apologies for the month-late build journal. Life; go fig.
This month, I paint and assemble the long-awaited boarding ramp. Unfortunately, I won’t be able to test the motor until issue 54 (somewhere around there). That will be when I get the control board, and I can test all of the lighting. Can’t wait!

Supplies
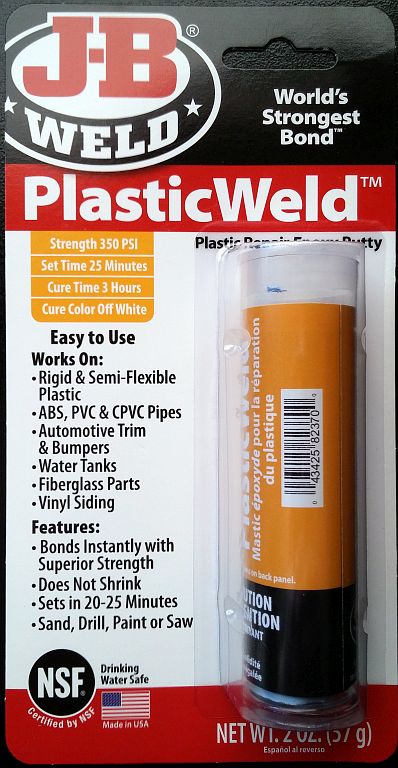
In this month’s build, I decided to try a different brand of epoxy putty: J-B Weld PlasticWeld. Compared to Mulliput, it sets very fast, and it doesn’t play well with water. Milliput has a longer play time, and works well with water when I need to mold it into tiny crevices or when I need to clean up excess putty. J-B Weld is slightly flexible when fully cured while Milliput sets as hard as a rock.
Both epoxies have their pros and cons, and are great surfaces to sand and paint. But, Milliput is still my preferred epoxy.
Modifications
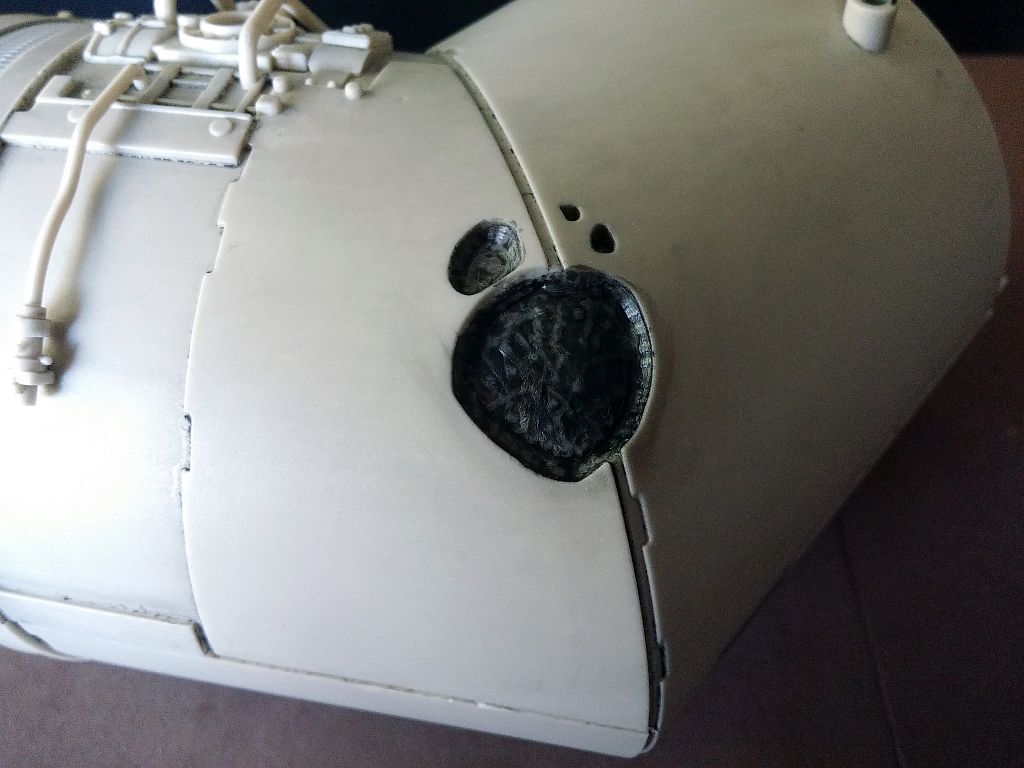
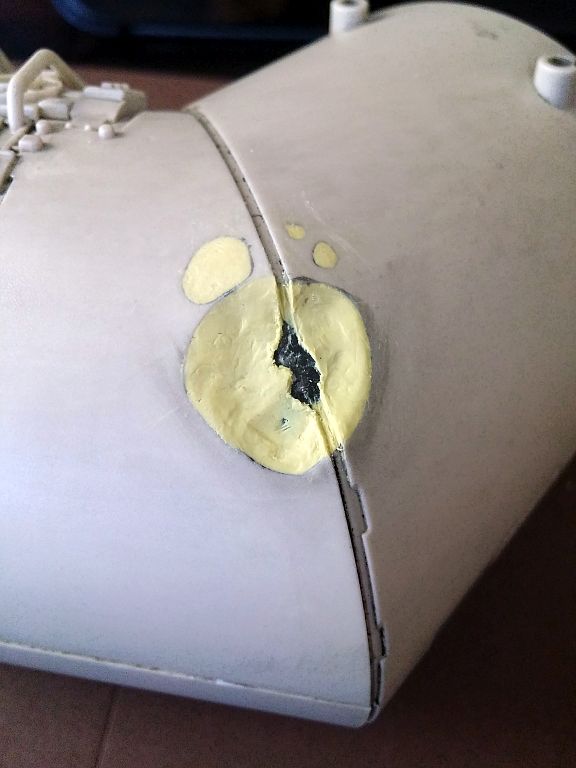
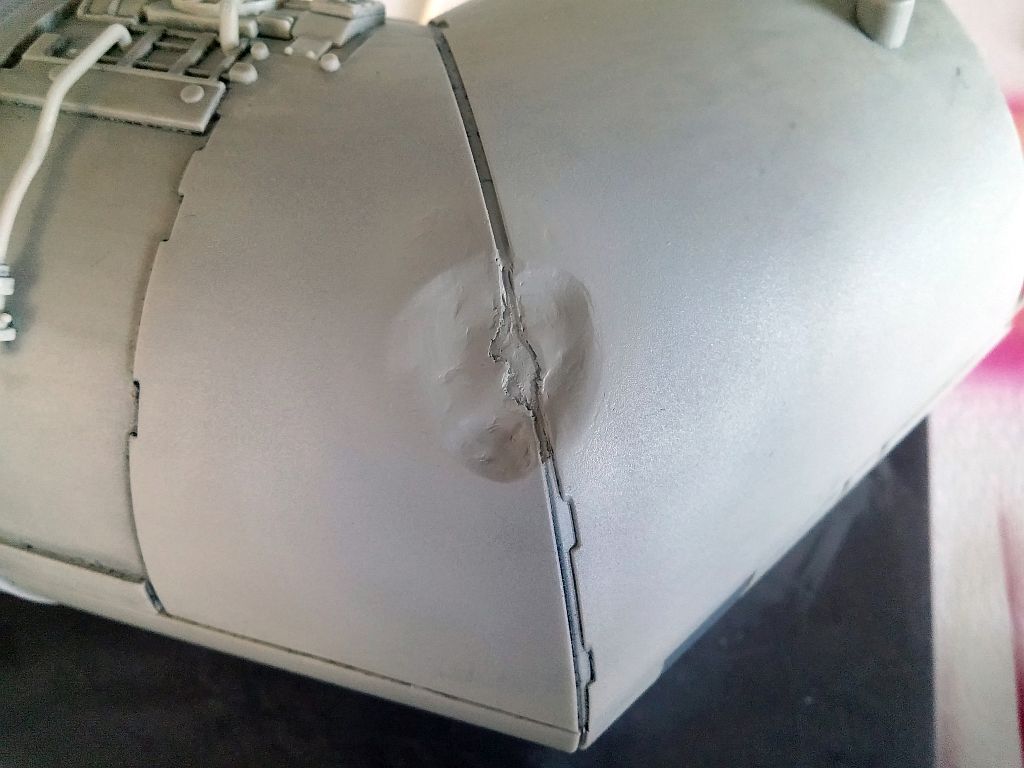
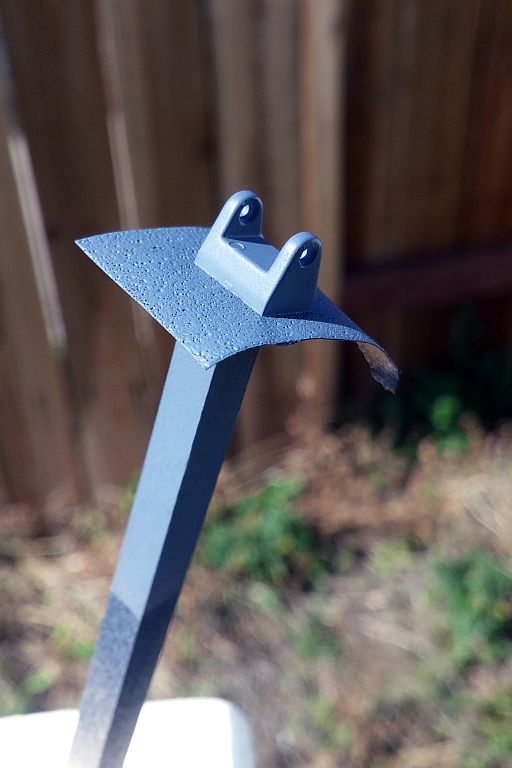
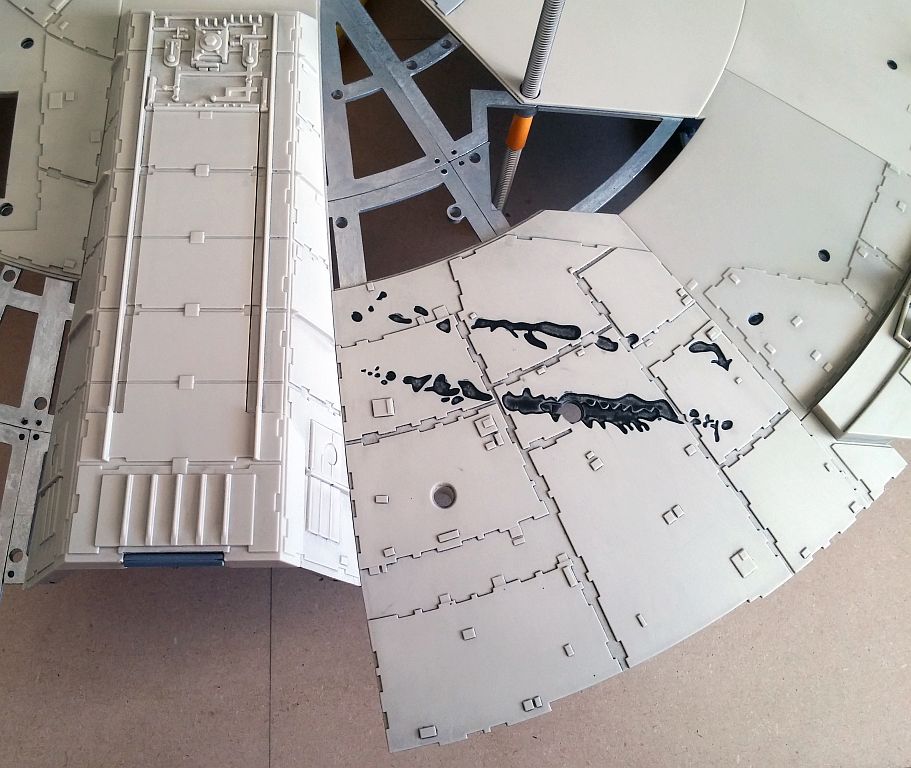
I don’t know how DeAgostini approved this grouping of ugly holes that is supposed to represent the damage on the underside of the cockpit access tube. On the “Empire Strikes Back” model, this area has a large dent, not holes. So, I grabbed my Milliput and started filling, sculpting, and painting. Ah; much better!
Painting
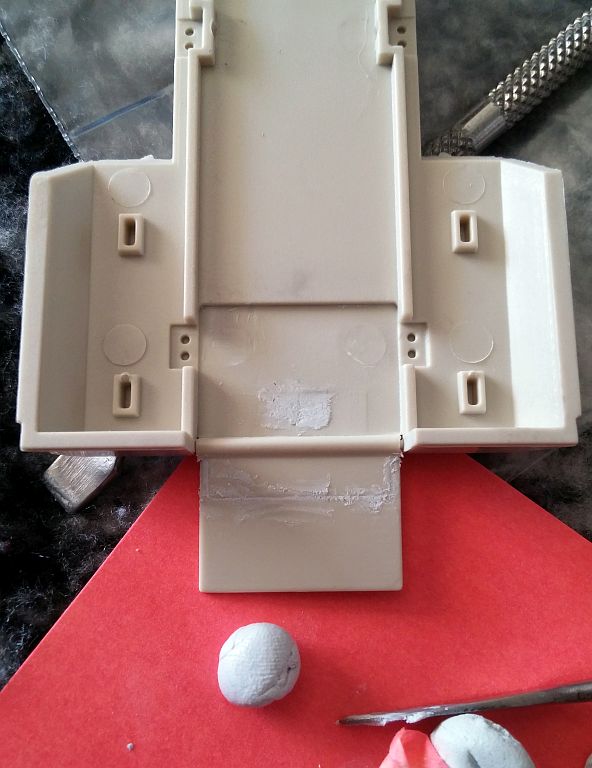
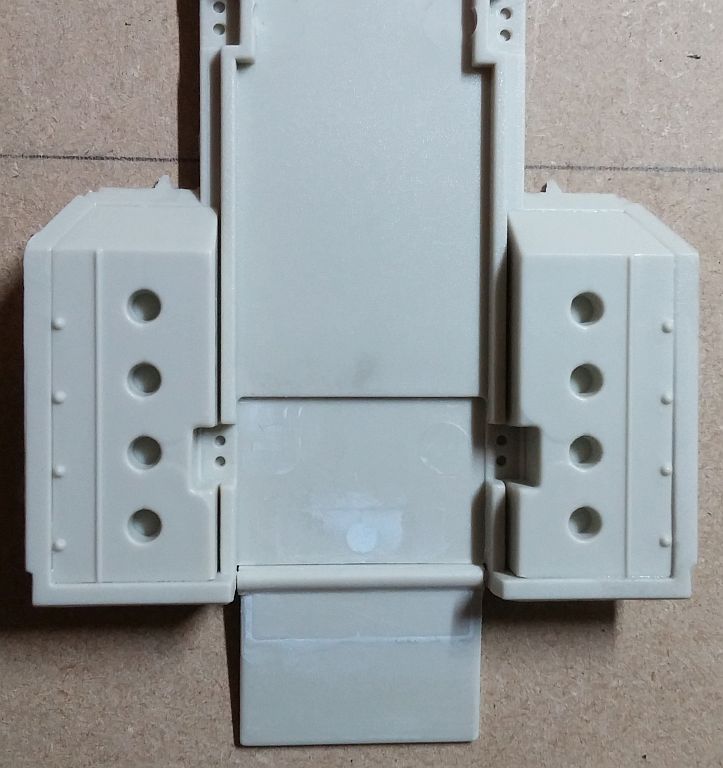
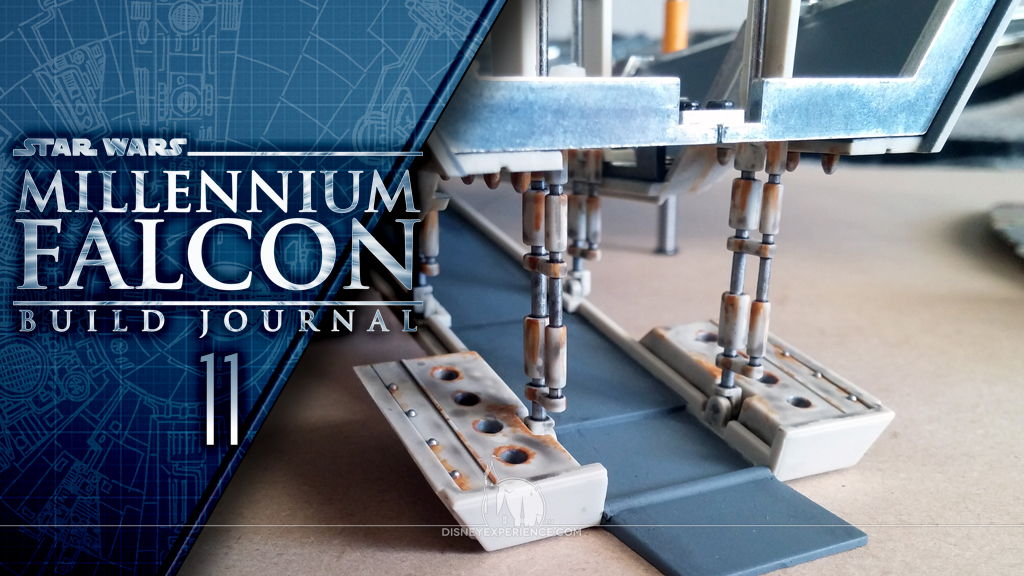
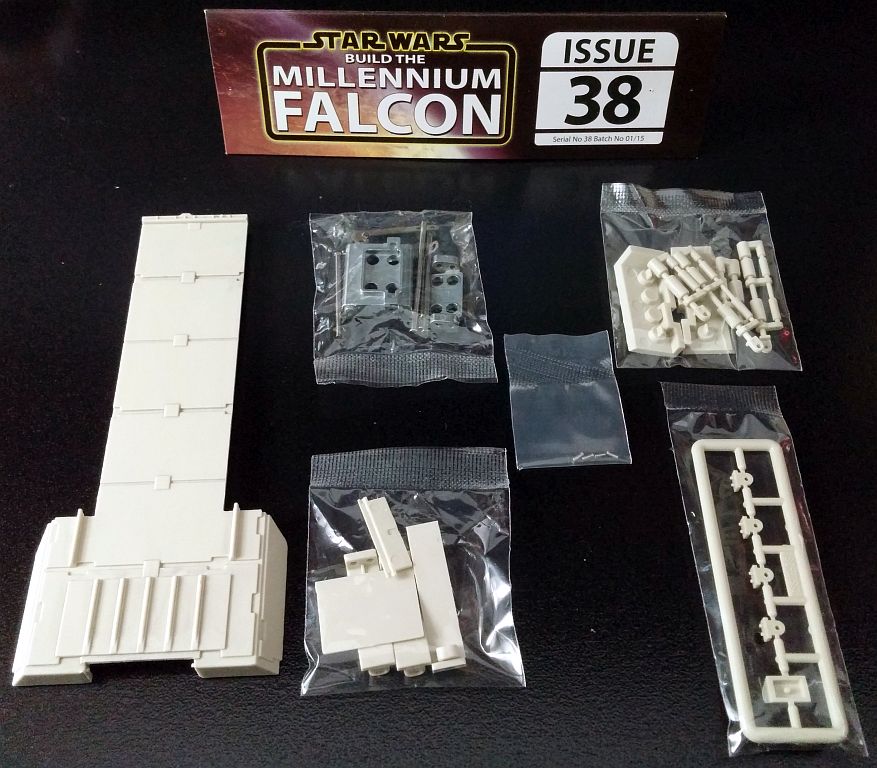
I assembled the folding ramp, then filled in the crevices with epoxy. After sanding and masking, the center walkway was ready for gray primer.
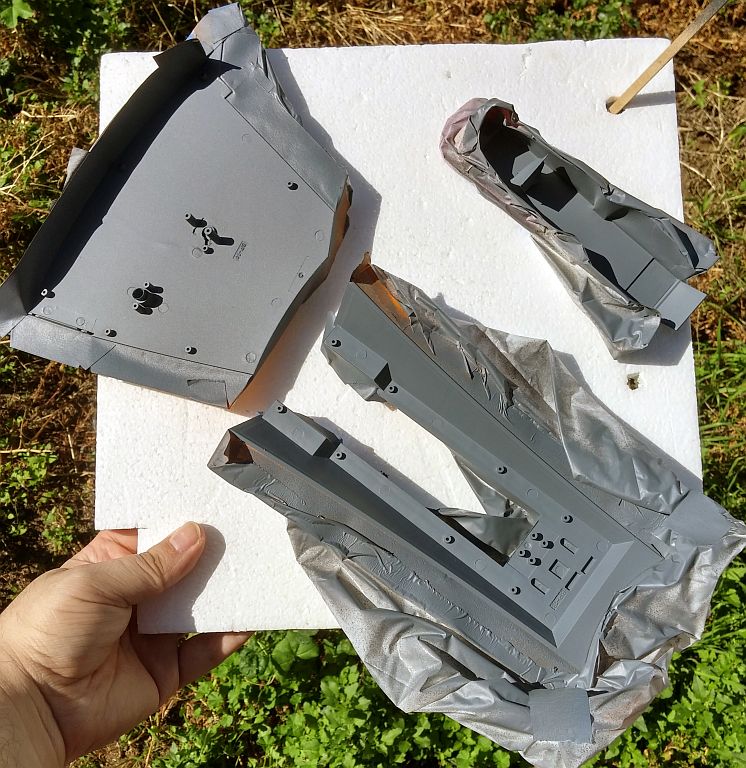
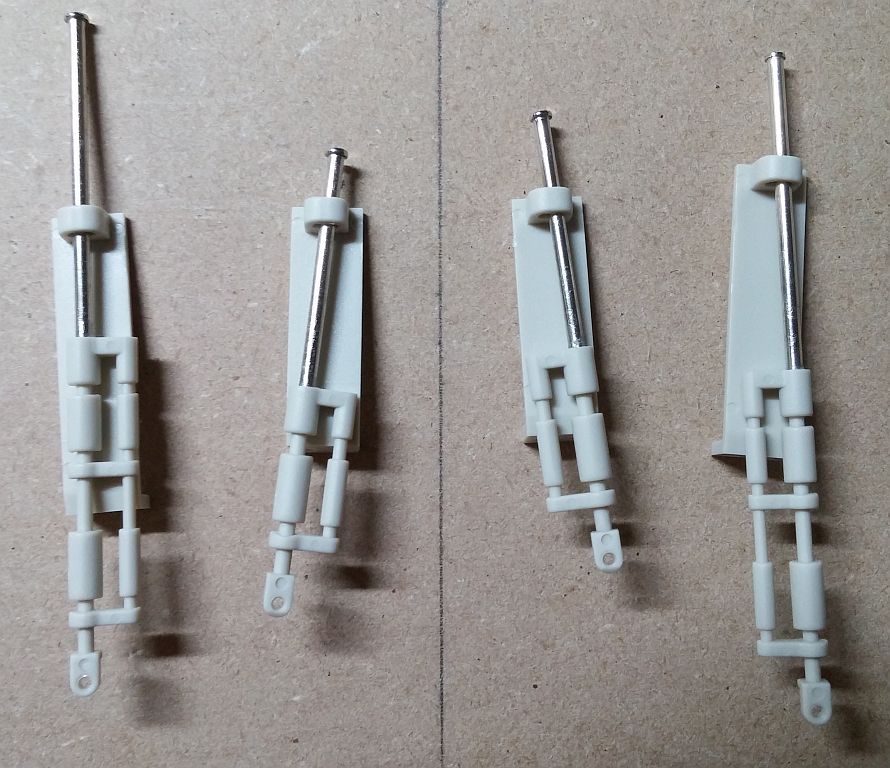
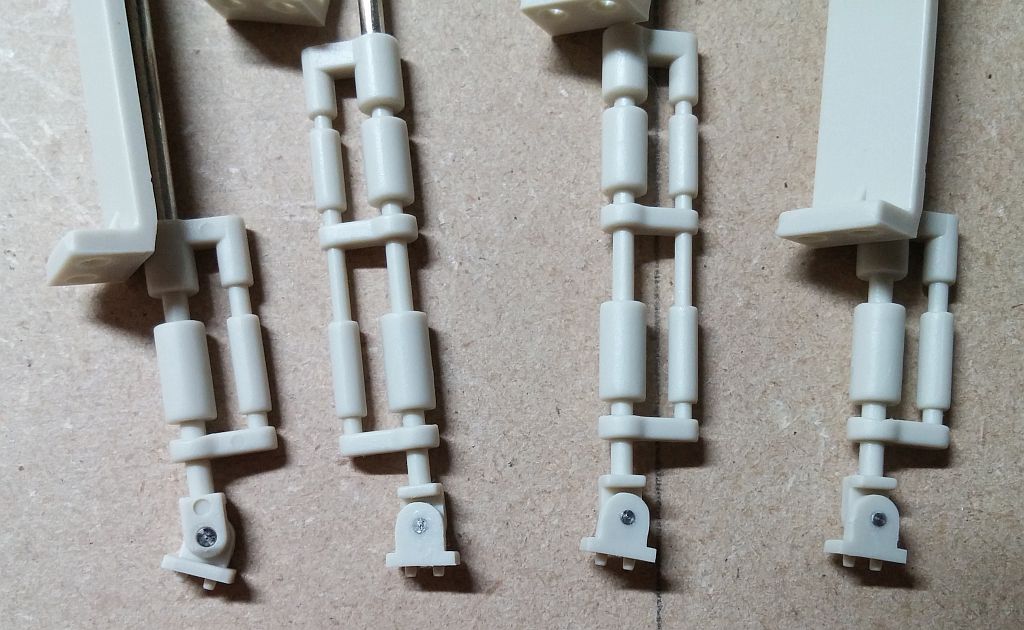
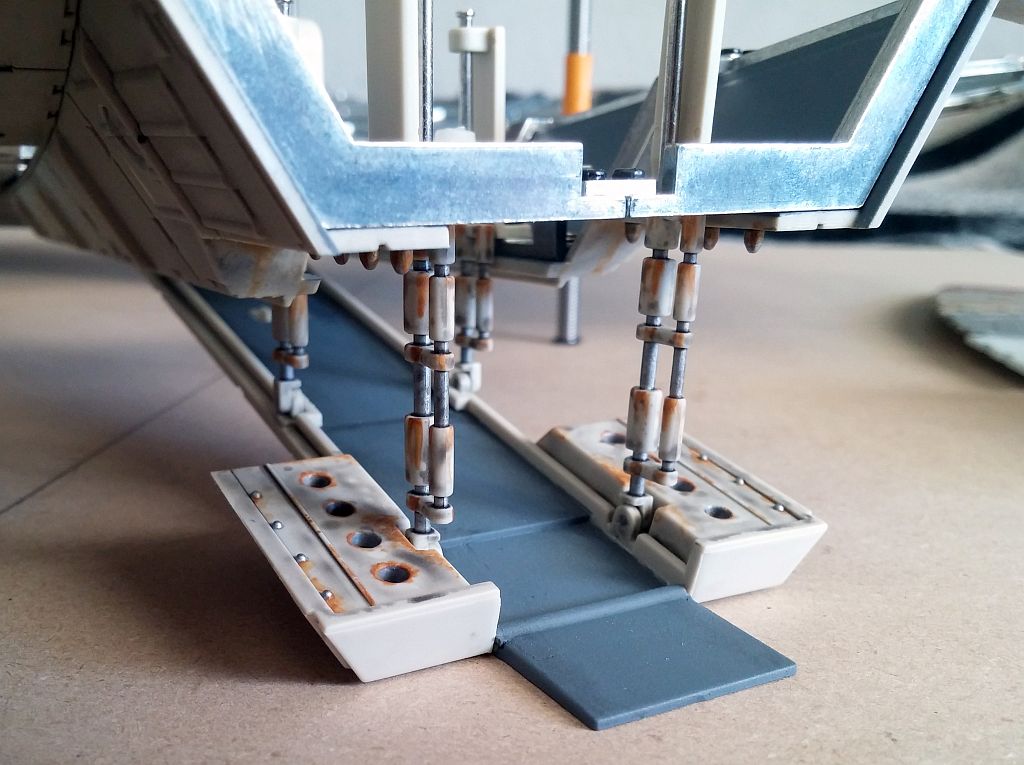
After priming and assembling the pistons, the parts were ready to paint. This is where it’s important to add the detailed painting before assembling, because there will not be much work room later.

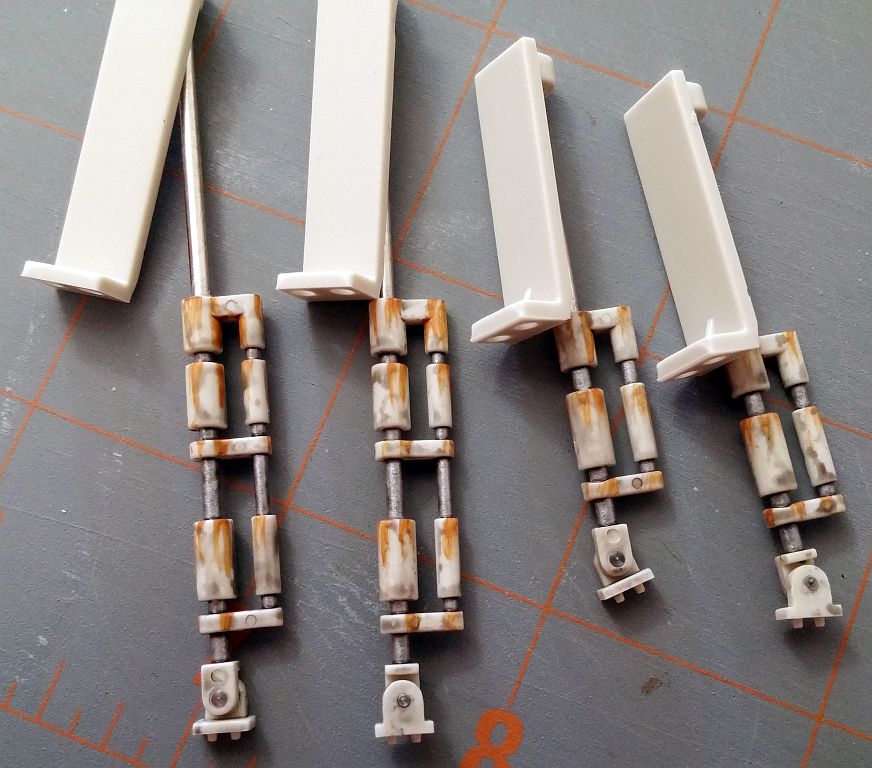
I used reference photos from the movies to add metallic accents, rust, and grime. When it was finished, I coated everything with a gloss varnish, and then a matte varnish.
Gloss varnish should always be the first 1 or 2 coats. It’s the hardest of the varnishes, and will protect the paint from chips and dings. The matte varnish is for aesthetics.
Assembling
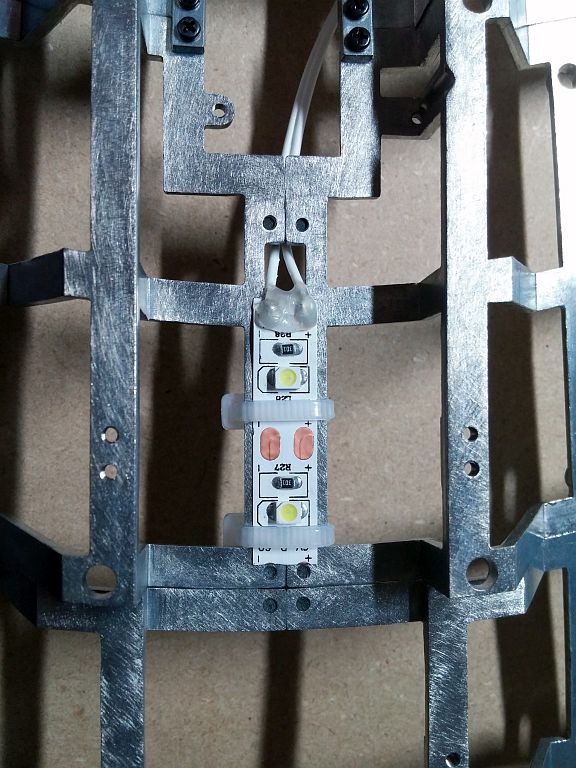
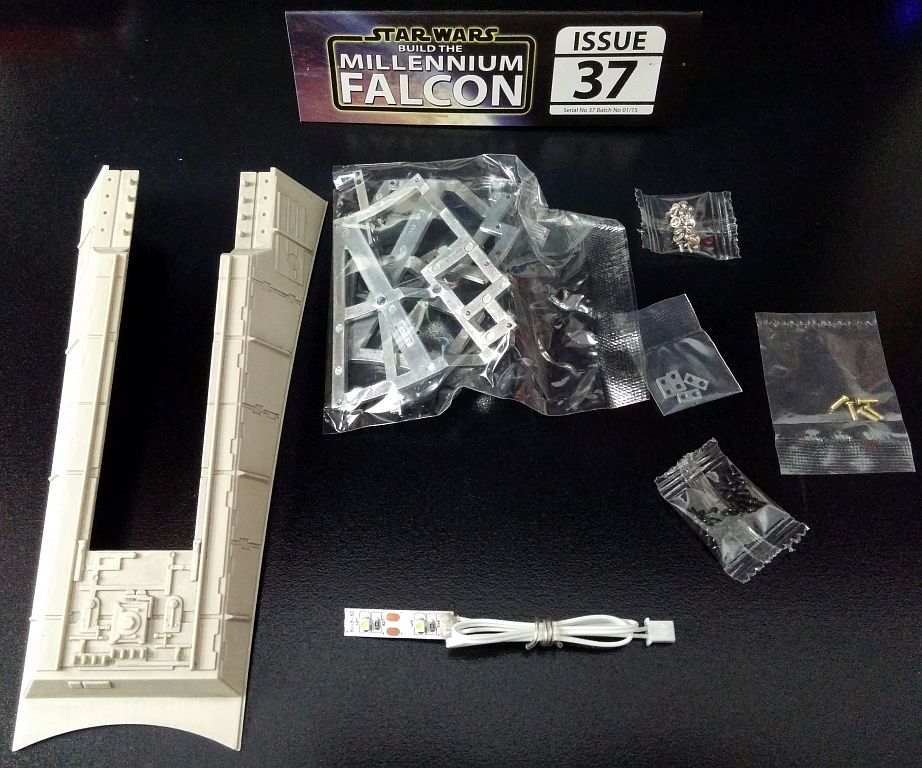
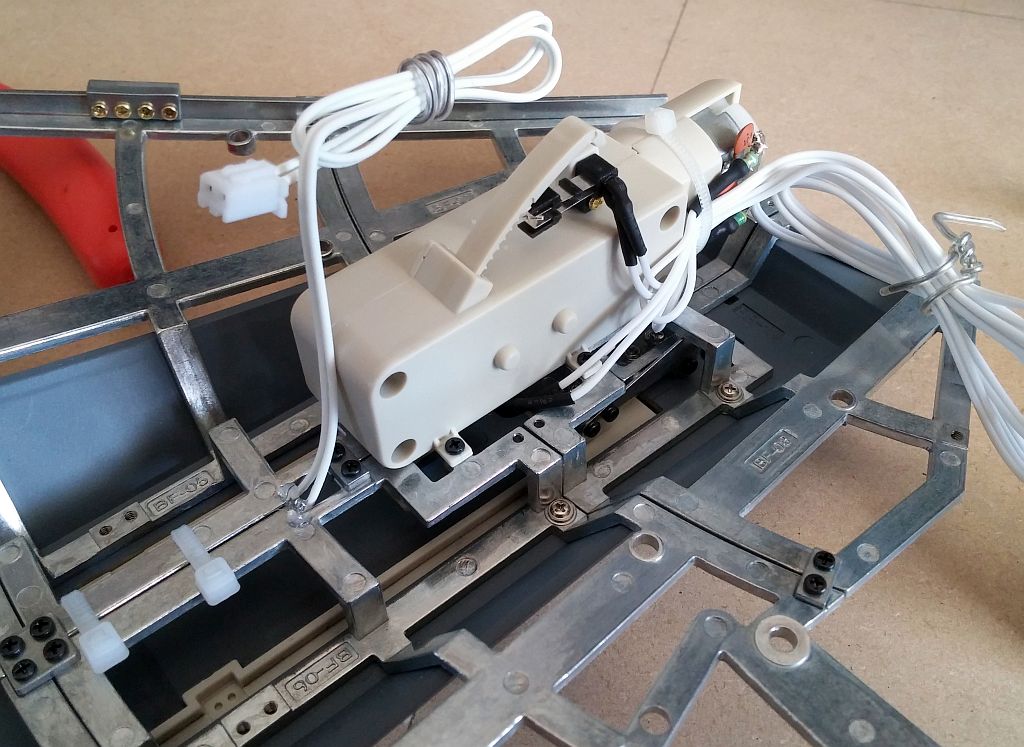
With the ramp attached to the hull, I completed the last section of the frame and attached the LED strip.
Although the LED strip does have an adhesive backing, there is a great fear that it will eventually detach. After all, adhesives don’t last forever, and attempting to fix it in the future would be a pain. So, I lashed the LED strip to the framework with two tiny zip ties.
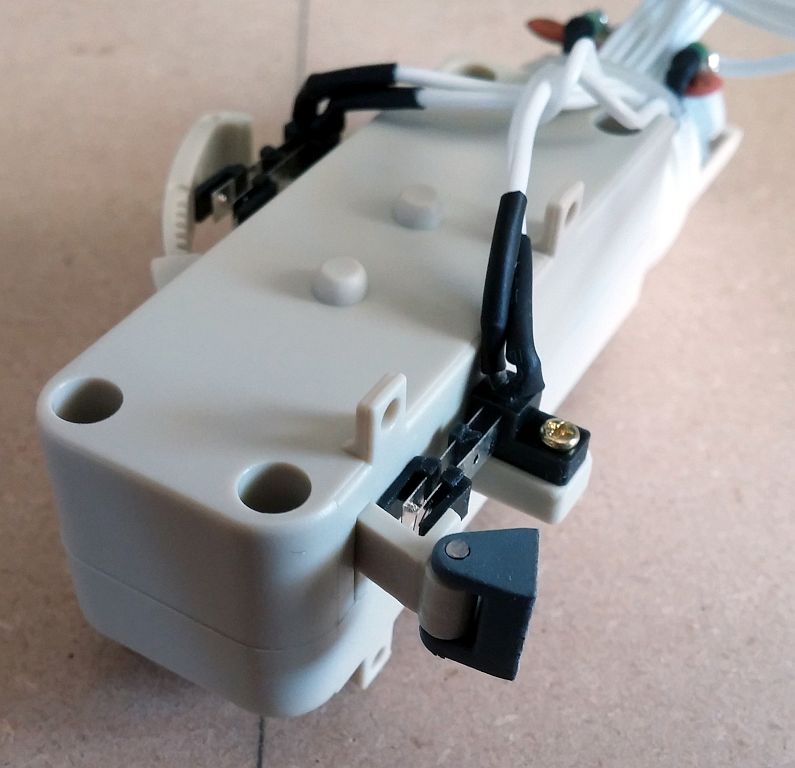

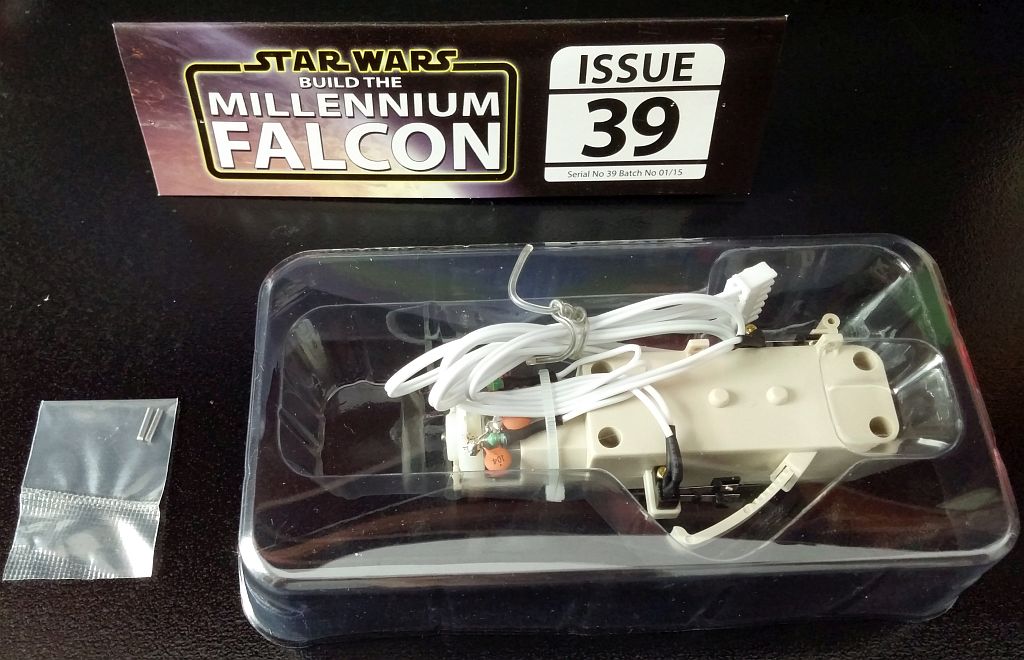
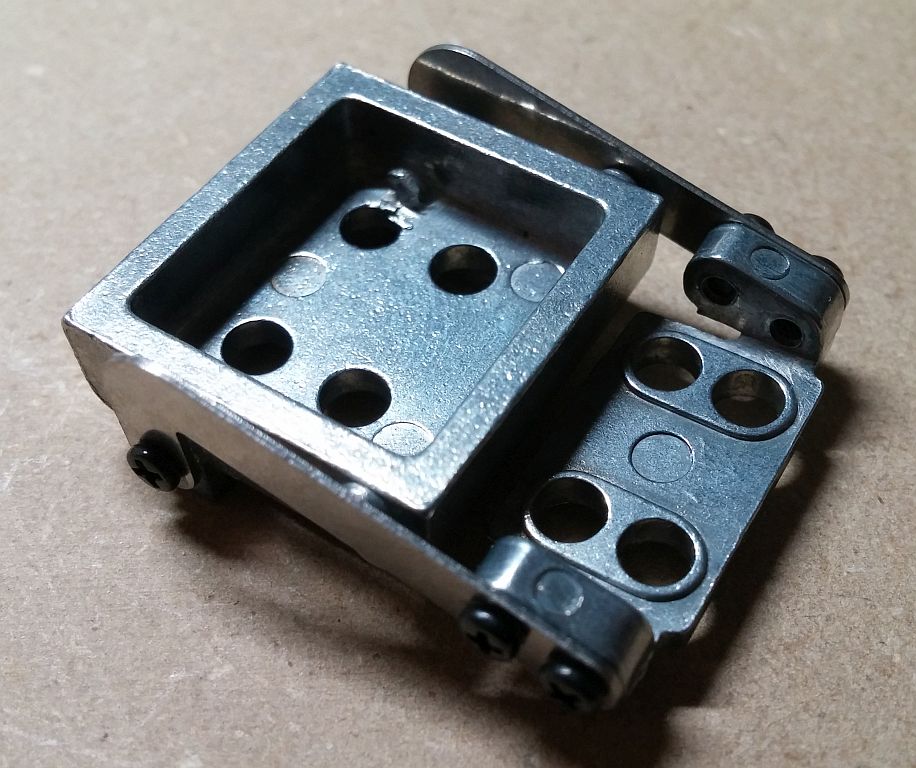
I attached the ramp connector (primed with gray paint to hide it better) to the end of the motor assembly, and screwed the motor into place.
In defiance of the instructions, I DID NOT glue the connector to the ramp. If the motor later turns out to be defective, it will need to be replaced. That can’t be done if the motor is glued to the ramp.
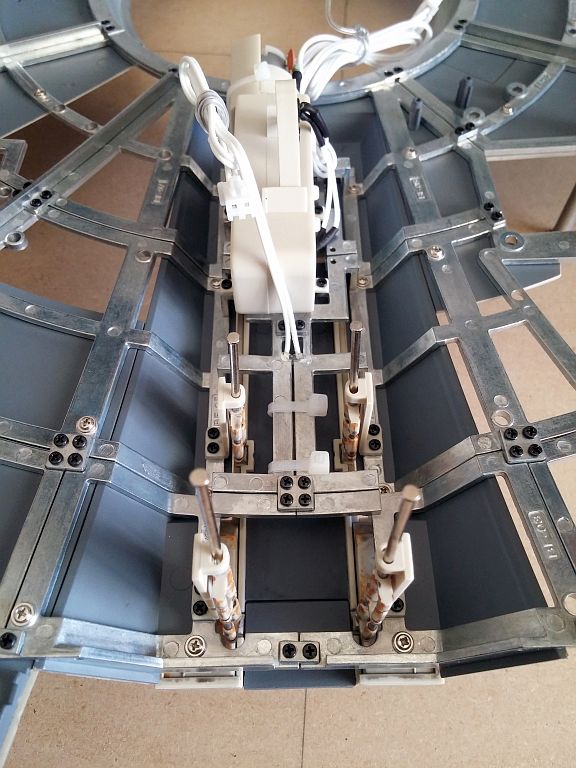
The pistons were glued and screwed into place, making sure that everything faced the right way. The screws were secured with Loctite, which had an unfortunate side effect. The Loctite expanded and lightly cracked the plastic around the screws. But with a little bit of Tamiya Extra Thin Cement, I was able to melt the plastic back together.

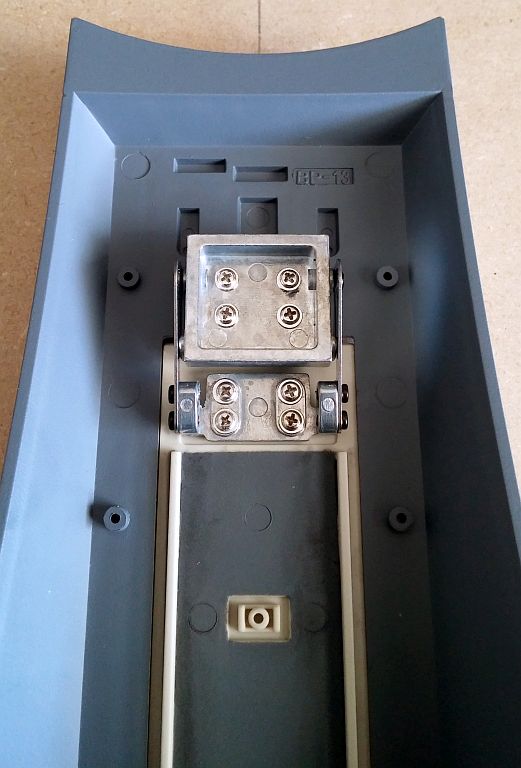
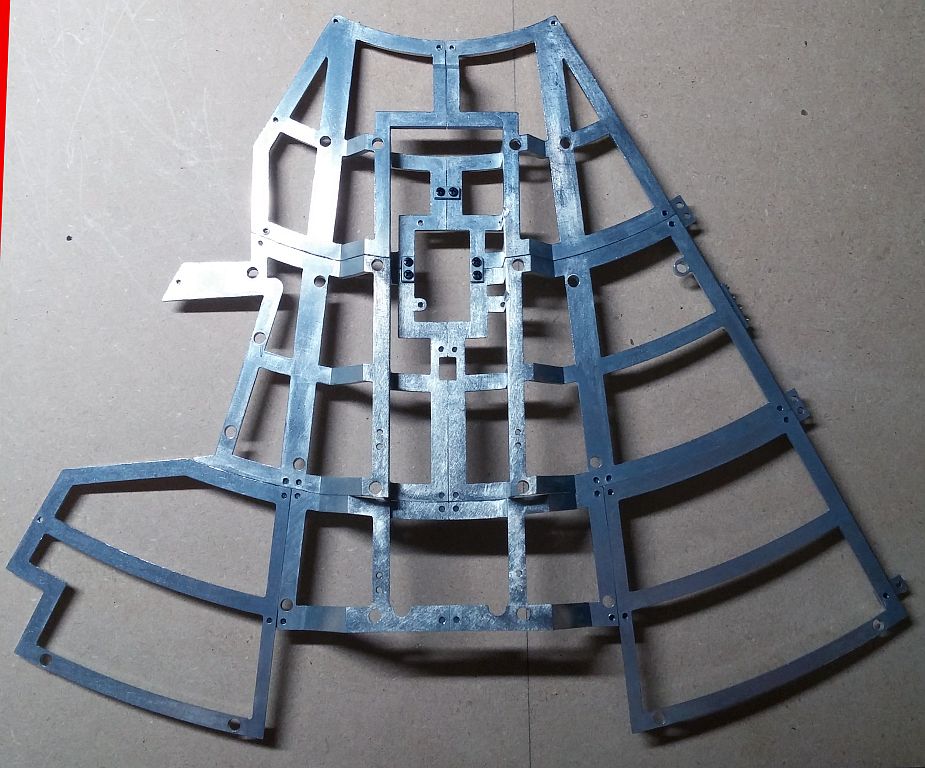
With the boarding ramp finally assembled, I screwed the framework into place. Lastly, I glued some surface detail parts to the center mandible.
Prev Journal Entry | Next Journal Entry
Both the post author and this website have not received any compensation for writing this post. Both the post author and this website have no material connection to the third-party brands, products, or services that have been mentioned. Some of the links in the post above are “affiliate links.” This means that if you purchase the item, we will receive a commission. As an Amazon associate, we earn from qualifying products. This is being disclosed in accordance with the Federal Trade Commission’s 16 CFR, Part 255: “Guides Concerning the Use of Endorsements and Testimonials in Advertising.”
Do you have a thought about this post? Why not leave a comment . . .