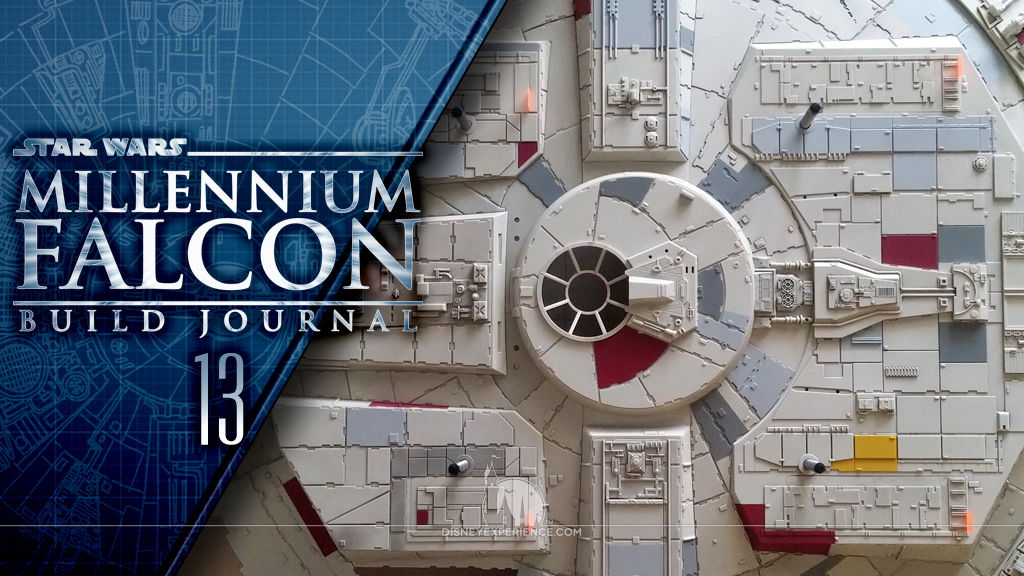
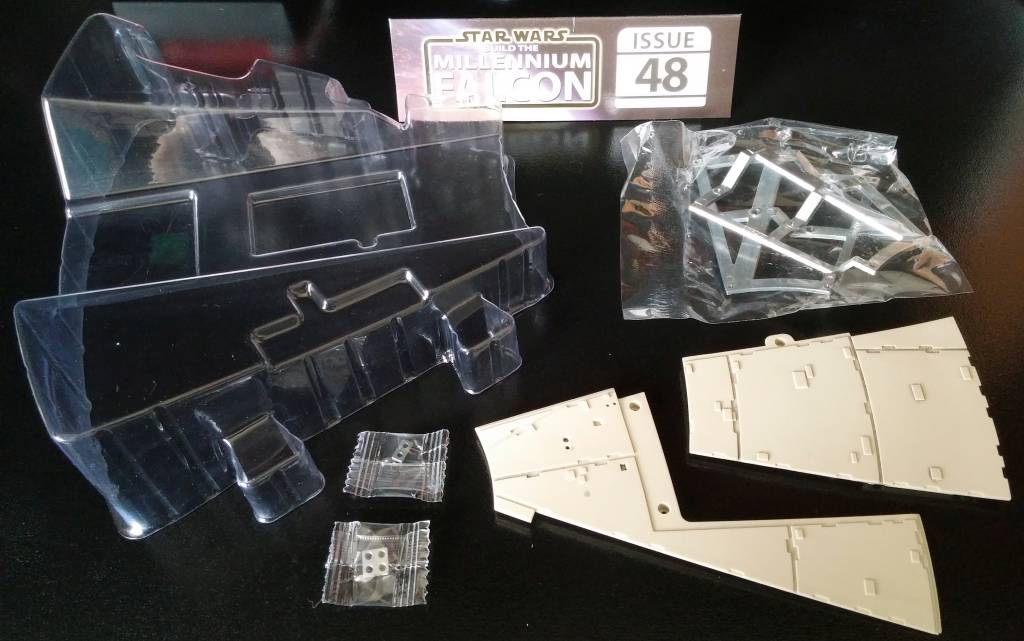
Millennium Falcon Build Journal No. 13: Issues 45-48
![]() Trader Sam | April 17, 2016
Trader Sam | April 17, 2016
The Arrival
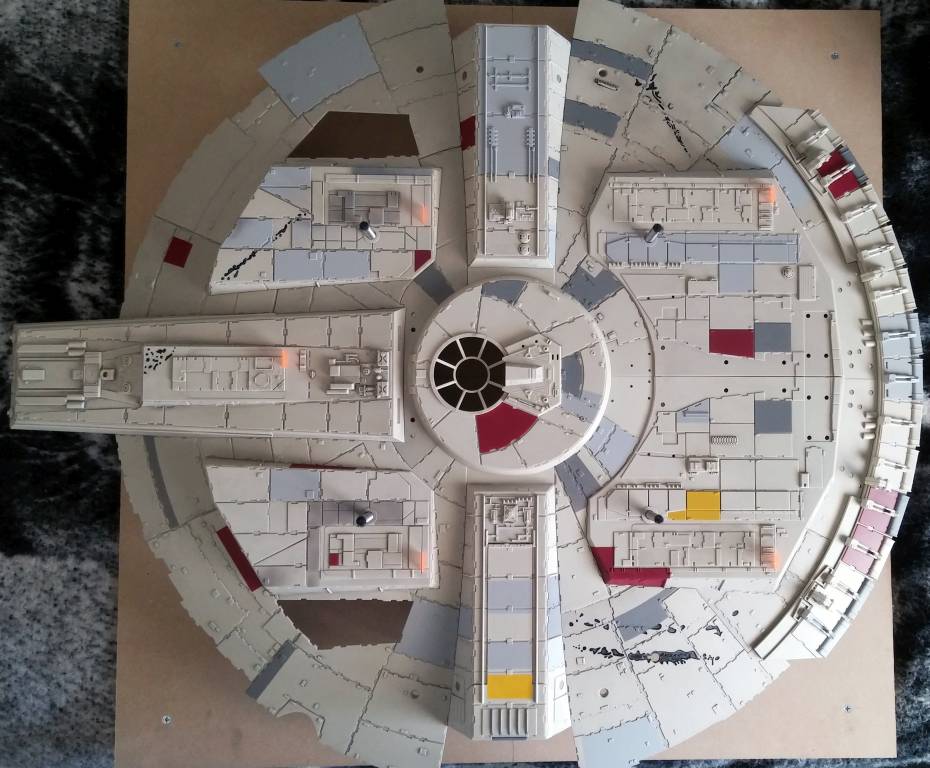
Officially, the final details (aside from the landing struts) get assembled in issue 56. But, I do have all of the parts to complete the hull, so I jumped ahead and assembled them.
The Model Space forum has its own build diaries, separated by issues. I followed issues 49 and 56 to complete the hull so that I could get on with painting and weathering.

Assembly
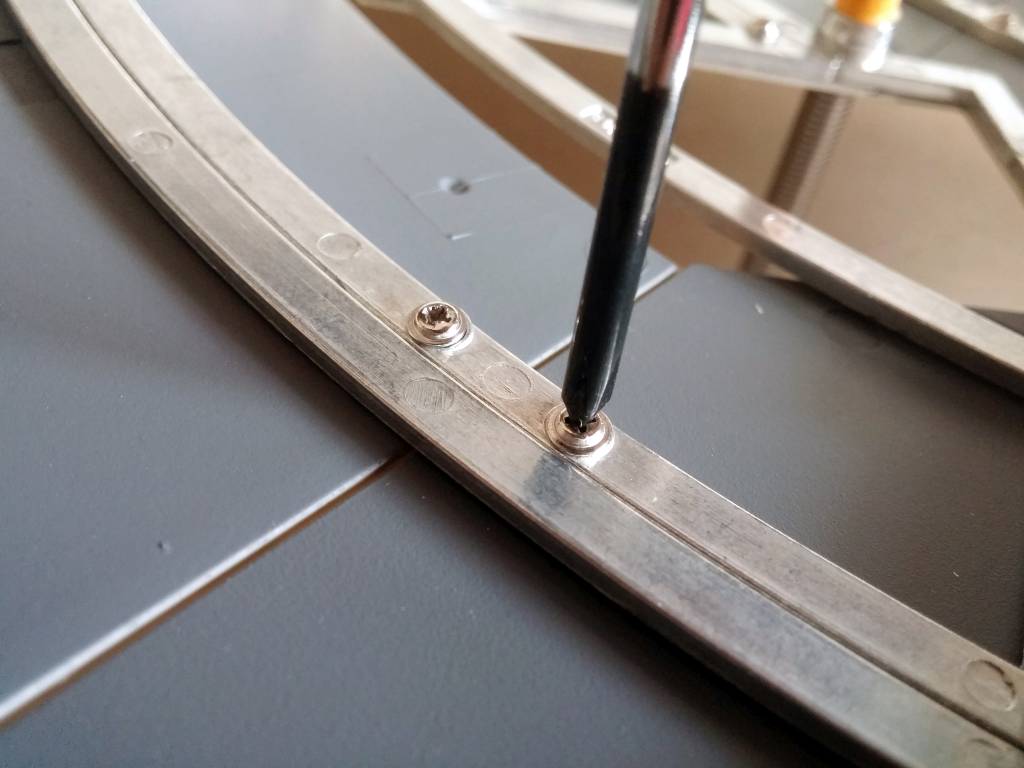
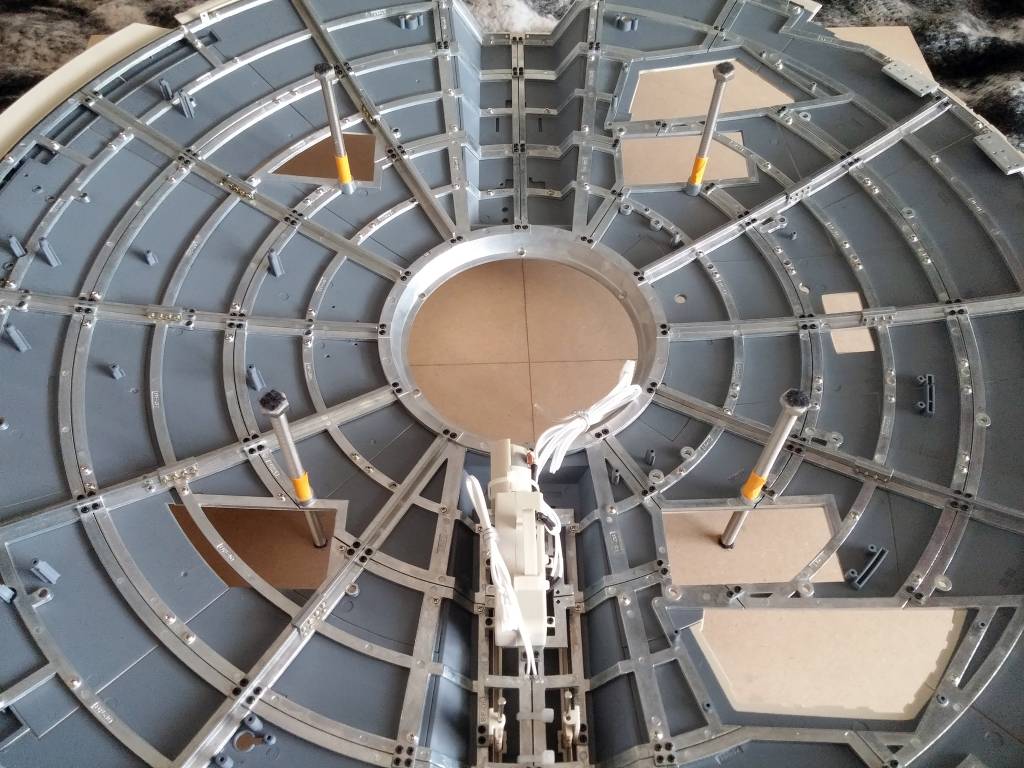
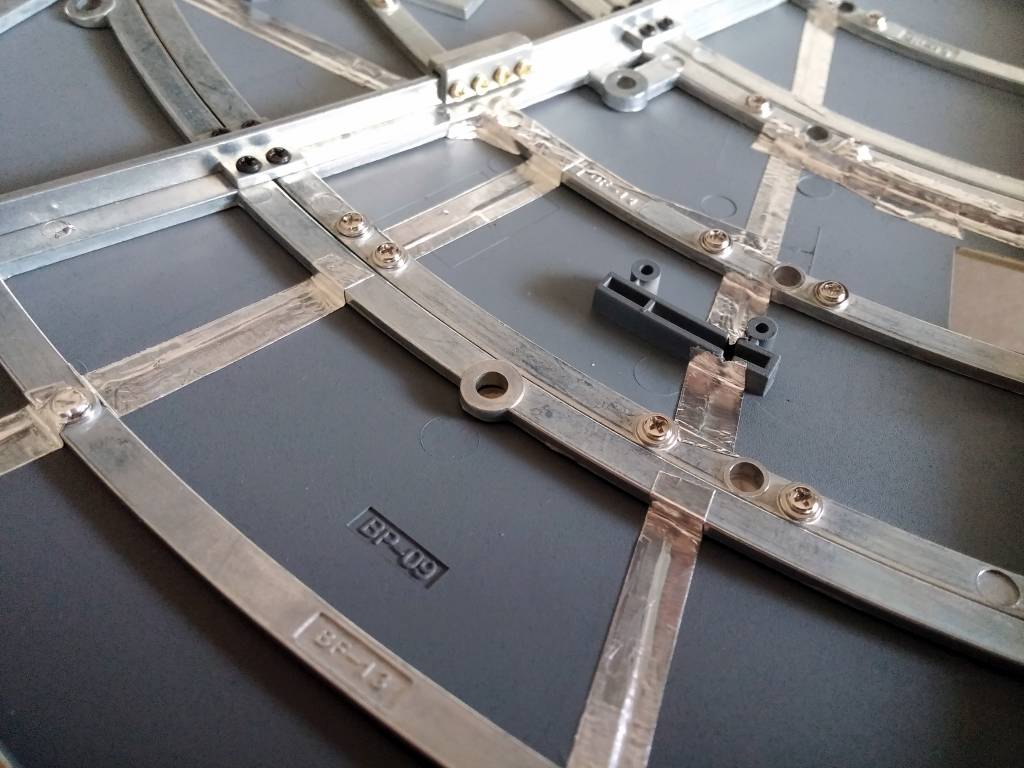
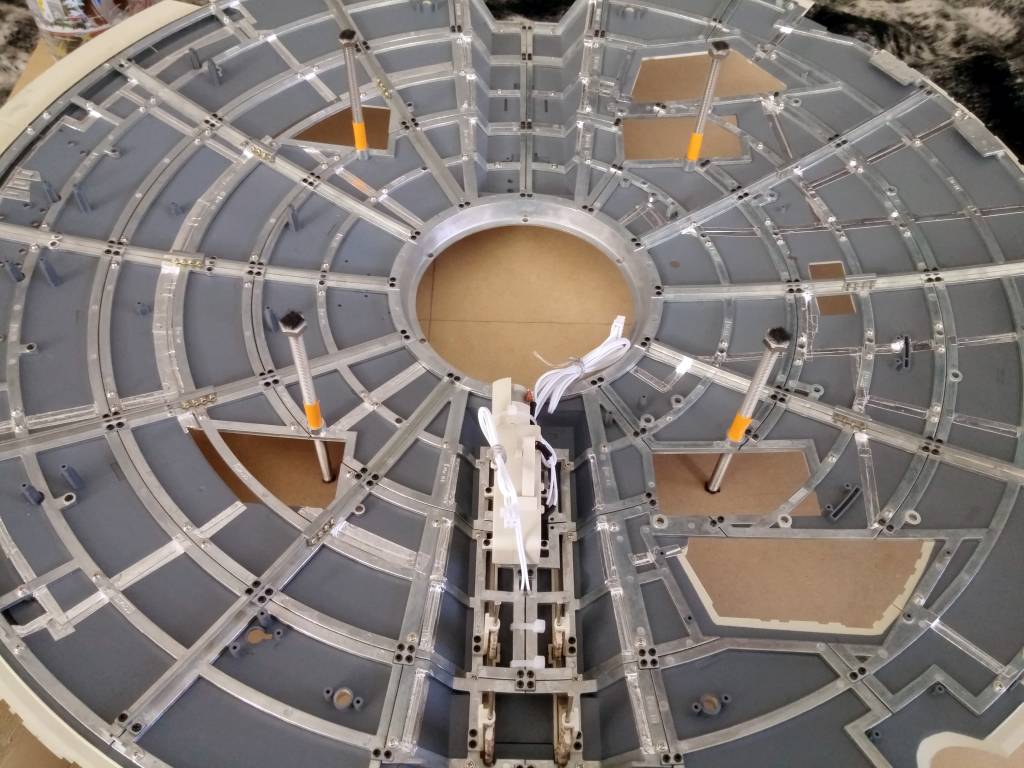
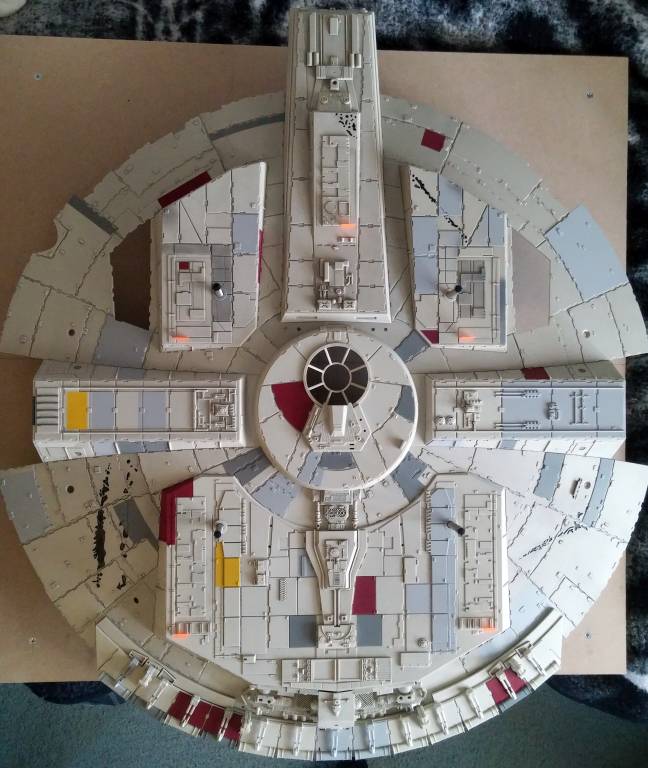
First thing’s first. I permanently screwed on all of the hull panels, which did take a while. Next time, I think I’ll screw on the upper hull panels as I get them since they seem to arrive in the order that they are placed.
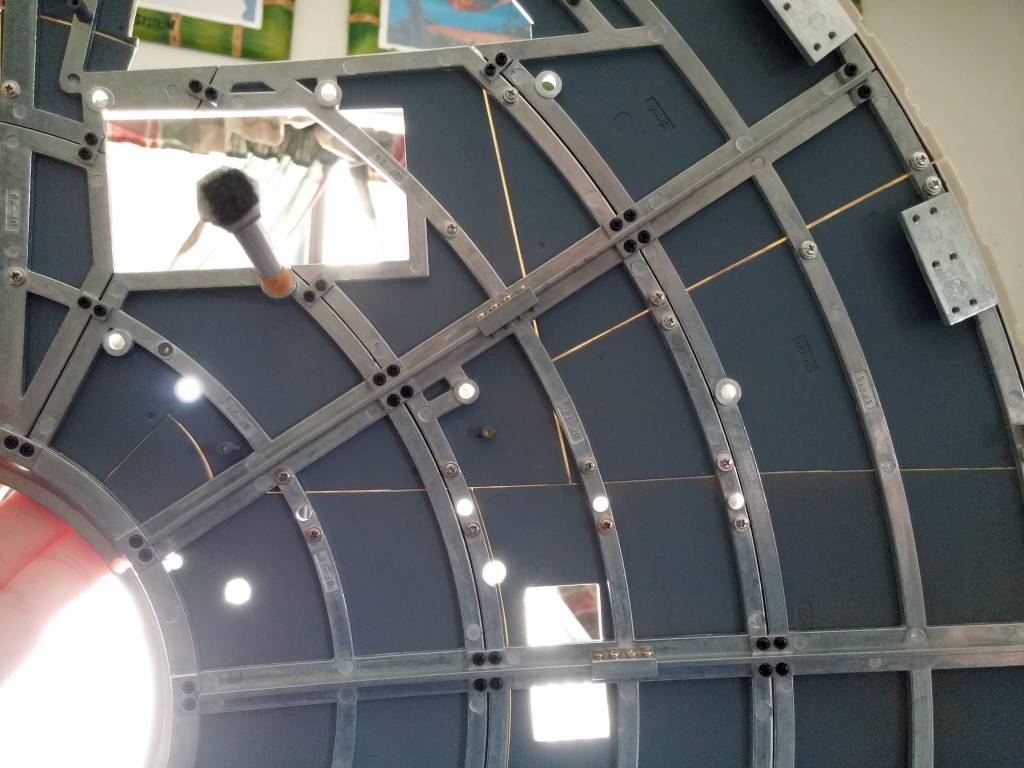
Next, I had to deal with some nasty light leaks that appear along the panel joins. Aluminum tape to the rescue! This, too took a long time.
Both screwing and applying tape were kind of relaxing, though.
Painting
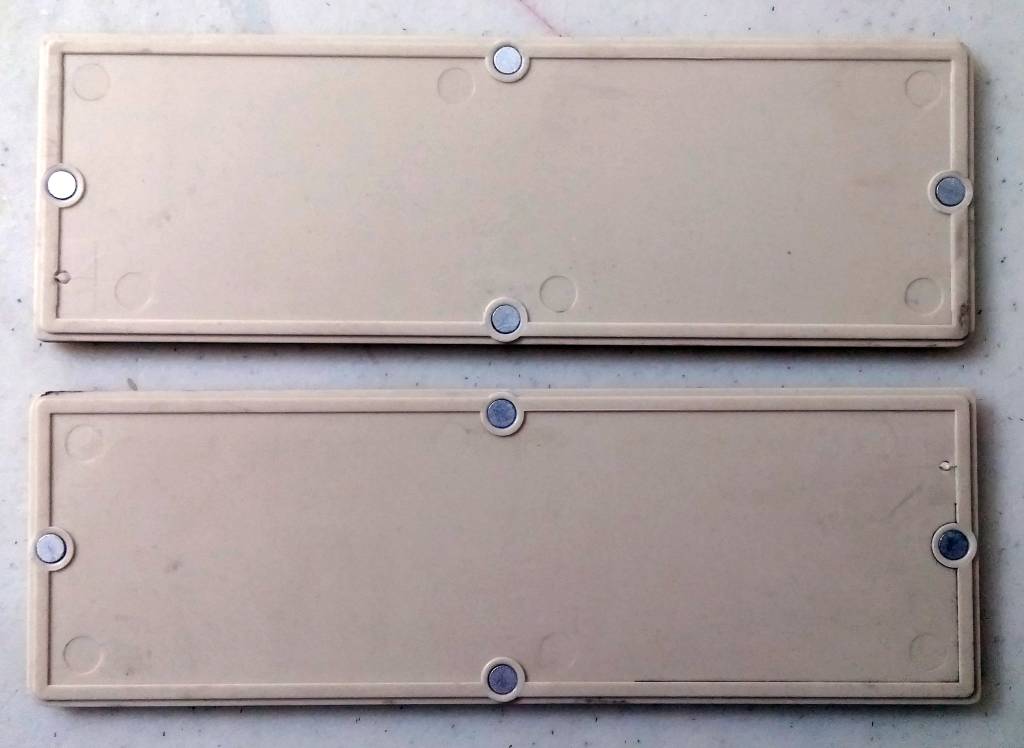
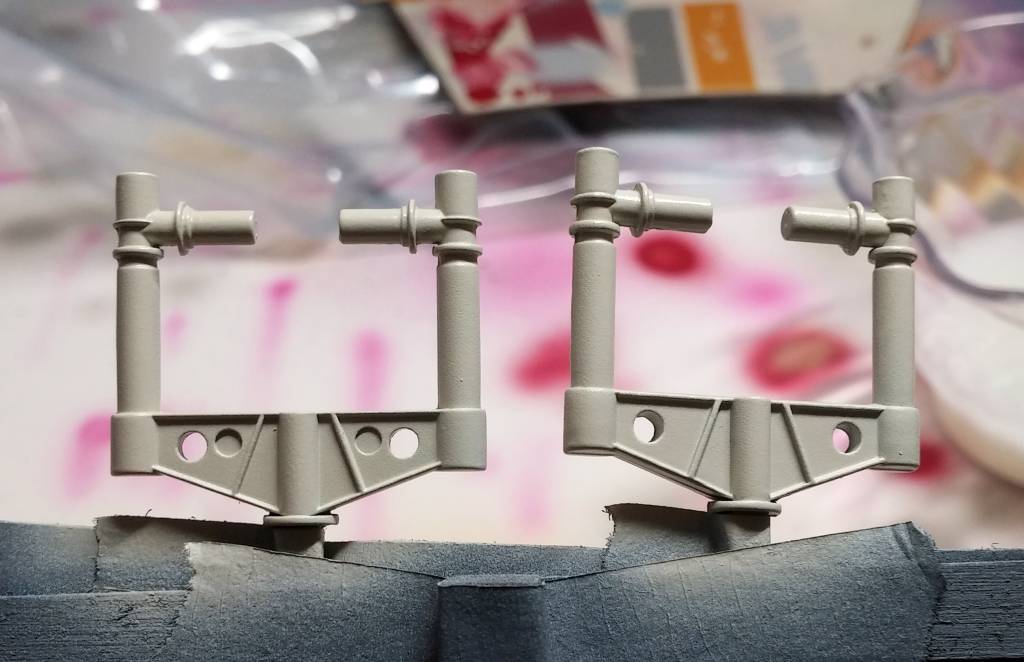
Before painting, I assembled the remaining two magnetic landing strut doors. I also added temporary bits of tape to the doors to create easy-to-grab pull tabs. It makes removing the magnetic plates WAY easier!
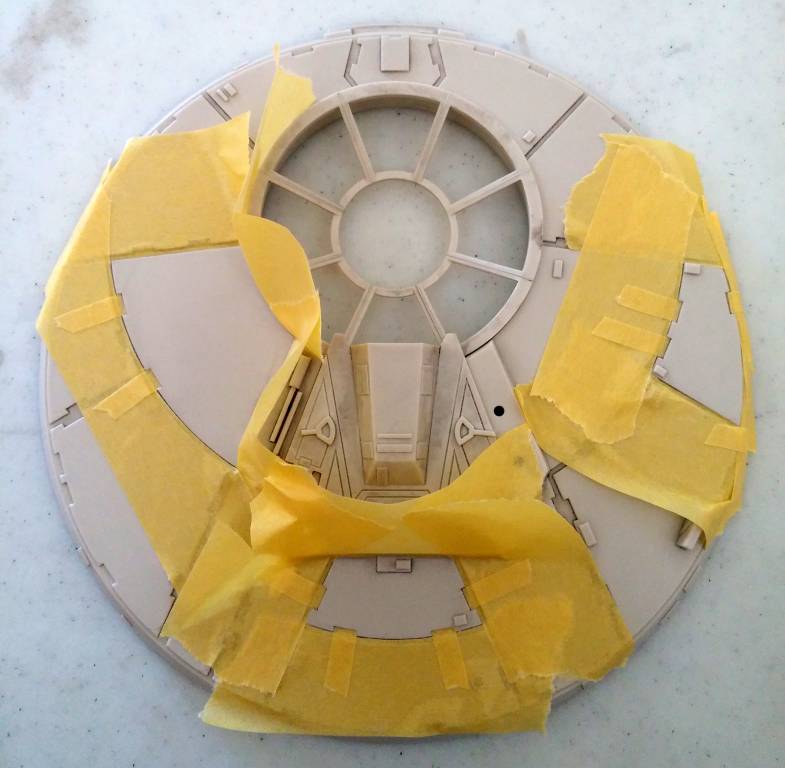
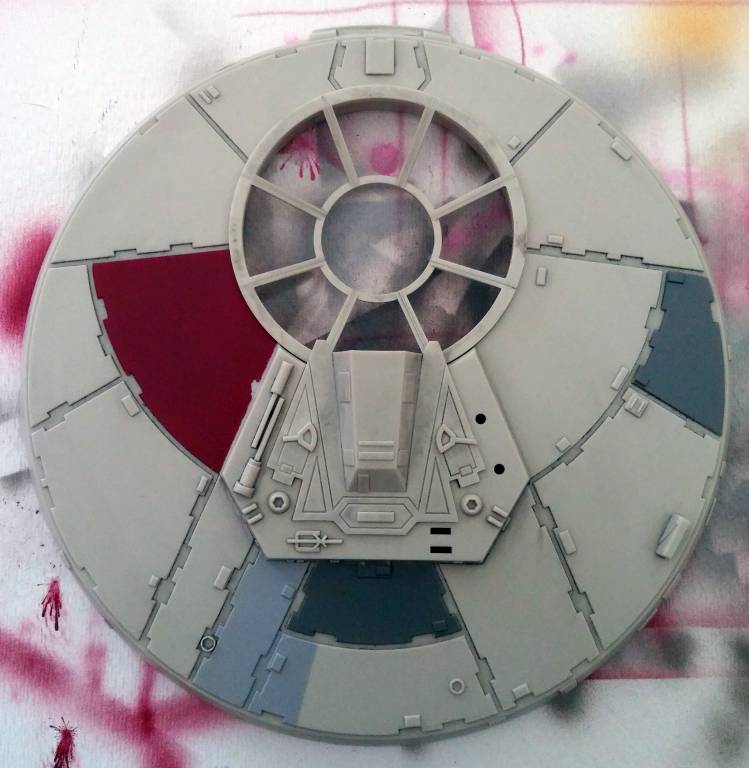
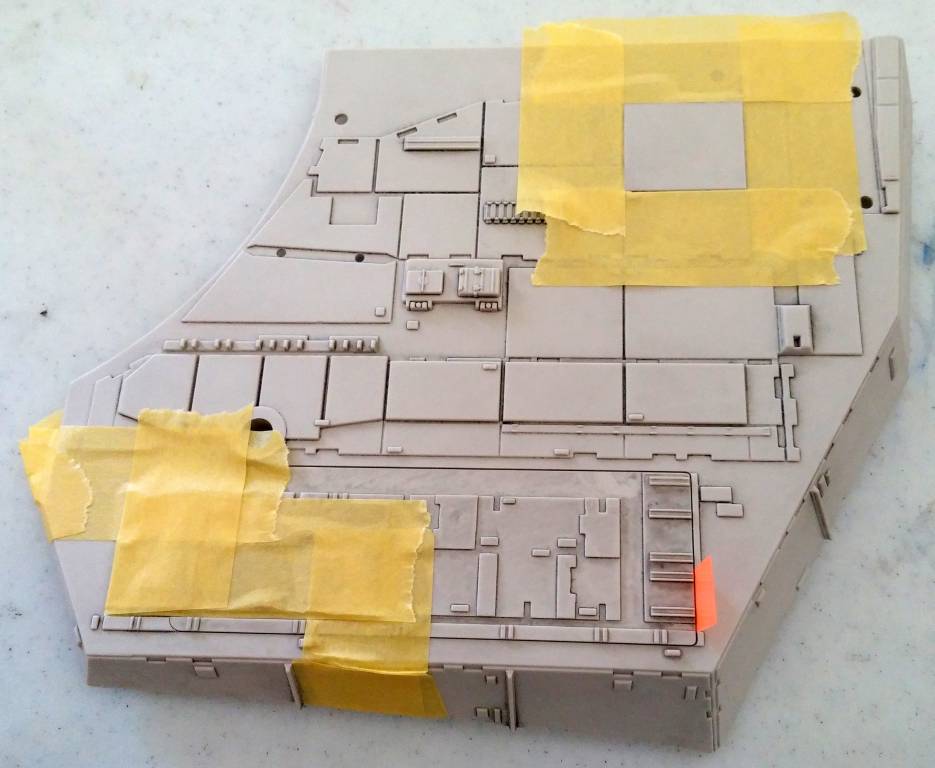
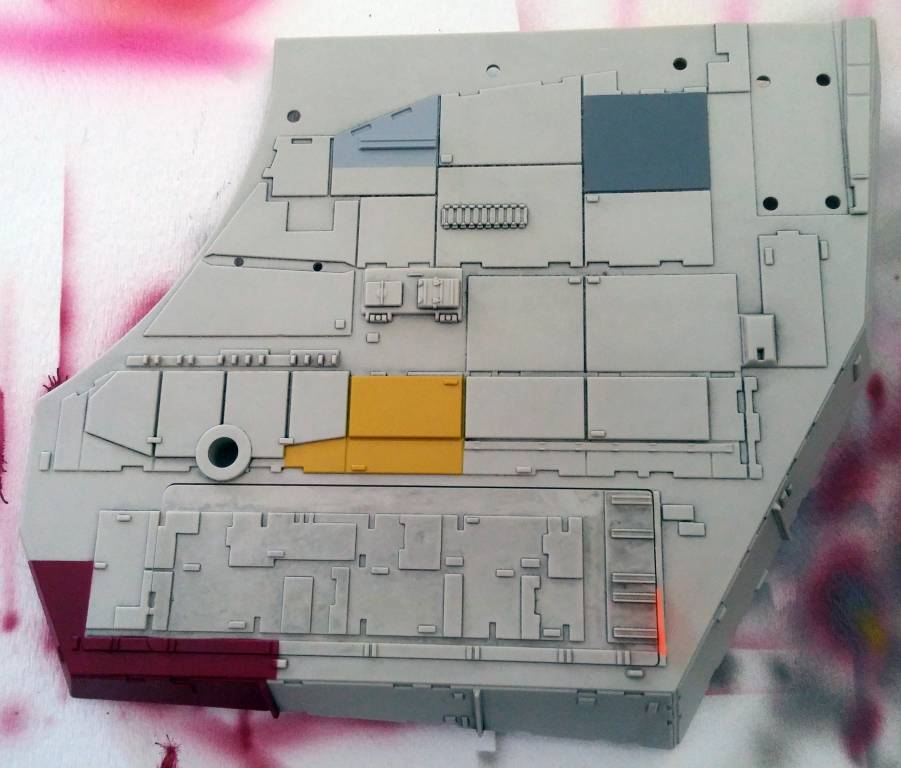
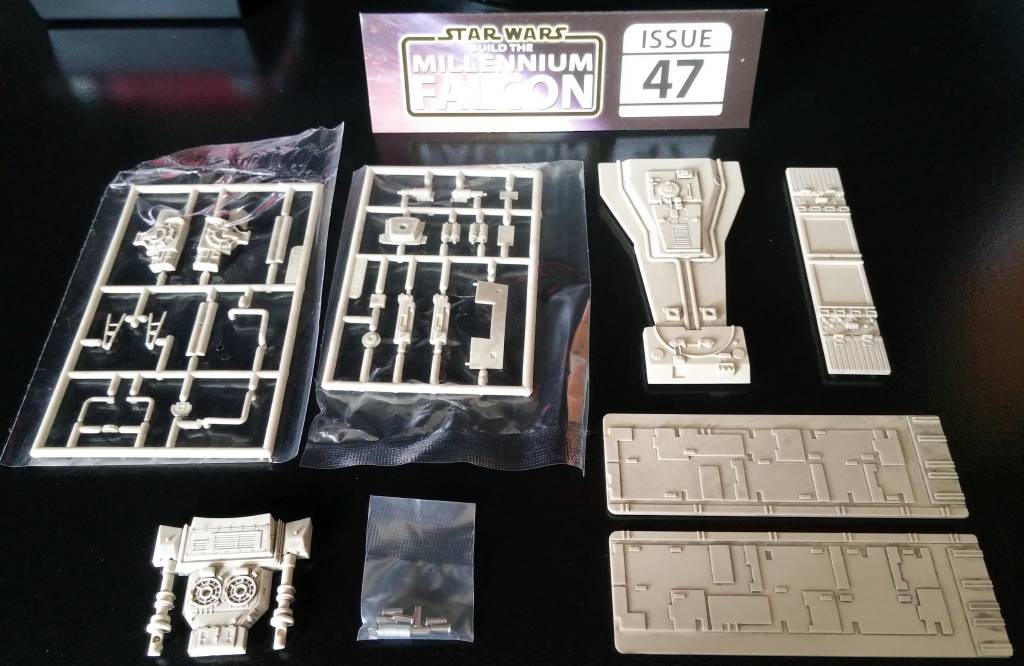
The two large hull parts had their hull markings painted on before finally screwing them to the hull. From here one, there are only plant-on details to be added.
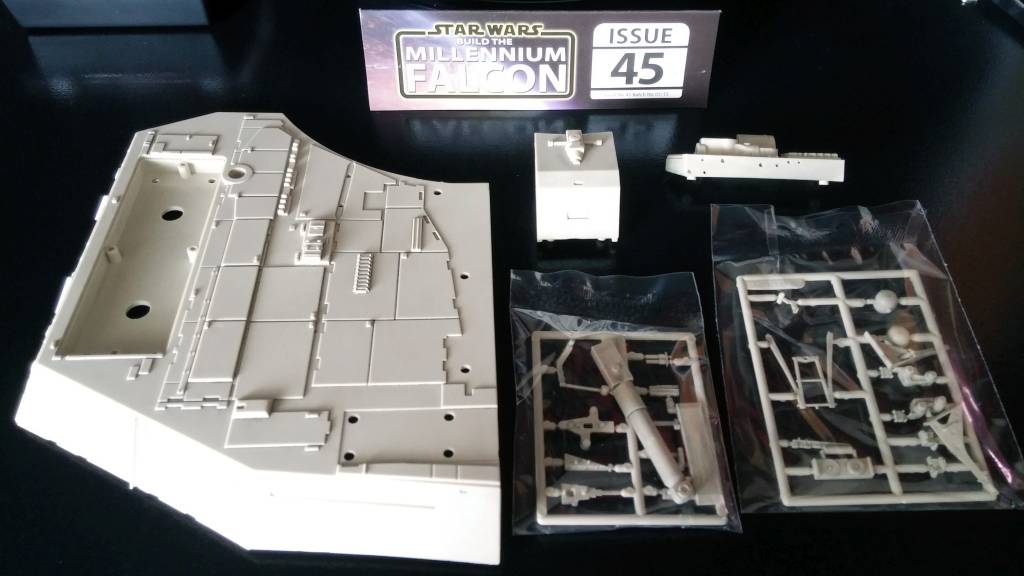
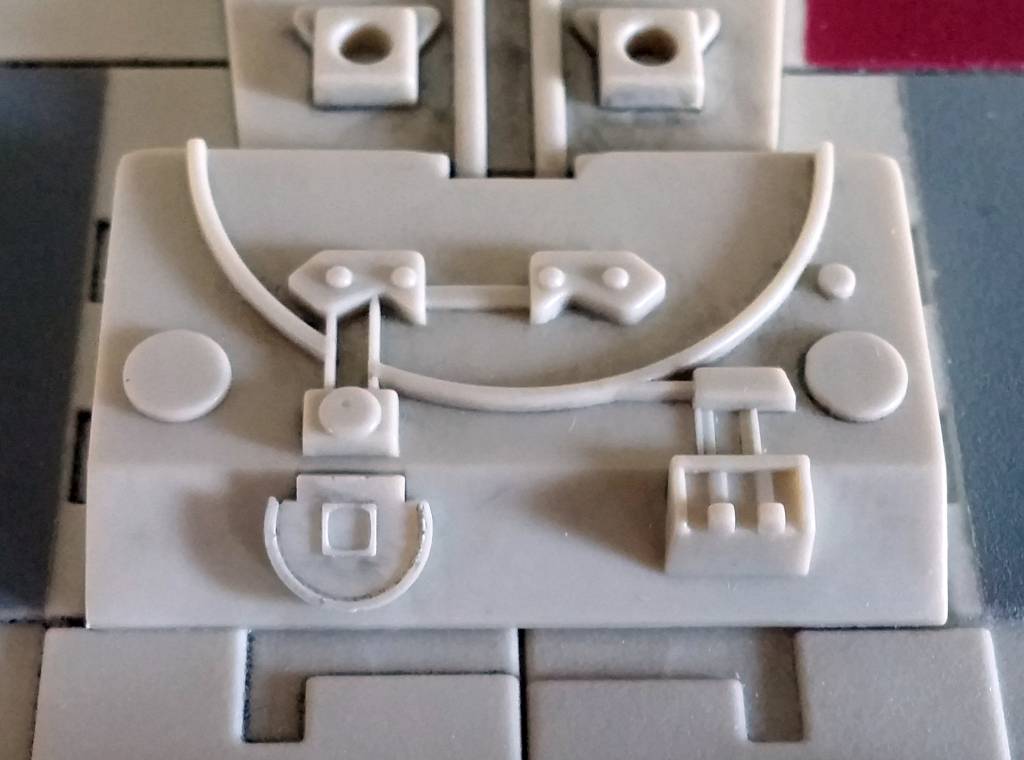
Now that I have all of the parts for both of the laser cannons, I assembled them for future detailing.
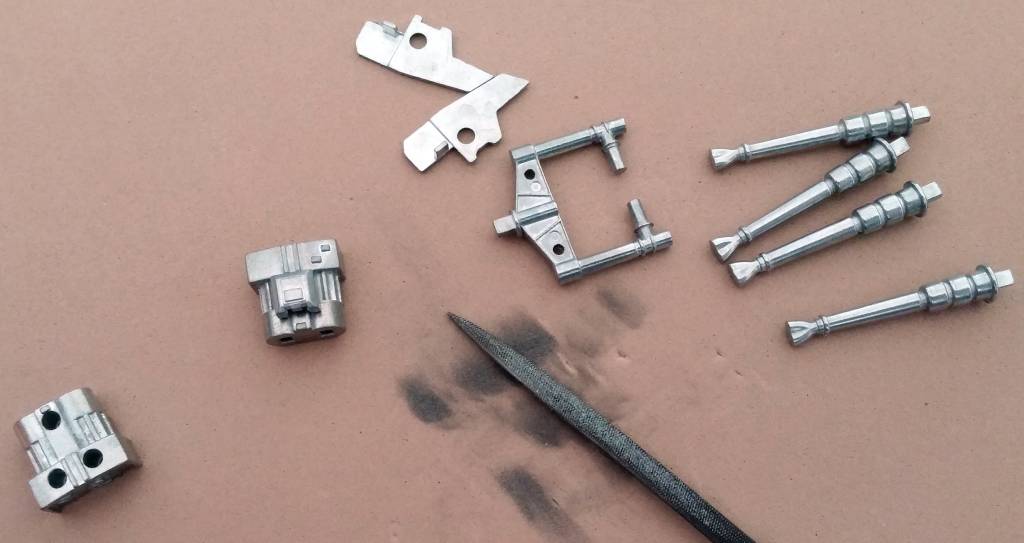
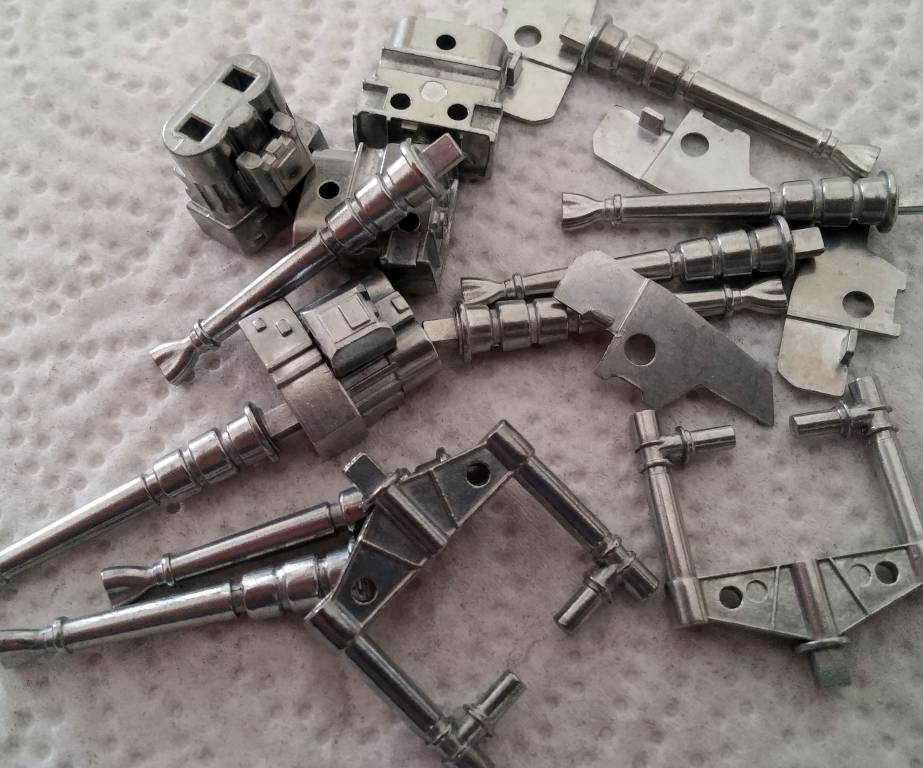
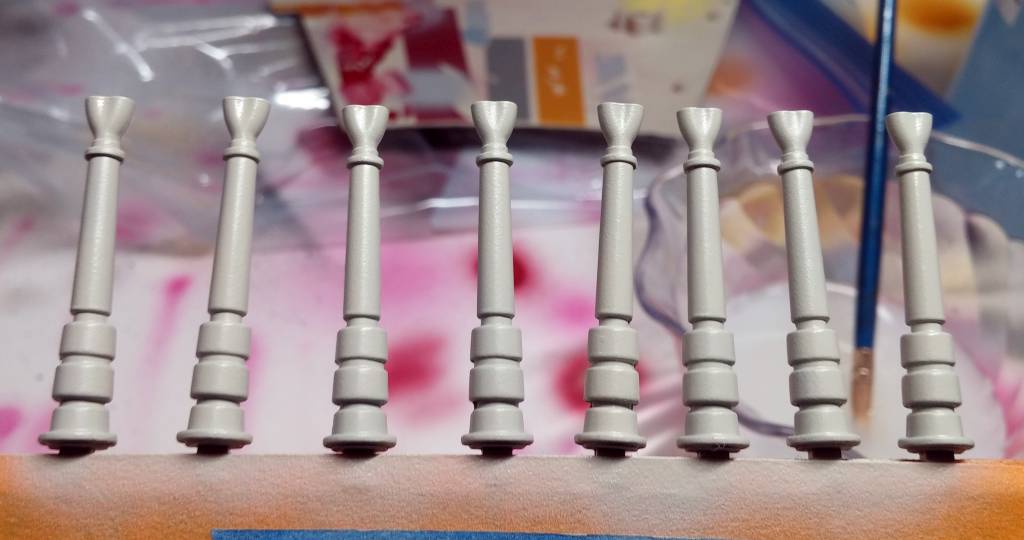
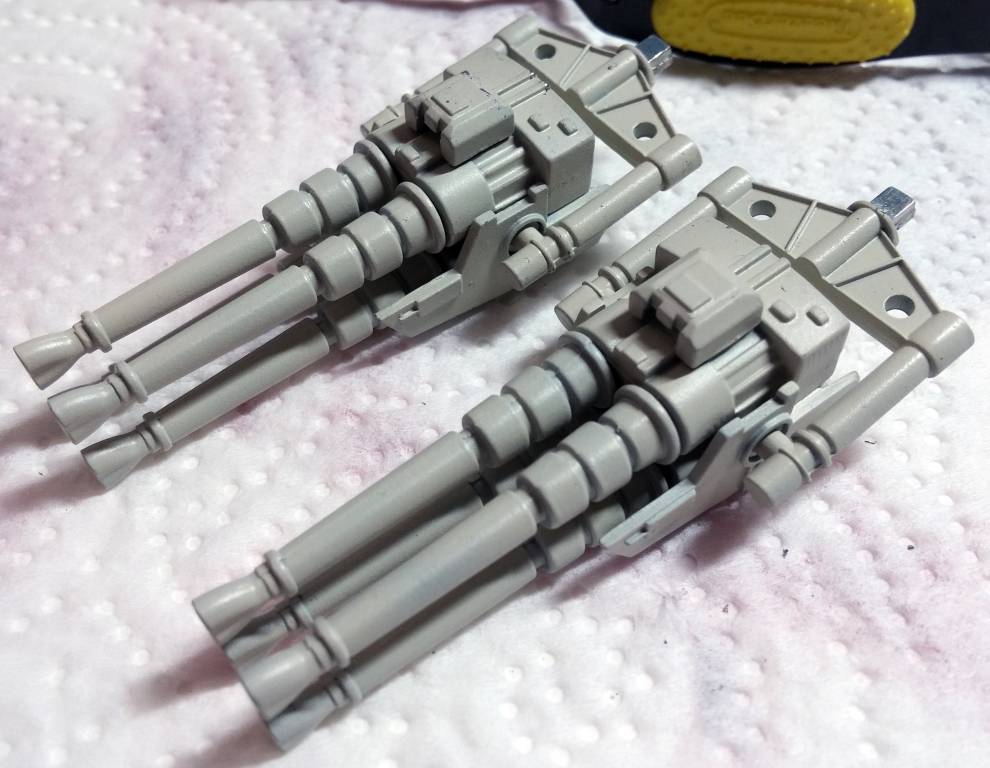
After filing off the excess flash, I cleaned them with warm, soapy water. I did speak to a Model Space representative, and they did confirm that the die-cast metal parts will rust with exposure to moisture. So, I thoroughly dried every piece immediately after I washed it. From there, I primed, painted, and assembled the individual pieces.
One cannon did not want to go together properly, so some of the paint started coming off. That’s what I get for being impatient and not waiting a couple of days for the primer and paint to cure. But, it’s not too bad, and it will help with the weathering effects that I will apply at a later date.
Assembly
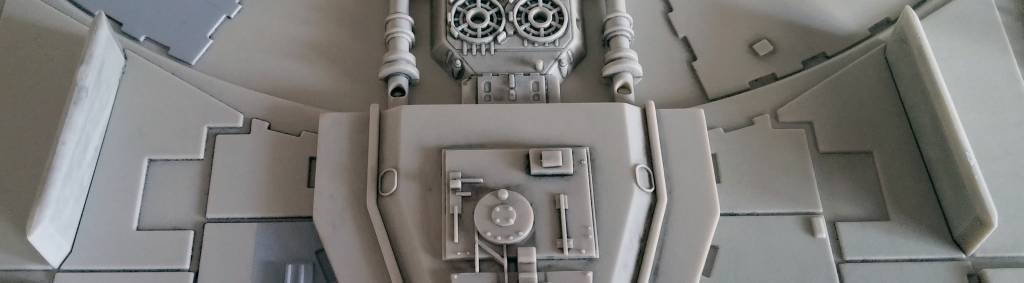
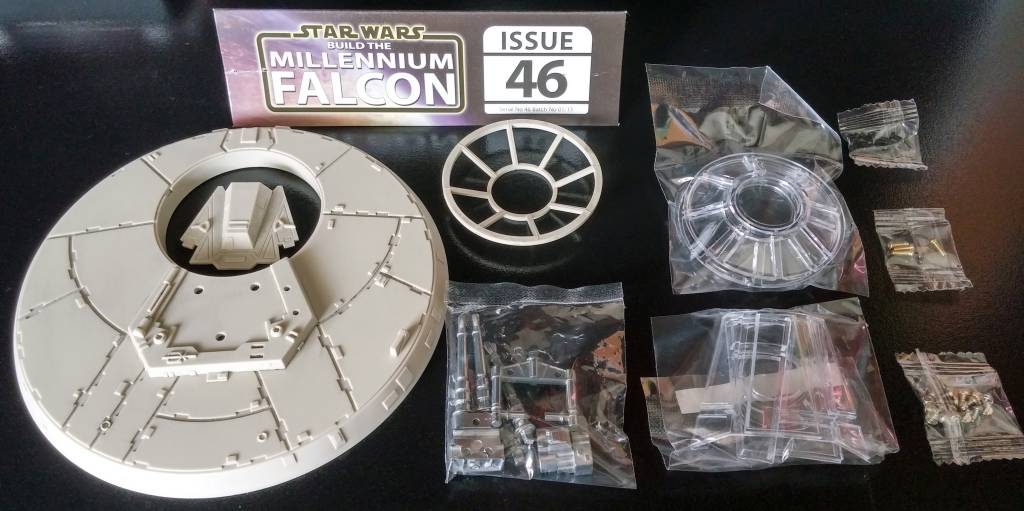
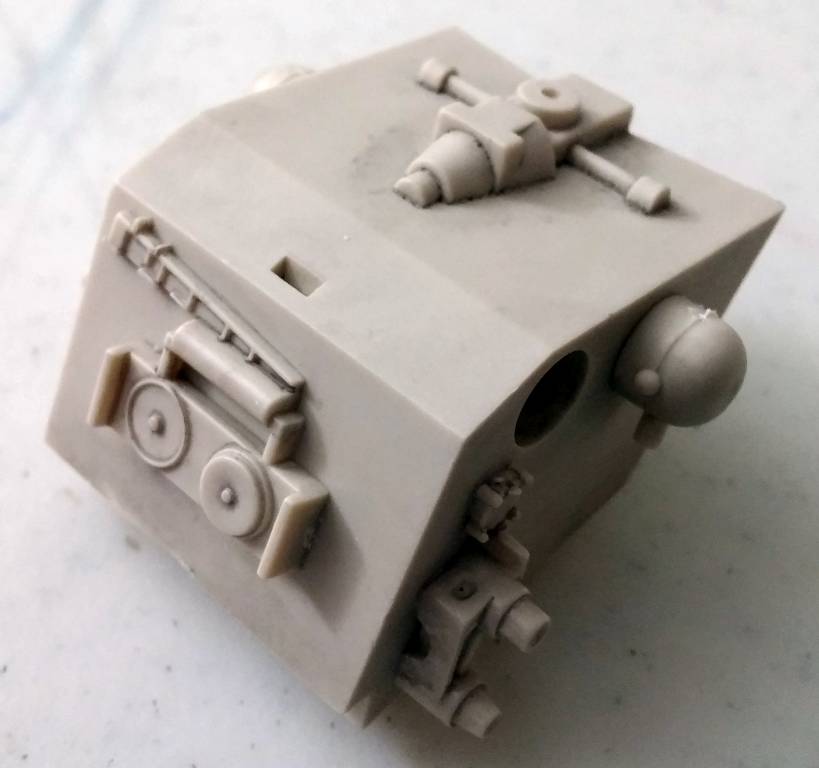
I started adding the final details, beginning with the rear of the ship. Most of these parts simply glue into place.
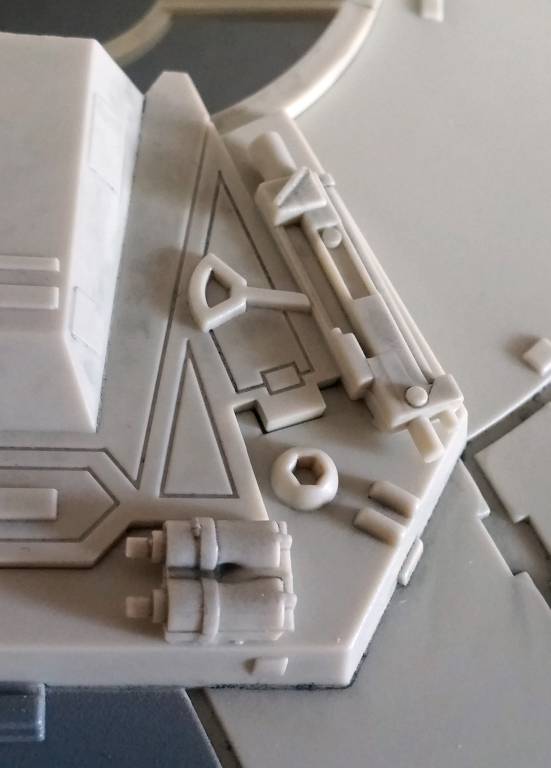
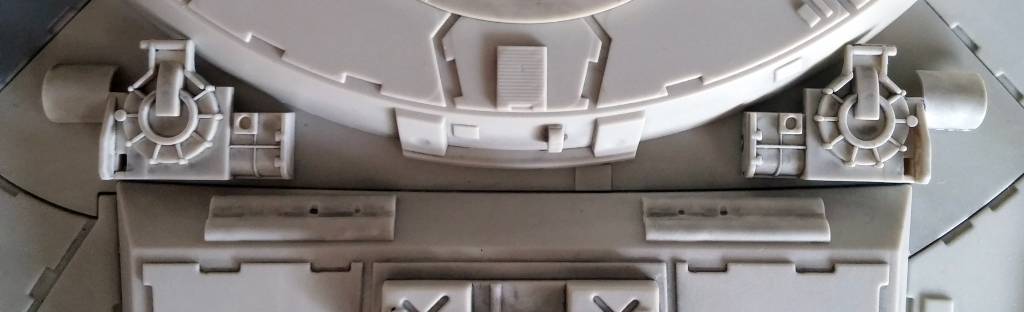
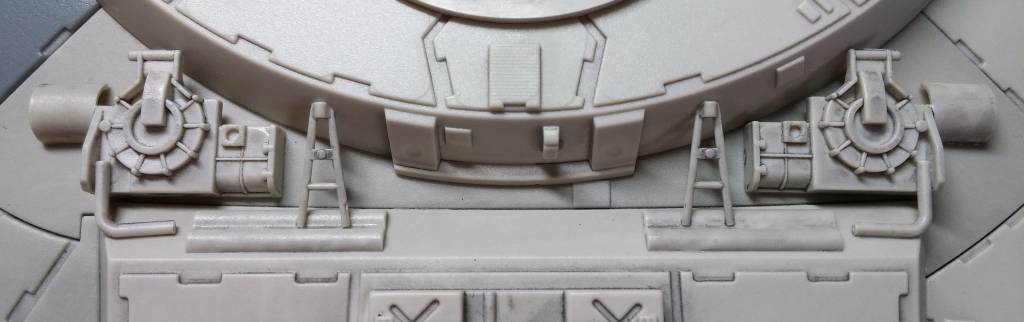
The rear machinery, on the other hand, needed some assembly.
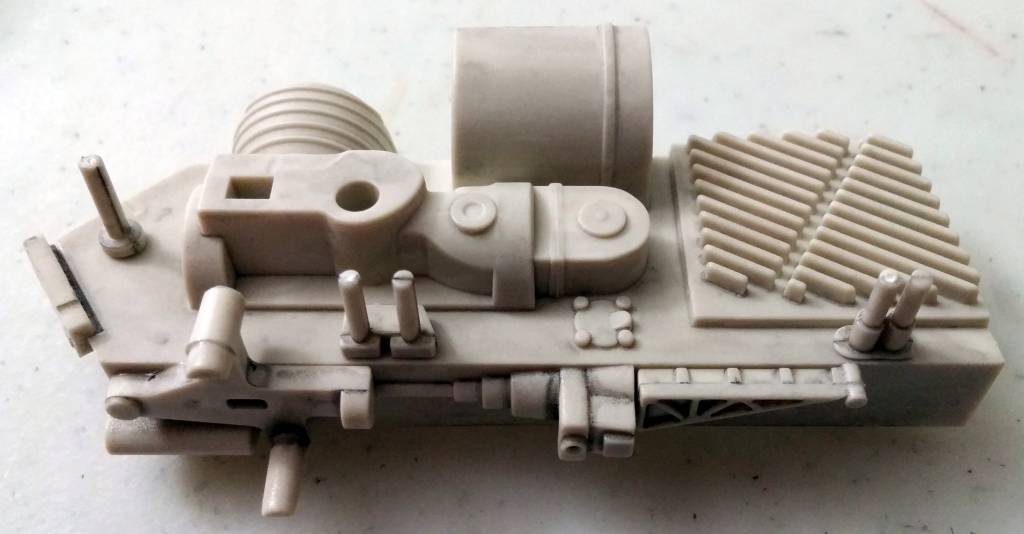
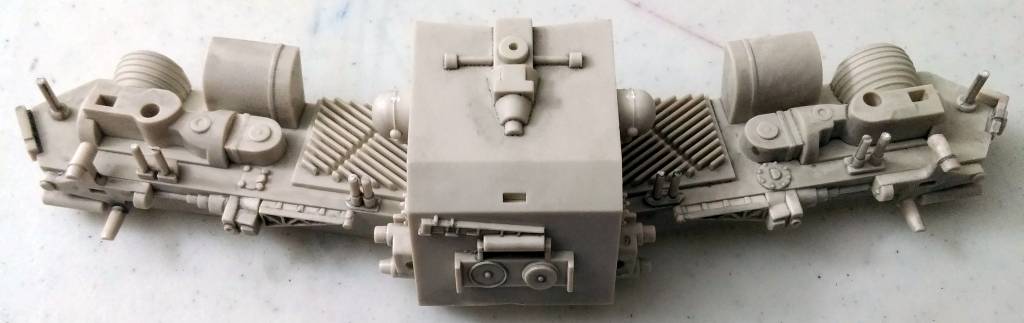
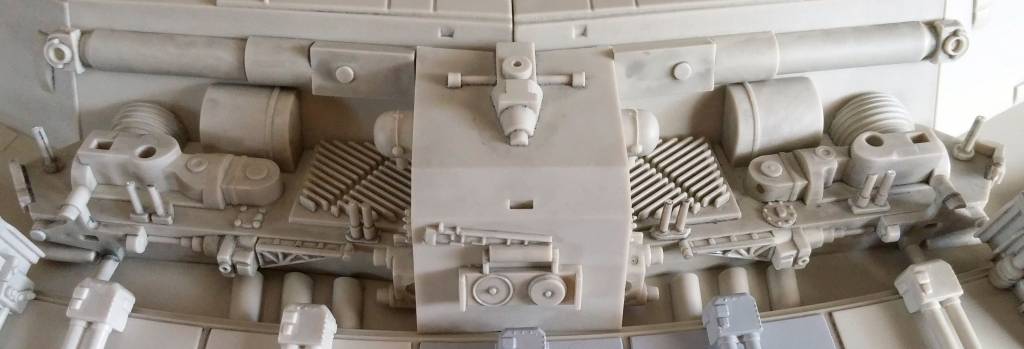
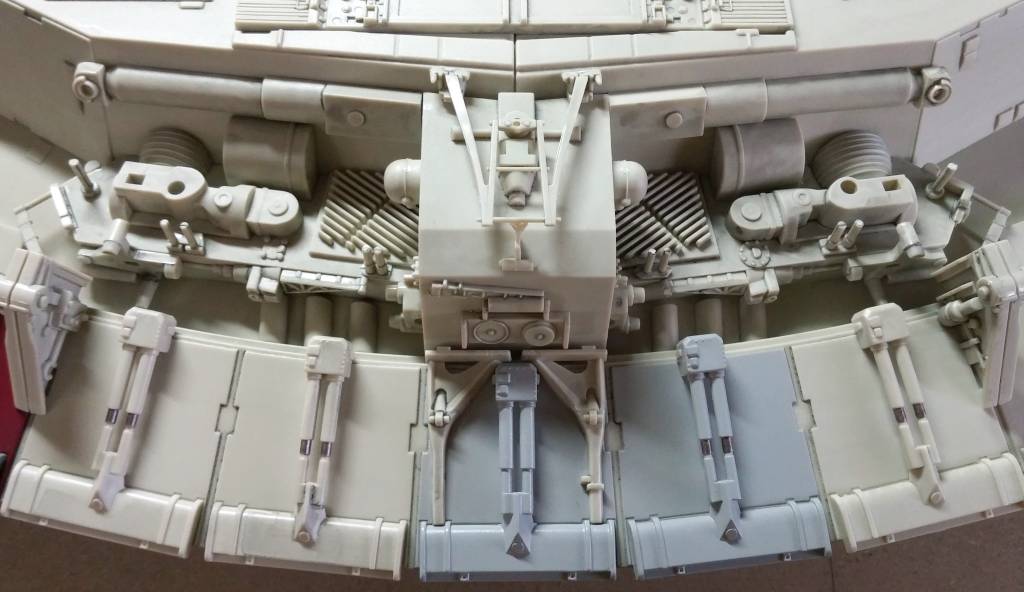
The machinery has some fine details, and some parts are fragile, so taking my time paid off. In the end, there are now several delicate parts that stick out precariously. I’ll have to be careful while handling the ship lest I start breaking off parts.
Customization & Weathering
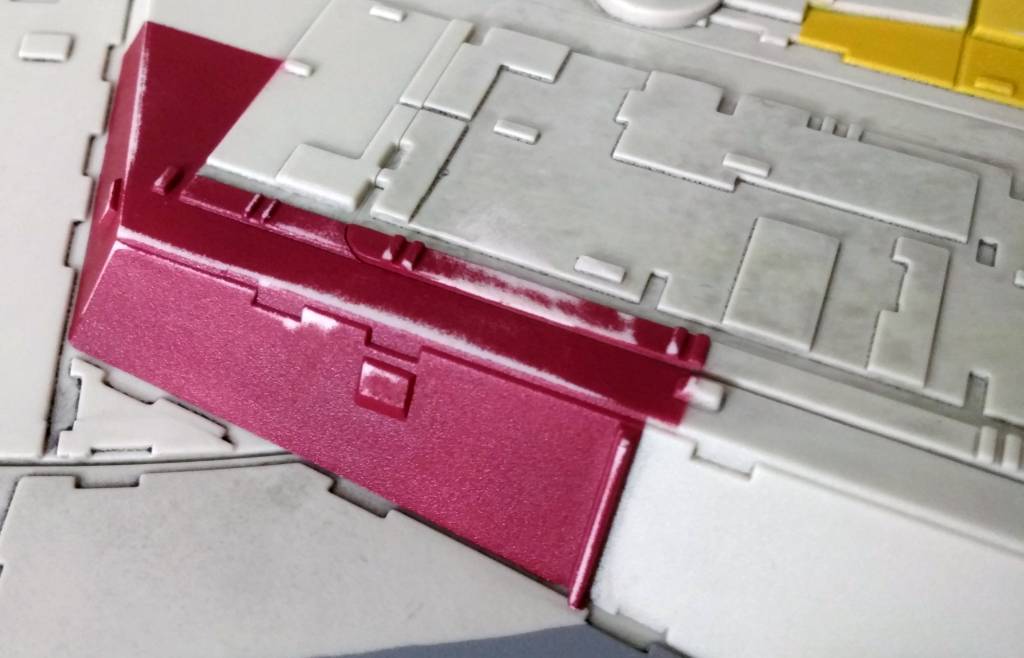
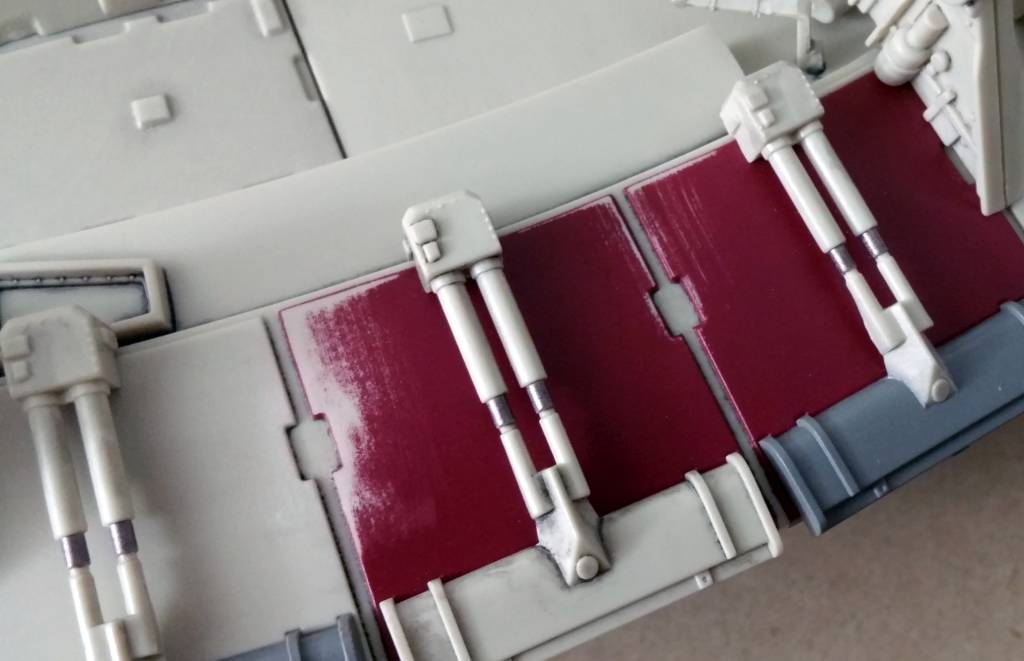
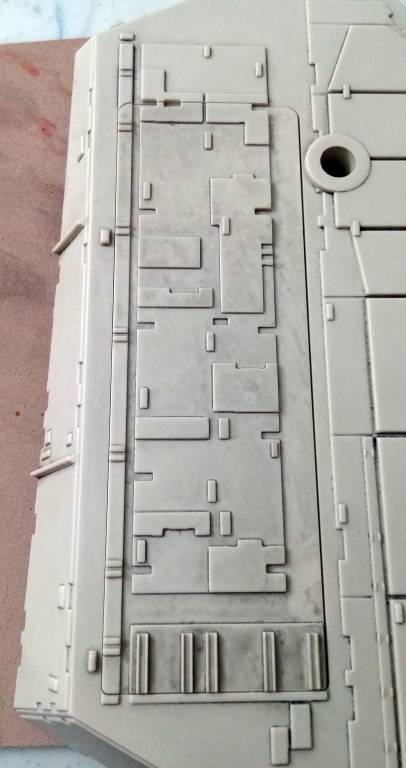
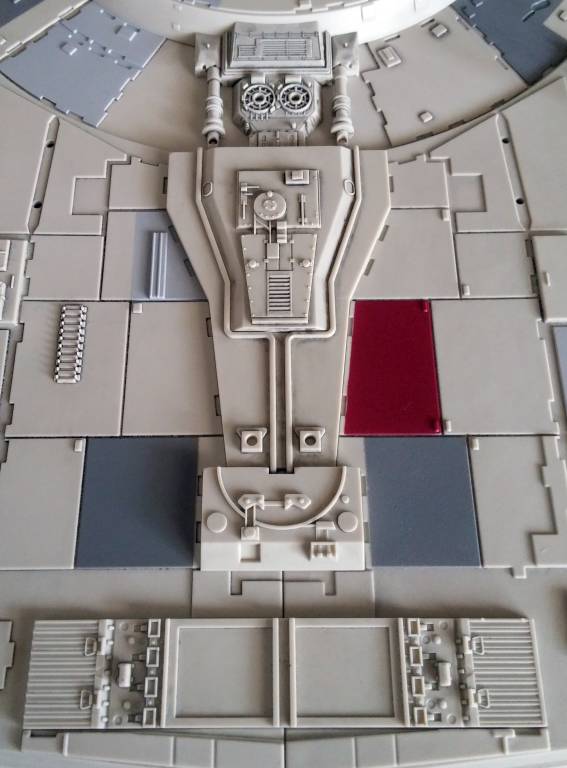
With all of the lower hull parts in place, I added some damage to the hull markings using some sandpaper.
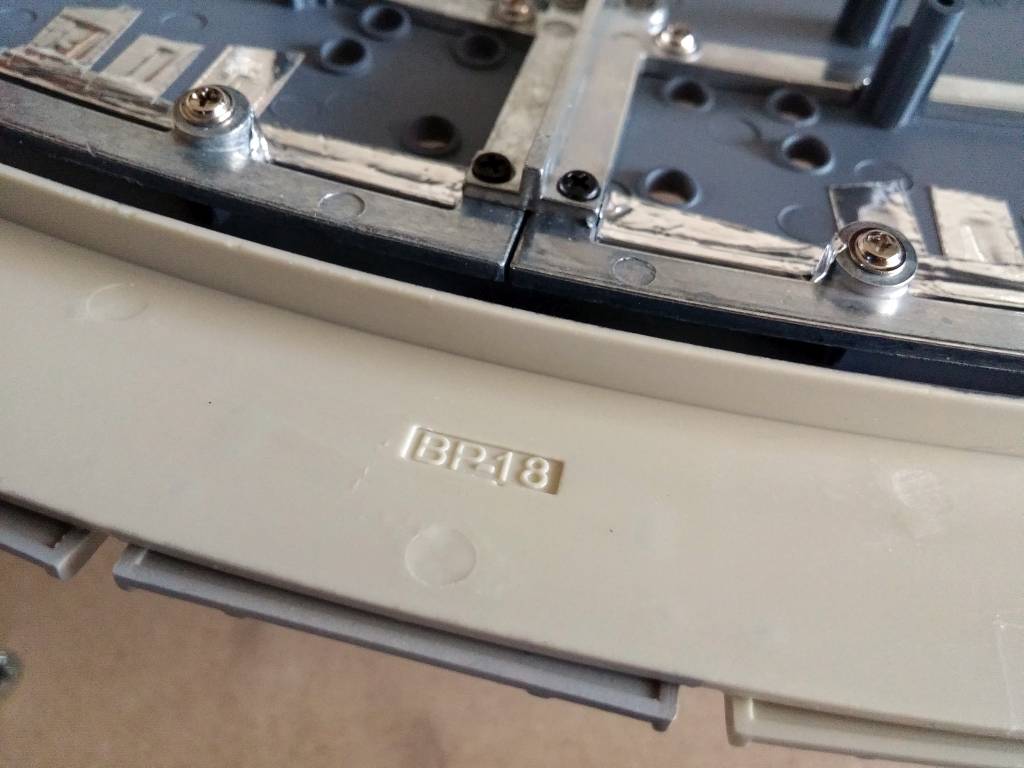
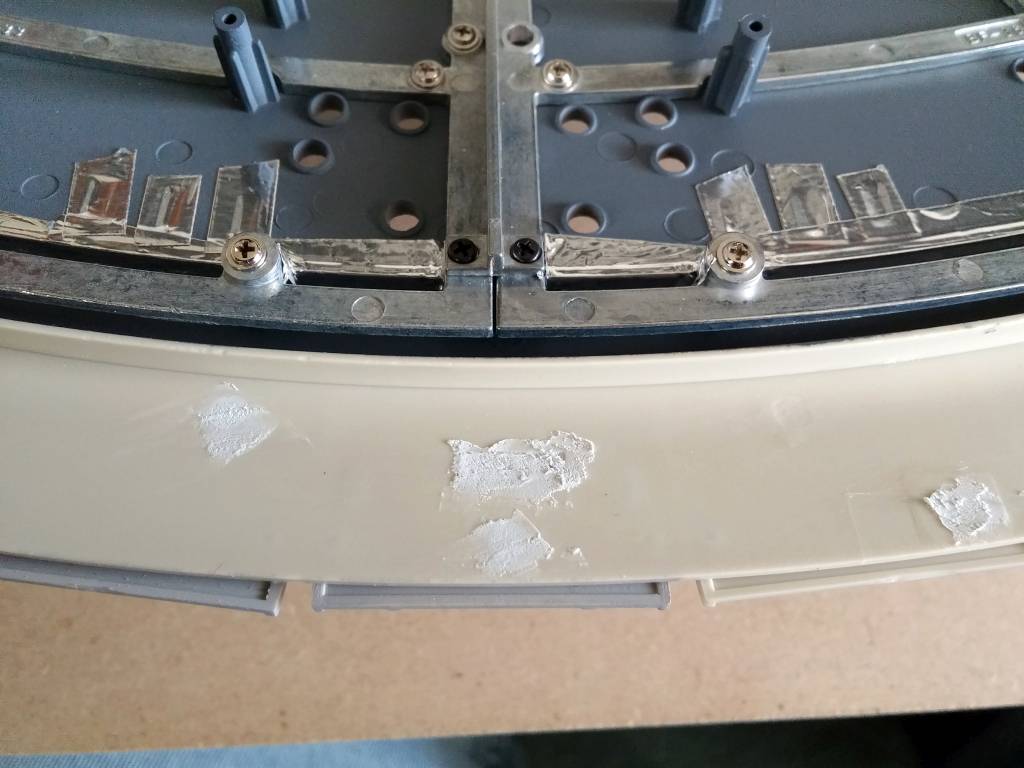
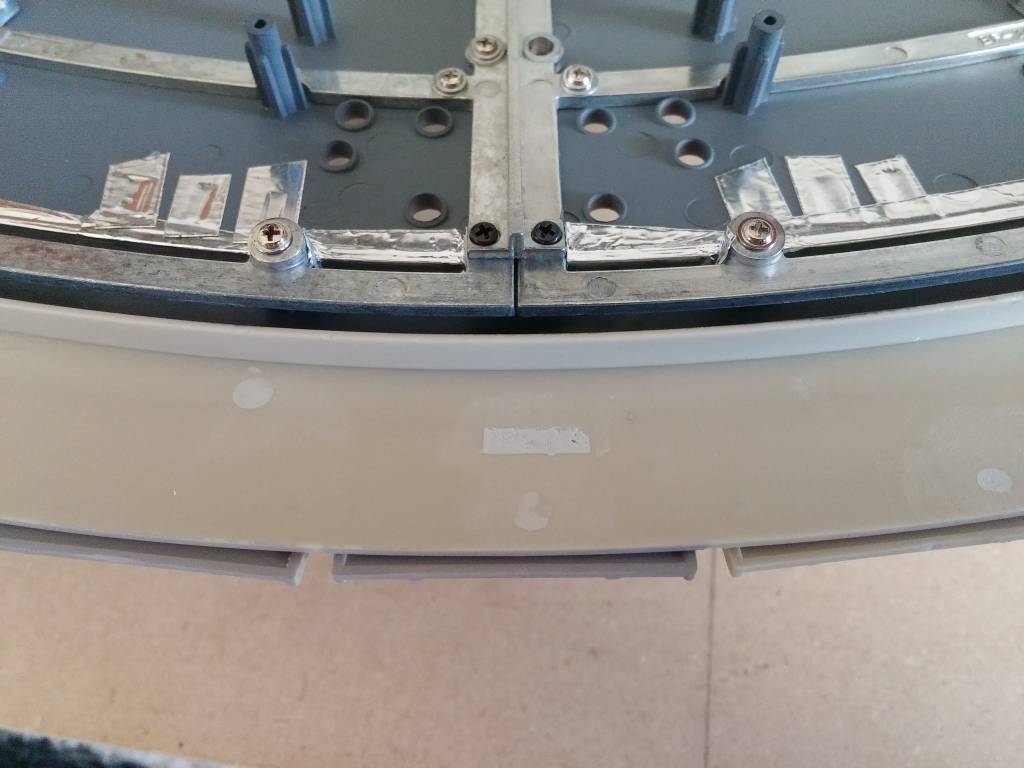
On the opposite side of the hull, I filled in and painted over some some nasty-looking pits and part numbers. Why DeAgostini put part numbers on a highly visible area (the engine), I’ll never know.
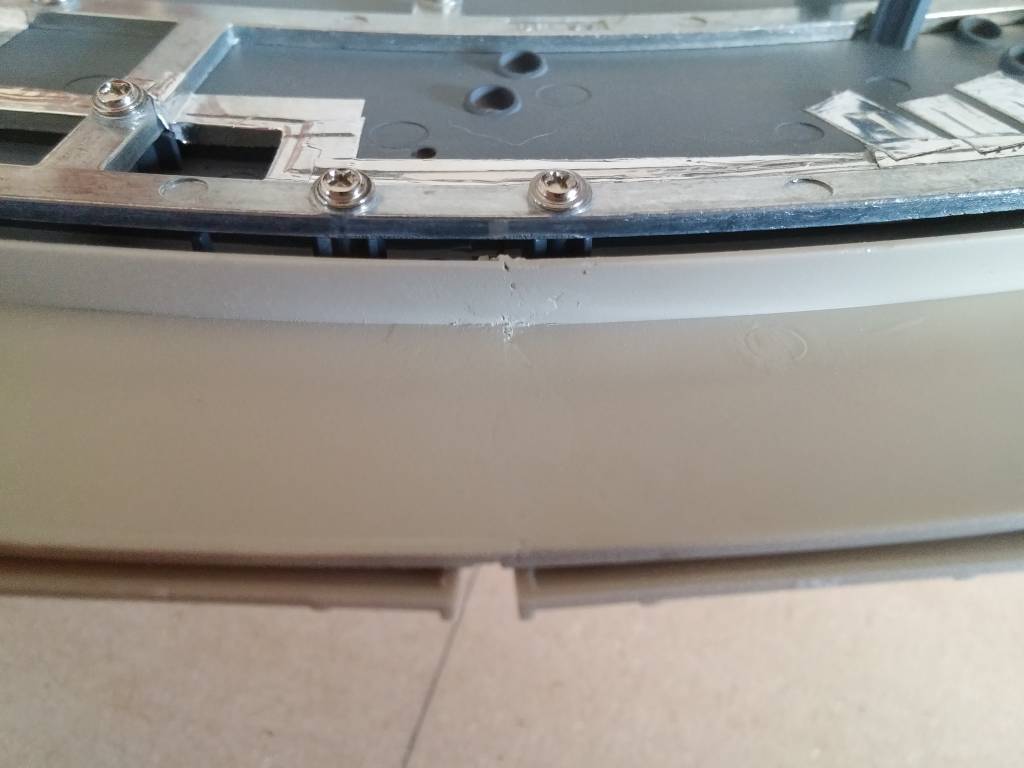
Finally, I added some damage details to the hull that, for some reason, were not molded into the hull.
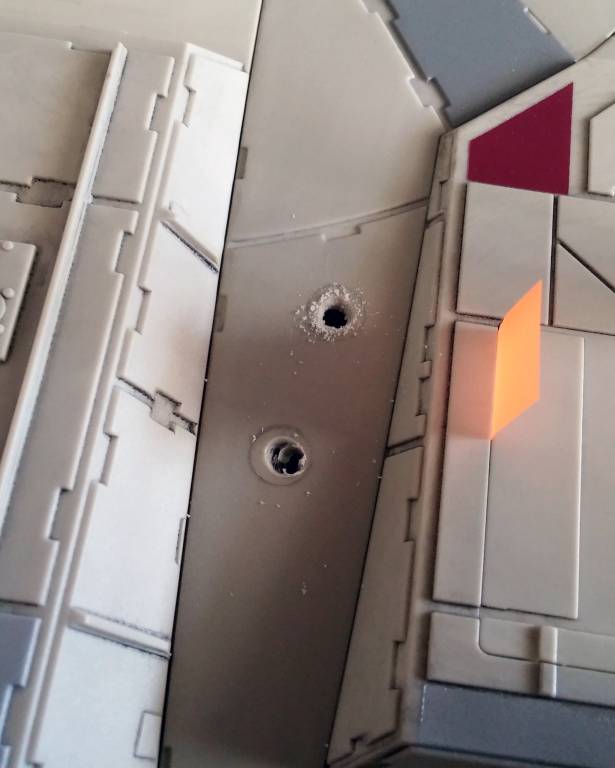
While working on this model and referencing the photos of the original 32-inch shooting model, I kept seeing three damage marks in this part of the hull. Unfortunately, photos of this quadrant is hard to come by. From what I can tell, there are two large holes and a smaller single hole. DeAgostini keeps promising to release their reference photos of the model (they’re even referenced several times in the magazine), but to date they have not been made available.
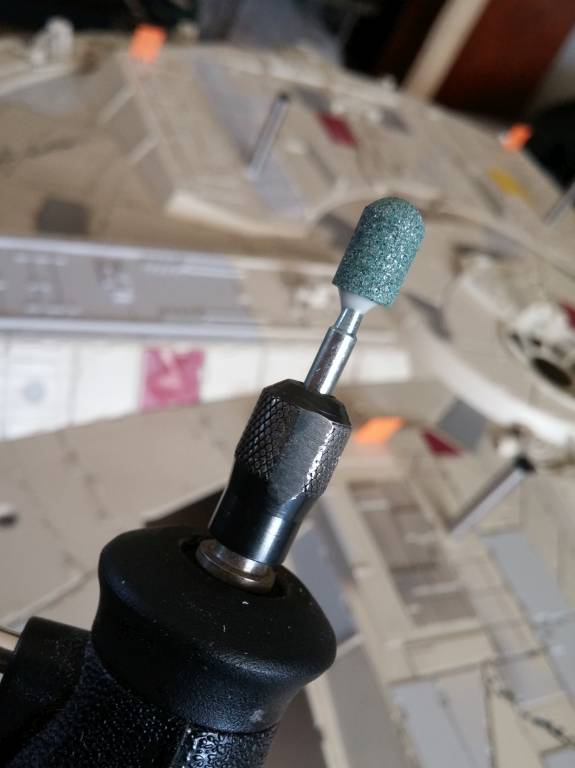
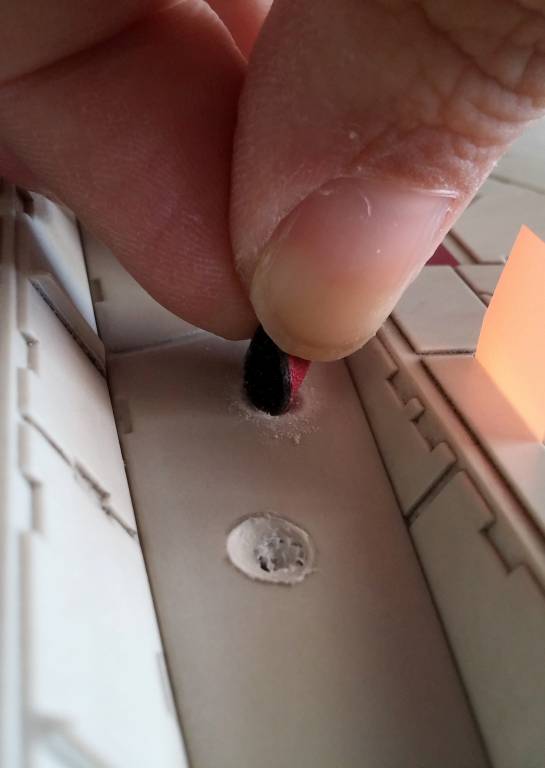
I drilled two small holes—getting the drill bit lightly jammed into the metal frame underneath—then used a curved Dremel tool bit to flare the holes out a bit. Then, I shaped the rough edges with a rat-tail file, and I smoothed the surface with a tiny piece of sandpaper.
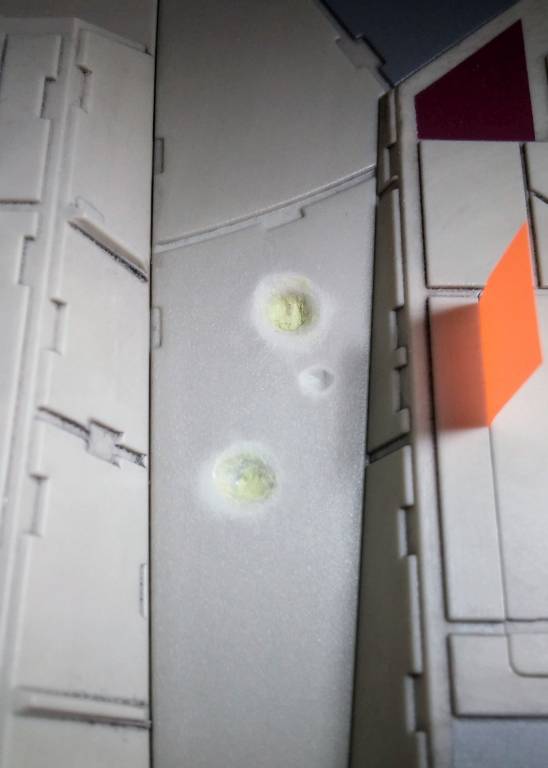
Since I didn’t want the holes to go all the way through the hole, I applied some Milliput to get the right depth. The smallest hole was simply added with an engraving tool.
With the lower hull now assembled, I can move forward with painting and weathering.
Prev Journal Entry | Next Journal Entry
Both the post author and this website have not received any compensation for writing this post. Both the post author and this website have no material connection to the third-party brands, products, or services that have been mentioned. Some of the links in the post above are “affiliate links.” This means that if you purchase the item, we will receive a commission. As an Amazon associate, we earn from qualifying products. This is being disclosed in accordance with the Federal Trade Commission’s 16 CFR, Part 255: “Guides Concerning the Use of Endorsements and Testimonials in Advertising.”
Do you have a thought about this post? Why not leave a comment . . .