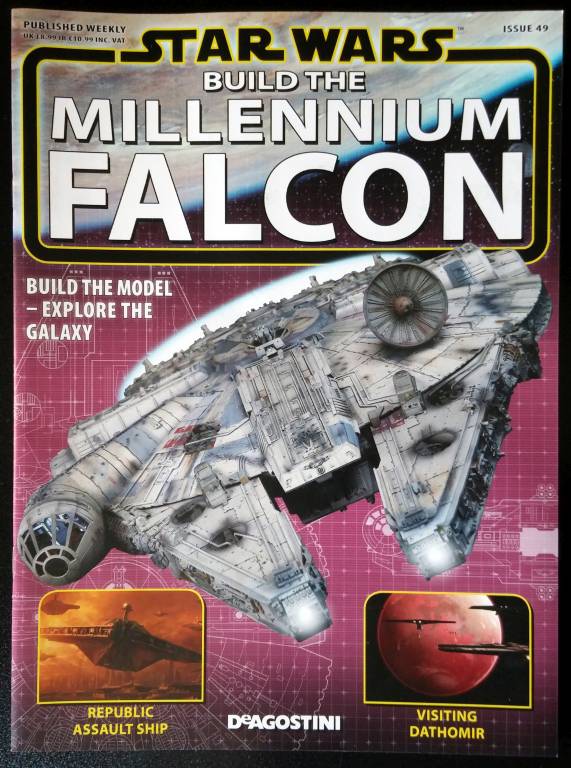
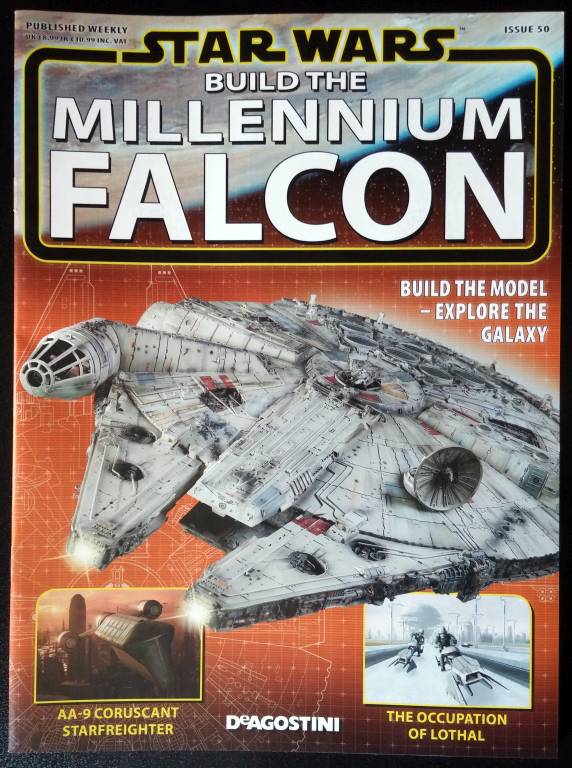
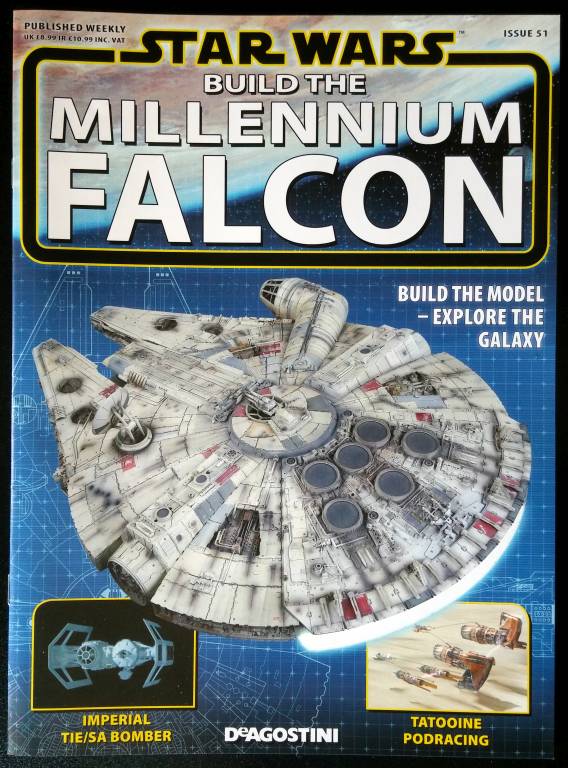
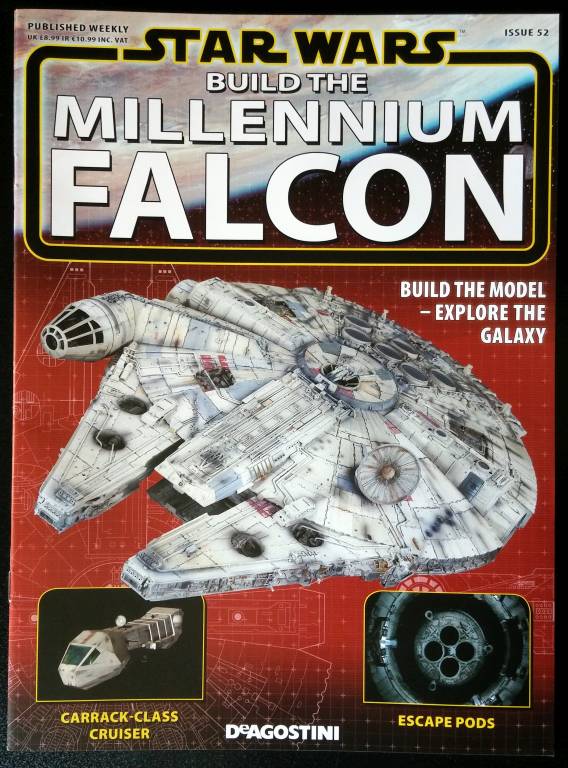
Millennium Falcon Build Journal No. 14: Issues 49-52
![]() Trader Sam | May 9, 2016
Trader Sam | May 9, 2016
The Arrival
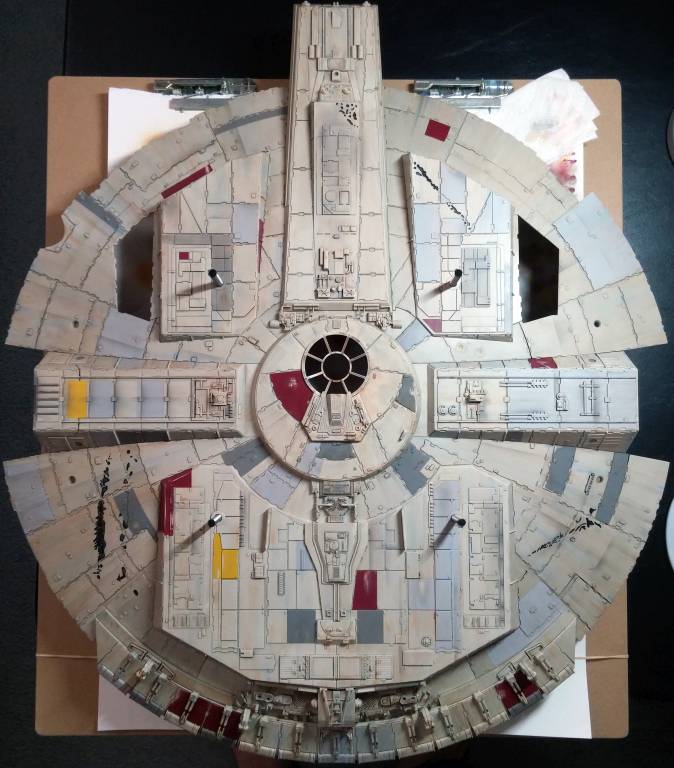
Before I began this month’s build—mainly consisting of upper hull frame and panels—I finished last month’s build by painting and weathering the lower hull. This took about two weeks to complete, but it marks another major milestone in the build.
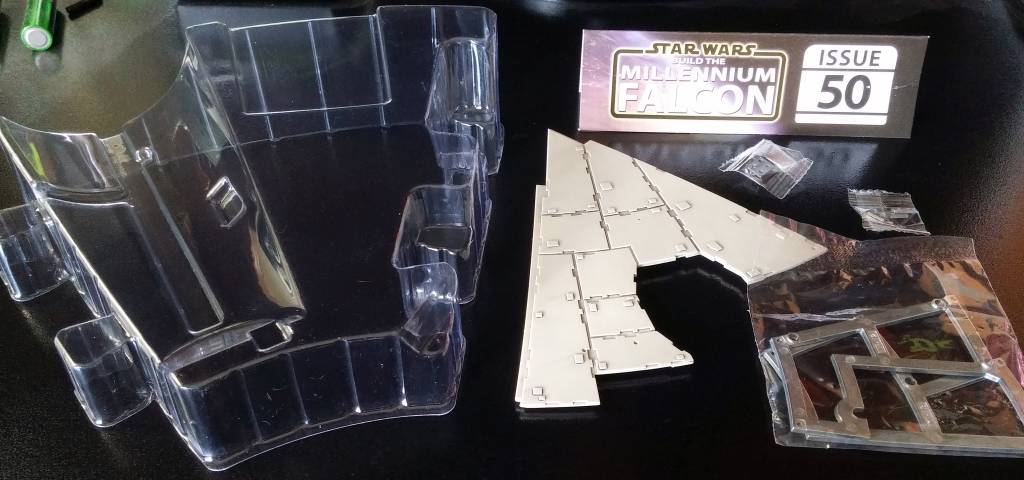
Oh, and did I mention that issue 50 marks the halfway point in the build? It’s hard to believe that it’s been a year already.


Tools
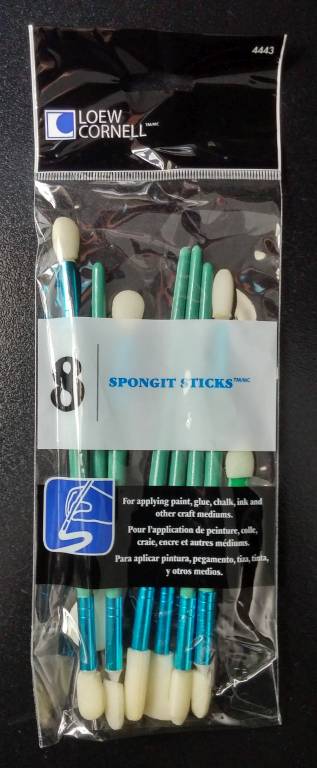
I bought a set of sponge sticks (for smoke effects), and a cheap circle template (for various dots) for use in future weathering effects and details.
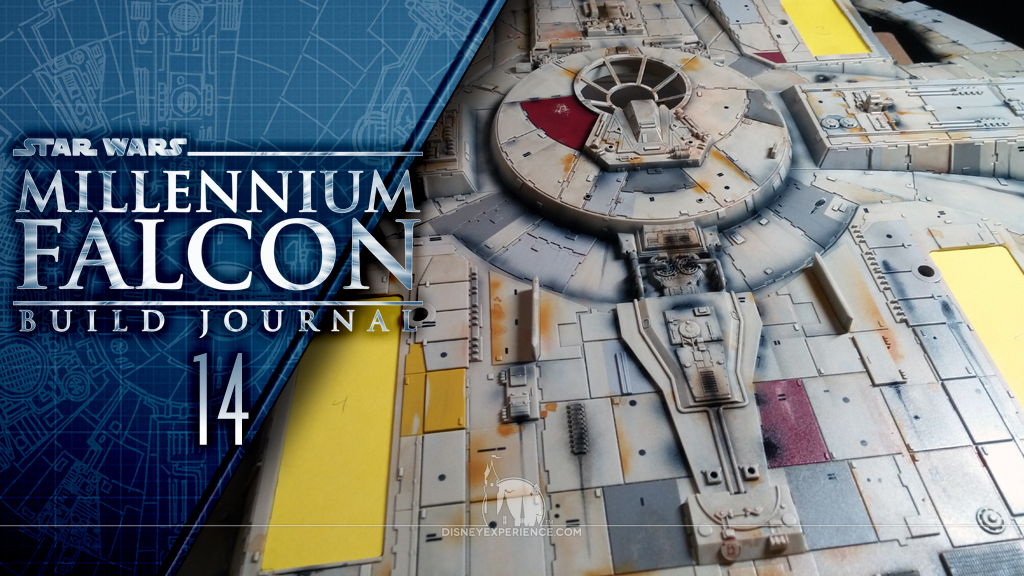
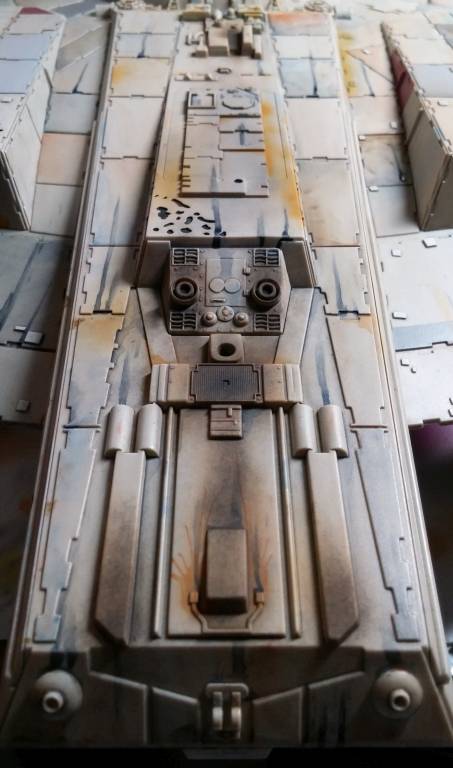
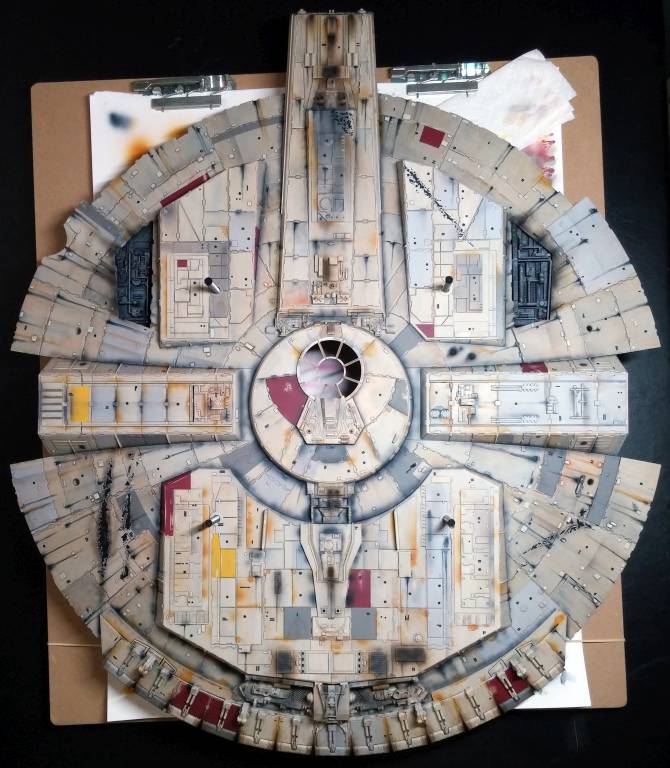
Lower Hull: Painting & Weathering
The key to painting and weathering the Millennium Falcon is painting a logical progression of layers.
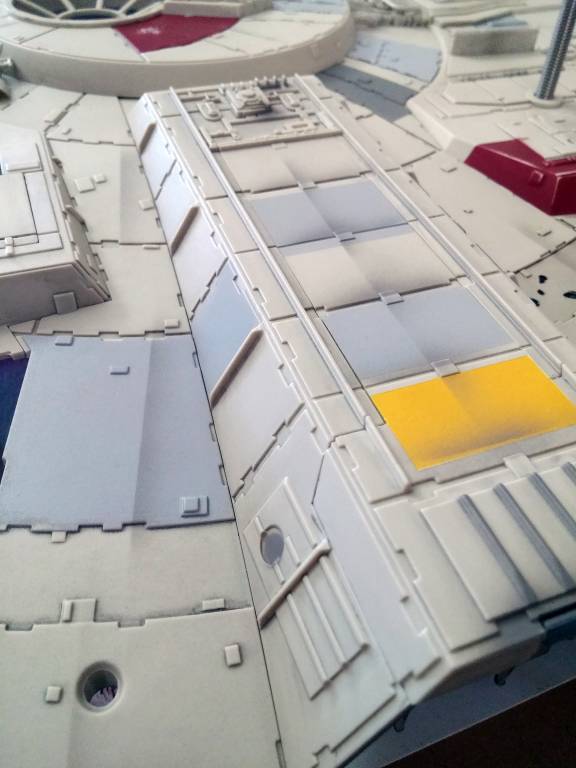
I start off with the hull panels (completed last month), followed by some gray markings that suggest additional panel separations. For those, I used Steve Dymszo’s tip of using Post-It notes as quick masking sheets. They were quickly applied and removed, and they didn’t ruin any existing paint. Perfect!
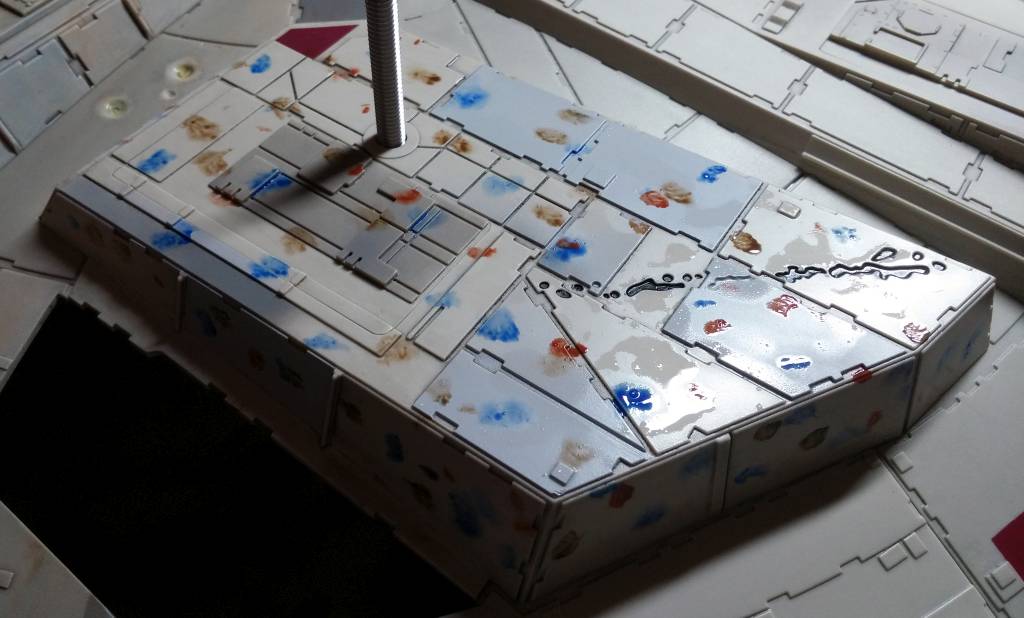
Next, it was time to dirty the hull up a bit. I borrowed some techniques from FichtenFoo‘s excellent Millennium Falcon discoloration tutorials. Although he used oil paints, the techniques worked similarly for my acrylic paints.
Working in sections, I first wet the area, then applied blotches of navy blue, brown, and dark rust. Using a damp brush, I quickly streaked and smeared the colors. This gave some nice dirt and rust streaks, although I quickly learned to back off a bit on the dark rust because it was too overpowering. It warmed the hull way too much for what I wanted, and the hull is already a warm color.
I did skip FichtenFoo’s second layer of weathering. Last year, I did a test piece, and I found that the second layer added way too much.
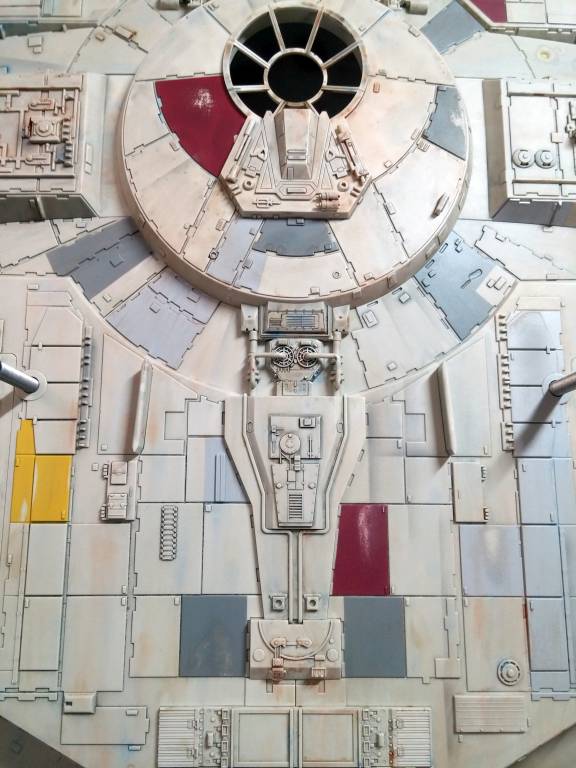
After the dirt and rust streaks, I took the same three colors and started discoloring individual panels to make them look mismatched, as if they had been replaced over the decades.
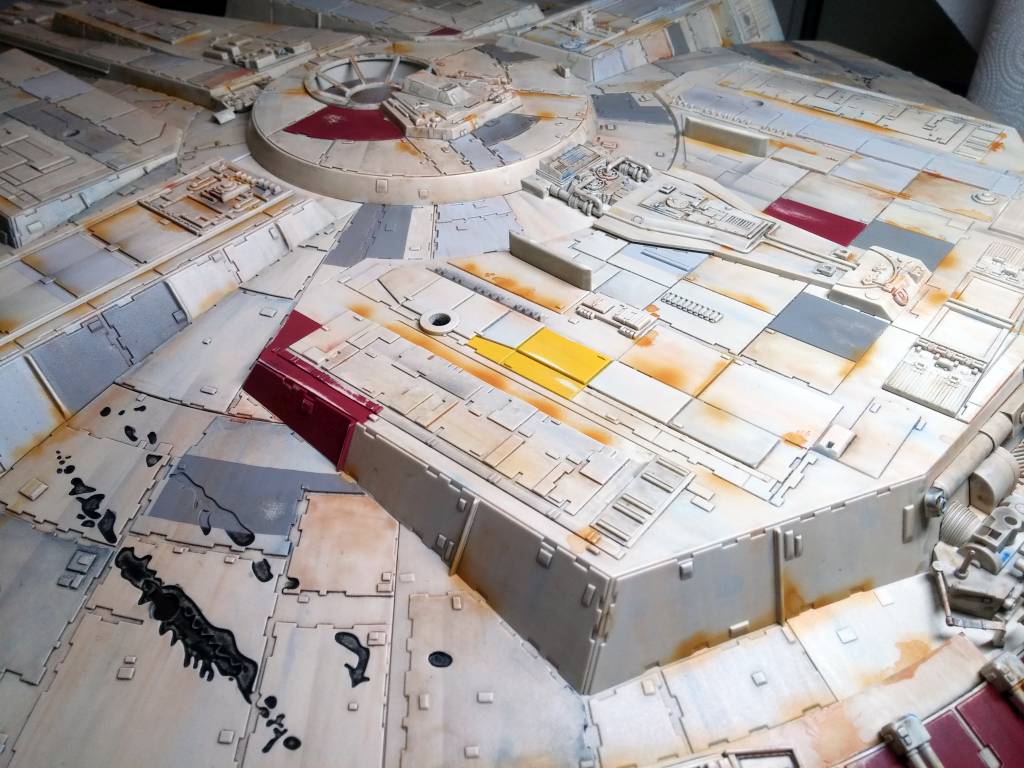
Blotches of rust were easy to do; I simply followed the photo references for the original 32-inch film model. The grease/oil streaks, on the other hand, were more confusing. On the original film model, they seem to change direction (not surprising since multiple people worked on the model). They should all streak toward the center of the hull, following the curvature of the ship. This is where I had to take some liberty and correct the streak directions on my model.
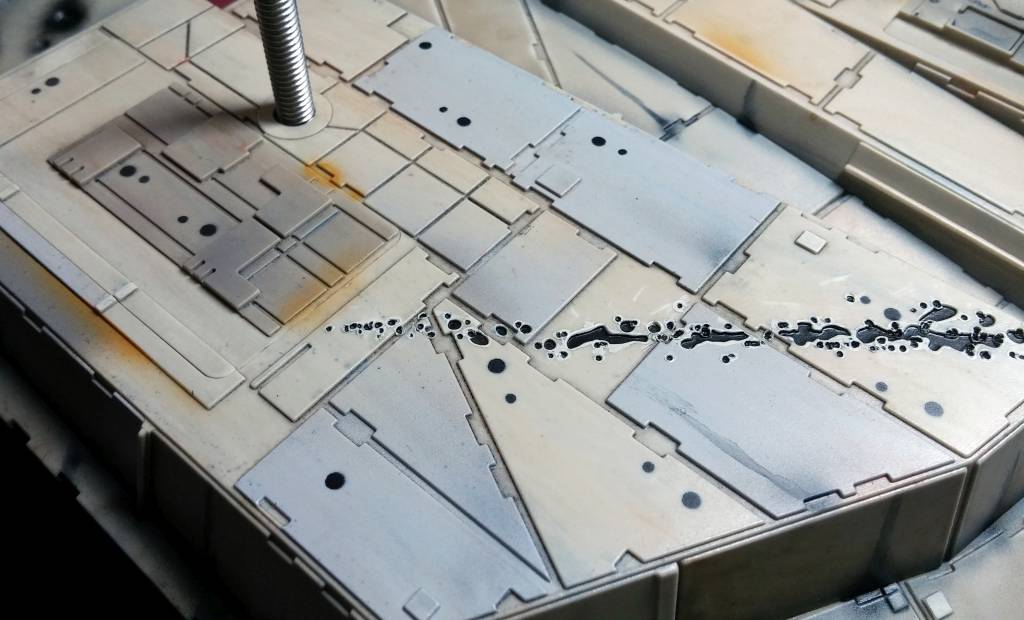
One of my favorite parts was working with the soot effects. I used an X-Acto knife to scrape chalk pastels into two fine powders: one dark gray, and one a golden brown. The golden brown was laid down first, representing discoloration from extreme heat. The dark gray went on next as a light soot, making sure that the brown was still visible around the outer edges.
This is an excellent technique that I borrowed from another YouTube video:
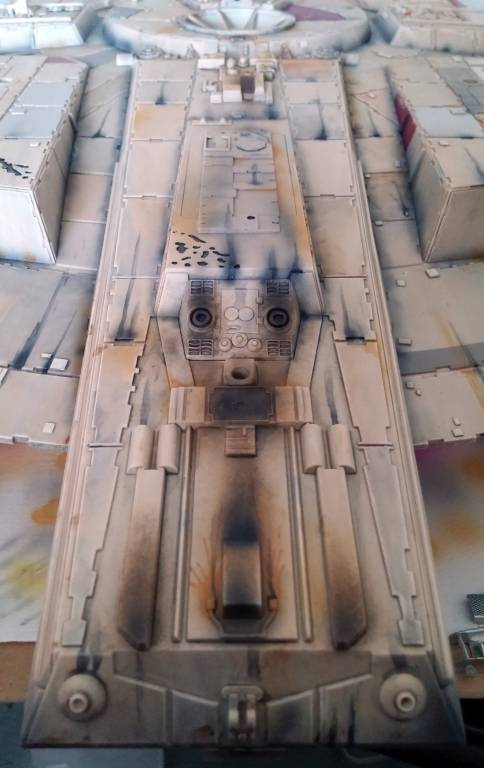
A final spray of Payne’s Gray (an extremely dark gray-ish blue that looks black when saturated), and the smoke pops! I also used the Payne’s Gray to dirty up the deepest corners of the ship, and to enhance the grease streaks. Flipping the hull over, I added more Payne’s Gray to the engine area and visible edges.
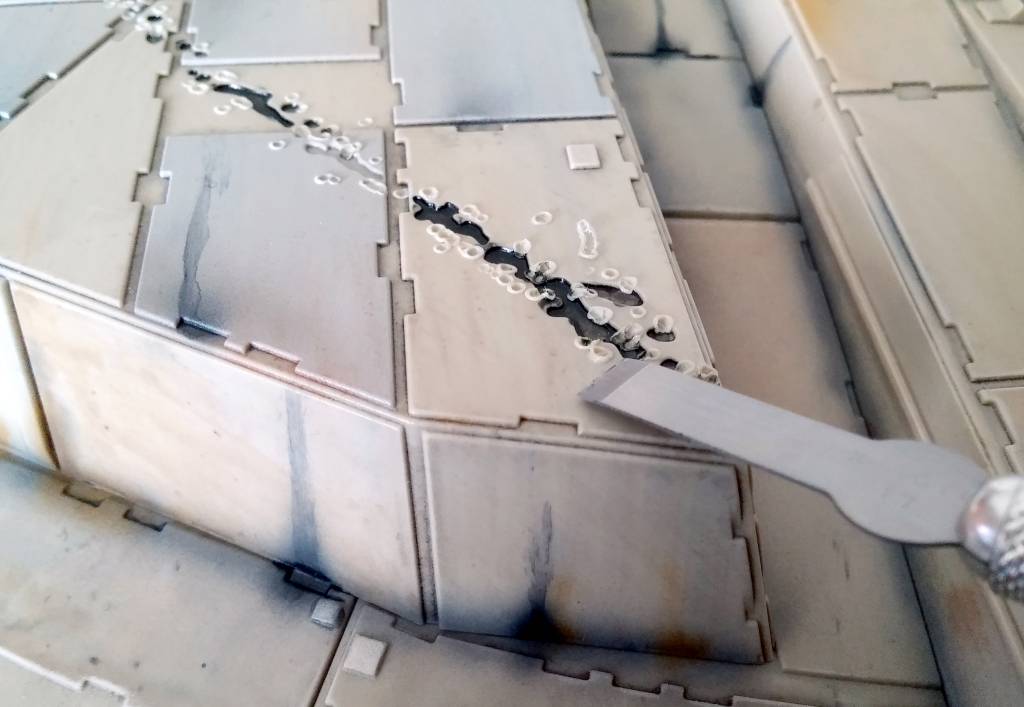

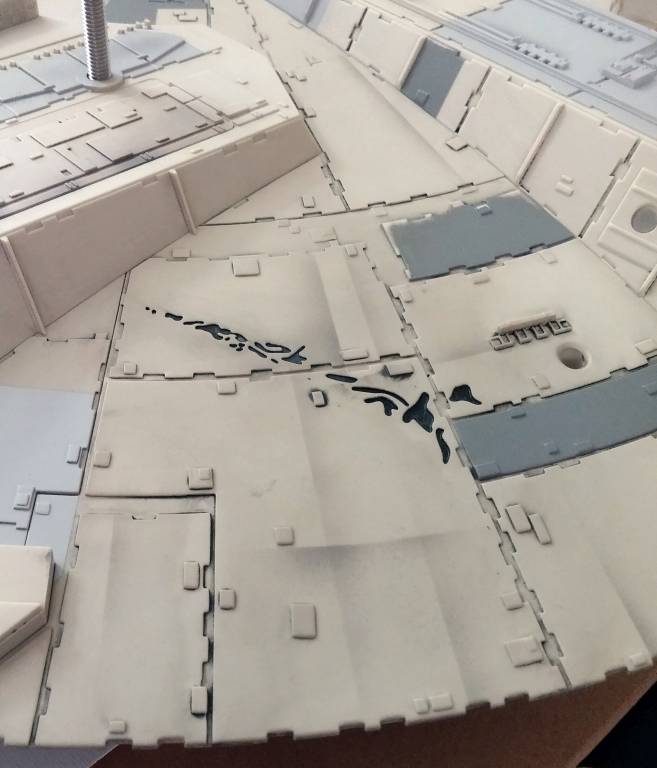
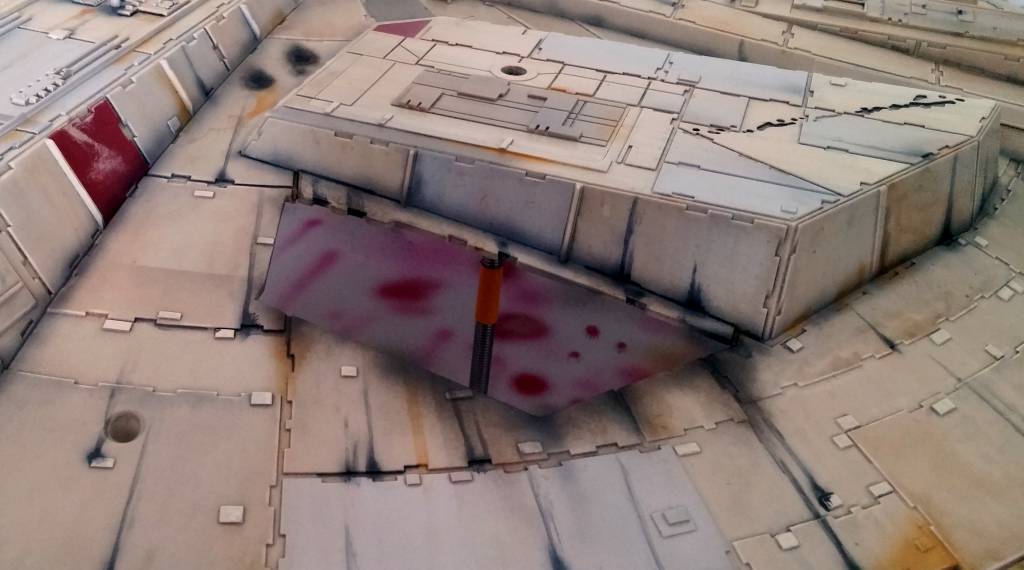
My other favorite detail was enhancing the existing hull damage. DeAgostini made them too simple and toy-like, so I got out my wood burning tool and used a pointed tip to melt additional damage into the hull. The melted plastic created unwanted blooms that had to be carefully cut off with a small chisel blade. For the big damage, I had to be careful about working around the socket hole.
To complete the damage, I added some light smoke marks and trimmed the edges with paint that matched the original hull color.
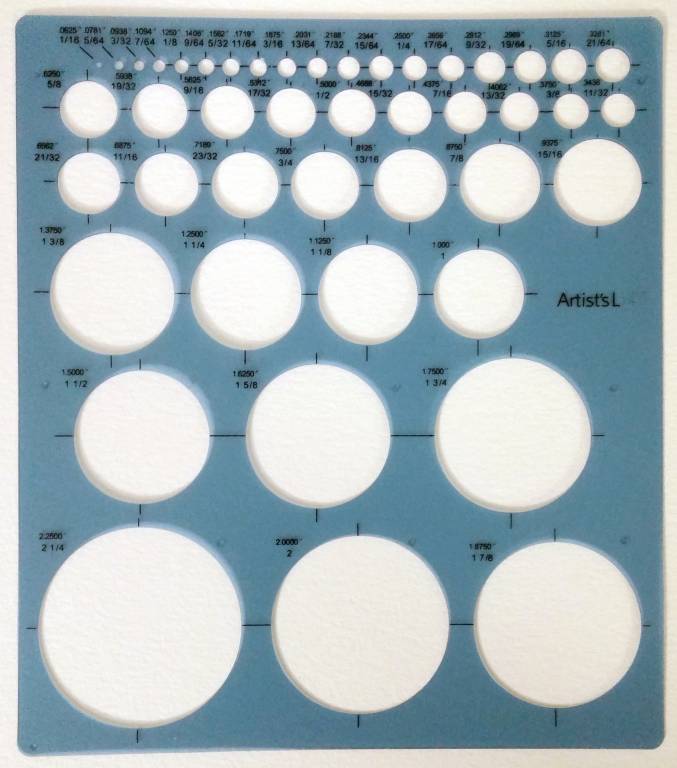
The final hull details are a series of circles and hash marks that litter the entire ship. I don’t think anyone really knows what they are. I assumed they were holes and vents; I saved them for last so that they could sit on top of the dirt and grime.
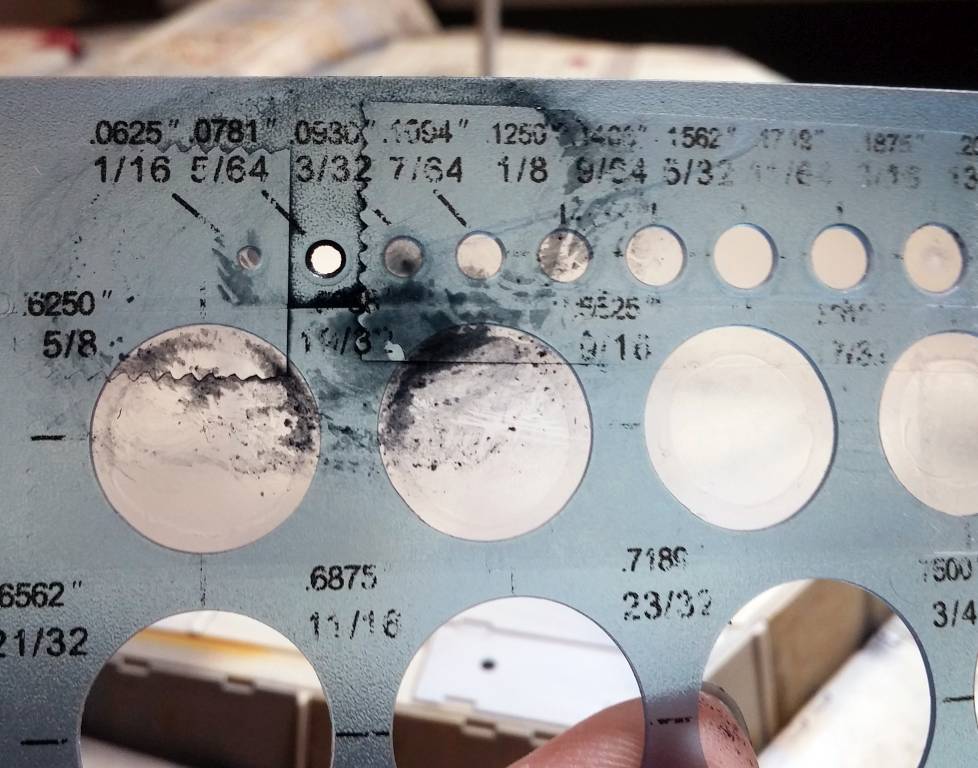
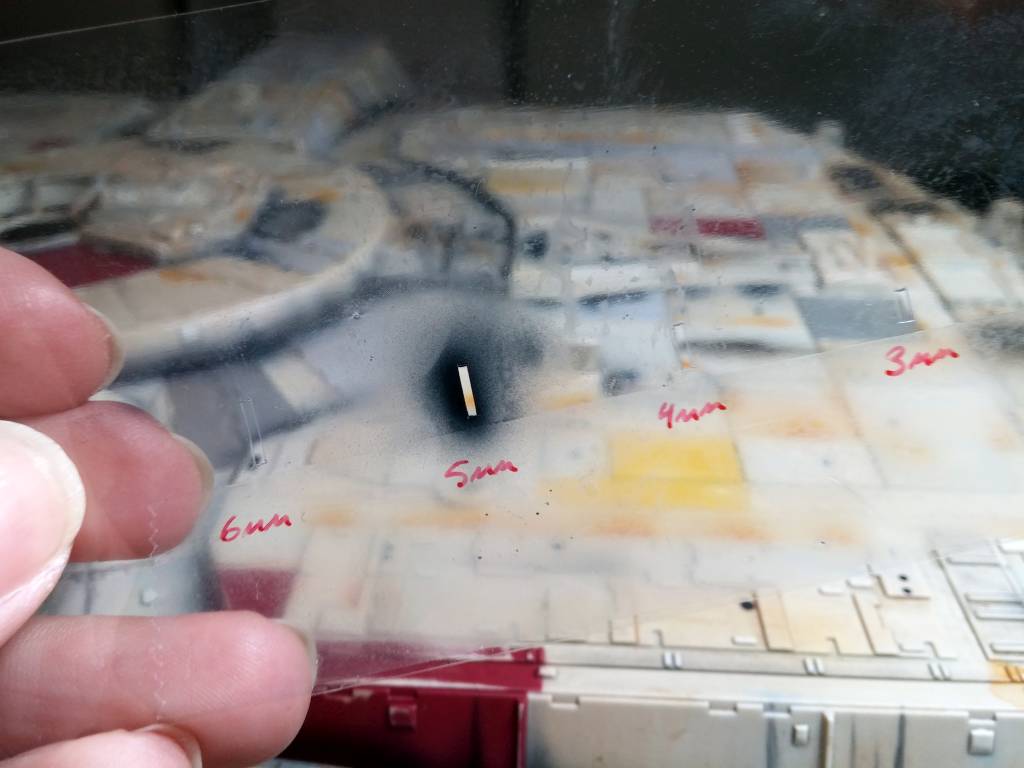
For the circles—there are two different sizes from what I can tell—I used a transparent circle template, masking off the holes that I didn’t need. The hash marks required a custom template, which I made from a flexible piece of plastic. It contains a series of slits ranging from 2 millimeters to 6 millimeters.
Adding both dots and hash marks took many hours as I had to constantly clean the templates so that I could see the exact position of the templates against the hull.
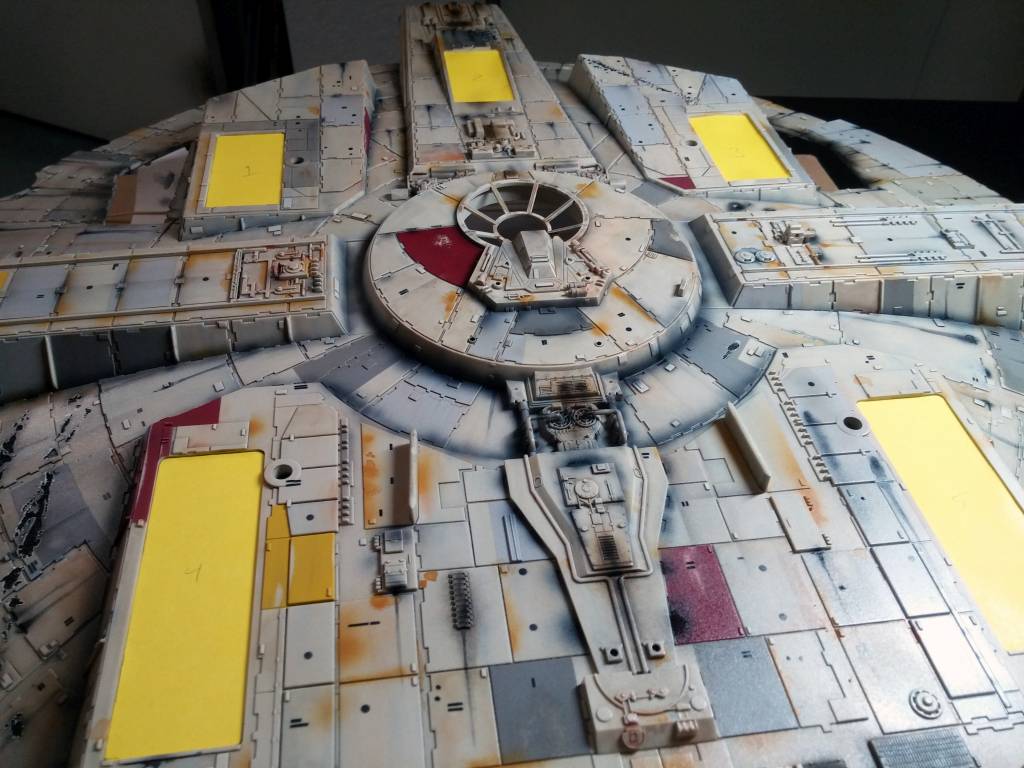
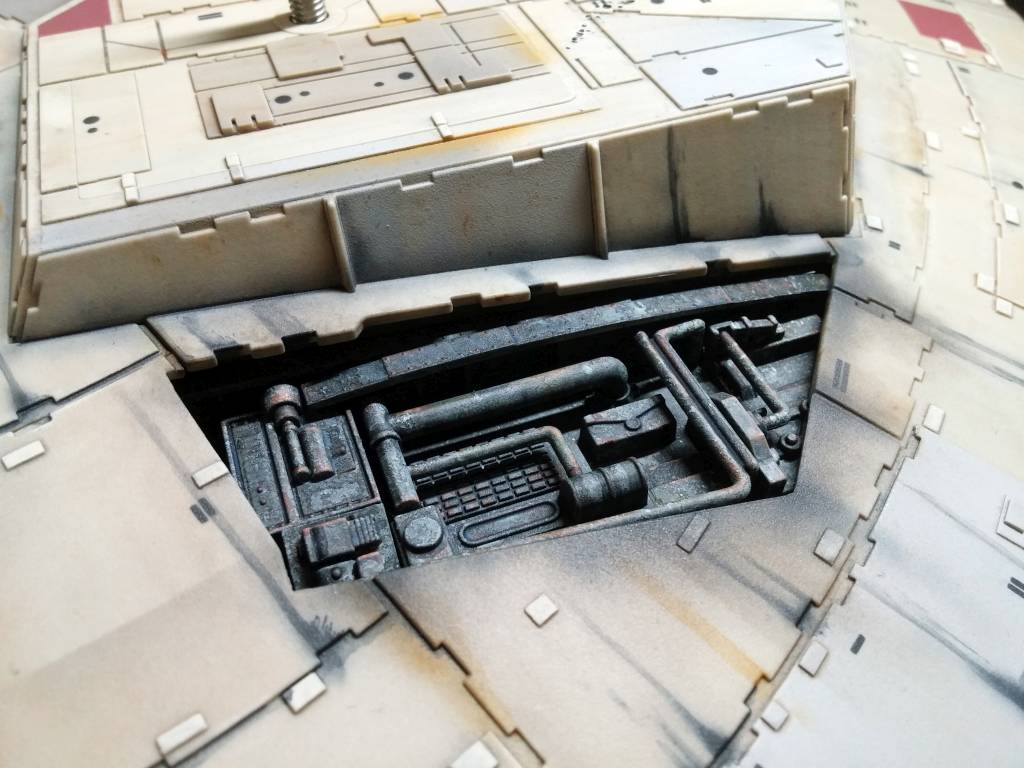
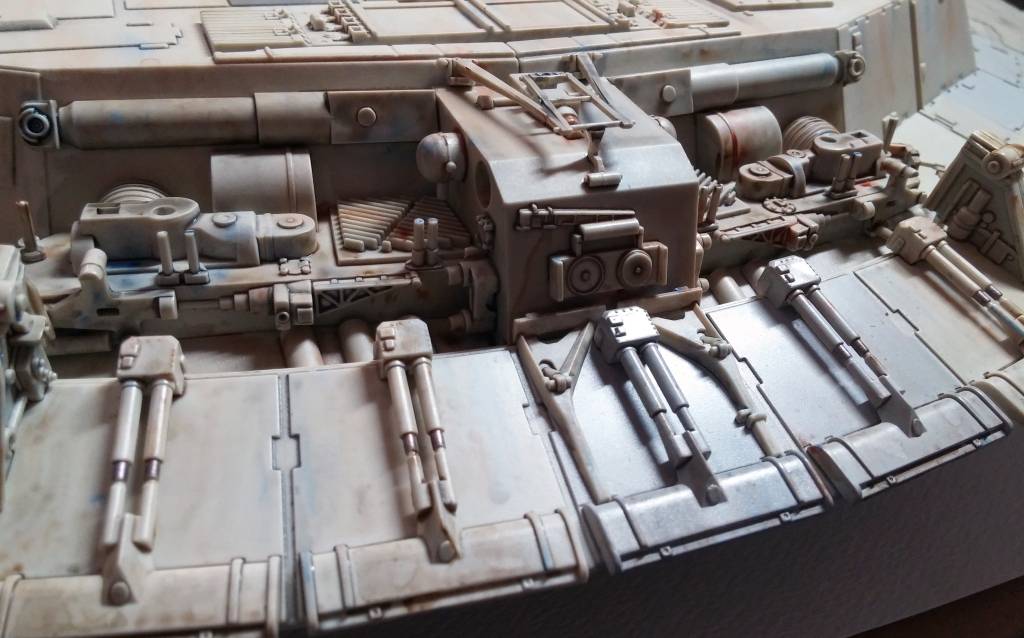
Before varnishing, I removed the landing feet covers and used them to create card stock inserts that masked the open bays. Two layers of gloss varnish were applied (for durability), and two layers of matte varnish brought down the shine.
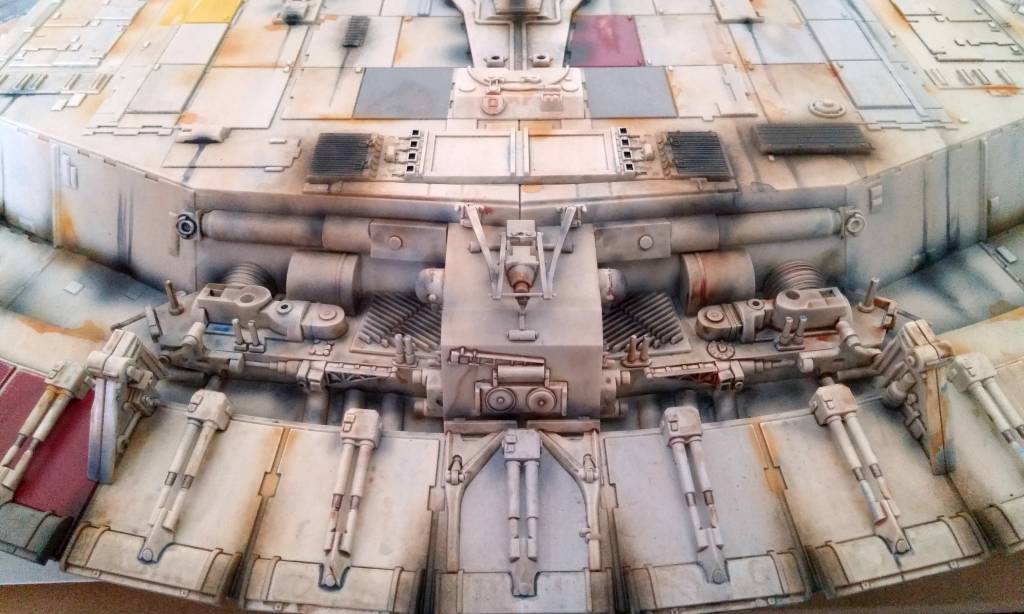
Screwing in the machine recesses finished the lower hull.
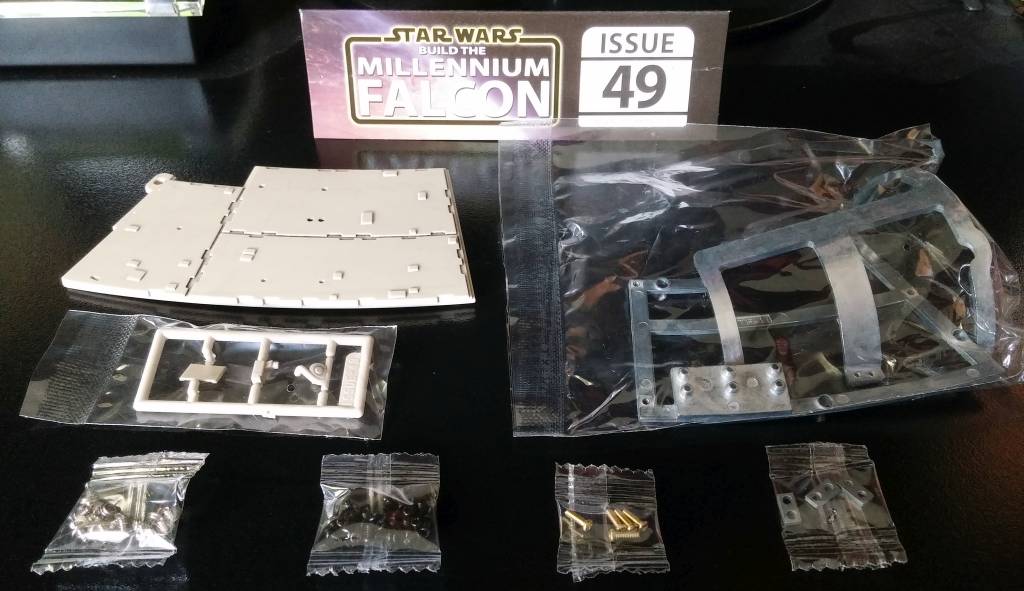
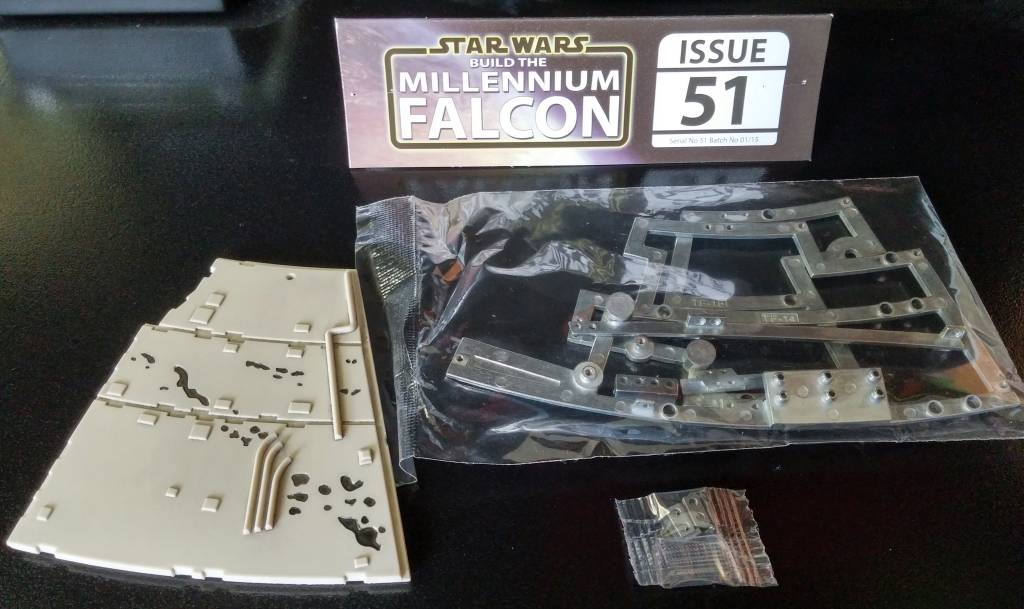
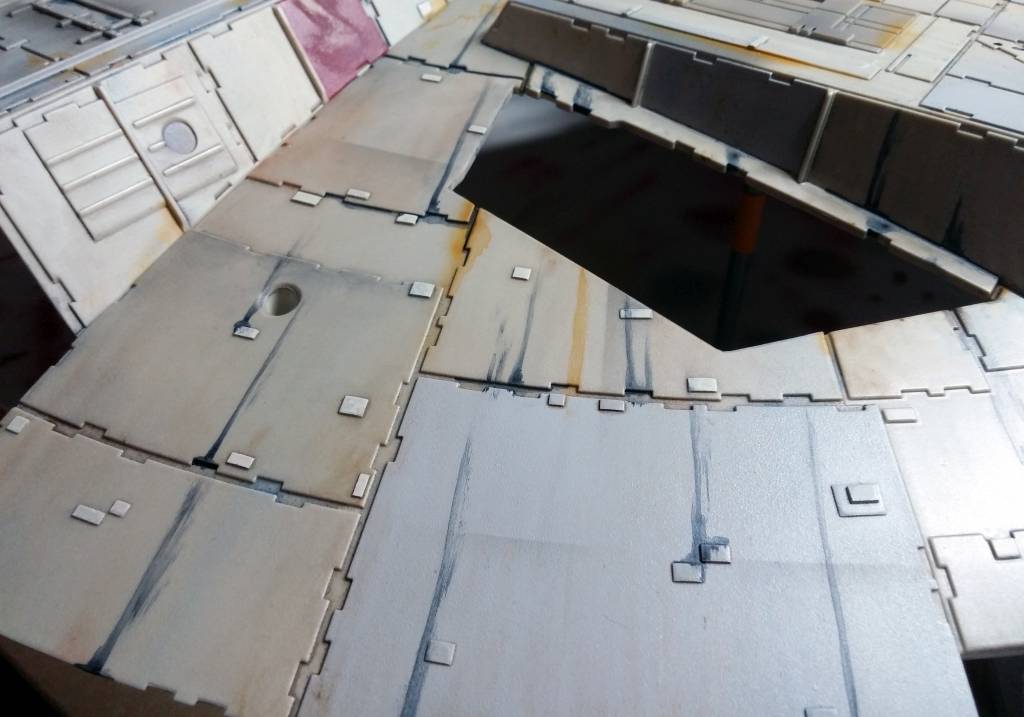
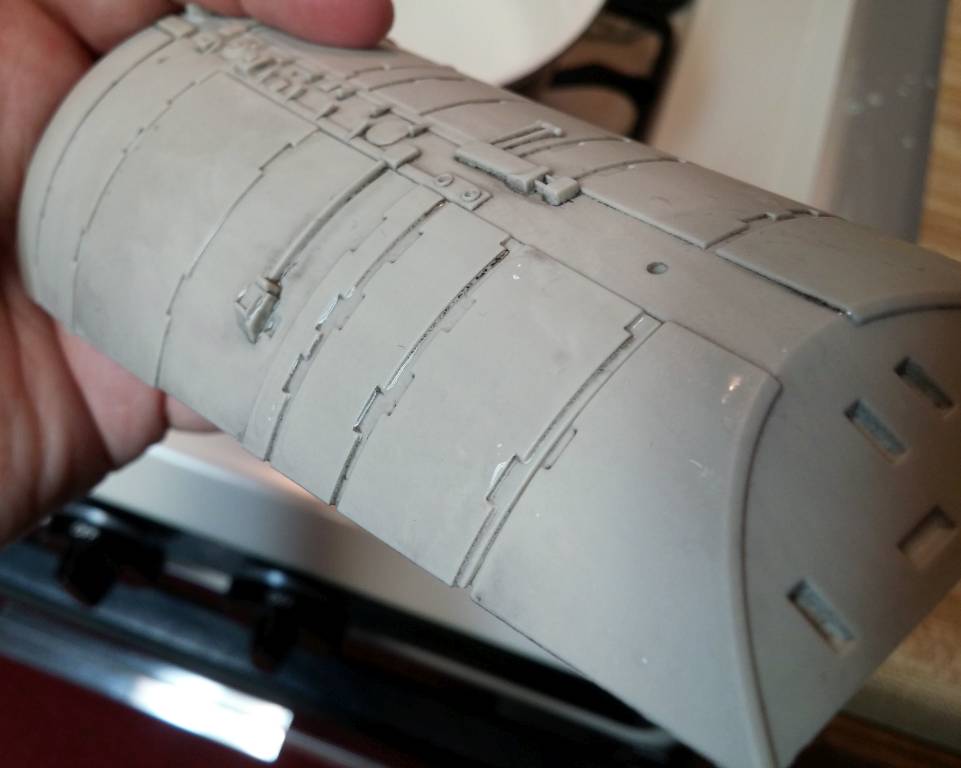
Upper Hull: Assembly
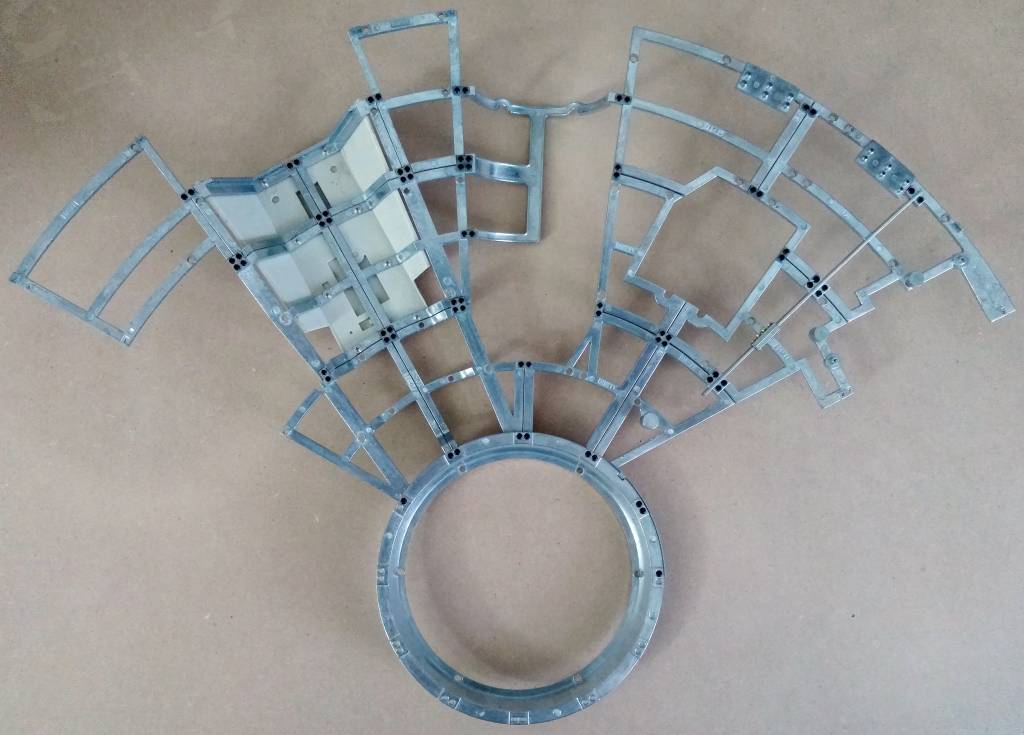
Combining the existing hull frame from issues 1-4 with the new frame pieces, I get a quarter of the upper frame completed. I do plan on adding the hull panels as I build the frame instead of waiting to put them all on at a later time. But, I want to replace pieces TP-1 & TP-2 because they are modeled incorrectly.
DeAgostini is aware of the mistake, and has corrected it, but they refuse to mail out the replacement parts. So, I am forced to buy issues 1 and 3 from the French distribution of the model, which has the corrected parts. Unfortunately, one or both issues are often out of stock, and buying them together will save on international shipping.
Parts TP-1 & TP-2 need to be attached before any other panels, so I have to wait to attach the others.
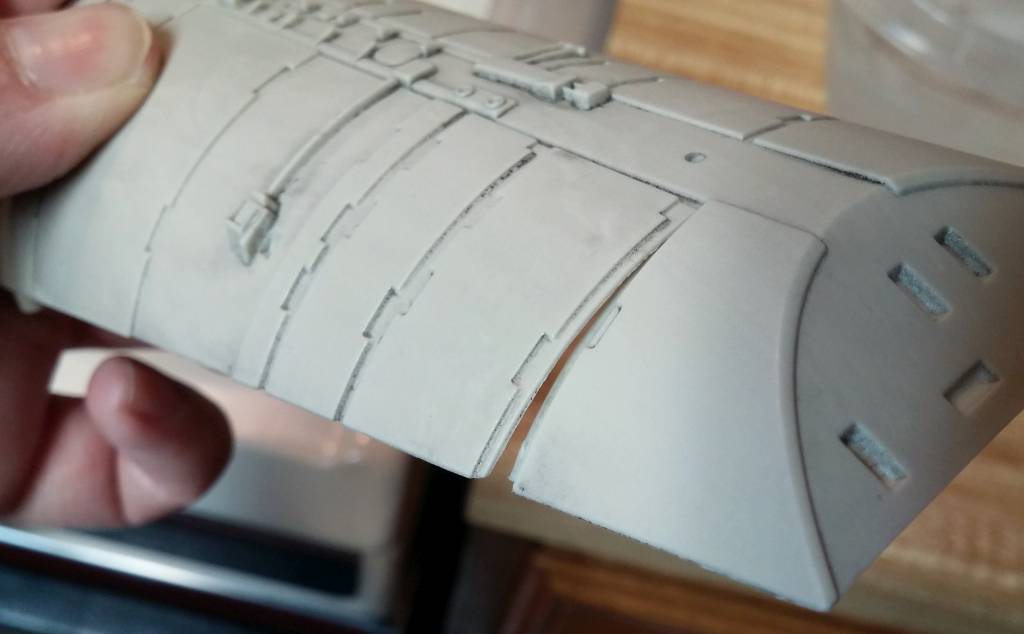
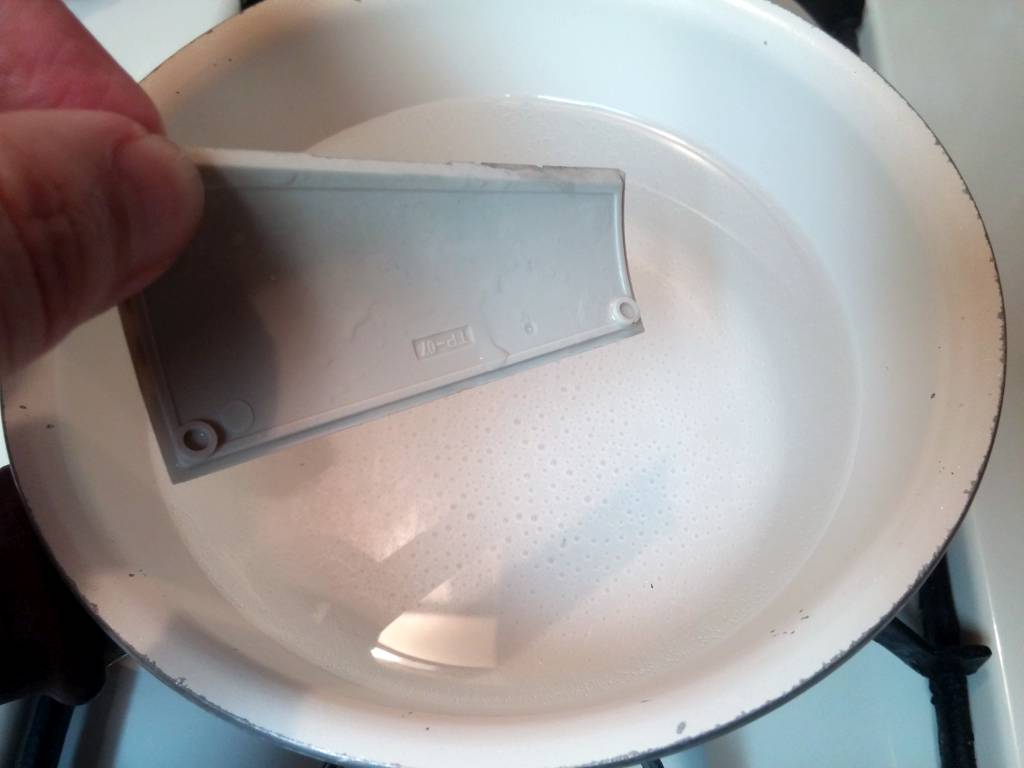
In the meantime, I do have some light blocking to do. Plus, I needed to fix a warped cockpit access panel that would not lay flush.
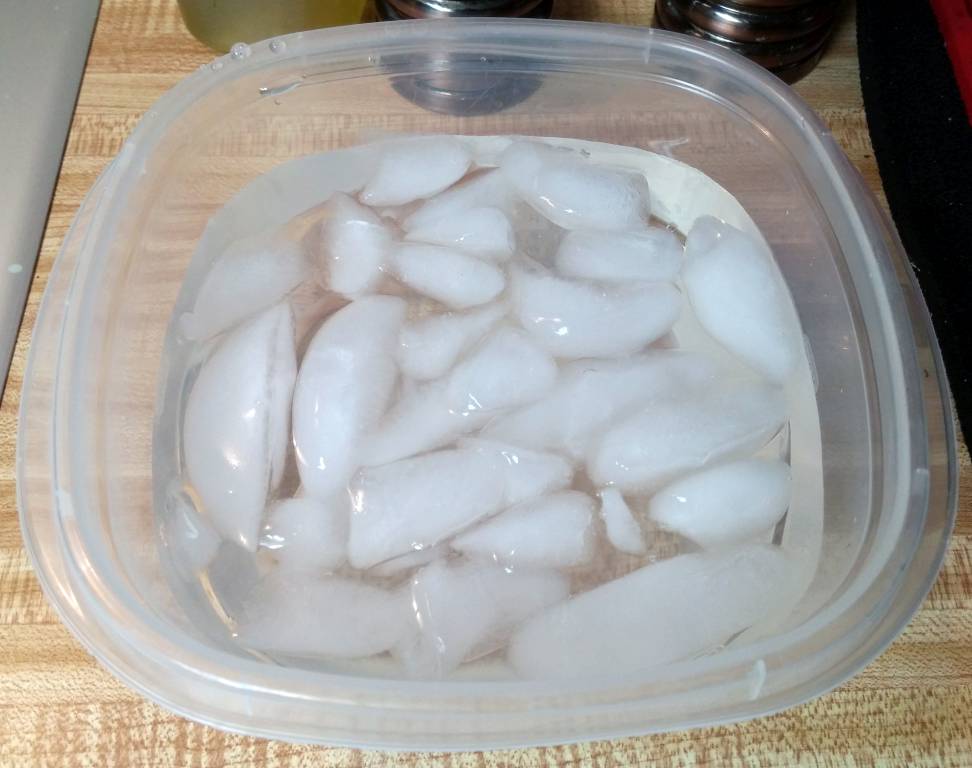
I learned long ago that the safest way to reshape plastic is to dip it into boiling water. I submerged the panel for about 30 seconds, twisted it into the correct position, and submerged it into chilled water to set. I had to repeat the process a few times to get the shape just right, but the panel now lies flush with the hull.
Prev Journal Entry | Next Journal Entry
Both the post author and this website have not received any compensation for writing this post. Both the post author and this website have no material connection to the third-party brands, products, or services that have been mentioned. Some of the links in the post above are “affiliate links.” This means that if you purchase the item, we will receive a commission. As an Amazon associate, we earn from qualifying products. This is being disclosed in accordance with the Federal Trade Commission’s 16 CFR, Part 255: “Guides Concerning the Use of Endorsements and Testimonials in Advertising.”
Do you have a thought about this post? Why not leave a comment . . .