Millennium Falcon Build Journal No. 20: Issues 69-72
![]() Trader Sam | October 11, 2016
Trader Sam | October 11, 2016
Thank-you
First off, I would like to thank everyone who made a private donation to help keep these build journals going. Every bit helped!
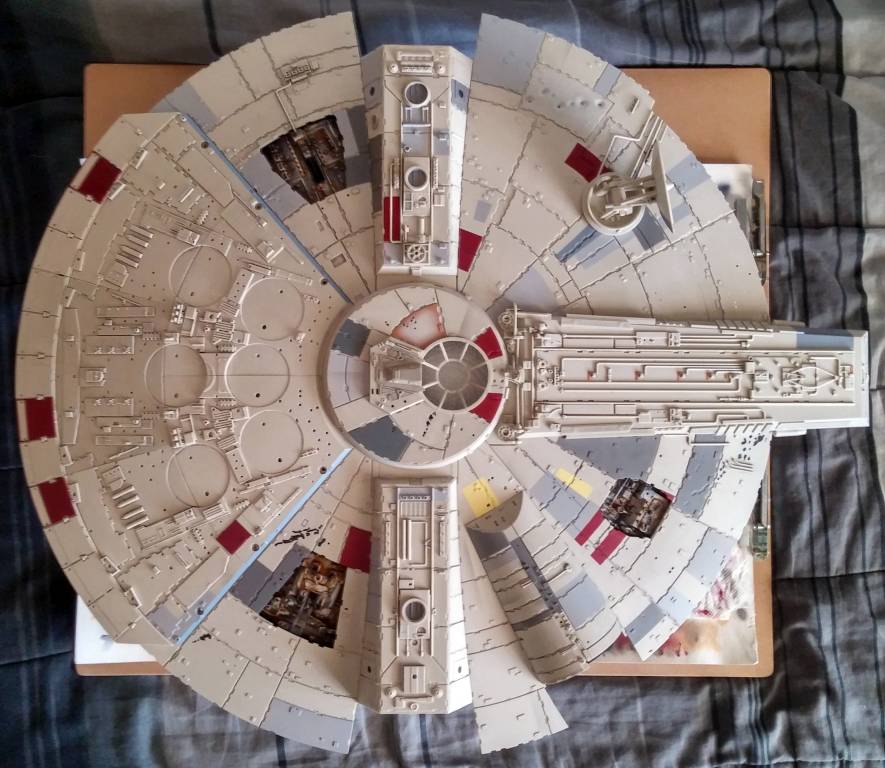
The Arrival

It’s another milestone as the Millennium Falcon’s upper hull plating is completed, and the iconic rectenna dish is assembled. Adding the magnets was tricky, and they almost sent me into a panic. Fortunately, I stay up-to-date on a few different YouTube vlogs for their solutions to similar problems.

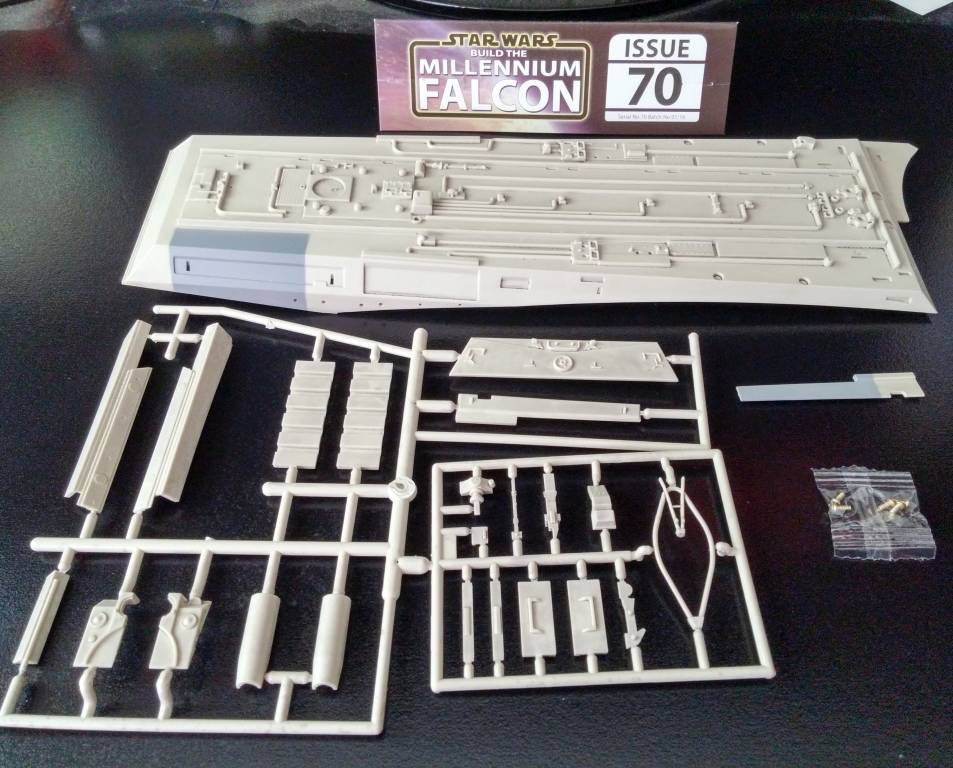
Engine Cover
I began by completing the engine cover, which has been bothering me for some time. I hate it when something is almost complete, but I’m only one or two pieces shy. It’s a pet peeve of mine.
Next, I used some epoxy putty to fill, sand, and paint the gaps and molding marks that plagued the underside of the vector plates. I also use some aluminum tape to cover up some light leaks.
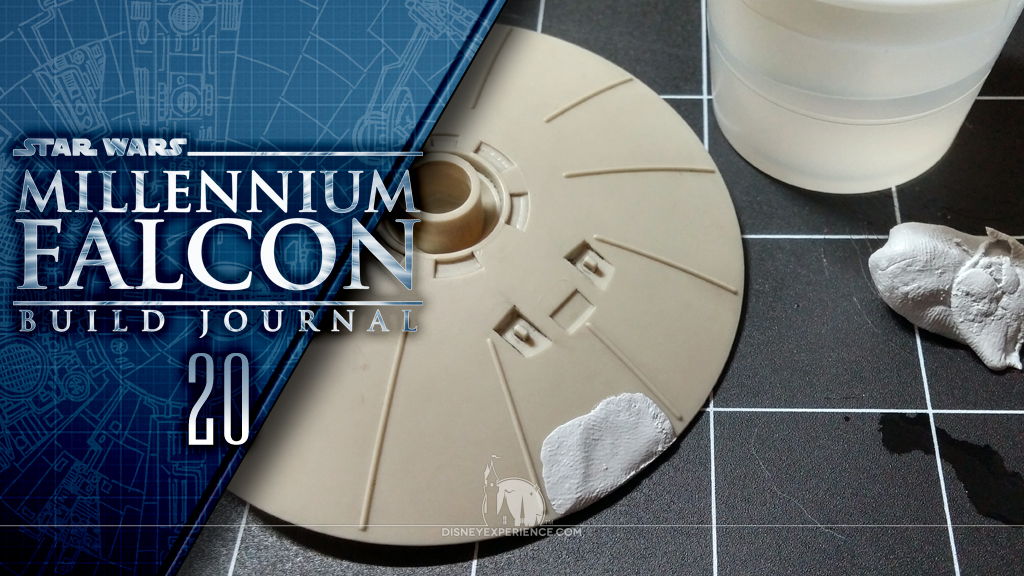
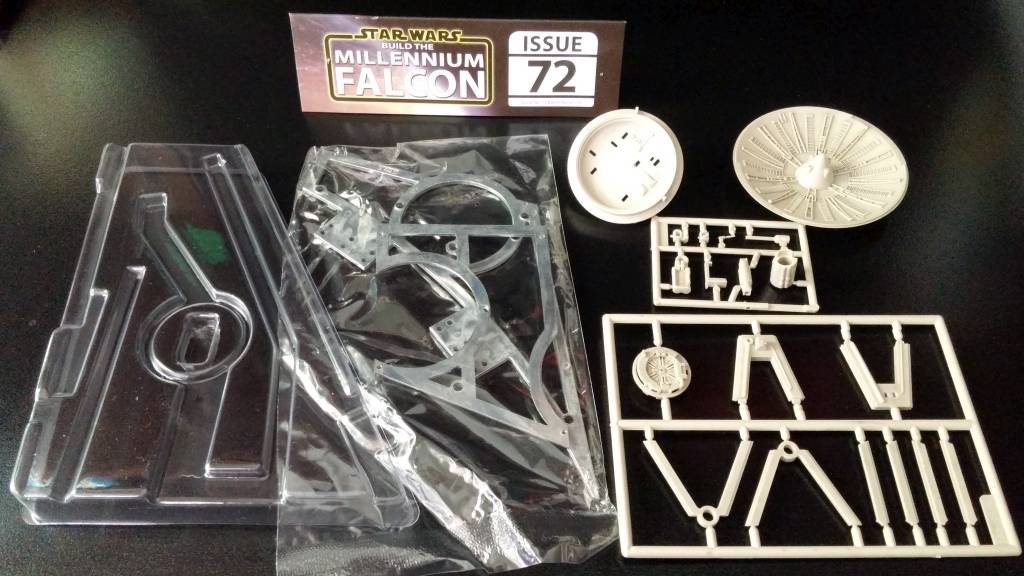
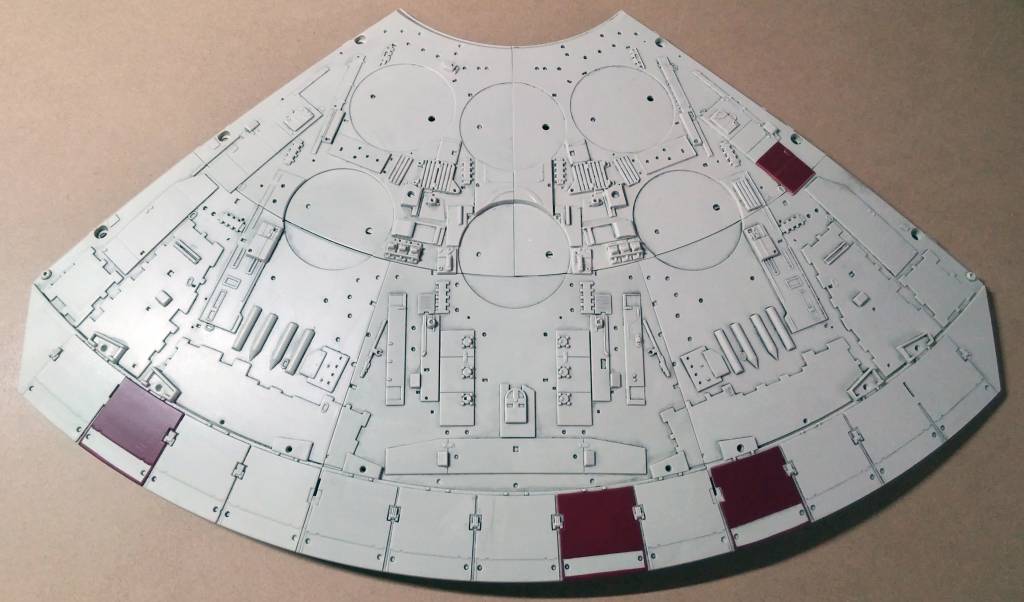
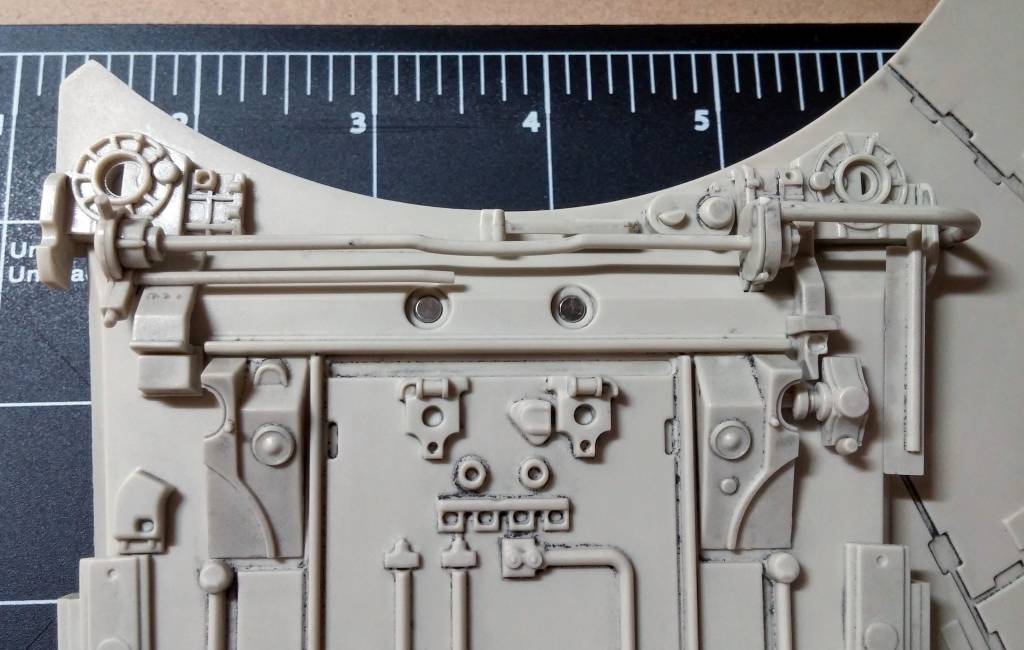
Rectenna Dish
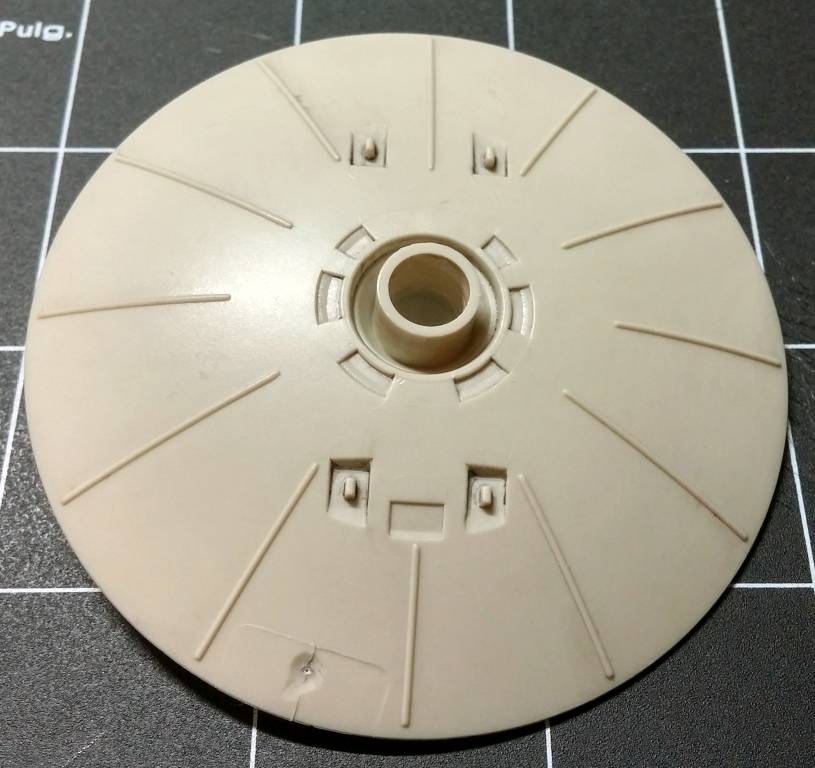
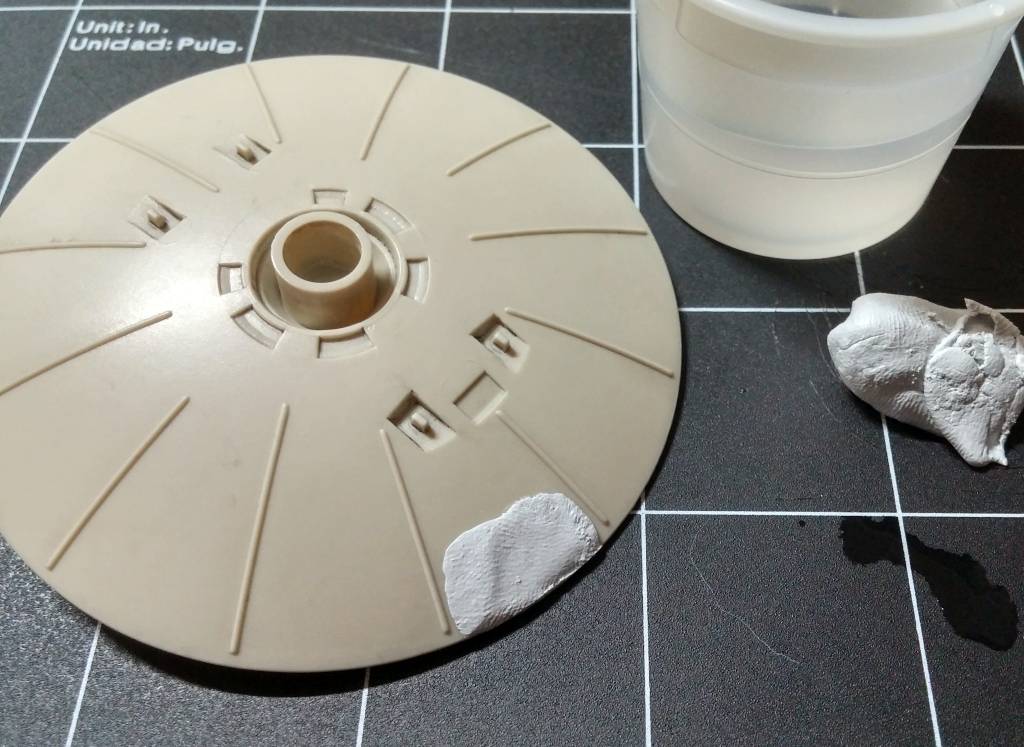
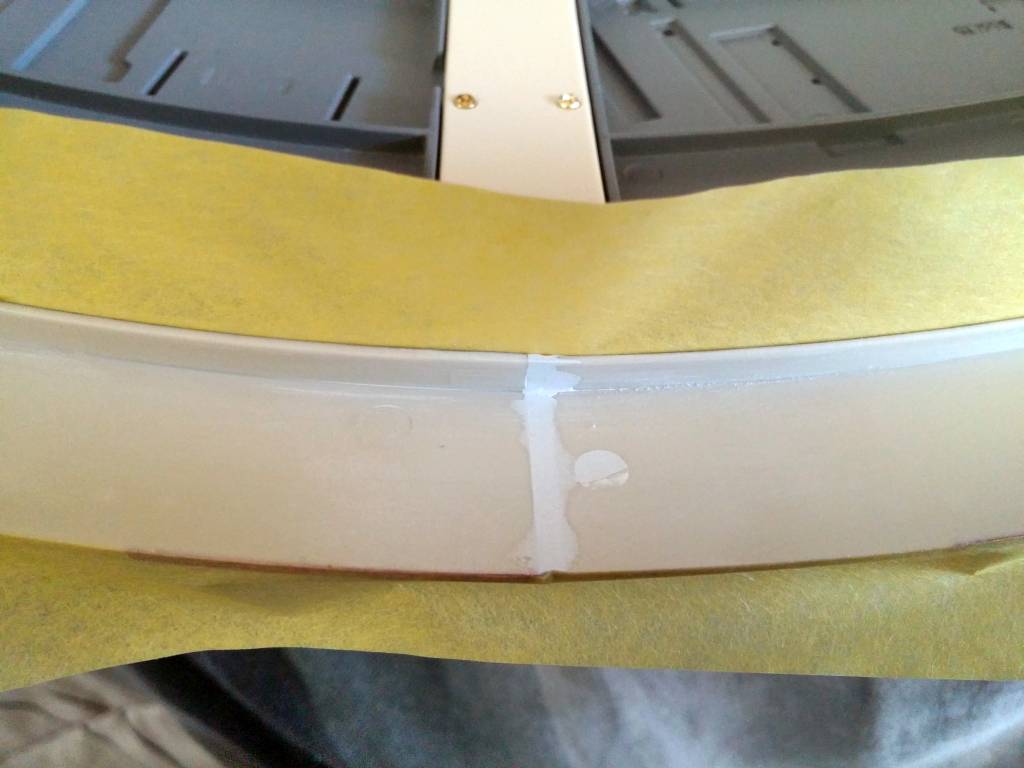
Before assembling the rectenna dish, I noticed a manufacturing defect that would have to be filled and sanded. This defect seems to be on everyone’s rectenna dish.
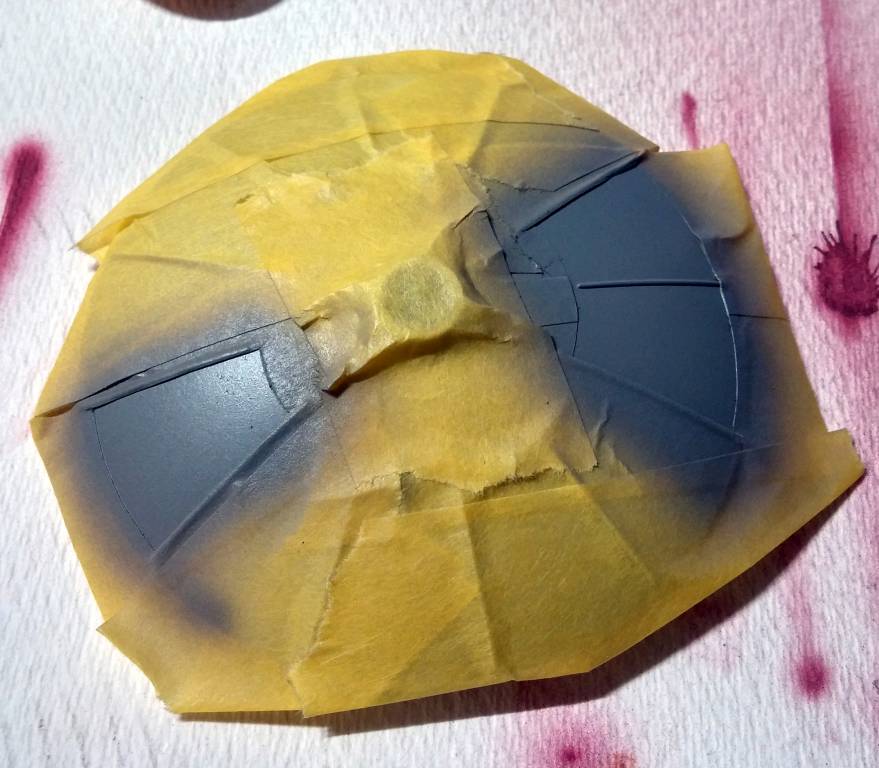
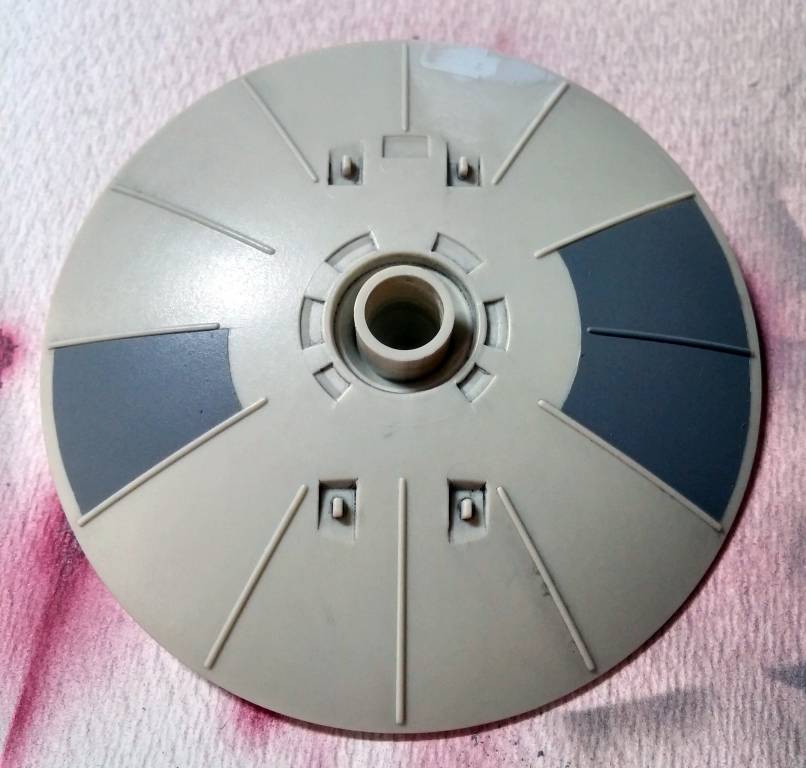
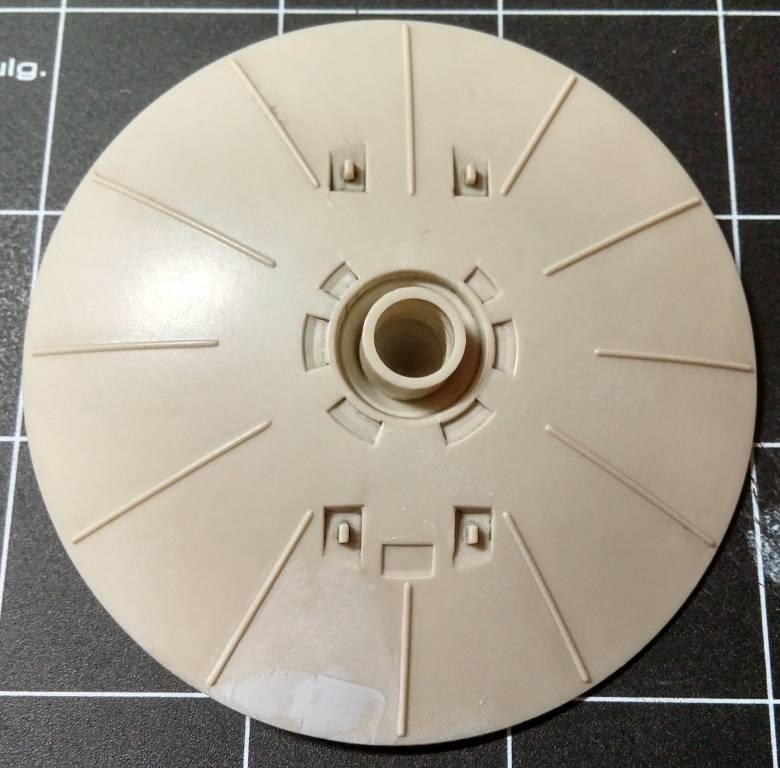
The gray markings were painted on next. I applied tape to the surface, then used a pencil compass to draw the curves. With both a steady hand and an X-Acto knife, I cut out the shapes and proceeded to paint. Eager to move on, I skipped painting over the area filled with epoxy (I painted over it later) and assembled the rest of the dish.
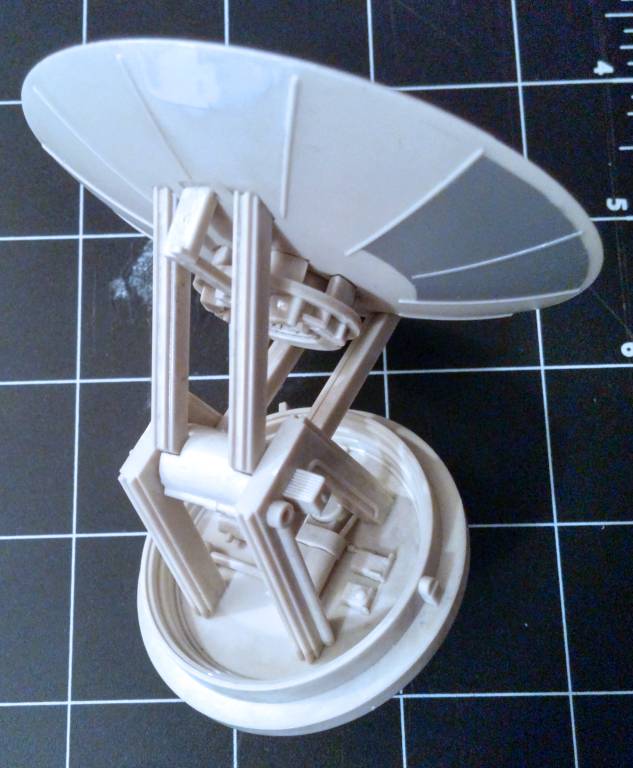
Like other builders have said, the dish moves freely, but it is firm enough to stay in whatever position it is placed in. It’s also important to note that the whole dish assembly does need to be removed from the hull when revealing the ship’s interior.
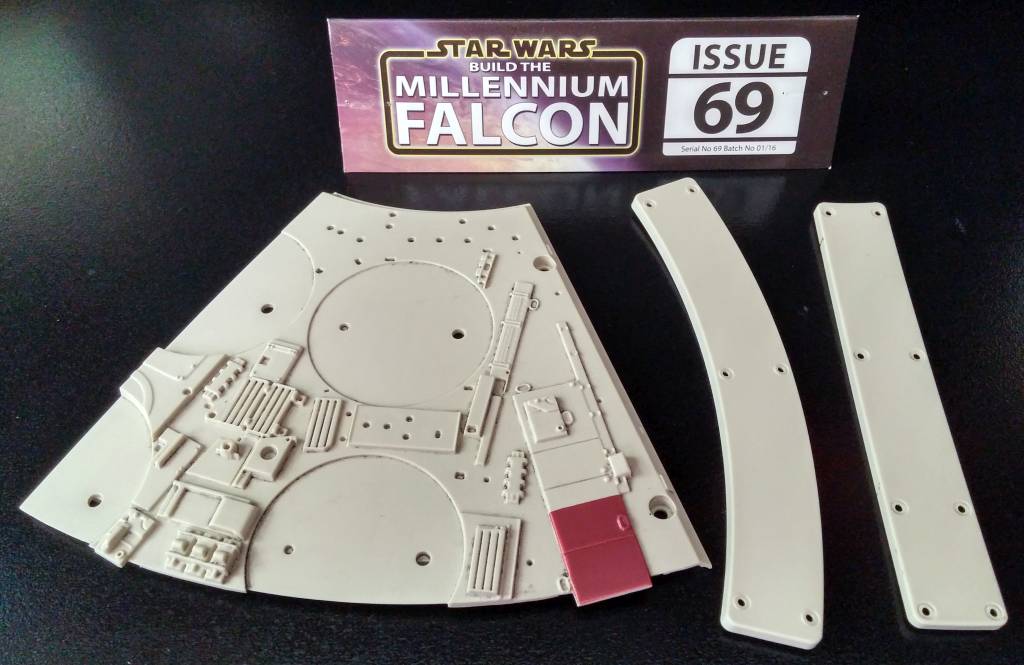
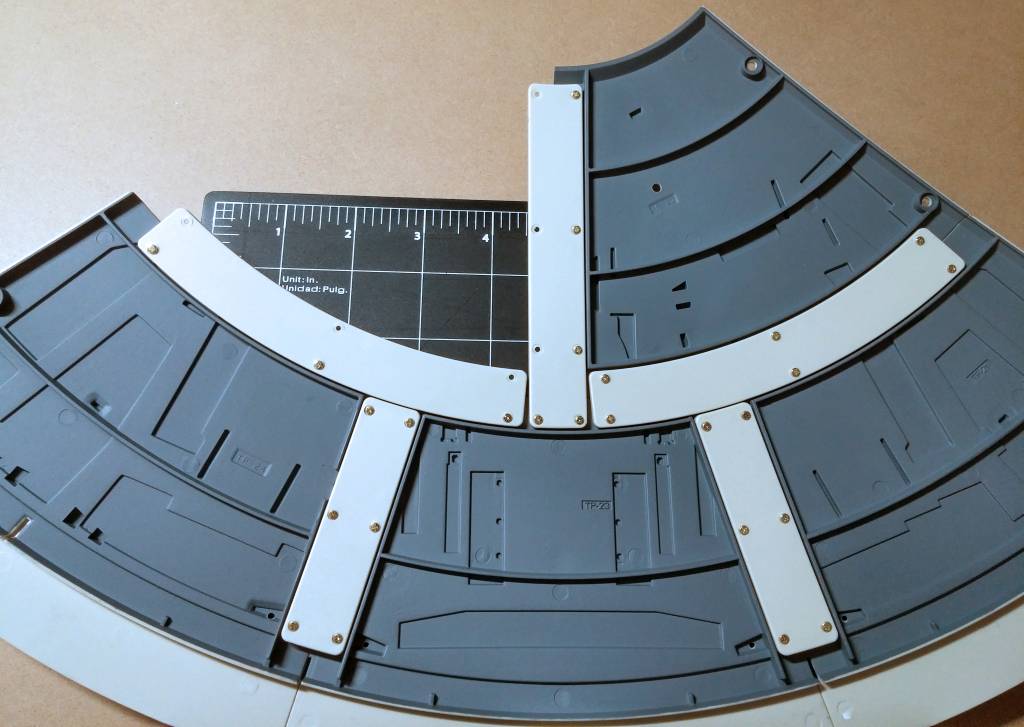
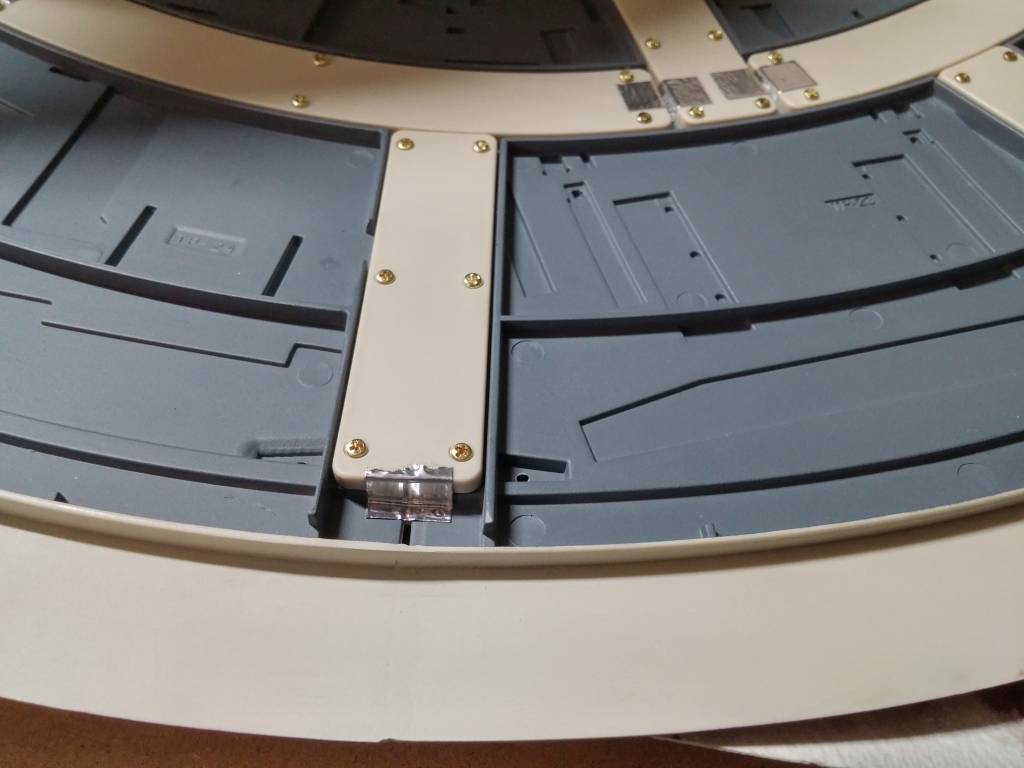
Removable Hull Plating
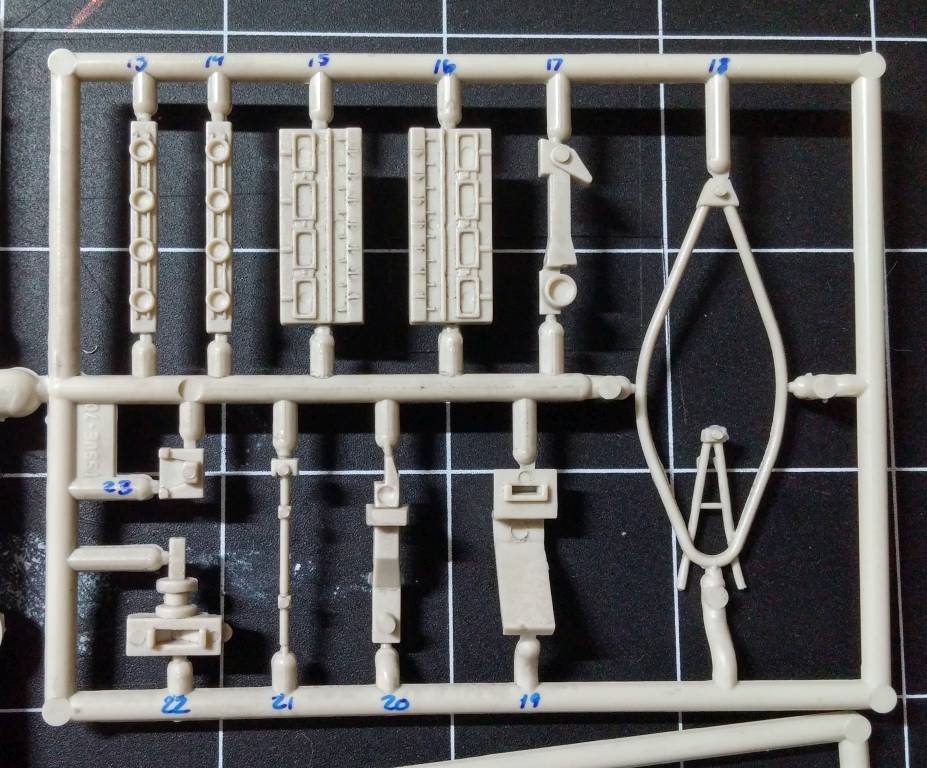
One trick that I’ve started doing with my parts is numbering them with an ultra fine point Sharpie marker. This saves me from having to refer to the part diagrams when I’m ready for the next part. It’s a time saver, but I still keep an eye open for mistakes. DeAgostini has mislabeled a few parts in the past.

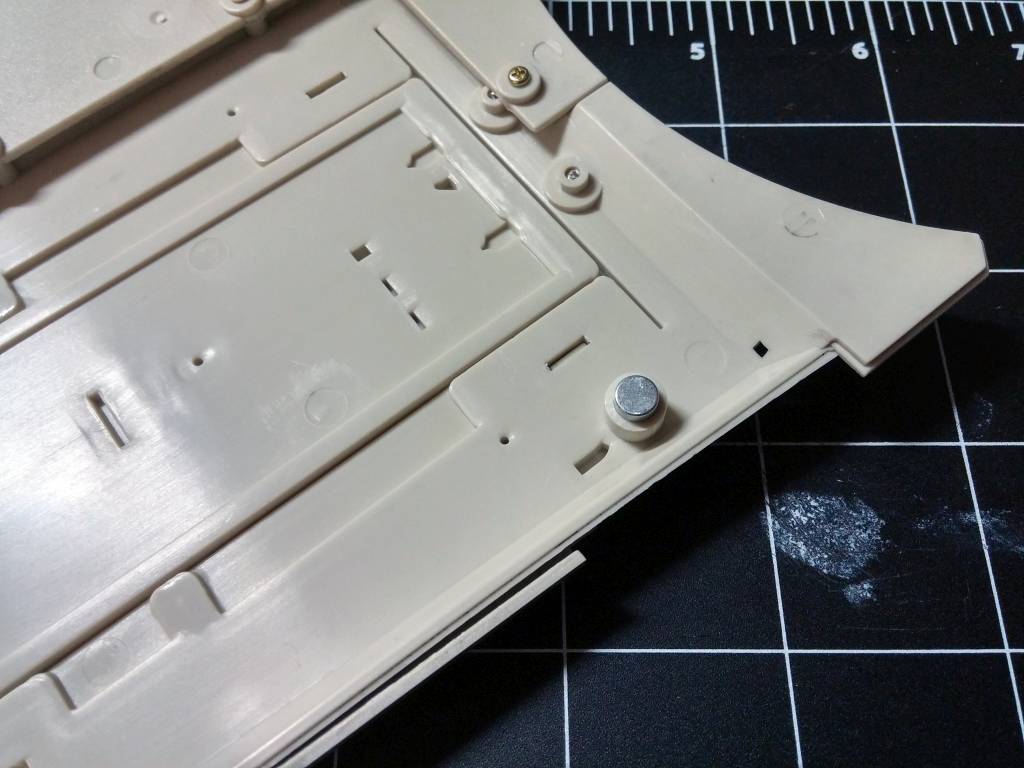
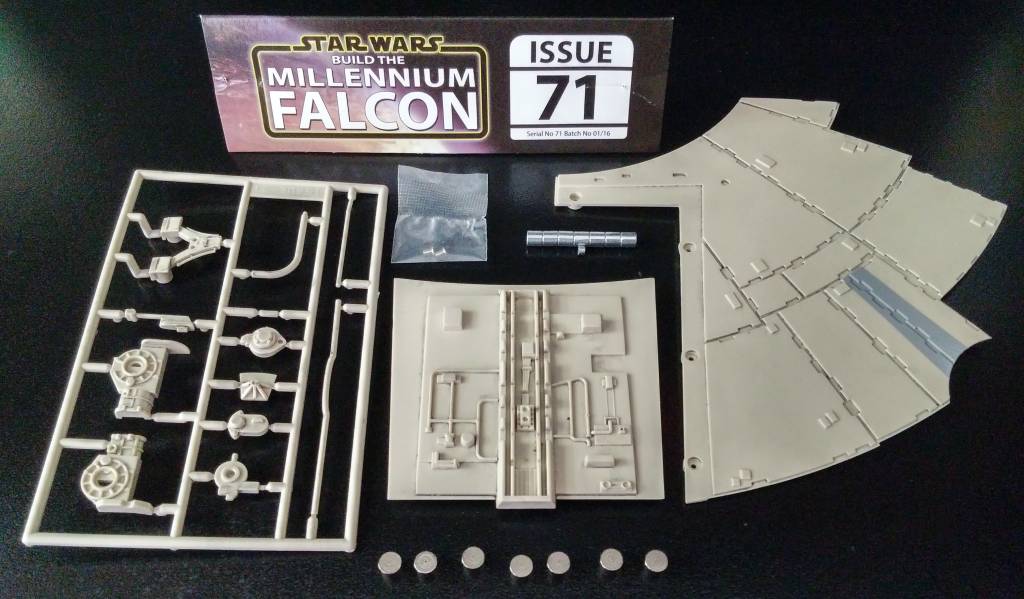
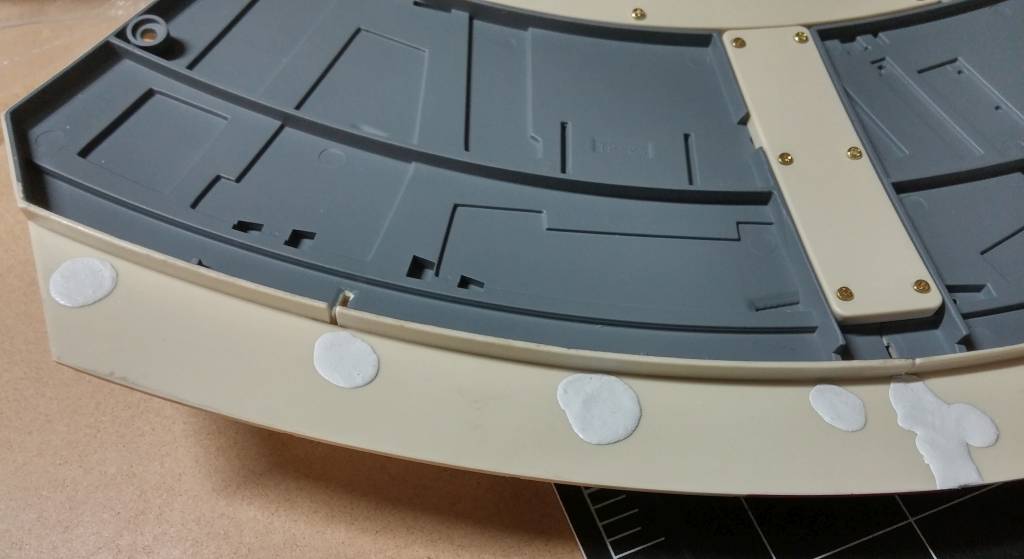
Adding the details to the removable panel was simple, but a few pieces were delicate. The main problem came when gluing the magnets to the underside.
The very first magnet that the instructions say to install is the main culprit, and many builders have had this same problem. The fit is so snug that it will not sit all the way to the bottom; the magnet only goes in 1-2 millimeters. A serious amount of pressure is needed to press the magnet into place, risking damage to the delicate detail pieces that were previously added.
I was able to set the piece onto a flat surface and forcefully drive the magnet in with the end of a rubberized tool handle. Luckily, nothing broke.
The other six magnets were snug, but were easily pressed in by hand.
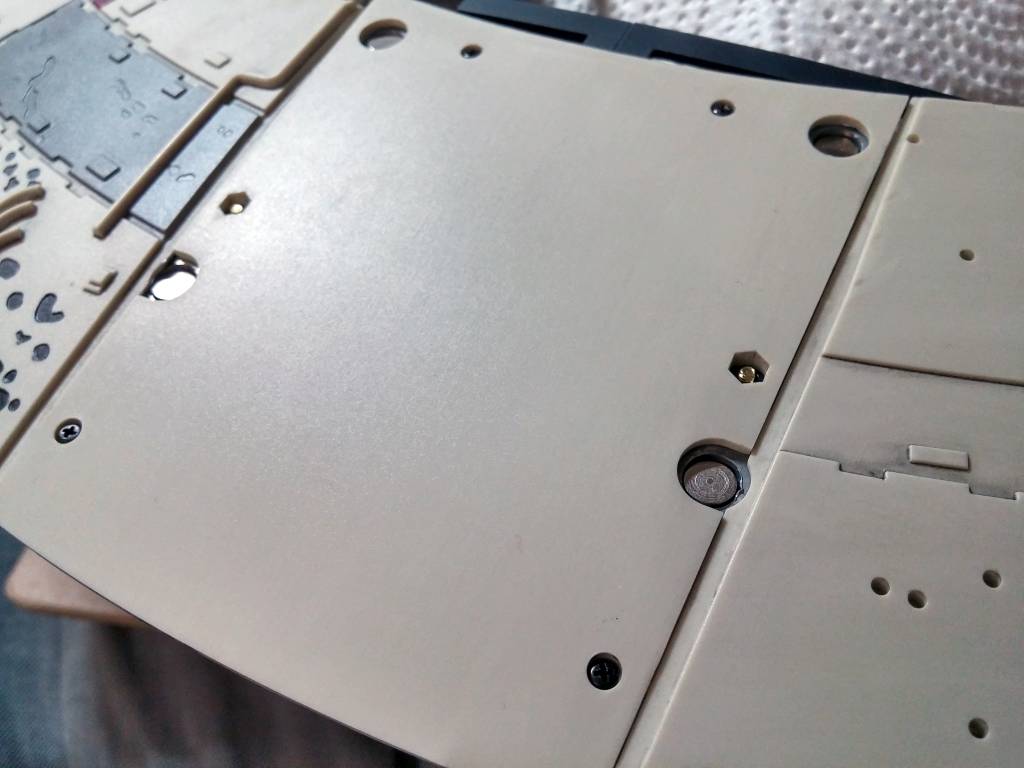
Adding the metal retainers (these are not magnets) was the easiest. They sit very loose into their holes, so glue is definitely required.
The magnets are very strong. I found this out when I tried to fit the hull into place, and they ripped out the metal retainers before the glue had time to fully cure.
Painting
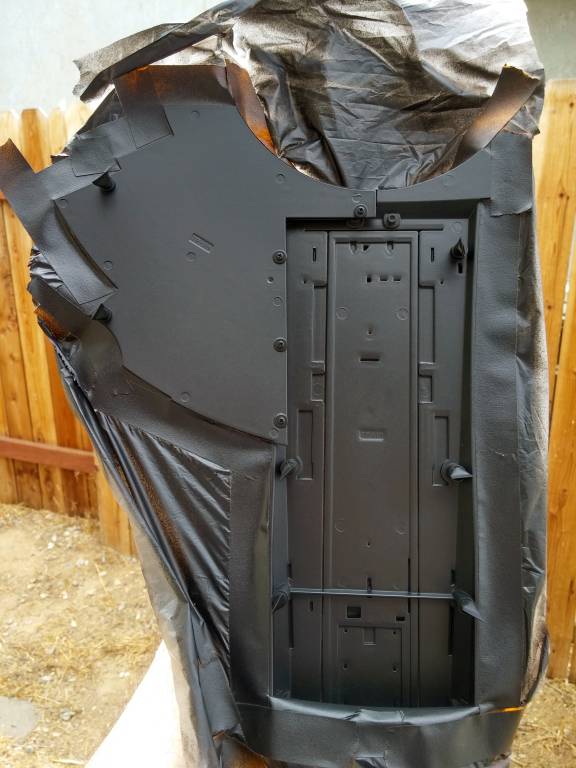
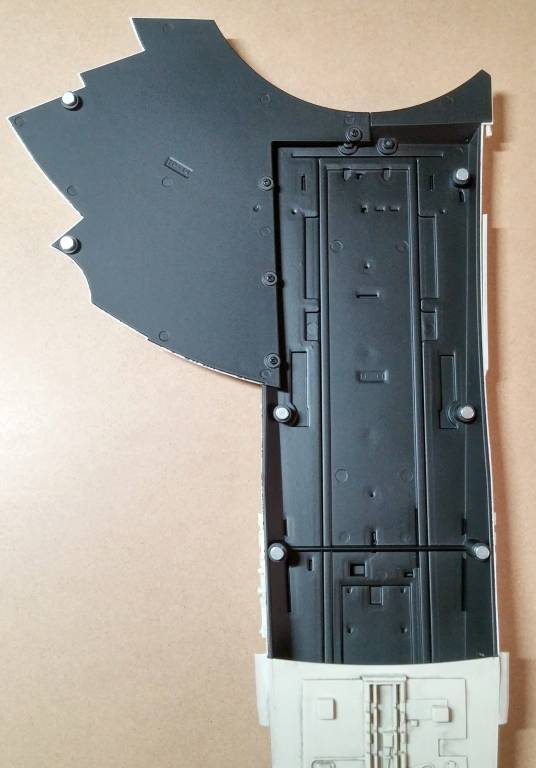
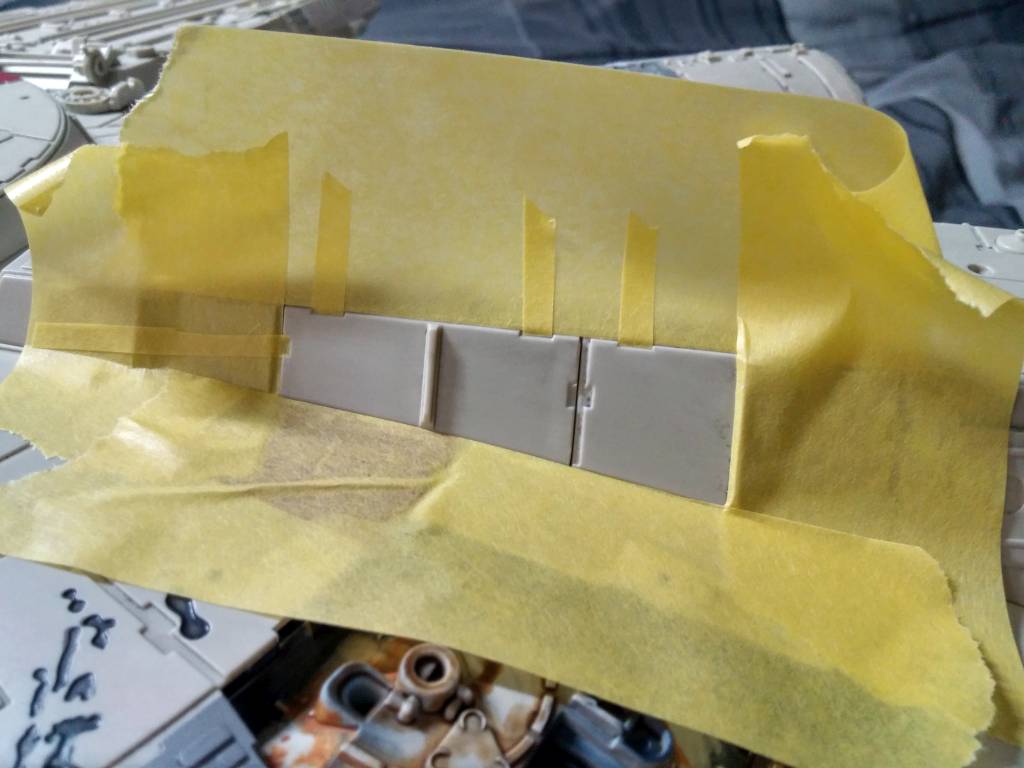
Keeping with the theme, I painted the underside of the removable hull black, masking the magnets. Then, I painted additional markings to the hull and fitted everything into place.
I fitted the top turret hull piece for completeness, but I did not screw it down. I remembered that in one of the DeAgostini painting videos that it was recommended not to screw this part down. It was said that screwing it down would make it much harder to remove the removable hull. I tested this theory, and the removable hull was very hard to remove. So, for now, I will keep the turret hull piece unscrewed.
Prev Journal Entry | Next Journal Entry
Both the post author and this website have not received any compensation for writing this post. Both the post author and this website have no material connection to the third-party brands, products, or services that have been mentioned. Some of the links in the post above are “affiliate links.” This means that if you purchase the item, we will receive a commission. As an Amazon associate, we earn from qualifying products. This is being disclosed in accordance with the Federal Trade Commission’s 16 CFR, Part 255: “Guides Concerning the Use of Endorsements and Testimonials in Advertising.”
Do you have a thought about this post? Why not leave a comment . . .