Millennium Falcon Build Journal No. 28: Finishing Touches
![]() Trader Sam | February 8, 2018
Trader Sam | February 8, 2018
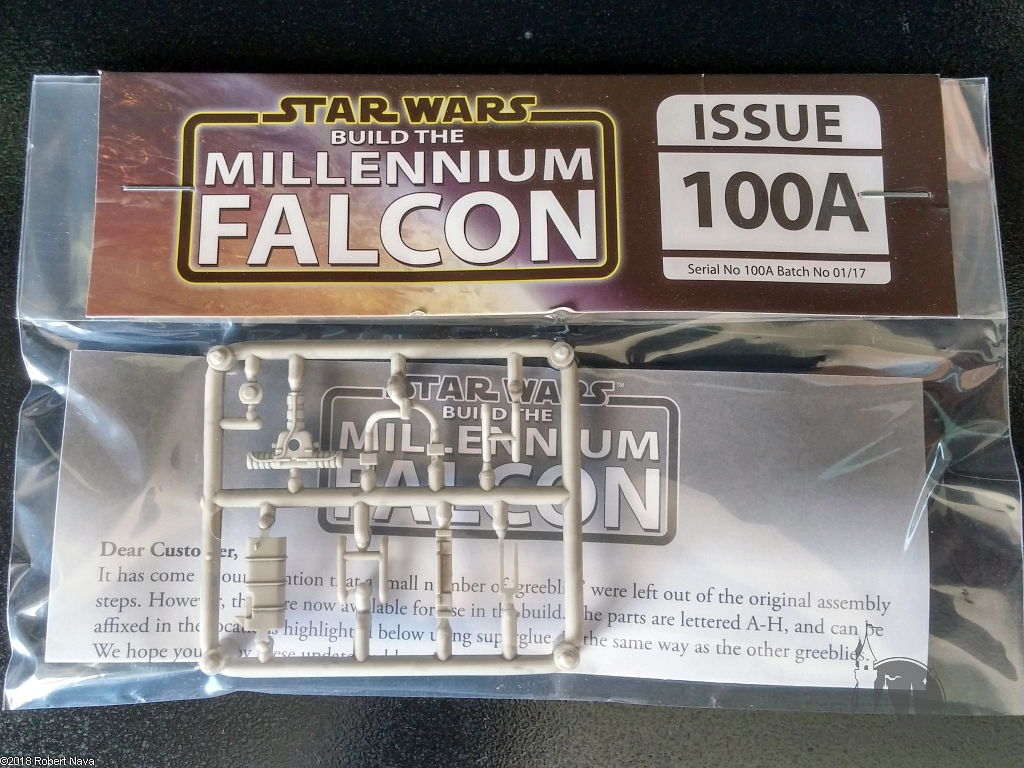
The Contents
The final DeAgostini package finally arrived, containing eight small parts that were accidentally left off of the model. Really, there are seven parts and one replacement part, but I’ll get to that later.
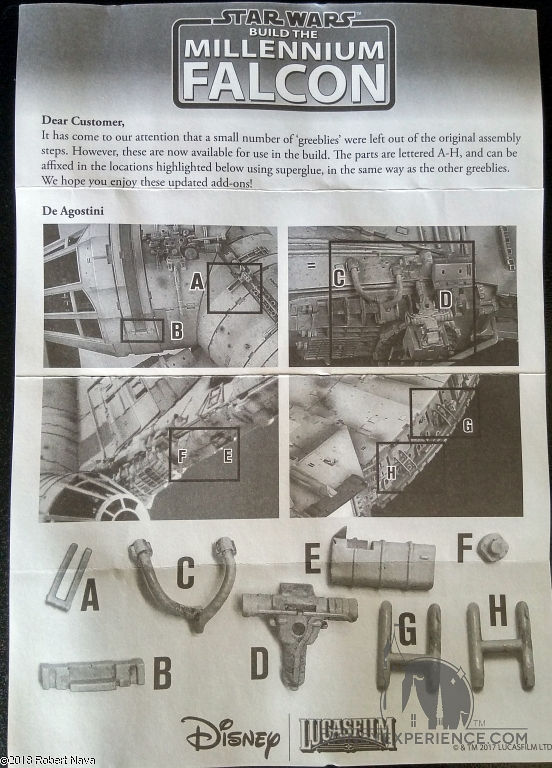
The small, one-sheet instructions are just four gray-scale images with the letters ‘A-H’ to indicate where the parts go. The photos are poor, and I had to do some Internet sleuthing to figure out where and how parts ‘E’ & ‘F’ are attached. Even worse, the images that they use are not of their own model, so exact placement is totally off.
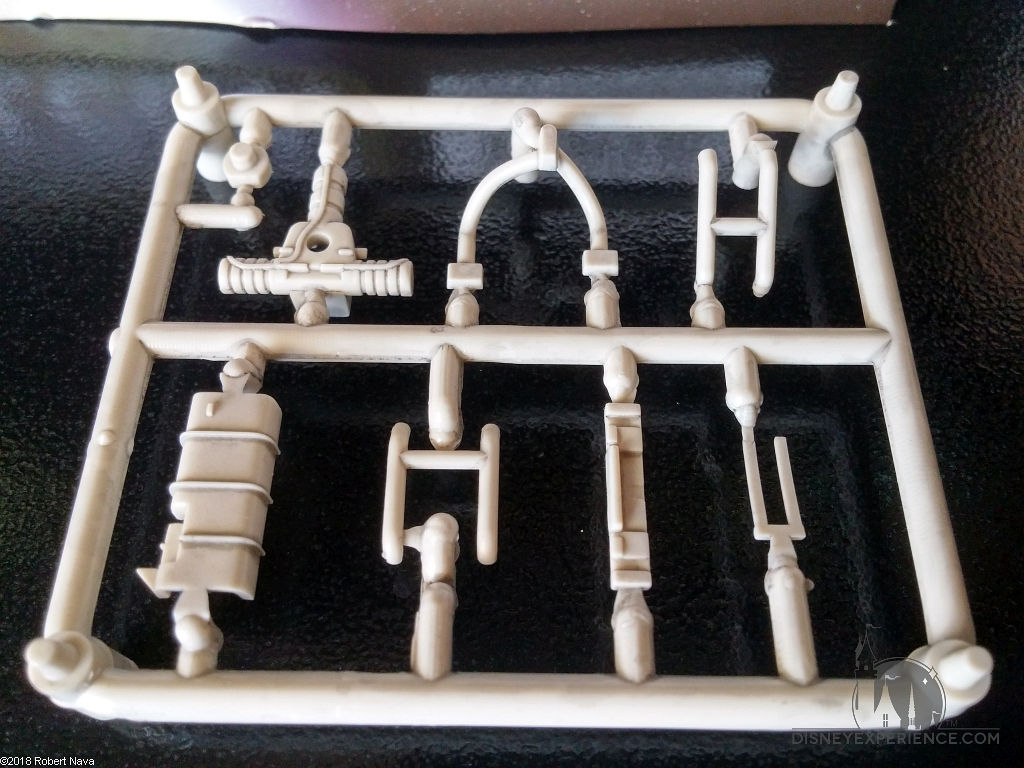
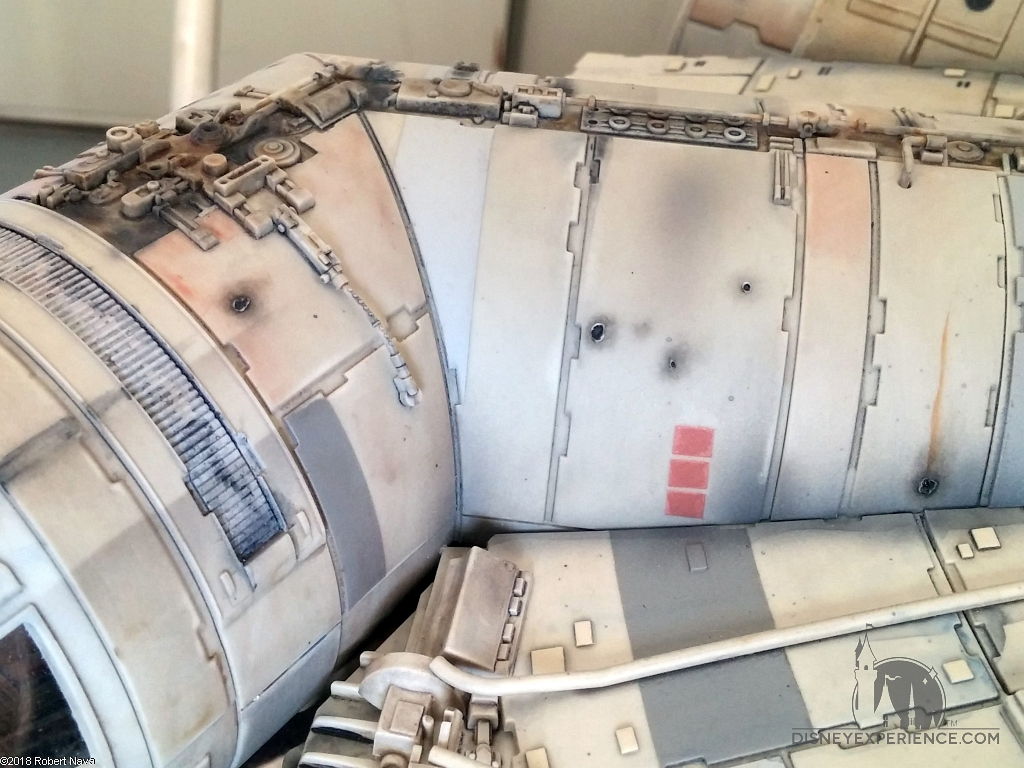
Adding the Final Greeblies
Adding the greeblies wasn’t too bad, but they didn’t quite match up with the pictures shown in the instructions. I believe the instruction images are from the actual movie model.

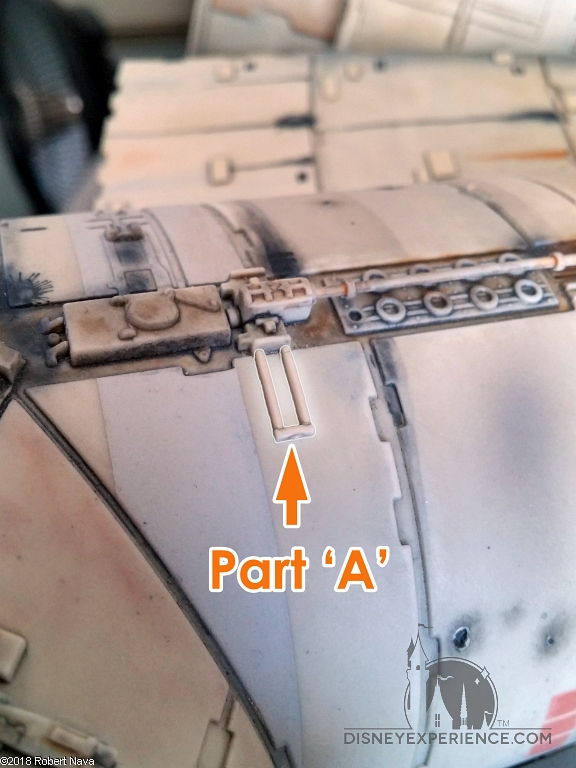
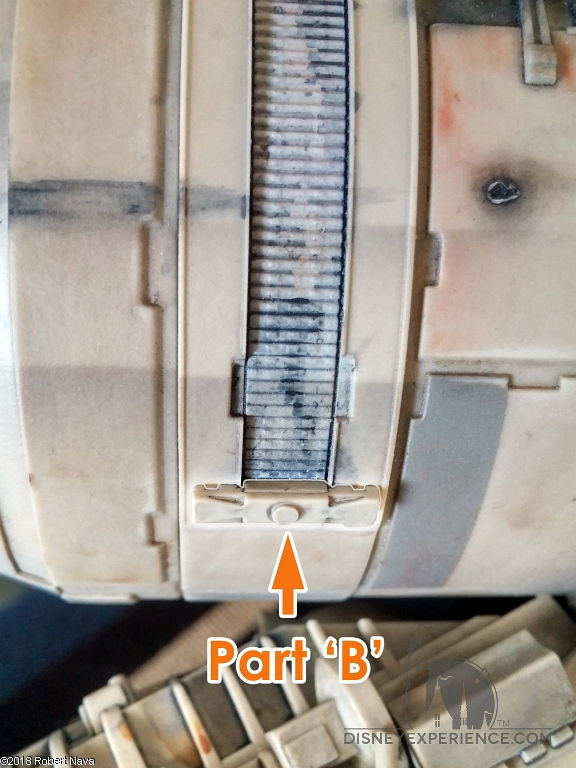
Part ‘A’ was the easiest. Part ‘B’, however, was a little tricky. I didn’t know which side was supposed to be attached to the side of the cockpit, so I flipped through my reference images. It’s a good thing that I looked, because I was going to attach it the wrong way!
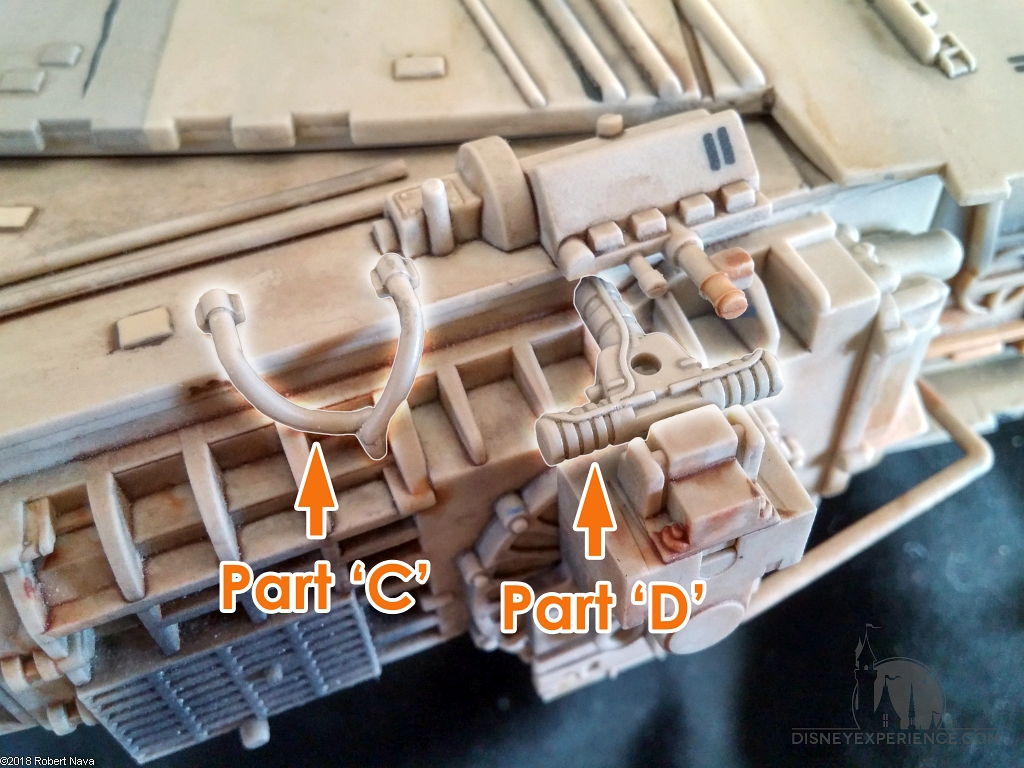
Parts ‘C’ & ‘D’ both didn’t sit in the right positions as shown in both the instructions and my reference pictures. I went with what I thought looked best.
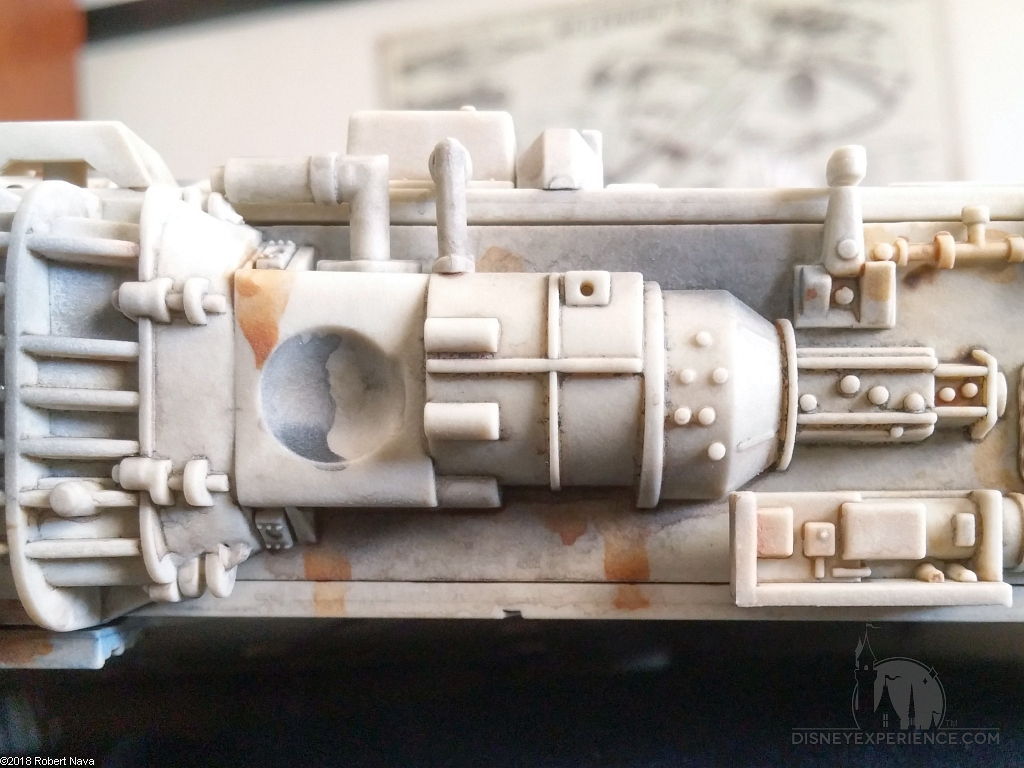
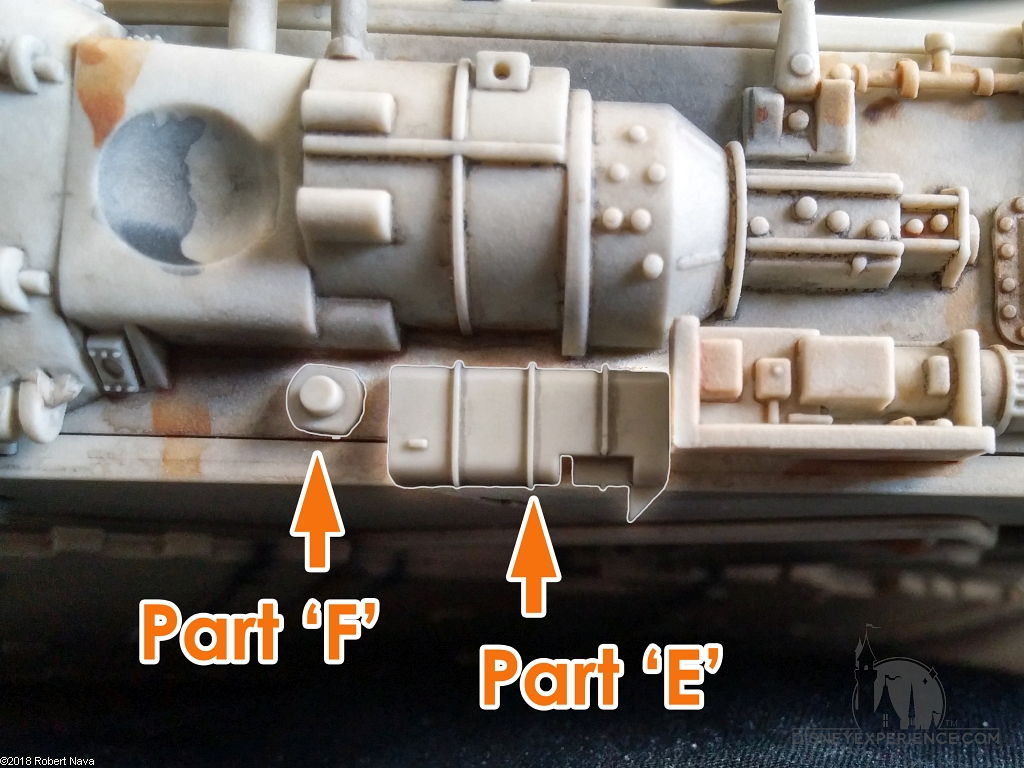
Parts ‘E’ & ‘F’ were horrible; there was no way that I could tell where these parts went! After digging around on the Internet for about half an hour, I finally found some good photos of one builder’s model. I also discovered that there are many other builders out there that are confused about these parts.

Part ‘G’ simply aligned and attached to two round nubs. Part ‘H’ is actually a replacement for the existing part from Issue 94. That’s information that would have been useful for DeAgostini to provide.
Uh-Oh! A Bad Antenna?
About a month after mounting the Millennium Falcon onto the wall, something went wrong: the model would not respond to the remote. Naturally, I changed the battery in the remote, but nothing would happen. The batteries should both be good.
Before ruling out a faulty antenna on the circuit board, I pushed the button on the side of the model to shut off the lights. I had the lights running for a few hours, so I thought that maybe excessive heat or extended use may be interfering. A couple of minutes later, I turned the model back on, and I pressed the button for the loading ramp. It worked, but it struggled. It struggled really bad. That could only mean one thing: the batteries in the model were on their last legs.
Now I know that when the model becomes unresponsive to the remote, a fresh set of batteries is required.
I only had the model turned on a few times for a few hours at a time, and the batteries were drained!? That didn’t seem right. But, then I remembered that I had been using the same batteries for over two years to test out the electronics. Sometimes I’d take them out of the battery case, sometimes I’d leave them in. After two years, these things were more or less dead.
To save on battery costs, I invested in a set of rechargeable batteries to be used exclusively for the model.
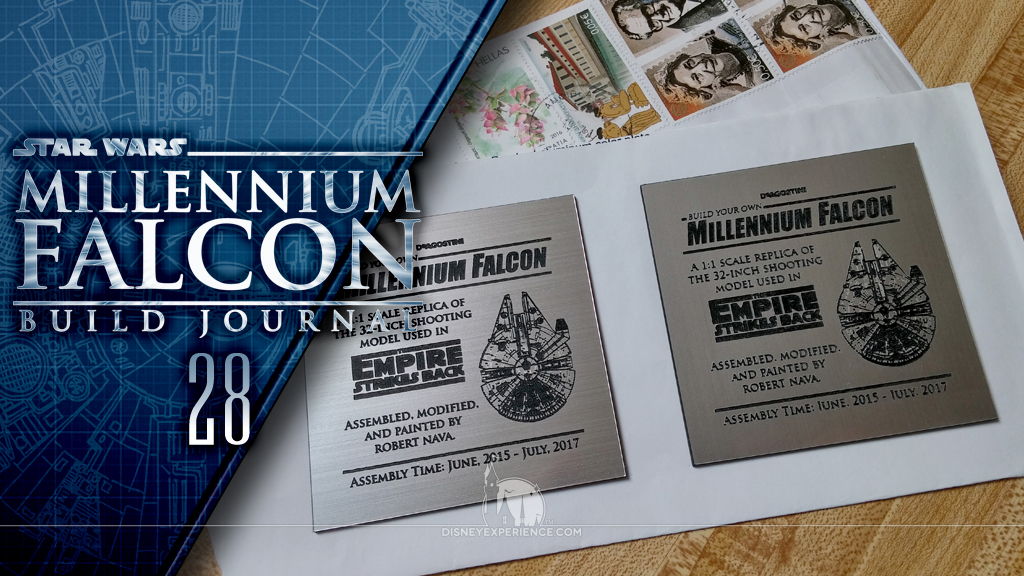
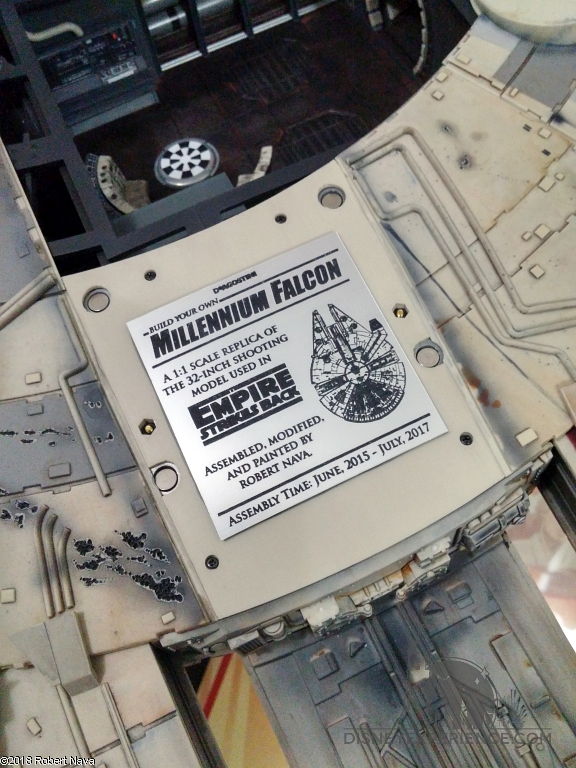
Custom Engraved Plaque
I new from the beginning of the build that I wanted a custom, laser-engraved plaque to attach to my model. I was fortunate enough to find a person (iridium_lab) on eBay who does custom laser etching . . . in Greece. Despite the location, the shipping fee was extremely reasonable; I normally expect international shipping fees to be astronomical. The price for the item was fair, and both the seller and feedback ratings were excellent.
The plaques are black plastic with a brushed metal look on the surface. I didn’t need real metal, so that was fine with me. In all, I spent a total of about $12 for a 3”x3” plaque.

I designed the plaque in Illustrator, and converted it to a PDF as per the seller’s instructions. It took a few days to hear back from the seller because he was out of town. He also had poor results with the plaque, so he wanted to tweak the settings to do a second version before mailing it out. A week later, I received an envelope in the mail from Athens. Inside were both versions of the plaque.
I used the “bad” plaque to practice on. I needed to trim it down to a 2.5”x2.5” square, so I practiced to get clean edges.
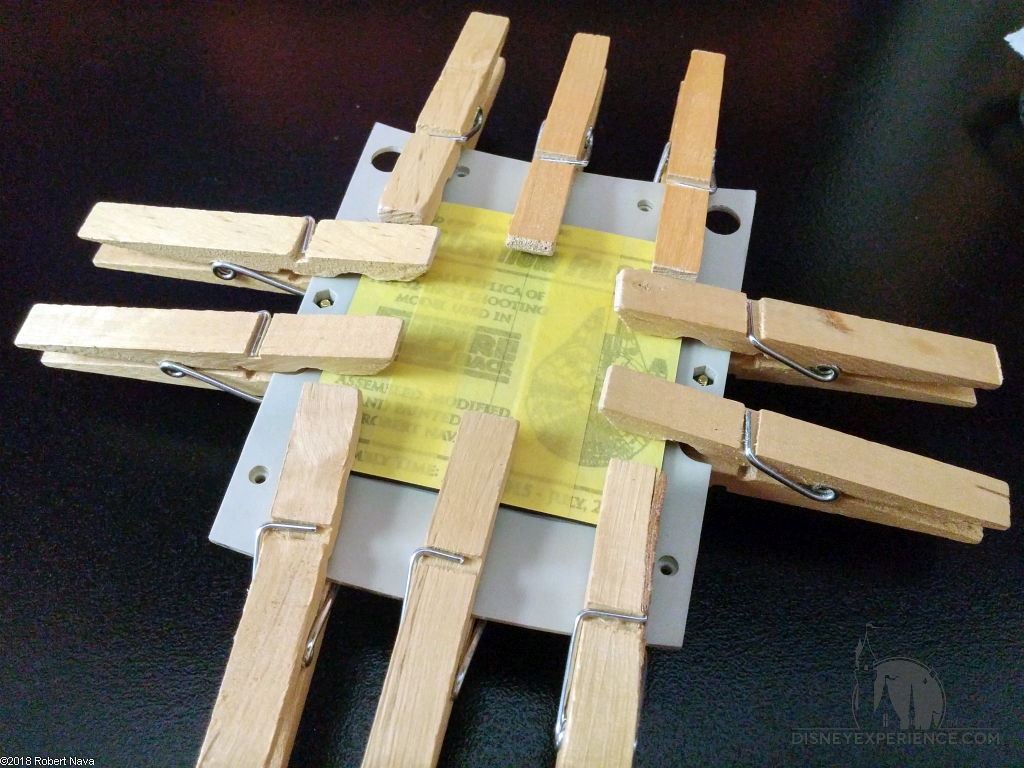
I used epoxy to glue the finished plaque onto the cover of the battery compartment. Clothes pins bent the plaque to conform to the curvature of the compartment cover as well as hold the plaque in place.
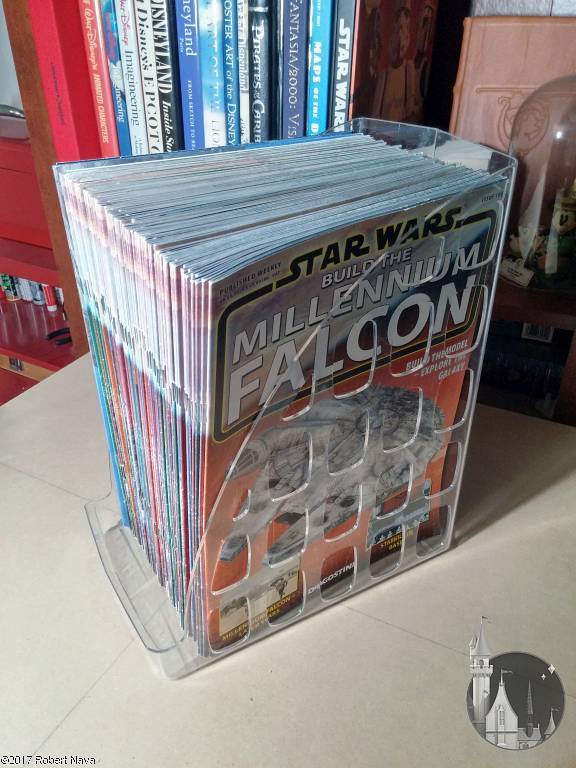
Reading Is FUN-damental
I’ll admit that was a bad pun.
I finally figured out what to do with my 102 magazines (two are from Japan), and several posters. I gave them to one of my nephews. It turns out that he’s really into reading (he excels at it), and he likes “Star Wars,” so it was a no-brainer.
The End
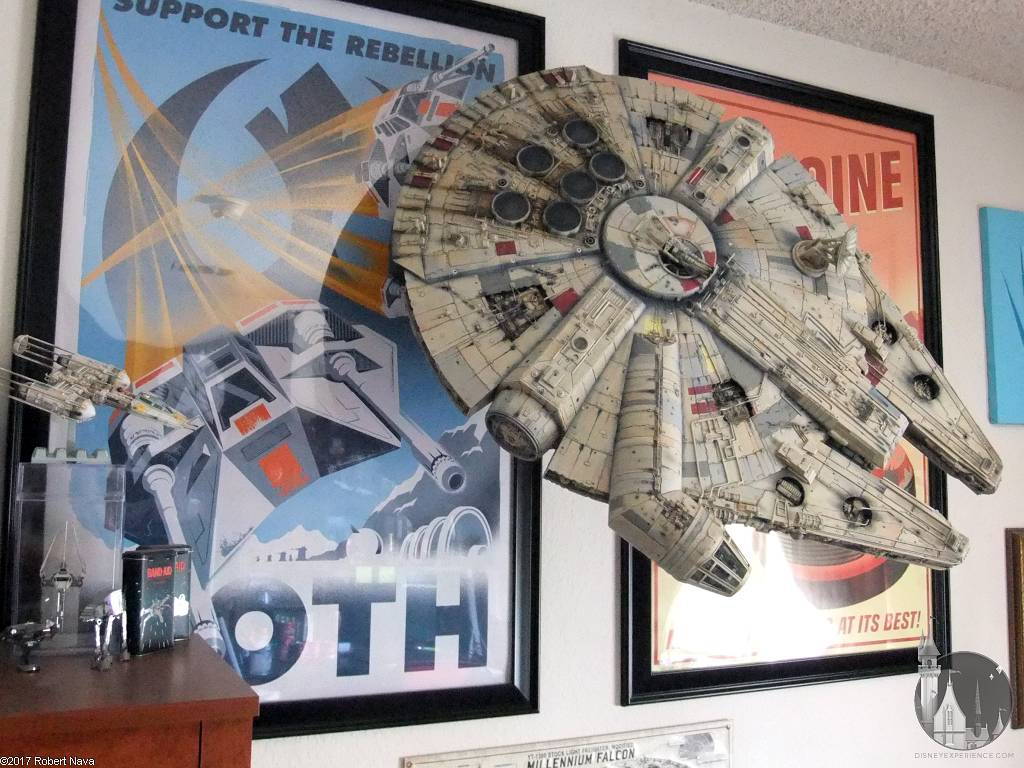
That’s it; I am officially finished!
Admittedly, although I was disappointed in a lot of DeAgostini‘s mistakes, I had a lot of fun. Finding and fixing the mistakes was part of the fun, as was the painting and customizations. If I wanted something simple and straight-forward to build, I would have bought a standard plastic model kit.
It’s big . . . it’s heavy . . . but, gosh darn it, it looks awesome on display!
Prev Journal Entry | Next Journal Entry
Both the post author and this website have not received any compensation for writing this post. Both the post author and this website have no material connection to the third-party brands, products, or services that have been mentioned. Some of the links in the post above are “affiliate links.” This means if you click on the link and purchase the item, we will receive an affiliate commission. This is being disclosed in accordance with the Federal Trade Commission’s 16 CFR, Part 255: “Guides Concerning the Use of Endorsements and Testimonials in Advertising.”
Nice work, thanks for sharing the knowledge, has helped me ALOT!
I’m glad that it helped. How far along are you?
Beautifully done! Congratulations!